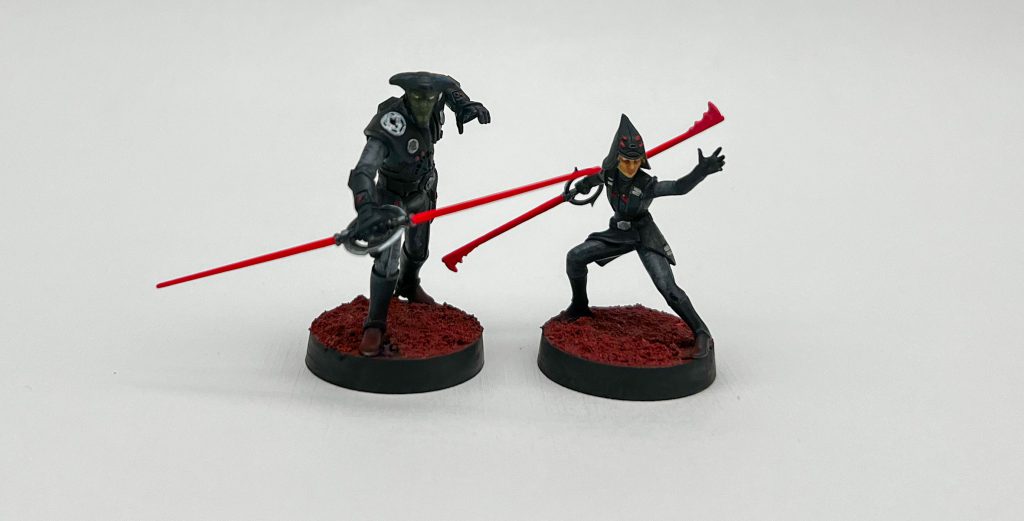
In our How to Paint Everything series, we take a look at how to paint well, everything, with a look at different methods from different artists. In this article we’re looking at Fifth Brother and Seventh Sister from Star Wars: Legion.
I recently had the pleasure of working on Star Wars: Legion’s Fifth Brother and Seventh Sister box. A pair of Jedi hunters working for the Empire, this kit uses the characters’ designs from the Rebels cartoon and was a dream to assemble and paint. It really shows off how far the hard plastic kits for Legion have come over the last few years. As always, the listed paints are just what I used. They’re pretty basic colors so whatever reds, greys, and other paints you have will work perfectly fine.
Assembly
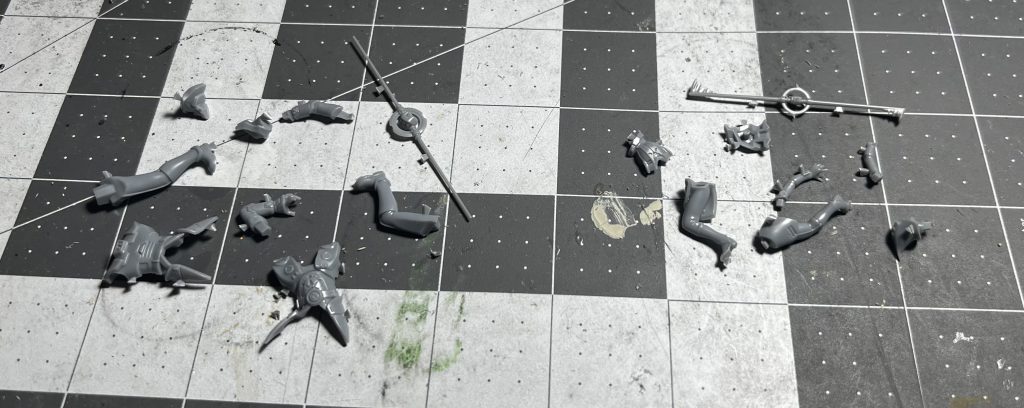
The models go together like a dream, with no tiny fiddly pieces or joins anywhere that cause big seams to stand out. Pretty standard procedure of glue torso together, glue legs together, attach everything.
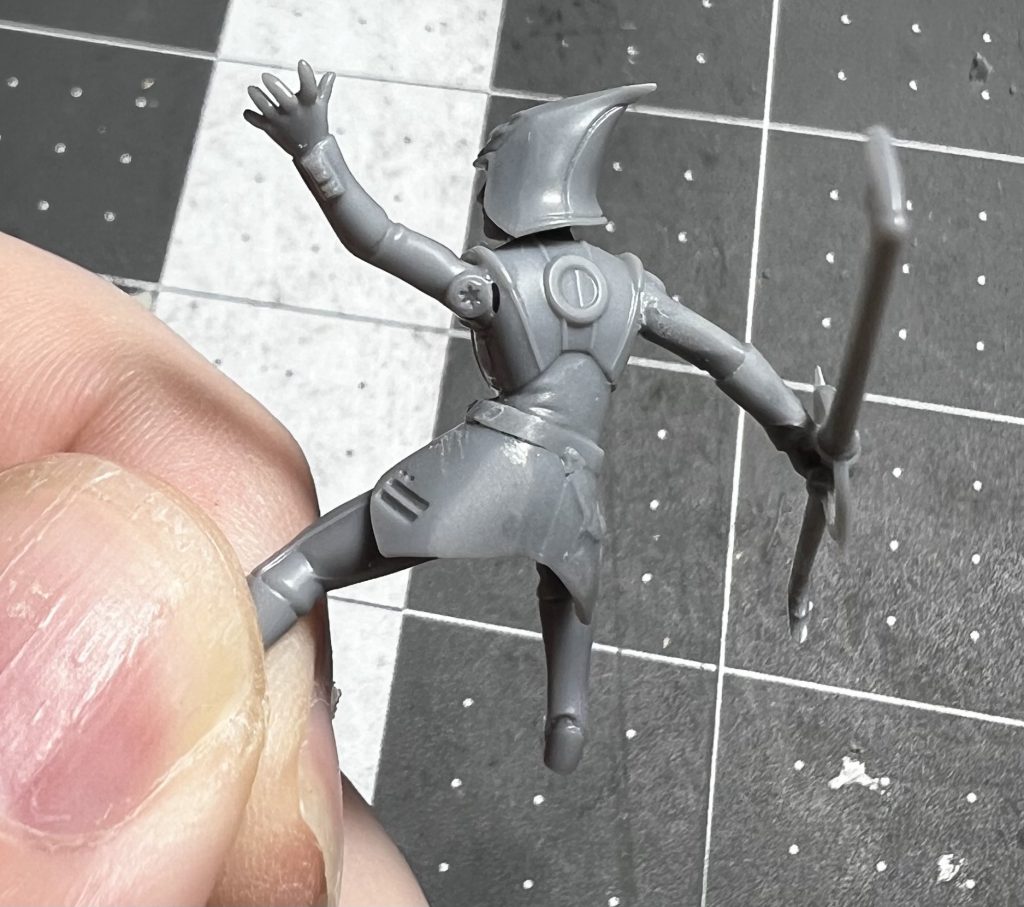
I reposed Seventh Sister to have a bit of a sassier, “bring it on” pose, because I thought it matched the artwork on her Come and Prove It command card well and it’s just a bit more dynamic. This left a tiny gap at the back of her arm, which I filled with some careful application of superglue via a toothpick. It is completely unnoticeable on the finished model.
Priming and Painting
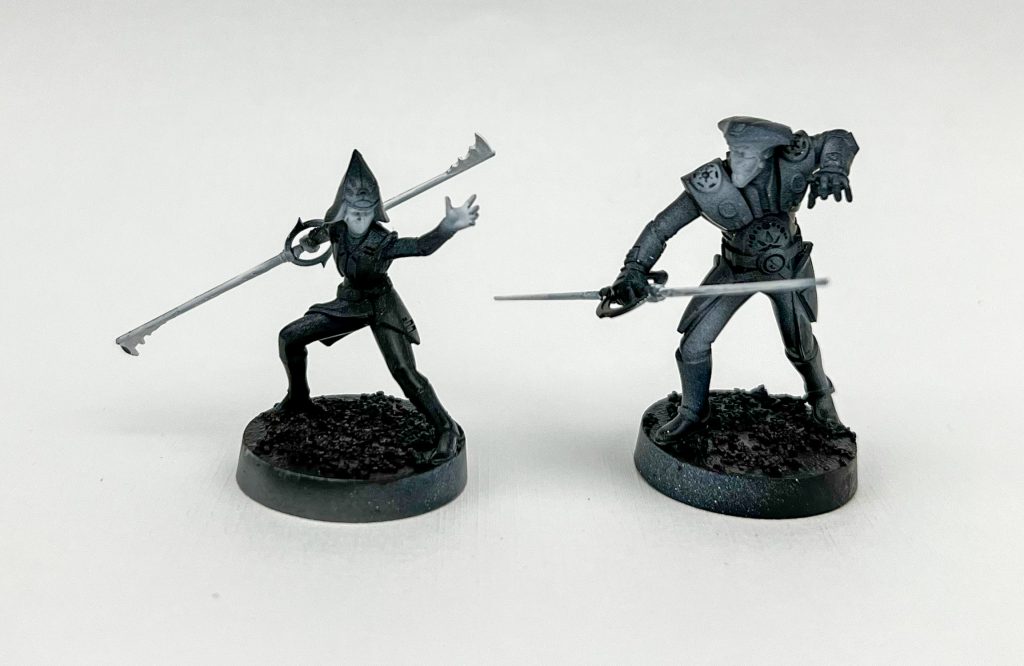
I put the basing material on and primed the models with my airbrush. I tried out Molotow One 4 All Signal Black and Signal White for the first time on these, and they went on very smooth and easy, but you could use any spray you like. Since most of the models are black, I kept the white to their faces and lightsabers for the most part, along with Seventh Sister’s hands because I couldn’t remember if she wears gloves or not (she doesn’t).
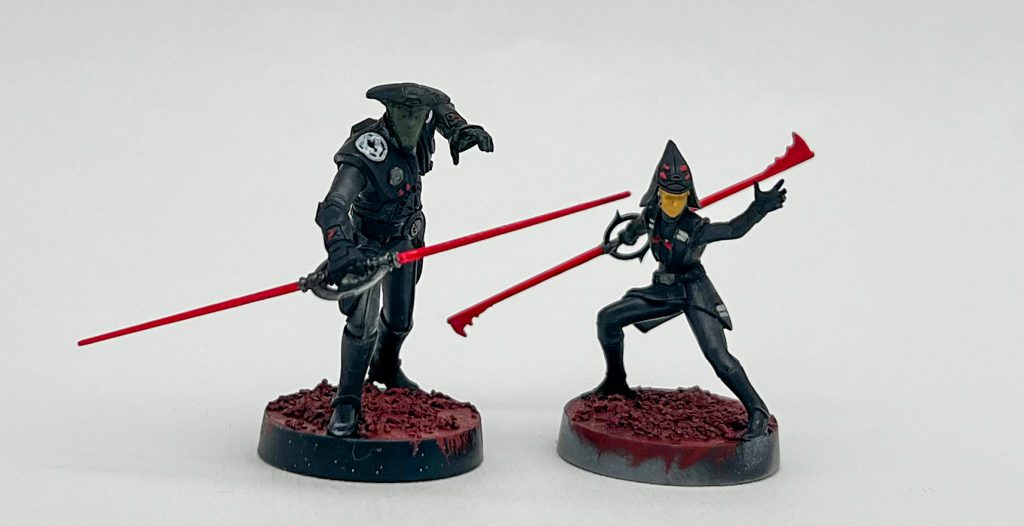
For the basecoating steps, the first thing I did was paint the lightsabers with ProAcryl Ivory. This gave me a nice, warm undercoat for the lightsabers which were then painted with ProAcryl Bold Pyrrole Red. The armor and non-cloth parts of the models got a coat of ProAcryl Coal Black, and the cloth is all ProAcryl Dark Neutral Grey. Seventh Sister’s skin is ProAcryl Golden Brown, and Fifth Brother’s skin tone is a mix of the Dark Neutral Grey and Vallejo Dirty Grey to give him the green tone you see in a lot of shots from Rebels. I then picked out the little white and red armor details using the same Bold Pyrrole Red and Ivory, while the basing material got a coat of ProAcryl Burnt Red. Finally, the metallics got a coat of Vallejo Metal Color Steel.
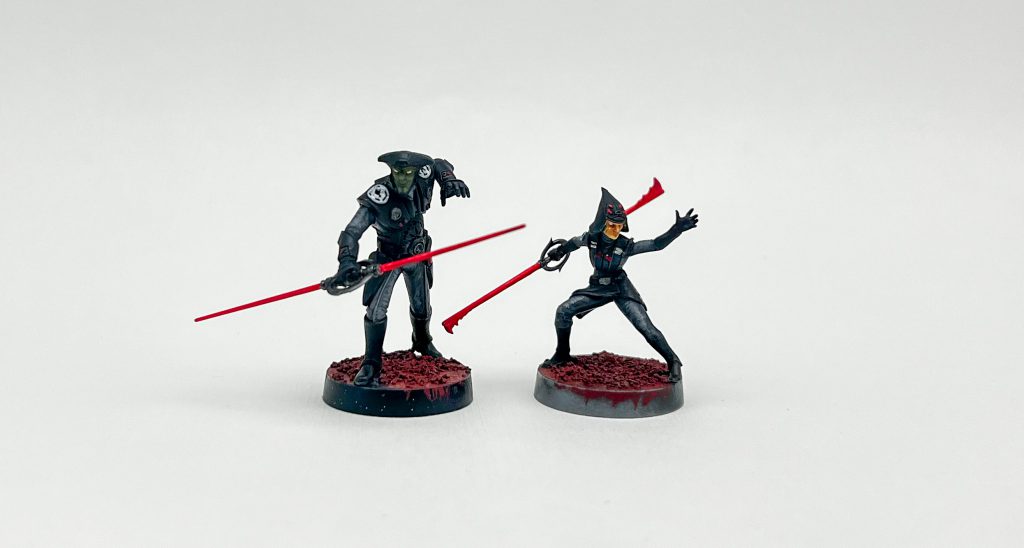
When highlighting the armor, I tried a technique that was brand new to me that I found in Juan Hidalgo’s Zero Skill Black Armor video. I drybrushed and stippled on a layer of ProAcryl Blue Black followed by a smaller, more targeted layer of ProAcryl Dark Grey Blue. This then got covered up by a 1:2 mix of Vallejo Xpress Color Hospitaler Black and Xpress Medium. I think I should have thinned down the black with more medium, as I’m not entirely convinced this added much depth to the black.
The cloth uniform parts got an initial highlight of a 1:1 mix of the Dark Neutral Grey and Neutral Grey, followed by a layer of just Neutral Grey. I tried to emphasize the difference in texture between the armor and the uniform by making these highlights more scratchy, which I find gives more of a cloth feel.
Seventh Sister’s face is highlighted by a mix of the Golden Brown and ProAcryl Pale Yellow, while I highlighted Fifth Brother by moving up to pure Dirty Grey.
Finishing Touches
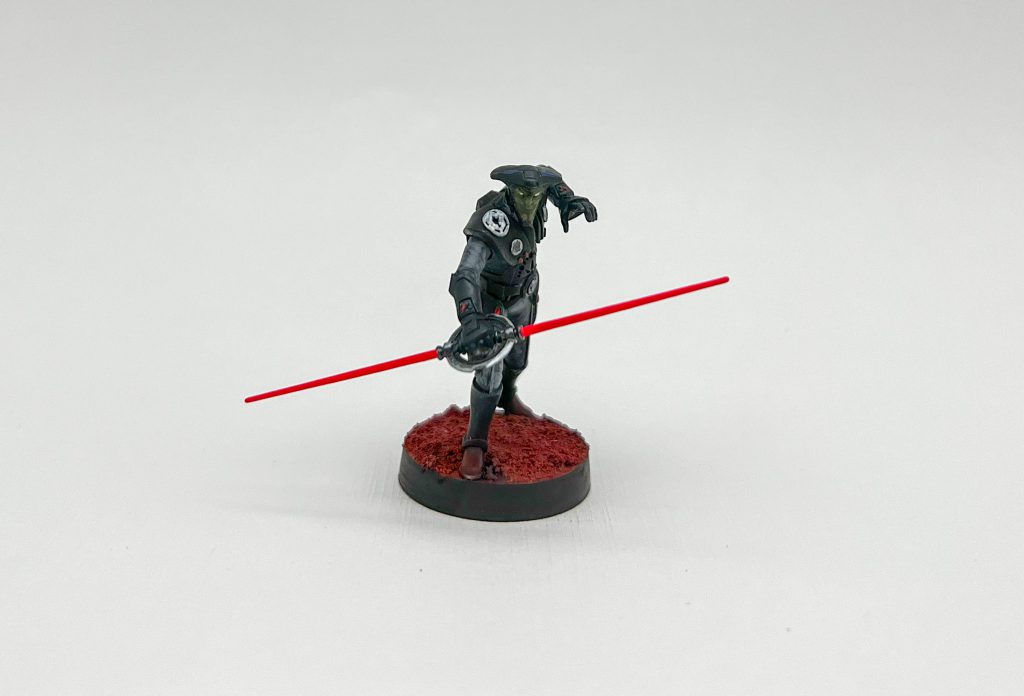
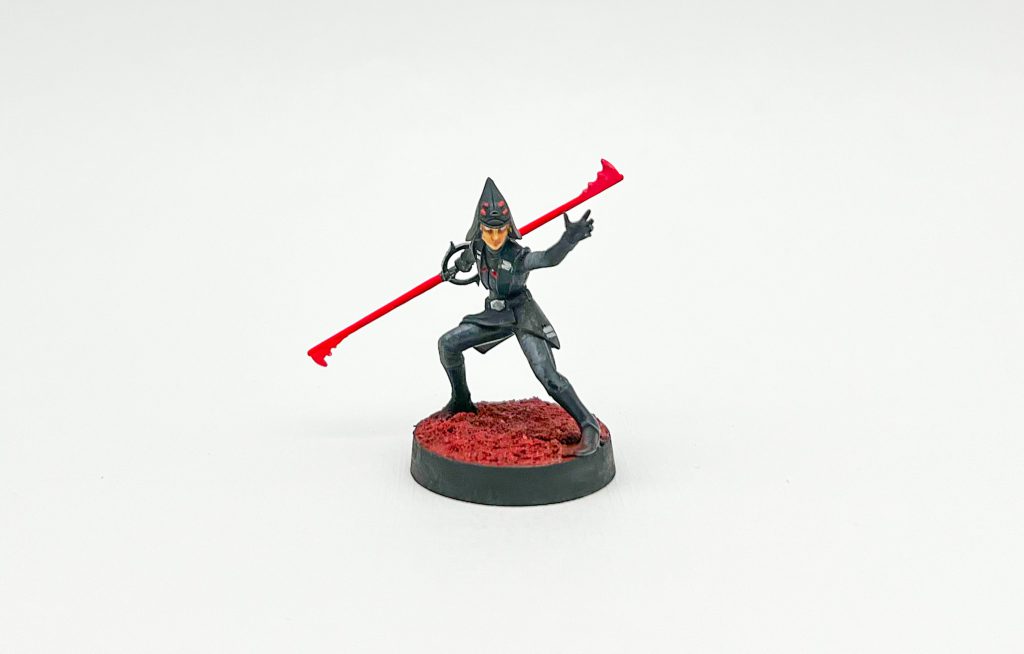
To give the lightsabers a big boost of intensity, I followed a method Vince Venturella outlines in his review of ProAcryl’s fluorescent paint line. It’s a pretty simple three-step process: a layer of white, a couple layers of ProAcryl Fluorescent Pink to get full coverage, then a couple layers of ProAcryl Flourescent Red to get that huge burst of intense red color. It’s a bit hard to show off on camera, but in real life there’s quite a difference between the Fluorescent Red and the Pyrrole Red. After that, the metallic paint gets another round of highlights with ProAcryl Steel, and I added a few Blue Black edge highlights to make some parts stand out just a bit more. Finally, the bases get dunked in Luke’s APS Mars Earth basing material, which is drybrushed with Pyrrole Red once it dries. The rims are painted black and we’re done!
Thank you to Atomic Mass Games for providing these models.
Have any questions or feedback? Drop us a note in the comments below or email us at contact@goonhammer.com.


You must be logged in to post a comment.