In our How to Paint Everything series we look at how to paint well, everything, with different methods, approaches, and painters. In this article we’re looking at how to paint General Obi-Wan Kenobi, from Star Wars: Shatterpoint. This model was provided by Atomic Mass Games.
Hello there! Welcome to our continuing Shatterpoint coverage. In this week’s HTPE, I’m going to show you how I painted up my General Obi-Wan Kenobi, including my first real stab at object-source lighting.
Step one, unpictured, was to prime Obi-Wan in grey. I’m not normally a fan of grey primer and almost always prime in black. I went with it for this model because I wanted brighter colors than I normally pull over black primer, but didn’t want to use straight white primer because I’m currently having a good run of mental health and didn’t want to hate myself.
From there I changed my mind and moved straight into doing the white clone armor first.
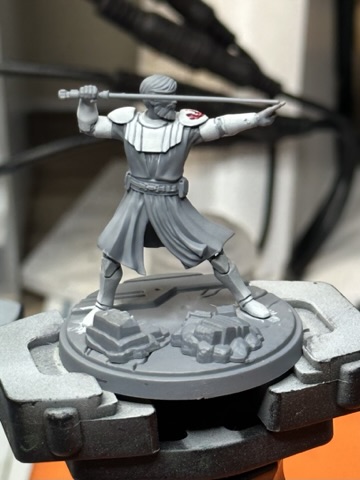
My thinking at the time was that starting with the white amor would allow me to more easily produce strong black lining when painting his face and outfit, but it wouldn’t have made a different and I recommend that you save the white armor for last.
I started with Corax White, my current favorite white base paint. It is not brilliant white, but instead has bluish tones of grey which is perfect for cold clone armor and would provide a nice base for Obi-Wan’s blue lightsaber glow. After basing with Corax, I washed with GW’s Soulblight Grey wash, another fantastic product for painting white.
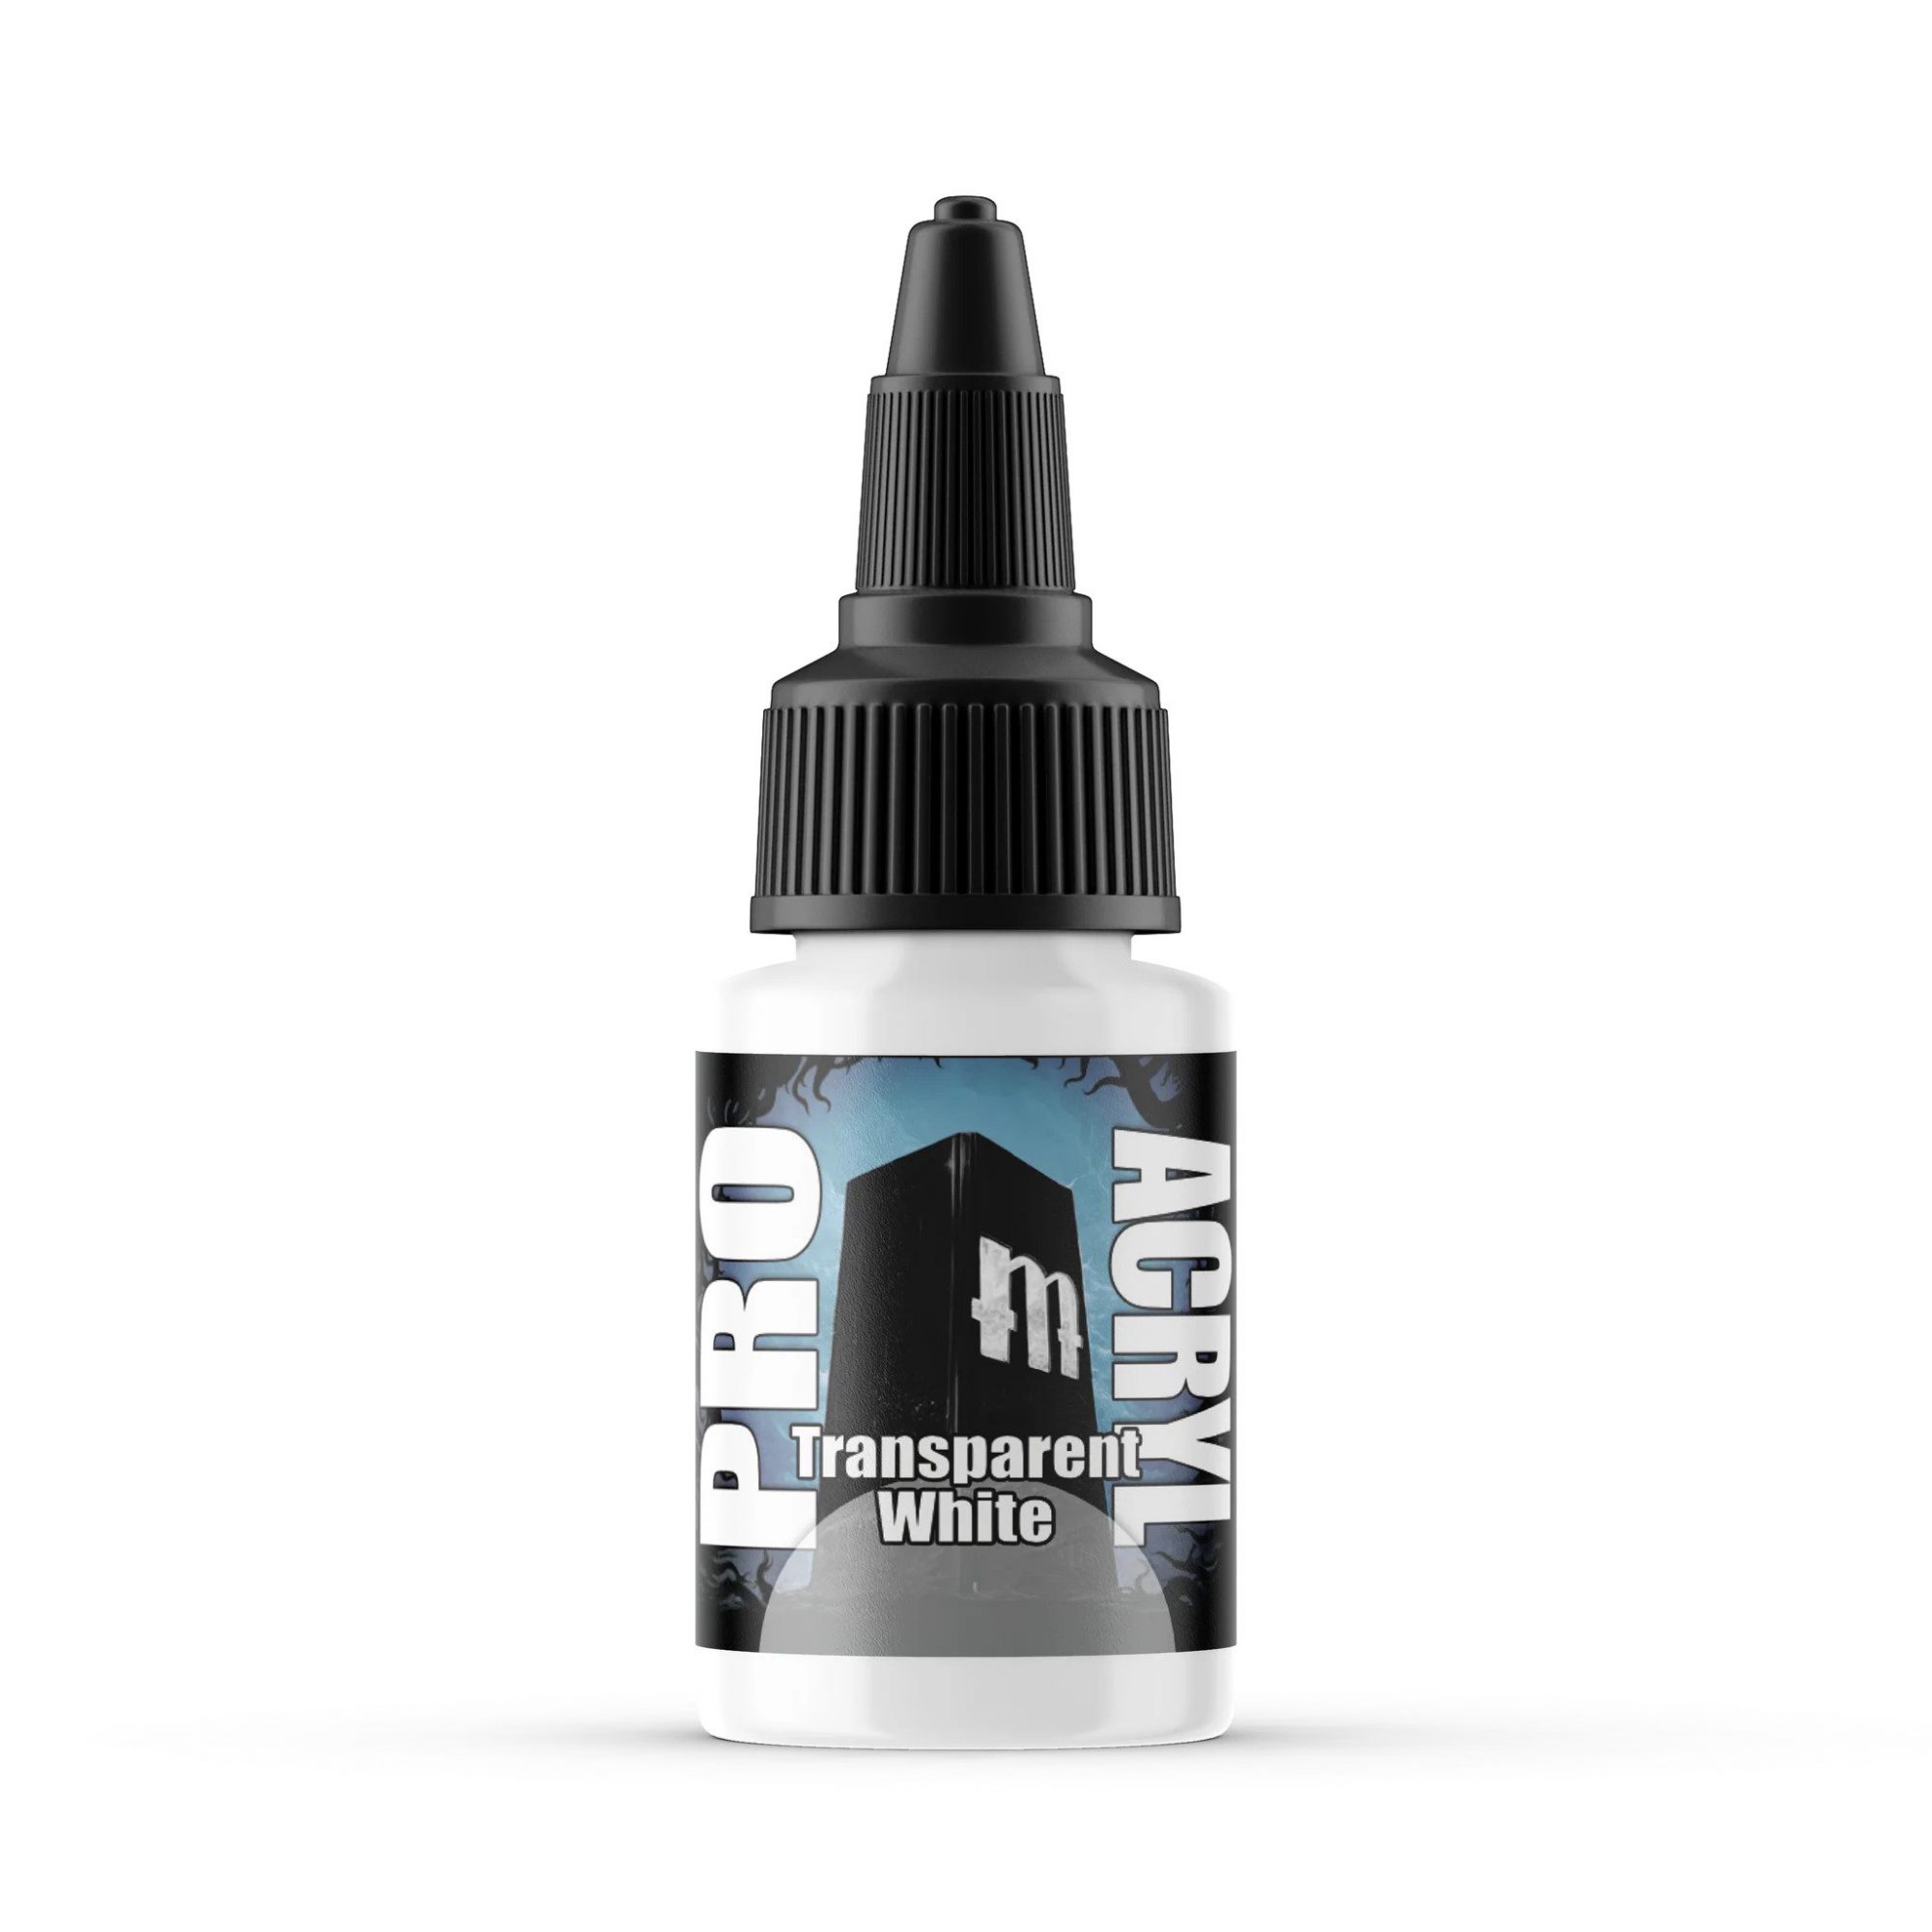
Do you have a bottle of ProAcryl transparent white? No? Go get some. This is the best paint I’ve added to my collection in years.
After washing the armor with Soulblight Grey, I highlighted back up with Corax White. Then I started mixing Corax with little bits of Transparent White bit by bit until I had the brightness I wanted. As the name says, Transparent White only slightly adjusts the color giving you a lot of blending control. It also smooths paints like Corax and White Scar making them less chalky and easy to use.
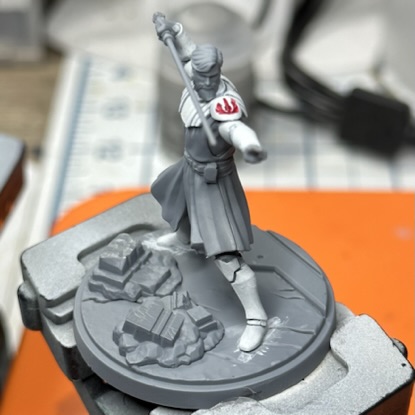
Finally I used Occultist Cloak, from the Army Painter Speed Paints 2.0 line, as a liner to hit all the armor edges. This is a near-black speed paint with blue and purple tones. Pay particular attention to the front panel and his boots. The red Jedi Order insignia was painted with Vellejo Pure Red, you could also use a Speed Paint or Contrast to easily fill the void. It’s deep and will hold a lot of these fluid paints. If you make a mess, just clean back up with Corax White and Transparent White.
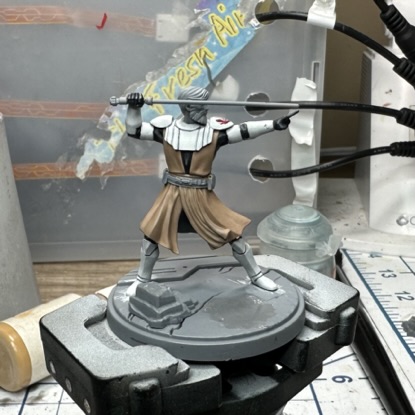
Obi-Wan’s undershirt was painted with Abaddon Black and highlighted with Pro Acryl Payne’s Grey, another blue-tinted dark grey. You’re probably noticing a pattern here…
His robe’s base color is Zandri Dust. The above picture has no highlighting; it’s just natural reflections off the semi-matte Citadel paint.
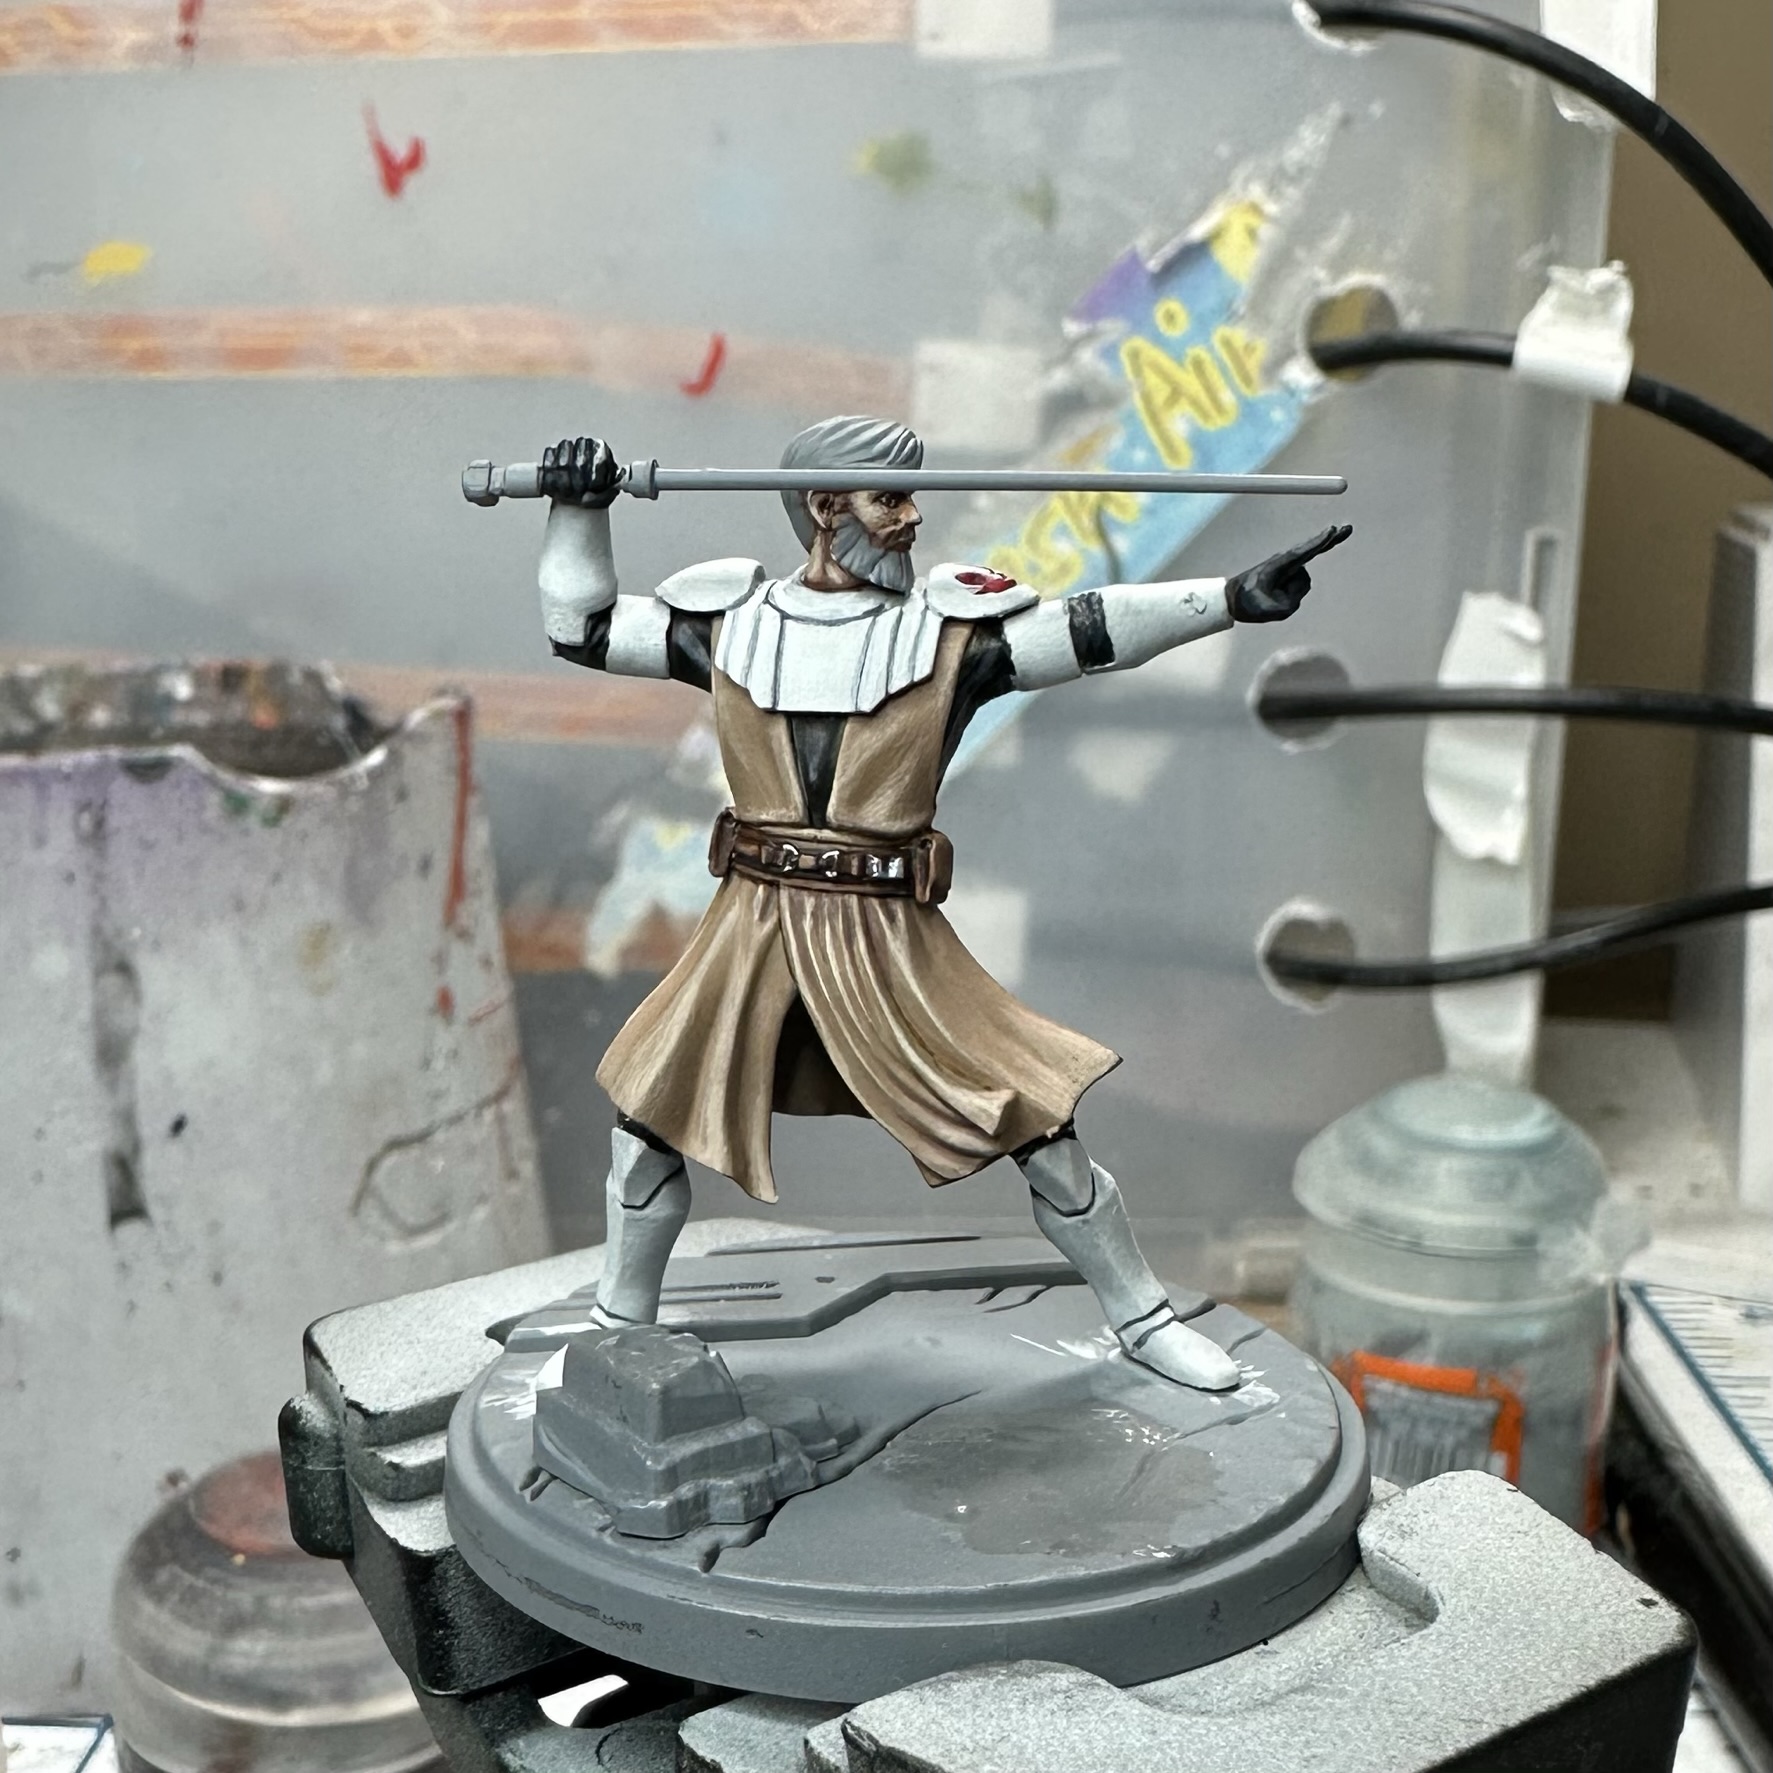
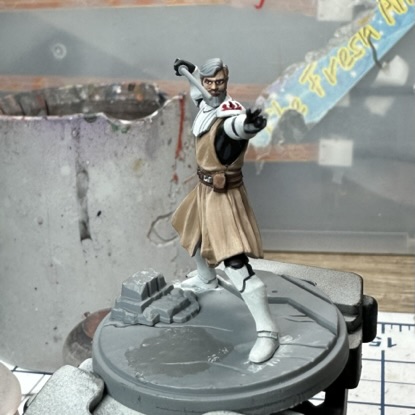
To finish the cloak I just highlighted Zandri Dust with Ushabiti Bone, lightly blending them together on a wet palette. The belt is Rhinox Hide, highlighted with Reaper Tanned Leather (another super useful paint with multiple uses).
Eyes are Corax White, with Paynes grey for the pupils.
For Obi-Wan’s face I used my standard Caucasian Flesh recipe. It uses three colors: Citadel Doombull Brown, Reaper Tanned Flesh, and Citadel Flayed One Flesh. This is a multistep process that doesn’t take as long as it sounds, and results in nice smooth skin if you take your time.
- Basecoat Doombull Brown.
- Mix in 1 part Tanned Flesh to three parts Doombull Brown, and paint over the basecoat, covering basically 99% of it.
- Mix in a 1:1 ratio of the two paints and repeat, again covering 90%+ of what you just painted.
- Now move up to 3 parts Tanned Flesh to 1 part Doombull brown and, you guessed it, cover almost everything.
- Finally do straight Tanned Flesh, which almost becomes your basecoat.
- Repeat the above ratios as you work into Flayed One Flesh, however in this case you are not completely covering each layer. You’ll now want to focus on raised areas like cheeks, chin, forehead, and nose, getting brighter on higher points. Your final highlights will be straight Flayed One Flesh.
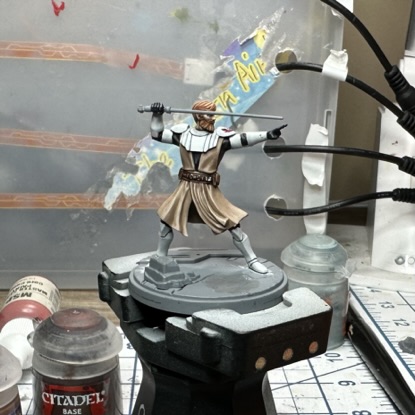
For the hair, I once again started with Doombull Brown and this time highlighted with Reaper Tarnished Copper, then again with Tarnished Copper mixed with a bit of Wild Rider Red.
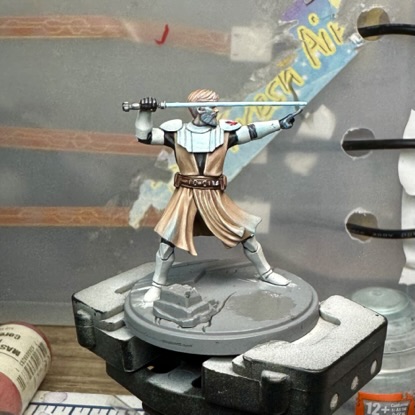
For the OSL glow, I picked up my Artis Opus Drybrushes. If you haven’t checked out our formal review, it’s worth a look as it also gets into the Artis Opus drybrush technique that is critical here. Basically you use a slightly moist drybrush which gives you a much smoother application than a traditional drybrush.
One of the keys of good OSL is that the area under the glow needs to be brighter than the surrounding areas. To capture this I first drybrushed the same Transparent White I used on the armor onto his face, chest, and the edgers of his robe. All of my strokes were horizontal, parallel to the saber, and I concentrated the brush on the areas closest to the saber. Using transparent white helped prevent blowing out the underlying paint I’d already done and worked like a white glaze.
To capture the blue glow I used Golden High Flow Fluorescent Blue and applied it identically as above, with the drybrush. Take particular care here as you want to keep the lit areas brighter and this paint will eventually darken too much. It’s fairly transparent, however, so as long as you’re careful and pull away from the mini to check it you should be fine.
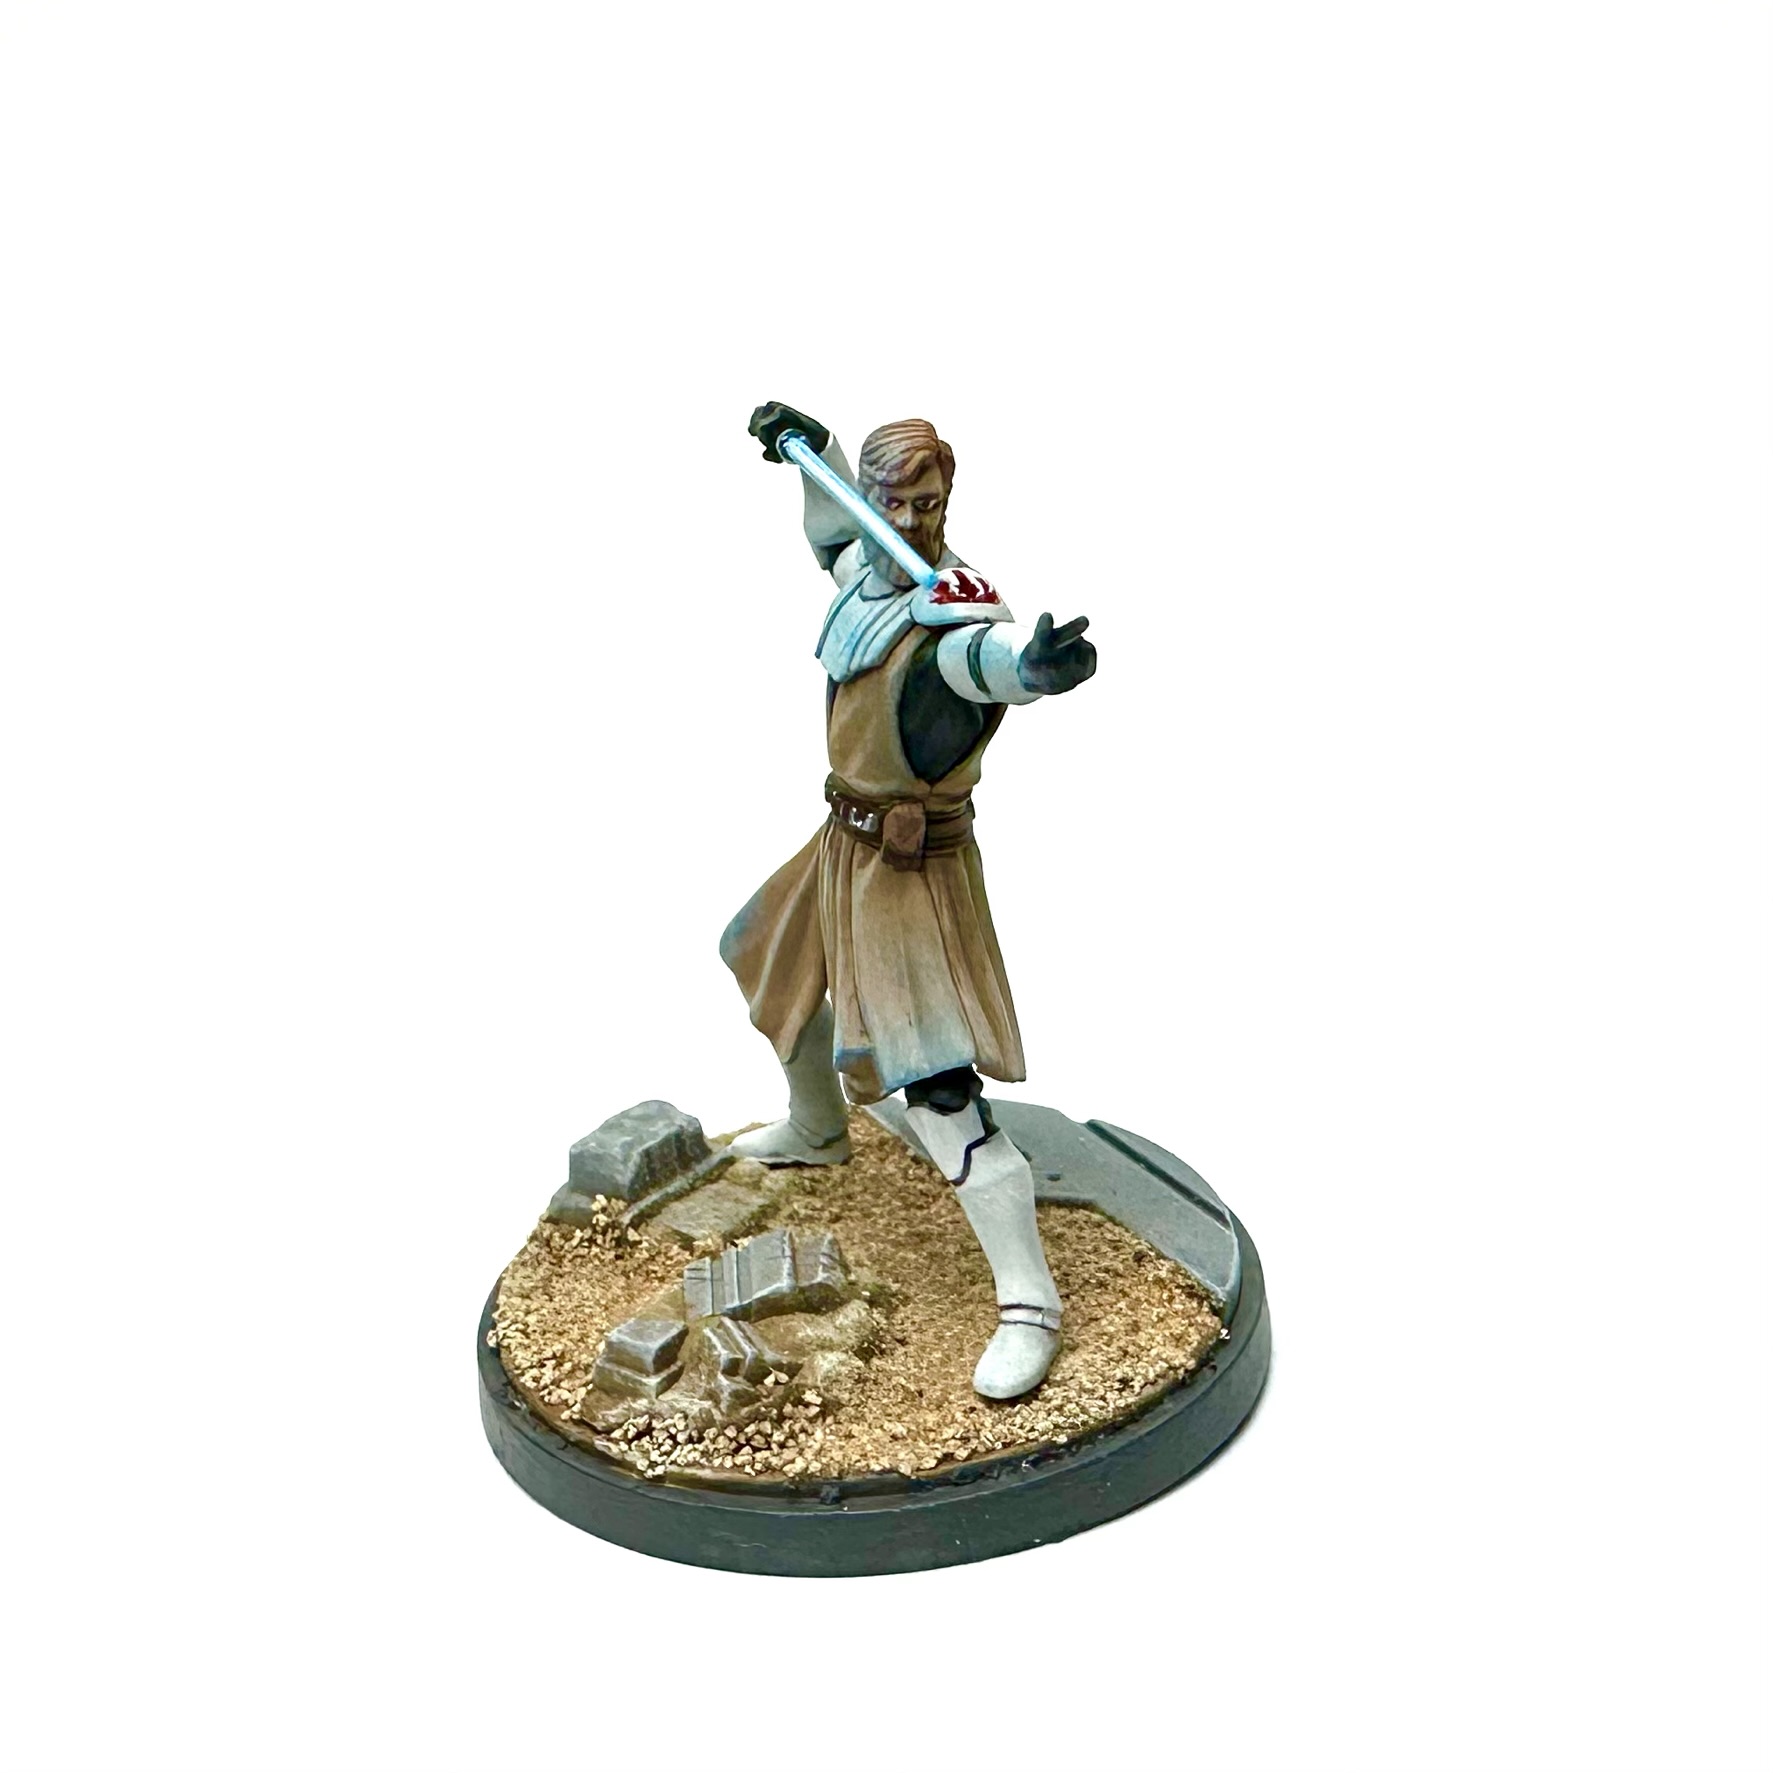
I’ll note that I think I went too far on the robes. I either needed to leave them alone, or add more blue to larger areas. Alas, such is the learning experience. If I was doing it again I’d only light his face, arm, and chest.
Painting lightsabers themselves is notoriously tricky, as they’re seen on screen as white rods with colored diffuse glow around them. That’s basically impossible to paint on a miniature. To capture this I decided to pick a fixed reference point, from that angle the lightsaber would be white and from all others it would be blue, darkest on the side opposite of the white highlight.
I painted the whole saber with fluorescent blue, and gave the side closest to his face a couple of extra layers. Then I oriented the model so that I was looking straight on at Obi-Wan’s chest, and gave the saber an edge highlight only on that side.
The base is a multistep process. First I painted the rocky area with XV-88 and glued Woodland Scenic Buff Gravel. Once dried, I washed it with Seraphin Sepia and followed with a drybrush of Ushabiti Bone. Then I applied glue carefully to areas with less than full coverage of the gravel and lightly sprinkled in a very fine red sand (mine is sand from the Wahabi Dunes in Oman, given to me by my mom after a vacation. You’re on your own to source some!). Finally I applied more glue and applied the powder that comes with the Woodland Scenic product; I recommend watching their tutorial videos.
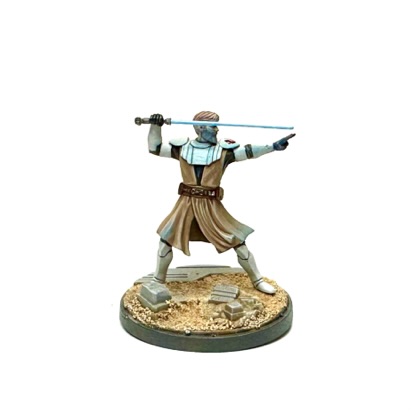
For more information on Shatterpoint, check out the Atomic Mass Homepage!


You must be logged in to post a comment.