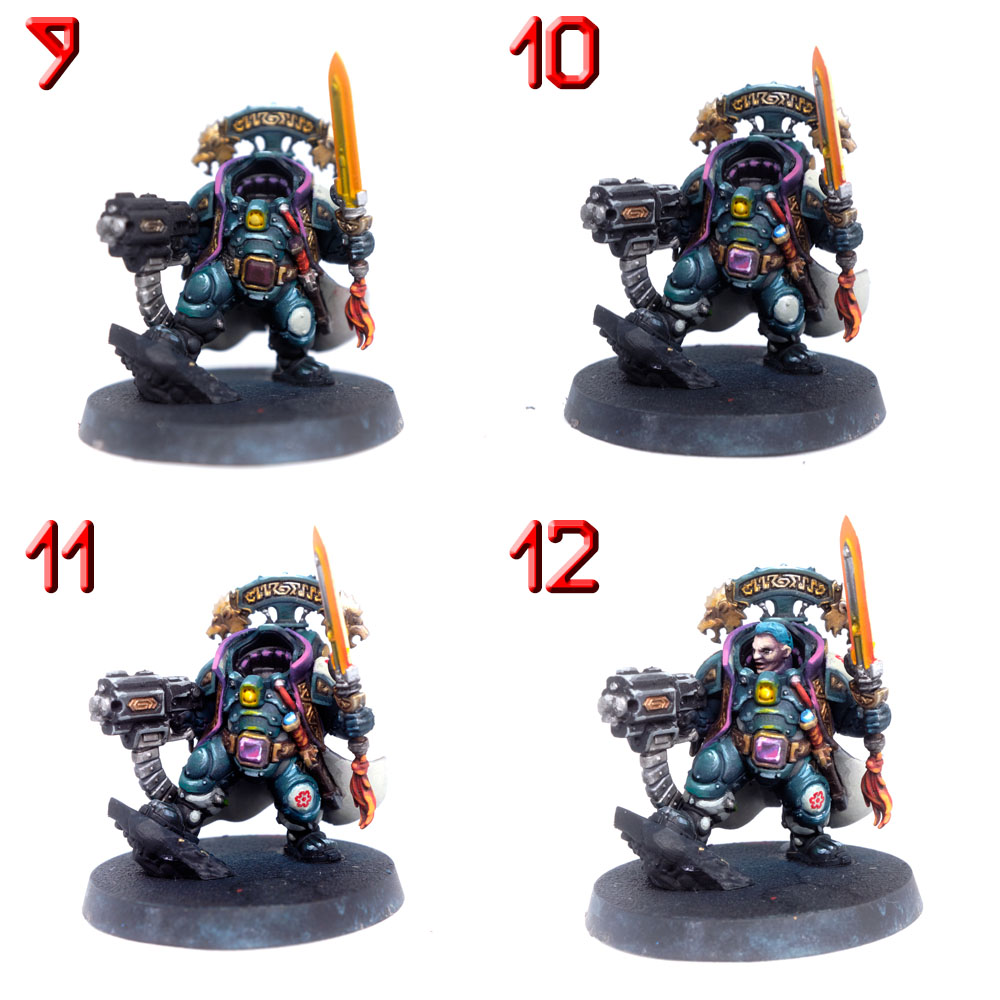
The Greater Thurian League are the biggest of the Leagues of Votann, and the box-art boys (and girls) for the LoV faction. Here’s how I paint their various armour and clothing! I’ve used various paint brands for my scheme, but I’ve taken care to include their closest GW equivalents in parentheses wherever possible.
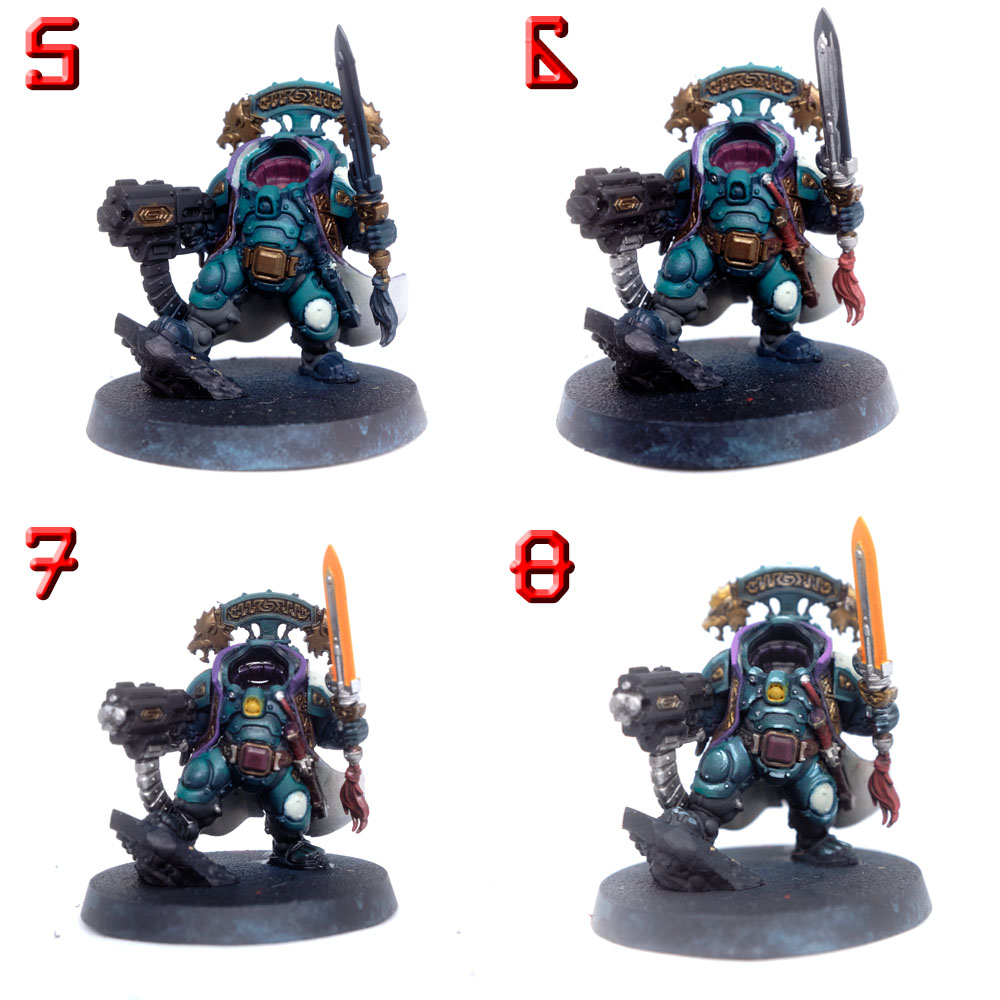
Personnel Armour
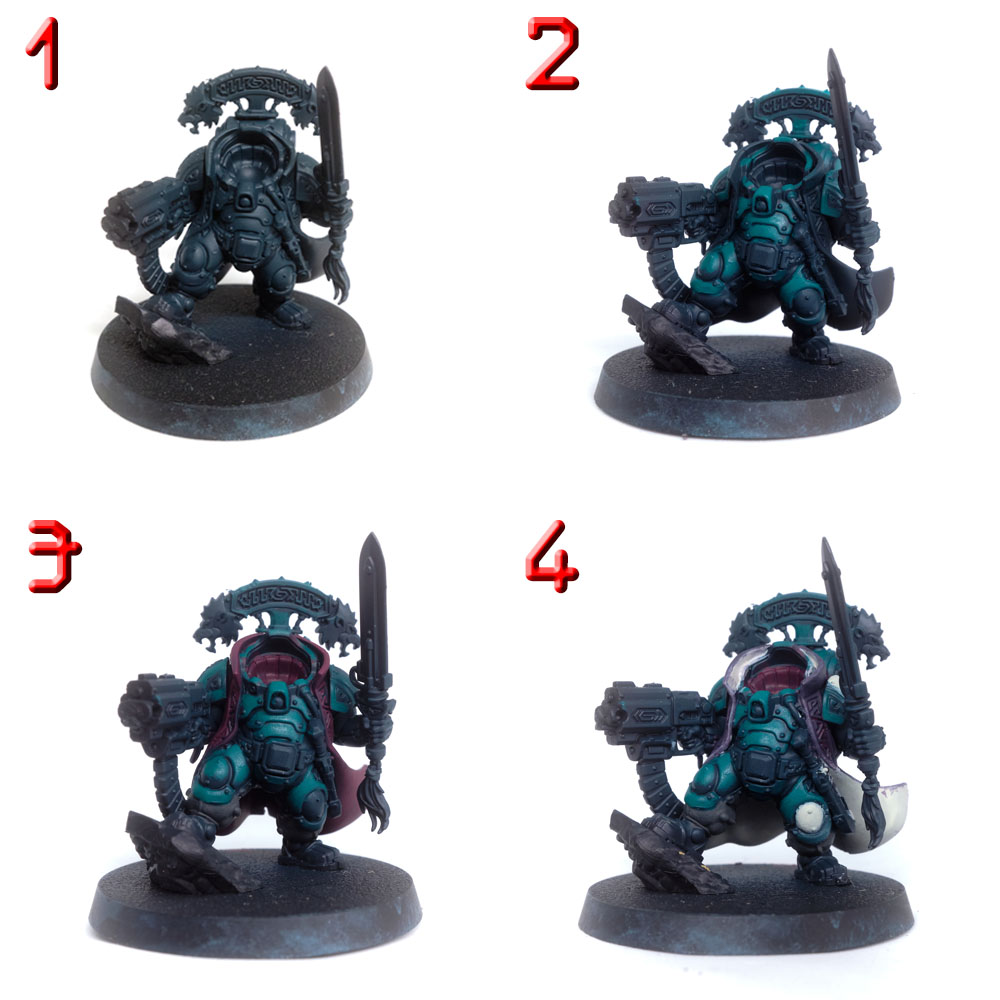
- Prime Black and undercoat everything with Incubi Darkness
- Layer everything with either ProAcryl Jade or PA Jade mixed 1:1 with Sons of Horus Green, depending on how saturated you want your final result to be.
- Paint the padding inside the armour with Screamer Pink and the soft parts of the trousers with PA Dark Warm Grey (Eshin Grey).
- Paint the coat with a mix of 3:1 PA Purple and PA Coal Black (Naggaroth Night), paint the lining, central stripe of the shoulder pad, and kneepad with PA Bright Warm Grey (Deepkin Flesh)

- Basecoat weapon casing with ProAcryl Coal Black (Corvus Black), gold metallics with Scalecolor Decayed Metal (Warplock Bronze)
- Basecoat silver metallics with Vallejo Metal Colour Aluminium (Ironbreaker) and sword grip, tassle, and tube with ProAcryl Burned Red (Khorne Red)
- Basecoat sword blade with PA Orange (Troll Slayer Orange), the gem on the belt buckle with screamer pink, and the lamp on the chest with PA Golden Yellow (Yriel Yellow).
- Layer gold parts with Scalecolor Dwarf Gold (Retributor Armour). Edge highlight the teal armour with a 1:1 mix of Sons of Horus Green and Fenrisian Grey, mix in more Fenrisian Grey for the sharpest edges. Layer ProAcryl Purple on the coat (Genestealer Purple). Shade the chest lamp with a small amount of Casandora Yellow.

- Layer the red tassle, sword grip, and tube with ProAcryl Bold Pyrrole Red (Evil Sunz Scarlet) with a final highlight of Fire Dragon Bright. Glaze highlights onto the coat with ProAcryl Magenta.
- Edge highlight black bolter casing with Warm Dark Grey, progressively smaller highlights with more white mixed in towards corners. Layer the trousers with Dark Warm Grey mixed with some Titanium White. Follow the normal method for painting gems with PA Magenta, Purple, and White to paint the large gem on the belt buckle, and with PA Blue and Sky Blue for the pommel of the sword. Glaze yellow towards the centre of the plasma sword blade and red towards the edge, final edge highlight with Vallejo Model Color Ice Yellow.
- Final highlight of the gold with some Vallejo Model Air Silver. Decals applied to relevant areas with a little Vallejo Decal Softener to make them look painted on.
- Head.
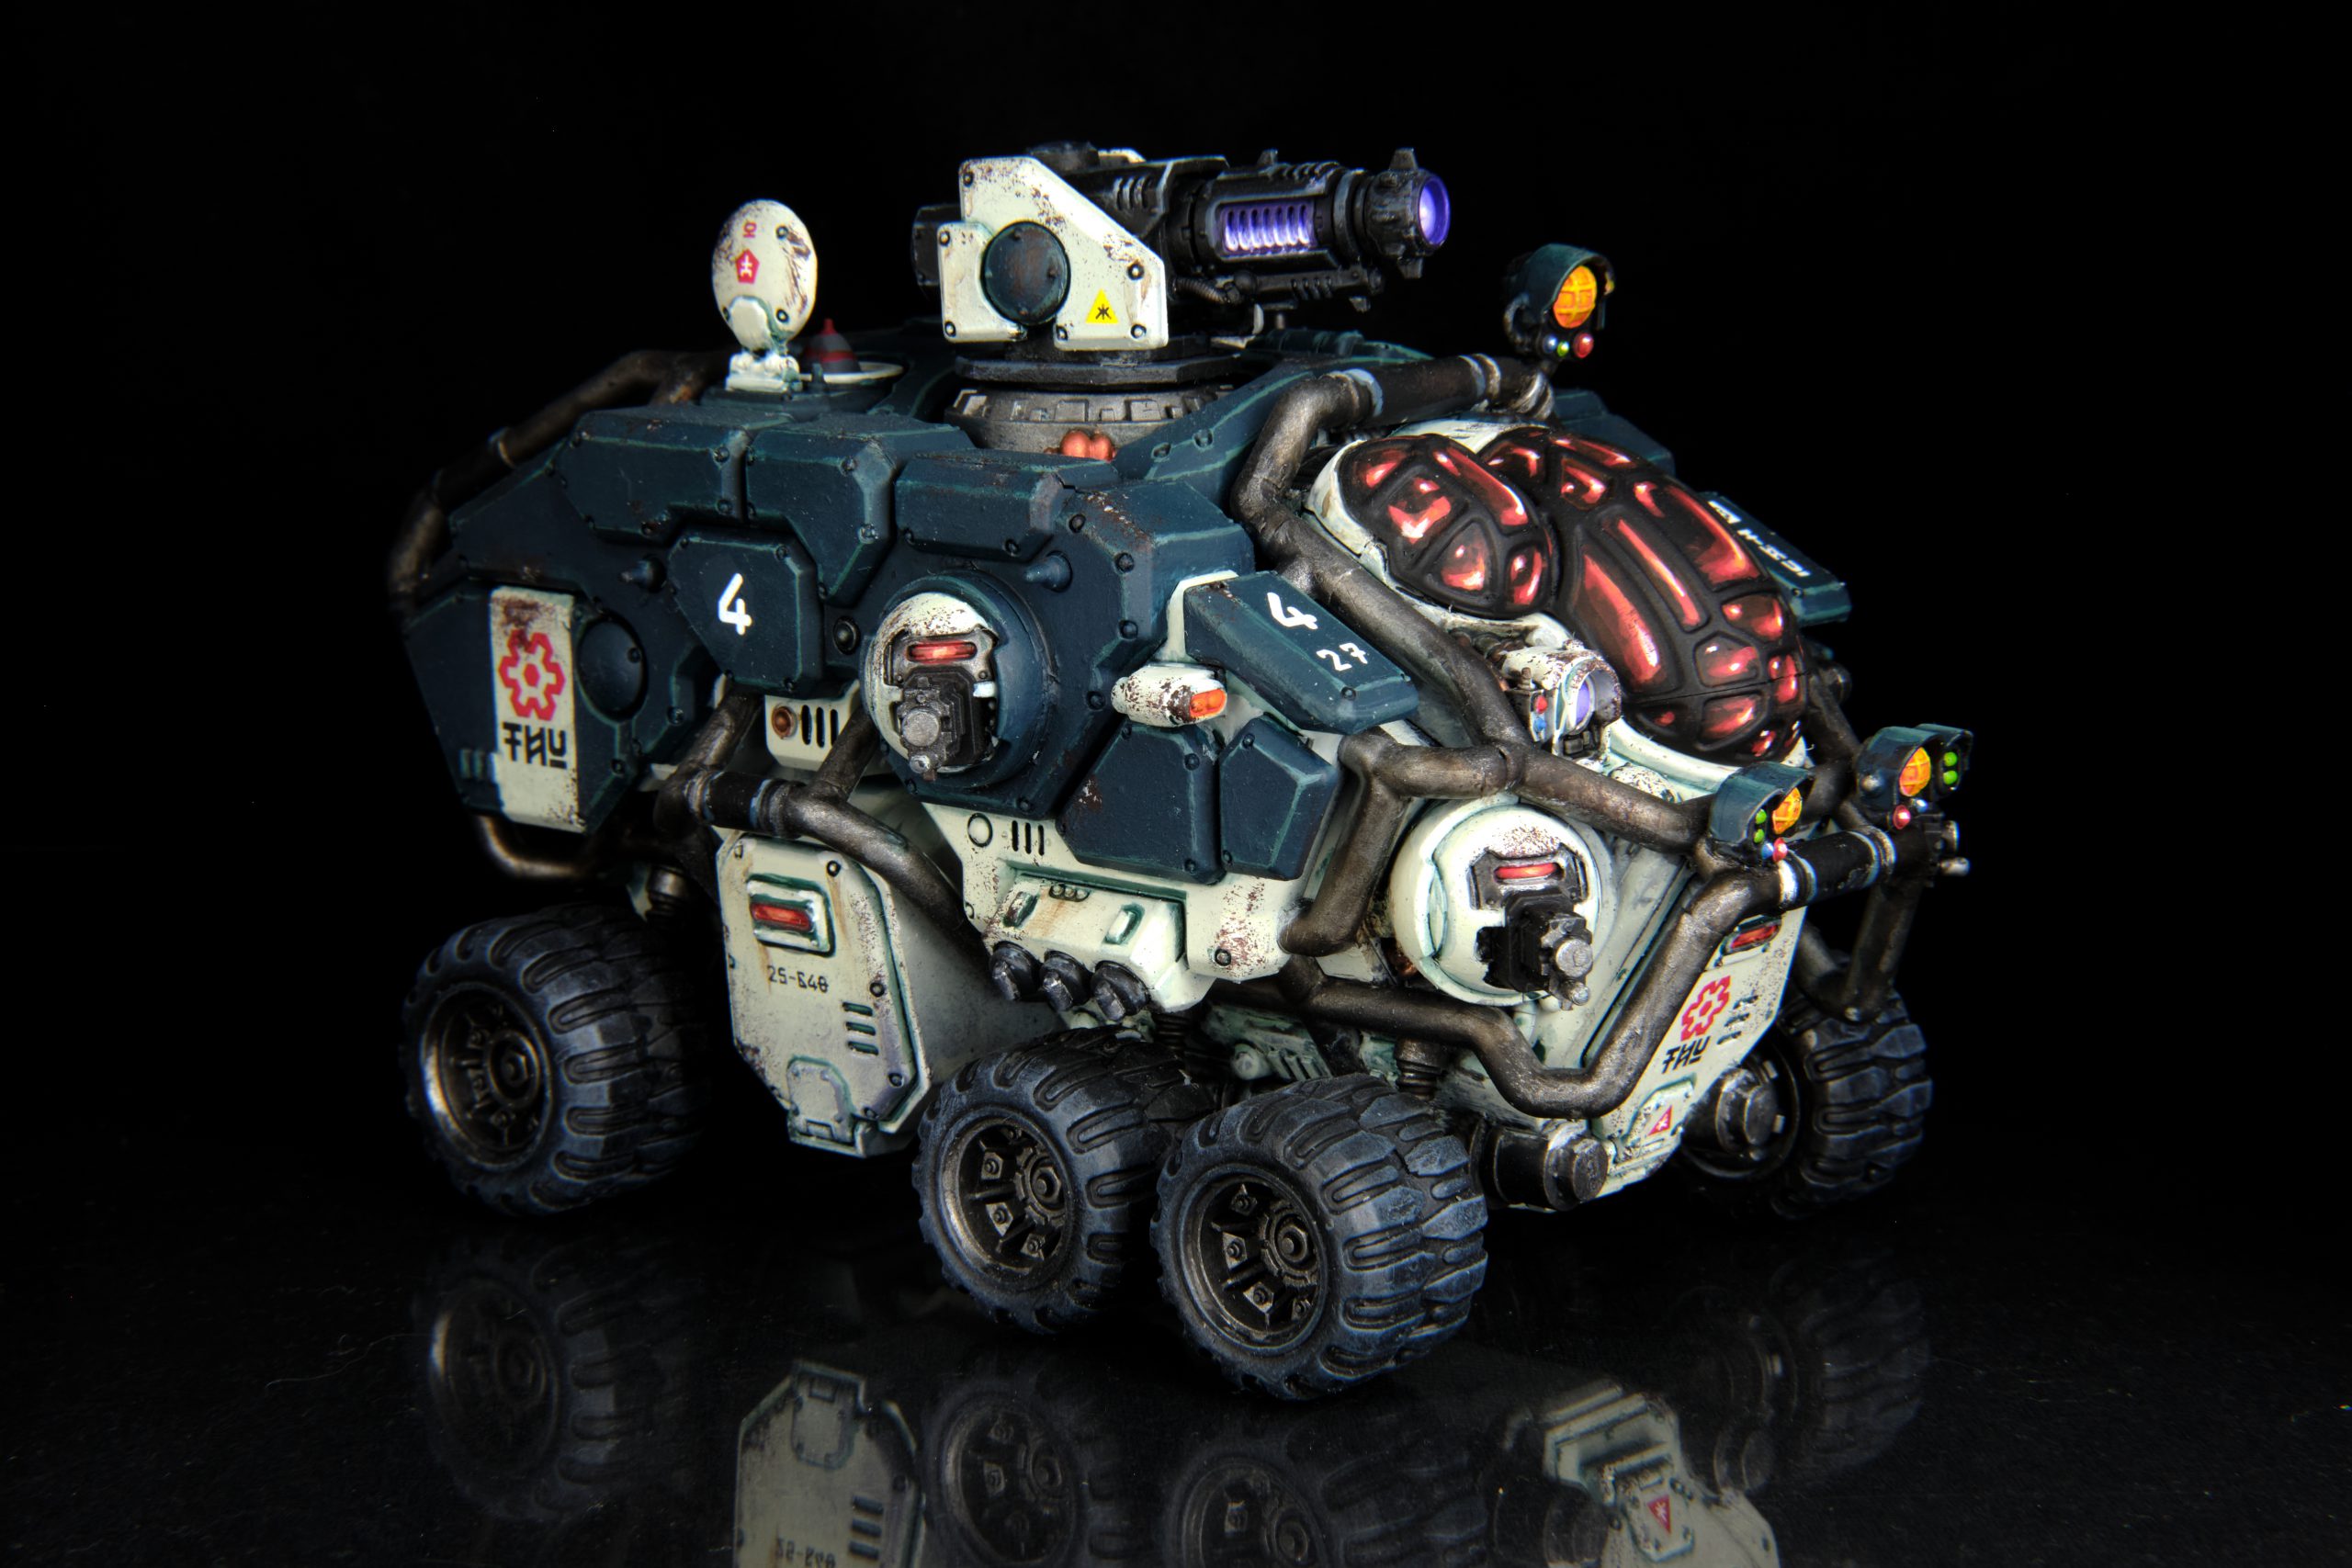
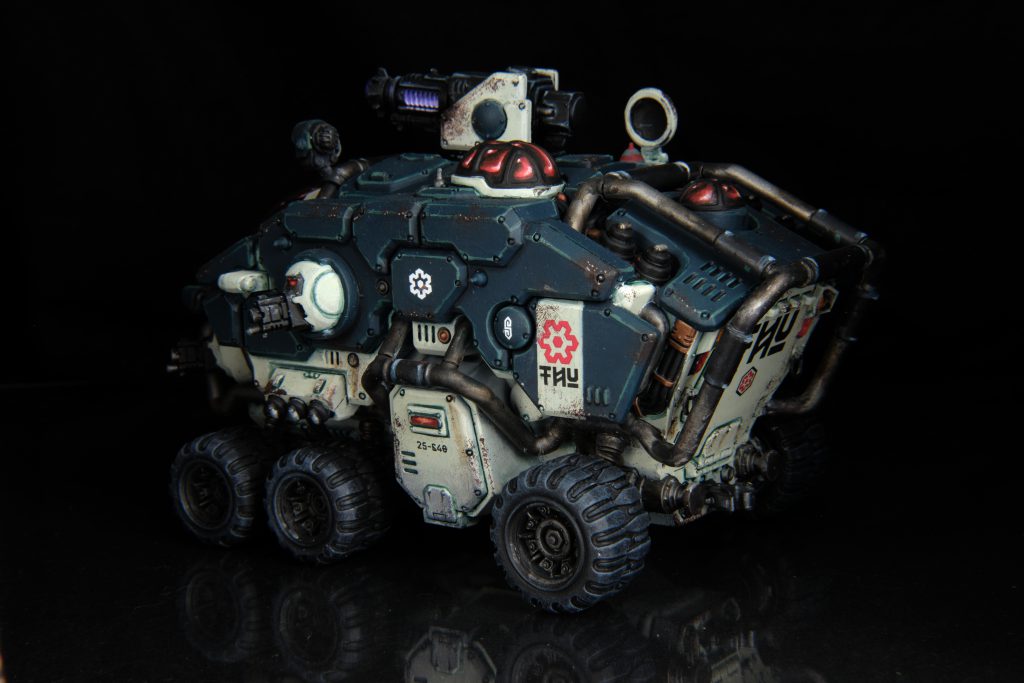
Vehicle Armour
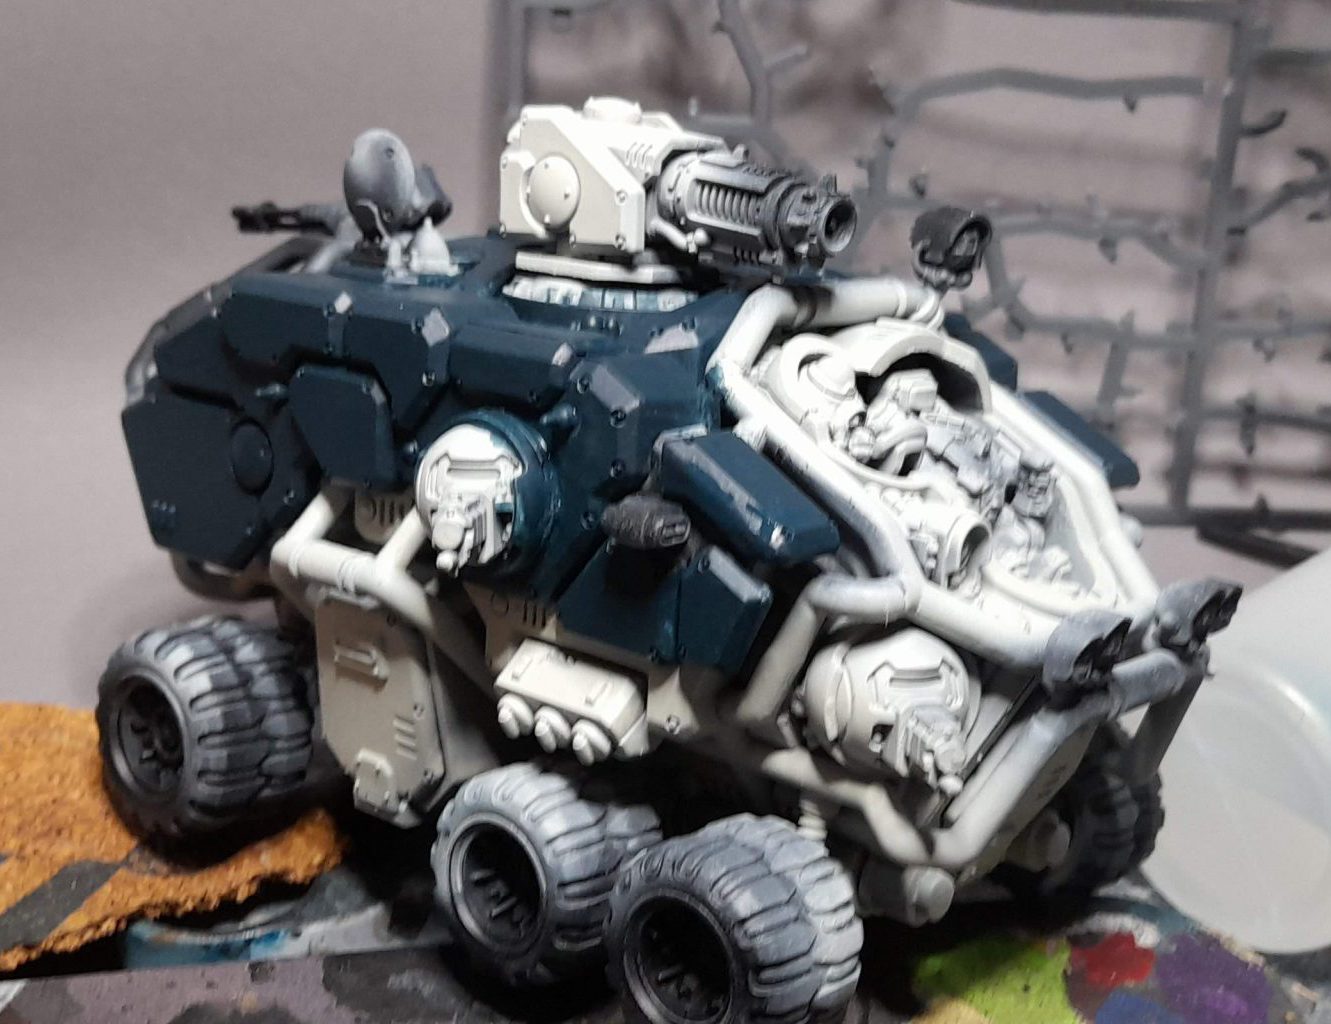
- Prime grey, then airbrush all the off-white parts with GW Deepkin Flesh.
- Paint all the dark green panels with Incubi Darkness, at least 3 thin coats to cover over the Deepkin Flesh.
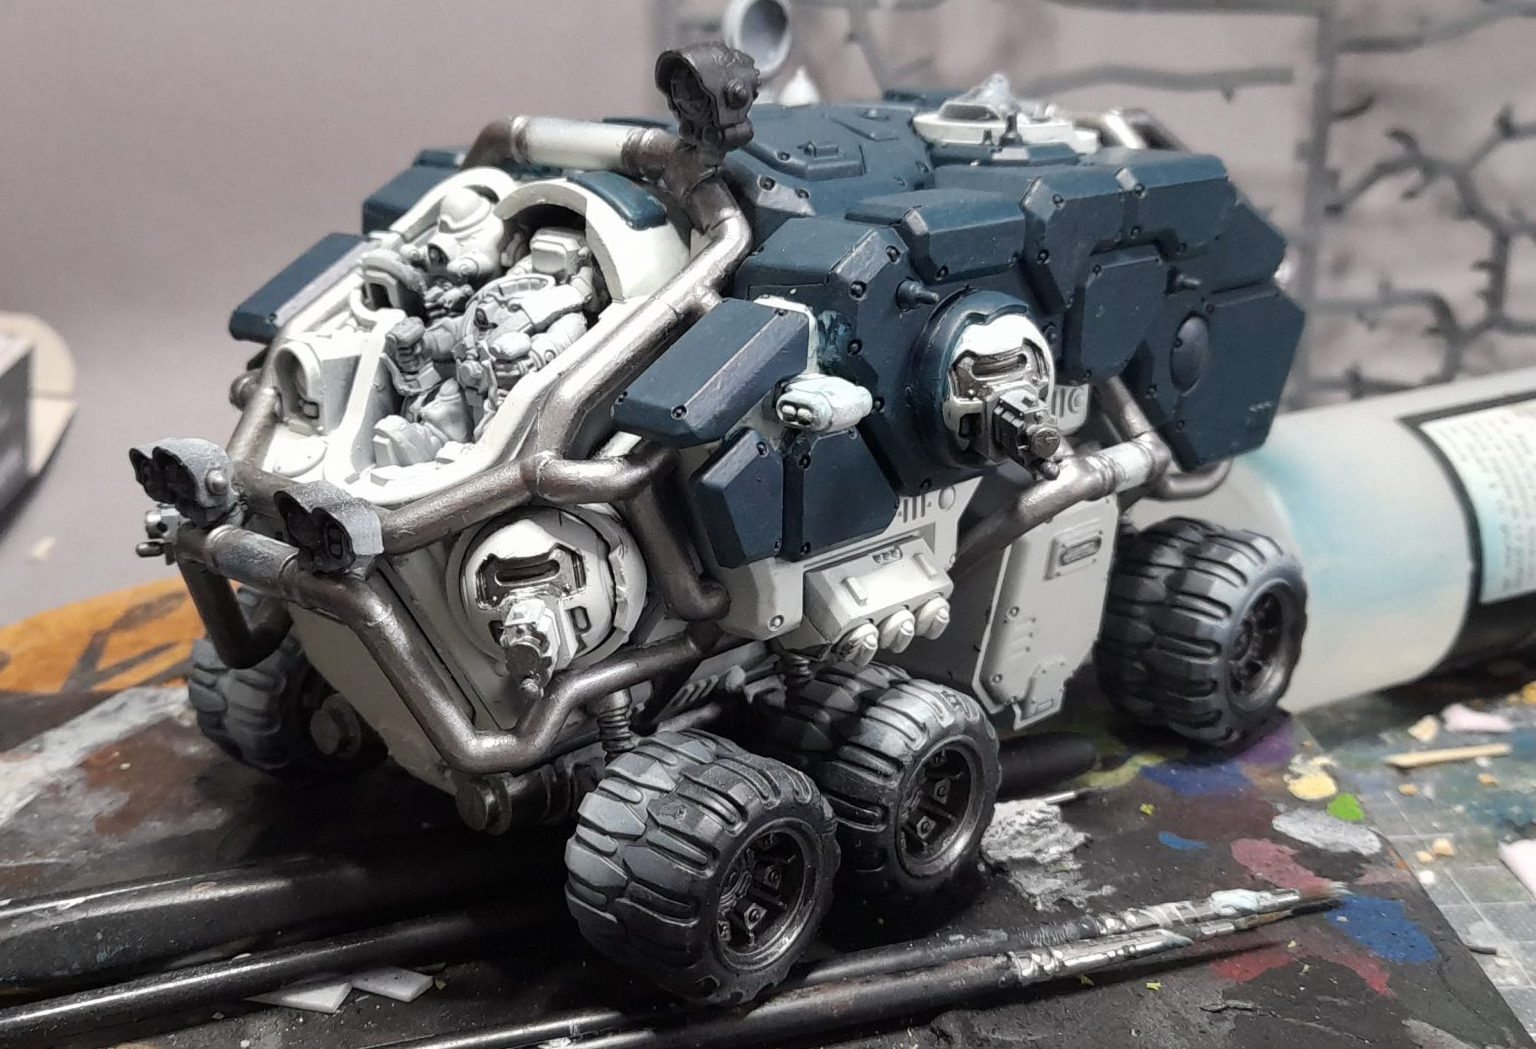
- Basecoat all the rollbars and other metal parts with Iron Hands Steel, thin layers to cover smoothly over the Deepkin Flesh
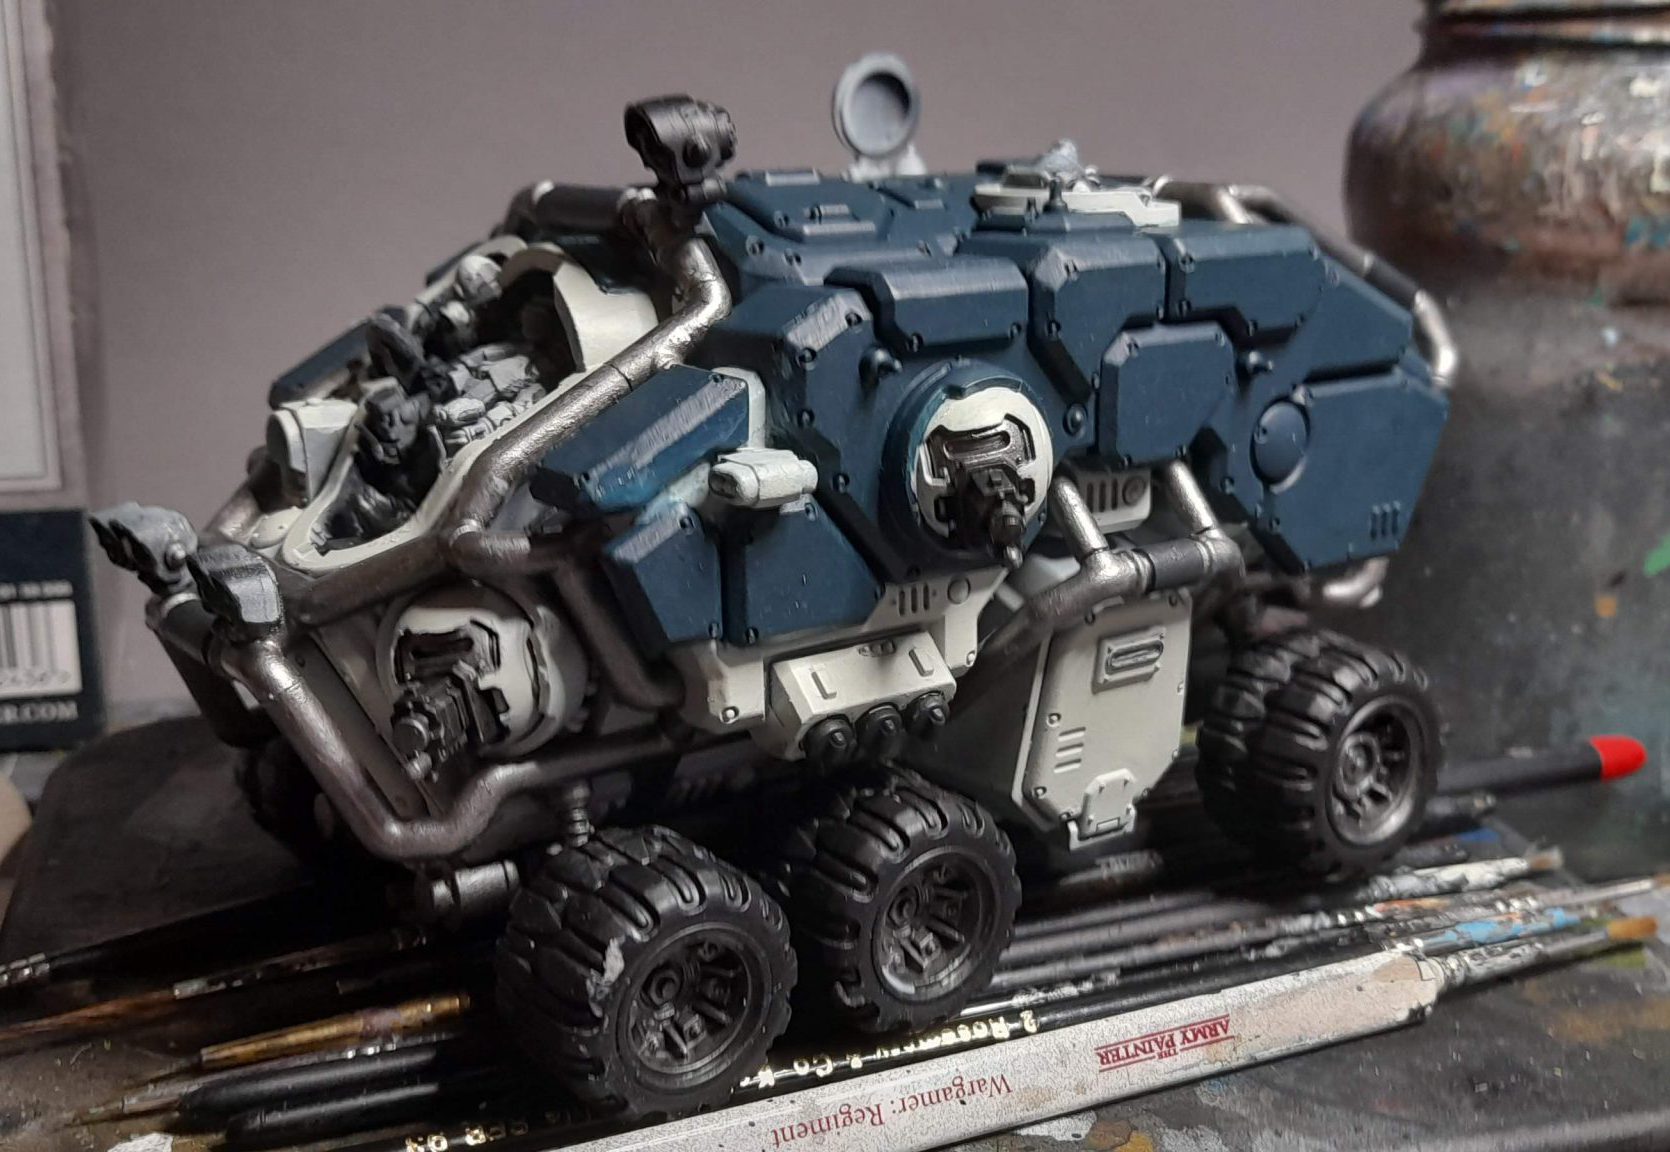
- Basecoat tyres and other black elements with Corvus Black.
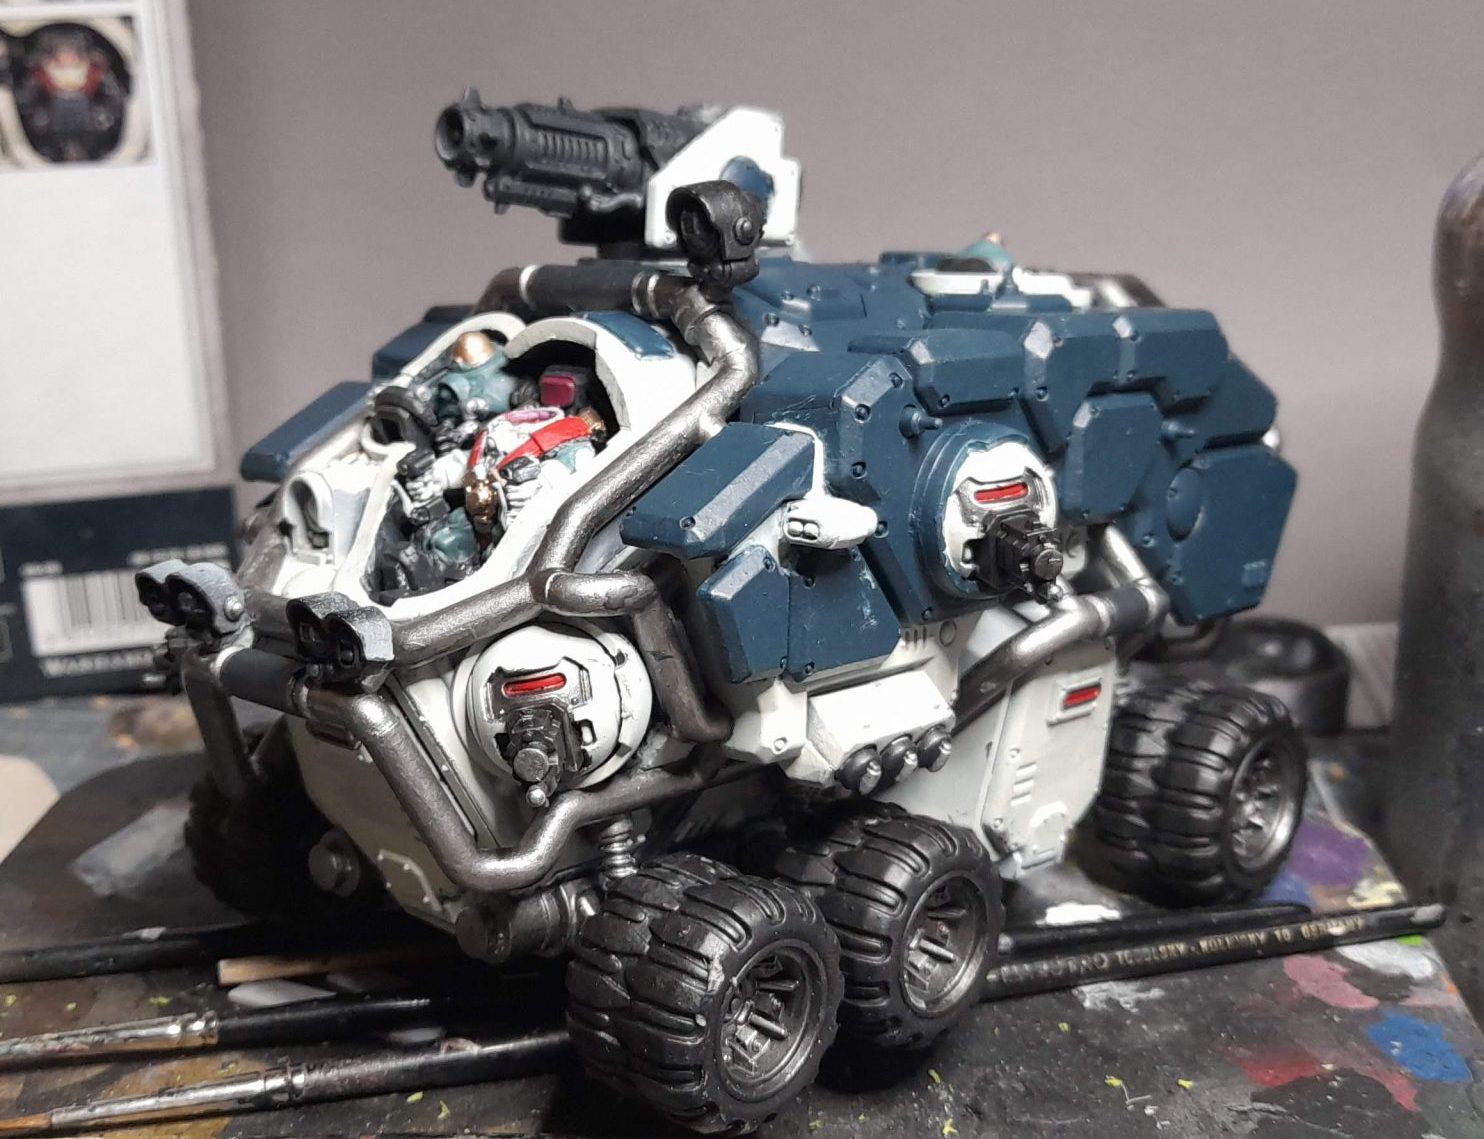
- Paint various red lenses and window panels with Mephiston Red. At this point I intended to paint the pilot but ultimately scrapped that for opaque windows.
- Paint the wheel hubs with Iron Hands Steel.
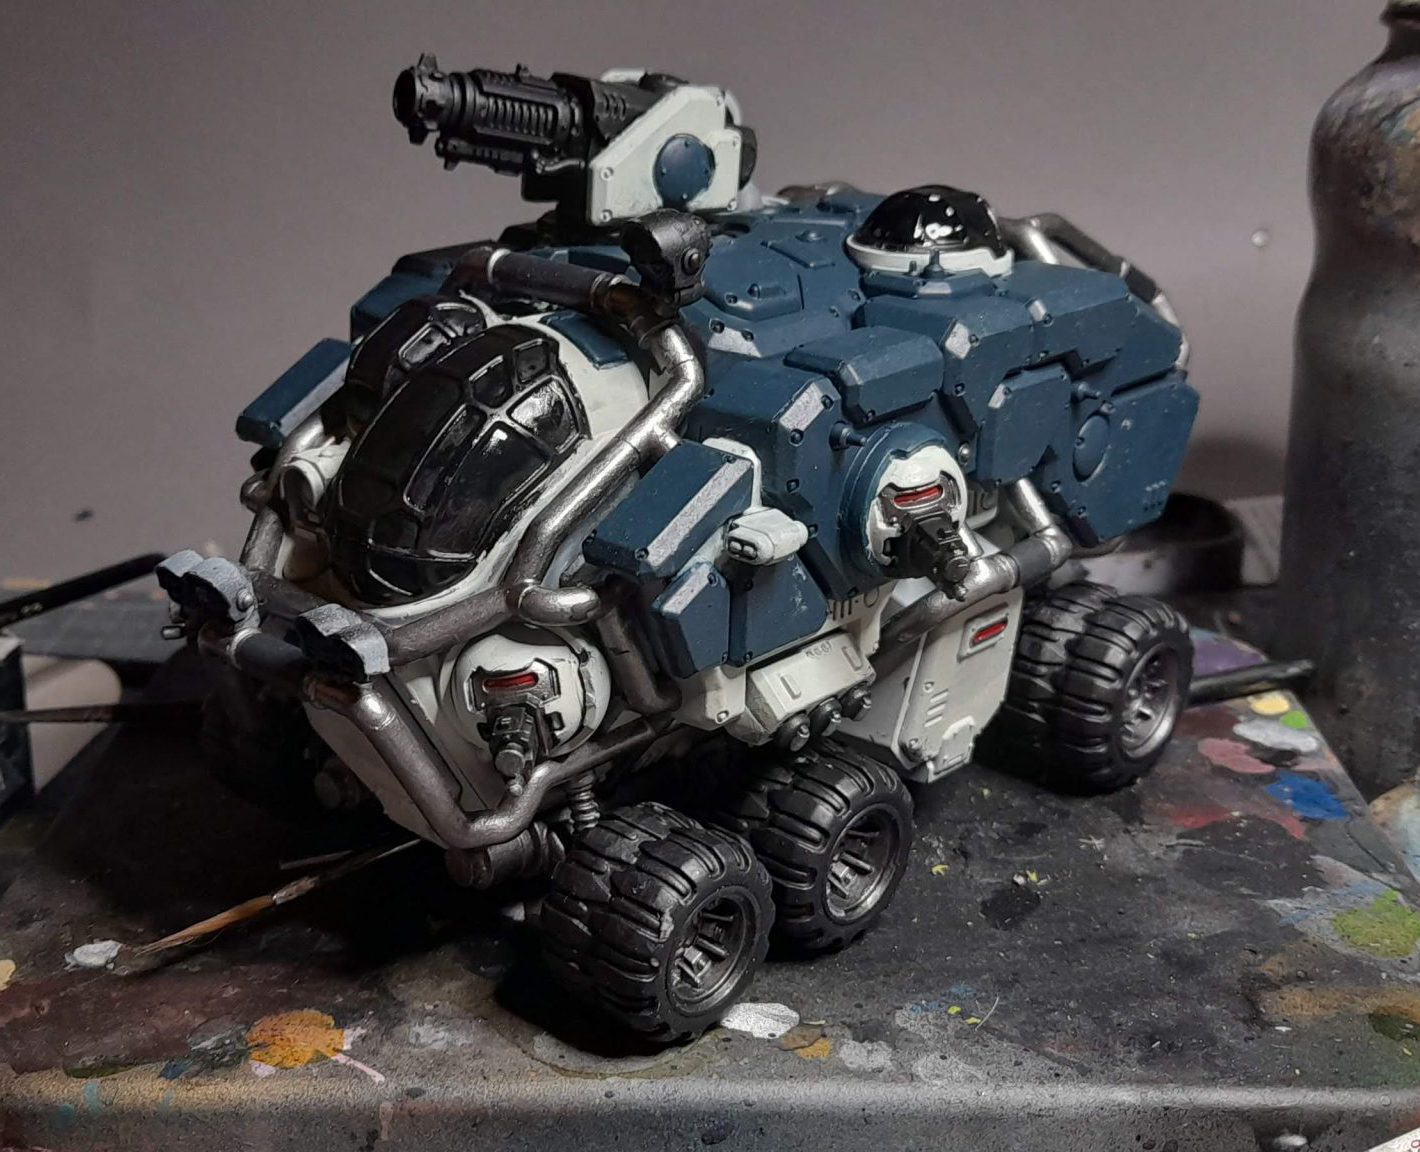
- Optionally: Prime the various canopies in black
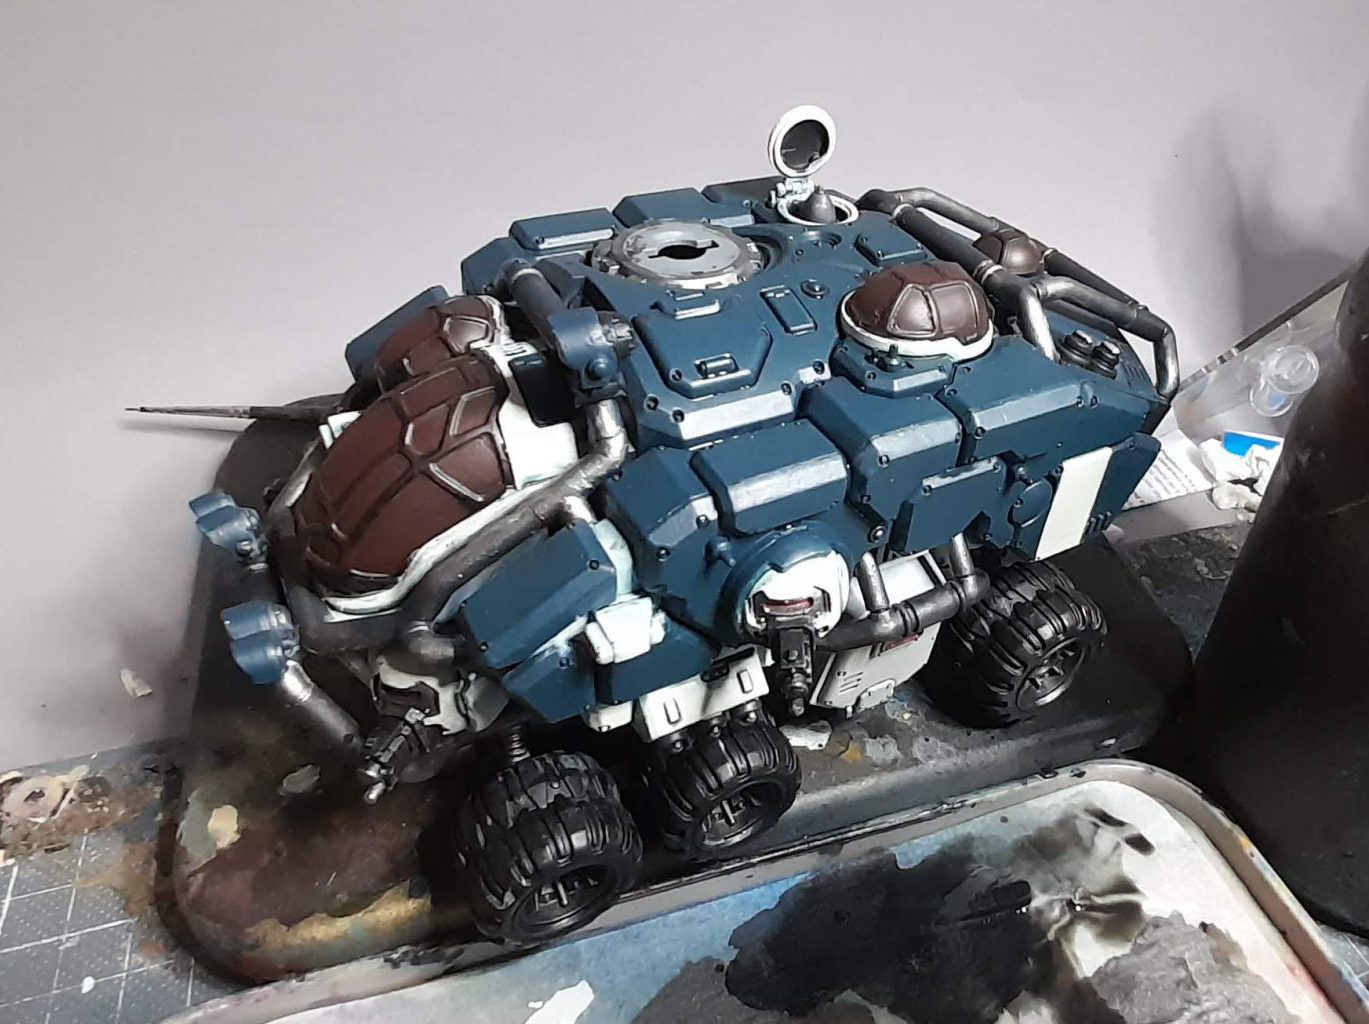
- Paint the covers of the large lamps with Incubi Darkness
- Optional: Paint the windows with Rhinox Hide
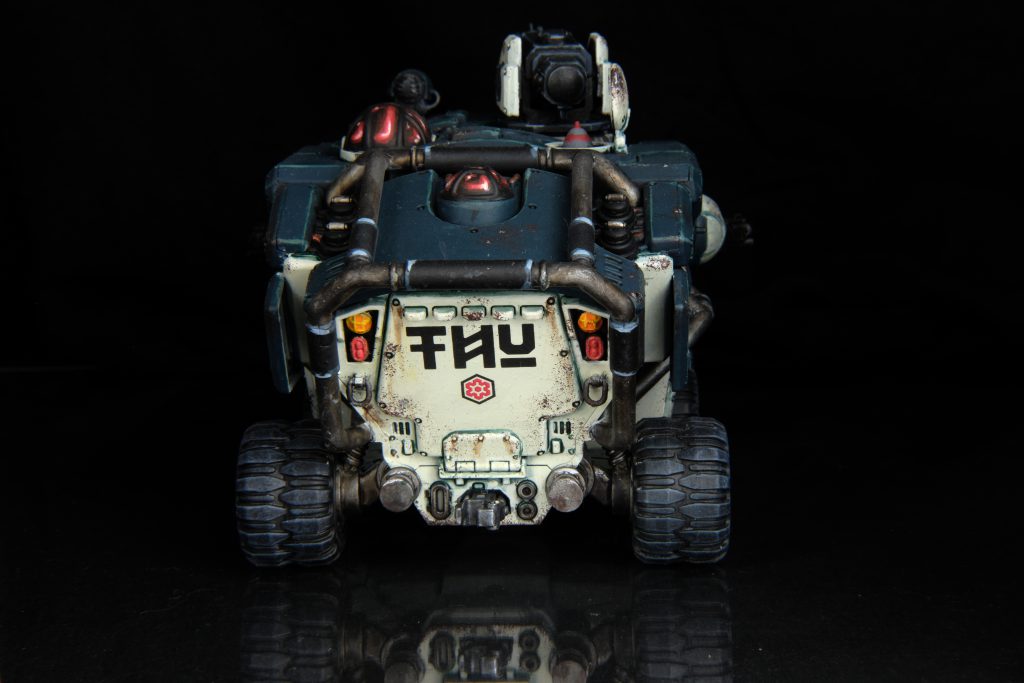
- Using masking tape, paint the stripe on the rear panel with Deepkin Flesh. Make sure the stripe you create is wide enough to fit the largest of the decals.
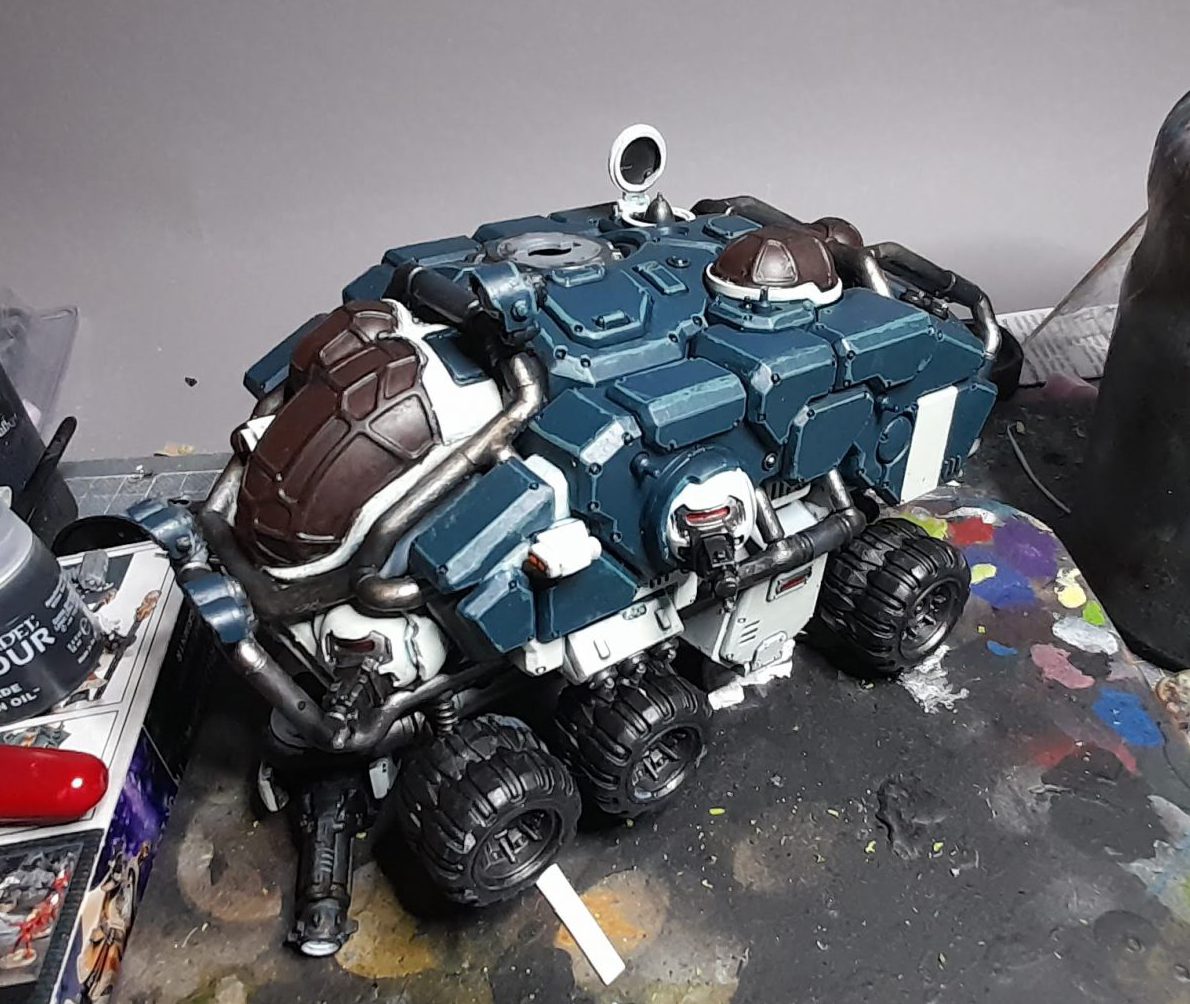
- Edge Highlights the green panels with Sons of Horus Green. Don’t worry about being too precise here, we can neaten up the panels with Incubi Darkness later.
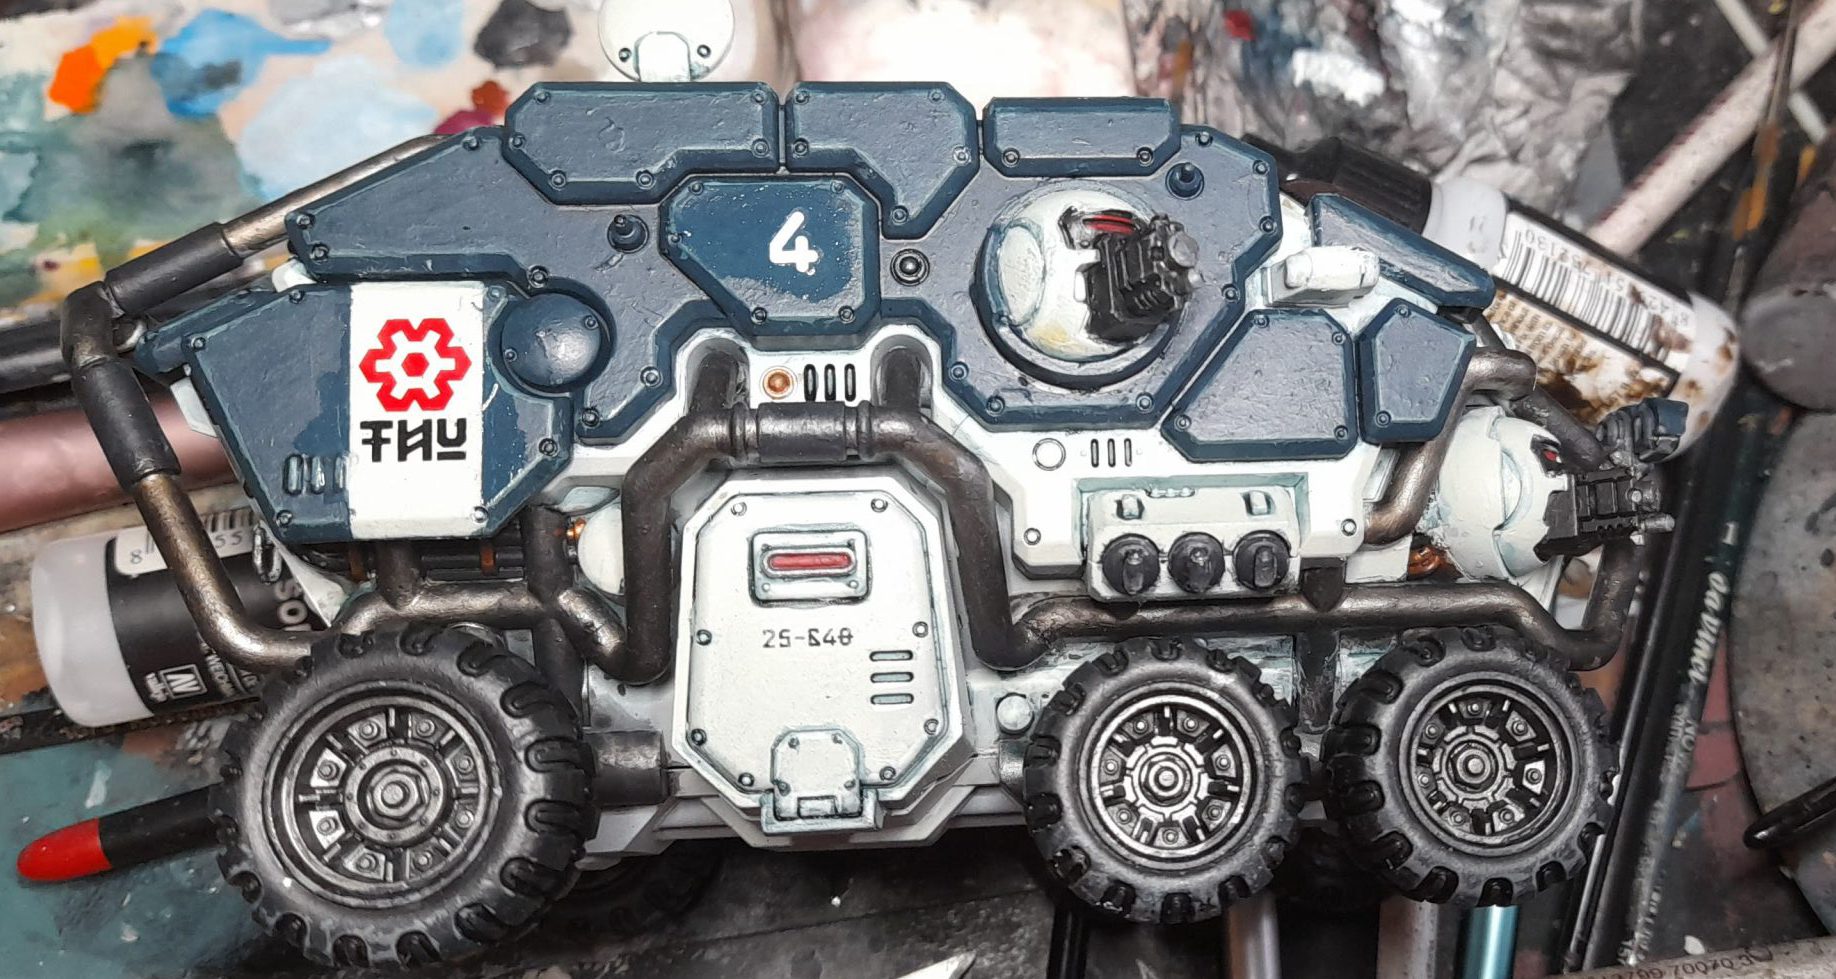
- Shade the Deepkin Flesh with Coelia Greenshade, pick out the rivets on the Incubi Darkness with Nuln Oil.
- Apply various decals where you want them. I’ve not really neatened up the edges or shading just yet, I’ll do that later.
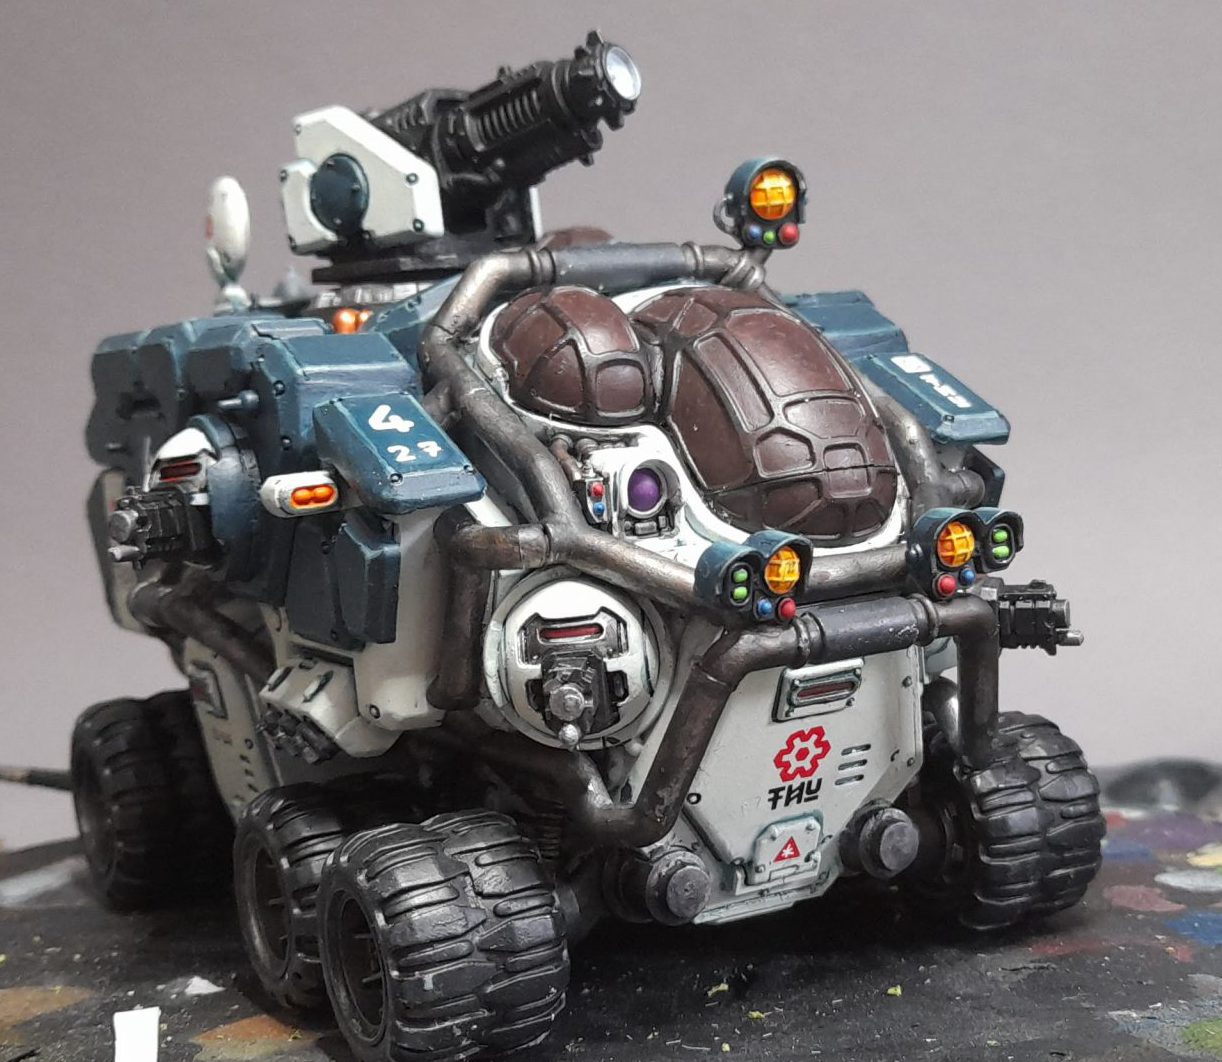
- Paint the lamps and spectral whatsits with different colours as you like. I painted the large headlamps and searchlight white and then shaded them with Casandora Yellow. The orange lamps on either side were painted with Scalecolor FX Fluor Orange, the green with Moot Green, the purple with Xereus Purple, and the red and blue with Caledor Sky and Mephiston Red.
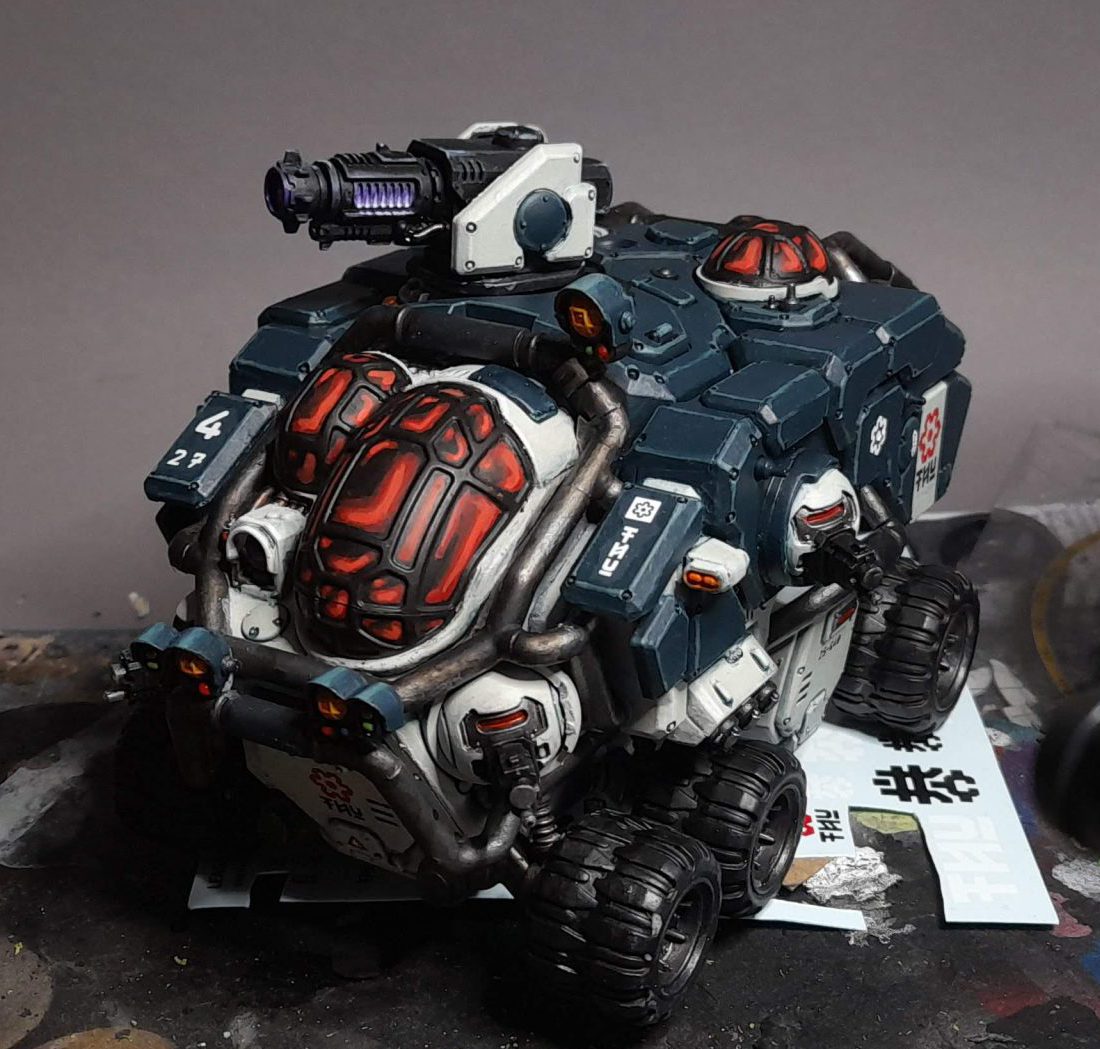
- Paint the vents on the Conversion Beamer barrel with Xereus Purple, then layer smaller and smaller sections of each vent with Xereus Purple mixed with pure white, adding more white with each layer to build up a glowing gradient.
- Paint the bottom right corner of each window pane with Mephiston Red, layer over this with Evil Sunz Scarlet and Wild Rider Red in smaller and smaller sections. At the same time, paint the opposite corner in the same way, but in a much smaller section.
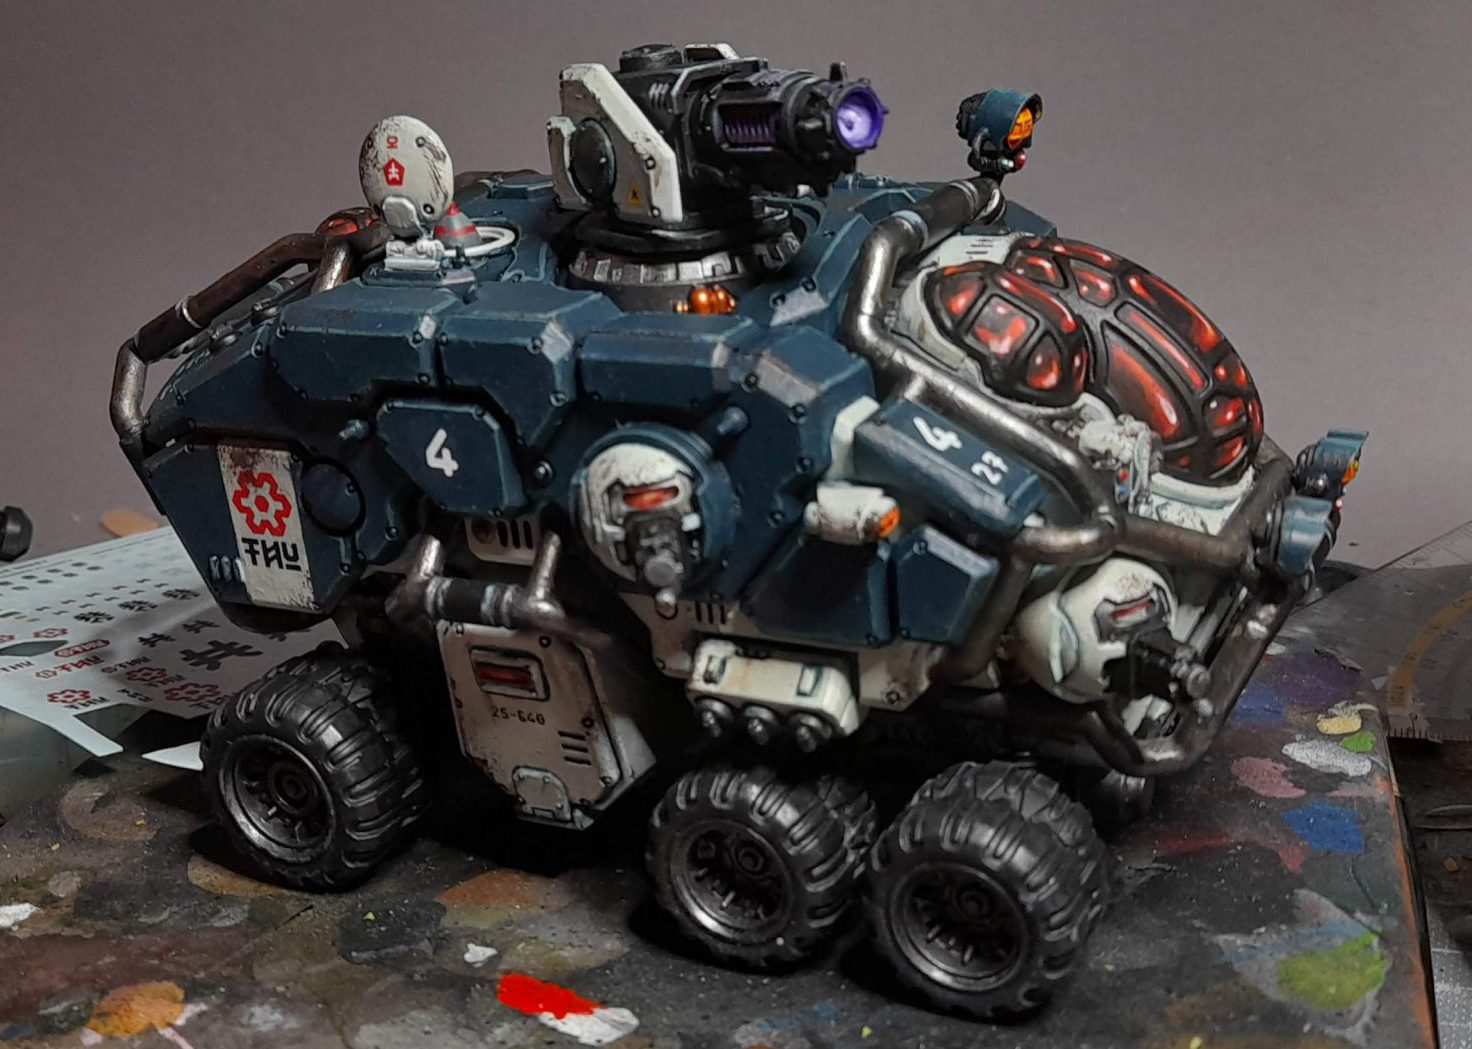
- Build these layers up through to Fire Dragon Bright mixed with a dash of white into each corner.
- With a sponge and some undiluted Rhinox Hide, add some chips and scuffs to the corners and sharpest edges of panels that you’d expect to receive damage. Make sure you add your decals before this step so you can chip them too, making them appear to be a proper part of the vehicle paintwork.
- Dab a little Typhus Corrosion in places you want to be somewhat dirty and then drag those dabs down with a fingertip to create some grimy streaks, particularly around rivets.
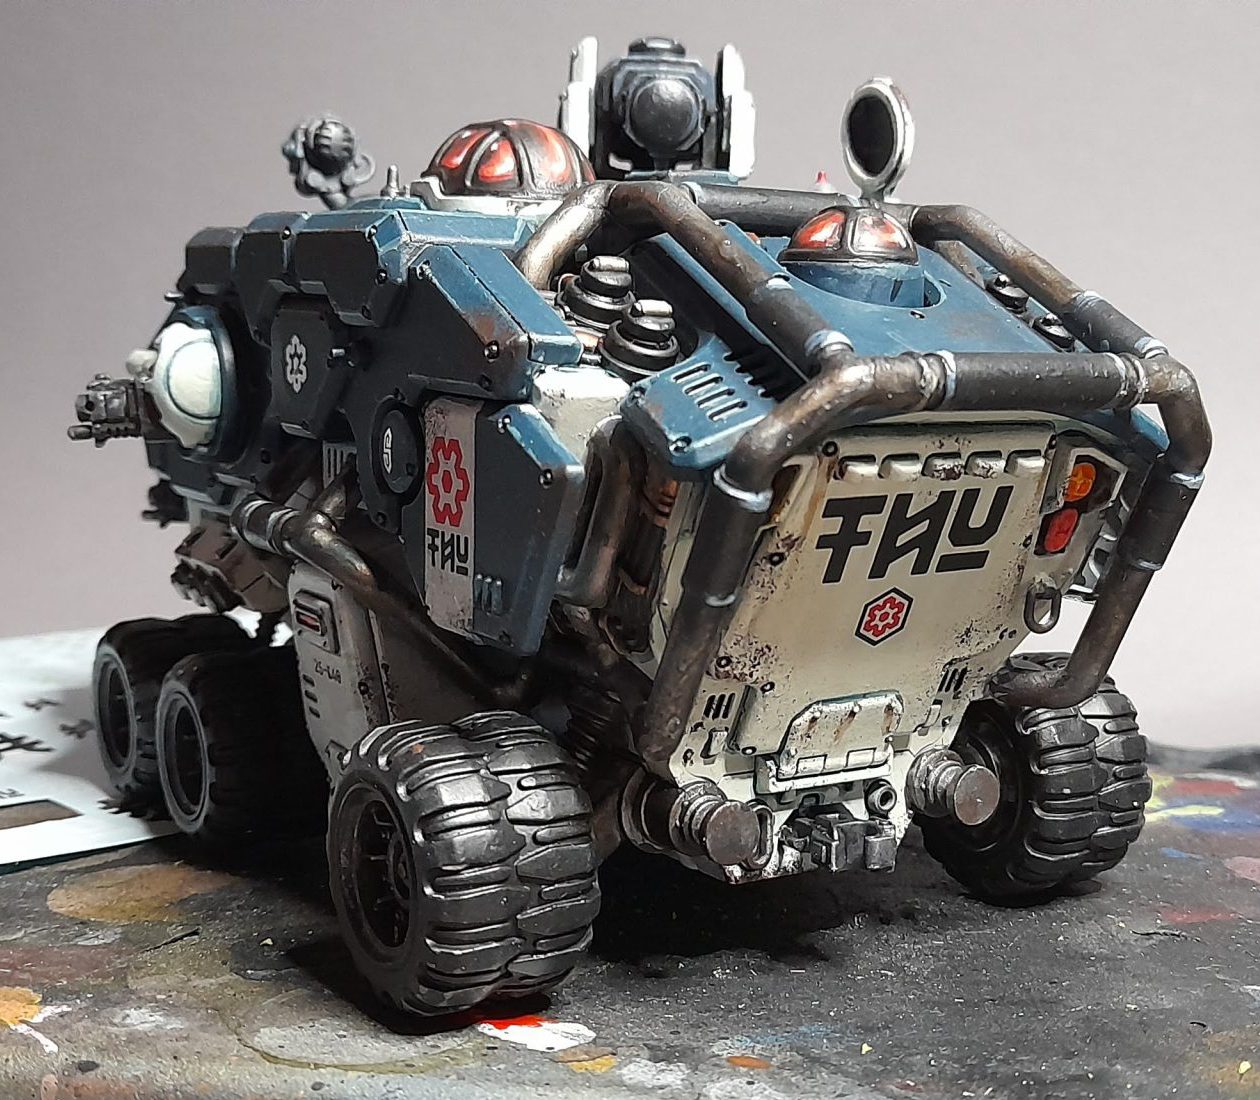
and now, without the cruelties of phone cameras:
