Howdy Scummers! This week we are back to talking trains! It’s about time we catch up on the progress of this underhive train system… and thoughts on some of the scenarios we’ve played with it.
Back in February I walked y’all through Part 1, where I went over the catalyst for making these train bridges, as well as the design and assembly of them. From there were the steps to finish them: first of which is the texture. I use Vallejo Oxide paste, which I recently found out is now out of production (you bet I went out a stocked up on it). I put this stuff where I want patches of rust and build-ups of crud.
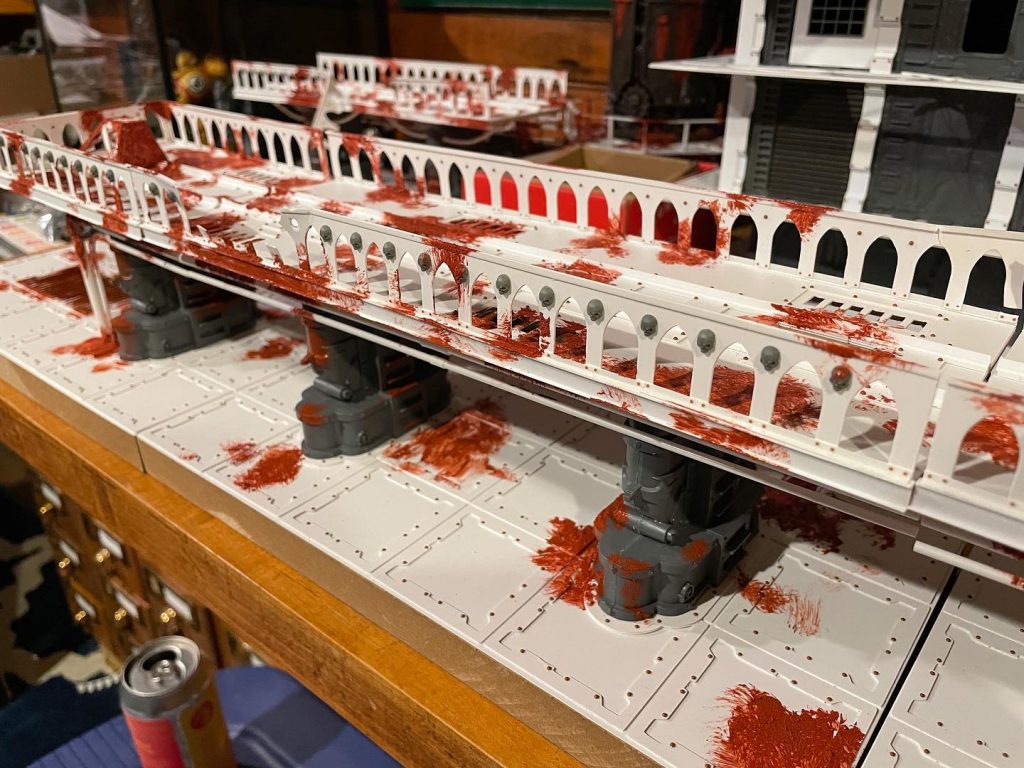
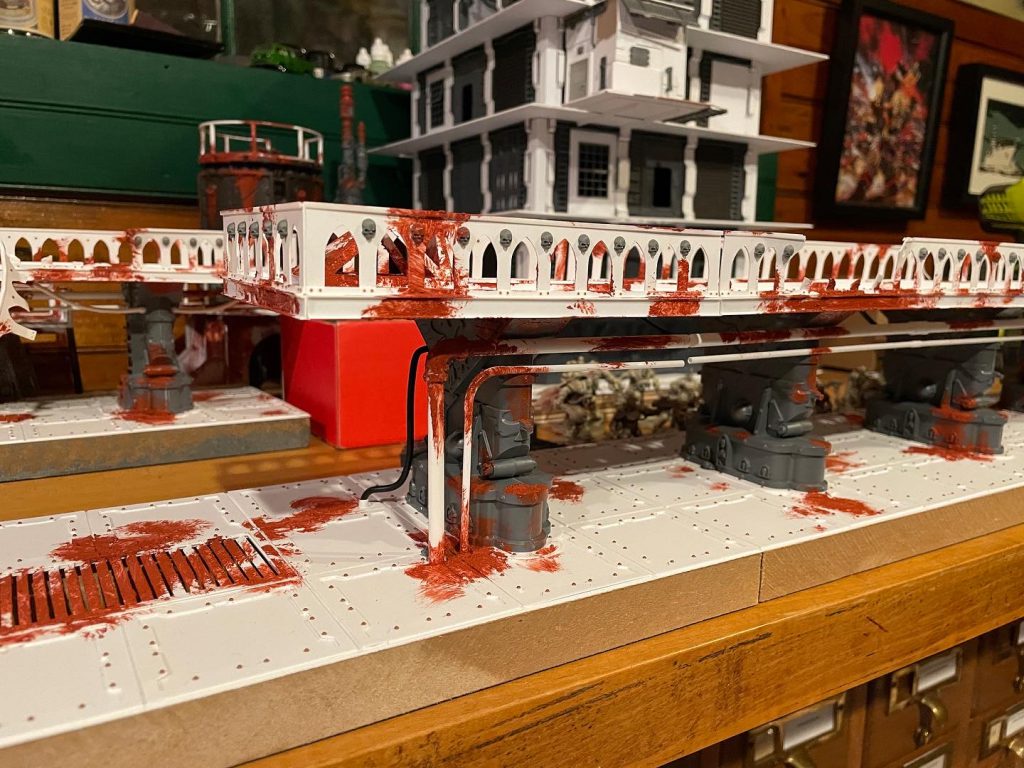
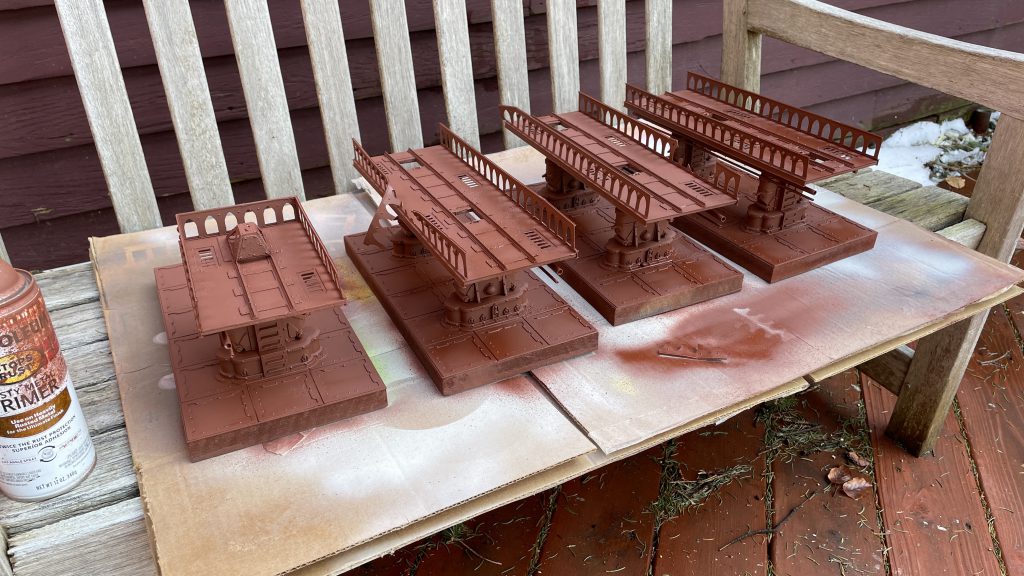
Once that’s on and dried, it’s time to prime and add color. I hose the entire thing with a solid coat of Rustoluem Ruddy Primer.
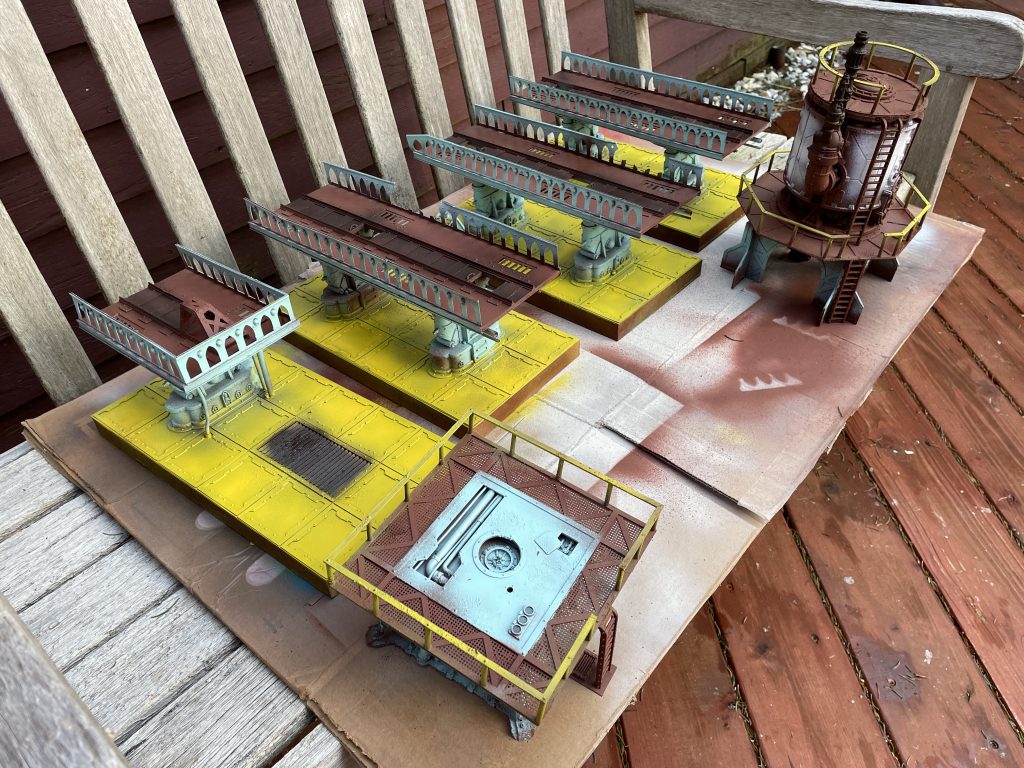
After that’s cured overnight I add my color. I use Army Painter sprays for this, using tape and ripped chunks of cardboard to mask and control where the color goes. I use the AP yellow spray for the floors and for these, Montana Gold Malachite Light for the train bridges. I add some Rustoleum Camo dark brown for darker areas of rust.
Once that’s cured, I go in with my usual recipe of oil paints. I went into detail on my method in the Sector Mechanicus painting article. This is the easiest part of my terrain and the most fun because of how completely it transforms the stuff. Seeing them side by side, before and after really shows the difference.
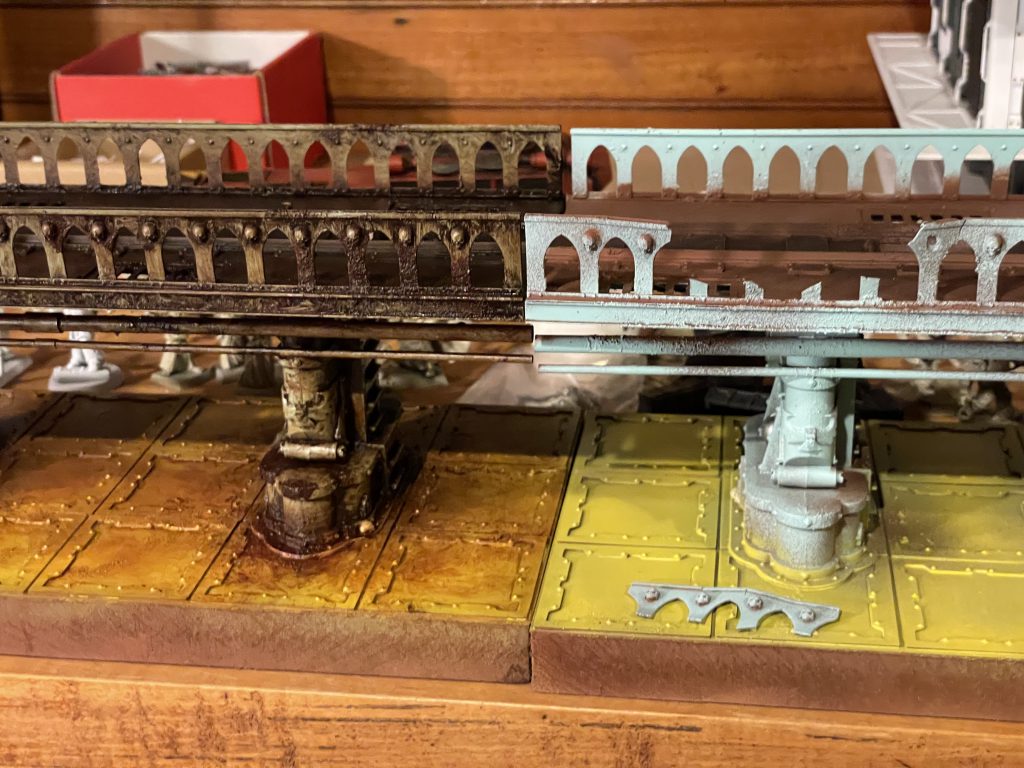
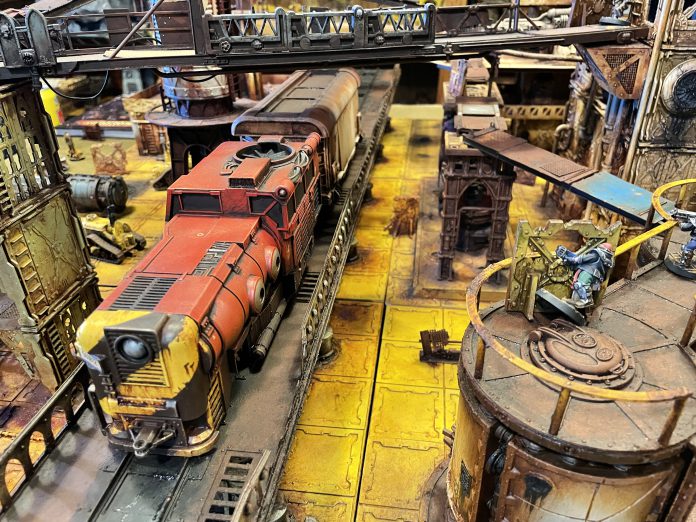
After a few days of drying time, into the terrain pool they go. Here’s some pictures of these beauties with the rest of the table.
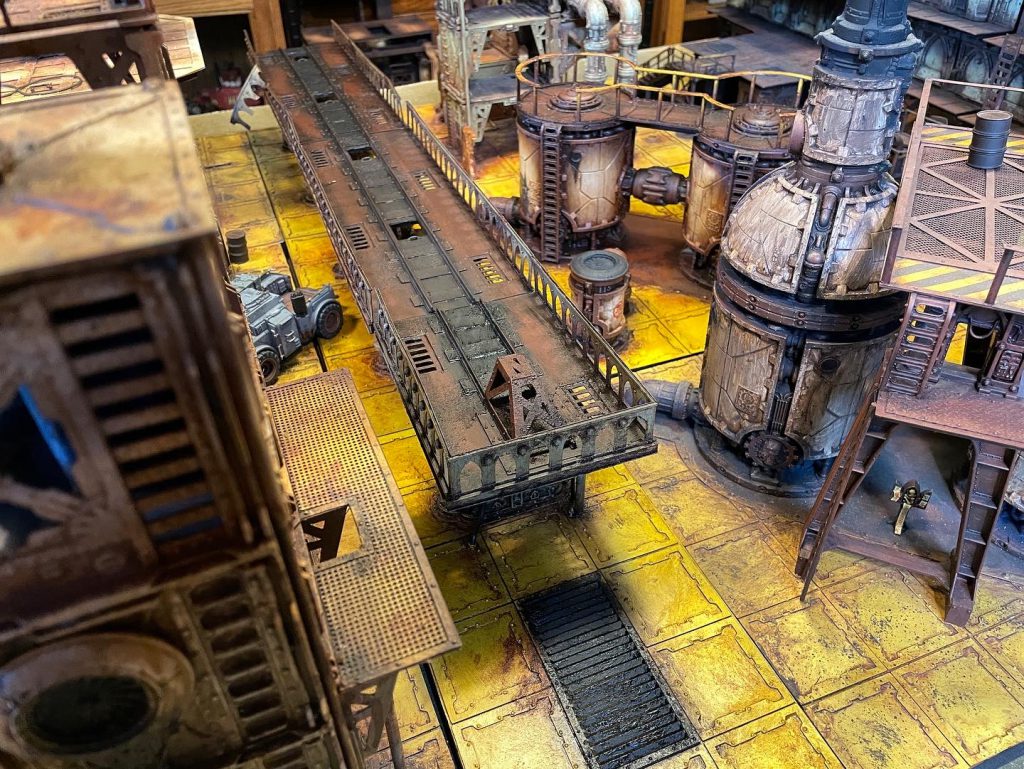
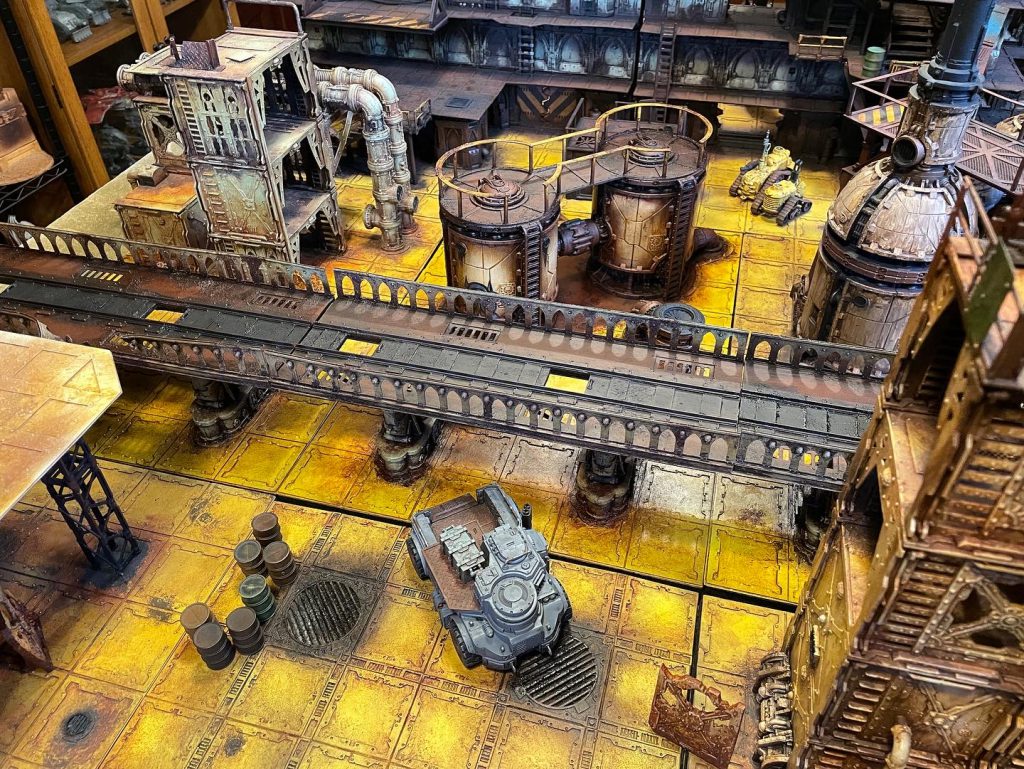
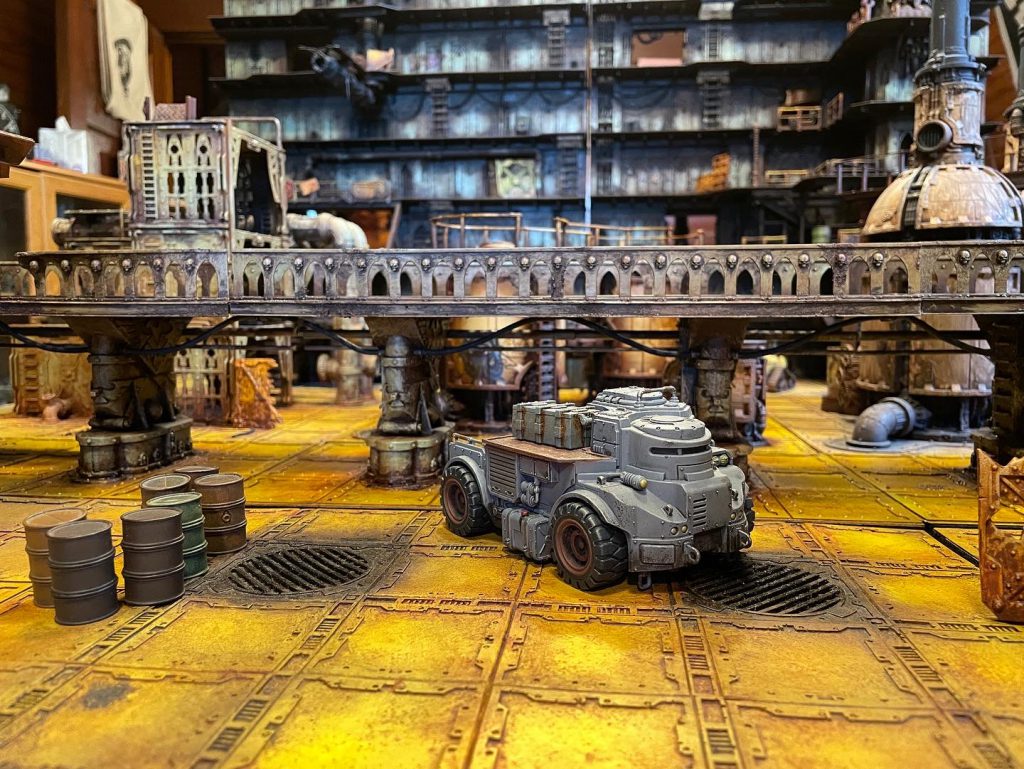
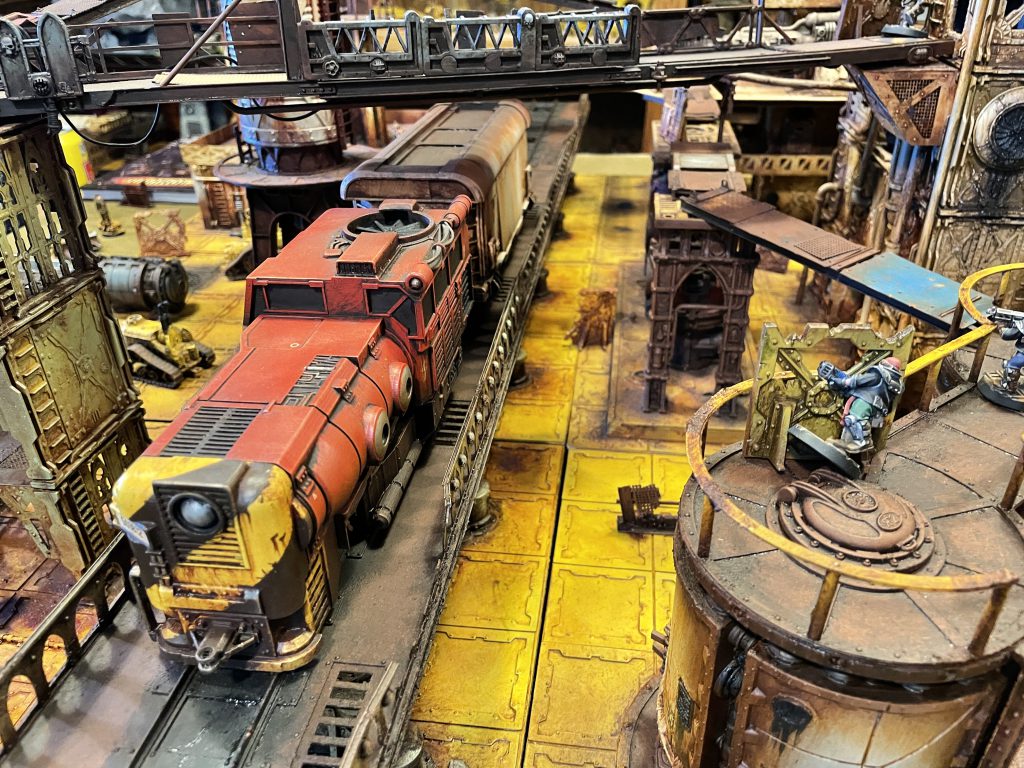
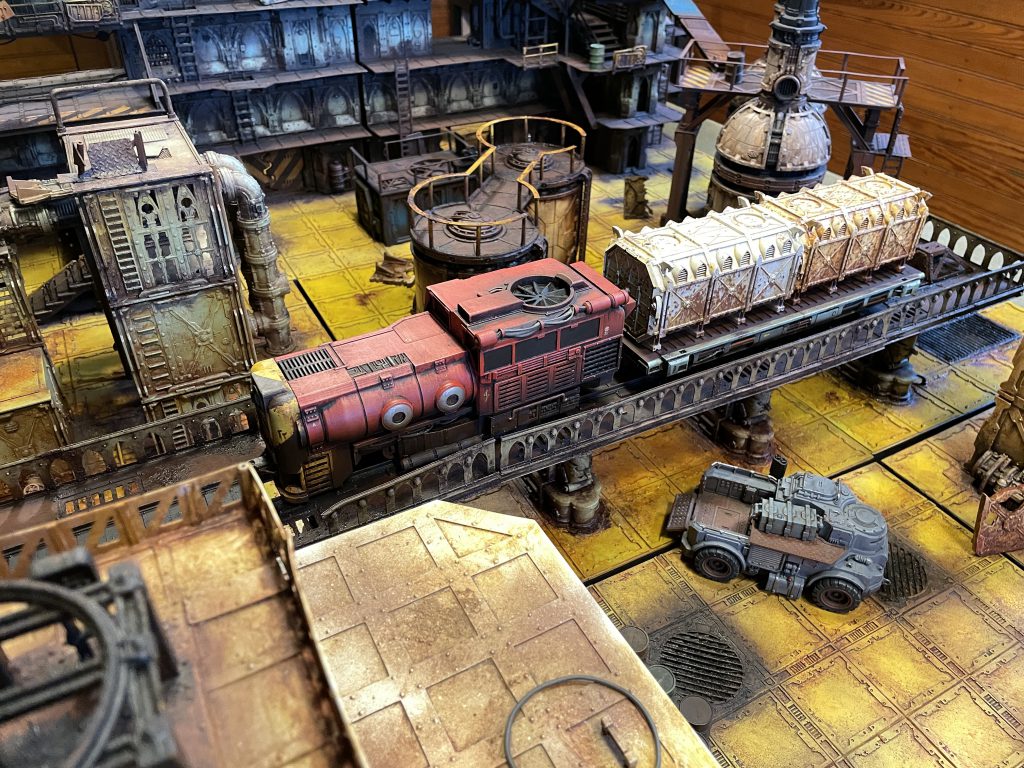
I’ve had these done for a few months and in that time we’ve played around with a few scenarios based around the train.
For the first, we took the flat car and placed a container on it. Both gangs attempted to get to it, open the container with an Intelligence test and then pick up a piece of the contents of the container (in this case, drugs)! The ganger would then have to run back to their deployment zone with the token, and score a point for each one they bring. A ganger could use multiple actions to pick up multiple tokens. This gave each gang the ability to gamble with staying out in the open to get more points. Our game devolved into a firefight on either side of the tracks, with grenades being shot at the gangers near the container and fighters falling off the train bridge.
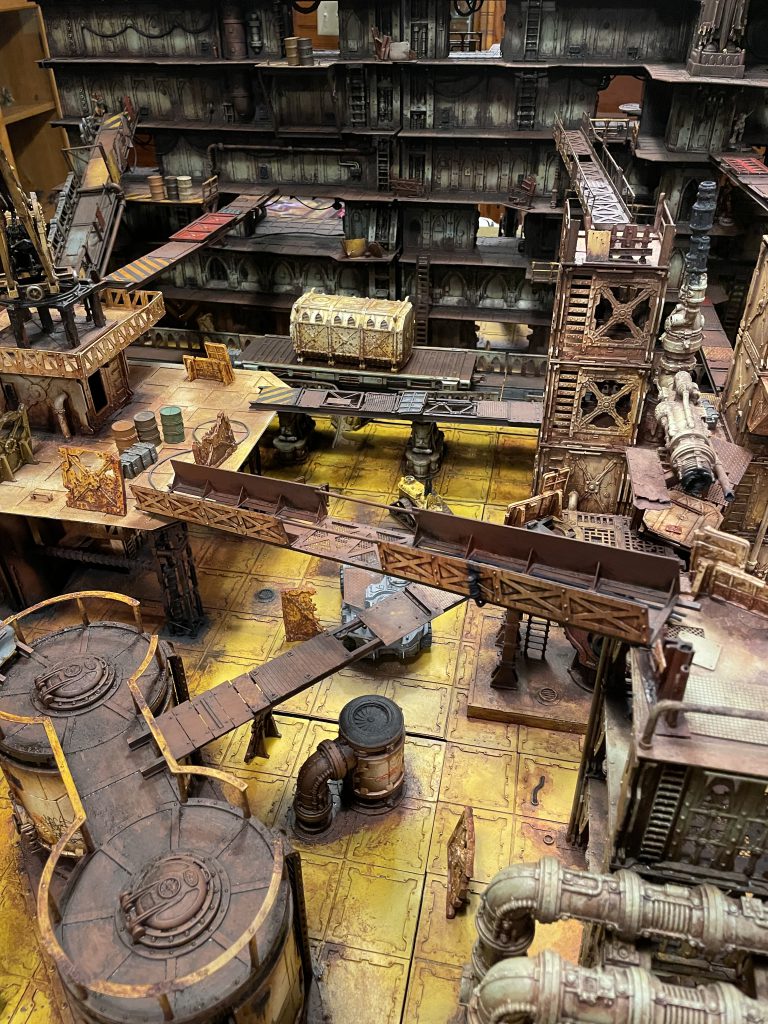
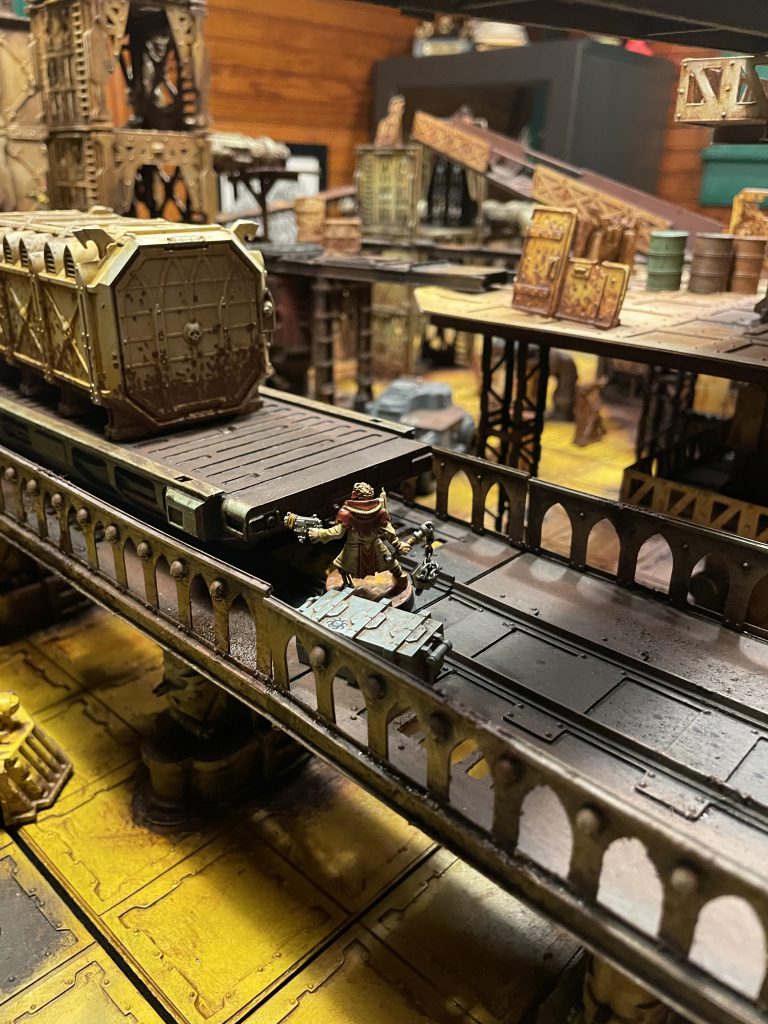
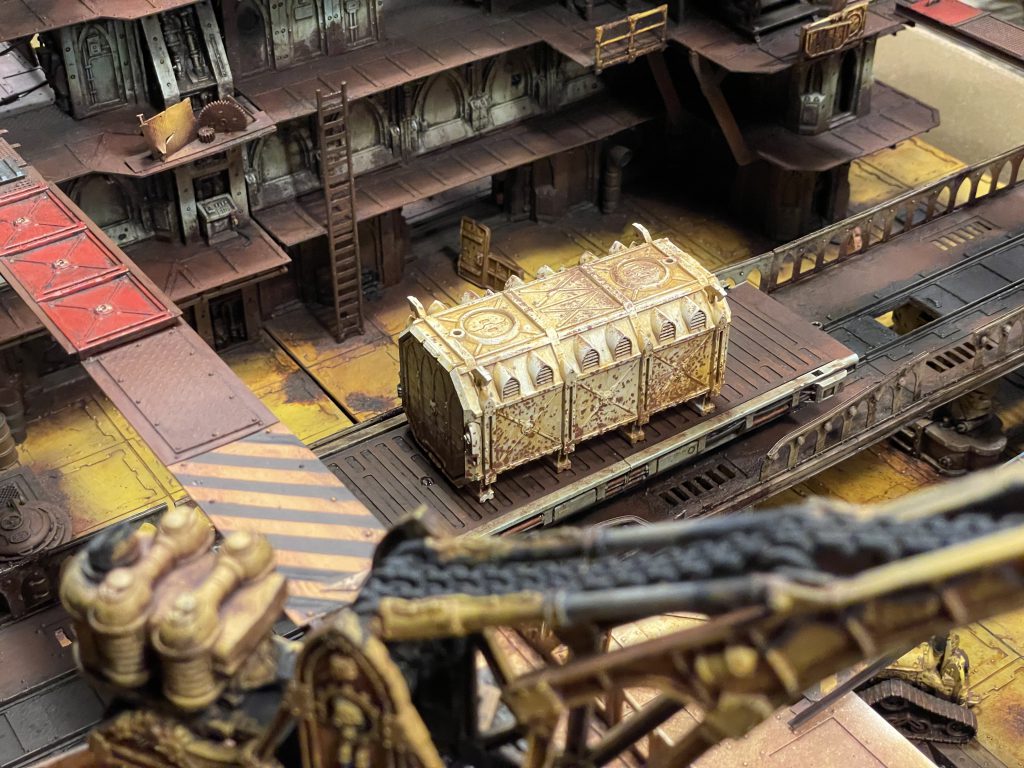
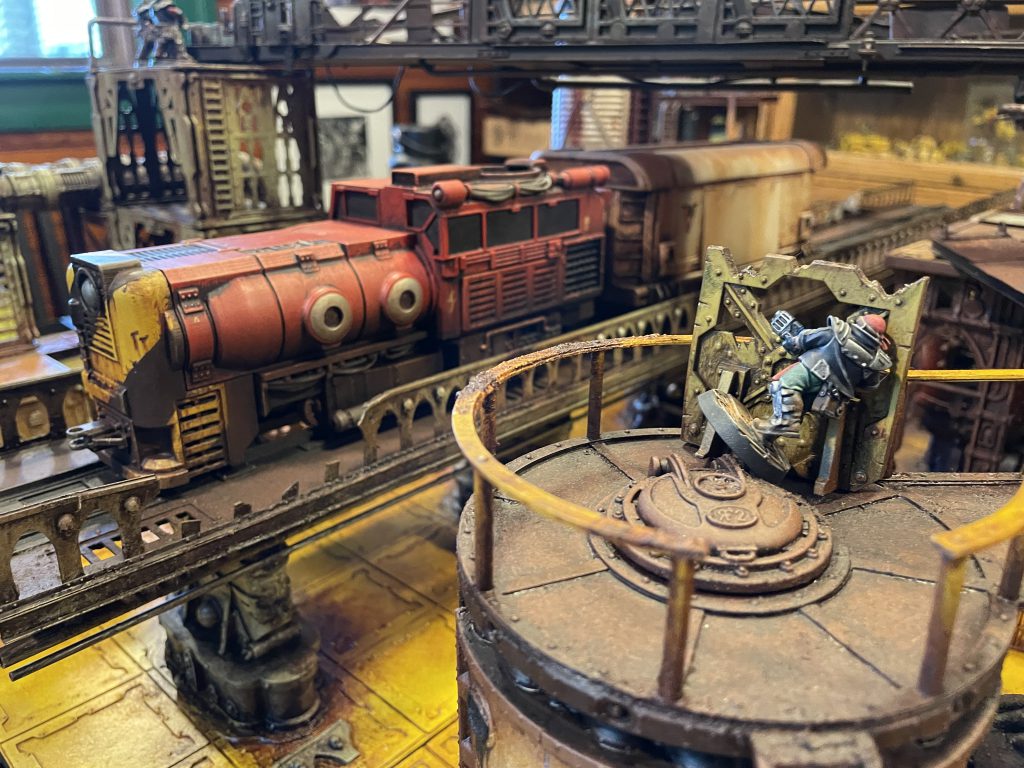
Another scenario was centered around a loot crate placed on the tracks that each gang needed to capure and drag back to their deployment zone. The twist here was that a train could appear on any turn going in either direction. If you had a ganger caught on the tracks they could get hit by the train and immediately be taken out of action.
What’s next?
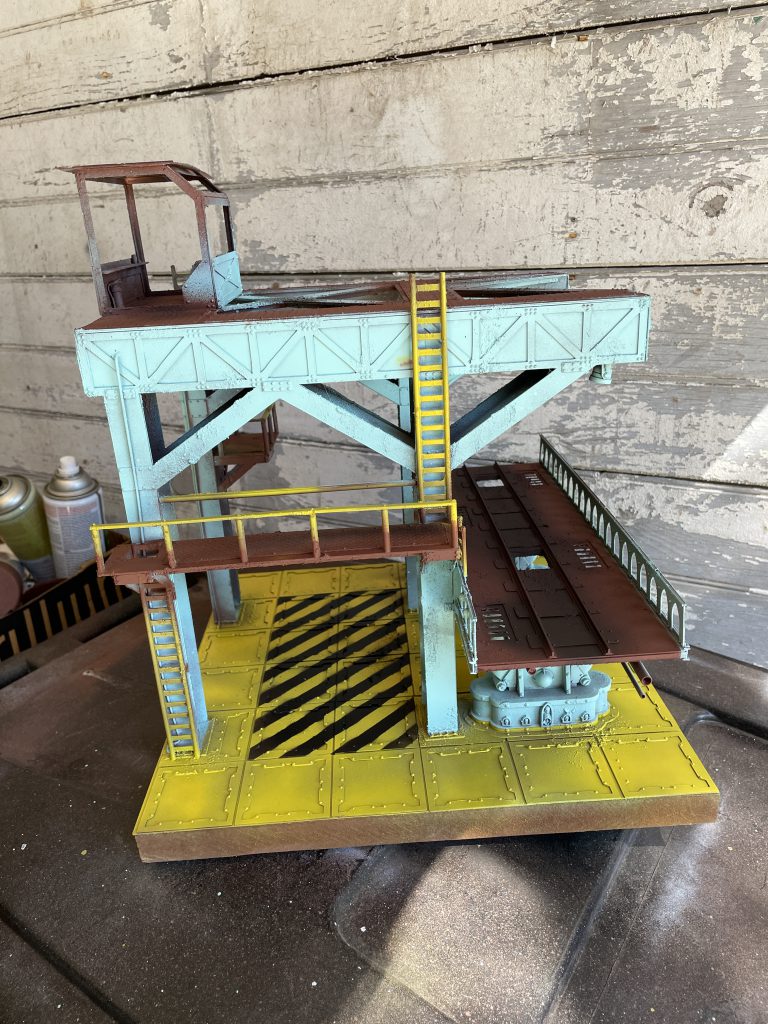
Well….. thanks to one of my Patreons, I was given the request for a crane to go with the train bridges. I had a reference to work from but after several false starts, I came up with a design that meshed with the rest of my terrain. I used references of cargo container cranes for the shape of it and after a test cut and some tweaks, got the basic structure together. It was a balance to get it to fit on a single 12×12 inch tile and not be too tall to store while still being able to fit the train under the crane arm.
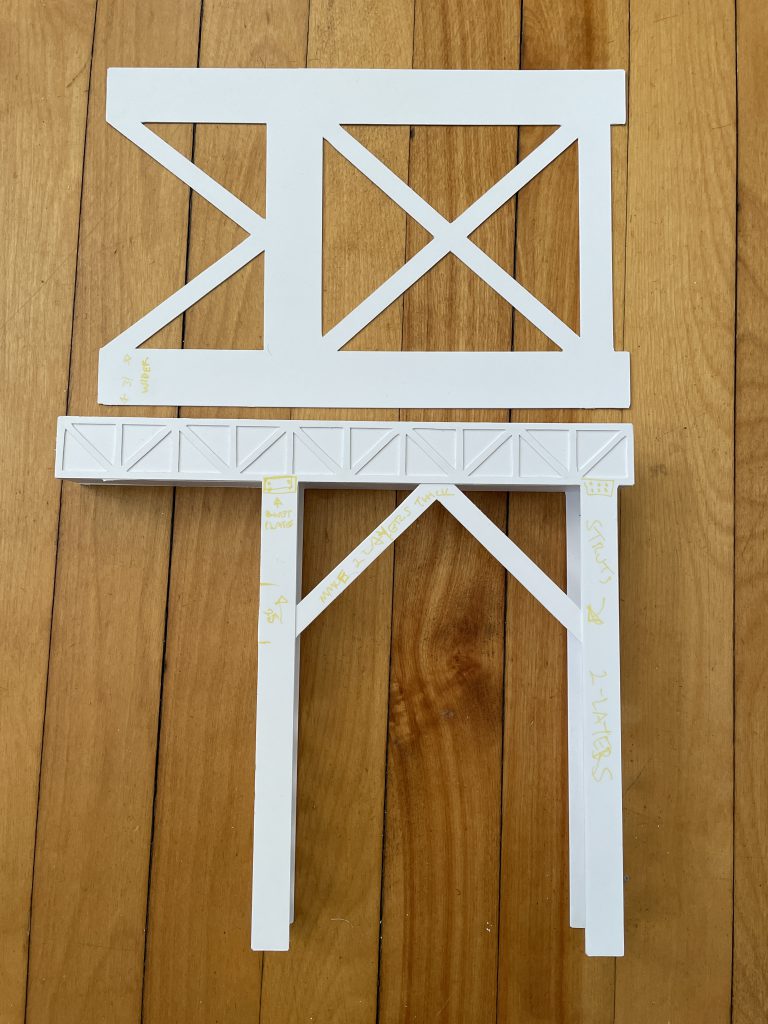
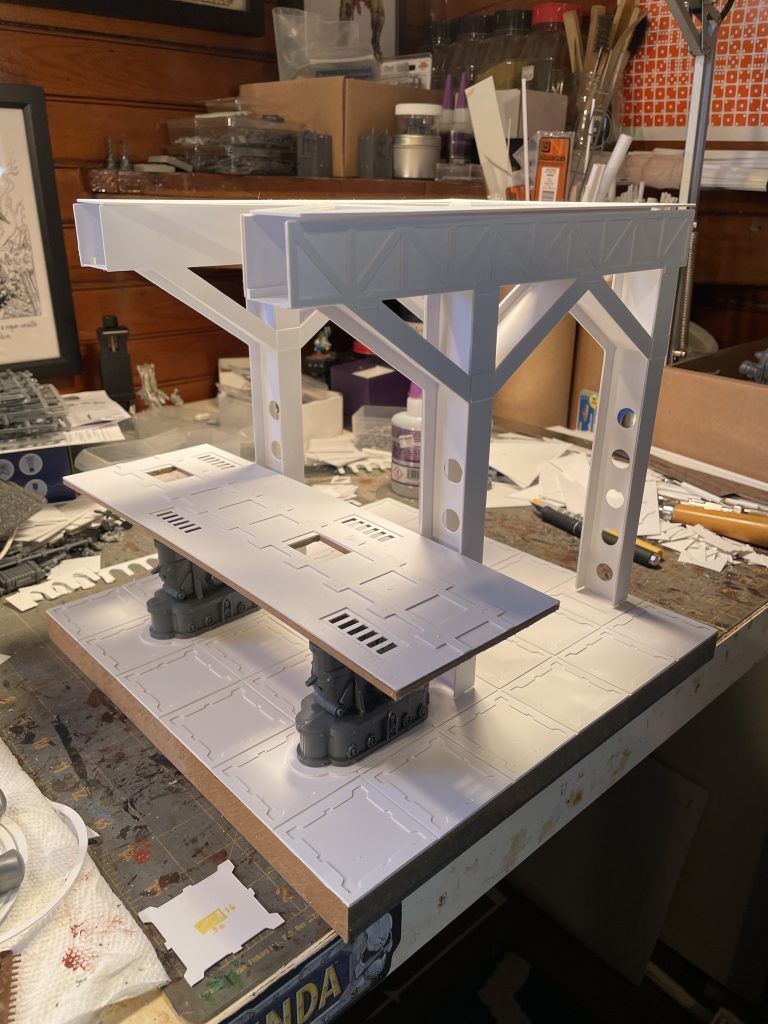
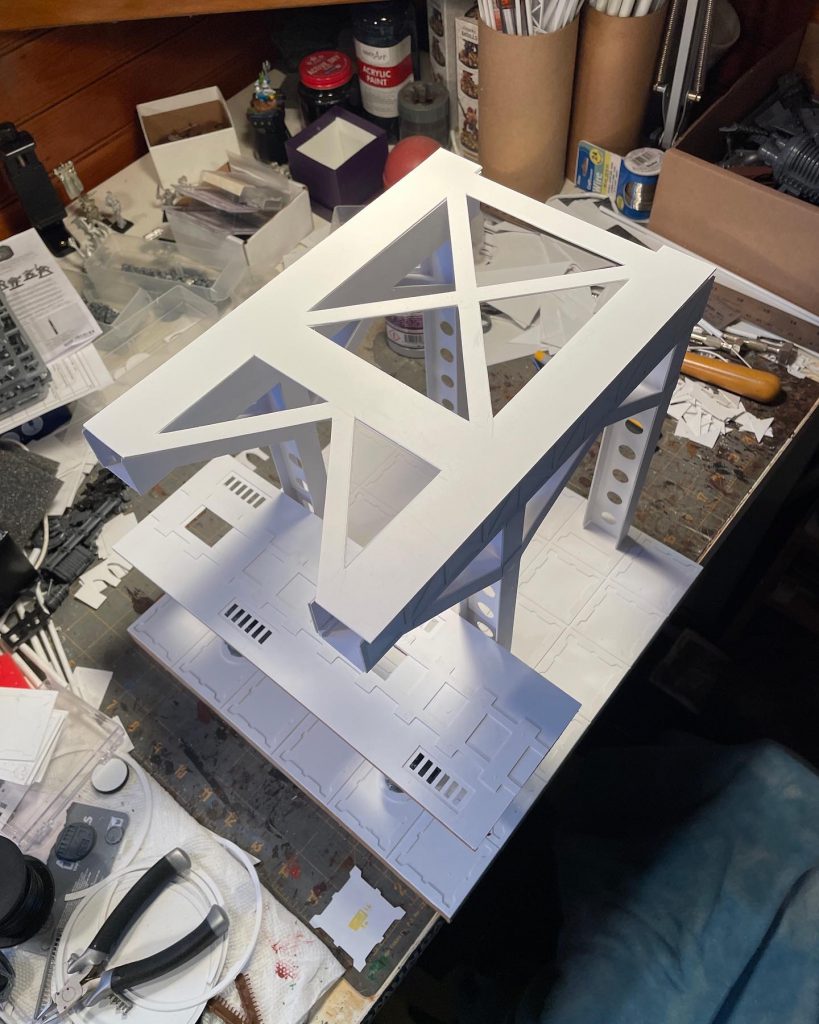
After the basic structure was together, I got down to building the control cab and adding details. Railings, ladders, gantries, pipes, cables, and the ever-present rivets. I even bent wire into loops suspended on chains that can hold a Munitorum container.
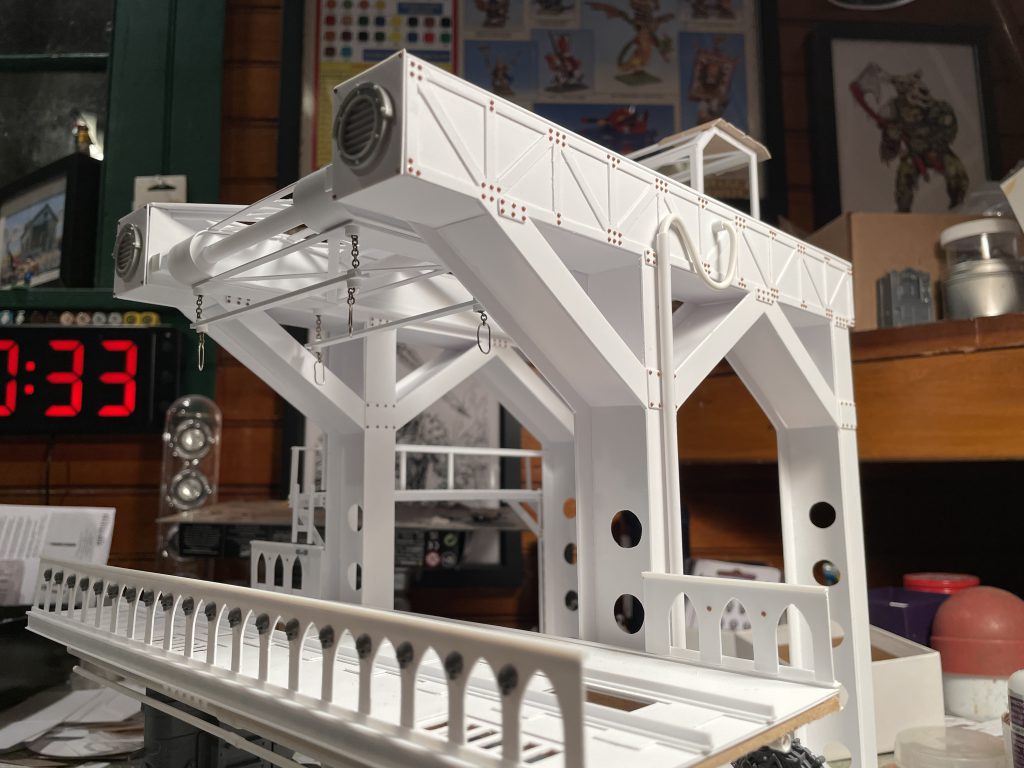
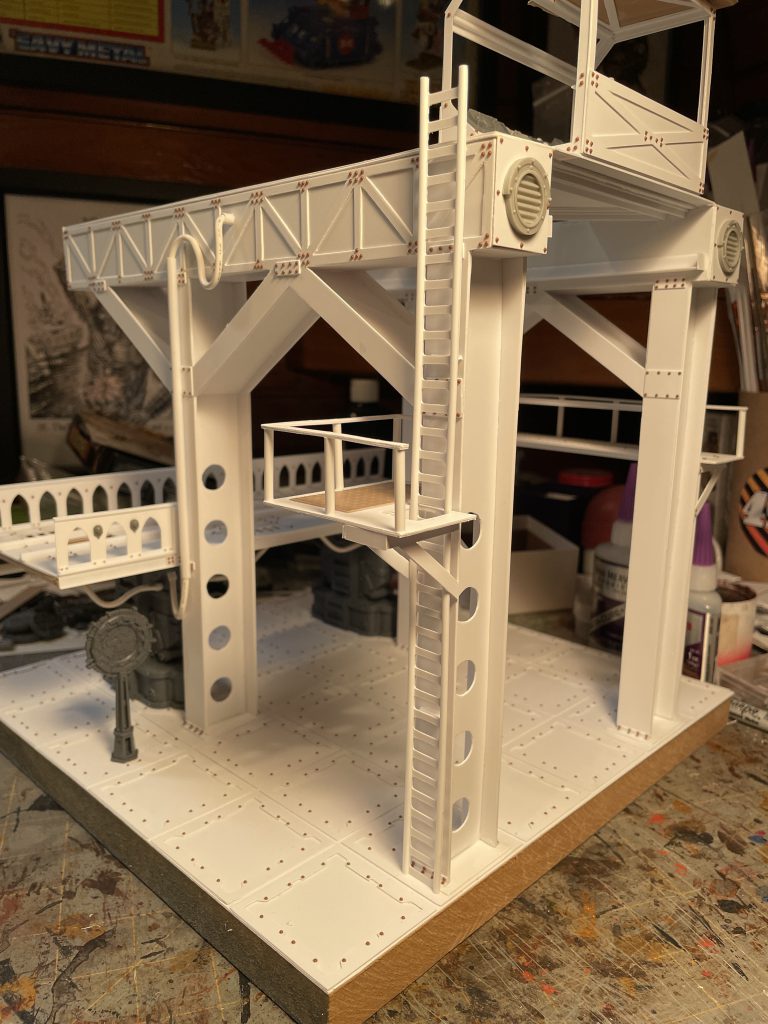
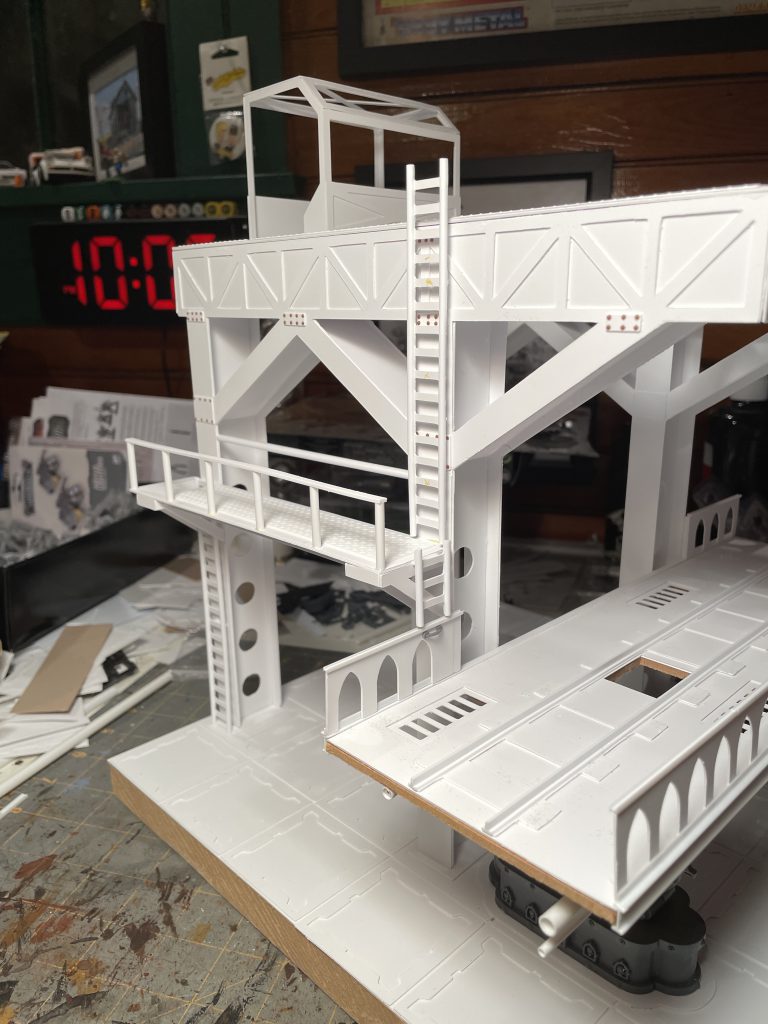
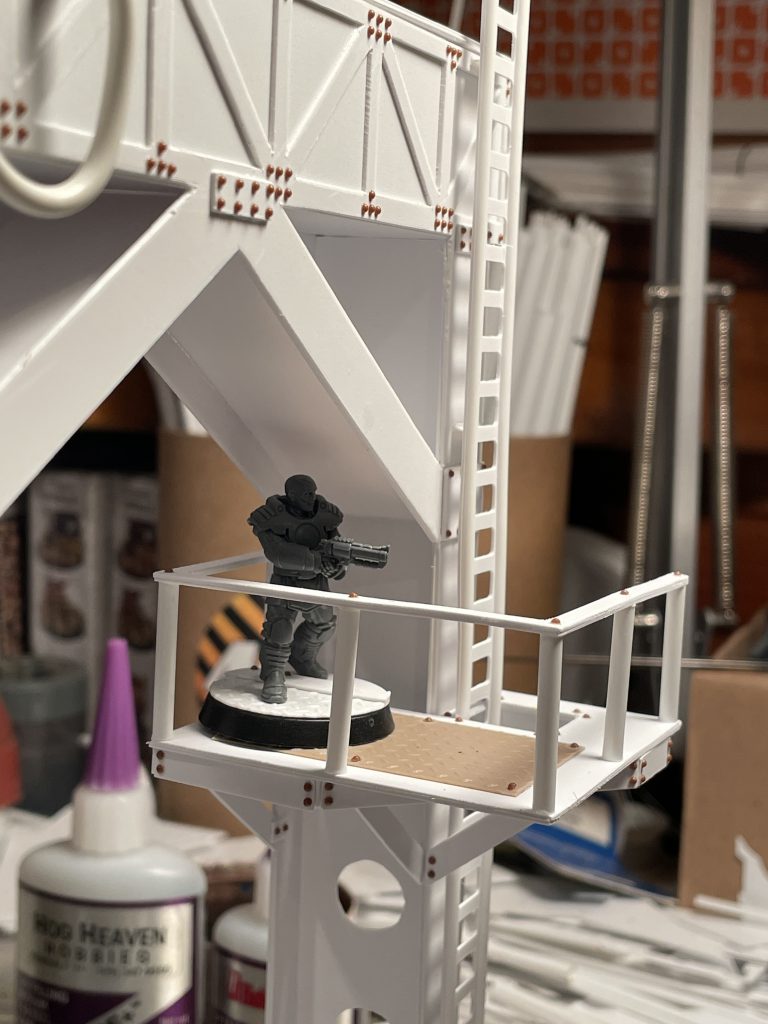
Detailing took place over a couple months, as I kept looking at it and considering how it could play, which lead me to add the second ladder and platform pictured above.
After that, I added my usual texture and went at it with the same color scheme I mentioned earlier in this article. I sprayed the teal first and spent considerable time masking off the crane and bridge supports before I sprayed the floor. Despite this, there was still a little clean up to do, especially on the platforms before the railings.
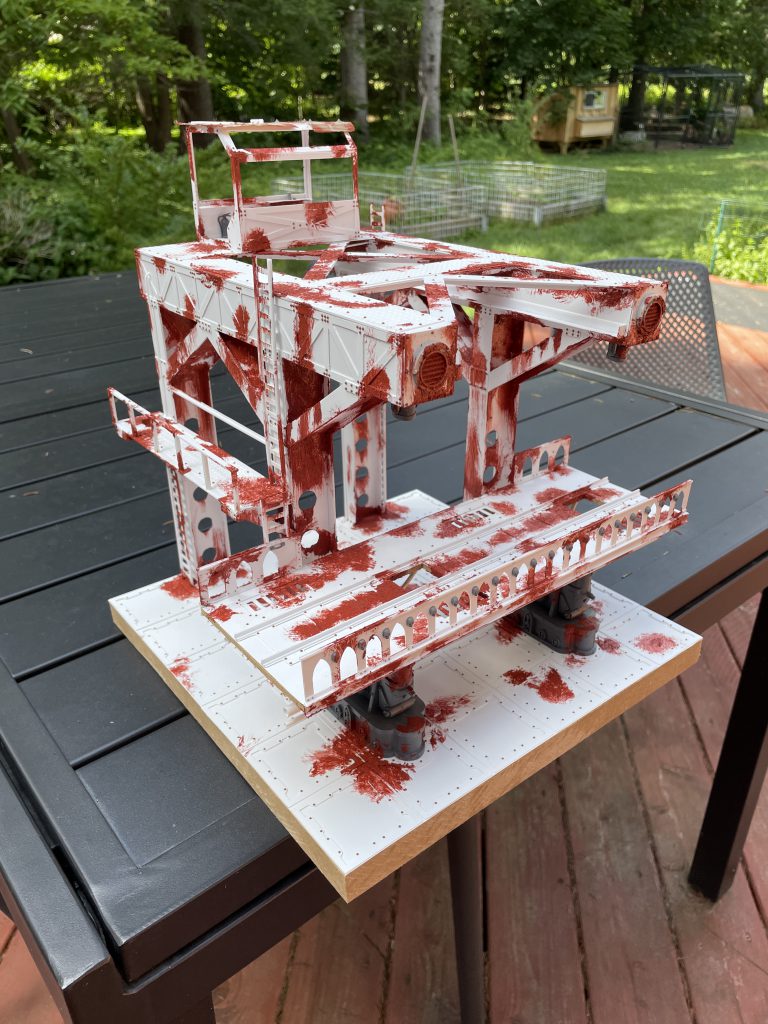
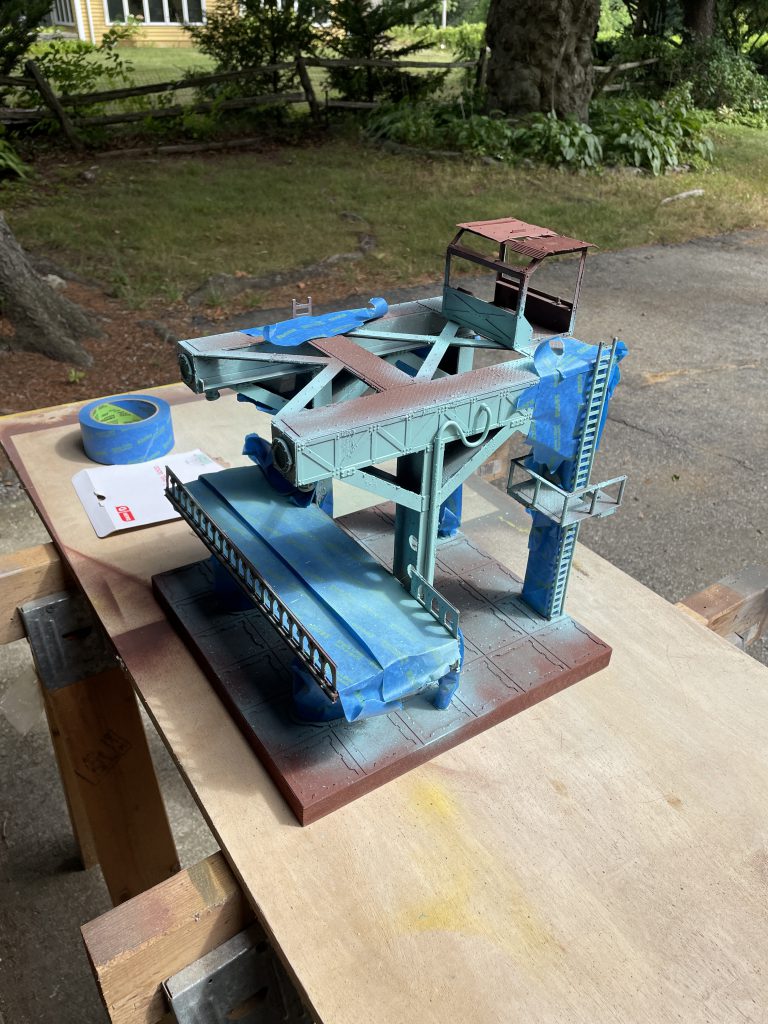
With all the color on, I spent time masking off an area of the floor for hazard stripes. I masked off the area first and then cut down masking tape into 1cm strips leaving the ends connected. This allowed me to lay down 3-4 strips at a time. Once I’d covered the entire area, I pulled up every other strip. Putting them all down allowed them to stay (mostly) parallel as I applied them.
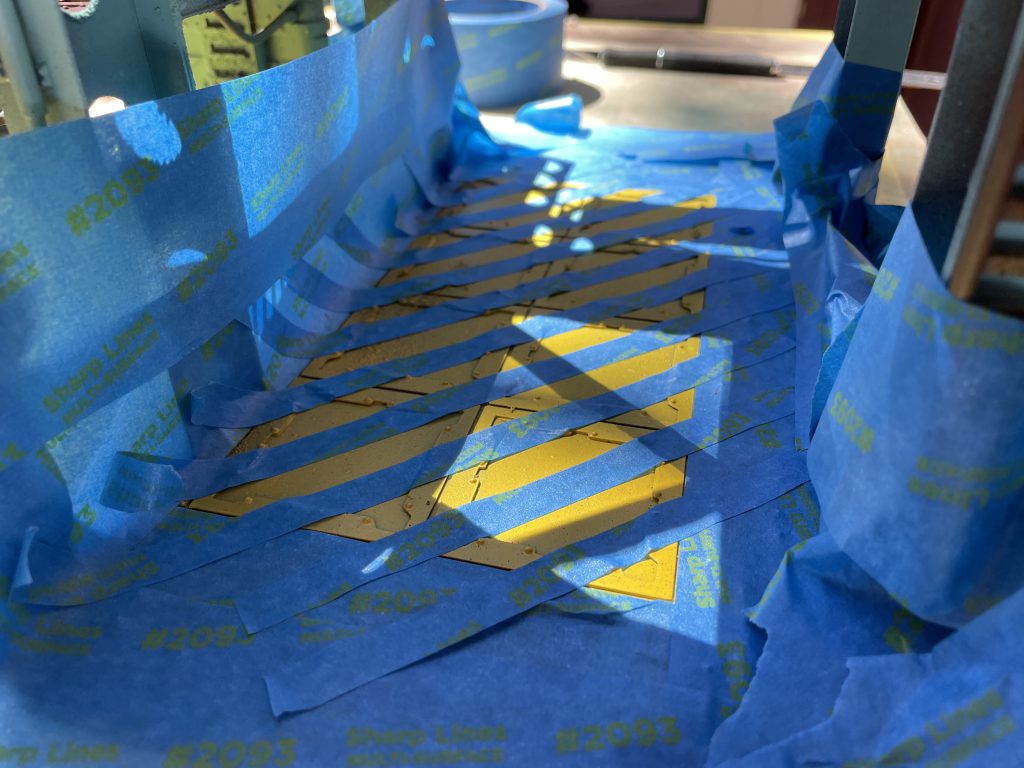
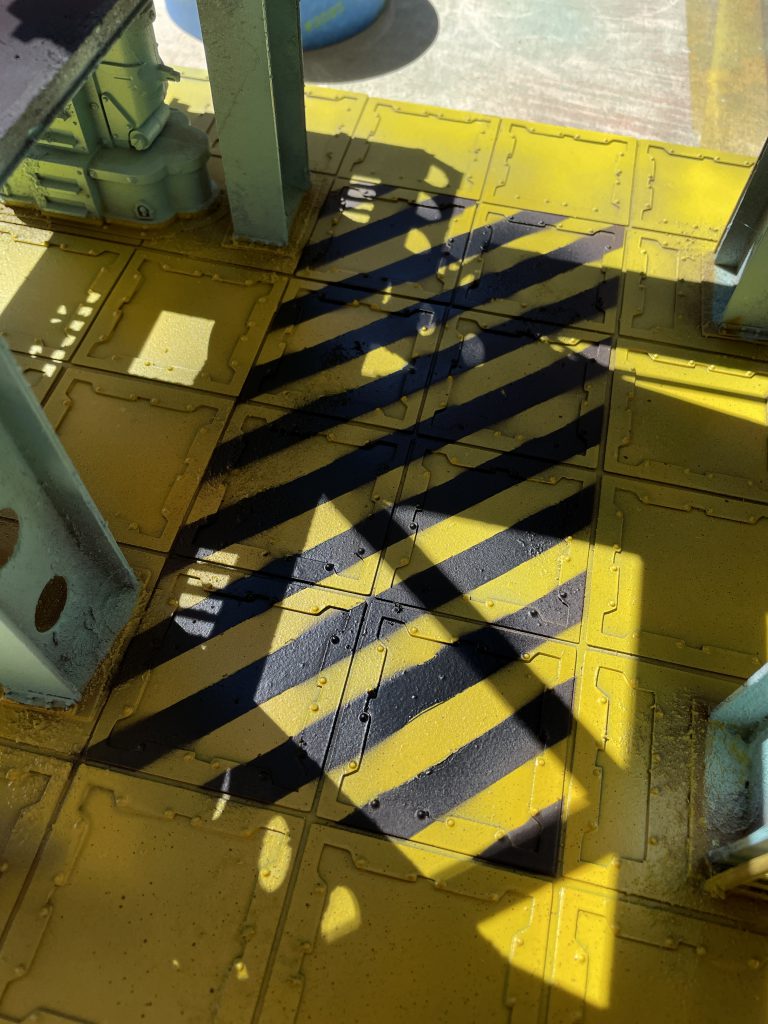
And that’s where it stands now. I need to go in and add a little detailing with a brush and then throw my usual oils at it.
So long for now scummers. I’ll follow up with part 3 at a later date and show off the finished piece and give some more thoughts about playing with the pieces and ideas for further scenarios to be played. It’s been a super fun process so far. Got any questions or ideas for us? Drop us a line at Necromunday@Goonhammer.com.


You must be logged in to post a comment.