Thanks to Bandua Wargames for providing us with the Rochela – Portable Painting Studio (79,95 €) for review.

I love assembling MDF terrain; it’s the simple joy of covering my work surfaces and hands in wood glue whilst building something cool that I really enjoy. Among the several storage tubs I own, I have two giant storage tubs filled just with MDF terrain alone; these tubs include my two favourite pieces, the Bandua Prepainted Q-Building Packs which see frequent use on my gaming table as excellent LOS blockers big enough for Imperial Knights to seek cover behind. So when the call went out to the Goonhammer Office asking who wants to assemble a box of MDF pieces into a MDF box, I immediately burst out of my blanket fort with my bottle of wood glue and painters tape at the ready.
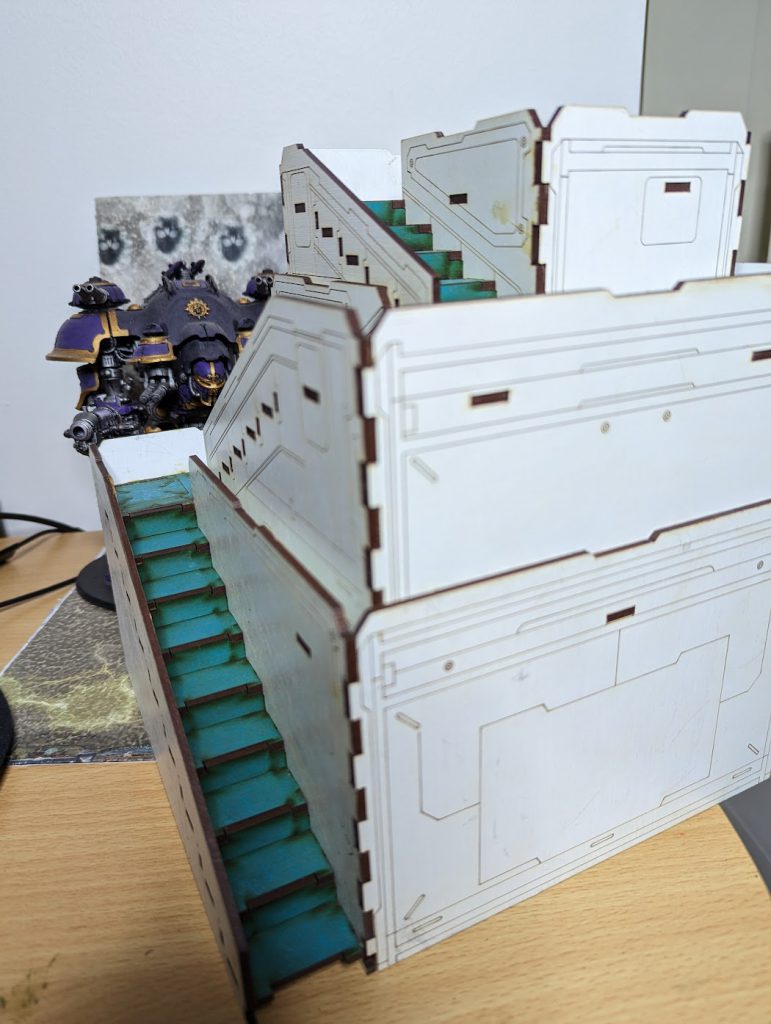
What is the Rochela?
The Rochela is billed as a Portable Painting Studio which Bandua Wargames has designed for for those kitchen table hobbyists who may not have the room for a permanent work space and those who who like to travel with their hobby projects and want something more suitable than cramming everything into one of their many spare cardboard box lids from their latest impulse purchase… I identify more closely to the latter than the former myself.
Measuring in at 45x40x15cm (roughly 18x16x6 freedom units) the Rochela comes in three different versions. Which one suits you best? This pretty much boils down to what paints do you use the most. The Rochela P26 has space for 80 26mm-diameter dropper bottles (Vallejo, Army Painter, Scale75, AKA, etc); the Rochela P36 has space for 48 34mm-diameter pots (Citadel paints, Tamiya, etc); and lastly the Rochela Mixed is oddly enough a mix of the other two with space for 64 paints (40x26mm/24x34mm). I have the Rochela Mixed myself because as much as I love my Contrast paints, I also have room in my shrivelled ice cold heart for Scale75’s metallic range.
The Parcel of Potential arrives…
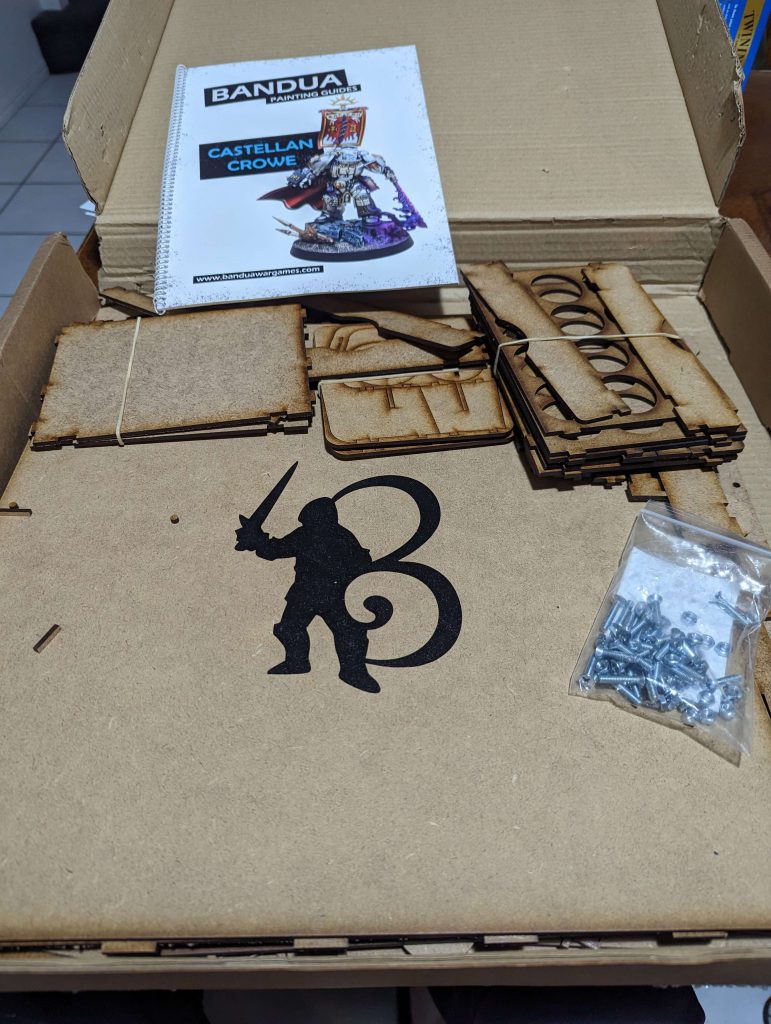
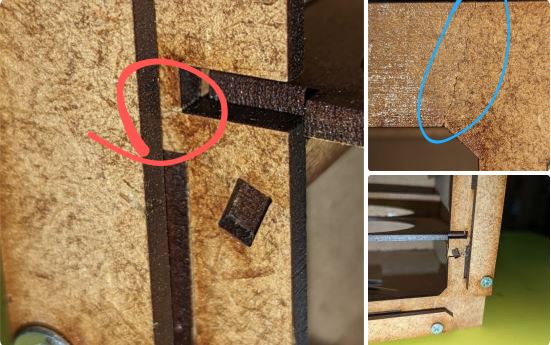
From placing the order to receiving the parcel took approximately three weeks which in this post-covid hellscape is still pretty impressive given its 22,000+ km (13,800ish freedom units) journey from Spain to the Land Downunder. Sadly on its long trip, the ‘face plate’ was damaged and snapped in three places.
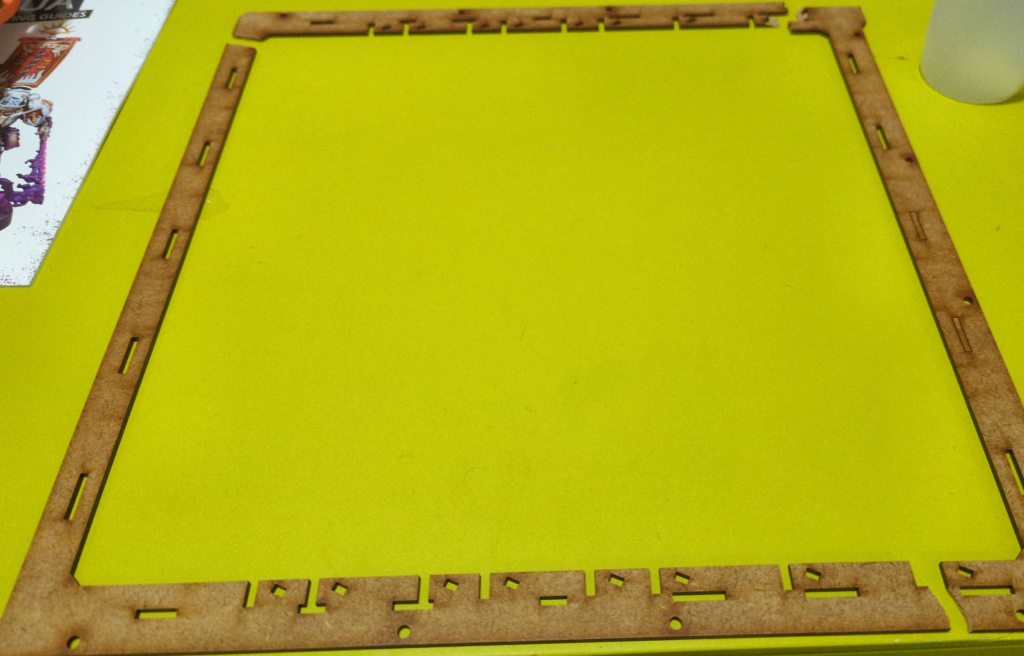
We did reach out to Bandua Wargamers Customer Service team and they apologised explaining that their material does not usually arrive with breakages, but if it does happen, they will gladly send the out parts at no extra cost.
But since Rob “TheChirurgeon” Jones is currently on the warpath asking questions about why I’m submitting receipts for Gregbot Body pillows, I decided to have a go at repairing it myself and it was no drama at all being an easy repair with a bit of wood glue and painters tape to hold it in place while it set.
The Build
Inside the box with the little nuts and bolts is a QR code that links to the pdf instructions located on Bandua Wargames website. I’m not going to sugarcoat things however, the instructions aren’t great and I did run into a few stuff ups that could have been avoided had I been paying more attention. Luckily I wasn’t using the fast acting wood glue and was able to un-Beanith things with only a little bit of swearing. Case in point, my biggest bugbear with the instructions was the cup/brush holder tray.
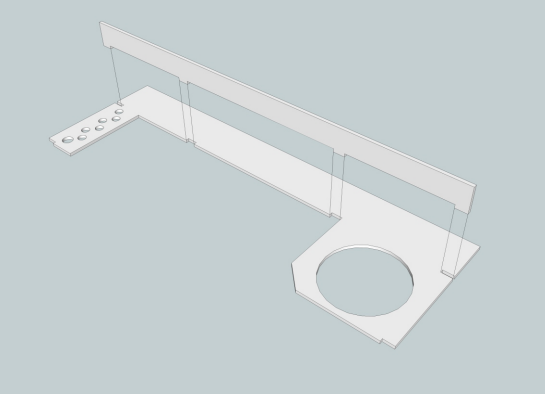
Nice and straight forward right? Correct… except for one tiny issue, you need to assemble this section inside the case otherwise the stop that would normally prevent the tray from falling out of the case instead is now preventing the tray from being slid into the case.
Again these are minor issues at best and a little more care and dry fitting pieces in place before you slather everything in glue, you’ll be fine and done in no time. Still I would like to suggest some minor improvements to instructions which I think would be great, such as I would love to see a list of parts and what gets used at each step.
How long did it take me? I knocked out the box itself in one evening and then built the inserts the next day.
The End Result
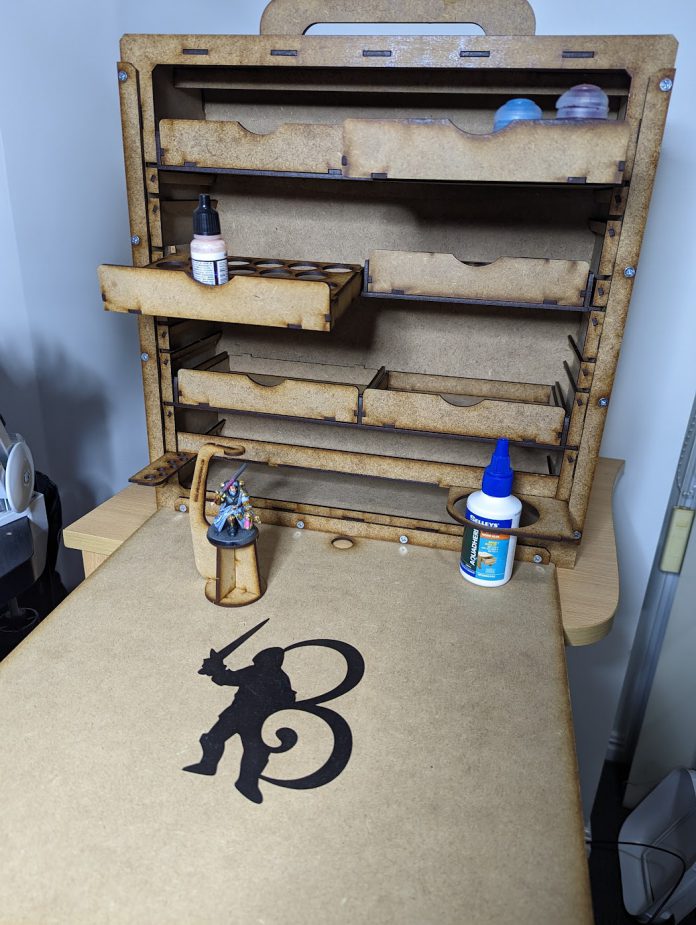
With the last of the wood glue peeled off both myself and the area surrounding me, I am now the proud owner of a cool Portable Painting Studio.
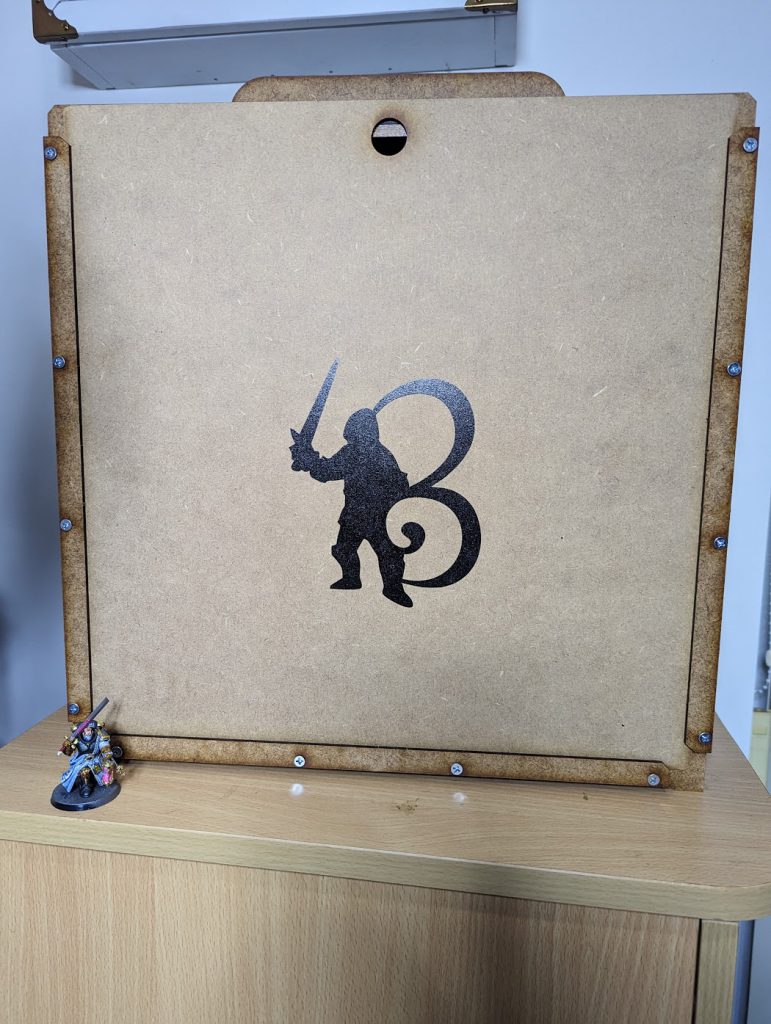
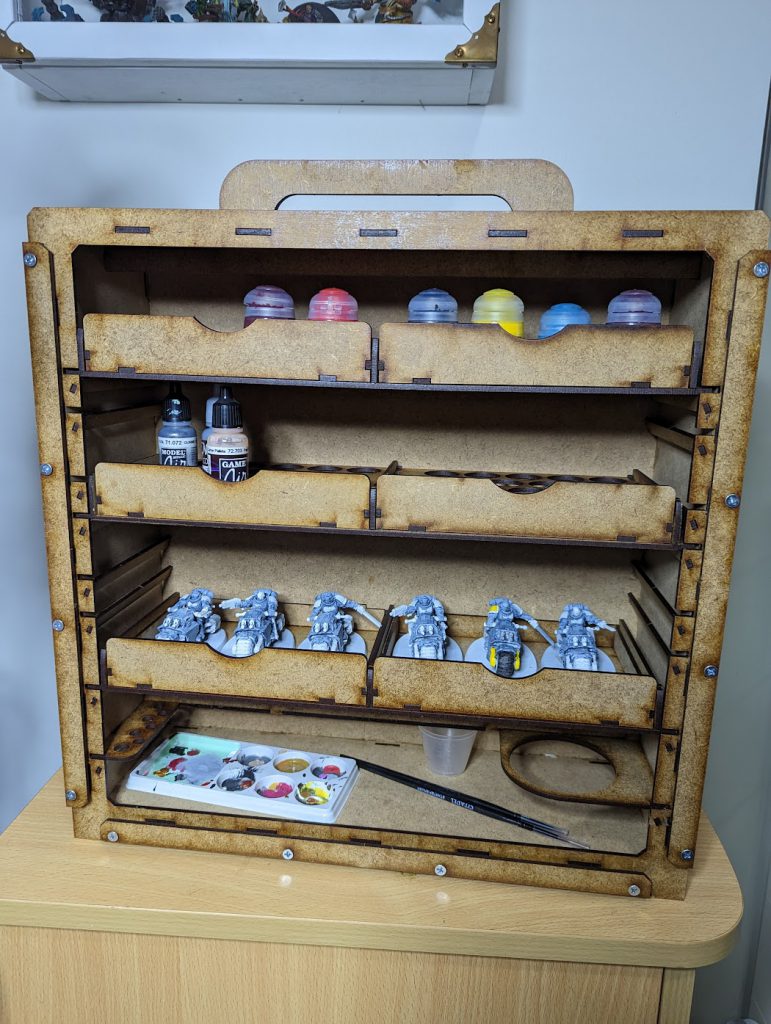
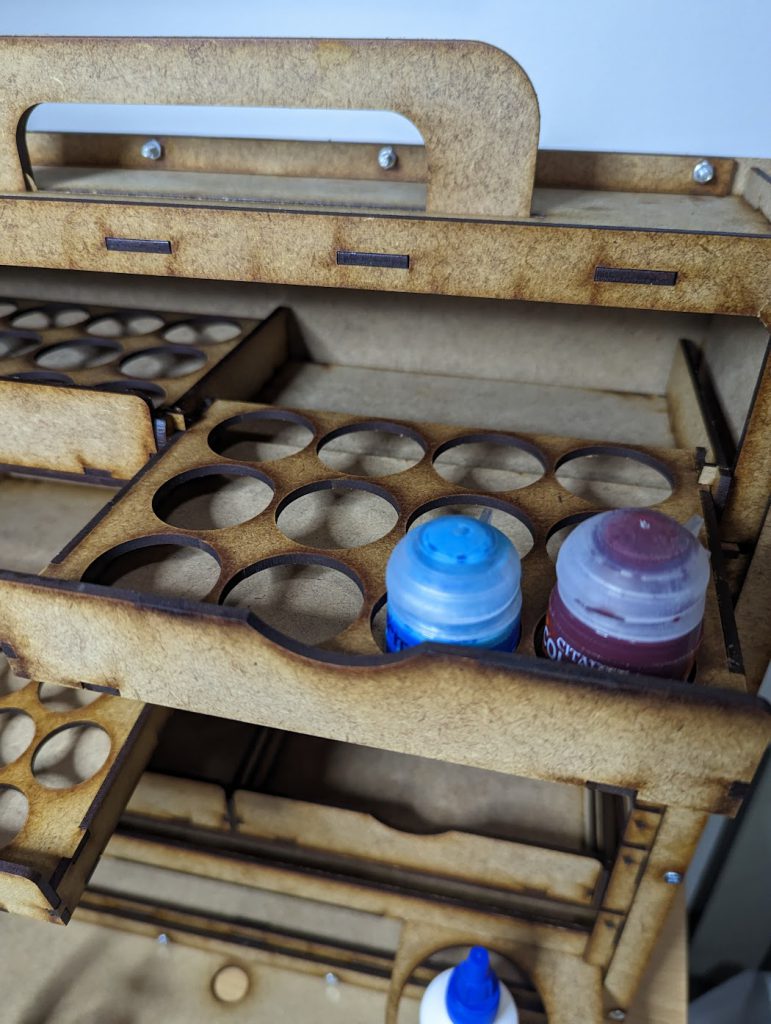
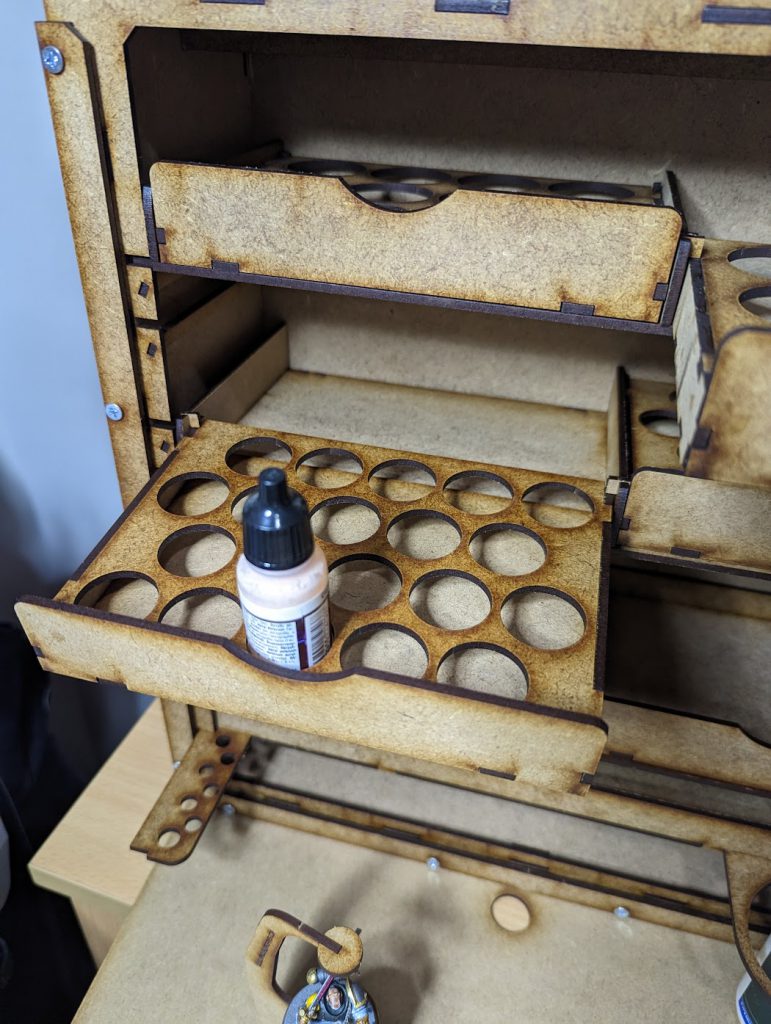
Have Box, Will Travel?
Of course my main use for this will be taking small projects with me to work so I can catch up on some hobby time during my lunch breaks at work or so I can maintain my Hobby Streak even while on holidays with the family.
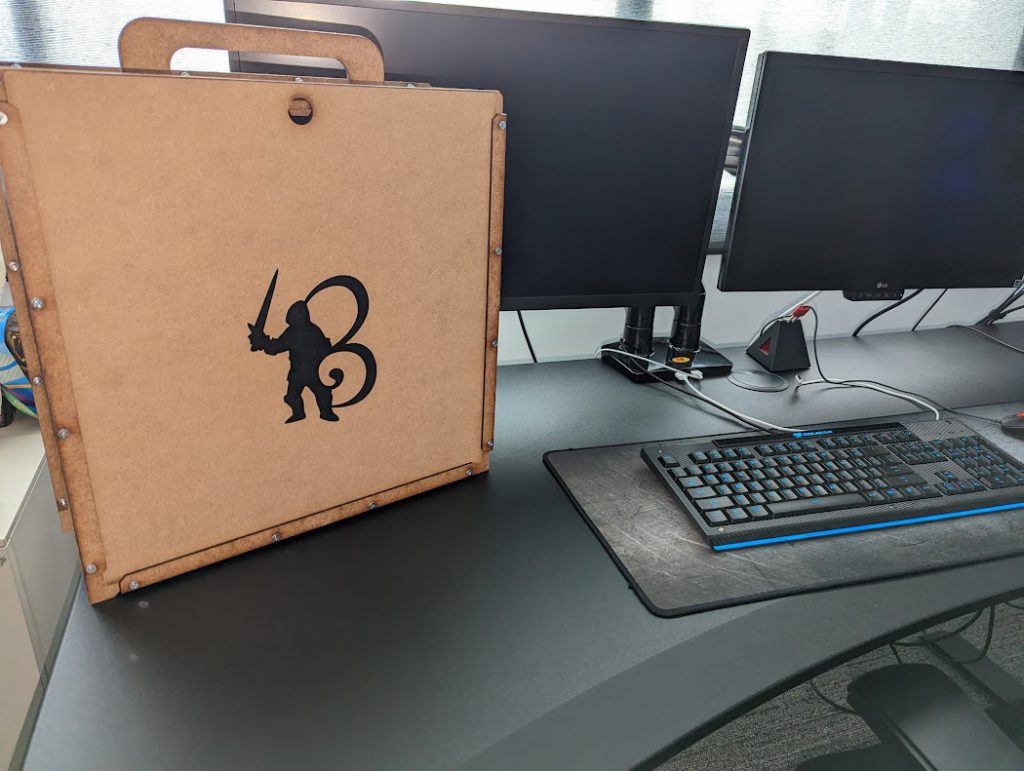
I’ve been taking it with me on my drive into work so far this week. It sits just fine behind my seat and it has worked perfectly with no spills or damaged models.
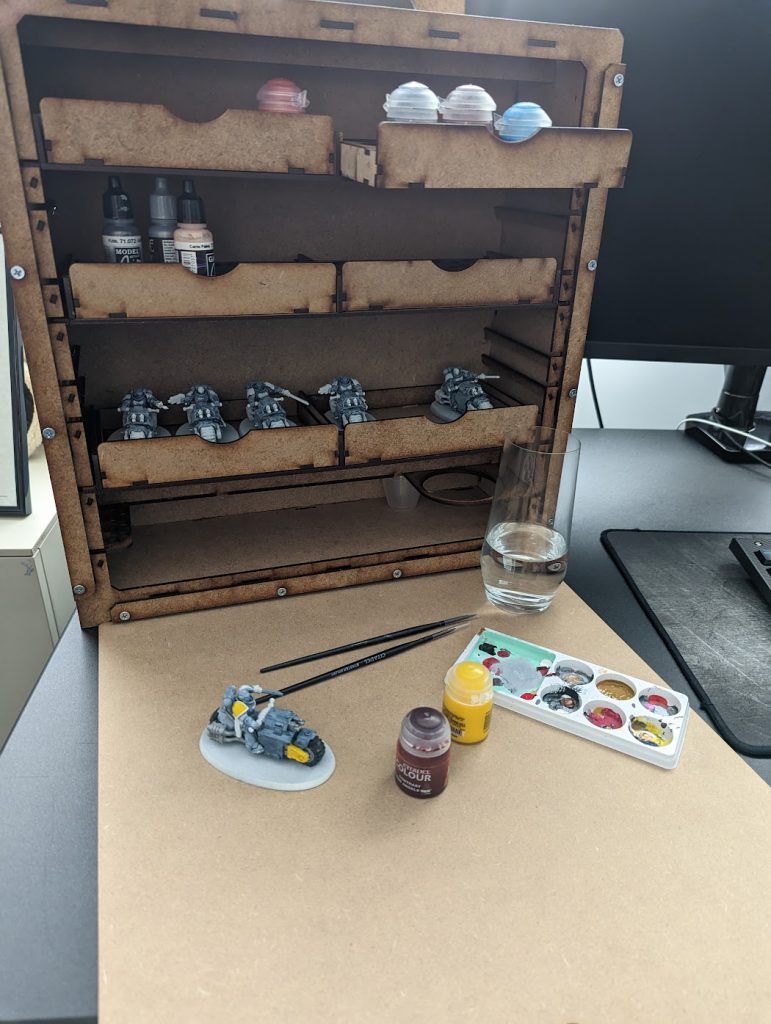
The Good
Solid build
Light weight
The smell of laser cut MDF
The Bad
The instructions are a bit rough.
Your better two thirds might have issues with the smell of laser cut MDF.
Final Thoughts
I’m quite pleased with how it turned out.There’s a couple of areas I’ll want to tidy up of course but I already have a few ideas on adding a few little bits and pieces to improve it over all for my own use. First thing I plan on doing would be wrapping the handle so it’s kinder to my soft delicate hands. I’ll also plan on glueing in some metal sheets so I can stick magnetised minis to trays etc. Maybe some velcro straps to tie down things at the bottom?
Have any questions or feedback? Drop us a note in the comments below or email us at contact@goonhammer.com.


You must be logged in to post a comment.