Look to the skies, scummers — this week we’re going high with a guide to playing (almost) all-Wrecker Orlock gangs. Strap on your speed goggles and get ready to fly!
All Necromunda players have a favourite fighter type, but if it isn’t Wreckers they’re incorrect.
Most Orlock enthusiasts will hopefully by now have dabbled with their jetpack-clad prospects, and having a couple around for Coup de Grace action, unexpected attacks, demo charge runs and objective grabbing is more or less obligatory.
But what about *pure* Wrecker action? The gang composition rules allow Orlocks to have as few as one non-Wrecker fighter in a starting list. It sounds silly, but pure, or nearly-pure Wrecker lists are not just viable: they’re an exciting, unusual and (sometimes) effective option. They’re almost like a gang of their own.
Important note: this is something of an advanced guide for current or would-be Orlock players. If you don’t know your Lugger from your Legendary Names, go read Goonhammer’s regular Orlock guide first.
Here’s our completely sincere guide to the Joy of Wreckers.
Table of Contents
Why play a Wrecker gang?
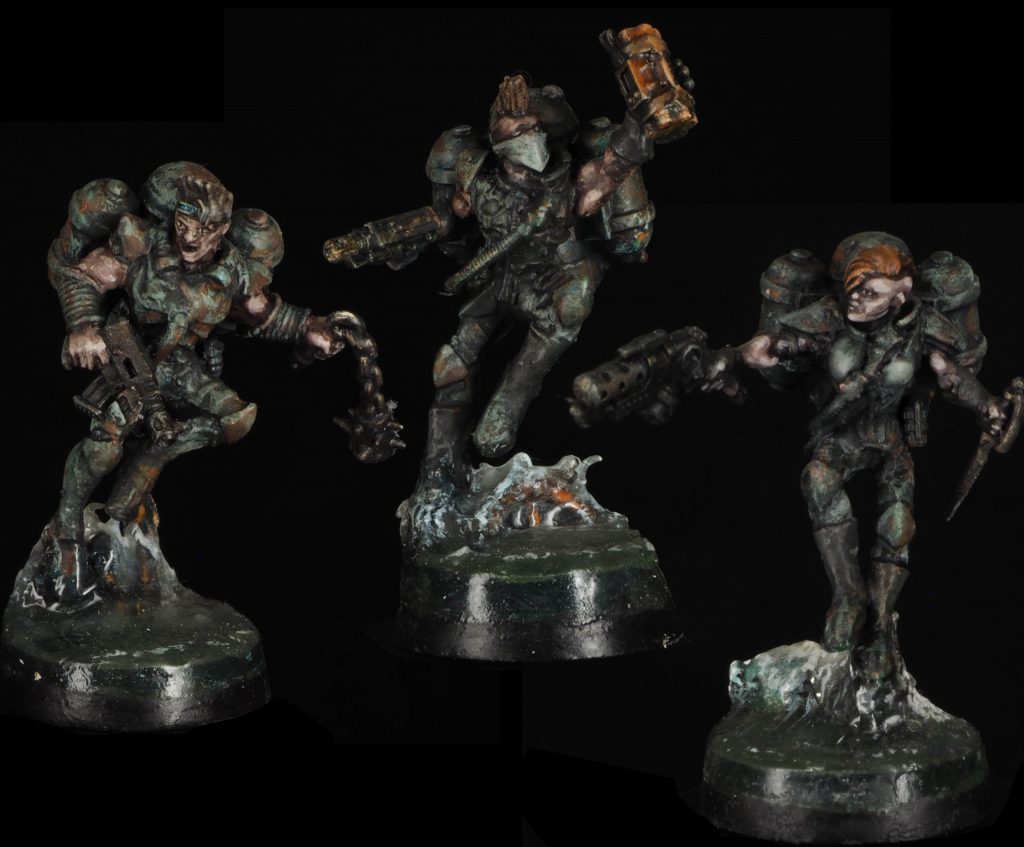
The Good
- Speediest gang in Necromunda
- Scare and dazzle your opponents
- Lots of opportunities for things to go hilariously wrong or right… which is fun
- Games tend to be quick because Wrecker gangs can play so aggressively
The Bad
- Requires constant mental arithmetic
- Bad against tanky gangs
- Unreliable
- Glass cannons
- Weak headstats
- You tend to play spread out, so failing a bottle test usually means it’s game over
- New rulebook changes have hurt them in a couple of key areas
The Good and Bad
— Wrecker gangs are TOO GOOD at some missions types (particularly anything that involves picking stuff up and moving it), which may not be fun for your opponent.
What are Wreckers?
Ok, fundamentals. Wreckers are a prospect fighter option for Orlock gangs, introduced in House of Iron.
They have the same basic statline as Greenhorns, the Orlock juves, except better BS (4+) and worse Leadership (9+). Statline highlights include Movement 6″ and 3+ Initiative.
They have the Fast Learner rule, meaning repeat advancements don’t cost extra XP, and Hot Headed, which means they don’t trigger nerve checks for nearby friendly fighters when Seriously Injured or taken Out Of Action — unless the nearby fighter is also a Wrecker.
Most importantly, they have Jump Boosters.
Jump Boosters
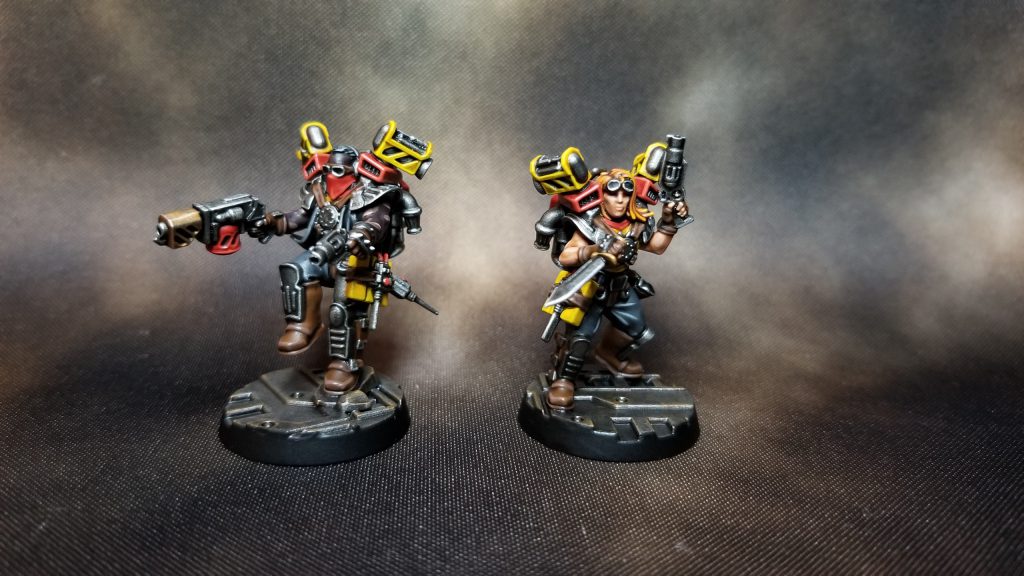
These inimitable bits of equipment allow Wreckers to boost their movement by 3” one action per turn. This is referred to as “safe mode”
They can also put into “overcharge”, adding a further D3”. If that overcharge roll is a natural 1 (which we interpret as meaning only the 1 face on the D6 that you’re pretending is a D3), the Wrecker goes pinned and prone, and their movement ends.
On the action which uses the jump booster — typically Move (Simple) or Charge (Double) — the Wrecker can make up to half their move vertically, giving these gangers huge terrain- and vehicle-hopping potential.
If a jump booster is used to charge, the Wrecker gets +1 to Hit rolls and +1 Strength for the rest of that activation.
Finally, if a wrecker makes a Move (Simple) action, they will trigger the Hazardous Equipment rule, which means any weapons they have with the Template or Grenade special rules also gain Unstable. This means that lobbing a grenade (which always triggers Unstable) post-boost has a 50% chance of taking your Wrecker out of action.
Booster maths (level 1)
At this level, the maths on boosters remains quite simple:
- with safe mode, a Wrecker can move 15” per activation, or charge 10”–12”
- with overcharge, a Wrecker can move 16”–18” per activation, or charge 11″—14”, OR roll a one and end up on the ground.
Occasionally important note: if you’re making two Move (Simple) actions, you don’t have to boost on the first.
Grease Monkeys
This is where it gets fun. Grease Monkeys, a 40-credit unique hanger-on for Orlocks, come with a special rule, confusingly also called Overcharge, that allows them to soup up all a gang’s jump boosters for that game.
When this rule is in effect, all Wreckers roll a D6 at the start of their activation, and add the outcome to their movement. If it’s a natural 1 they gain no movement, and can only take a single action that turn.
Some notes on the rules as written: if your Grease Monkey overcharges your Wreckers, you HAVE to do this roll each activation. But, you may notice, it has no defined crossover with the jump booster’s boosting rules — all that is needed is that the Wrecker has the equipment. The Grease Monkey movement bonus is applied to all movements that occur — not just ones that involve the jump booster being triggered.
This means making aggressive moves with grenades or hand flamers is much more effective, because you can get solid movement without triggering Hazardous Equipment.
With the new Core Rulebook stipulating Hangers-On and Brutes can be taken at gang foundation, Wrecker gangs can now start off with a Grease Monkey. And, in our view, should.
Booster maths (level 2)
Here’s where it gets complicated.
The Grease Monkey boost is potent, but also introduces a lot more random chance to your movements.
Every time a Wrecker activates, several paths are now possible, involving the success of the Grease Monkey roll, and (if you choose to use it) the success of the jump pack overcharge.
- Worst case scenario: Roll a 1 on the Grease Monkey roll, roll a one of the overcharge: go prone and pinned, activation over.
- Bad scenario: roll 2-5 on the Grease Monkey but get cocky, overcharge and roll a 1, spend your second action slinking about or standing up.
- Meh scenario: roll a 1 on the Grease Monkey roll, but still be able to manage a move of 9”–11” depending on if you overcharge the jump booster.
- Safe Mode+: Roll anything but a 1 for Grease Monkey, use your pack in safe mode for 19″–23″ of movement per activation and a 12″–16″ charge.
- Base/Baller scenario: neither dice is a 1, the Wrecker can move 20”—30” per activation, or charge 13”–21”.
If your head hurts for thinking about that, here’s a table:
| JB roll ↓ GM roll → | 1 | 2 | 3 | 4 | 5 | 6 |
|---|---|---|---|---|---|---|
| Overcharge Natural 1 (on first action) | Pinned, one action | Pinned | Pinned | Pinned | Pinned | Pinned |
| Overcharge Natural 1 (on second action) | 6" move, then pinned | 8" move, then pinned | 9" move, then pinned | 10" move, then pinned | 11" move, then pinned | 12" move, then pinned |
| Safe Mode | 9" move, one action | 19'' move, 12–14'' charge | 21'' move, 13–15'' charge | 23'' move, 14–16'' charge | 25'' move, 15–17'' charge | 27'' move, 16–18'' charge |
| Overcharge +1" | 10" move, one action | 20'' move, 13–15'' charge | 22'' move, 14–16'' charge | 24'' move, 15–17'' charge | 26'' move, 16–18'' charge | 28'' move, 17–19'' charge |
| Overcharge +2" | 11" move, one action | 21'' move, 14–16'' charge | 23'' move, 15–17'' charge | 25'' move, 16–18'' charge | 27'' move, 17–19'' charge | 29'' move, 18–20'' charge |
| Overcharge +3" | 12" move, one action | 22'' move, 15–17'' charge | 24'' move, 16–18'' charge | 26'' move, 17–19'' charge | 28'' move, 18–20'' charge | 30'' move, 19–21'' charge |
if you head hurts even more after looking at that table, sorry.
Putting it into practice
Woop-de-doo, what does it all mean?
Well, it means Wreckers are unlike almost anything else in the Underhive. With a Grease Monkey and some half decent luck, your jetpack junkies can traverse 4×4 boards in a couple of turns, and have a typical charge distance similar to a shotgun’s range.
Wreckers can play from deep, staying around corners, rapidly work their way across the board, then surge out to pick off key targets or snatch objectives. They can also rapidly reposition (more on that later).
It also makes them perhaps Necromunda’s ultimate glass cannons. Wreckers can zoom out of cover to pull off some truly improbable attacks, but they’re probably going to die right afterwards.
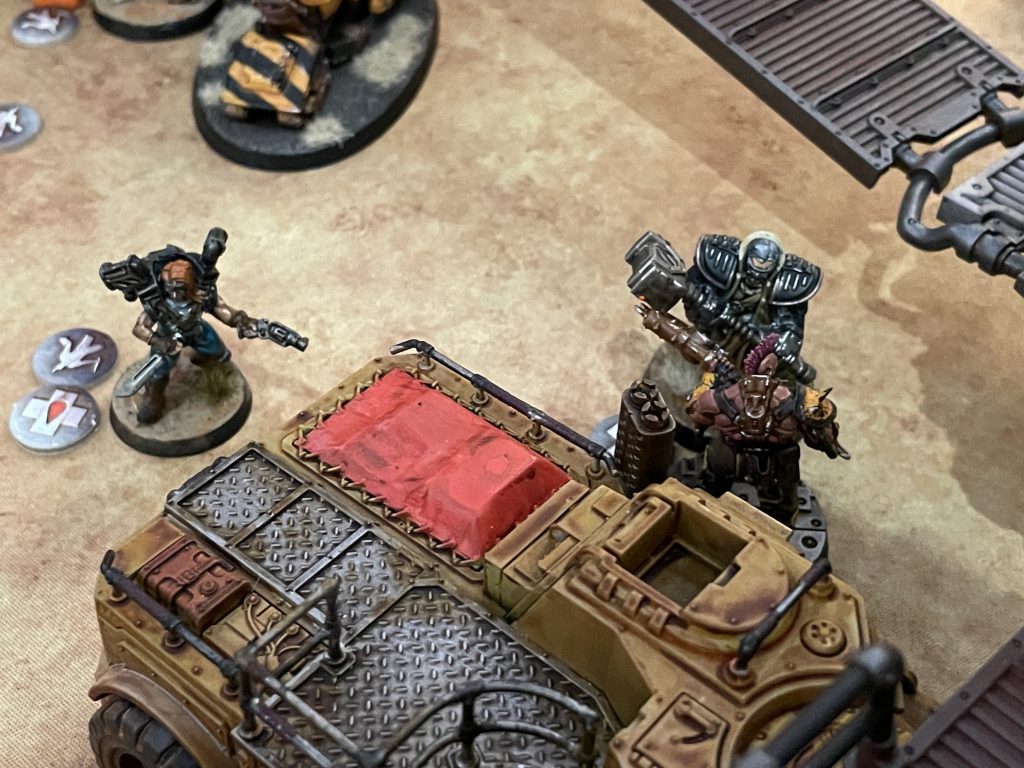
This creates a battle dynamic that will be familiar to chess players: trading. Often, ideal Wrecker play involves choosing the right moment to send a fighter into near-certain death, hoping that they’ll pick off a key target in the process. Tidy kills against isolated stragglers happen, but they can’t be counted on.
It’s why Wreckers work well against Van Saar, who can’t outshoot enemies they can’t see, and tend to crumple in combat. It’s why they struggle against Ogryns, who welcome an enemy that goes toe-to-toe and can shrug off most things Wreckers can throw out. It’s also why Wreckers can struggle against horde-y Cawdor: you usually can’t trade effectively when your opponent’s fighters are worth so much less than your Wreckers.
The key is making builds that can get kills, then picking the right Wrecker for the job.
That’s the philosophy. Now, the practicalities…
Gang Composition
We mentioned that Wrecker gangs are almost pure. That’s because you have to take a Road Captain as your leader. We’d recommend keeping them cheap, useful, and long-ranged — hanging back with a Grenade Launcher is ideal. Don’t bother with a melee build, because they’re never going to keep up. Use their Skills and Legendary name options to rake in some creds between games.
It feels like cheating if you’re really committing to Wreckage, but we’d also strongly recommend an Arms Master. That’s because of the stellar Rule of Iron special rule, which lets you give a nearby fighter Nerves of Steel (decent on a Wrecker), and also deducts 2 from Bottle Checks — extremely valuable. Again, keeping them cheap is the way. We like a shotgun for Executioner Rounds for a bit of ranged punch.
Finally, there’s Wreckers. At 55 creds a pop, they don’t come super cheap, but we’re here to go fast, not save credits.
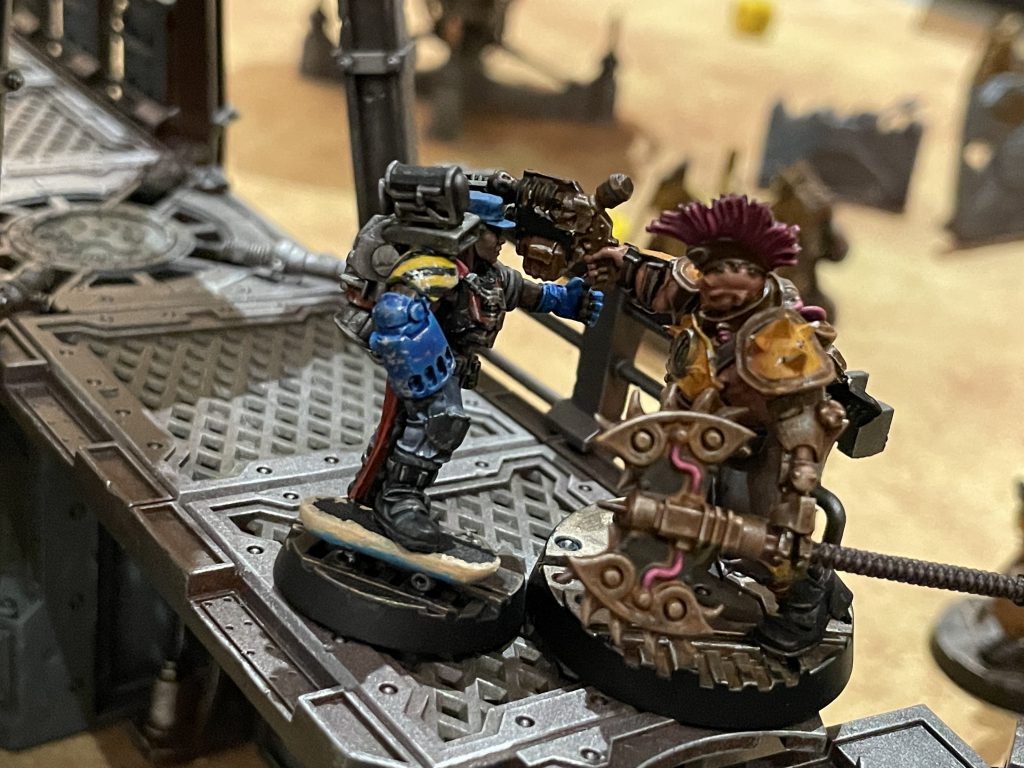
Stand-Out Skills
Wreckers have one Primary skillset, the excellent Shooting, with Combat and Savant as secondaries (now more relevant thanks to the new rulebook). There are few clear standouts:
— Hip Shooting: A 16″–24″ move AND a shooting attack is extremely good, and with a Demo Charge or Hand Flamer lets you brutally punish positioning errors. Important note: because this skill uses a unique action, Run and Gun (Double), it can benefit from the Grease Monkey boosted jump booster but NOT from the jump booster in safe or overcharge mode (which only work on regular moves or charges).
— Gunfighter: Wreckers’ limited weapon options mean pistols are pretty common. While Gunfighter isn’t always better than a (cheaper) Ballistic Skill advancement, it’s high-utility and plain good fun.
— Medicae: With the changes to medicae in the new rulebook, running a dedicated medic is suddenly quite a tempting prospect (no pun intended). Wreckers are really well set up at this.
An important caveat: Wreckers can use very fairly few of the Savant skills as they aren’t part of the gang hierarchy and therefore can’t Trade post-battle.
Weapons and wargear
Wreckers have a fair few default weapon options, but beyond the things on their house list can only take close combat weapons from the Trading Post, which is limiting but not disastrous.
As discussed, Wreckers work best in a kind of assassination role, which in practice means either effective close-range shooting (using their solid BS) or hard-hitting close combat (using the hit and strength bonuses from their jump boosters).
We favour embracing Wreckers’ aggressive orientation: focus your early creds on things that make them killier, exploit your unparalleled ability to make plays “from deep” to keep them safe, and accept that any Wrecker who can be hit is probably going down.
Important note: blind changes and blasts
As melee-oriented Wreckers have just one attack base, it’s important to find weapons that make those attacks reliable.
But it’s something that’s got a lot tougher with the new rulebook, which introduced a -1 to hit in melee if you can’t see your opponent pre-charge — typically wiping out the bonus from your jump pack. It’s a big blow, because Wreckers love blind charges, and means on a charge you’ll typically have two regular attacks hitting on a 5+, and a sidearm shot also hitting on a 5+.
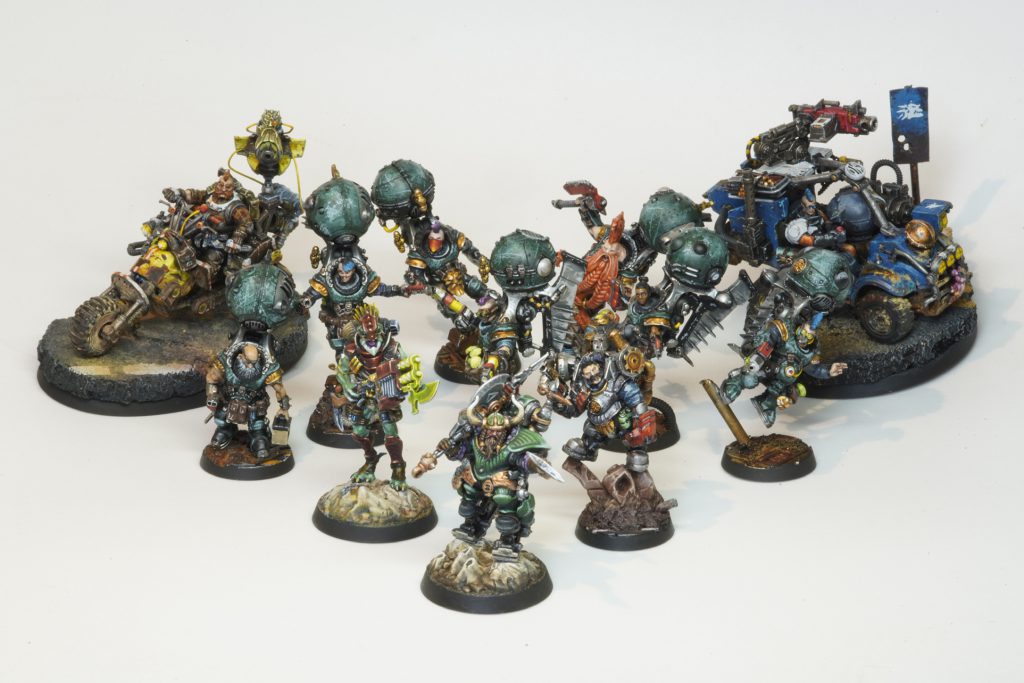
Because of this nerf (which feels somewhat illogical, but that’s a discussion for another day), our view is that shooting Wreckers are preferable to melee attackers in a starting list. This is reflected in our ratings below: most melee options are now, we reckon, generally inferior to their ranged alternatives. Of course, as a campaign goes on, you can grab WS advances and Trading Post treats to open up your melee potential a bit and exploit your strength bonuses.
Blast weapons have ALSO taken a hit. It used to be that you could dash into a group of enemies, lob a demo charge at the floor in the middle of them and hope for the best possible hit. Now, with a -2 to hit on targeting the ground, it’s somewhat less effective, and will mean you sometimes want to directly target a single enemy, potentially reducing how many people you hit and exposing you to target priority checks. Which is weird, because throwing something directly at the ground in front of you is really easy. Oh well.
Basic weapons
- Sawn-off shotgun: An awkward weapon usually, sawn-offs shine on Wreckers. Fly within 4″ and you’re hitting on a 2+, and will average three or four strength 3 shots. This is great for picking off weaker enemies, and can even give softer champions and leaders a scare. It can also get some nice upgrades, including Gas shells (which won’t trigger Hazardous Equipment as they are Blast but not Grenade or Template). The short range doesn’t matter because you’re so fast-moving. There’s also some serious potential synergy with the Marksman skill, which when triggered will apply to every Scattershot impact for a cluster of D2 wounds. Because of the make-of-break nature of most Wrecker attacks, it doesn’t matter that sawn-offs don’t work in melee — if you flop the shot, you’re dead anyway. Ignore the solid shot. Rating: B+
Pistols
- Autopistol: Better than stub guns if you want to get into combat, but slightly more pricey. Holding a pair of them can make for a decent melee combatant, but is probably a waste of your pack strength bonuses. If you’re going to shoot then the sawn-off is cheaper and similarly effective, but paired autopistols are slightly superior. They have some very solid ammo options that can keep them relevant as campaigns go on. Yes, it’s RNG — but you’re playing an RNG gang. Rating: A as a melee sidearm / A+ as paired shooting weapon
- Bolt Pistol: Outclassed by the plasma pistol, especially when you’re unlikely to survive to make multiple shots anyway. Rating: C
- Hand flamer: Blaze weapons are nasty enough, but Wreckers’ ability to position for that perfect template placement makes hand flamers extra excellent in their hands. Remember that your jump booster will make the attack Unstable, although the risk of death is still quite low. When you get Hip Shooting these go up another level because you no longer need to use your jump booster at all. The main trouble? They’re expensive. Rating: A
- Plasma Pistol: The prestige option, a single plasma pistol can offer a killy but somewhat unreliable sidearm. They’re better used as a pair (or carried alongside another, cheaper pistol). Get in close for that sweet +2 hit bonus on low power and pick off enemy champions and leaders. Turn it up to max when it’s time to bring down a big target. Rating: B as a melee sidearm / A+ as paired shooting weapon
- Stub gun: Accurate, cheap and reliable, the stub gun has a decent spot to offer a cheap extra attack on the charge (albeit one that won’t make use of your charge strength bonus). Paired, they’re certainly reliable at hitting, but aren’t particularly reliable at bring targets down. Getting a Bullet Merchant for dependable dum-dums makes them a fair bit better. Rating: C as a melee sidearm / B+ as a paired shooting weapon
Close combat weapons
- Chainsword: A nice hit bonus means you’ll be hitting on 4+ on a blind charge charge, and AP-1 is useful, but you’re paying a premium for Parry and Rending traits that will rarely make much difference, and you’re *only* strength 4. It’s good, just not great. Rating: B
- Fighting knife: Changes in the new rulebook mean you can now move around enemies when you charge, something Wreckers are very good at. In this situation, the humble fighting knife will hit at Str5. That is tasty, although you’ll usually be hitting on 5+. Rating: B
- Flail: +1 to hit and + strength means your charge attacks will hit on a 3+ (4+ blind) and wound all but the toughest targets on a 3+. Plus, Entangle is a nice bonus against enemies packing Parries. Flails flop a bit against armoured targets, but they’re still fairly effective against standard chaff. Rating: B+
- Maul (club): Very cheap for damage 2 and Str5 (on the charge), but lacking an accuracy bonus is a shame. Giving your opponent an armour bonus is also a pity, but if they don’t have any save to start with it’s probably worth the gamble. Rating: C
- Servo claw: Strength 6 on the charge is nice, taking you to that sweet 2+ wound spot against standard T3 targets and 3+ against most brutes. D2, also great. But no AP, no hit bonus and no traits. We like it, but don’t love it. Rating: C+
- Two-handed hammer: Two-handed hammers are fun, but they’re less reliable than ever now blind charges are -1 to hit: this means that usually you’ll be hitting on a 6+. When it works, it will really work, but it’s a big gamble. Rating: D
Grenades
As a reminder, everything in this category will automatically trigger Unstable if used in combination with your jump booster in safe mode or overcharge more (ie, your fighter will go Out of Action on a 1-3 post-throw). However, they can be used normally in conjunction with Hip Shooting or a Grease Monkey–boost-only move.
- Demolition charges: The big one. Demo bombers are the core of a Wrecker gang. Take these, brutally exploit any clustering your opponent does, bring D3, Str6, 5″ blast horror pain upon them. Single shot? Who cares, you’re likely to die right after anyway. These beauties have taken a knock in the latest rulebook with the nerf targeting the ground (boo, in this context), but are still terrifying. Rating: A
- Frag grenades: More likely to result in a Wrecker’s death than their target’s. Rating: D
- Krak grenades: Massively outclassed by Demo Charges. Rating: D
- Melta bombs: In combination with Lucky, an interesting assassination tool. Otherwise, probably too expensive for something this unreliable, especially when Demo Charges hit almost as hard. Rating: C
Selected wargear
Certain bits of wargear (photo goggles, respirators) are essential in some situations, and Hazard Suits are almost obligatory if there’s a Blaze-loving Cawdor in your campaign. But generally, we’d recommend skipping wargear and armour early on to keep your Wreckers focused on attacking.
Suggested loadouts
- The Barkeeper: Literally a Wrecker with a sawn-off shotgun. Play the flanks, aim to catch weaker targets, hope you manage to roll well. As a campaign progresses, add Gas Shells and gank unexpecting enemy leaders. Grab the Marksman skill and Lucky if you want to get truly filthy.
- Pistolero: Twin autopistols. Like the Barkeeper, get within 4″, hope for the best. As the campaign progresses, add Static, Manstopper or Warp Rounds, and the Gunfighter skill.
- Posh Pistolero: Like the above, but with one or two Plasma Pistols. Gunfighter is obviously good here, but a BS advance is usually better: it will be more valuable if one pistol goes out of ammo, and is equally good when you’re targeting one enemy. This fighter has a simple job: kill big targets (leaders, brutes etc.).
- Budget Pistolero: Like the above, but with twin stub pistols (and, at some point, dum-dums). Has a utility niche, but it’s not that exciting and lacks killing power.
- Choose-your-own Pistolero: Like the above but with a random combination of different pistols. ¯\_(ツ)_/¯
- Boomer: Wrecker with a demo charge. You can’t improve perfection. Take Hip Shooting and BS advances when you can.
- Fireball: Wrecker with a hand flamer. Get hip shooting ASAP and use your jump booster sparingly in the meantime.
- The Morning Star: Flail and autopistol. Decently reliable and cheapish but won’t improve much as a campaign goes on.
Trading post options
Here are some select options from the Trading Post that we particularly like. As a reminder, the only Trading Post weapons Wreckers can access as Close Combat Weapons.
- Heavy Chain Cleaver: This beast of a melee weapon, from the Book of Ruin’s Trading Post Appendix, feels almost custom-made for Wreckers: a hit bonus, S+2 (for that crucial Str6 on the charge), nice AP and Damage and, perhaps best of all, Sever — meaning you can pick off an enemy and then consolidate into cover. Try it, especially in combination with the Showboating tactics card, and you will know true power.
- Whisperbane Knife: Hard to get hold of, but every wound generated by this dangerous dagger’s scattershot will get the full benefit of your booster-enhanced strength. It’s also +1 to hit, and has the (now easier to use) Backstab trait.
- Frenzon Collar: Frenzon Collars are almost always great for melee fighters, but they shine on Wreckers because the downside (being forced to move towards the nearest visible enemy) is easy to offset through careful positioning. You can wait around corners as you move up, and then unleash a nasty charge, with a much better chance of sticking around afterwards.
- Greatsword: Works like a slightly cheaper but worse Heavy Chain Cleaver, and is also an objectively hilarious weapon. Pity they’re so Rare. Good for killing regular gangers, less so for anything with multiple wounds.
Hangers-on and brutes
Here are a few choice hangers-on and brutes that we reckon are worth particular consideration.
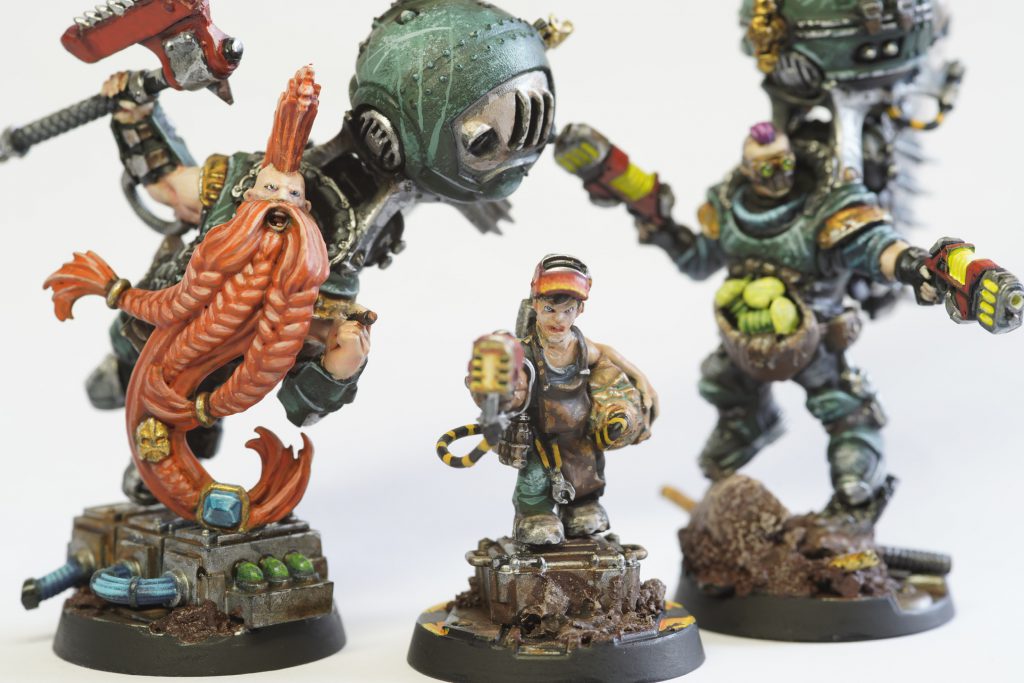
- Grease Monkey: Basically obligatory for a serious Wrecker gang, Grease early, grease often. If they end up showing up to a fight they pack a Hand Flamer, which is not to be sniffed at, but will crumple if attacked.
- Bullet Merchant: Orlocks love their special ammo, and Wrecker gangs are no exception — you’ll benefit a lot from access to reliable options for autopistols and sawn-off shotguns.
- Chem dealer: Wreckers can benefit pretty well for judicious drug usage. It’s an expensive way to run, but easy access to Frenzon Collars and stimm-slug stashes will pay off. Spur and Slaught are also interesting (but expensive) options.
- Lugger: With a Heavy Bolter, a Lugger can basically be your one-fighter firing line. We’d argue this is against the spirit of a Wrecker gang, but it’s undeniably effective.
- Ambot: Having Infiltrate means Ambots can keep up with Wreckers pretty well (or the other way around). They’re very easy to crowd control (particularly if your opponent has Blaze templates), but have a clear spot in a super-aggressive gang.
Legendary Names
Amid the usual mix of Legendary names, a few stick out as particularly good for Wreckers:
- Lucky: Lucky is a borderline broken ability, and its virtually-ignorable downside is even more ignorable on Wrecker because they play well as reinforcements. Come up with your preferred “but what if I could roll a 6 option”, don’t pick Threadneedle Worms because you don’t want to get kicked out of the club.
- Two Guns: Proccing nerves checks for nearby enemies when you use Twin Guns Blazing can potentially be super disruptive. When you’re already planning to use twin pistols — and you can position so freely — this skill is at its best.
- Badzone Legend: More on this in the next section.
Advanced Wrecker shenanigans
Wrecker rules are a little nuanced, which introduces a few of play options you might overlook on first glance. Here are a couple we like:
- The Elbow Drop: The jump booster rules say that should a Wrecker end their movement in mid-air, they will automatically fall. Players should recall that if you fall directly onto another model, they take the same hit that the falling fighter does. This does mean that you can fly directly into the air, move to above your target, and elbow drop them. This is where Badzone Legend comes into its own — grab it, and you can ignore falling damage on a 3+. Broadly, it’s a complete kamikaze move but with sufficiently hot dice you can get the 7.5″ inches you need to pull off a nasty drop. Just remember you’re probably just as likely to get hurt as your opponent.
- The Hammer Toss: Wreckers get a hit and strength bonus when they charge using a jump booster. Naturally, this mainly applies to melee attacks. But, if you can wrangle your way into getting a third action (eg through the Violent-Minded tactics card), then you can charge and then make a shooting attack with these bonuses. In addition, because you made a Charge (Double) action instead of Move (Simple), the Hazardous Equipment rule will not proc. It’s a “once a game” (/campaign) kind of thing, but this can significantly improve your Demolition Charge throws. Provided you’re prepared to be banned from the gaming club directly afterwards.
- Rapid Repositioning: If it hasn’t sunk in already, Wreckers can reposition really quickly. This can lead to some interesting deployment options. Try putting all your Wreckers on one side of the board then, once your opponent mirrors you, move everyone across to the other side on turn one, and watch them scramble to catch up. This can be really effective in certain mission and also gives the impression that you’re a strategic genius.
Suggested gang lists
Chef’s Wreckermendation — 1,000 creds
This list is very shooting focused, and will struggle initially in a campaign packed with Goliath, Squat and Ogryn gangs. But it’s very versatile, has plenty of punch and loads of scope for development.
- Road captain w/ grenade launcher, mesh armour (Fixer, Too Pretty for Primus) — 185
- Arms Master w/ shotgun, autopistol, mesh armour (True Grit, One Punch) — 145
- Wrecker w/ twin autopistols — 75
- Wrecker w/ sawn-off shotgun — 70
- Wrecker w/ hand flamer — 130
- Wrecker w/ demolition charges — 100
- Wrecker w/ demolition charges — 100
- Wrecker w/ twin plasma pistols — 155
- Grease Monkey — 40
Jetsmack — 1,000 credit
This gang leans more into melee. You’re gonna miss, a lot, but when you hit it will be fairly nasty.
- Road captain w/ grenade launcher, mesh armour (Fixer, Too Pretty for Primus) — 185
- Arms Master w/ shotgun, autopistol (True Grit, One Punch) — 130
- Wrecker w/ fighting knife and autopistol — 75
- Wrecker w/ twin stub guns — 65
- Wrecker w/ flail and autopistol — 85
- Wrecker w/ chainsword and autopistol — 90
- Wrecker w/ demolition charges — 100
- Wrecker w/ servo claw and stub gun — 100
- Wrecker w/ hand flamer — 130
- Grease Monkey — 40
Final thoughts
Wreckers gangs are a fun, zany, silly way to play Necromunda. At their best, they’re board-trotting alpha strikers — rapidly closing gaps and brutally punishing positioning errors by your opponent.
At their worst, they’re going to spend half the game struggling to activate or accidentally face-planting, and will whiff their attacks any time they try to engage.
In practice, you’re likely to find the normal experience is somewhere in the middle. A weird, janky, swingy gang that delights and disappoints, but gives you (and your opponents) a unique challenge on the board.
Has this inspired you to try a Wrecker gang? Have you tried one already, and vehemently disagree? Would you like to see other themed gang guides? Drop us a line at necromunday@goonhammer.com.
Want to read more Necromunda guide content? Why not check out our recently-launched Ironhead Squats gang guide.


You must be logged in to post a comment.