
Welcome back, Dear Reader, to my ongoing chronicle of competitive and hobby progress in Warhammer 40,000 for 2024. Last time around I talked about doing some final prep games for the Oxford GT with my Death Guard, testing the list against Blood Angels and Sisters of Battle and making a final determination on how I wanted to handle the two squads of plague marines in my list. This time around it’s time to talk about the Oxford GT and my travel to England. I’m going to break this into two parts – in the first part (today), I’ll talk about my trip out and the first day of the event. In the second part (tomorrow), I’ll talk about the final two games and the trip back.
From my discussions with readers, I’m pretty sure that about half of you read this series for the games and the other half (or more) read for the travelogue bits and to find out what I’m eating on any given trip. So I’m leaning more heavily into that stuff with this trip. If that’s not your jam, let me know but you can also scroll down a bit to get to the day 1 games. They’re in here, I promise.
The Fun Parts About Travel and Food
I flew out to England last year for Warhammer Fest; that would have been the ideal occasion to return this year – especially with my son, Bryce – but alas, that seems to have been a one-time deal. Maybe for 11th edition. The Oxford GT is, by comparison, much less of an event and more just a bog-standard tournament – a big room of players grinding out 5 rounds of games with no bells and whistles for the lad to enjoy. That said, there was still reason to make the trip – I have a sister who moved to England late last year, to a town just north of London. Her daughter and my son are close in age and close friends, and so it’s always a good time when we can visit each other and the kids can get together.
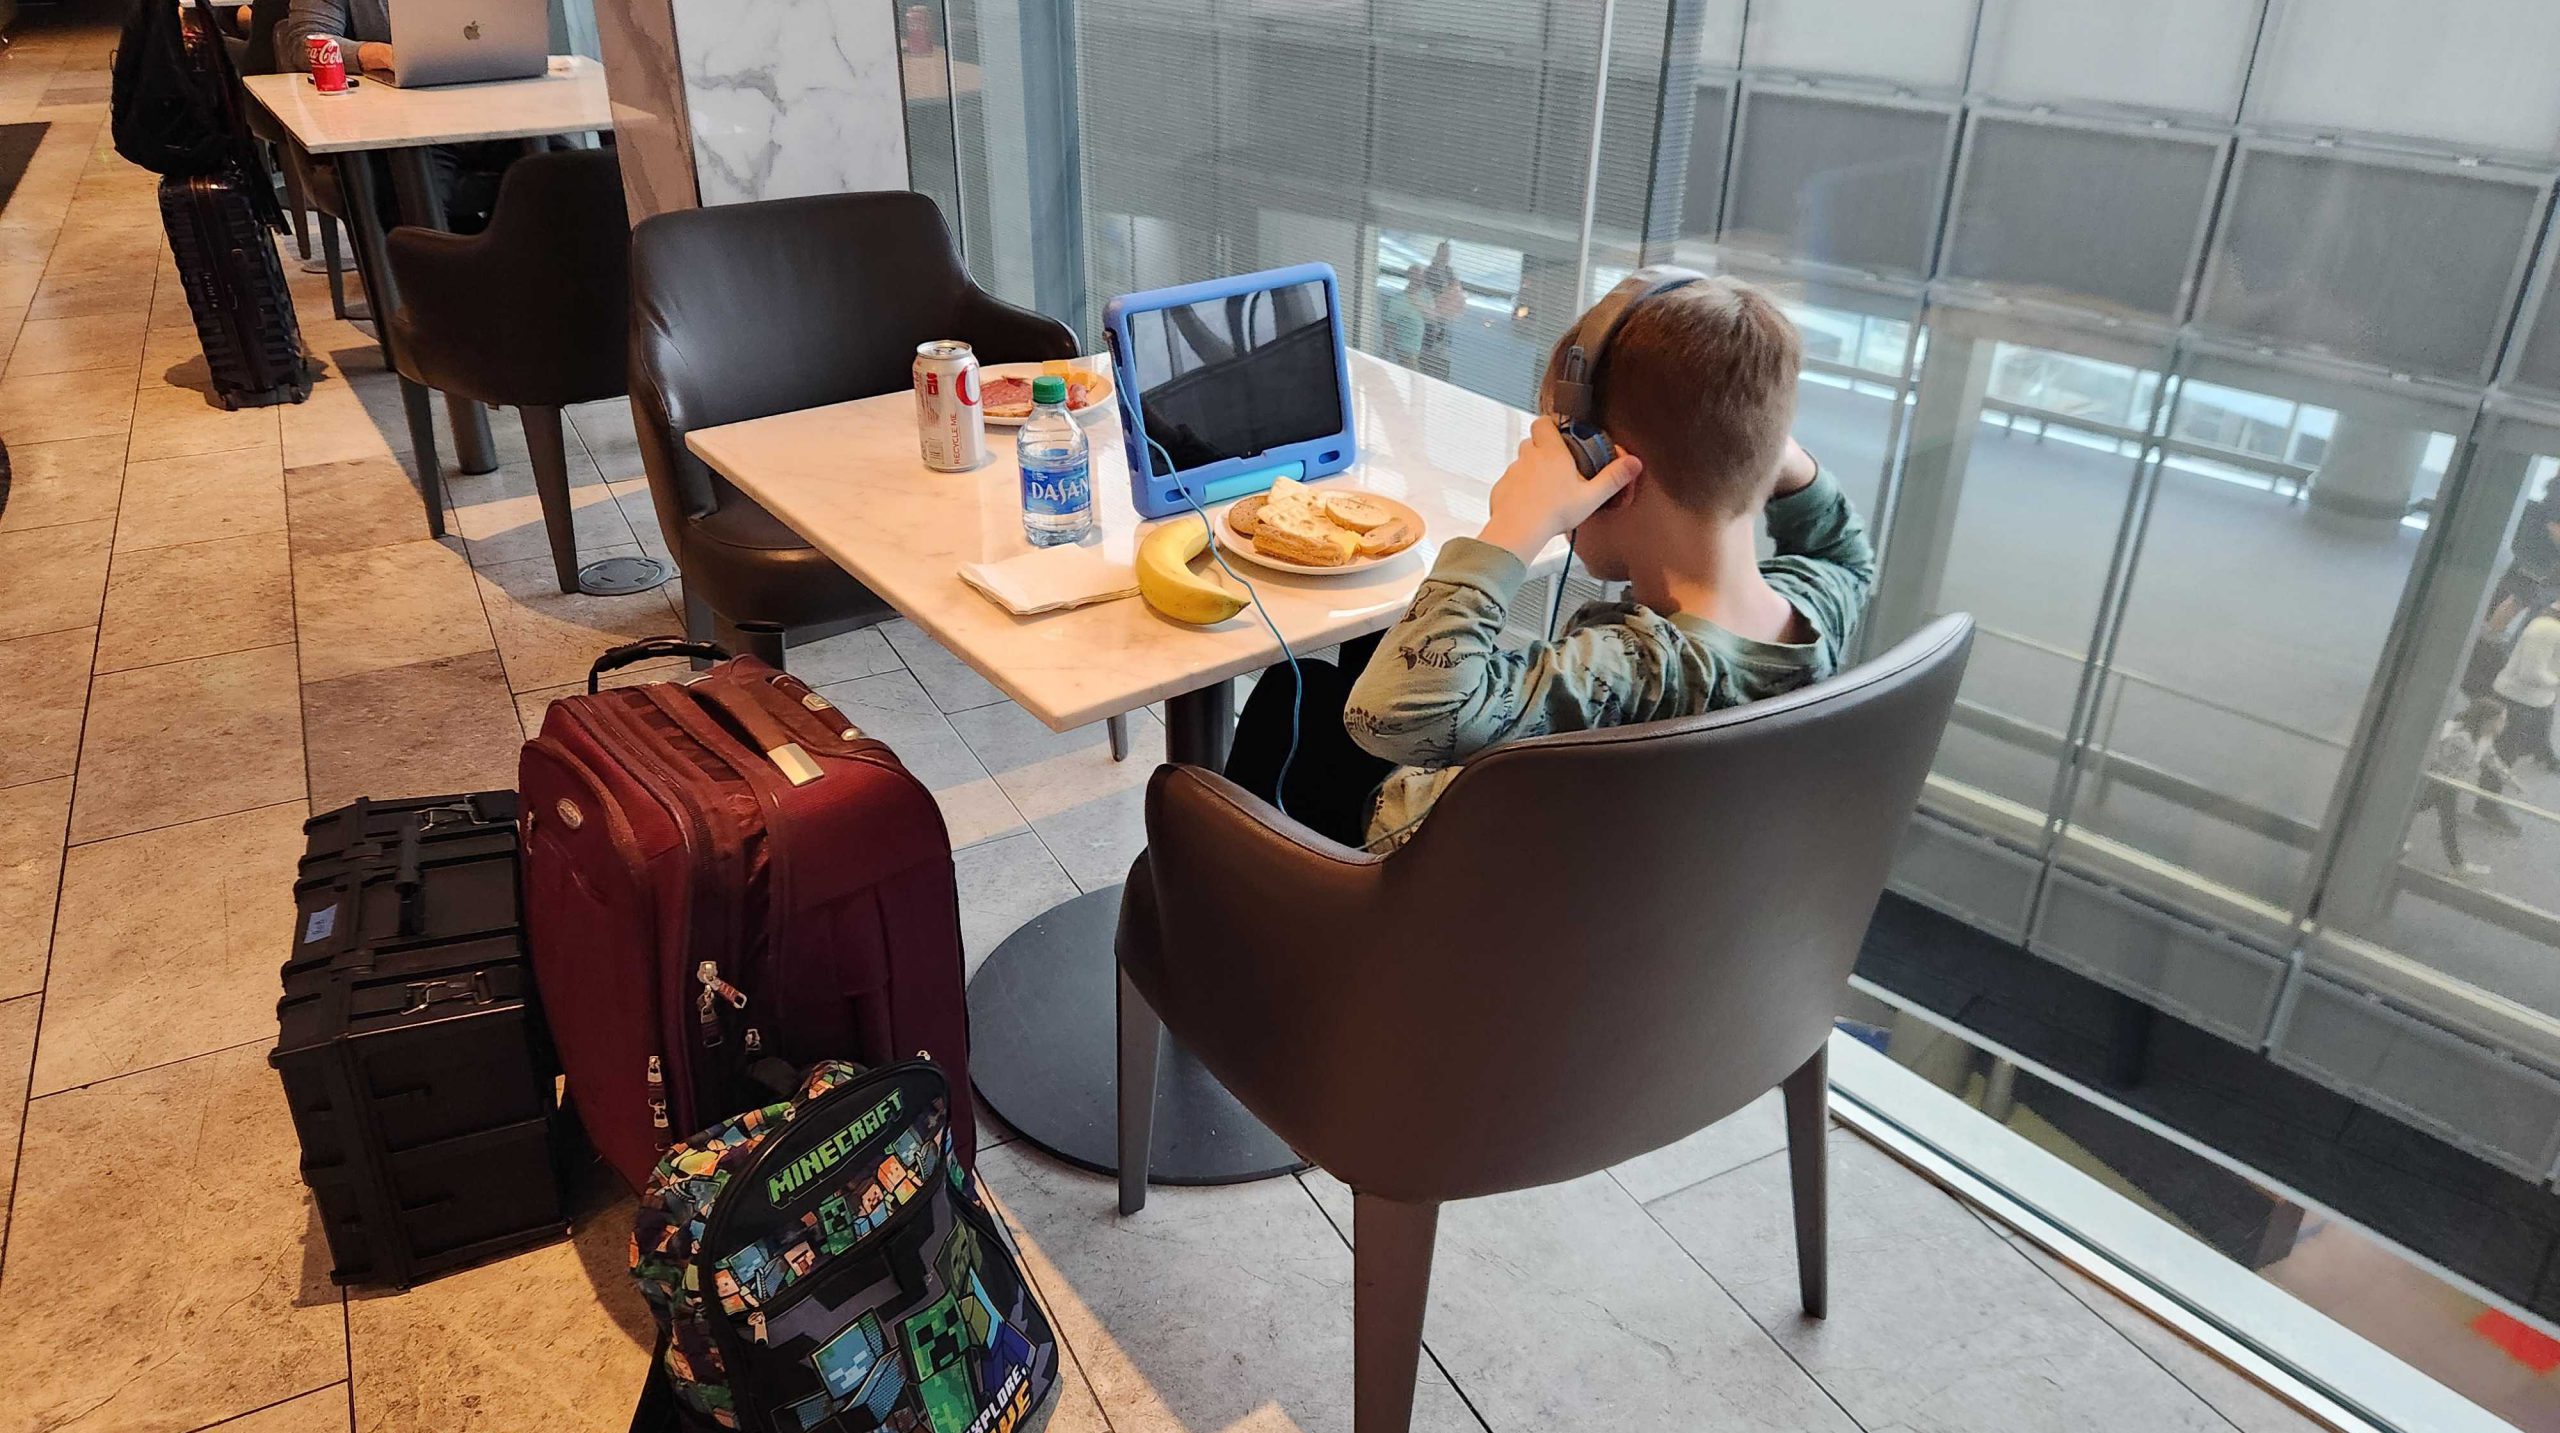
For this particular trip, I am traveling solo with the boy. My mother is already in England and more than willing to help shepherd her grandchildren around, while the missus has work matters to attend to back in New York. Taking Bryce on a solo trip while the wife can do work and fun stuff in NYC scores me a shitload of husband points so I’ll take it.
This is, for most people, a daunting task – a ten-hour flight with a seven year old?! – terrible! But not that bad. At least, going over. Here are a few of my tips:
- No checked bags. This is the biggest one, and the hardest to pull off. In my past experience, the biggest meltdowns happen while you’re in customs lines or waiting for a bag. They’re exhausted and cranky, and then they have to do their least favorite activity in the world. Any time you can shave off that is a godsend, and removing the bag waiting from that process can be huge. Children’s clothes are small and I can fit both his and my clothes into a single carry-on, letting me carry on the minis case. On that note,
- Never check the minis. Checking your minis is a surefire recipe for disaster. Never do it unless you have to. Can’t fit an army in a carry-on minis case? Take a different army. This is the easiest way to ensure your minis both arrive and are intact at their destination. Well, mostly – more on that later.
- Take care of the inflight entertainment. Kids will sit through a surprising amount of TV, and being smaller means the seats are plenty spacious for them – most can sleep just fine in coach, though they’ll often force you into a middle seat when they clamor for a window view. That part stinks, but it’s often worth it to keep them occupied. That said, you never know when there’s gonna be an issue with the inflight TVs, plus you have those interminable announcements about takeoff, landing, and whatever stupid credit card the airline thinks you want to buy midflight, so having a backup tablet with headphone sized for your kid is a pro strategy.
- Set up the meal ahead of time and bring snacks. Many airlines – including United, which we flew on – allow you to make special meal requests and order children’s meals on the flight. This is clutch, as it helps ensure your kid will receive a meal they may actually eat. The United meal was chicken tenders and fries, and those are absolutely on my son’s short list of “foods he will eat without complaint.” That said, they’ll likely want to eat more, especially on a longer flight, and if you can ply them with snacks at regular intervals, that’s a good deal. That said, when you’re flying internationally make sure any fruit or produce you pack gets eaten or tossed on the flight – you don’t want to be caught accidentally trying to smuggle produce into another country. They frown on that shit pretty hard, and even trying to take a banana from your flight into the destination country will get you into trouble.
All of this said, going over is way easier than coming back, because going over is a night flight, and the kids will sleep for a big chunk of it. For this flight I spent a shitload of miles I had accumulated traveling to Warhammer events over the last two years to get some first class upgrades. They were well worth it, as it meant that not only was Bryce pretty much guaranteed to sleep, I would also actually get some sleep – I am almost completely unable to sleep in plane seats, but I’ve definitely dozed off in the lay-flat pod beds before. Going back I think this will be much less necessary, mostly because it’ll be a day flight and my son hasn’t taken a nap since he was two years old.
The flight to England went off pretty well. The other upside to upgrading is that we got to eat in the Polaris lounge while we waited, so the boy was properly sated with food before we left (the Polaris burger was absolutely preferable to the plane food). He was a model citizen for most of the flight, though he did do a bit more running around than I would have liked on the planet, but not so much as to really bother anyone. He watched a movie and then dozed off for most of the flight, and I had to wake him for breakfast. I probably did that too early and should have just let him sleep since he didn’t eat any of the breakfast but that’s a lesson learned.
Despite a longer wait at UK customs than I’d have liked – there’s a separate line for families traveling with kids under 10 which is poorly-staffed – things went really well and we met up with my sister, niece, and my mom at the airport. The kids had a cute reunion and hug session, then we were off. We spent the day chilling at her house and hitting up a local park.

Warwick Castle, Legoland, and Trip Logistics
They key to making this trip fun for everyone is combining the Warhammer with regular vacation activities in a way that helps mitigate the fact that I’m passing my son off to my mom for two days. So our plan is this: On Saturday we’re going up to Warwick Castle for the day, then around 3pm I’ll head from there down to Oxford by train. The castle is about an hour north of Oxford and closer than my sister’s house, making it relatively convenient to travel to. Then on Sunday night after the event I’ll meet them at Legoland (again, traveling by train), stay the night at the resort, and we’ll spend Monday at the theme park before heading back up to my sister’s house. That way I get to spend two days putting in my 9-to-5 at the Warhammer factory without missing out on some of the big tourist stuff and times with my son.
While it’s fairly cold and rainy for most of my trip (England in April, basically), we get a solid, mostly sunny day with great views of the English countryside. The castle itself is rad as hell and the kids love running all over it and exploring the castle walls. The height of the trip is watching the trebuchet fire, which we watch from up on the castle hill and it’s entirely rad. Shortly after, I hop a train to Oxford. This ends up being more complicated than I expected – the Train Station has, for some reason, closed at noon on a Friday and there are no ticket machines to buy tickets from but even on my slow-ass international roaming phone internet I’m eventually able to buy ticket, and from there it’s an hour and a half or so to the Oxford train station where James “One_Wing” Grover and Liam “Corrode” Royle are waiting to pick me up.


Liam’s crashing at Wings’ place this weekend and on Friday night we’re hanging out while they get in a practice game. Liam’s running firestorm Blood Angels against James’ Canoptek Court. Things look pretty good for James when we get back in the middle of his turn 2 shooting phase, but he whiffs pretty hard on those shots and overextends, allowing Liam to claw his way back and score a win. It’s Liam’s first win against James in years, but it’s not really a portent of anything important. We crush some Chinese food shortly after after and James did me a solid of calling me a cab to my hotel. This is in part because he insists my hotel is “in the boonies” – it’s less than five miles from both his house and the venue, for the Americans keeping track.

I’m staying at a place called the Coach and Horses in Chiselhampton, just down the road of the venue and south of Oxford. It’s a cozy little place with an attached pub/restaurant. It’s surprisingly comfortable, and they make a solid breakfast. The beans are still gross, though – I understand the British do baked beans with breakfast and while that’s weird, I could live with it if the beans were good. But they’re not, they’re not even good baked beans. The breakfast was OK otherwise. Hash brown was good; the eggs tasted like they were powdered/freeze-dried.
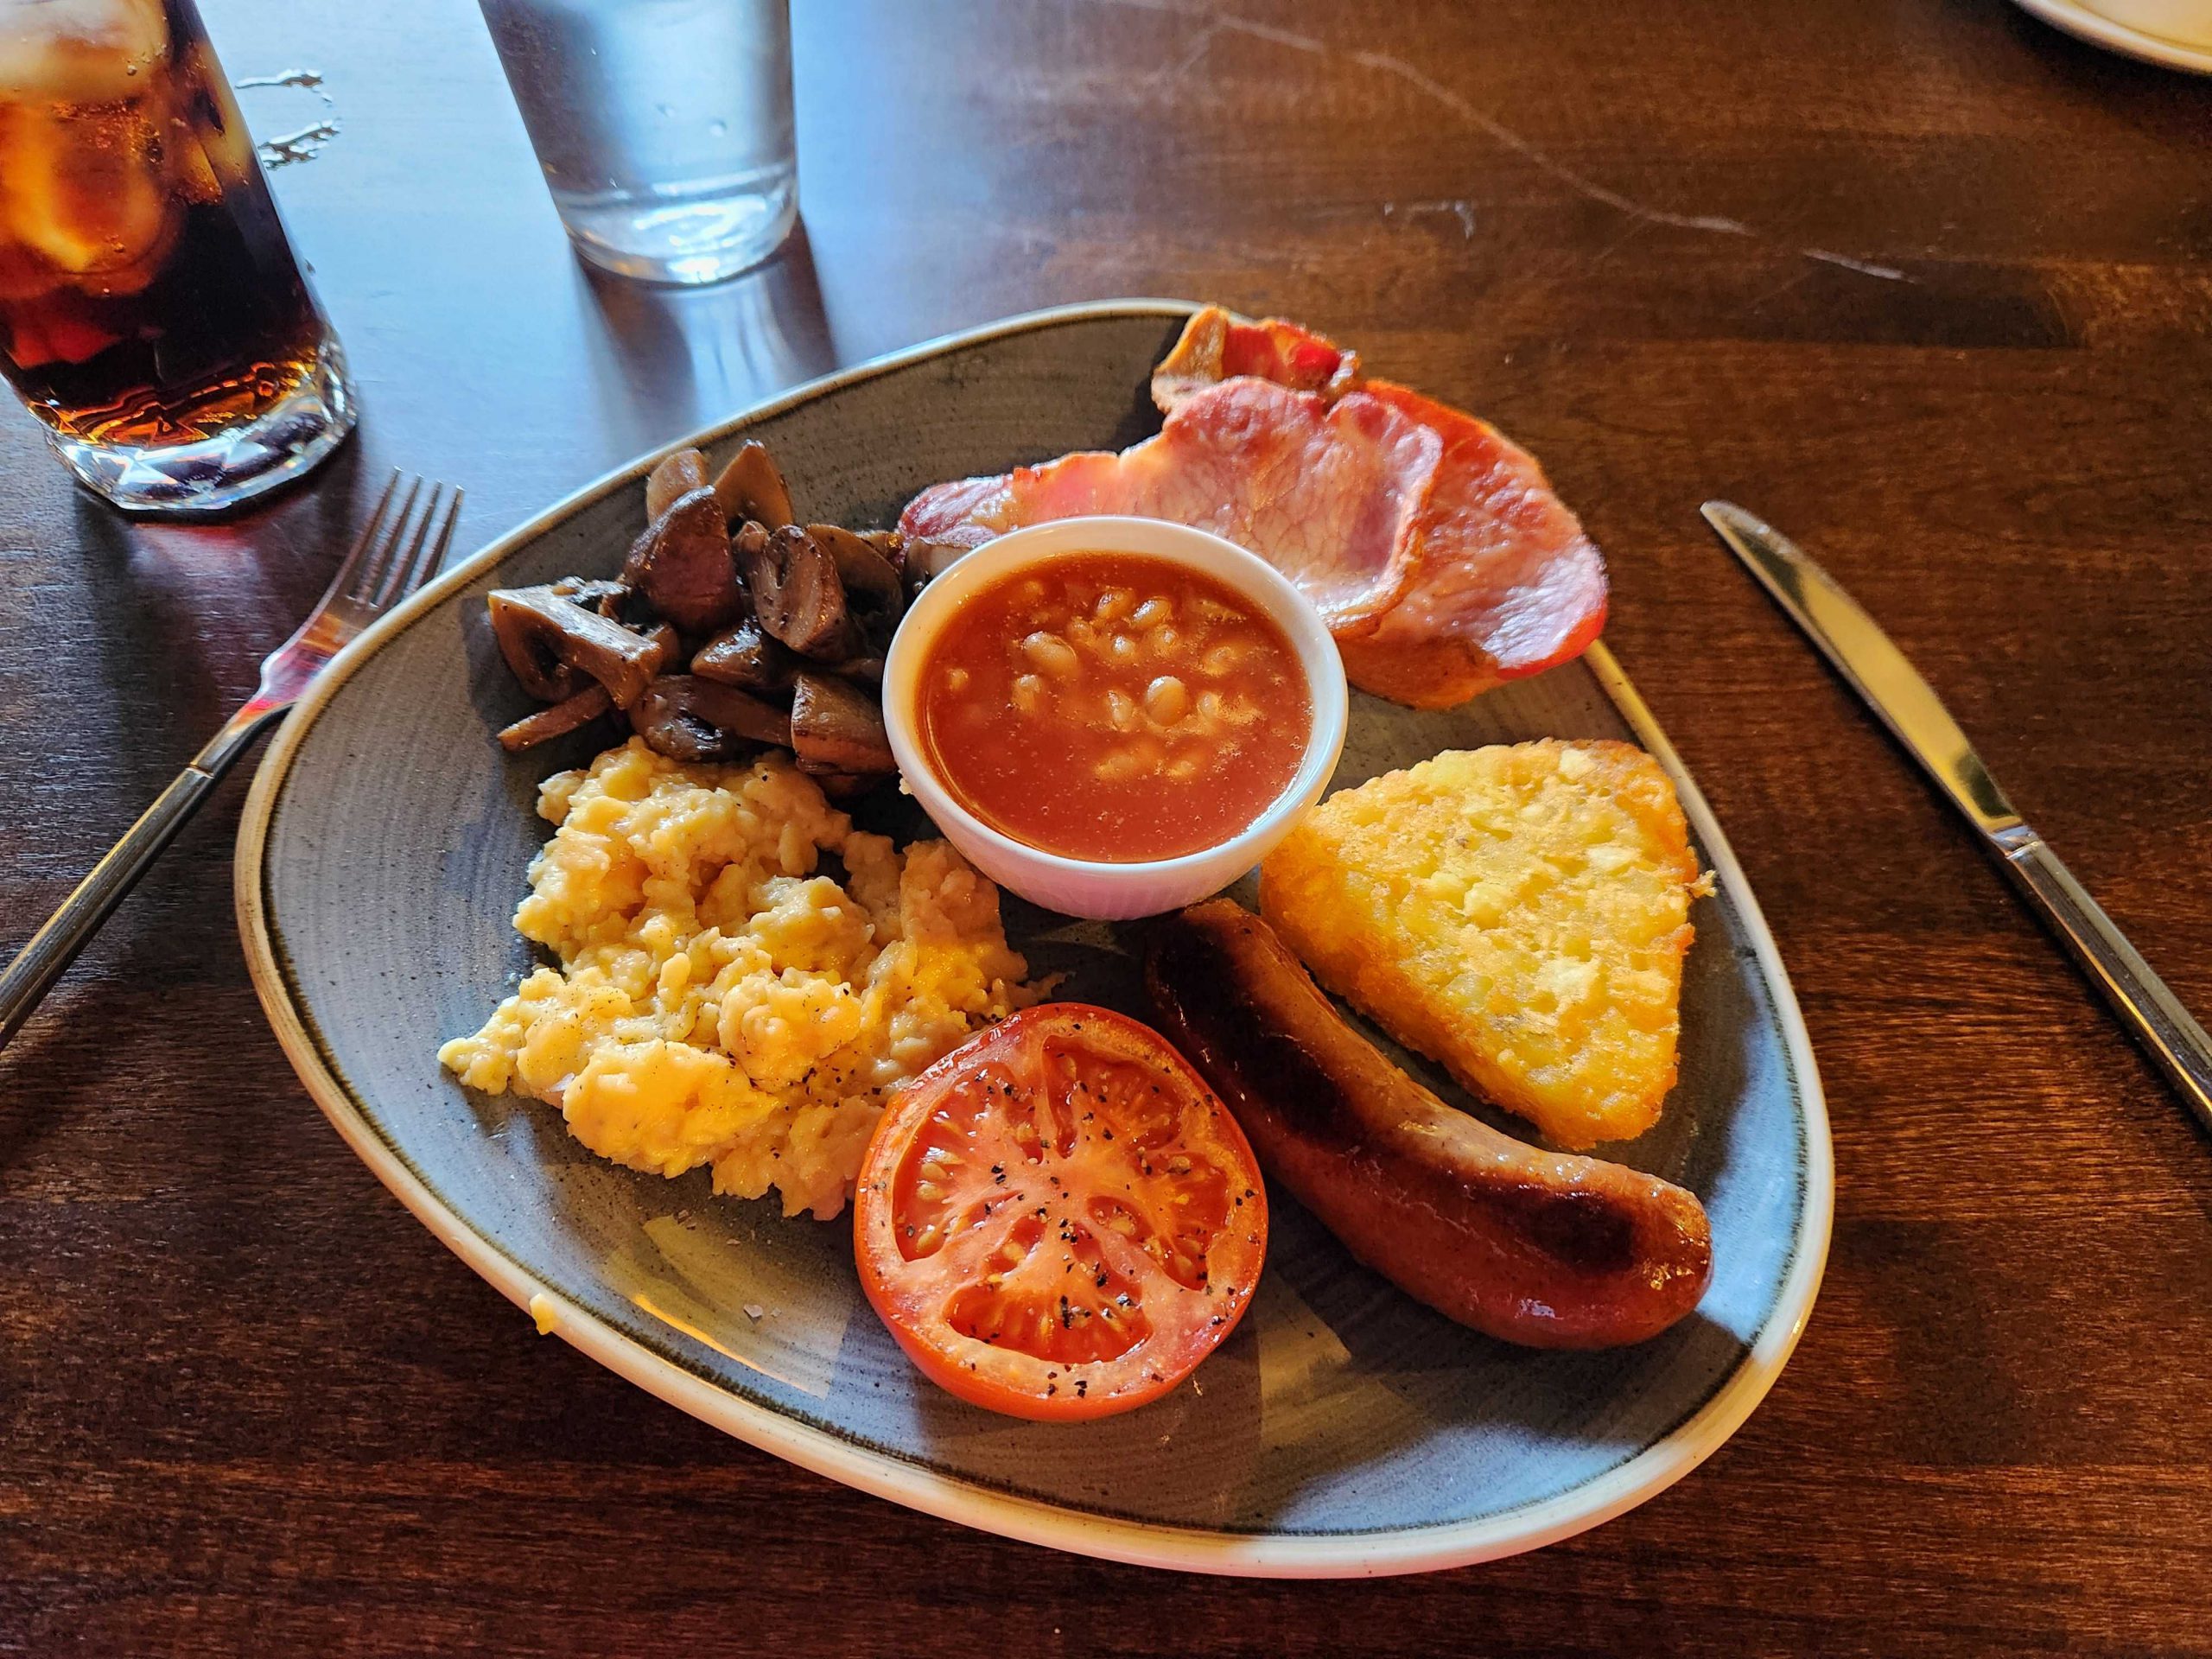
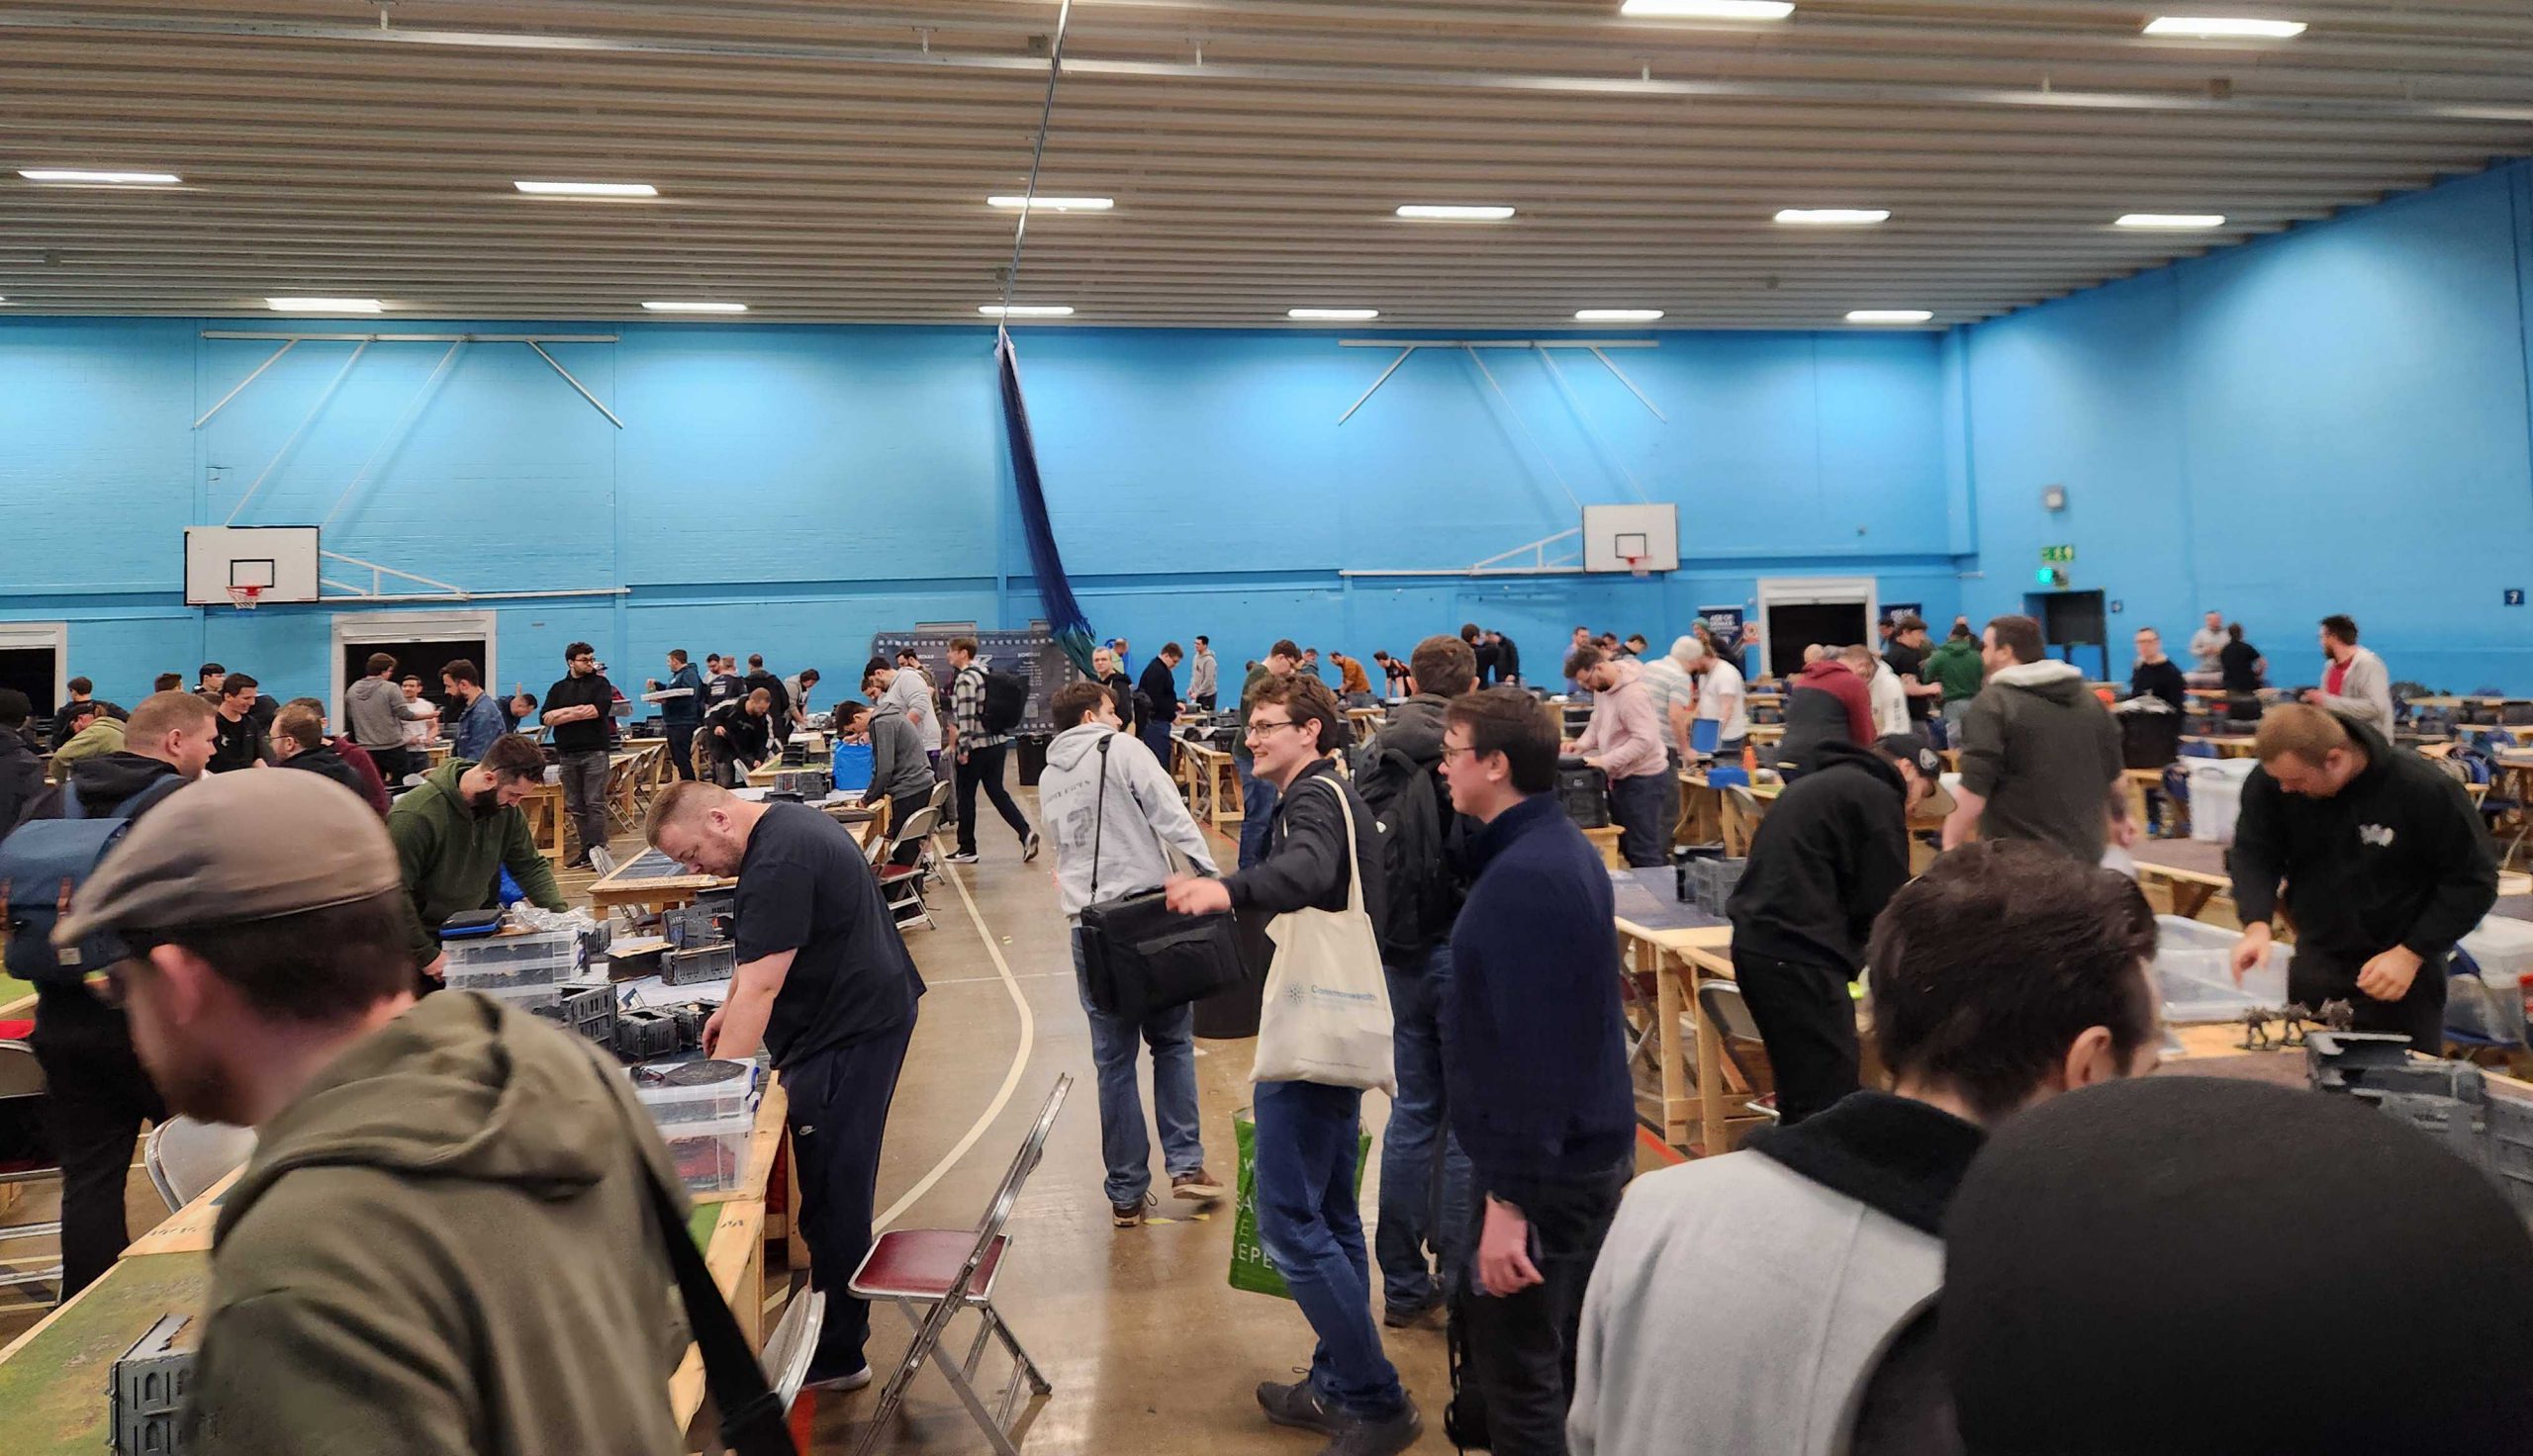
Anyways, I crush most of a plate of this the morning before the event and I’m off to the Leys Pool and Leisure Center for the Oxford GT. The hostess who orders me a cab assures me it’s not actually that far and she “takes her kids to that pool all the time,” reinforcing the notion that Wings is a city snob. Which, yeah I think he’d agree with that.
The Boring Parts About Warhammer 40,000
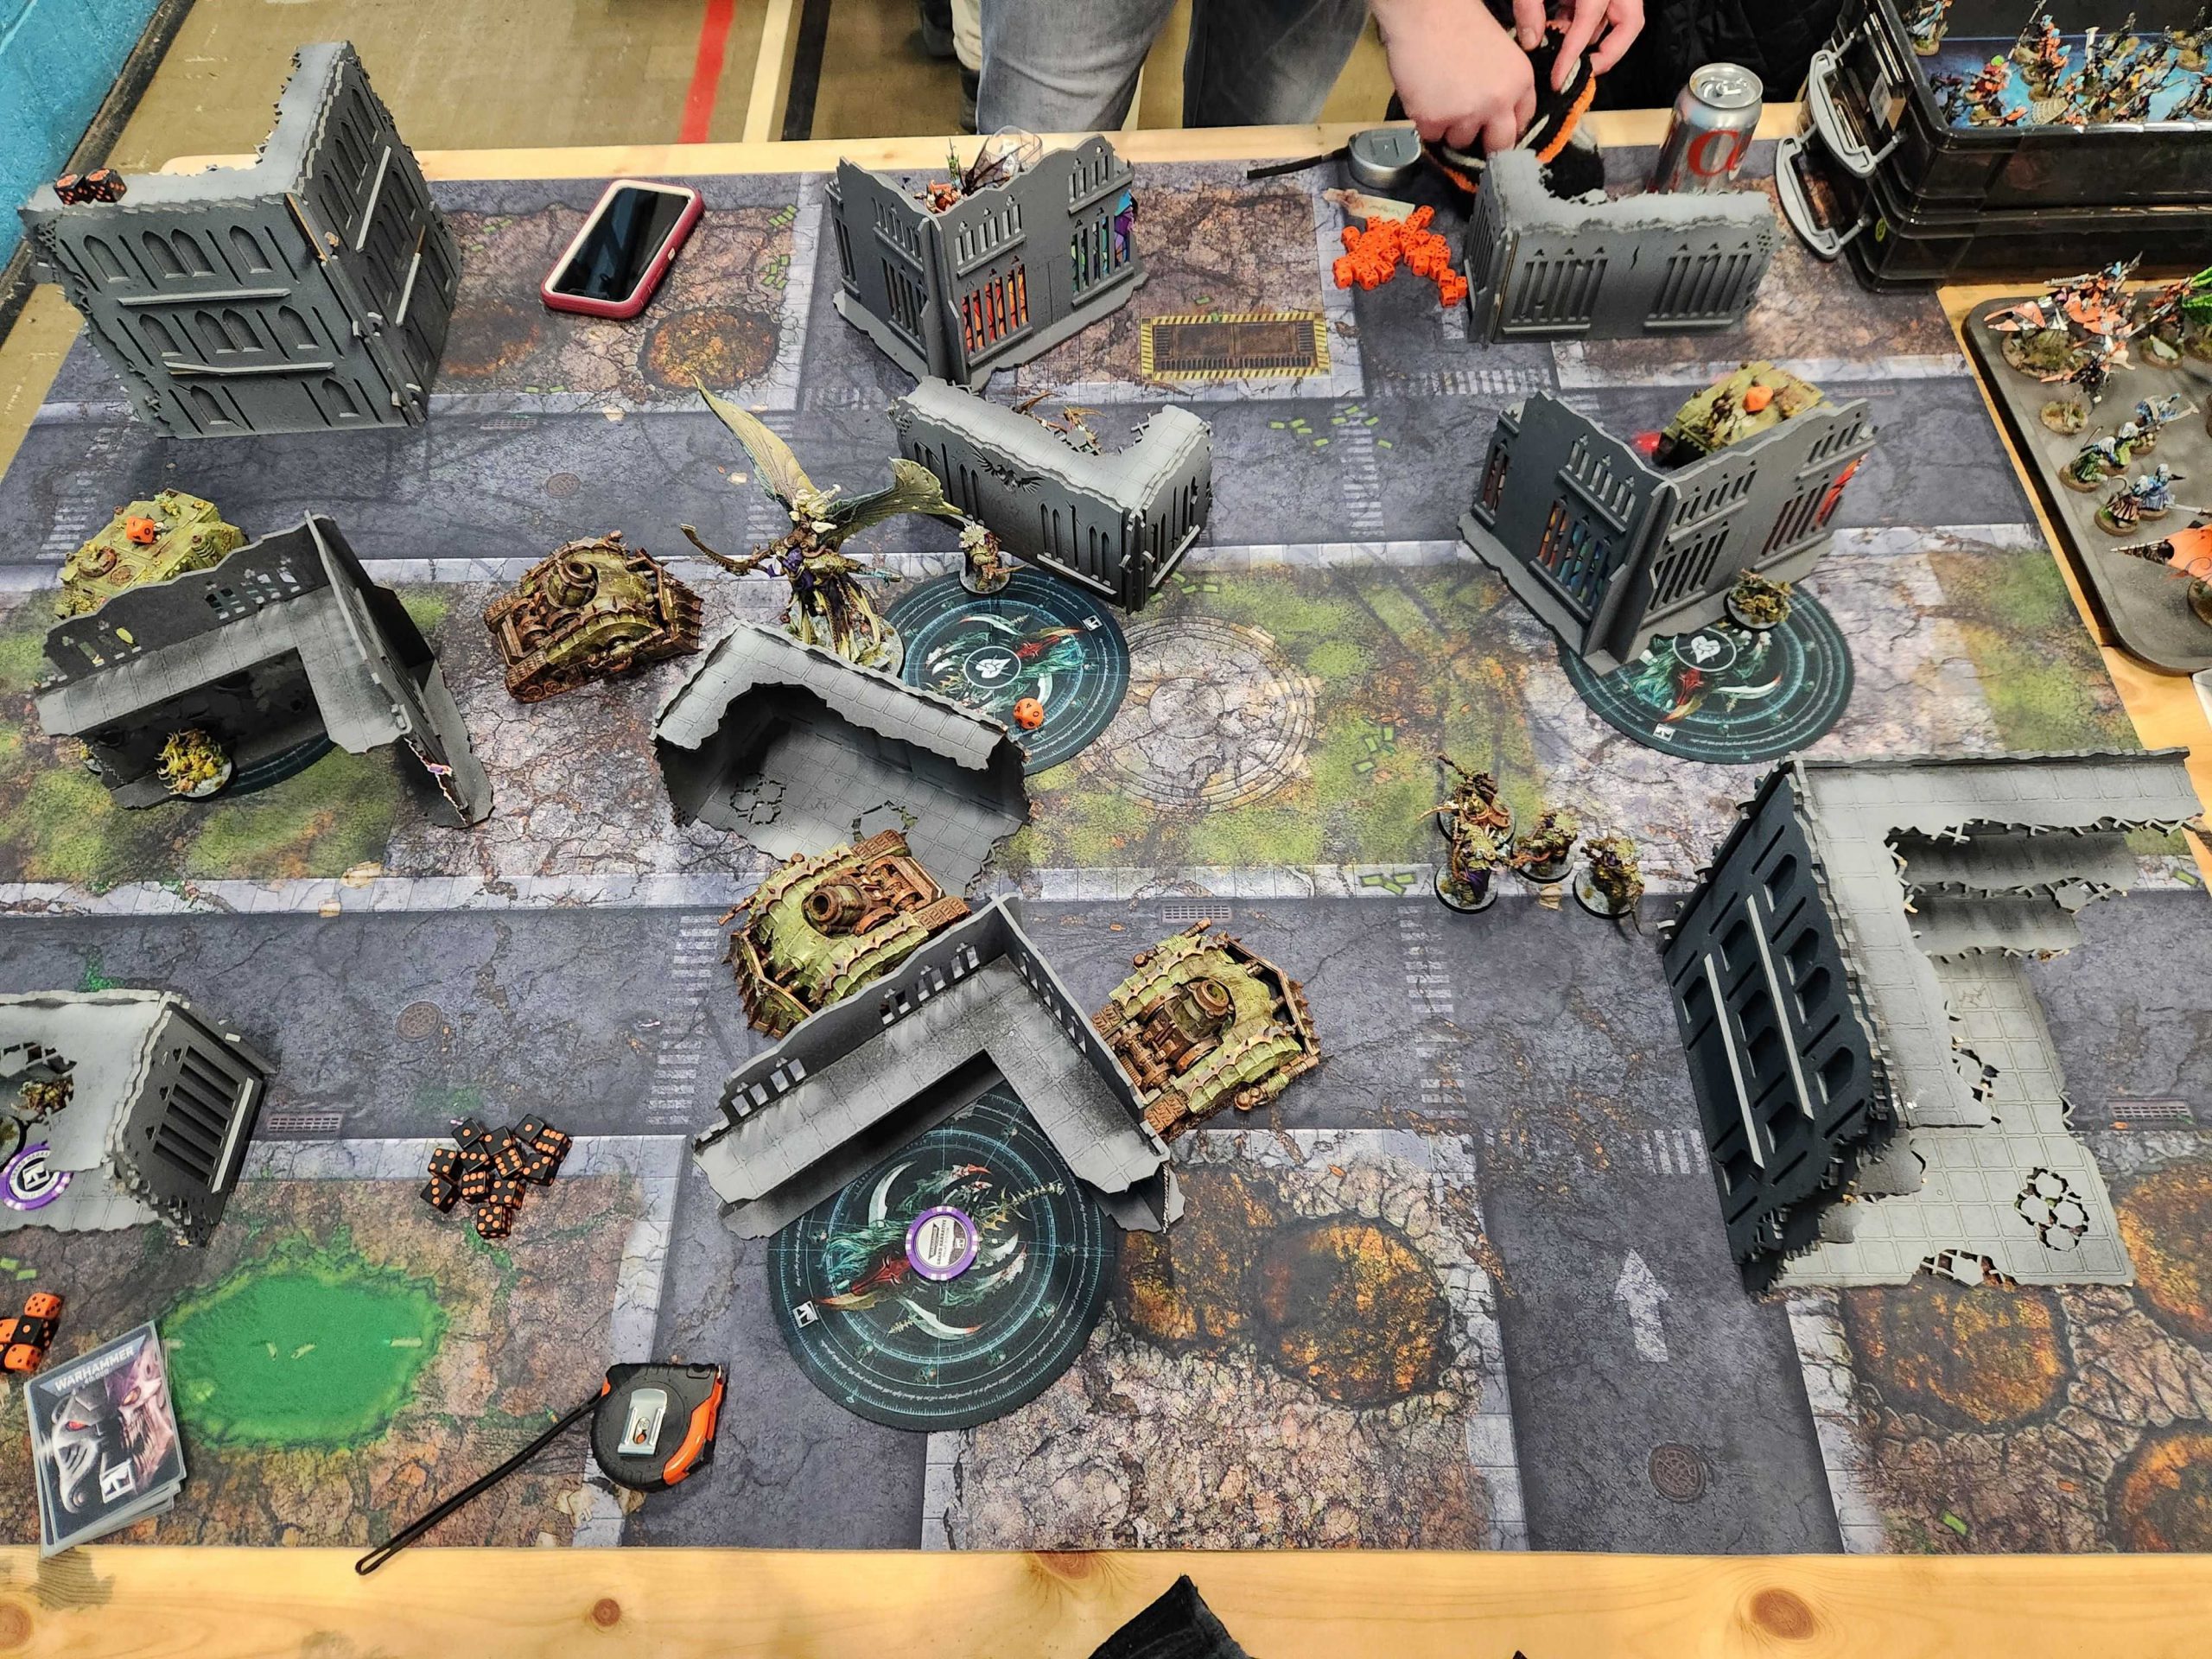
Day 1 at the Oxford GT. Before we dive into this, it’s worth one last refresher – this is the Death Guard list I’m running for the event. It’s basically unchanged from the last few weeks of practice games. Even if I wanted to make adjustments, I’d rather just stick with what I’m comfortable with right now.
My list - click to expand Oxford GT list (2000 points) Death Guard CHARACTERS Foul Blightspawn (50 points) Lord of Virulence (80 points) Mortarion (325 points) Tallyman (45 points) Typhus (80 points) BATTLELINE Plague Marines (180 points) DEDICATED TRANSPORTS Death Guard Rhino (75 points) OTHER DATASHEETS Deathshroud Terminators (120 points) Plagueburst Crawler (180 points) Plagueburst Crawler (180 points) Plagueburst Crawler (180 points) ALLIED UNITS Nurglings (40 points) Exported with App Version: v1.12.0 (40), Data Version: v357
Strike Force (2000 points)
Plague Company
Biologus Putrifier (50 points)
• 1x Hyper blight grenades
1x Injector pistol
1x Plague knives
• 1x Close combat weapon
1x Plague sprayer
• 1x Heavy plague fist
1x Twin plague spewer
• Warlord
• 1x Rotwind
1x Silence
1x The Lantern
• 1x Close combat weapon
1x Infected plasma pistol
• 1x Master-crafted manreaper
Plague Marines (180 points)
• 1x Plague Champion
• 1x Heavy plague weapon
1x Plasma gun
• 9x Plague Marine
• 2x Blight launcher
3x Heavy plague weapon
2x Plague belcher
9x Plague knives
2x Plague spewer
• 1x Plague Champion
• 1x Heavy plague weapon
1x Plasma gun
• 9x Plague Marine
• 1x Blight launcher
4x Heavy plague weapon
2x Meltagun
9x Plague knives
2x Plague spewer
Death Guard Rhino (75 points)
• 1x Armoured tracks
1x Combi-weapon
1x Havoc launcher
1x Plague combi-bolter
• 1x Armoured tracks
1x Combi-weapon
1x Havoc launcher
1x Plague combi-bolter
Deathshroud Terminators (120 points)
• 1x Deathshroud Champion
• 1x Manreaper
1x Plaguespurt gauntlet
1x Plaguespurt gauntlet
• 2x Deathshroud Terminator
• 2x Manreaper
2x Plaguespurt gauntlet
• 1x Deathshroud Champion
• 1x Manreaper
1x Plaguespurt gauntlet
1x Plaguespurt gauntlet
• 2x Deathshroud Terminator
• 2x Manreaper
2x Plaguespurt gauntlet
• 1x Armoured tracks
2x Entropy cannon
1x Heavy slugger
1x Plagueburst mortar
• 1x Armoured tracks
2x Entropy cannon
1x Heavy slugger
1x Plagueburst mortar
• 1x Armoured tracks
2x Entropy cannon
1x Heavy slugger
1x Plagueburst mortar
Nurglings (40 points)
• 3x Nurgling Swarm
• 3x Diseased claws and teeth
• 3x Nurgling Swarm
• 3x Diseased claws and teeth
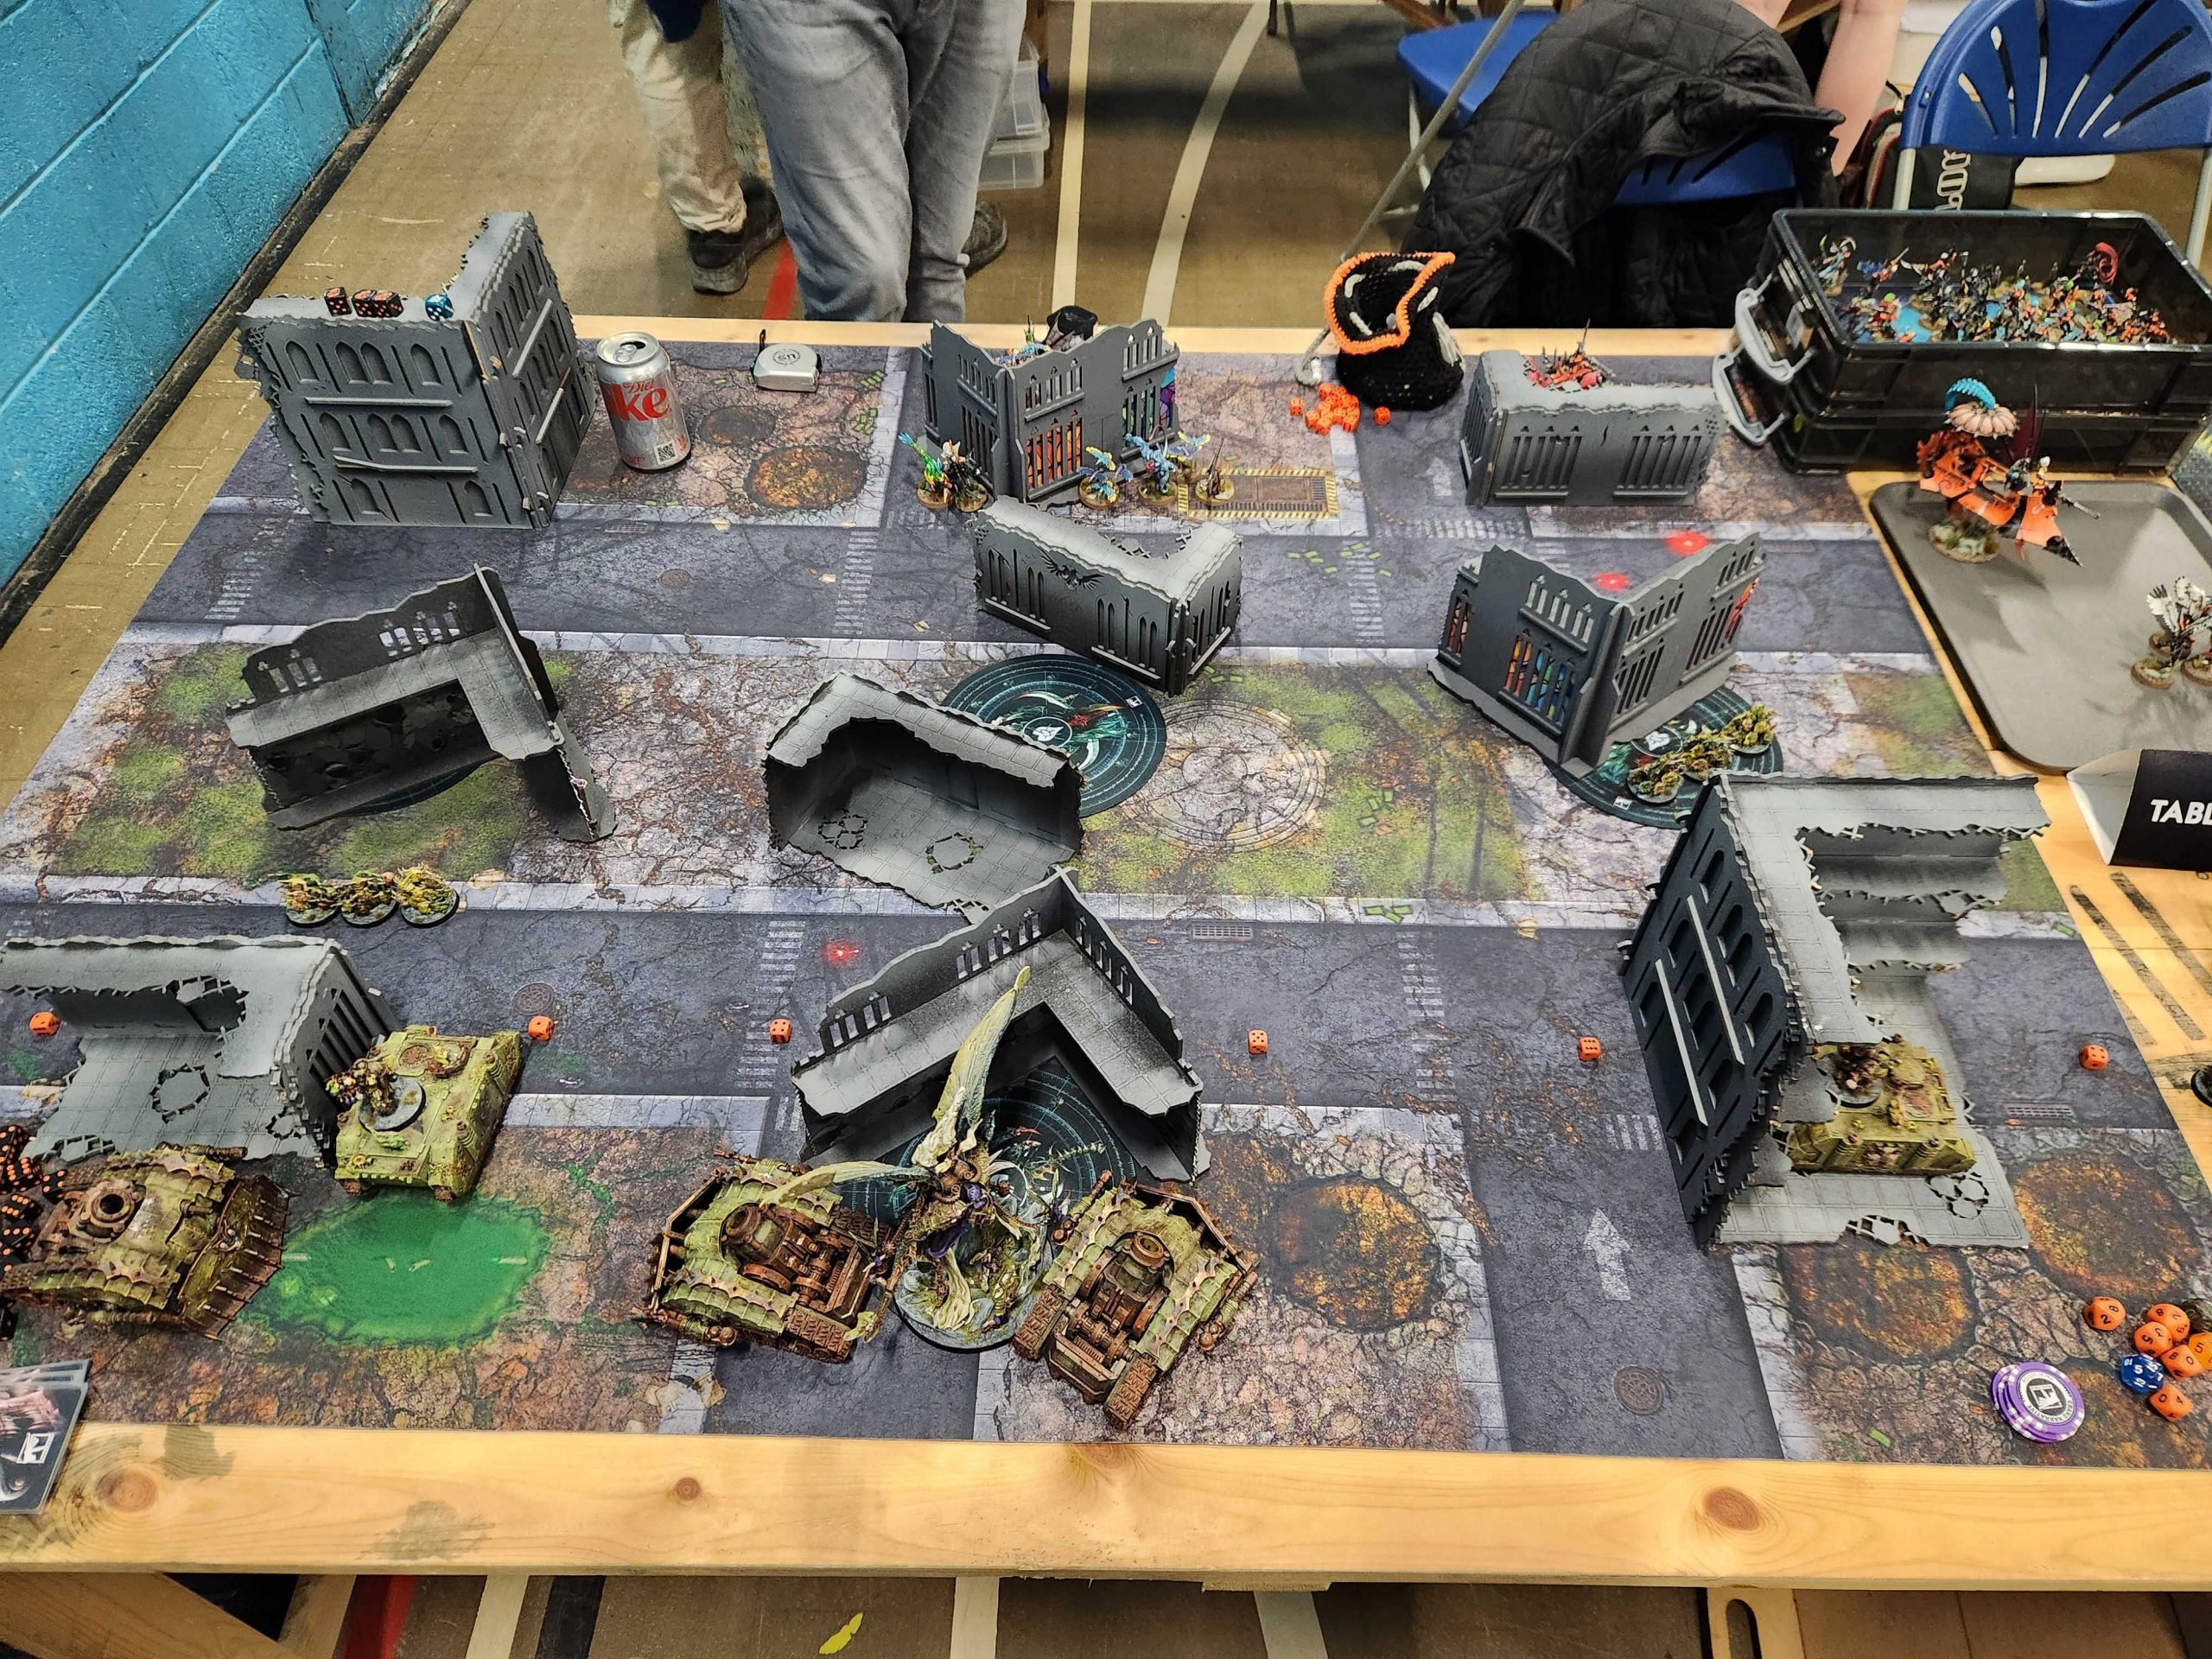
I show up about 20 minutes before doors open and I’m greeted by Paulie Wallis, my Round 1 opponent. We both know this because pairings were posted a day in advance – UK events are just insane like that, and I briefly contemplated doing a practice game against his list vs. Liam before deciding that was too much hassle. Paulie is a a fantastic painter and a great guy, and we have an outstanding game with lots of great back-and-forth. Let’s talk about it.
Round 1 vs. Paulie Wallis’ Drukhari
Paulie's List - Click to Expand Sky Serpent Assault 🐍🏴☠️ (1995 Points) Drukhari CHARACTERS Archon (95 Points) Archon (75 Points) Archon (75 Points) Beastmaster (105 Points) Lelith Hesperax (85 Points) BATTLELINE Kabalite Warriors (110 Points) Wracks (60 Points) Wyches (90 Points) Wyches (90 Points) DEDICATED TRANSPORTS Raider (80 Points) Raider (80 Points) Venom (70 Points) Venom (70 Points) Venom (70 Points) Venom (70 Points) OTHER DATASHEETS Court of the Archon (85 Points) Incubi (150 Points) Incubi (75 Points) Mandrakes (65 Points) Mandrakes (65 Points) Scourges (110 Points) Scourges (110 Points) Scourges (110 Points) Exported with App Version: v1.11.1 (34), Data Version: v352
Skysplinter Assault
Strike Force (2000 Points)
• 1x Blast pistol
1x Huskblade
• Enhancements: Nightmare Shroud
• Warlord
• 1x Blast pistol
1x Huskblade
• 1x Blast pistol
1x Huskblade
• 1x Beastmaster
• 1x Agoniser
1x Splinter pods
• 1x Clawed Fiend
• 1x Clawed Fiend fists
• 2x Khymerae
• 2x Khymerae talons
• 3x Razorwing Flock
• 3x Razorwing feathers
• 1x Lelith’s blades
• 1x Sybarite
• 1x Blast pistol
1x Phantasm grenade launcher
1x Sybarite weapon
• 9x Kabalite Warrior
• 1x Blaster
9x Close combat weapon
1x Dark lance
1x Shredder
1x Splinter cannon
5x Splinter rifle
• 1x Acothyst
• 1x Hexrifle
1x Wrack blades
• 4x Wrack
• 1x Liquifier gun
1x Ossefactor
1x Stinger pistol
4x Wrack blades
• 1x Hekatrix
• 1x Blast pistol
1x Hekatarii blade
1x Phantasm grenade launcher
• 9x Wych
• 9x Hekatarii blade
9x Splinter pistol
• 1x Hekatrix
• 1x Blast pistol
1x Hekatarii blade
1x Phantasm grenade launcher
• 9x Wych
• 9x Hekatarii blade
9x Splinter pistol
• 1x Bladevanes
1x Dark lance
• 1x Bladevanes
1x Dark lance
• 1x Bladevanes
1x Splinter cannon 1x Splinter cannon
• 1x Bladevanes
1x Splinter cannon 1x Splinter cannon
• 1x Bladevanes
1x Splinter cannon 1x Splinter cannon
• 1x Bladevanes
1x Splinter cannon 1x Splinter cannon
• 1x Lhamaean
• 1x Shaimeshi blade
• 1x Medusae
• 1x Close combat weapon
1x Eyeburst
• 1x Sslyth
• 1x Shardcarbine
1x Splinter pistol
1x Sslyth battle-blade
• 1x Ur-ghul
• 1x Ur-ghul talons
• 9x Incubi
• 9x Klaive
• 1x Klaivex
• 1x Demiklaives
• 4x Incubi
• 4x Klaive
• 1x Klaivex
• 1x Demiklaives
• 1x Nightfiend
• 1x Baleblast
1x Glimmersteel blade
• 4x Mandrake
• 4x Baleblast
4x Glimmersteel blade
• 1x Nightfiend
• 1x Baleblast
1x Glimmersteel blade
• 4x Mandrake
• 4x Baleblast
4x Glimmersteel blade
• 1x Solarite
• 1x Close combat weapon
1x Shardcarbine
1x Solarite weapon
• 4x Scourge
• 4x Close combat weapon
4x Dark lance
• 1x Solarite
• 1x Close combat weapon
1x Shardcarbine
1x Solarite weapon
• 4x Scourge
• 4x Close combat weapon
4x Dark lance
• 1x Solarite
• 1x Close combat weapon
1x Shardcarbine
1x Solarite weapon
• 4x Scourge
• 4x Close combat weapon
4x Drukhari haywire blaster
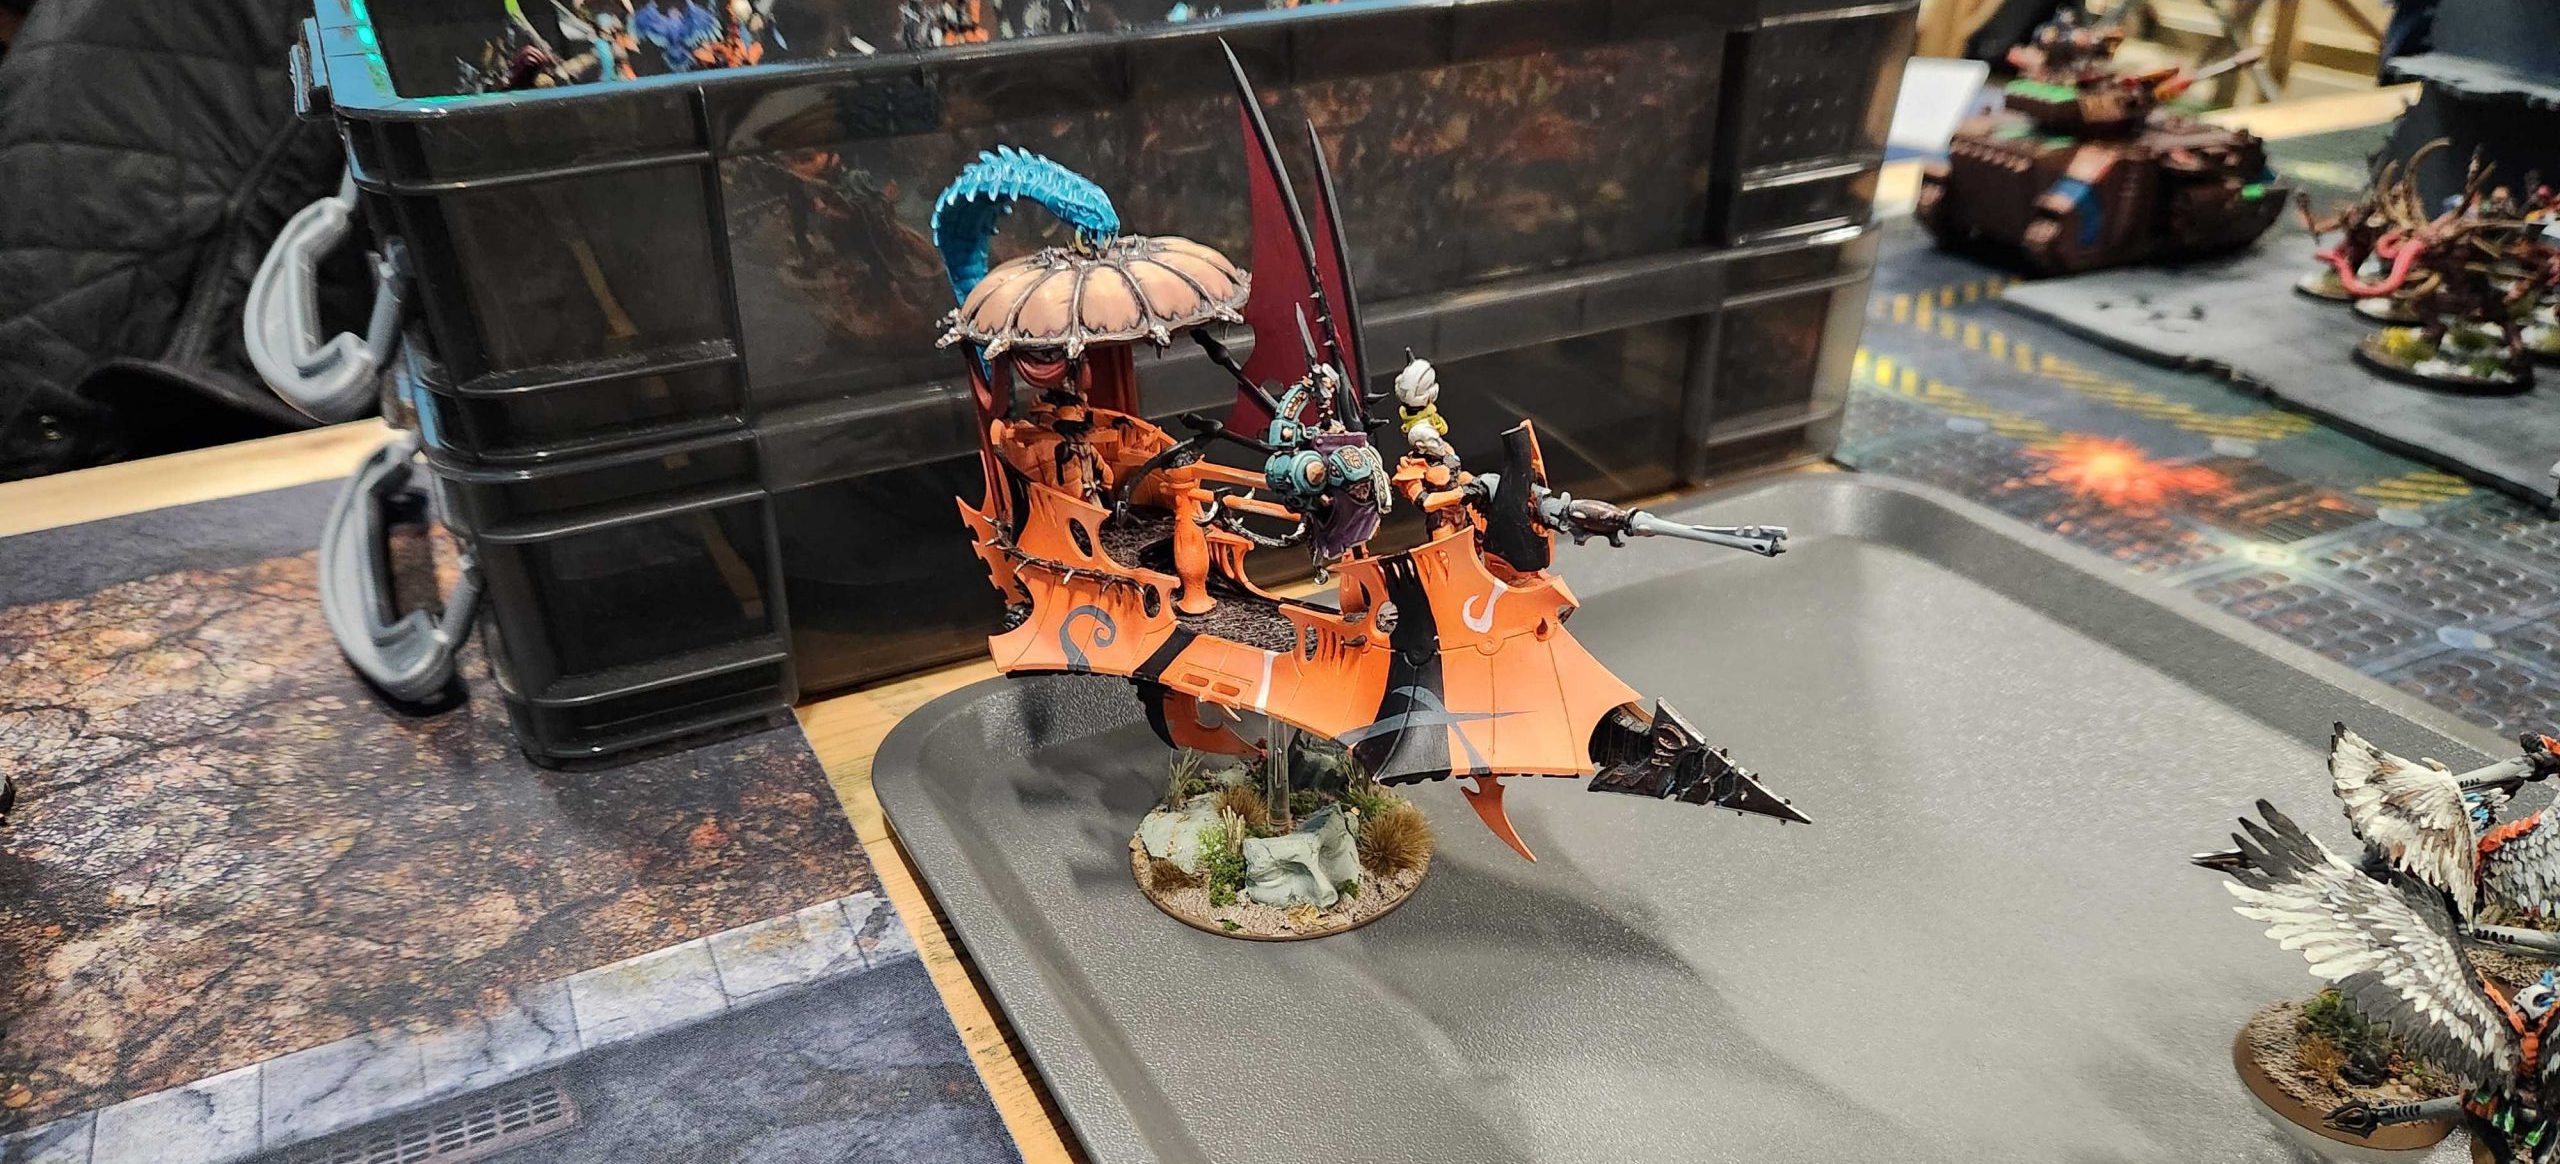
Paulie’s list is the first Drukhari list I’ve played against in tenth edition and it’s running the new Skysplinter Assault Detachment. That gives him an annoyingly high amount of mobility, where he can charge after disembarking, advance and charge, or fall back after fighting into a transport. The good news for me is that while there are a lot of transports in the list, they’re all pretty weak, and I can punch through their armor pretty easily. On top of that, Paulie is relying on a lot of attacks from weaker Infantry models with bad saves, so I can take Skullsquirm Blight to give his units -1 WS/BS. I can stack that effect with the Nurglings’ aura for a -2 to hit (-1 WS stacks with -1 to hit), giving attacking Drukhari some fits when they can’t trade.
While I’m unpacking my list I realize I’ve forgotten the Tallyman – he’s still back in the United States, most likely. Fortunately I have an extra 40mm objective marker I can use – with Paulie’s permission – and Liam’s round 1 opponent, Nick Toma, lends me an extra space marine to use with it as a proxy for the event.
The Mission: Priority Targets – Chilling Rain – Dawn of War
This isn’t the mission I prepped for, but that’s not a huge deal – the Oxford pack dropped with a different set of missions and layouts but this isn’t nearly as open as what I was worried about facing. Paulie’s list doesn’t have enough dark lances to put the fear of god into my vehicles but I also don’t want to lose them too quickly; a Death Guard rhino can put out a surprising amount of damage against a unit of Wyches or Wracks and keeping them around will be helpful. I put the two units of Deathshroud in reserve and deploy the Nurglings – I want them forward enough to action on objectives but also mostly I want to stack modifiers with them early and often, and that can’t be done if they’re deep striking in. The goal is to bait Paulie into some bad early offensive moves where he charges in, makes some bad attacks at -2 to hit, and then regrets it. Paulie scout moves his Beastmaster and monsters up toward the middle of the table.
I’m Going First.
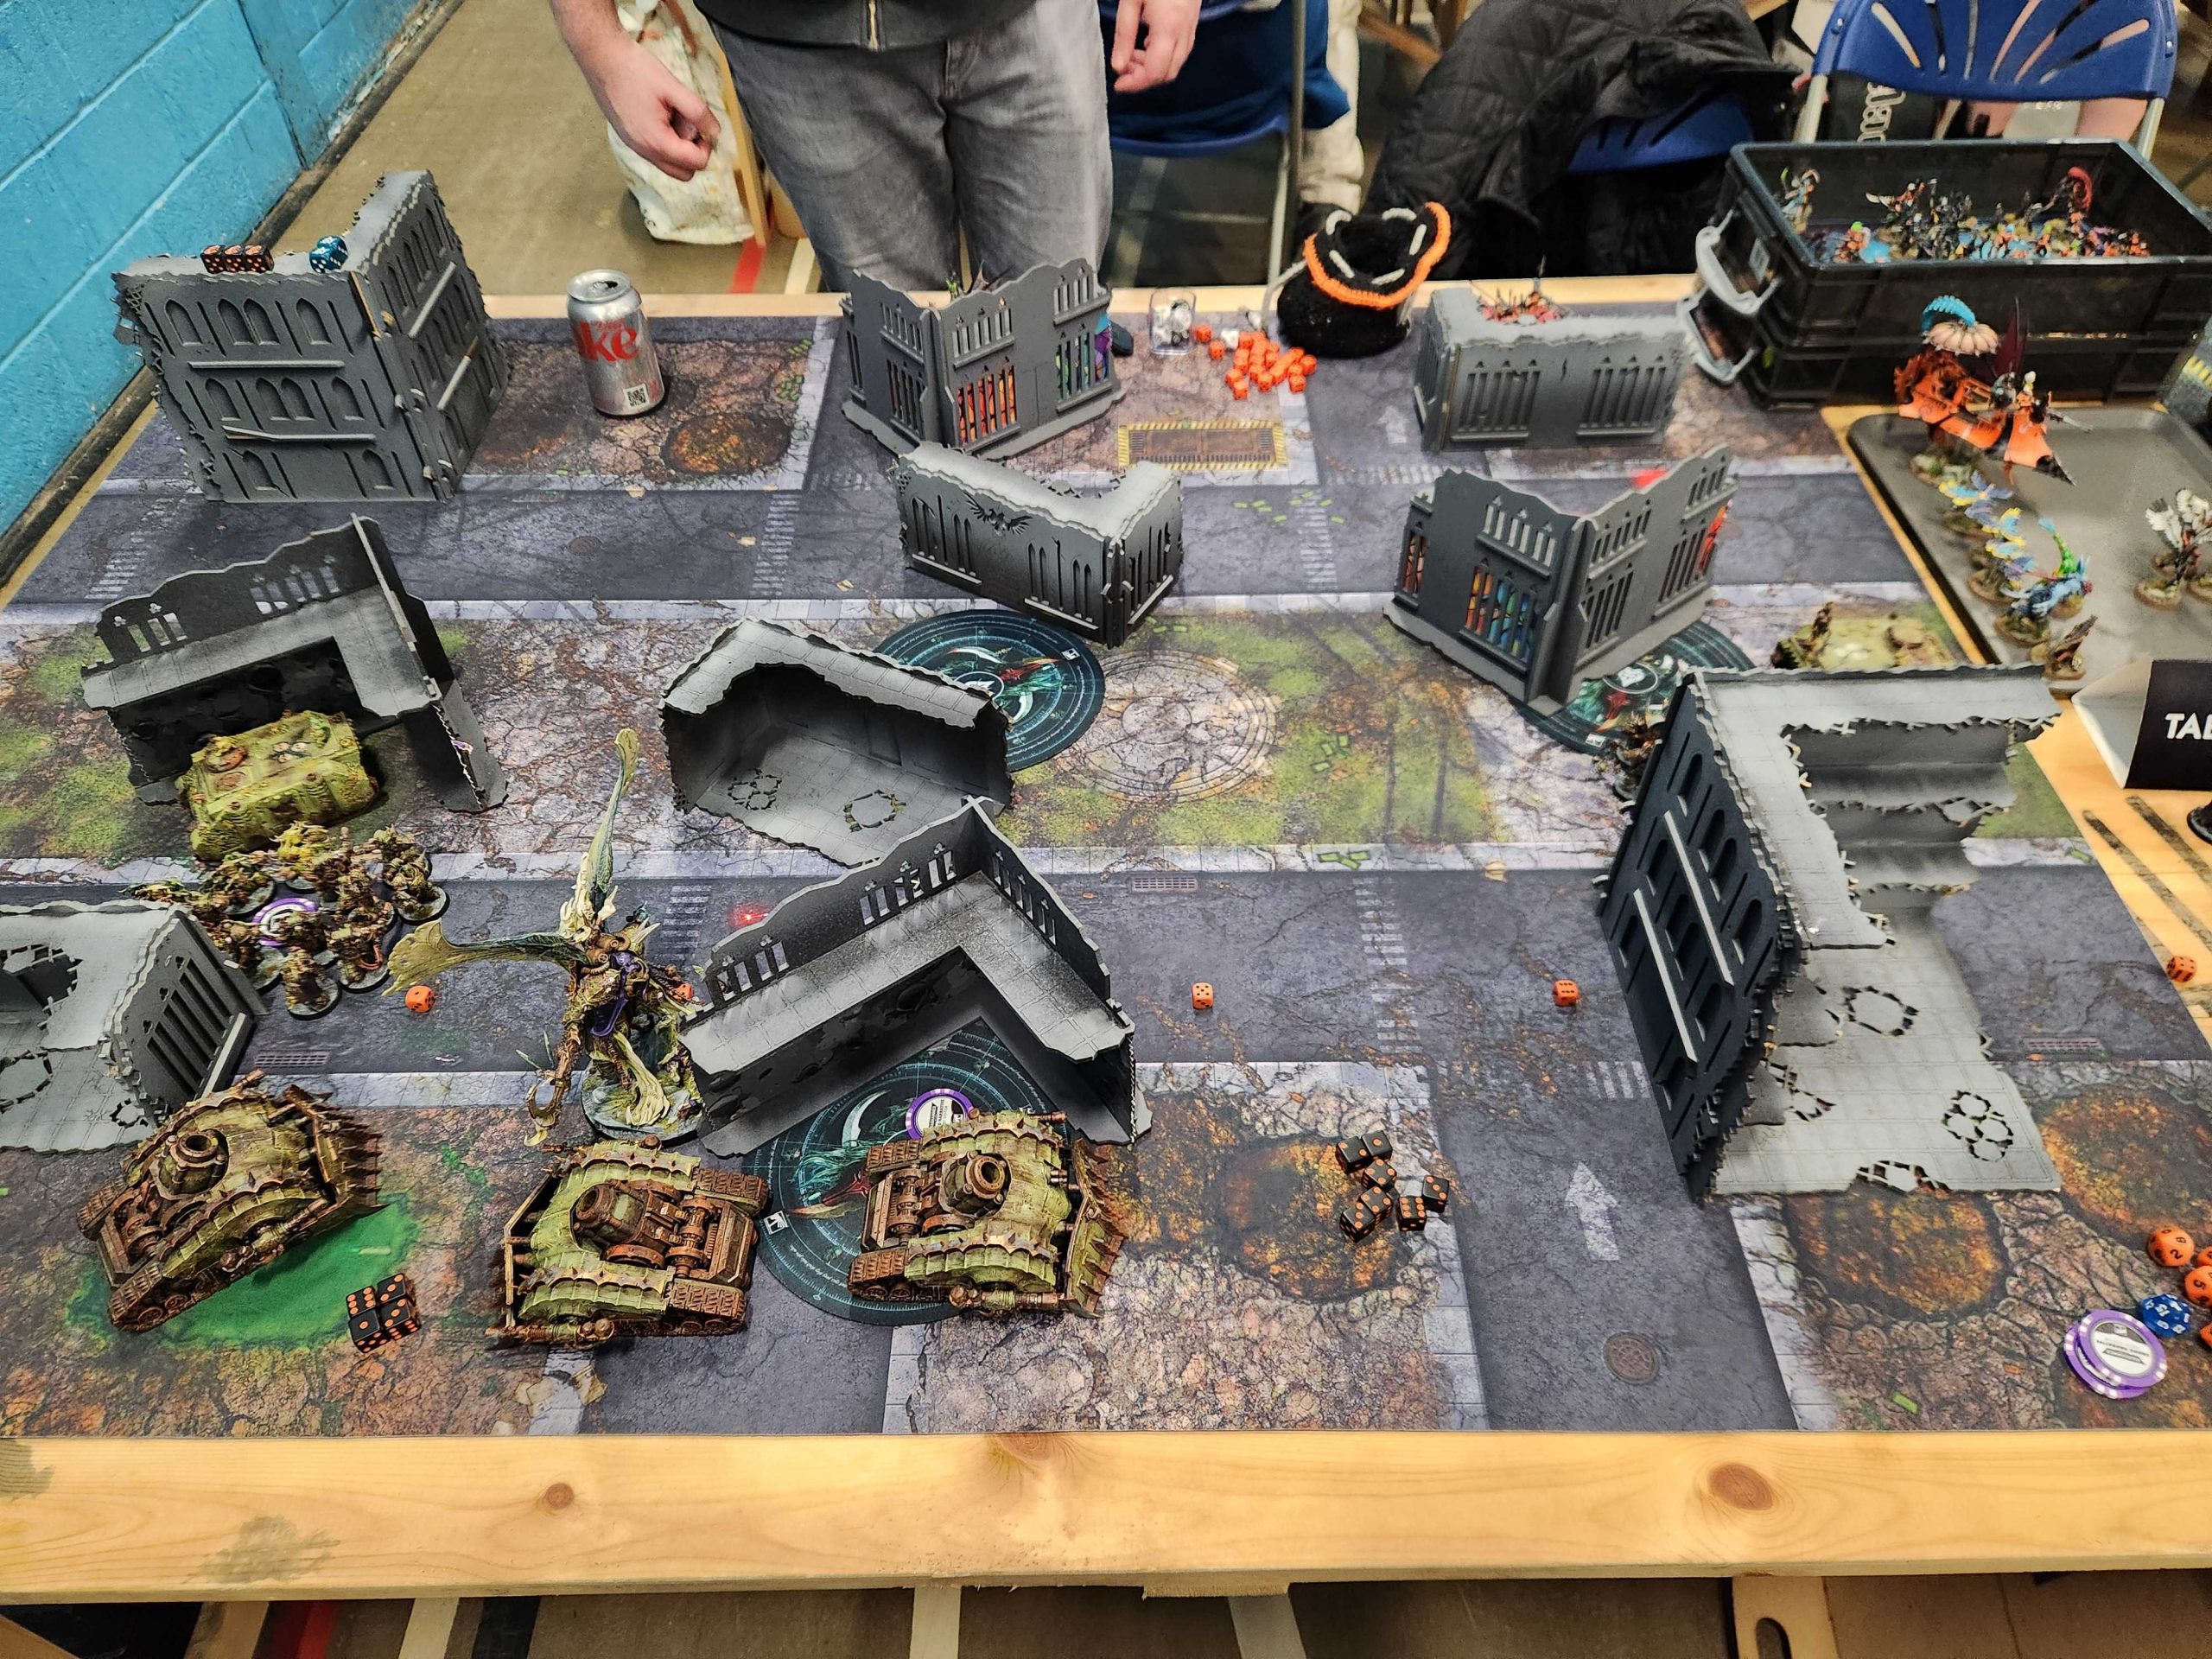
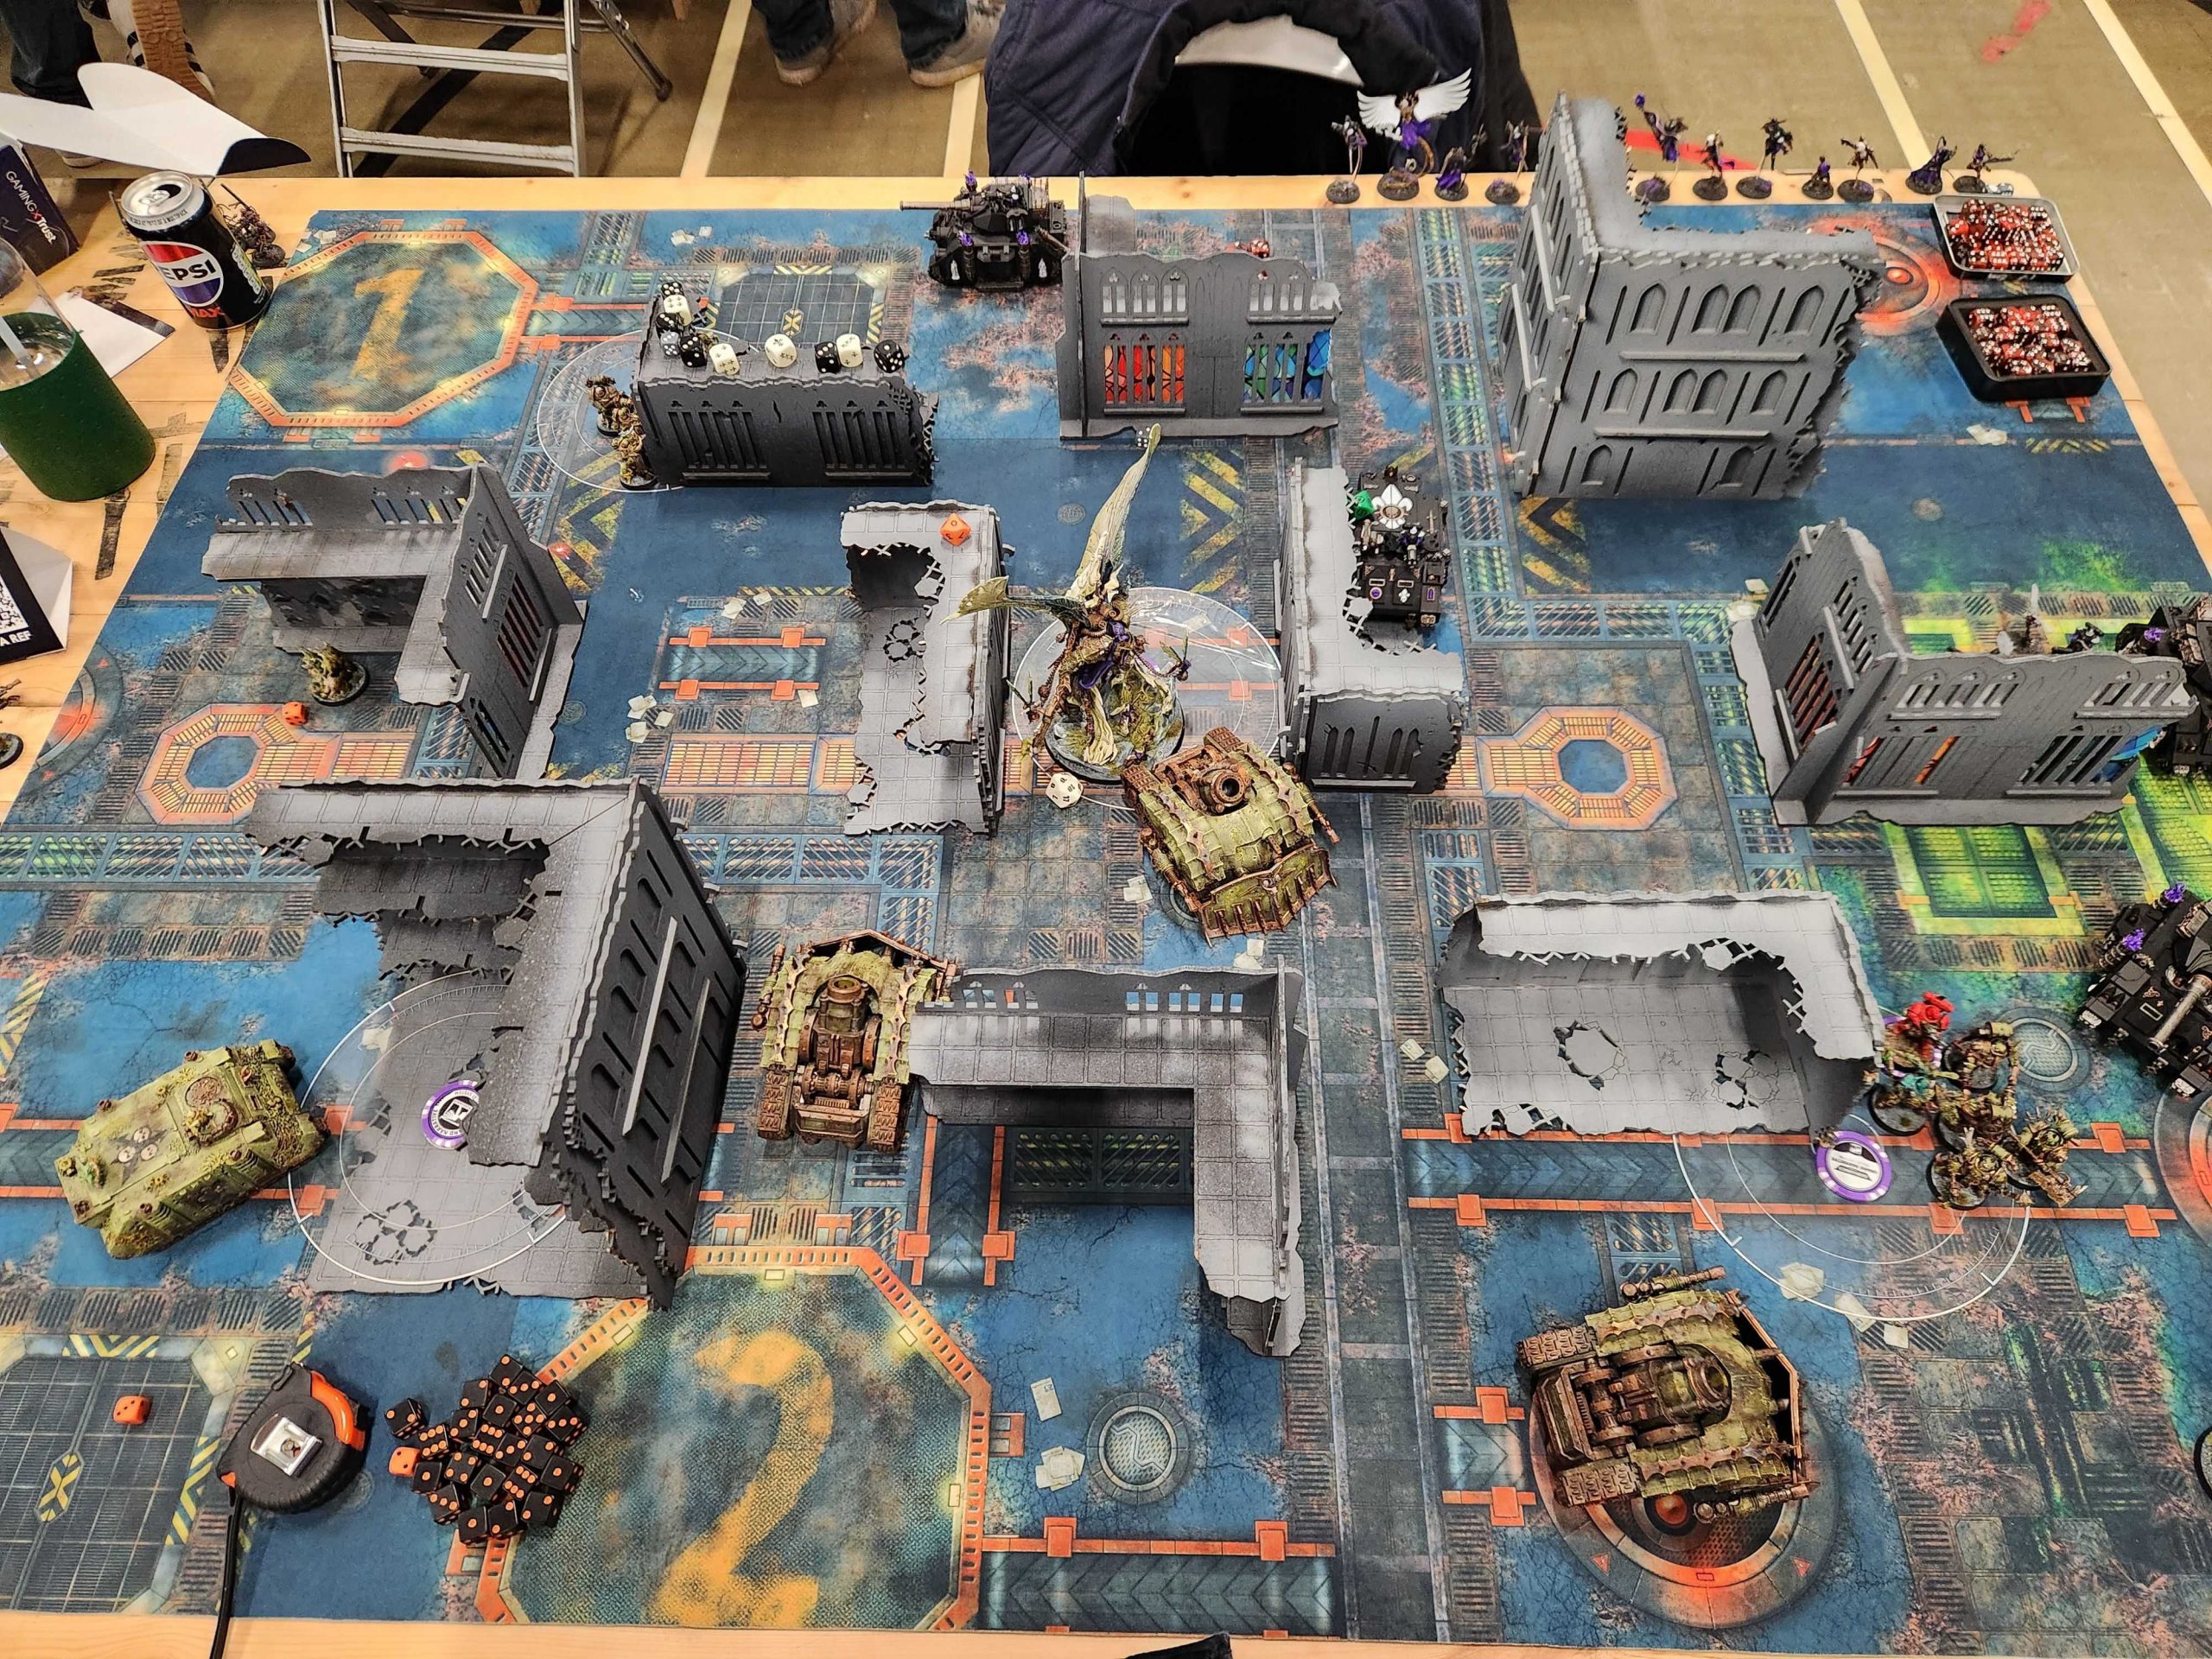
That’s a fine deal for me; I want to go first in every game if I can, because getting free indirect shots off and early blanketing on the table is always a good deal. I draw Area Denial (3 free points) and A Tempting Target and attempt to shoot his Beastmaster unit off the table, falling short of killing the whole thing with all three mortars – not my best rolls. That Beastmaster will mess with me for another two rounds. I swing my Rhinos up the table, disembarking both squads. I’m a bit terrified of getting surrounded by a unit charging out of a transport, and I play this a little loose. On the right side I put my plague marines too close to their Rhino, allowing the charge into the Rhino to pile in to my plague marines, basically negating their fights first ability. I score 8 for secondary and then it’s on to Paulie’s turn.
Paulie draws A Tempting Target and Behind Enemy Lines. I name the right side objective with the Plague Marines on it. He plows forward with his Court of the Archon and throws what he’s got into my Plague Marines, charging the Rhino and piling in – this is basically he textbook way you handle a unit with Fights First in Tenth Edition. His kabalites don’t do much to the Rhino, but he does manage to kill all but the Plague Marine Champion and the Foul Blightspawn, even powering through -2 to hit. Still, that they live is very helpful as it means I can fall back and do things with them later. Paulie also drops a unit of Mandrakes into my deployment zone to score 3 on Behind Enemy Lines.
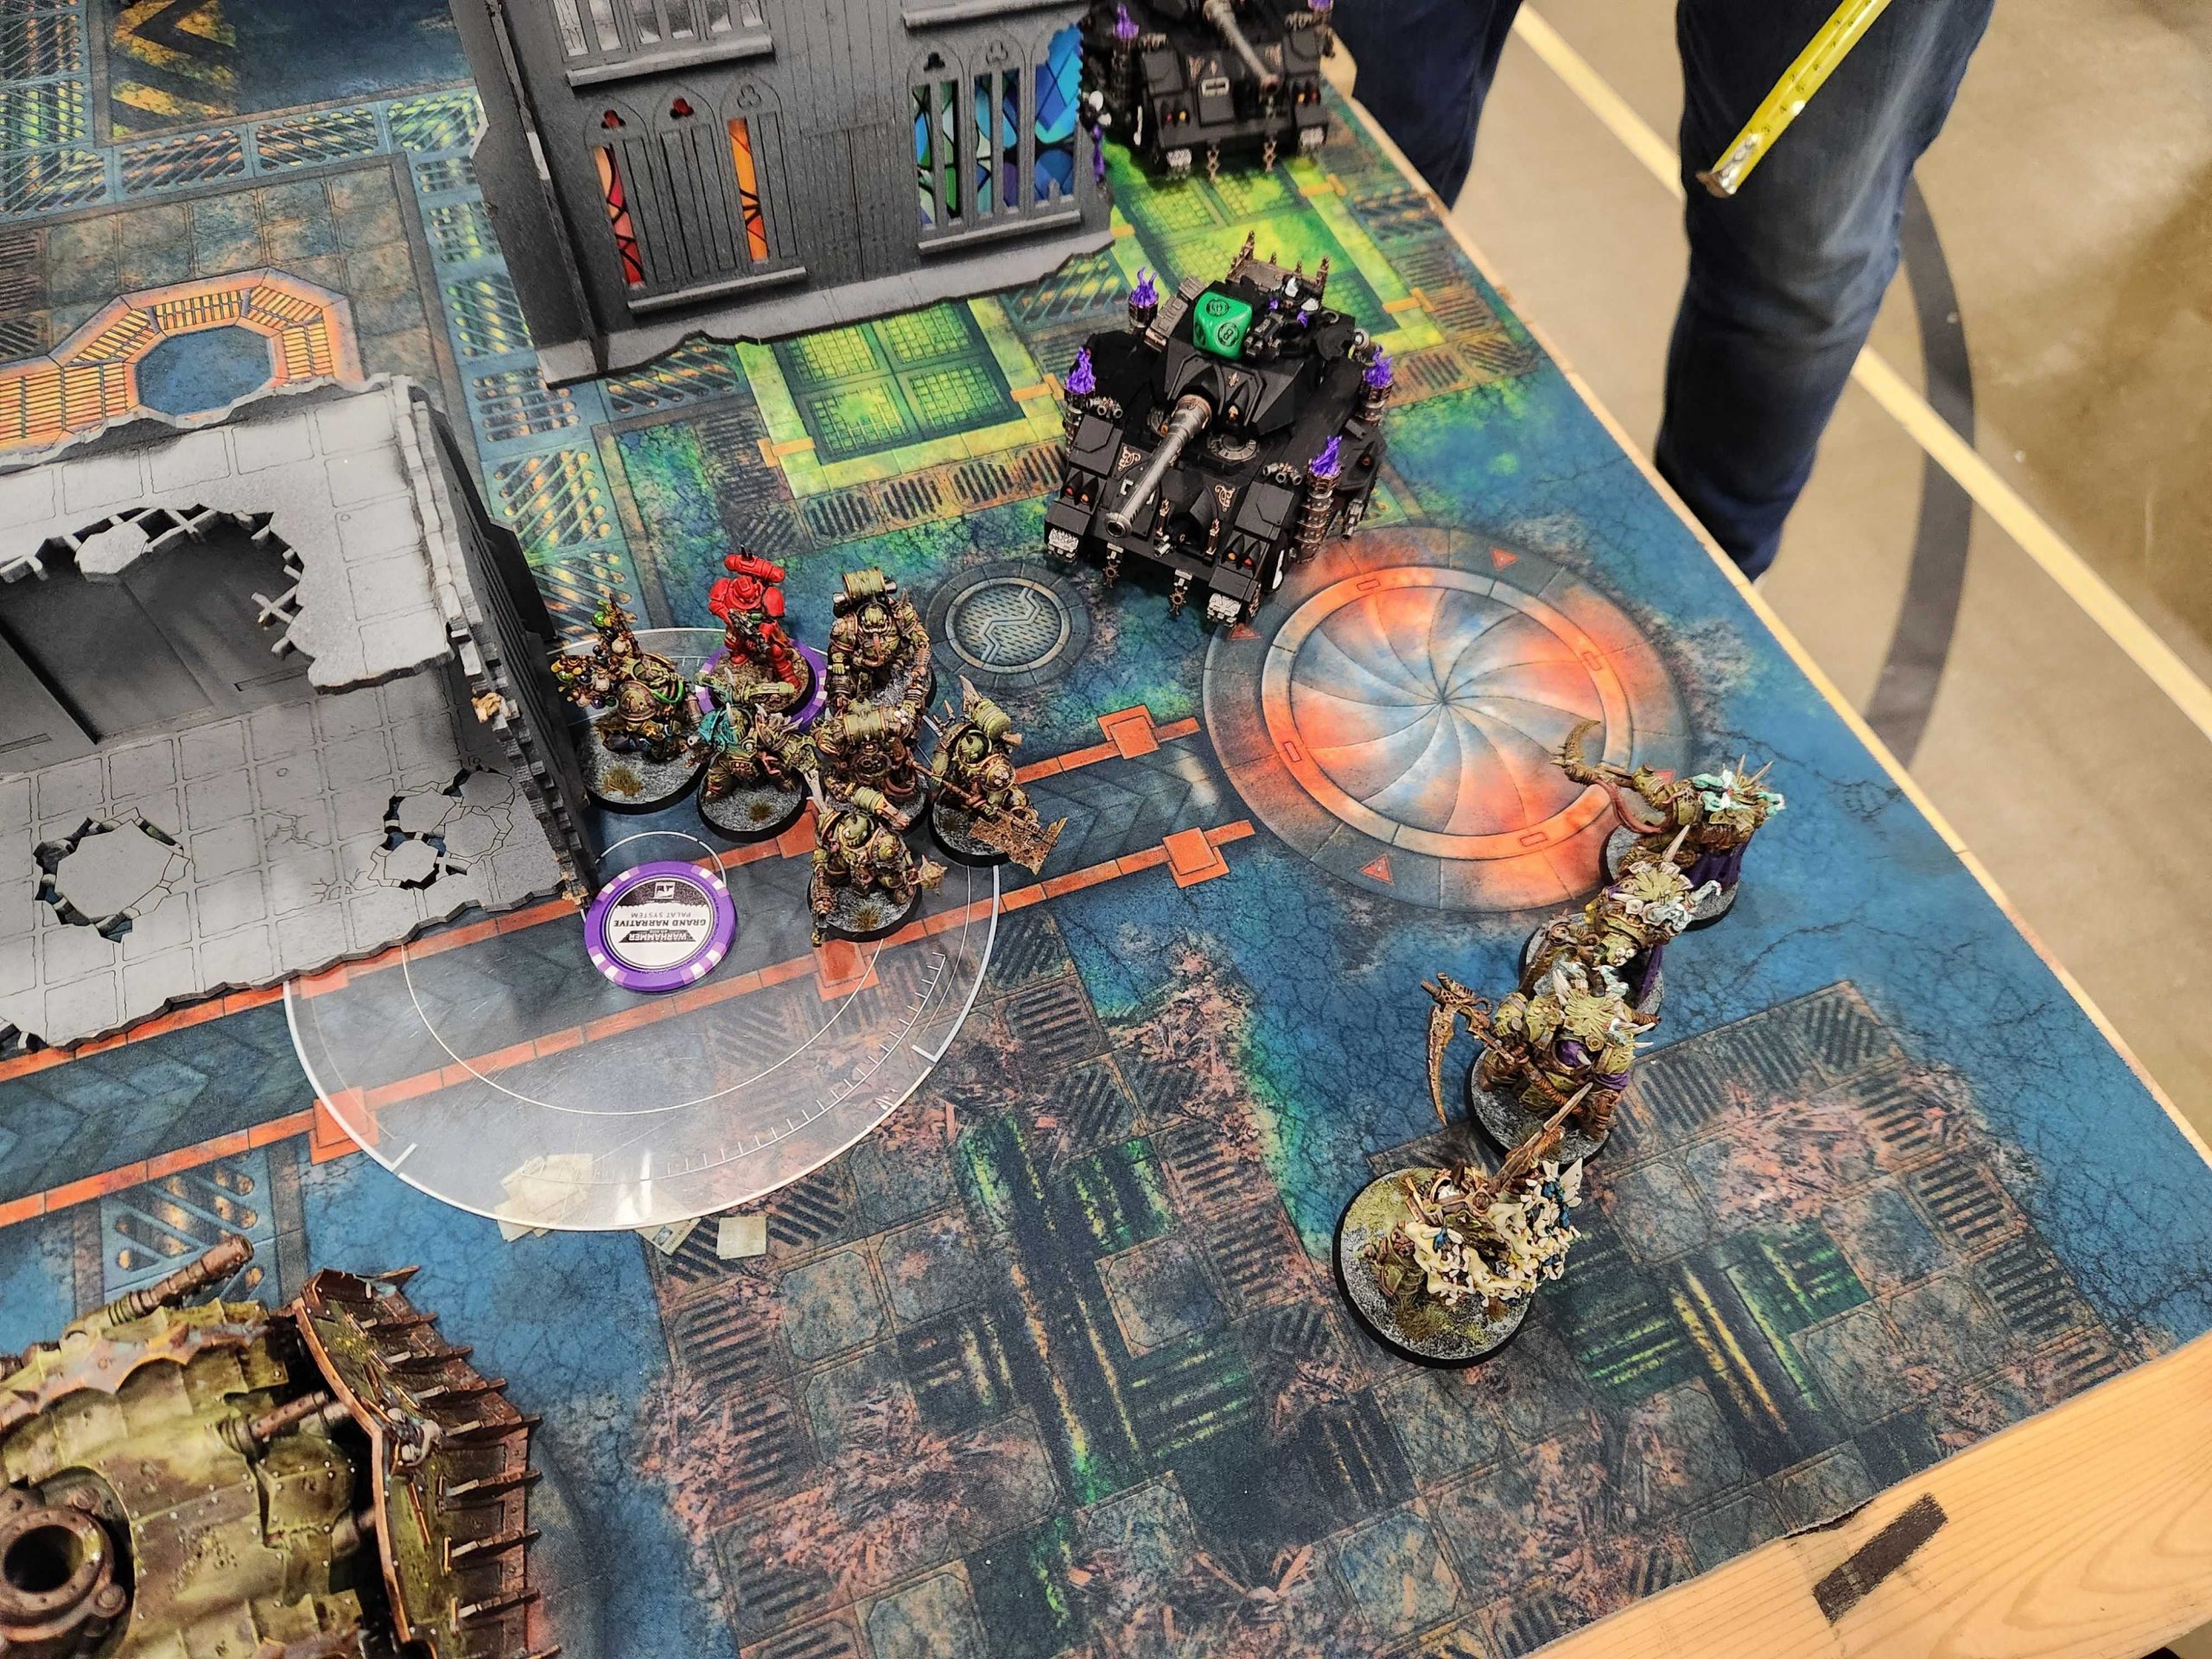
In Round 2 I only score 5 VP on primary but I snag the extra CP for the Tallyman and draw Assassination and Deploy Teleport Homer. Great time for both of those, as I’m about to murder the Archon and his whole court. Mortarion heads across to the center of the table and drops a Teleport Homer for 3 VP. Meanwhile I drop Typhus’ Deathshrouds near Morty and in range to wipe out the Court of the Archon, while pushing the Rhino up to Paulie’s deployment zone. The goal here is to mess with the movement of his remaining Venom and Scourges, and give them -1 BS if they try moving out to shoot. I clear out the court easily and score another 5. I use the PBCs to get the Mandrakes out of my backfield and wipe out the ones in Paulie’s deployment zone; I can handle threats coming in from my front, but I don’t want them dropping into my backfield and making me defend my home objective.
The plan here works: Paulie pulls Assassination and Storm Hostile Objective. I’ve walked off the right-side objective but he can pull me off the one on the left side using his wracks, and he brings them forward to do so. He pops his Scourges out of the ruin to shoot my Foul Blightspawn + Plague Marine Champ and gets caught in the Rhino’s aura, taking -1 BS. He’ll only connect with two shots, wound with one, and I’ll clutch the 6 to save it, denying him points. He also plows forward with his Incubi and attempts to kill my other Plague Marines unit but again the combo of Nurglings plus contagion leave the Tallyman, Putrifier, and a marine alive, and the following turn I’m able to fall back with them and take them out of harm’s way, blanking him for a turn. That puts me ahead in the progress, and I’ll snowball my lead from here.
On my turn 3 I pull Bring it Down and Secure No Man’s Land. Secure is a free five and I start working on the exposed Venoms and the Incubi Raider to kill one of each, scoring another 6. On the right, I had planned on charging the scourges with my rhino but surprisingly I was able to just shoot them to death using its guns. Mortarion pressed back to midtable while Typhus and his boys killed the Beastmaster holding back my deep strikes and the Lord of Virulence and his retinue arrived near the right side objective.
On his turn Paulie keeps Assassination and draws Engage on All Fronts. That one’s normally free but no Mandrakes he can only pull off the three-quarter version. He does this by dropping his Scourges in my deployment zone and using their shoot-and-move ability to drop onto my home objective, holding me to 5 VP on primary again. He presses his Wyches with Lelith forward and uses them to wipe out Typhus and his Deathshrouds despite the -2 to hit. That’s good for Assassination points, and he drops his unit of Wyches back into their Raider right afterward. There was potentially an option of pressing them to the middle toward Typhus, but I’m not sure that would have made a difference.
Turn 4 is when I break things wide open. I’m still on 5 Primary but I draw Storm Hostile Objective and Overwhelming Force Typhus and the Rhino push into Paulie’s deployment zone. The PBCs and Rhino wipe out the rest of Paulie’s Incubi and his Scourages. The Wyches are alive but not for long. On Paulie’s turn they charge Morty and lose most of their number. I pull 10 VP which are basically free and on Paulie’s turn he snags Extend Battle Lines and Overwhelming Force, and he’s able to bomb the left side objective for 2 more VP.
At end game I’ll snag Defend Stronghold and Cleanse, scoring both for another 8, plus I grab 10 on primary finally and another 15 at end game. Paulie’s able to pull 10 on primary, plus Overwhelming Force and Deploy Teleport Homer in my DZ but it’s nowhere near enough.
Result: 90-71, Victory
Paulie was a great opponent to play against, and his army was gorgeous to look at. The weather outside is amazing so Liam, James, and I take a walk over to a local Gregg’s. James is 1-0 and Liam biffed his first matchup to Custodes. That nerf can’t come fast enough. I grab a slice of pepperoni pizza that looks okay but sucks complete shit. The sauce is basically ketchup and the cheese tastes like ass. I take four bites, eat the pepperoni off it, then throw it away.
Round 2 vs. Joe Turton’s Adepta Sororitas
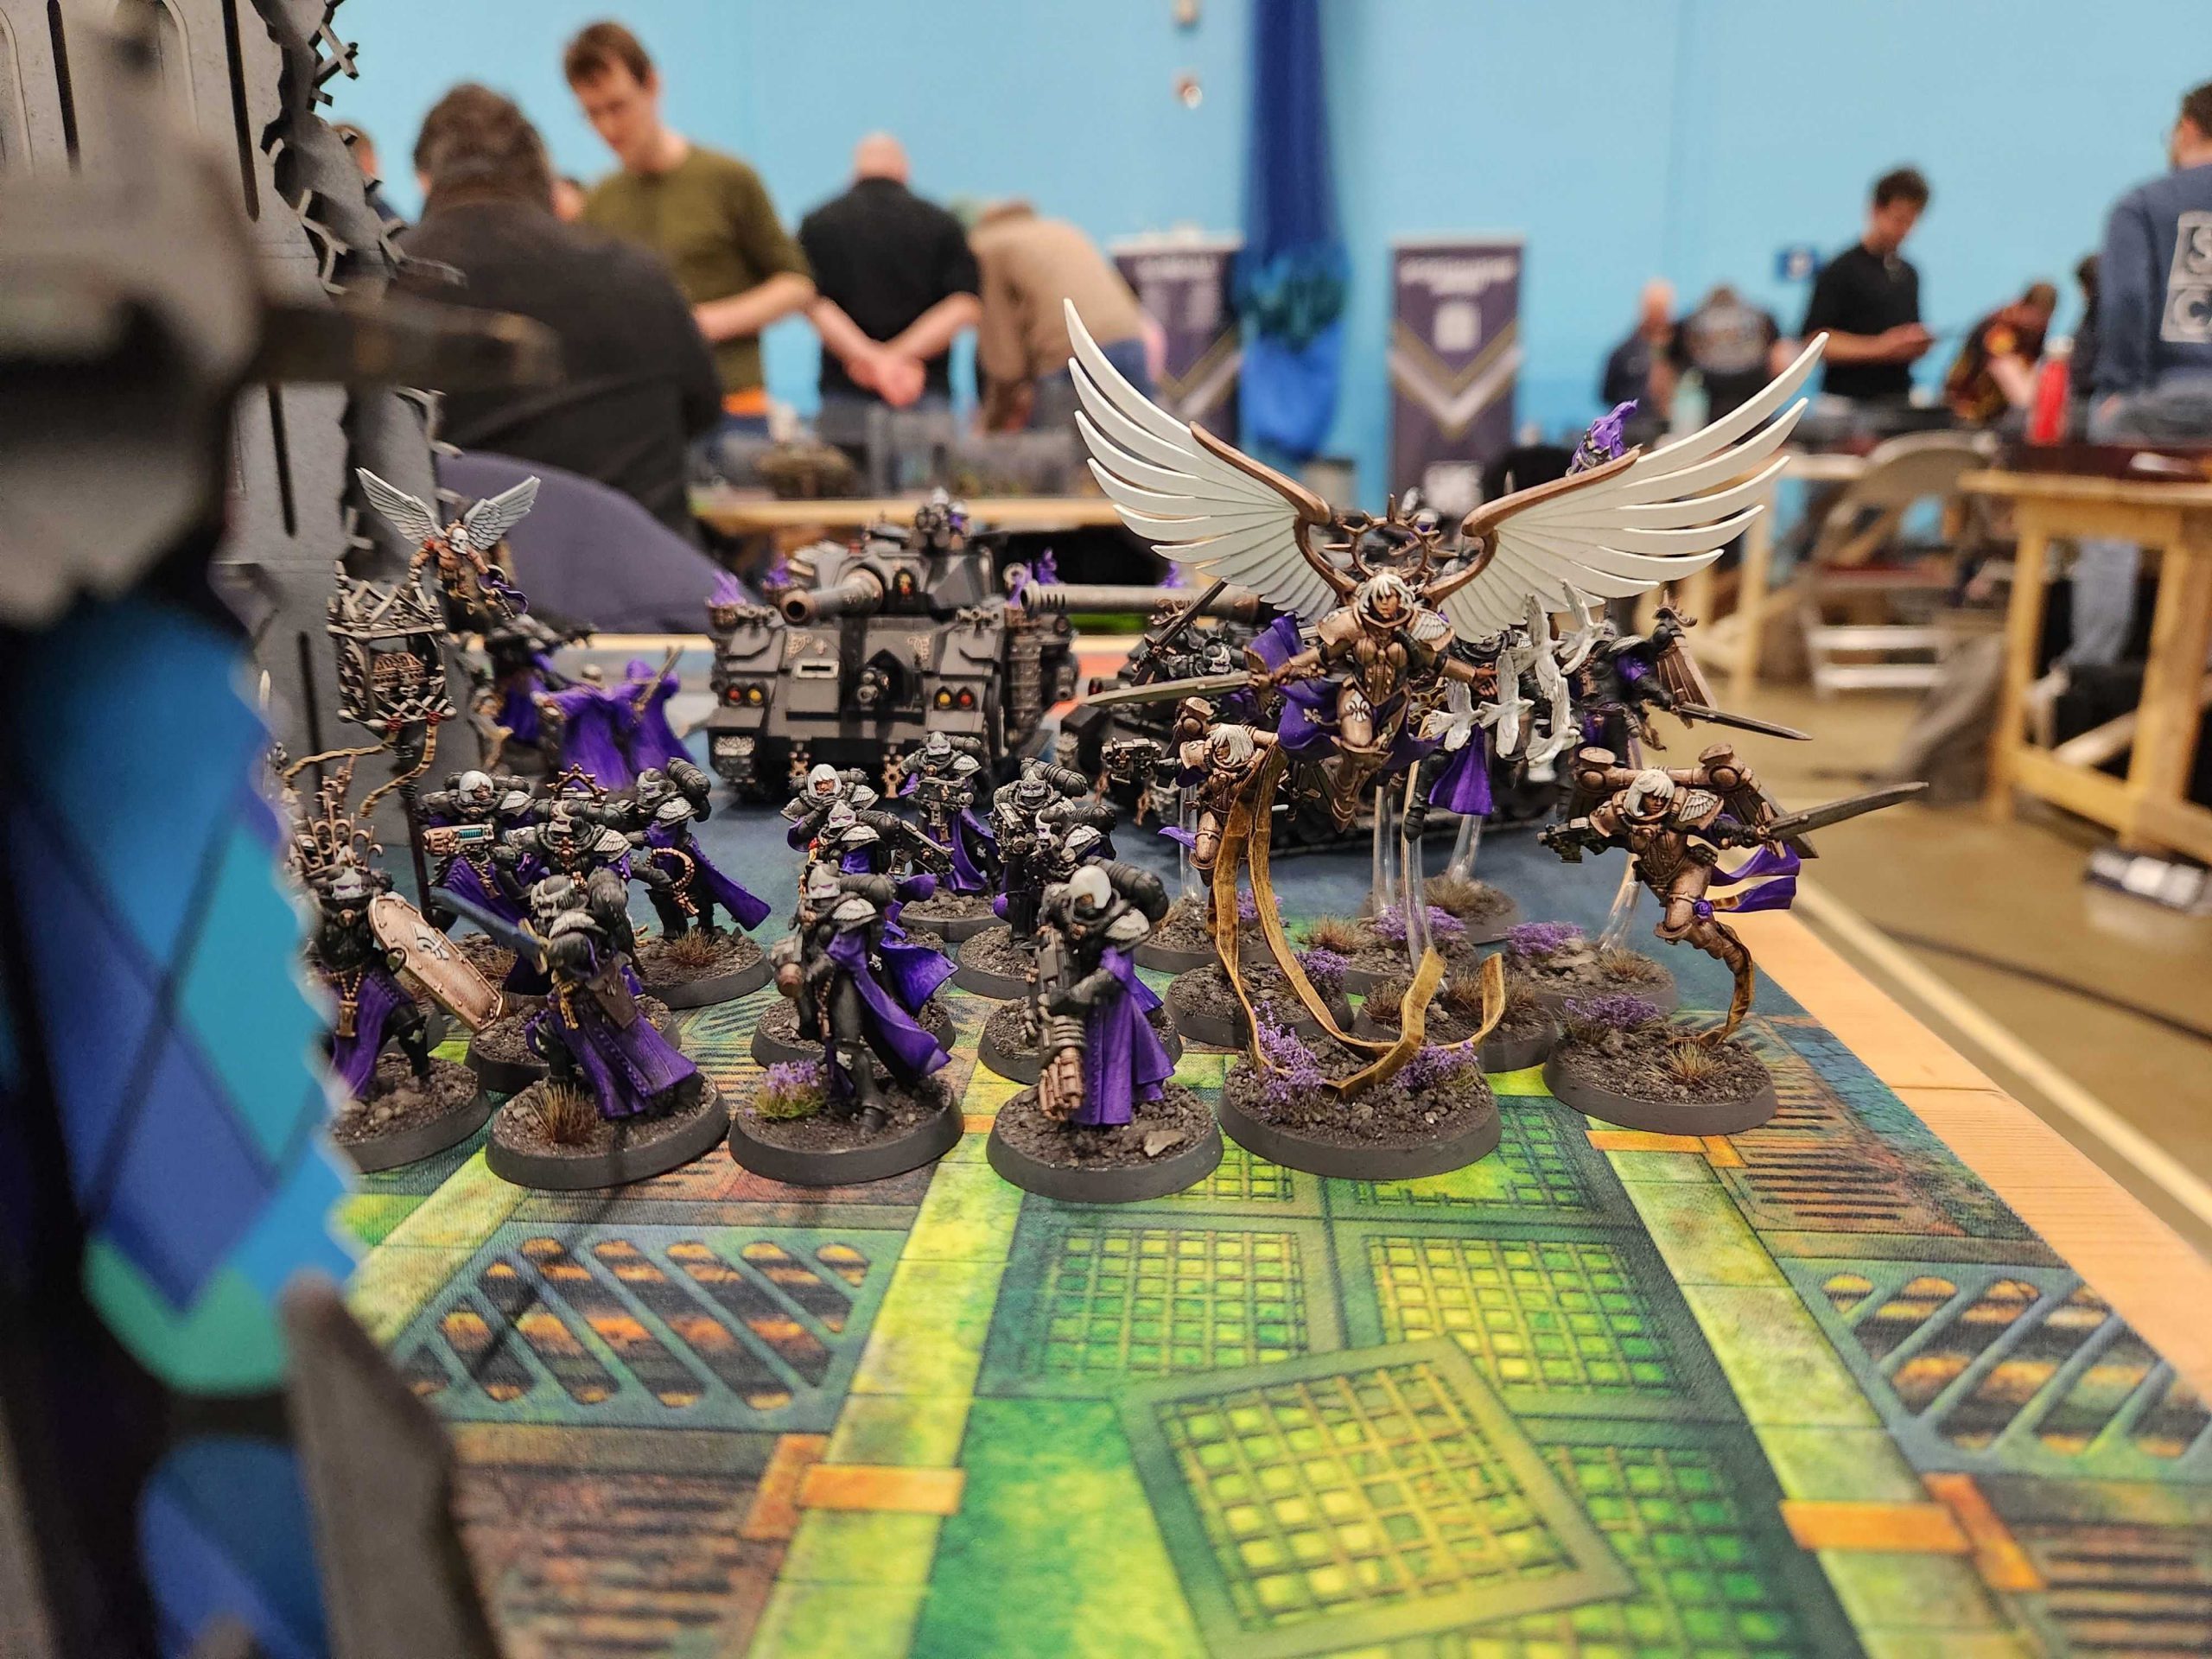
Joe's List - Click to Expand Oxford GT 2K (1995 Points) Adepta Sororitas CHARACTERS Morvenn Vahl (145 Points) Palatine (65 Points) Saint Celestine (135 Points) BATTLELINE Battle Sisters Squad (100 Points) Battle Sisters Squad (100 Points) Battle Sisters Squad (100 Points) DEDICATED TRANSPORTS Sororitas Rhino (75 Points) OTHER DATASHEETS Arco-flagellants (150 Points) Arco-flagellants (45 Points) Castigator (140 Points) Castigator (140 Points) Castigator (140 Points) Celestian Sacresants (65 Points) Celestian Sacresants (65 Points) Crusaders (25 Points) Crusaders (25 Points) Paragon Warsuits (170 Points) Repentia Squad (110 Points) Seraphim Squad (70 Points) Seraphim Squad (70 Points) Zephyrim Squad (60 Points)
Hallowed Martyrs
Strike Force (2000 Points)
• Warlord
• 1x Fidelis
1x Lance of Illumination
1x Paragon missile launcher
• 1x Palatine blade
1x Plasma pistol
• Enhancements: Blade of Saint Ellynor
• 1x Celestine
• 1x The Ardent Blade
• 2x Geminae Superia
• 2x Bolt pistol
2x Power weapon
• 1x Sister Superior
• 1x Bolt pistol
1x Close combat weapon
1x Combi-weapon
• 9x Battle Sister
• 9x Bolt pistol
7x Boltgun
9x Close combat weapon
1x Meltagun
1x Multi-melta
1x Simulacrum Imperialis
• 1x Sister Superior
• 1x Bolt pistol
1x Close combat weapon
1x Combi-weapon
• 9x Battle Sister
• 9x Bolt pistol
7x Boltgun
9x Close combat weapon
1x Meltagun
1x Multi-melta
1x Simulacrum Imperialis
• 1x Sister Superior
• 1x Bolt pistol
1x Boltgun
1x Close combat weapon
• 9x Battle Sister
• 1x Artificer-crafted storm bolter
9x Bolt pistol
7x Boltgun
9x Close combat weapon
1x Ministorum flamer
1x Simulacrum Imperialis
• 1x Armoured tracks
1x Hunter-killer missile
1x Storm bolter
• 10x Arco-flagellant
• 10x Arco-flails
• 3x Arco-flagellant
• 3x Arco-flails
• 1x Armoured tracks
1x Castigator battle cannon
3x Heavy bolter
1x Hunter-killer missile
1x Storm bolter
• 1x Armoured tracks
1x Castigator battle cannon
3x Heavy bolter
1x Hunter-killer missile
1x Storm bolter
• 1x Armoured tracks
1x Castigator battle cannon
3x Heavy bolter
1x Hunter-killer missile
1x Storm bolter
• 1x Sacresant Superior
• 1x Ministorum hand flamer
1x Spear of the faithful
• 4x Celestian Sacresant
• 4x Anointed halberd
4x Bolt pistol
• 1x Sacresant Superior
• 1x Anointed halberd
1x Ministorum hand flamer
• 4x Celestian Sacresant
• 4x Anointed halberd
4x Bolt pistol
• 2x Crusader
• 2x Power weapon
• 2x Crusader
• 2x Power weapon
• 1x Paragon Superior
• 1x Bolt pistol
1x Multi-melta
1x Paragon grenade launchers
1x Paragon war mace
• 2x Paragon
• 2x Bolt pistol
2x Multi-melta
2x Paragon grenade launchers
2x Paragon war mace
• 1x Repentia Superior
• 1x Bolt pistol
1x Neural whips
• 9x Sister Repentia
• 9x Penitent eviscerator
• 1x Seraphim Superior
• 1x Close combat weapon
1x Plasma pistol
1x Power weapon
• 4x Seraphim
• 4x Bolt pistol
4x Close combat weapon
4x Ministorum hand flamer
• 1x Seraphim Superior
• 1x Close combat weapon
1x Plasma pistol
1x Power weapon
• 4x Seraphim
• 8x Bolt pistol
4x Close combat weapon
• 1x Zephyrim Superior
• 1x Plasma pistol
1x Power weapon
1x Sacred Banner
• 4x Zephyrim
• 4x Bolt pistol
4x Power weapon
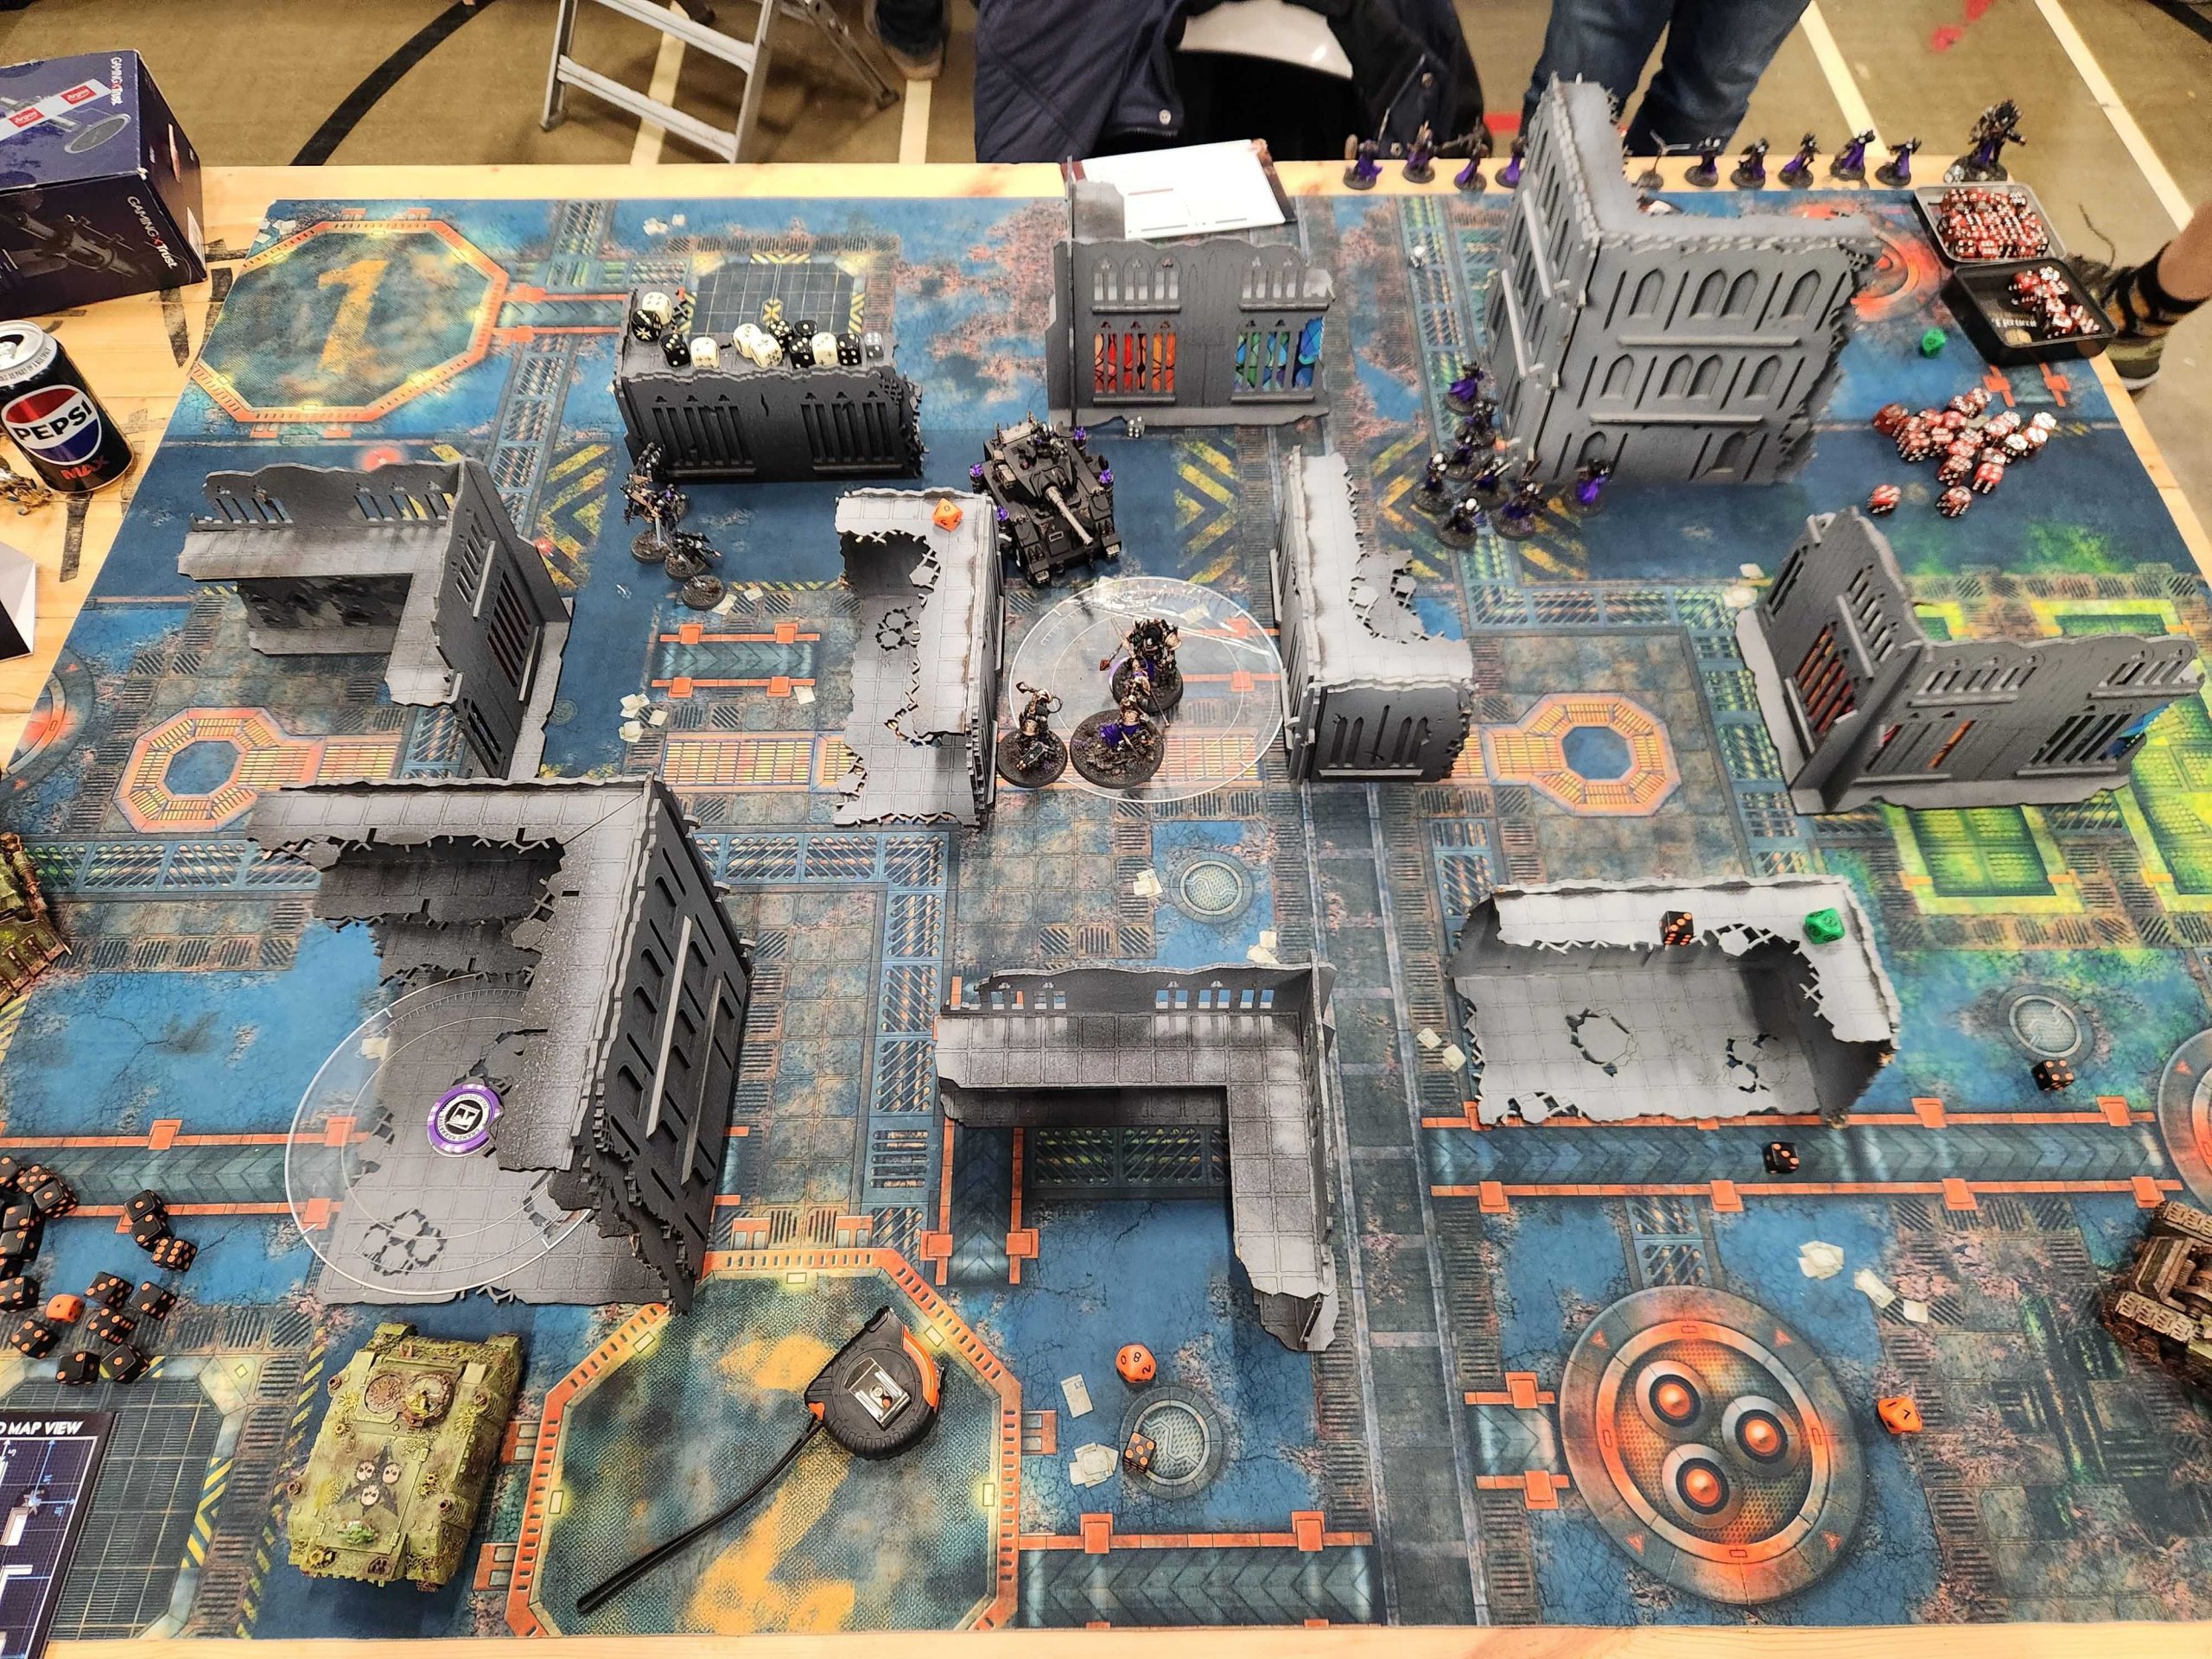
For my next round I’m taking on the Adepta Sororitas. I’ve had enough practice against them now to know what to expect from the army. That said, Joe’s got an interesting extra wrinkle: A trio of Castigators. My army can handle a couple of vehicles, but three Castigators plus Vahl and her pals is a lot for my list to handle. That said the rest isn’t that big a deal for me. I take Rattlejoint Ague for the -1 to saves, since that’s pretty much the jam any time you’re up against 3+ saves. The plan here is to take out the Flagellants first, then the Sacresants, and handle the Castigators when I can.
The Mission: Supply Drop – Chilling Rain – Search and Destroy
We’re both on Tactical for this mission. For our Supply Drop, the upper left is the Alpha objective and the center is the Omega (the one that sticks around at the end of the game). I draw A Tempting Target and Capture Enemy Outpost the first round 1, and press to the middle to score the target. I need to protect my backfield on this mission from deep striking Seraphim, so the plan is to commit a Rhino to that along with the PBCs as it can help screen out a larger area. I want to use Nurglings to blunt any incoming melee nonsense, but I need them on the corners as well so I deploy them as Infiltrators within 14″ of the upper left and lower right corners. The plan for the Rhino on the left side of the table is to deploy it on the line and on turn 1 I’ll disembark my Plague Marines and advance them to the objective up there and hold it with a unit which can handle a single Castigator while the Rhino books it back to my deployment zone to protect the stickied objective.
This mostly goes OK – I roll a 1 for the Plague Marines’ advance, which is just enough to make it to the objective but not enough to get out of line of sight from the two Castigators. In retrospect I should have spent a CP to re-roll that advance and get them to safety, but instead I’ll end up losing 7-8 of them to the two Castigators across the table. I pick off most of Joe’s Flagellants turn 1 with mortars and he comes after my Plague Marines on the right side. Fortunately he pulls Capture Enemy Outpost turn 1 as well, so we can both hock it the first round.
Hocking one of the secondaries gives me an extra CP to work with and my plan is to use that CP with the one generated from the bottom of round 1 to hold Disgustingly Resilient for whatever unit catches an attack from Joe’s Repentia. It means toughing out a Shooting phase without Cloud of Flies but the Repentia are just very underwhelming if they have to come in and swing at 1 damage. That’s exactly what happens and Joe commits his Repentia to Mortarion, where I drop their damage output and they bounce off after only doing 6 wounds and eat it to Mortarion’s sweeps. That said, I just couldn’t make any saves/feel no pains with Mortarion and he ends up dropping to 6 wounds between Castigator shooting and Repentia, plus a miracle dice-boosted 5-damage Hunter Killer missile.

My original plan was to hold the upper left for two turns, hold the bottom right, and then try and have the middle top of round 5. It starts well, and losing my Plague Marines to Seraphim right before the upper left objective disappears is exactly what I want, but once Vahl shows up and Morty dies I can’t hold the middle. I held the advantage on Primary in the first three rounds, going 15/5/8, but Joe manages to catch up with a small number of units at game’s end, going 5/8/15 in the final three rounds and holding the Omega at the end of the game. Where I’m able to stay ahead is on secondaries: I blank Joe on Extend Battle Lines round 1 and ride a 5-point lead on secondaries the rest of the game.
A big part of this hinges on committing my Typhus Deathshrouds to the lower right, using them to help take out the two Castigators. That goes… OK. One of them causes me some trouble when it explodes but on the whole I’m able to secure that corner of the table and hold the objective there until it disappears – a key part of my primary scoring strategy.
There’s a ton of back-and-forth in this game and it comes down to the wire. I pull CLeanse and Defend Stronghold on round 3 and score both for 8, and Joe pulls Cleanse and Deploy Teleport Homer and has no way to score it, helping me stay ahead when he can only score 3 for secondaries. I eventually get Investigate Signals on round 4 but by then I’ve lost my Nurglings and can’t meaningfully score it, and Joe is forced to discard Storm Hostile Objective – but snags No Prisoners as a replacement.
Coming into the final turn I score 0 on primary and draw Area Denial and Behind Enemy Lines. I need make a tactical withdrawal – I need as many of my units to be off objectives and hidden as possible as Joe hasn’t drawn Assassination, Bring it Down, or Overwhelming Force yet, and I need to keep him from scoring 8+ VP. I advance up the right side of the table to get into his deployment zone and out of line-of-sight with Typhus and his Deathshroud to score 3 for Behind Enemy Lines. That puts me up 10, meaning that the worst-case scenario here is a tie but ideally the other moves I’ve made to hide key threats will keep Joe from being able to score.
Ultimately on the final turn Joe draws Overwhelming Force and Engage on All Fronts and while he can score 5 for Engage, he can’t do it while also killing key targets and I’m not sitting on any objectives, so he can’t score anything for Overwhelming Force. My gambit pays off and I end up winning by 5.
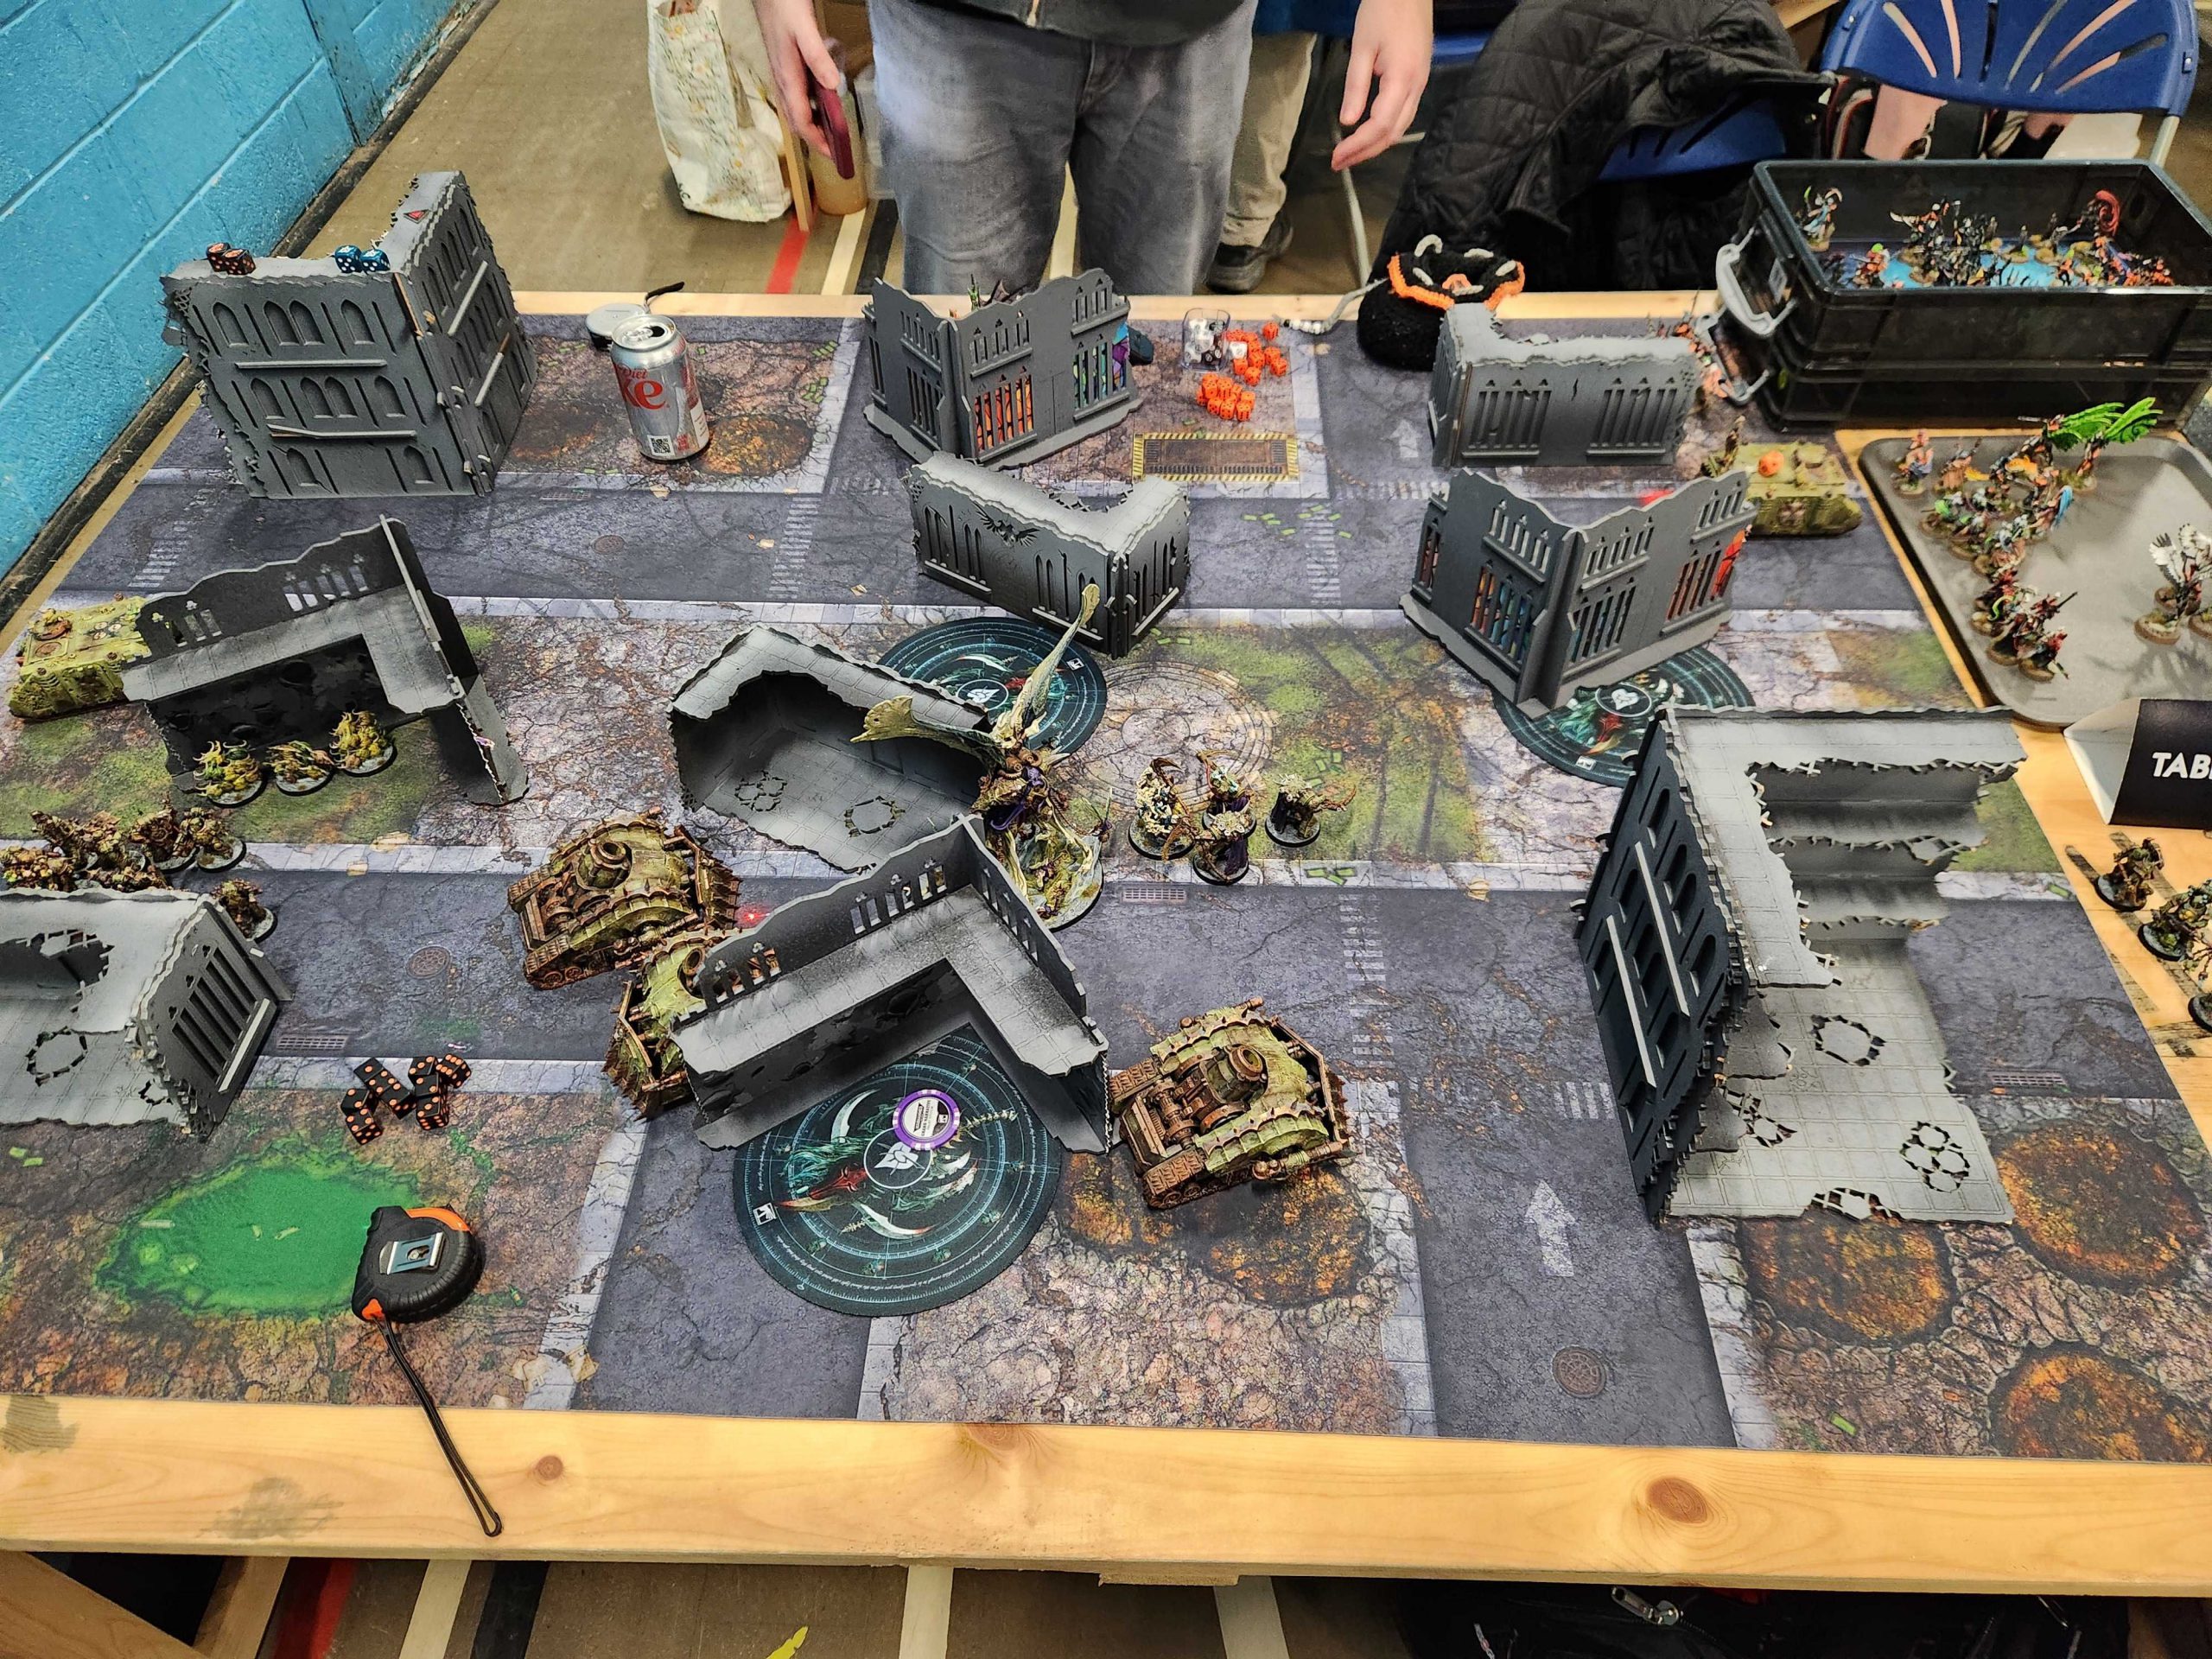
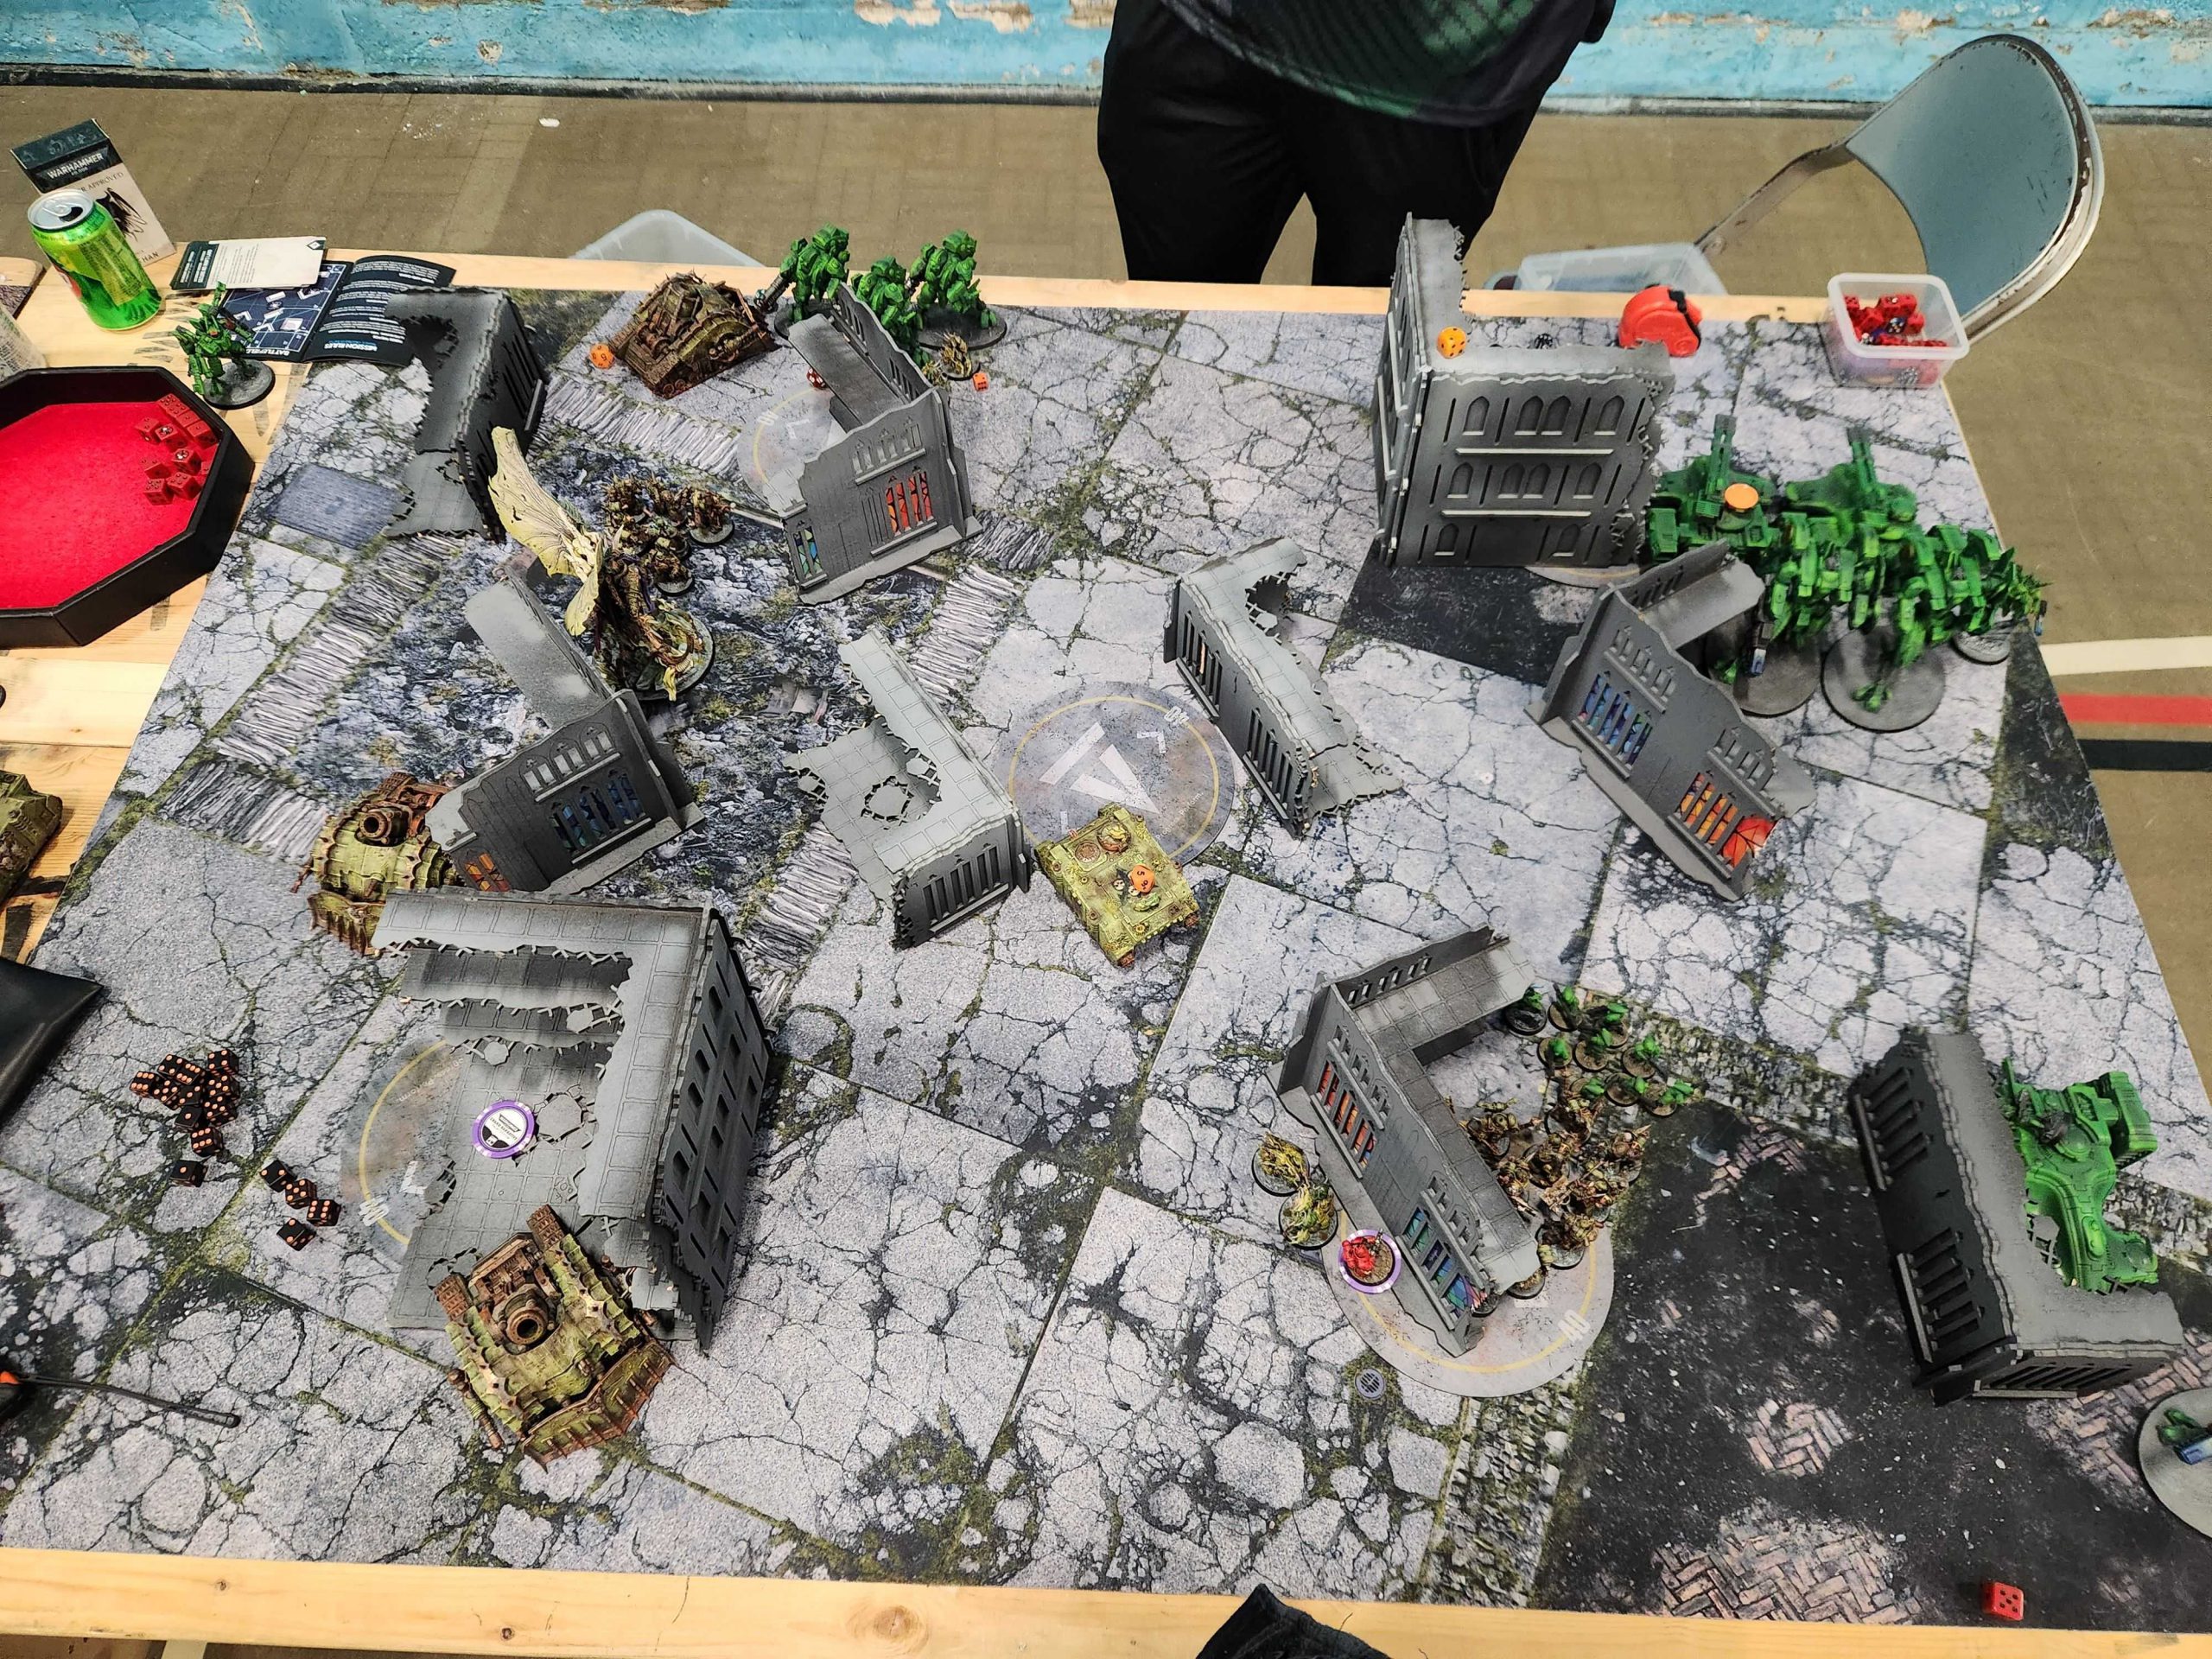
Joe played a hell of a game on a low-scoring mission. Sisters are never an easy matchup and Joe’s dice were on fire the entire game. You can always tell when a Sisters player is crushing it dice-wise because they end up accumulating a big ass pile of miracle dice – you can see Joe’s leftover dice on the L-shaped ruin up there in the photo. Joe didn’t roll great for his Miracle dice, but it wasn’t a well he had to go to very often.
Result: 69-64, Victory
As usual, the gap between rounds 2 and 3 is pretty short, so it’s a quick break before I’m on to the next round. I check in with Liam (1-1), Wings, (2-0), and Nassim Fouchane (2-0) to see how they’re doing. It’s going well.
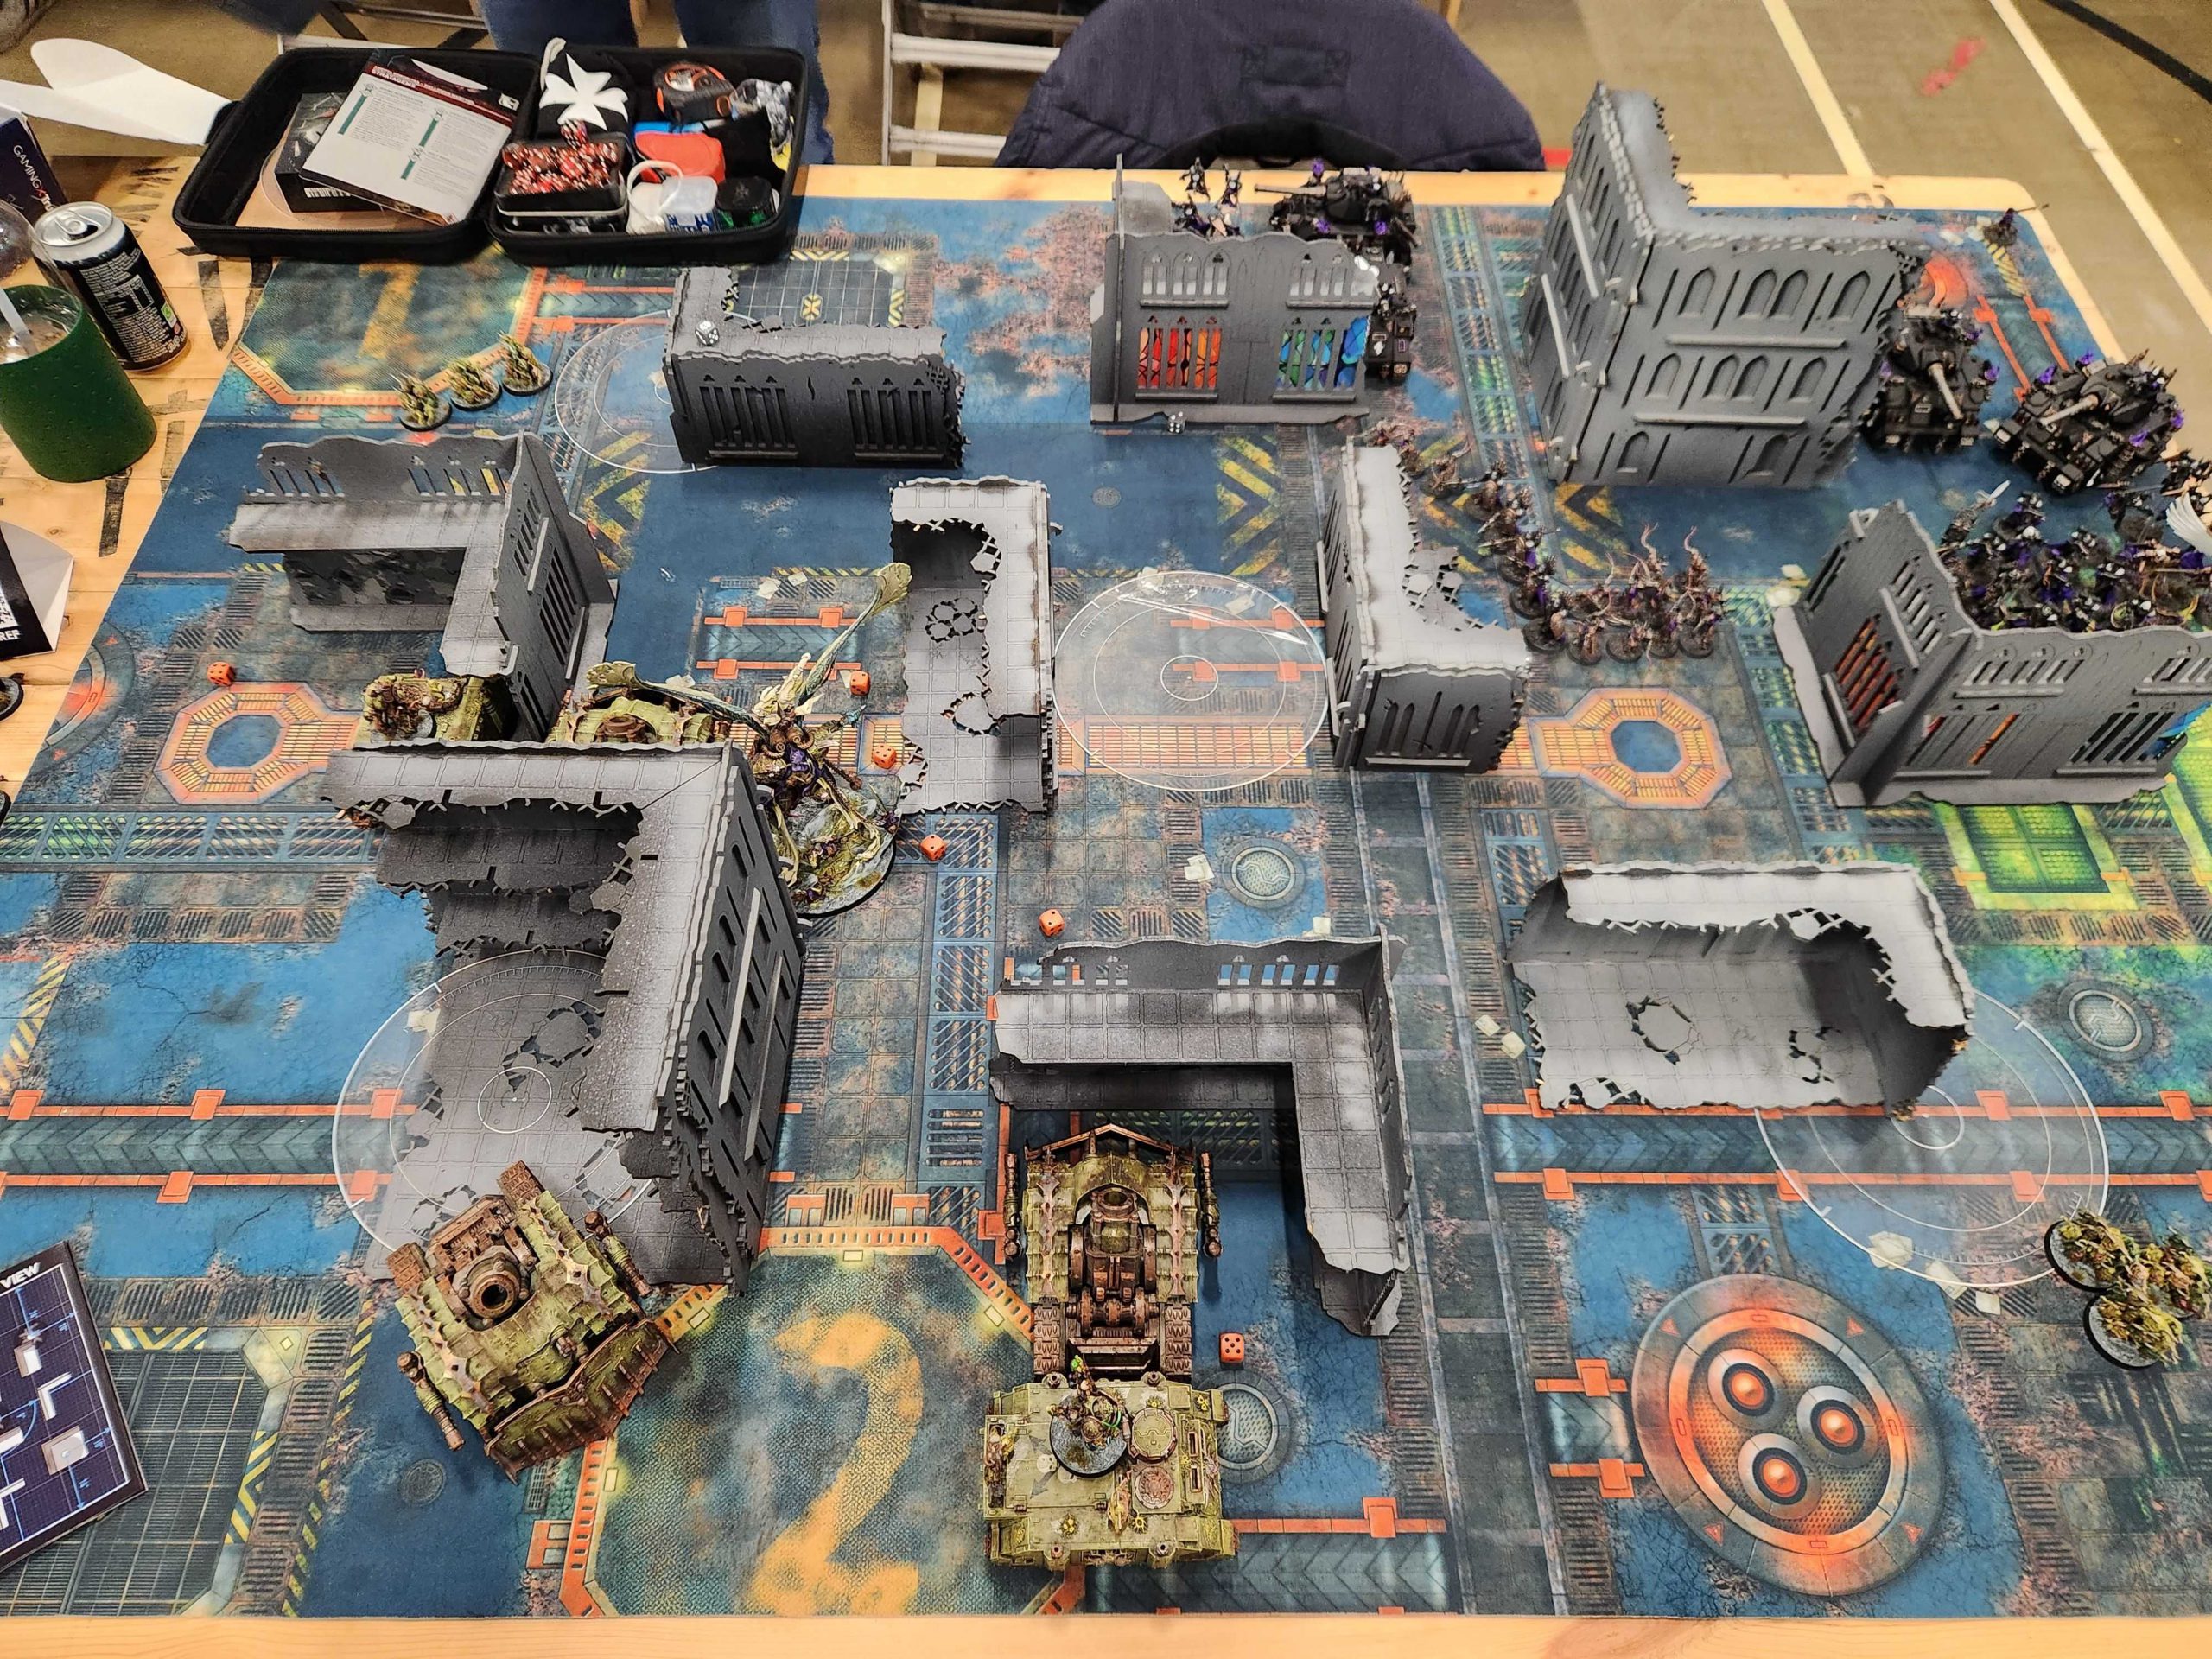
Round 3 vs. Matt Strong’s T’au Empire
Matt's List - Click to Expand Matt (1995 Points) T’au Empire CHARACTERS Commander Shadowsun (100 Points) Commander in Crisis Battlesuit (80 Points) Darkstrider (60 Points) Longstrike (140 Points) BATTLELINE Breacher Team (90 Points) Breacher Team (90 Points) DEDICATED TRANSPORTS Devilfish (75 Points) Devilfish (75 Points) OTHER DATASHEETS Ghostkeel Battlesuit (160 Points) Ghostkeel Battlesuit (160 Points) Ghostkeel Battlesuit (160 Points) Hammerhead Gunship (130 Points) Pathfinder Team (90 Points) Pathfinder Team (90 Points) Riptide Battlesuit (165 Points) Riptide Battlesuit (165 Points) Riptide Battlesuit (165 Points)
Kauyon
Strike Force (2000 Points)
• Warlord
• 1x Advanced Guardian Drone
1x Battlesuit fists
1x Command-link Drone (Aura)
1x Flechette launcher
2x High-energy fusion blaster
1x Light missile pod
1x Pulse pistol
• 1x Battlesuit fists
1x Cyclic ion blaster
3x Cyclic ion blaster
1x Marker Drone
1x Shield Drone
• 1x Close combat weapon
1x Shade
• 1x Armoured hull
1x Railgun
2x Seeker missile
2x Twin smart missile system
• 1x Support turret missile system
• 1x Breacher Fire Warrior Shas’ui
• 1x Close combat weapon
1x Guardian Drone
1x Gun Drone
1x Pulse blaster
1x Pulse pistol
• 9x Breacher Fire Warrior
• 9x Close combat weapon
9x Pulse blaster
9x Pulse pistol
• 1x Support turret missile system
• 1x Breacher Fire Warrior Shas’ui
• 1x Close combat weapon
1x Guardian Drone
1x Gun Drone
1x Pulse blaster
1x Pulse pistol
• 9x Breacher Fire Warrior
• 9x Close combat weapon
9x Pulse blaster
9x Pulse pistol
• 1x Accelerator burst cannon
1x Armoured hull
2x Seeker missile
2x Twin smart missile system
• 1x Accelerator burst cannon
1x Armoured hull
2x Seeker missile
2x Twin smart missile system
• 1x Battlesuit Support System
1x Cyclic ion raker
1x Ghostkeel fists
1x Twin fusion blaster
• 1x Battlesuit Support System
1x Cyclic ion raker
1x Ghostkeel fists
1x Twin fusion blaster
• 1x Battlesuit Support System
1x Cyclic ion raker
1x Ghostkeel fists
1x Twin fusion blaster
• 1x Armoured hull
1x Railgun
2x Seeker missile
2x Twin smart missile system
• 1x Pathfinder Shas’ui
• 1x Close combat weapon
1x Pulse carbine
1x Pulse pistol
1x Recon Drone
1x Semi-automatic grenade launcher
1x Shield Drone
• 9x Pathfinder
• 9x Close combat weapon
1x Gun Drone
3x Ion rifle
6x Pulse carbine
9x Pulse pistol
• 1x Pathfinder Shas’ui
• 1x Close combat weapon
1x Pulse carbine
1x Pulse pistol
1x Recon Drone
1x Semi-automatic grenade launcher
1x Shield Drone
• 9x Pathfinder
• 9x Close combat weapon
1x Gun Drone
3x Ion rifle
6x Pulse carbine
9x Pulse pistol
• 1x Ion accelerator
2x Missile Drone
1x Riptide fists
1x Twin smart missile system
• 1x Ion accelerator
2x Missile Drone
1x Riptide fists
1x Twin smart missile system
• 1x Ion accelerator
2x Missile Drone
1x Riptide fists
1x Twin smart missile system
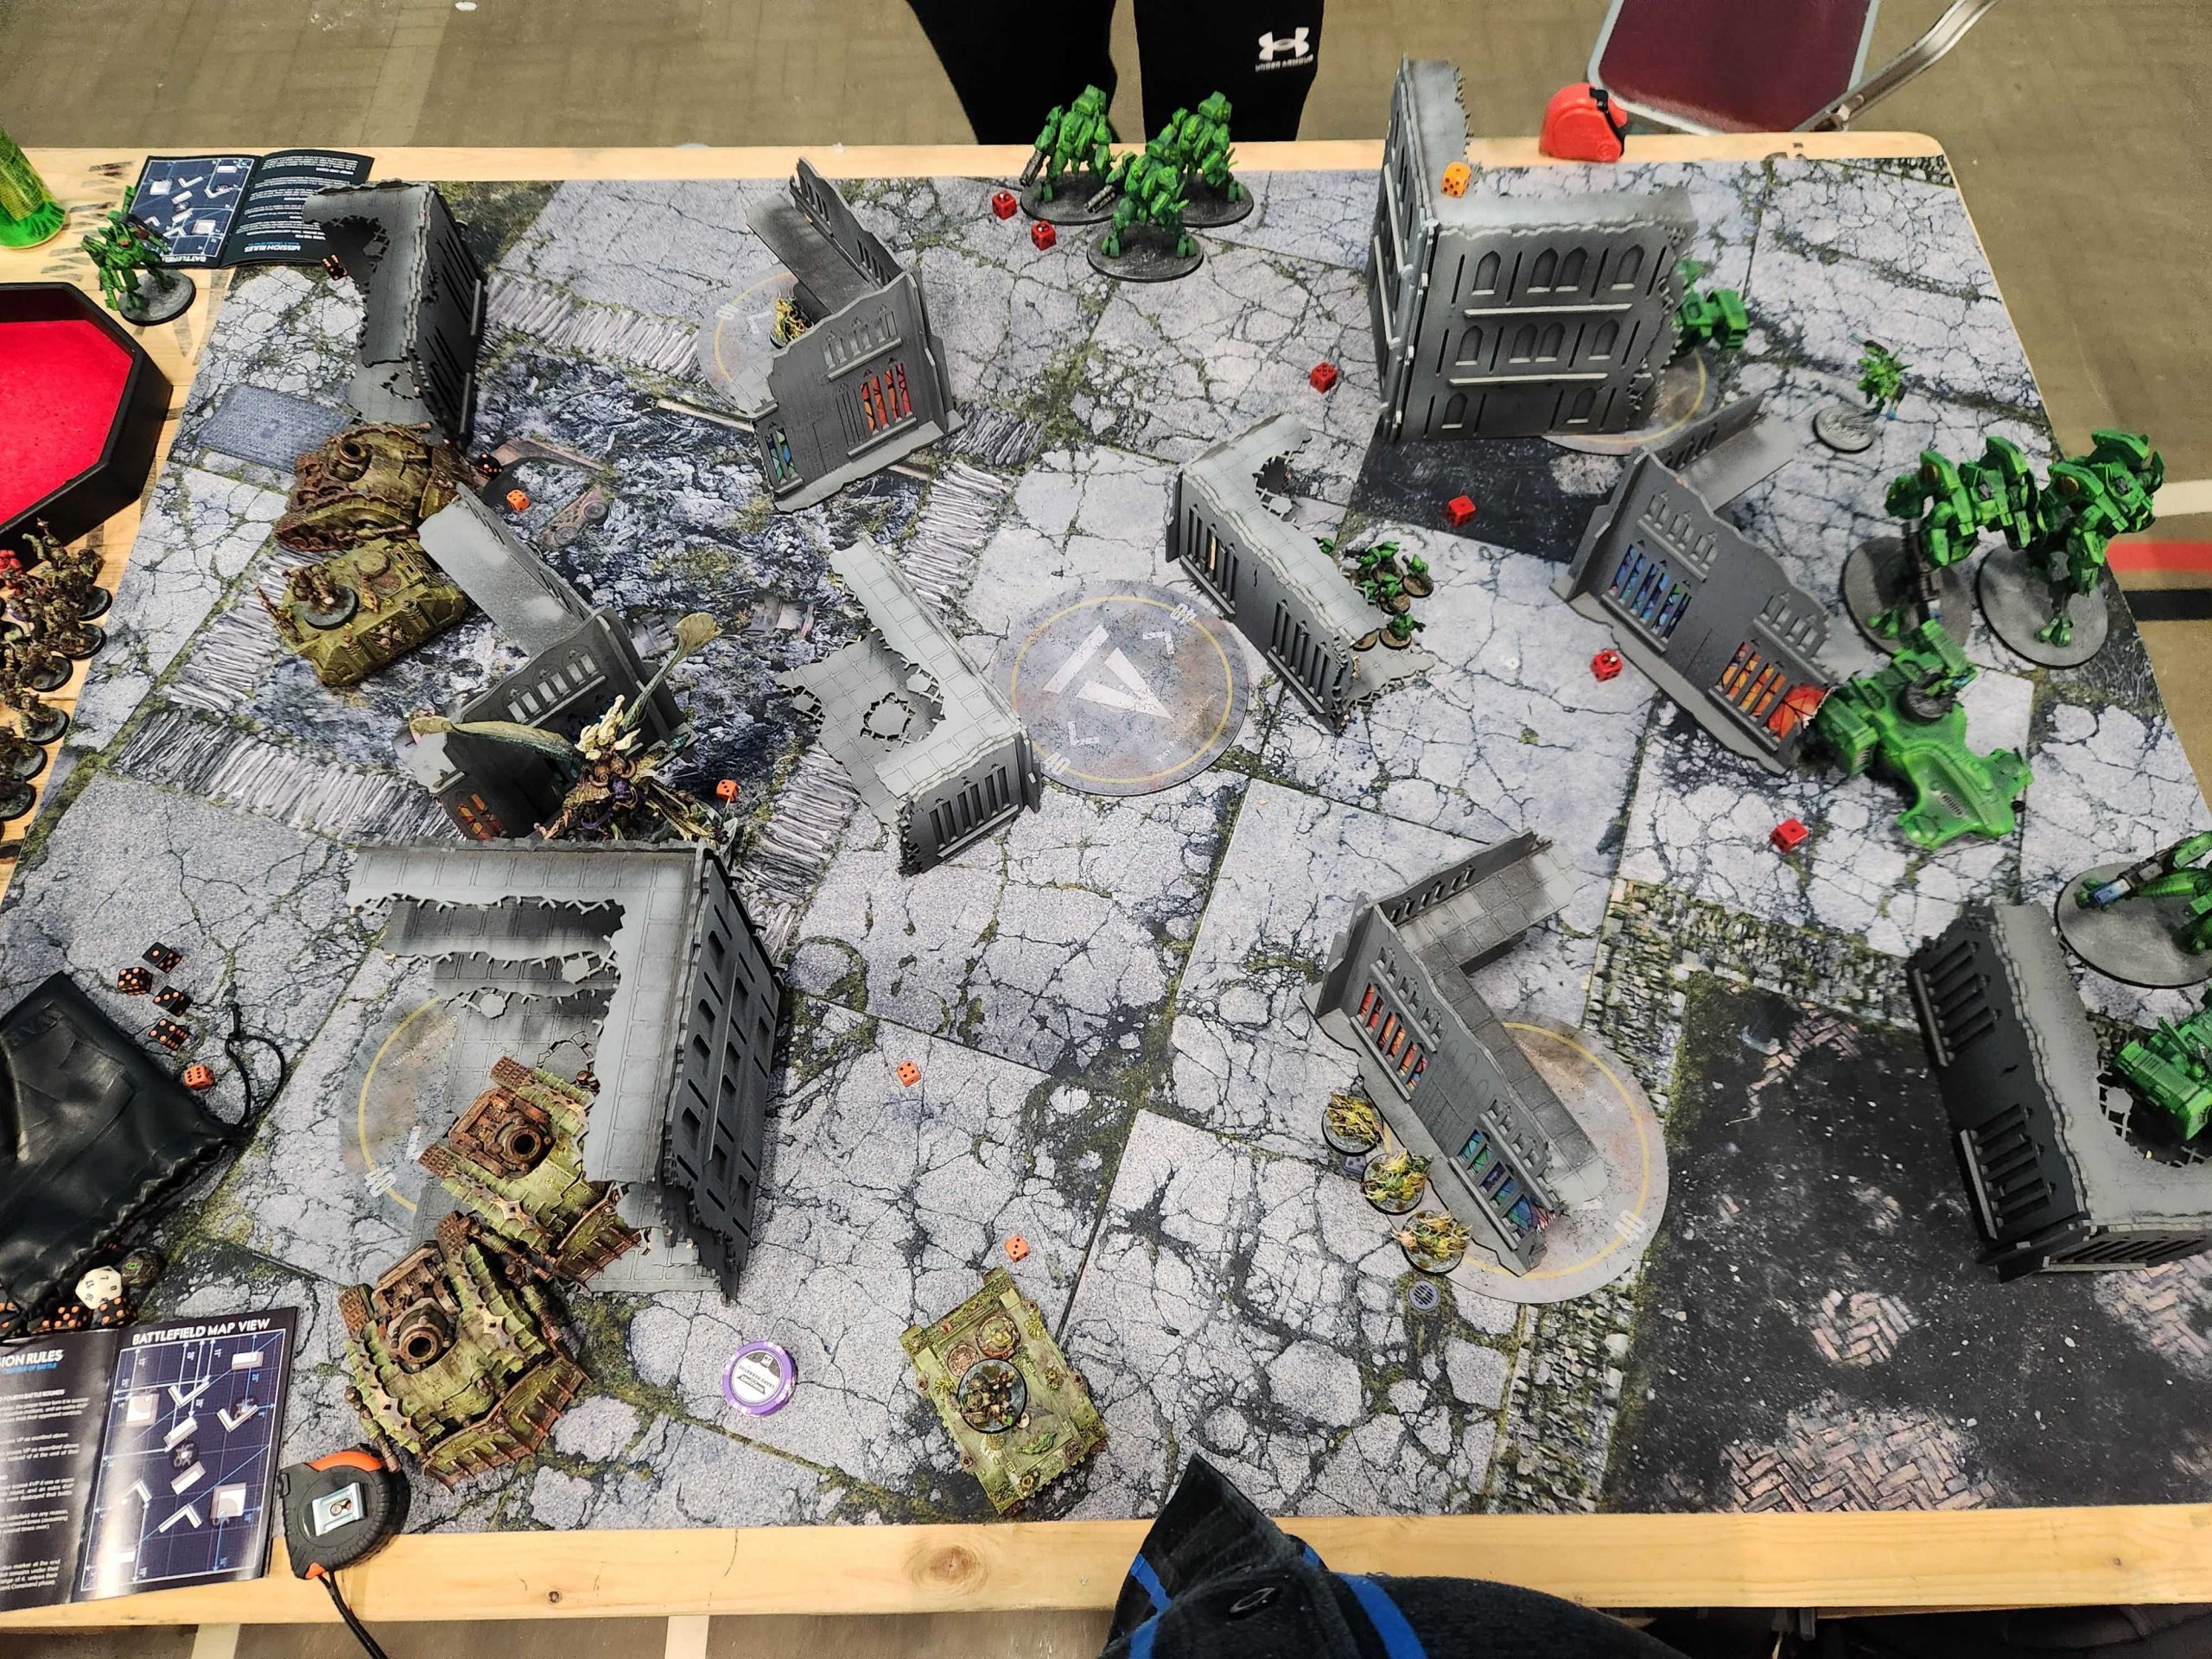
I spend a few minutes before this game talking with Nas about T’au – I haven’t played against the new T’au book and I’m worried about eating shit to a Mont’ka force. Then Nas reminds me that the new T’au book isn’t legal yet, so this is the same T’au army I was facing back in Tampa last year. That makes me feel much better. That said, it also means I have to worry about Longstrike and the two Riptides can be an issue. My goal is to weather the storm as I cross the table and try and get in Matt’s face with Mortarion, as once he gets into melee there’s nothing Matt can do about him. That said, I need to kill when I engage as most of the T’au army can just fall back and shoot. The plan is to put as much pressure as possible on Matt in those first two rounds in order to put him on the back foot before Kauyon kicks in and I start getting my ass kicked.
The Mission: Purge the Foe – Crucible of Battle – Sweep and Clear
Purge is the mission with hold one/hold more and kill one/kill more. It’s a mission where I want to go second, even against a T’au army that can drop in reserves and shoot me off the table early in the game. What I can do is use the Nurglings to push back the T’au scout moves, as they can’t end within 9″ of an enemy unit, so if I end up going second I can at least keep Matt off those objectives turn 1 and prevent him from locking in control of them with Sweep and Clear. Adding hit modifiers doesn’t do much here so I’m on -1 Rattlejoint Ague for -1 to saves.
I’m Going Second.
That works just fine for me. We’re both on Tactical Objectives. On Matt’s first turn he gets nothing from his scout moves but presses forward with his trio of Ghostkeels. He’s hoping to use their Lone Operative ability to keep from being shot. I’m not afraid of them however, and will gladly push upward to fight them. On turn 1 Matt draws Bring it Down and Capture Enemy Outpust. Bring it Down is going to be more or less free here but I love to see Enemy Outpost get picked turn 1 as it’s a huge late-game X-factor and seeing it discarded turn 1 means I can play much more loosely with my home objective. He pops my Rhino using Longstrike and the other hammerhead, forcing the Plague Marines inside to get out, and he tries to pick off as many as possible with the Ghostkeels, managing to take out five of them. He scores 4 for Bring it Down and 4 for Kill 1.
On my turn I pull Cleanse and Assassination. Assassination is dead and Cleanse is something I can only pull 3 on – I can cleanse with my Nurglings on the lower right objective but the Ghostkeels have enough OC to keep me from taking the one up top, plus I need to kill up there anyways. I push the Rhino across the table to the lower right objective and push the Plague Marines out, right up against the wall – after all, I want them to plow through there and fight – and up top I wheel up with Mortarion and the Plagueburst Crawler, while pushing another up there to get within 6″ of Mortarion. Fun fact: Ghostkeels can’t use Stealth Drones to drop incoming damage to 0 if the attacking unit is within Mortarion’s “no modifiers” aura. I severely injure two Ghostkeels but they manage to hang on with a wound. The upside is that doing this will force Matt to bring his Hammerheads to the top of the table if he wants to handle that PBC, which charged into a Ghostkeel. I’m also fine with them shooting Morty – I think he can tank one round of shooting there. I use my mortars to take out a Devilfish, scoring me 4 for Kill 1.
Round 2 Matt pulls Extend Battle Lines and A Tempting Target. I make the lower right objective the tempting target – I want him to press forward into it so I can kill anything coming in with my Plague Marines. This might have been a mistake – making him press to mid might have been a better play – but he takes the bait, and on my turn I’m able to move in and kill most of the unit with Plague Marines. I’m able to kill everyone but Darkstrider – I thought he was an attached character but he isn’t, and when he survives the plague marines’ onslaught on he’ll go on to cause me trouble and screen out my units at 12″ for one turn. In retrospect, I probably didn’t score this correctly – I should have had Kill 1 for killing the Pathfinders, and I assumed the final model was not an attached character.
Matt kills off one of my Nurgling units with indirect fire to score Kill one/more for the round (this probably should have been just kill one for each of us). This also wrecks me on my turn, as I’m unable to get the Plague Marines up to the upper left objective to score A Tempting Target, and I’m screened out from scoring Behind Enemy Lines so I get blanked on Secondaries. I discard both.
I haven’t done enough damage yet but Round 3 is when I break things open, despite Kauyon going live. Matt draws Defend Stronghold and Behind Enemy Lines and puts his Crisis Commander in my backfield to die to score 3. He Falls Back with Darkstrider to the middle of the table and lobs a grenade, doing a full 6 mortal wounds to my Rhino and killing it (it was on 6 left). It explodes but only does 2 back to Darkstrider. Matt also drops one of my PBCs with hammerhead shooting from Longstrike and the other Hammerhead.
On my turn I drop in the Deathshrouds at the upper left and bottom right objectives while I push Mortarion to the middle of the table. I snag Overwhelming Force and Bring it Down, and now the fact that the Ghostkeels have managed to stay alive is a bad thing for Matt. I kill his Crisis Commander with a PBC and kill two in melee with the Deathshrouds (who made their 9″ on the re-roll) and the Plague Marines, while at the bottom of the table I’m able to put a hurting one of Matt’s Riptides. I score 8 for Bring it Down and 5 for Overwhelming Force, plus 16 for Primary. Going 16-4 on Primary this turn really changes things, and sets me on a path to the win.
Matt’s biggest mistake happens in round 4 – He pulls No Prisoners and Secure No Man’s Land and presses his Riptide and Hammerheads up, putting them in charge range of my units. I’ll survive the shooting with Morty and the top Deathshrouds so while Matt pulls 8 hold one/kill one and 9 for No Prisoners/Secure No Man’s Land on my turn I snag Hold 1/Kill 1/Kill More for 12 and Secure No Man’s Land and Area Denial for a tidy little 20-point turn. Mortarion charges and kills the Riptide contesting the middle objective, while the Plague Marines and Deathshrouds charge and kill Longstrike. They sweep through Matt’s backfield and I all but table him round 5.
Result: 87-67, Win
This was another tough round – Matt played one hell of a game, and taught me a few new tricks. I didn’t realize that units could Fall Back and lob a grenade, for example. His big mistake was pressing too far forward in search of shots – doing that let me charge into him and guarantee the win late-game – but he was also pressed for choices when I started holding the middle of the table with units capable of scrapping. He needed to put more pressure on me early and often to bottle me into my deployment zone. This might have been a good mission for Fixed, but Fixed Secondary Missions are for cowards, so who knows.
Starting 3-0 is exactly what I was hoping for, and puts me well on the path to 4-2 I originally planned for. Obviously 4-2 isn’t mathematically possible at a 5-round event so really I’m hoping to snag my first 4-1 and prove Tampa wasn’t a fluke. With a 3-0 start I think that’s very doable. For dinner Liam, James, and I head over to nice little semi-outdoor mall in downtown Oxford and mull around for a bit before just crushing some Nando’s for dinner.

Tomorrow: Rounds 4-5, Plus Some Final Thoughts
Hot damn, 3-0. That’s Alright that wraps up the first half of my trip report. Check back in tomorrow for my recap of the Day 2 games, some general thoughts on the event and what I did right/wrong, and some more travelogue notes from the back half of my journey.
Have any questions or feedback? Drop us a note in the comments below or email us at contact@goonhammer.com.
