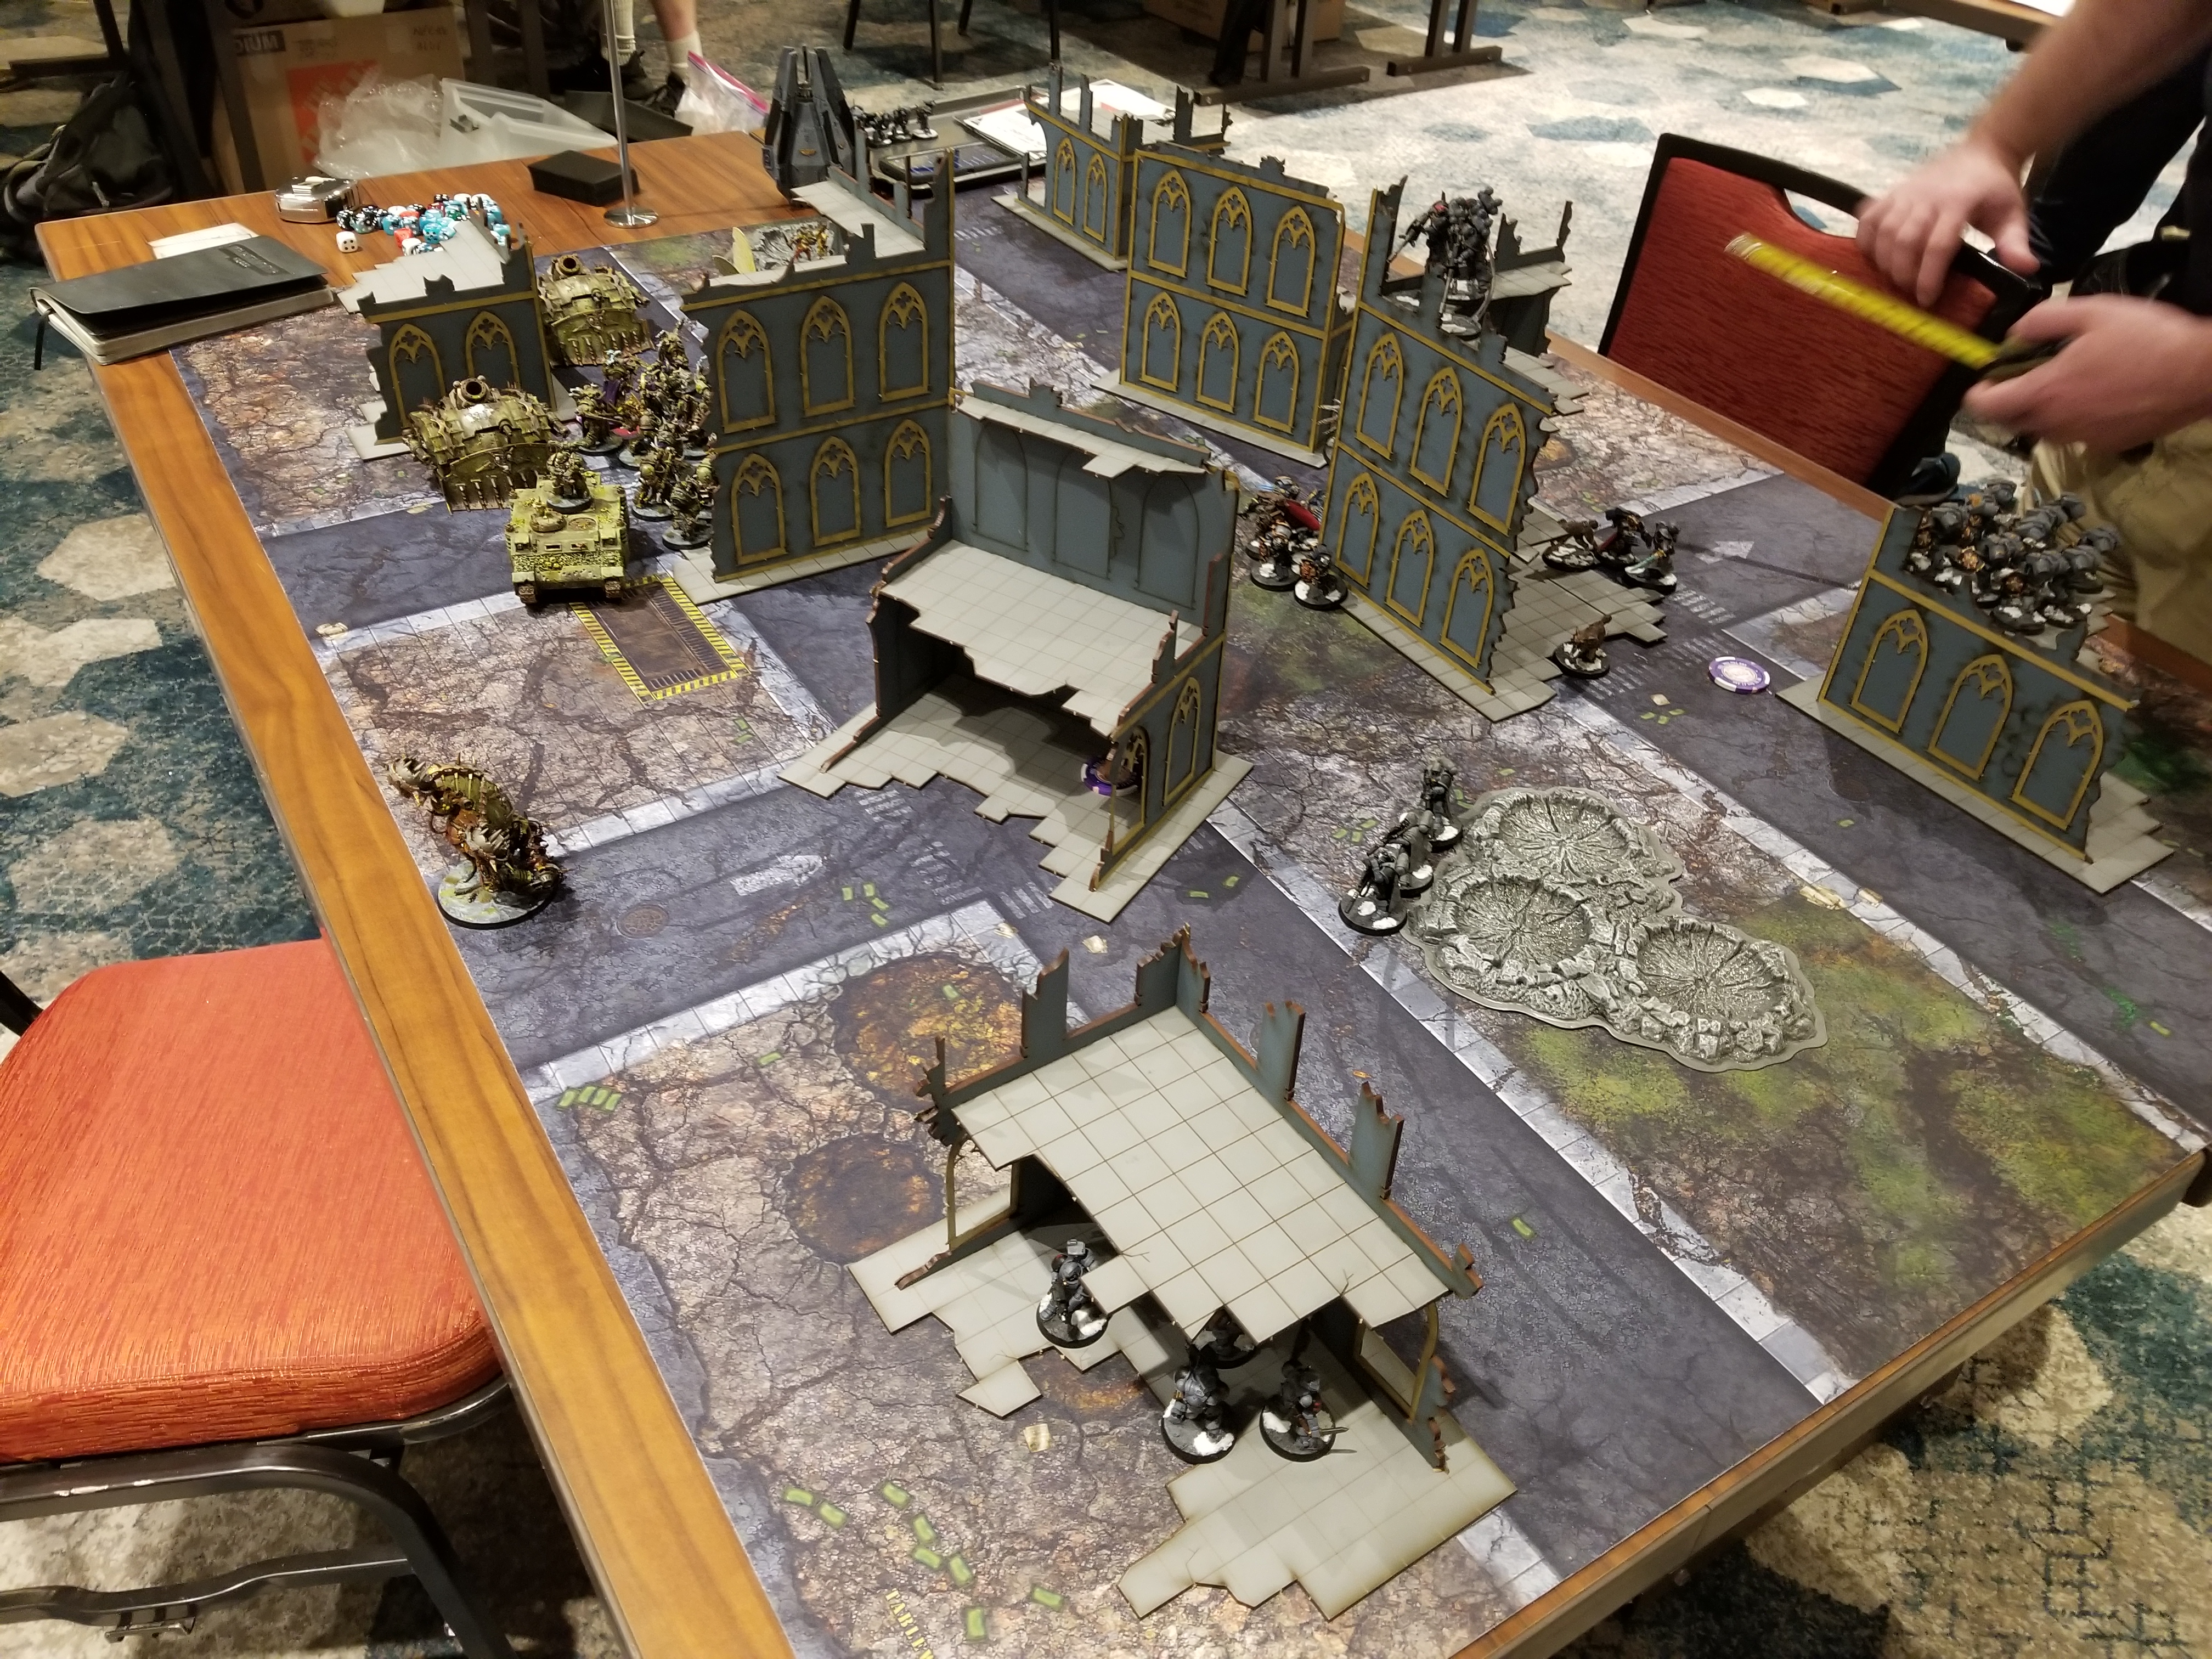
For this review, we built several each of the Necrotek, Gothic, and the Military Base. Other than the Gothic, which only comes in one, they come in a few different colors, but the parts and structure are the same. 4Ground cut us a deal on these when we bought 50 sets of them for various Goonhammers Open, but we didn’t tell them we would be reviewing the kits.
Rob: Note that, while we’re working to present an honest review here, our perceptions may be colored a little bit by having to assemble dozens of these kits.
Overview
Back in September, we got our grubby mitts on roughly 120 kilos of raw uncut MDF, from Vanguard Tactics and 4Ground Publishing.
The biggest difference between the 4Ground/Vanguard Tactics terrain and any other MDF I’ve seen on the market is that this is all pre-painted. That is a massive quality of life improvement, and turns a full table’s worth of terrain from a year-long hobby goal into an afternoon project, with no further work required. The pre-painting is done by painting the MDF sheets before lasering them, so any color variation on the finished product is accomplished through parts separation and layering. Particularly on the Military Base set, this is done very well, but it does mean that that set has an obscene parts count. A Necrotek building will have between 4 and 7 structural pieces, not including decoration. The smallest Military Base building has 9, the largest a staggering 28. Once you start adding accessories, the difference becomes even more noticeable.
The instructions, charitably, could stand to be improved. The Necrotek suffers the worst here: the instructions for all the pieces – large Ls, small Ls, and large Us – are each 3 pages, and mostly the same. The first page is a barely-legible line drawing of the MDF sheets in the box, which is only worth looking at for the parts list, if you want to confirm that you have the right ones (this has never been a problem, to their credit). The second page is the most useful one, because it shows the large panels broken out from their frames, how to assemble them, and in what order. The third page is exactly the same for all of the pieces: it shows the general gist of where to attach the greebles, but isn’t specific to the actual thing you’re building. Greebling is a free-form mode of expression with no pre-set outcome anyway, so that doesn’t particularly matter.
The Gothic set is only slightly more complex of a build than the Necrotek, being roughly the same structure but with some trim to attach and window options to sort out. The Military Base absolutely benefits from reading and dry-fitting before applying any glue, but the instructions are clear enough.
For all my complaining about this, it’s honestly the only downside that comes to mind with these kits, and can easily be worked around by dry-fitting. Also, once you build a couple of pieces of terrain, you don’t really need them anyway. By the third building on my first table I was rarely looking at the directions, and I was able to talk a number of Terrain Helpers through it without them having to read them at all. It’s an extremely minor issue, and everything else about this stuff rules.
As far as materials, the only hard requirement is normal elementary school looking white glue. A small sharp thing (like a key, or a flathead screwdriver) could be useful to persuade some of the smaller parts to leave their sheets, and a tablecloth and latex gloves would be a smart move, but all you really need is that classic, delicious, Elmer’s glue. I’ve heard that clamps or rubber bands can be used to hold things together while the glue sets, or a hobby knife for trimming, but I found them completely unnecessary.
Necrotek
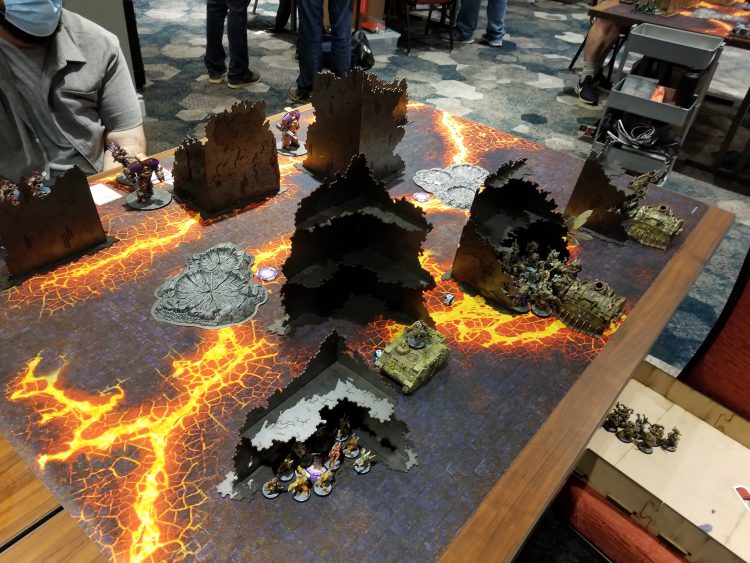
Of the three, the Necrotek goes together the fastest by far. After a bit of practice I was building (including gribblies) a full table in less than 90 minutes, but even going in blind on the first one, having never built any MDF terrain, it took a bit over 3 hours end-to-end. One weird tip for building this: take care to make sure the correct side is facing out, because it’s easy to build mirror-image buildings. With the exception of the middle floor on the large U-shaped buildings, which goes in the other way, the shiny side should be facing out or up on all of them. If there are any joints you aren’t particularly happy with – due to bad fitment or just looking weak – jam a couple of greebles in there to brace them.
I’ve built this one in copper, blue, and black. All of them have a metallic sheen, which makes the blue more of a gunmetal, and the black extremely effective if you’re building a Necron-themed table. Subjectively, I don’t love the look of it – it’s fine, nice even, just not my particular thing, and it does get the job done. There’s a neat thing that this set does, that we’ll see again on the others, where they dropped the power on the laser so that it scores detail into the surface without burning all the way through. It’s a nice way to get some extra detail into the look, without compromising the structure or LoS-blocking silhouette.
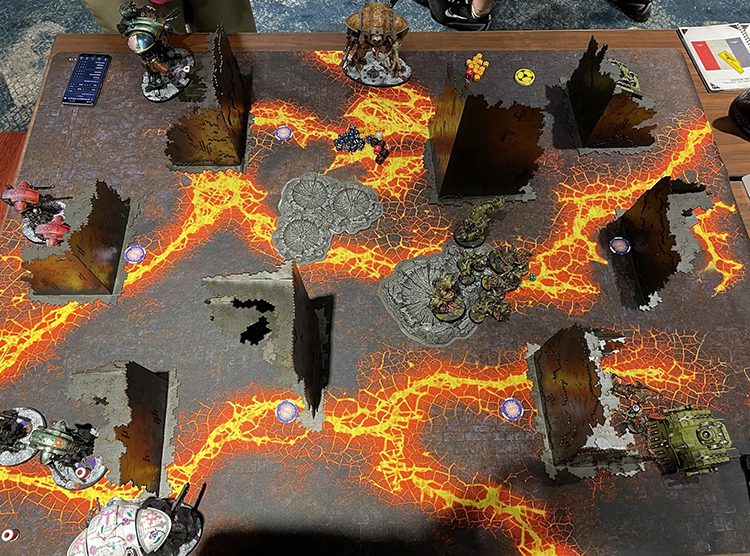
I wouldn’t call this set flimsy, and I was never worried about breaking the thing when putting my models on it, but it doesn’t have the reinforcing buttresses or thicker MDF of the Gothic and Military Base sets. It’s a basic set, in looks and construction, but it has the price tag to match. If you wanted an acceptable-quality table to game on, I’m hard-pressed to think of an option that isn’t either far more work or far more expensive. I don’t want this to sound as mean as it might come off, but this is the Toyota Yaris of terrain. It’s a table. You can play on it. Perhaps not much more, but absolutely not anything less.
Military Base
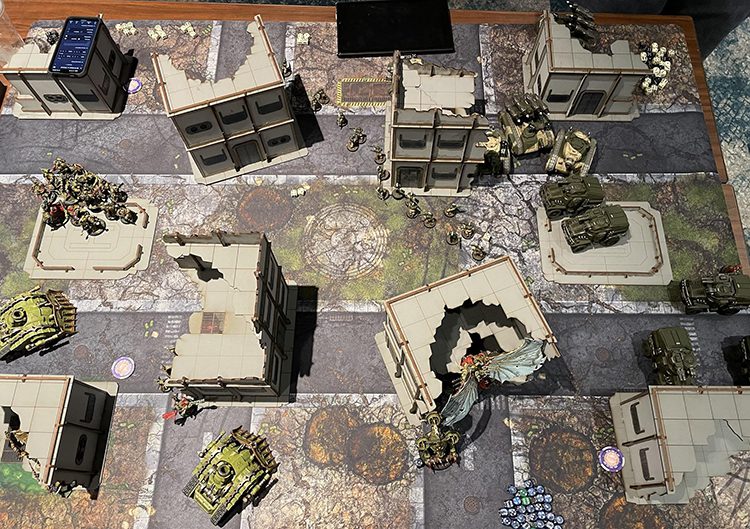
The Military Base is a beast of a build, but I will say this: if I’d only had to build one table instead of twenty five, I’d have a very different impression of it. For an afternoon (or two: initially this one was taking me about 8 hours start-to-finish, down to 5 when I got a better handle on it) of work, you get a full table of genuinely attractive, solidly built, terrain. It really is the nicest of the three sets we looked at. No, it’s not a joy to build en masse, but if you only had one of them that would be fine. At any rate, compared to hypothetically having to paint a whole table of buildings, it’s not even close, the Vanguard/4Ground stuff rules. Even with glueing on all the decorations, this is by far the fastest way in all of Warhammer to get a great-looking table up and running.
The inflated parts count here comes from two places: one is the buttresses that add detail and strength to the walls. Because of those buttresses, each level of terrain has its own wall on each side, instead of one large piece per facing across all the floors. That has the benefit of making the floors detachable, if you need to reach in between them or want to make them easier to store. The other is the optional accessories, cleverly printed on thin card stock instead of proper MDF. Each segment of each wall has a top and bottom trim piece, but it’s the windows that take up a lot of time. The shutters are one piece, the doors are 4 (a door and a frame, on both the inside and outside), and the fans are, well, there’s no easy way to say this. It’s 13 pieces. Starting with one MDF plug, you have to layer on two frames, two shrouds, four fans, and finally four grills. It looks amazing, but there’s a reason we used mostly shutters and doors on these kits. The windows can, obviously, just be left open as well.
The way it all fits together is clever, and other than my whining about the parts count, makes a lot of sense. There’s usually only one place and orientation where you can fit a given piece (eg, the buttresses are specific to each floor, but they cut the tips and the corresponding slots such that you can’t use the wrong one), which makes it surprisingly hard to screw up, as long as you dry-fit everything. The part that drove me insane, but in retrospect pays off in the finished product, is the detailing. The trim, doors, and window shutters are layered up on the outside of the walls, to provide some nice depth and complexity to the design.
Layering sheets to provide visual interest isn’t anything new in the terrain world – real model railroad heads know, as does anyone with a cri-cut, along with every other MDF designer on the planet – but just because it’s not original doesn’t mean that it’s not good. The terrain as a whole is a bit over-scale though: putting a space marine next to one, the doors must be 14 feet tall. This was never noticeable during a game.
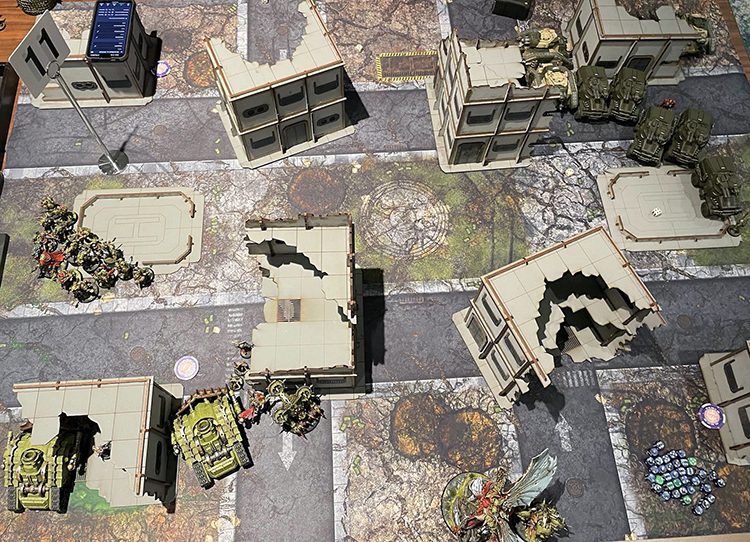
This one has a couple of added bonuses, which is that a full table of it comes with a couple of extra pieces. Each of the sets we’re looking at here have 8 line-of-sight-blocking ruins (2 big Ls, 2 Us, and 4 small Ls), but this one also packs in a couple of landing pads, which are basically light-cover craters, making it probably the best choice for a one-stop solution. Along with that, the big U-shapes (pictured lower right, in front of Mortarian, above) come with a small one-story detached wall (not pictured) that fits into the bottom level and can turn the U into a fully-enclosed “magic box” terrain piece.
It is the most expensive set we’re reviewing here, but it’s also probably worth it.
Gothic
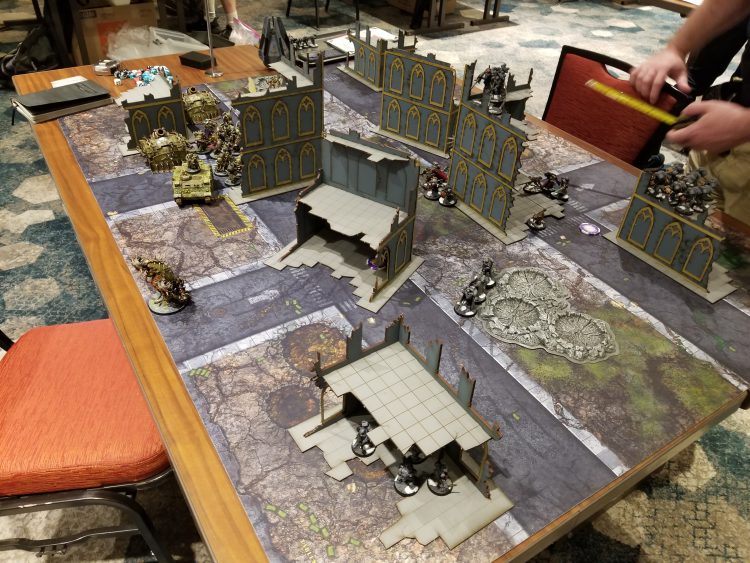
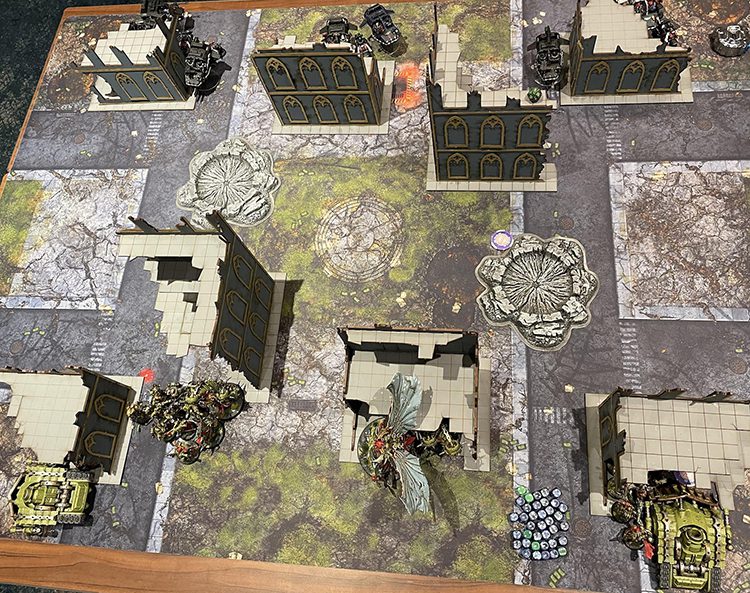
My personal choice, if I were building a table for myself, would be the Gothic. It slots right between the Necrotek and the Military Base in terms of both price and build complexity, and I prefer the aesthetic of it for general-purpose 40k tables that aren’t tied to any particular army. There’s still some decorative trim to attach, but each wall’s trim comes in a single enormous part, instead of the 15 small pieces that the Military Base uses. The giant trim piece is easy to tear if you aren’t careful, but just don’t not be careful, simple as.
Every MDF sheet, from any manufacturer, has a clean side and a burnt side, based on which facing caught the brunt of the laser’s fury. There’s a neat trick to the Gothic tables, unique among these sets, where the burnt sides all face out, so that instead of hiding the scorch marks inside the completed structure, it’s used as a sort of weathering. On the minus side, one of the large buildings has an inexplicably separated base, so you get to glue that together and then watch it slip out of alignment while you’re attaching the walls. That’s not great, but the grid pattern burnt into the floors and the ornate window treatments easily make up for one odd cutting choice.
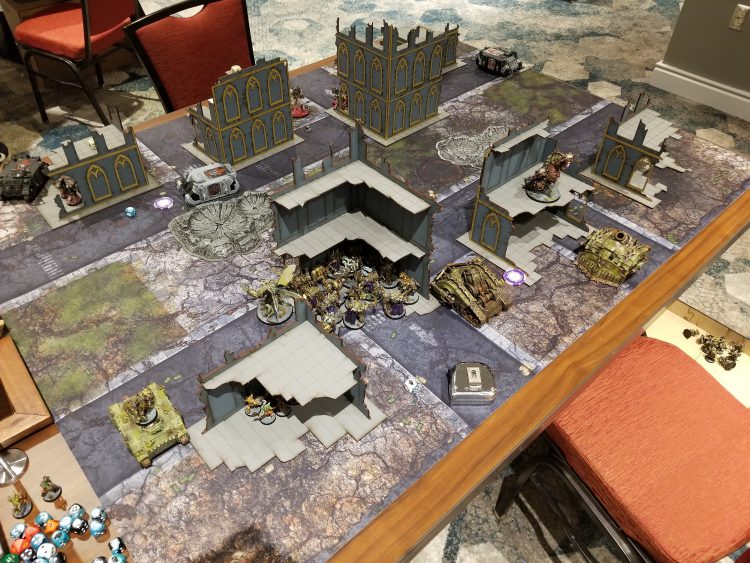
The windows end up being the biggest piece of work, again. The options here are to leave the window sealed, and put a piece of trim over it, or to pop out the blocking piece and then put the trim in, seating it into the open slot. For the broken wall sections, they thoughtfully include broken window frames that fit right in. I closed them all off on my sets due to line of sight concerns, but if you do leave them open, gluing the trim in is fiddly and will absolutely get more glue on your hands than on the model, but looks nice and stays put once it’s in. There are stained glass designs included in the box, printed on a clear sheet, that can be used to spice up any open windows. I didn’t use them – I tried once and made a mess of things so bad that I had to just close the window up – but they looked neat and a better hobbyist could do great work with them. My complaint there is that the designs aren’t cut out in any way – they have to be removed with a knife, the hard way, and cutting it wrong means it won’t fit right. That said, if you wanted to use them, it adds some unique flair, and the windows can be cut into shards for broken glass. There’s also a sheet of small propaganda posters that can be cut out and glued on. I also didn’t use any of them. These are great little additions, and I regret not having the bandwidth to take advantage of them. If I’d had more time or been less concerned with GT usability at the cost of aesthetics, this could be a very appealing table to look at, but even rushed the way it was, it’s still very nice, and solid to play on.
The Verdict
Greg: Folks, it’s good.
Rob: I can elaborate on this a bit – while I’ve built a GW layout mirroring the recent US events at home, I’ve found this to be among my favorite terrain, primarily because it succeeds both at having large footprints but also being tall enough to hide larger models like Knights and Daemon Primarchs. One of the key struggles of the GW terrain is that some of it’s barely over 3″ tall, which means wading into can suddenly make even relatively short models like a Talos or Daemon Prince suddenly visible anywhere on the table. I think it could stand to be updated with larger bases but on the whole, this is the best terrain to game on in 40k right now.
Have any questions or feedback? Drop us a note in the comments below or email us at contact@goonhammer.com.
