You’ve been waiting for months, and it’s finally here: the 10th edition of 40k. Promising a simplified (but not necessary simple) rules framework, more clarity than ever, and a complete overhaul of unit rules, this new edition is poised to be the best one yet, taking everything learned over the last three years of 9th edition and giving us the tightest rules yet.
In this multi-part series we’re going to go through the game rules, how 10th edition is played, and offer our thoughts on the good and bad of that plus some tactical insight every step of the way. There’s a ton to cover here so we’re breaking it up into more manageable chunks to make it easier to read and browse. For quick navigation, you can use the links below (links will be added as articles are published):
- Part 1: The Core Rules
- Part 2: Playing the Game (this article)
- Part 3: The Leviathan Box
- Part 4: The Leviathan Mission Pack
- Part Bonus: Leviathan Datasheets
- Part 5: Crusade
- Part 6: Our Thoughts – A Roundtable
- Part 7: Combat Patrol
In this article we’ll talk about playing 10th edition, the flow of a battle round, what’s changed during that process, and cover anything we missed in our previous article
As always, thanks to Games Workshop for providing a preview copy for purposes of this review.
The Battle Round
Let’s start with the process of going through a battle round. As we mentioned in our first article, the sequence of a round has changed, and two phases have been removed completely.
Key Change: The Turn Sequence
The turn sequence in 10th edition has changed, and two phases have been removed – The Psychic and Morale phases. The new turn sequence is as follows:
- Command Phase
- Movement Phase
- Shooting Phase
- Charge Phase
- Fight Phase
The Command Phase
As with 9th edition, turns start with the command phase, though note that there are still some effects which occur at the start of a battle round which happen before either player’s Command Phase actually starts. There are two steps in the Command Phase, one familiar, one entirely new. First up: Command points. Both players get one. If it ain’t broke, don’t fix it. Moving on.
Battle-shock is the meat of what now happens in the Command Phase, and is the new (and vastly more impactful) morale mechanic for this edition. Every unit has a Leadership characteristic, and in your own Command Phase you have to take a Battle-shock Test for each of your units that is below Half Strength by rolling 2d6 against this, succeeding if you equal or beat it. Half Strength works the same as it did in 9th for multi-model units, triggering when you’re at less than half of your starting number of models, but now also applies to single-model units that are below half their starting number of Wounds – so tanks and monsters aren’t immune to morale anymore.
Key Change: Battle-shock
A unit that fails the test becomes Battle-shocked until your next Command Phase, and while in that state they suffer the following effects:
- The unit has an Objective Control stat of 0 (i.e. can’t control objectives)
- The unit cannot be affected by Stratagems (which crucially includes Overwatch)
- The unit has to take Desperate Breakout tests if they want to Fall Back (which we’ll look at in more detail in the Movement Phase).
Being Battle-shocked is really, really bad, basically – units don’t become totally useless, but it might open up crucial opportunities for the opponent. This mechanic also extends further than just Command Phase tests – we’ve already seen a few ways to inflict additional Battle-shock tests scattered throughout the various faction previews, and it also now gets inflicted automatically on any unit that’s forced to disembark from a destroyed Transport, so the time-honoured 8th and 9th edition strategy of parking a boat full of Troops on an objective to defend it is weaker (though they’ll still recover in their upcoming Command Phase). If you fail a Battle-shock test you do still have access to Insane Bravery, the 10th edition of which allows you to pick a unit that just failed a test and ignore it, but it feels like in some games you’re going to be taking enough of these that you can’t always rely on a Stratagem to manage it and so you’ll need to be careful in how you layer your plans. A lone surviving Intercessor hiding behind a wall will no longer reliably hold an objective all game, because there’s every chance that on a crucial turn he’ll be Battle-shocked. This promises to be one of the biggest strategic shakeups of the edition, and a vastly more interesting implementation of Morale than we saw in either 8th or 9th, which is good stuff.
Key Changes: The Command Phase
- Morale now happens in the Command Phase, with units below half strength taking a Battle-shock test.
- This can now affect single-model units too!
- Being Battle-shocked means you cannot hold objectives or use stratagems, and may suffer casualties when falling back.
The Movement Phase
Moving Units
In the Movement Phase, you move your units. A unit can either Remain Stationary, Move up to their M characteristic in inches, Advance to add d6” to that at a cost of being able to shoot or charge later in the turn (at least, without some other ability helping out), or if they’re within Engagement Range of an enemy unit, Fall Back to move out of combat. Models can move over friendly models (with the exception that Monsters/Vehicles cannot move over other Monsters/Vehicles) but not within Engagement Range of any enemy models. Models can vault over/ram through pieces of terrain that are under 2” in height without penalty, but for anything larger they have to climb up then down again while adjacent to it, measuring the vertical distance.
Seasoned 9th Edition players may have spotted that this is all pretty much the same as it was, with the exception that being able to move over friendly models is new (and honestly probably a good thing, as a lot of players already assumed you could, or would sort of do it anyway by ‘intent’ which didn’t always align with reality). Where things differ is in some additional nuances around units that can FLY and a new version of the Desperate Breakout option for Falling Back.
FLY units get to ignore some of the normal movement rules – they can move over enemy models and engagement ranges as if they were not there (as long as they end the movement outside engagement), and if they want to move over terrain, can measure a straight diagonal line from their current position to the top of it “through the air”, saving a bit of distance via the forbidden magic of triangles. This makes FLY units quite a bit more maneuverable than their ground-bound counterparts – but crucially nowhere near as speedy at hopping over terrain as they were in previous editions, particularly for larger models. This is going to have a big impact on how some armies play, and mean that larger terrain pieces have a far more consistent impact on different factions on the table.
Desperate Escape is the other big change here. Units that start the Movement Phase in Engagement Range of the enemy can only Remain Stationary or Fall Back. When using the latter option, they can move through the enemy unit’s Engagement Range as long as they end outside it, but cannot normally move through the models. If that’s the only way to escape, perhaps because the enemy has wrapped around the unit in the Fight phase, then Falling Back is still permitted, but you have to take a Desperate Escape test for each model in the unit. Roll 1d6 per model, and for each 1 and 2, a model of your choice from the unit is destroyed. This does mean that units with an attached Character can nobly throw themselves on the swords of the enemy rather than the Character dying to a bad roll, but it’s still pretty painful. In addition, if your unit is Battle-shocked, you always have to take these tests when falling back – so being in a combat you’re losing while Battle-shocked is extremely bad news. Veterans will recognise this as a replacement for the Desperate Breakout stratagem from 9th, and moving this into the core rules means it’s now almost never possible to force the enemy to stay in fights by wrapping multiple units, but the actual pain you inflict on them for each wrap you pull off (or each Battle-shocked unit you lock in combat) is significantly greater. This feels like another decent change – it’s going to come up more, and matter more when it does, so it can actually be built into strategies.
The other minor (but important) change is that TITANIC no longer gives you the ability to fall back and shoot as a built-in capability – so giant robots may now find themselves remaining in the fight more often (unless some sort of datasheet ability overrides this).
Key Changes: The Movement Phase
- Friendly models (with exceptions around Vehicles/Monsters) can move through each other freely.
- FLY still allows moving over enemy models, but does much less to speed you over terrain.
- Desperate Escape (a replacement for Desperate Breakout) is now part of the core rules, and is twice as harsh when it comes up (which it will do more often thanks to Battle-shock).
- TITANIC units no longer get to Fall Back and Shoot for free.
Reinforcements
After units already on the Battlefield have moved, the player whose turn it is can set up one or more units from Reserves – units that are starting off the battlefield either due to an ability they have, or by being placed into Strategic Reserves. Units set up in this way need to be set up a certain horizontal distance from the enemy (specified in the rule that put them into Reserves), and count as having made a Normal Move this turn.
Common ways of entering Reserves are the Deep Strike universal rule, which allows a unit to be put in Reserves, then appear anywhere that’s 9” away from enemy units, and Strategic Reserves. You can put up to 25% of the points value of your army into Strategic Reserves at no cost, and when these units arrive they have to be both 9” away from the enemy, and wholly within 6” of a Battlefield Edge, and if it’s Battle Round 2 they also cannot be within the enemy’s Deployment Zone.
This is mostly all going to be familiar to 9th veterans, but there’s a couple of key changes. Setup distance being explicitly horizontal in the Core Rules will prevent a resurgence of the Bortel Triangle Heresy (a dark time for all involved), Strategic Reserves being a unit limit rather than costing CP is a nice bit of streamlining, and the concept of a Friendly Board Edge, with corresponding special deployment rules for Strategic Reserves, is now gone. The last one is a little bit of a shame, because it did occasionally create interesting situations, but it also often felt like a bit of a gotcha when it came up, and there being one fewer rule that comes up in 10% of games is definitely in line with the goal of simplifying things.
Key Changes: Reinforcements
- Reserves distance is always measured horizontally.
- Strategic Reserves is free, using a 25% points limit instead.
- Special Strategic Reserves rules for deploying from your own board edge are gone.
Transports
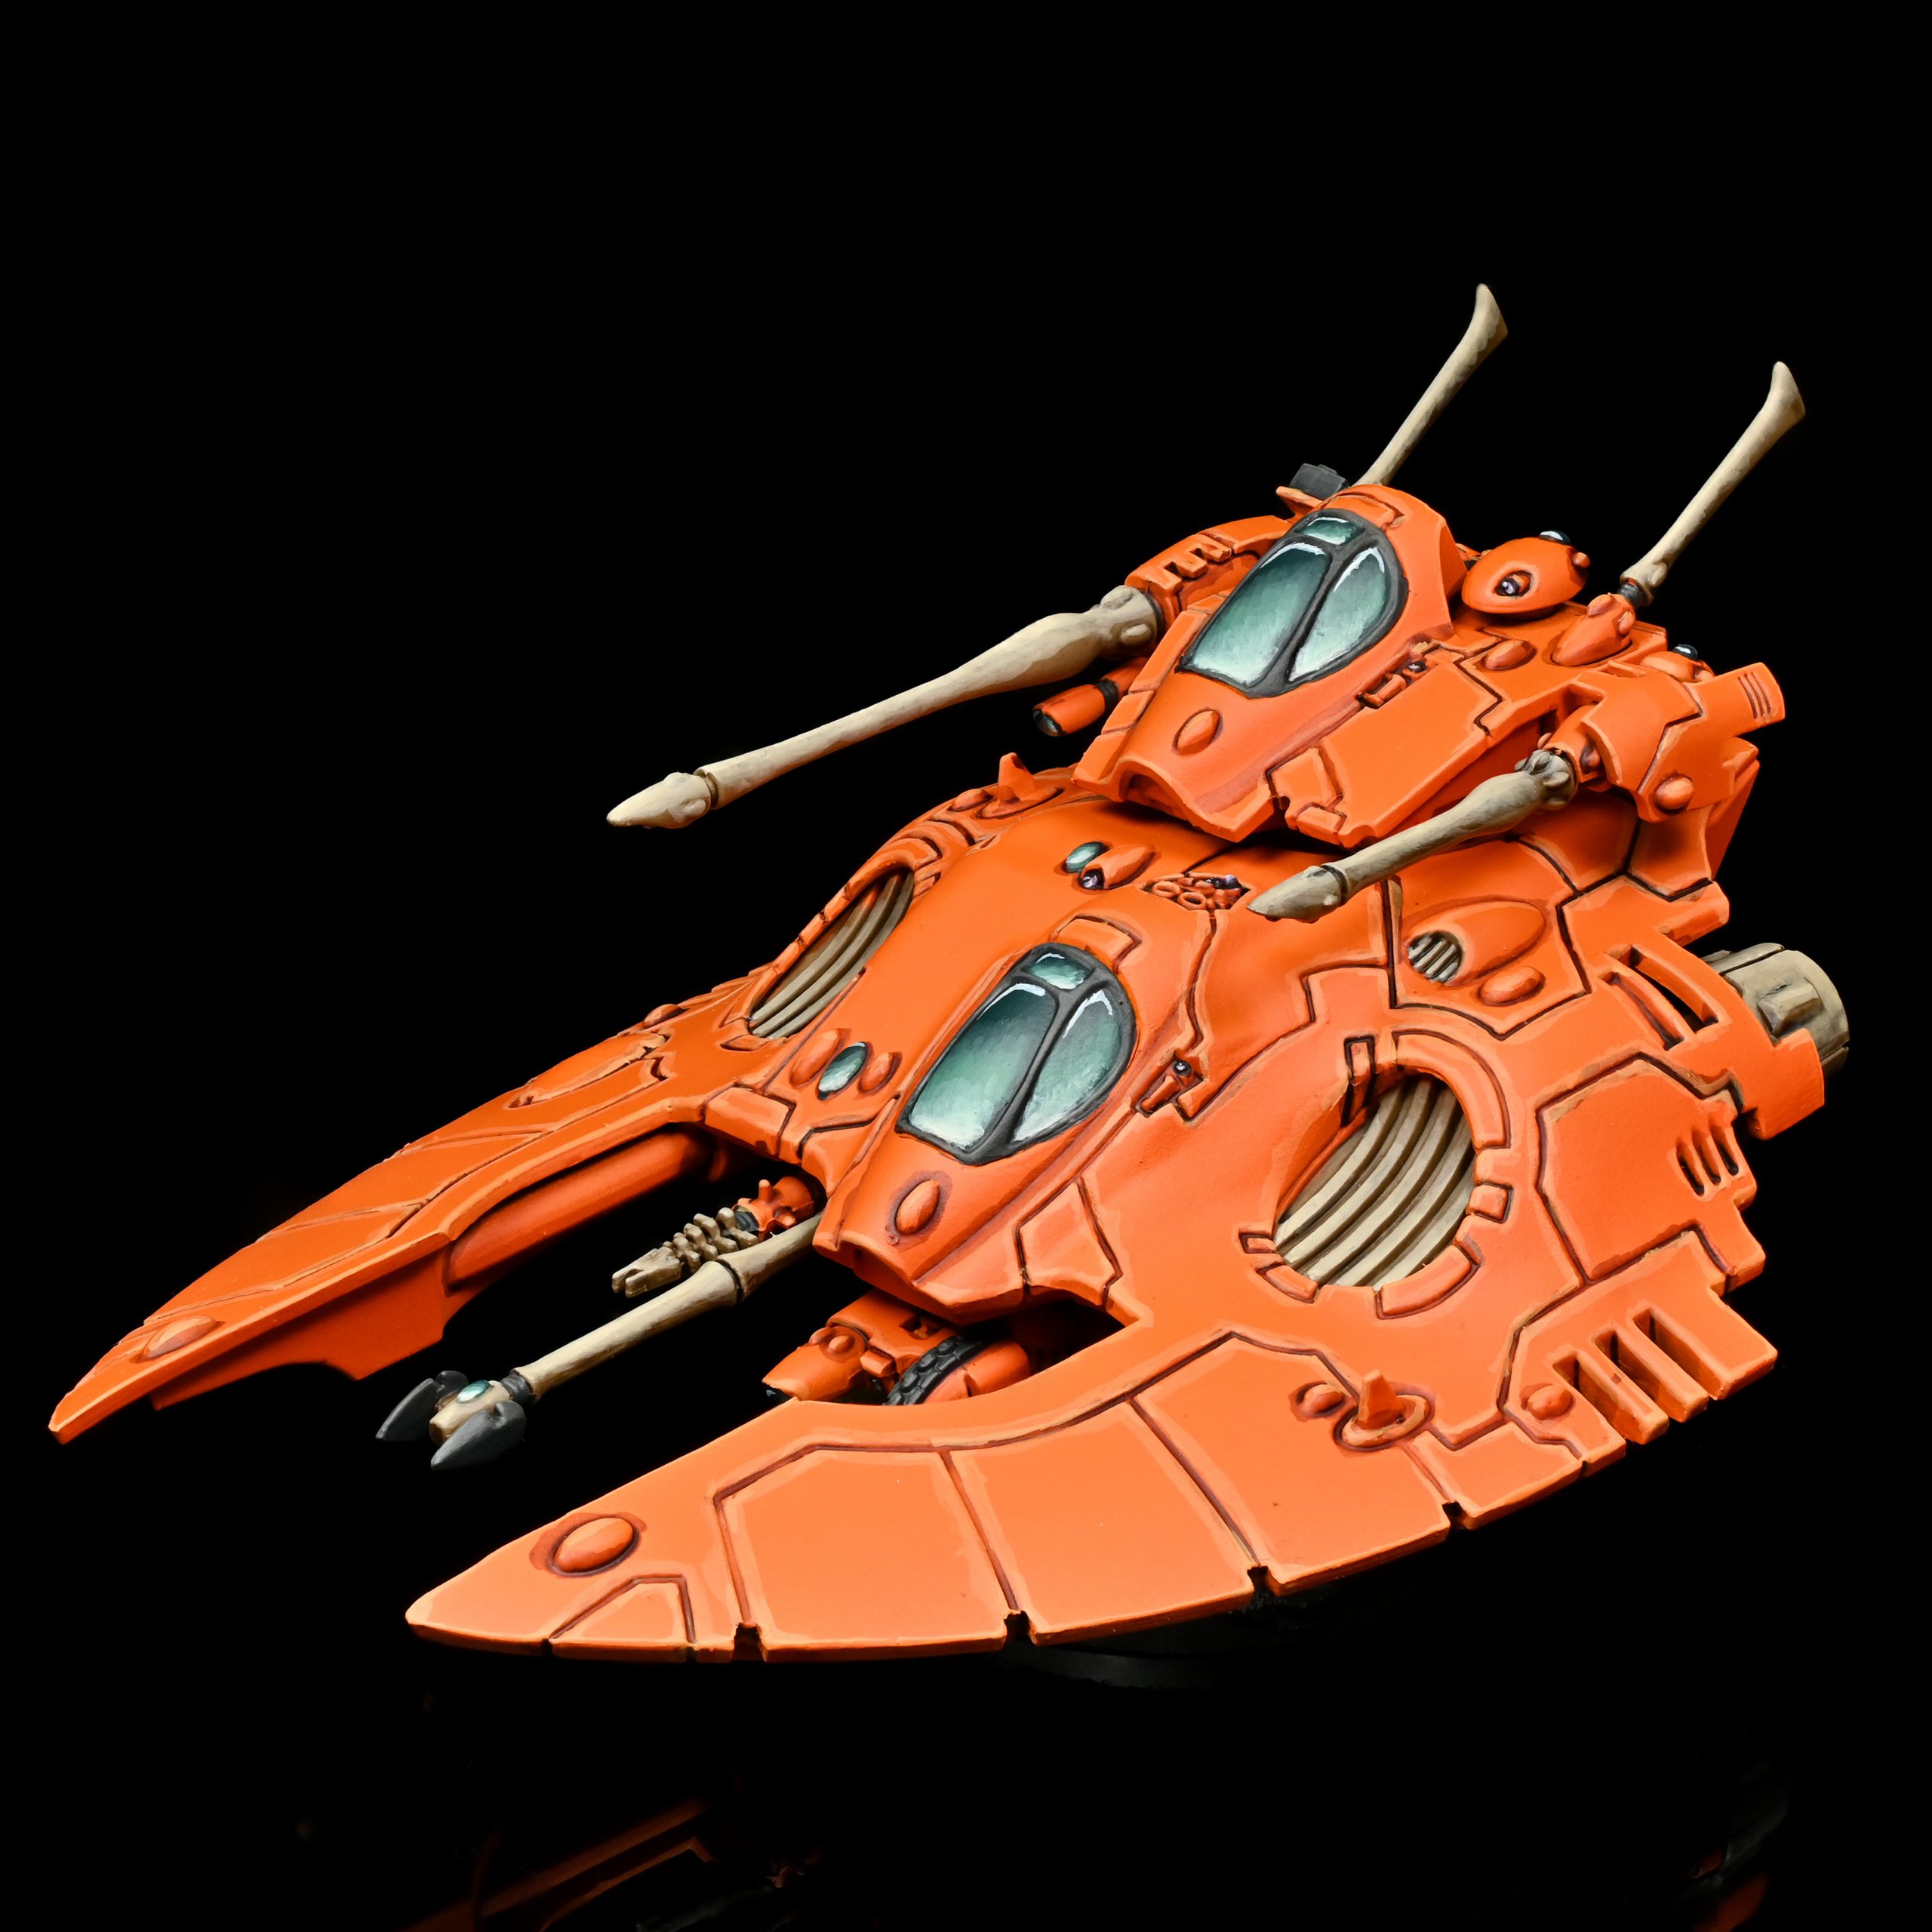
Surviving the 41st Millenium is easier if you have a sweet ride, and the rules for how these work also feature in the Movement section of the book. Units that have the Transport keyword allow a number of other models (usually with some number, unit or keyword restrictions specified on the datasheet) to ride around in them. Units can start the game embarked in a Transport, or can Embark during the game if they end a Normal Move, Advance or Fall Back with every model within 3” of the Transport (and did not already Disembark this phase).
When it’s time to get out, units need to Disembark. This allows a unit that started the Movement Phase embarked to be set up wholly within 3” of their noble steed. If the Transport is either Remaining Stationary or has not yet made another kind of move, the unit can then act normally, save that Remaining Stationary is not an option, so at minimum they will count as having made a 0” Normal Move. Alternatively, if the Transport makes a Normal Move, a unit can Disembark afterwards, but counts as having already made a Normal Move itself, so cannot move further, and also cannot charge. A unit cannot normally Disembark after a Transport has Advanced or Fallen Back. For experienced players, the huge change here is that Disembarking post-move then shooting is now universal, so mechanised gunfire is potentially a lot more potent in 10th edition than the past. There are also a few edge cases that have been removed, such as 9th’s restriction on Embarking into an Engaged Transport.
What if your opponent is hiding their juicy troops inside a Transport, and you don’t like that? Blow it up! If a Transport dies, then before removing it all units inside must be set up wholly within 3” of it, and in addition for each model the controlling player has to roll a d6, suffering a mortal wound for each 1 rolled. This is notably less harsh for multi-wound infantry than it used to be in terms of damage – no more losing a whole Bladeguard to a single 1. However, 10th adds the new wrinkle that these units are automatically Battle-shocked when this happens, which is also very bad news for them (and elegantly prevents them doing anything like Overwatching or Heroically Intervening, as those are all Stratagems). Sometimes it won’t be possible to set up all the models within 3”, and similar to Desperate Breakout the solution to this is now a Core Rule rather than a Stratagem. If it isn’t possible to set up the unit within 3”, you can go for 6” instead, but now take mortal wounds on rolls of 1-3 instead, hideously deadly to single-wound models. Notably, this is no longer elective, so you cannot choose to go for the longer distance to pull off some positioning shenanigans like was occasionally possible in 9th – the longer distance is only available when it’s actually impossible to set up within 3”.
A final thing you might want to do with a Transport is shoot out of it, which is achieved via the Firing Deck rule. This area of rules has been a legendary source of problems across 8th and 9th, subject of increasingly long lists of clarifying bullet points in various FAQs, and we’re happy to say that the 10th edition solution is generally a lot more robust. When a vehicle with Firing Deck X (with X being a number) is chosen to shoot, you can also select one gun from each of X models inside it, and treat the Vehicle as being equipped with those guns in addition to its own. No more awkward separate activations and tricksy plays arising from them, no more trying to work out which rules do and don’t work while inside a Transport, and a bit of flattening of the potential power level by restricting it to a single weapon per model. Good stuff – though still a source of potential confusion as people get used to it, as we imagine that how this interacts with Leaders that provide unit buffs (i.e. it mostly doesn’t, as far as we can tell) will not be immediately intuitive to people used to the old version. Still a great change overall, and extremely good that it’s a Core Rule rather than one that appears on lots of datasheets with very slightly different wording.
Key Changes: Transports
- You can disembark out of any Transport after it makes a Normal Move, but cannot then move further or Charge.
- When you roll a 1 on disembarking from an exploding Transport, you take a Mortal Wound instead of losing a whole model.
- Disembarking 6” instead of 3” can still happen as a Core Rule, but only when 3” is impossible, and at a risk of lots of Mortals.
- Shooting out of Transports uses the new Firing Deck rule, which treats one gun per passenger as equipped to the Vehicle.
Overwatch
“What’s this doing here?”, you might ask. Overwatch has been substantially overhauled in 10th edition, combining elements of its 9th edition version with the one from Boarding Actions with a hint of the very, very old days of 2nd edition. Fire Overwatch is a 1CP stratagem that you can activate when an enemy unit starts or ends a Normal Move, Advance, Fall Back or Charge Move (which we’ll discuss later) within 24” of one of your units, as long as that unit would be eligible to fire at the unit making the move. Your unit can immediately shoot as if it was the Shooting Phase (also covered later), with the exception that they need an unmodified roll of 6 to score a hit. This is a massive strategic game changer, and should have a big influence on how 10th plays. Units with high volume firepower, access to automatic 6s, full re-rolls or auto-hit weapons now wield substantial influence over your opponent’s decision making, and in some cases might force them to consider Remaining Stationary to avoid getting barbecued. Sometimes you’ll just have to bite the bullet though – Fire Overwatch can only be used once per turn, so it might be better to bait it out in the Movement phase rather than getting toasted in the Charge phase. Or it might not. There’s going to be lots of decision making surrounding this powerful new effect, and we’re excited to see what it does for the game.
Key Changes: Overwatch
- Overwatch can now be triggered in the Shooting or Charge phase at the start or end of any kind of move, using any eligible unit within 24”.
- Fire Overwatch can only be used once per turn.
Shooting Phase
How to Shoot
The battlefields of the far future are not peaceful places, and the violence kicks off in earnest in the Shooting phase. Here, each eligible unit in your army can shoot their ranged weapons. Eligible units are those that did not Advance or Fall Back this turn (unless a rule says otherwise), and that is not in Engagement Range of any enemy units (excluding Vehicles and Monsters, thanks to the Big Guns Never Tire rule). Each time a unit shoots, you choose a target that’s in range and visible for each gun you want to fire (and not within Engagement Range of any of your models), then resolve the number of attacks each weapon makes based on its profile.
To resolve an attack, you roll to hit, needing to score the target number listed in the Ballistic Skill stat on the weapon’s profile, then roll to wound, needing a target number decided by comparing a weapon’s Strength to the target unit’s Toughness. If you successfully wound, the opponent chooses a model in the target unit to allocate the wound to, then can roll an armour Saving Throw, targeting the number in their unit’s save characteristic as-modified by your weapon’s AP. If they fail, the model takes an amount of damage listed in your weapon’s profile, and if that removes all the model’s Wounds, they are destroyed. From there, rinse and repeat. For both hit and wound rolls, an unmodified 6 on the dice roll is automatically successful, and is referred to as a Critical Hit or Critical Wound, which many weapons now interact with.
There’s plenty of additional nuance here – pretty much all the rolls above can be modified, with hit and wound rolls capping at +1 or -1 after applying all modifiers, and Saving Throws having a new limit that they cannot be modified by more than +1 (so a model with a 4+ save could never end up rolling and needing a 2+ unless the Save Characteristic itself was also changed). Some units also have access to Invulnerable Saves, which are not affected by AP. Models may also be receiving the Benefit of Cover, which gives them +1 to Armour Saving Throws (not Invulnerable Saves, and not for models with 3+ or better saves against AP0 attacks).
Most of that’s going to be entirely familiar to experienced players, because it’s pretty much exactly the same as 9th Edition, with the exception being the new cap on positive Save modifiers. The big changes in this section are the addition of a host of universal special rules for both offensive and defensive abilities, which we’ll cover in the next section, and the new version of Big Guns Never Tire.
Vehicles and Monsters ignore some of the normal Shooting Phase rules in both directions. Being stuck in Engagement Range of the foe neither stops them being eligible to shoot nor stops them being a valid target for enemy shooting. When chosen to shoot, they can even select the unit they’re in engagement range with as a target, though suffer a -1 to hit penalty if they do so. Enemy units also suffer -1 to hit when firing at Vehicle or Monster in Engagement Range – even if they’re big targets, combat is still confusing! There are some additional rules around Pistol or Blast weapons that affect this, but we’ll get to them in a second.
The last bit of rules around how shooting works is a page covering “Fast Dice Rolling”. The rules for shooting assume that attacks are resolved one at a time, but in practice this would take forever, and most of the time attacks can be rolled in batches. This page outlines in plenty of detail how this works, and how you’d modify the process if dealing with random damage attacks, one of the places where you can’t just fully go fast. It’s nice to have the clear outline here, but we don’t love that it’s still listed as a “Hint and Tip” rather than an actual rule, though there’s a degree to which that’s understandable – adding lots of new rules around Critical Hits and Critical Wounds mean that there are probably more situations in 10th where players will choose to resolve attacks one at a time, particularly if they have an ability in their pocket to re-roll or change a dice result.
Key Changes: Attacks
- Positive Save Modifiers are now capped at +1
- Monsters/Vehicles can shoot out of combat and be shot while in combat.
- Unmodified 6s to hit or wound are now Critical, which automatically succeed and can trigger special rules.
Speaking of special rules…
Offensive and Defensive Special Rules
One of 10th’s biggest changes, as alluded to earlier, is consolidating lots of special rules that used to be scattered across many different datasheets into a set of universal ones, and the place that the largest number of these apply is when making ranged or melee attacks, enhancing either offensive or defensive capabilities. These include rules for all of what used to be “weapon types” in previous editions – every ranged profile now just starts as “a gun”, and is modified by the addition of familiar rules like Assault (allowing it to be shot after advancing) and codifications of things like automatically wounding on a Critical Hit (now called Lethal Hits).
There’s a whole bunch of these, and if you’re new to 40K this is very much where you should probably go and have a look at the rules PDF yourself rather than us just repeating it verbatim here. Our impression is that now that these exist as universally available tools for rules writing, they’re going to be used quite a lot more commonly, and players are going to quickly familiarise themselves with the ones that come up most in their armies. To round out this section, we’re going to focus on the crib notes for existing players who just want to know what’s changed, and what familiar rules have been centralised.
Some of these rules reference mortal wounds. These are a returning mechanic from the last few editions, and are unsaveable wounds that get applied one at a time to the unit suffering them – meaning that they can spill over between models.
Key Changes: Special Rules
- Heavy is now a weapon special rule granting +1 to hit if a unit Remained Stationary this turn. Most such weapons that we’ve seen have a worse base Ballistic Skill characteristic than others on the datasheet/similar units to represent these being less accurate on the move. This does mean they combo less well with sources of +1 to hit than other weapons.
- Assault is also now a weapon special rule – any unit carrying one or more Assault weapons is eligible to shoot after Advancing, but can only shoot these weapons. Notably, there’s now no penalty for doing this.
- Rapid Fire X is now a special rule – but actually works more like Dakka did in 9th, granting a number of extra shots indicated by X when within half range, which is often effectively doubling (which is what Rapid Fire did in 9th) but not always.
- Pistol weapons can be fired at enemies a unit is within engagement range of, and don’t suffer penalties in either direction under Big Guns Never Tire. Models with Pistols can either fire all their Pistols or all other weapons each time they shoot.
- “Exploding 6s” is centralised as Sustained Hits X – free extra hits on a Critical Hit.
- “Automatically hits” is centralised as Torrent.
- Twin Linked weapons make a return from pre-8th Editions. In older editions, these let you re-roll hits. 8th and 9th tended to model such guns as just having double the number of shots. 10th makes these re-roll wounds, but in most cases we’ve seen reverts the gun to the same number of shots as a single weapon – more reliable in a vacuum, but less deadly when combined with other sources of re-rolls.
- Indirect Fire is now a Core Rule, and comes with a version of the penalties that were applied to it in mid-late 9th. Indirect Fire weapons can target units that are not visible to the firing unit, but when they do they suffer -1 to hit, and the target gets the Benefit of Cover.
- Blast weapons now work differently than in 9th, getting +1 to their number of shots for each full 5 models in the target unit.
- Dealing Mortal Wounds instead of normal damage is centralised as Devastating Wounds, triggering on a Critical Wound. It looks like this will commonly be combined with…
- Anti-X weapons have a lower target number than 6 for inflicting a Critical Wound when attacking a unit with keyword X, e.g. “ANTI-INFANTRY 4+.” Combining this with Devastating Wounds looks to be the new way to make certain guns really good at killing certain things.
- Sniper-style weapons work very differently in 10th, as their targets are often going to be part of units. These now have the Precision ability, letting you choose to allocate a successful wound to a Character in a unit rather than the opponent allocating it to a normal model. Notably, these do not interact with the Lone Operative ability. What does that do?
- Lone Operative is a centralisation of a rule that was seen quite a bit in mid-late 9th, which prevented a unit being shot at all while outside of 12”. This now appears to be used for Characters that are not designed to join units, and forces the enemy to get real close to deal with them (though they’ll often squish quickly if that happens).
- Weapons like Plasma that are dangerous to their user used to kill models or deal mortal wounds on hit rolls of 1, but the way this interacted with re-rolls was never especially satisfying. Now, after firing a Hazardous weapon, you take a separate Hazardous Weapon Test, rolling a d6. On a 1, one of the models with a Hazardous Weapon is destroyed, or in the case of a Vehicle, Monster or Character suffers 3 mortal wounds.
- All “Explodes” abilities are now Deadly Demise X, and notably they always have a range of 6”, so smaller stuff like Venoms will hit a bigger radius than in 9th.
- All “ignore wounds” abilities get centralised as Feel No Pain. We all called it that anyway.
A few things there make big changes to how abilities play. Blast‘s new implementation is much better as an implementation than 9th’s one, and really helps d3 shot anti-tank Blast weapons pull double-duty against elite Infantry. The flip side is that Blast Weapons can never be fired at a target that’s in Engagement Range of a friendly unit – so you can’t fire an anti-tank Blast Weapon at a vehicle you’ve tagged in combat. Watch out for that one – this is one of our current candidates for rule that people will get wrong most in early 10th.
Hazardous also now feels far more scary, but to the user rather than opponents. Previously, unless you had a lot of shots, re-rolls made you nearly immune to it. Now you’re always taking on the same amount of risk to make use of these weapons, and it can be quite substantial. It also appears to see quite a bit of use as a replacement for the risk of Perils of the Warp on higher-powered versions of some Psychic attacks, a nice bit of rules use. Notably, although this is separate from the hit roll you can use Command Re-Roll to re-roll the Hazardous Weapon Test, so if your 3W Psyker has messed up real bad, you do have a way of rectifying that.
Finally, the one we don’t like – Indirect Fire. At first glance this doesn’t look like that big of a change, but it actually makes indirect fire considerably better than it was in later parts of 9th. The penalties applied to Indirect in 9th were very carefully worded – they worsened the Ballistic Skill characteristic and gave +1 to armour saves, so they could be stacked with other sources of -1 to hit and with Cover. Now, other hit modifiers won’t apply cumulatively, and if the target is already in Cover the second part won’t matter (and 0AP indirect also gets better against models with 3+ saves). We’ll have to wait and see what Indirect Fire datasheets look like in 10th, but if they’re good this could prove to be a major mis-step.
There are a few more centralisations like Melta, but these don’t tend to change anything functional about how the game plays.
Charge Phase
Sometimes guns just aren’t enough – perhaps you owe your allegiance to Khorne or Gork, and feel that violence is better dispensed via “tactical” application of an axe to the head. Alternative, maybe you just need to get a swarm of expendable bodies onto an objective to stop the opponent holding it. For all these problems and more, Charging is the solution.
In the Charge Phase, any eligible unit from your army (usually one that did not Advance) can declare a charge against one or more target enemy units within 12”. After declaring a charge, you roll 2d6, and can move the unit that many inches, as long as it’s possible for the unit to finish the move in coherency, and in Engagement Range of every declared target (and not move or end within Engagement Range of any non-target units). A unit that can do this has charged successfully, and has the Charge Bonus in the coming Fight Phase (allowing them to Fight First).
This is pretty similar to how it worked in previous Editions, but 10th brings some new restrictions. When making a Charge Move, any model that can finish the move in base contact with an enemy model must do so, unless doing so prevents the unit as a whole from being able to legally complete the charge, and each model must also finish the move closer to at least one of the Charge targets. You can choose which order you move your models in, so with a bit of care you can exercise some degree of control over the final position of your models, but whereas in 8th and 9th you could use charge movement to fire some models from a big unit in the completely opposite direction, 10th constrains you a bit more to using it to actually hit combat. This (combined with similar new restrictions on piling in and consolidating) is going to drastically reduce your options for using the extra movement you can squeeze out of the Charge Phase. If what you need to achieve is getting up in the enemy’s face, it’s still great for mobility, but if you were aiming at executing an elegant ballet dance around the enemy position… well you better hope you roll exactly the charge distance you need and no more.
Your opponent may, of course, have some objections to this, and if they want to get involved in the action as well, the Heroic Intervention stratagem is what they need. This isn’t cheap at 2CP, but allows a unit within 6” of a foe that just completed a Charge move to launch a Charge of their own, which can only target that unit. They don’t get the Charge Bonus, and Vehicles can only do it if they’re WALKERS, but this still gives you quite a bit of latitude to mess with your opponent’s plans. This is especially true if you have units of your own that Fight First natively, because one other significant change from 9th edition is the order in which you fight – now there’s just two steps, ‘Fight First’ and all others, and at each step you alternate activations starting with the player whose turn is not taking place. A unit which heroically intervenes can now be a lethal spanner in the works, because not only is your unit now in combat, you also get to make this move in the middle of your opponent’s Charge Phase. This means you can block off other charges you suspect the opponent of planning. You still have to follow all the rules of a charge move when heroically intervening, but even with those restrictions, this is a brand new level of interaction in the Charge Phase. Previously in 9th edition, this movement happened at the end of the phase, so we strongly, strongly suspect that the people who’ve squeezed the most value out of the Charge phase over the years are even now cogitating on how they can make use of this fun new tool. It also seems like this is going to come up a lot more than classic Heroic Intervention did, both because it has a bigger range and because it’s harder to micro-position in order to dodge – if you have to end a charge in base contact and base contact is within 6” of a scary melee unit, you can’t do much about that!
Finally, just to call back to earlier parts of this review, Overwatch can be fired at the start or end of a Charge Move, and unlike in previous editions it doesn’t have to be the target of a charge that fires it (though remember that if you do it at the end of the charge the target may no longer be eligible, unless it’s a VEHICLE or MONSTER). The subtle impact of this is that you can now hold off on deciding to fire Overwatch till you’ve seen the Charge Roll for a unit – so if they try to use a risky long-distance charge to threaten to lock down your overwatch unit before they move to the juicy stuff, they have to show you a good roll before you have to commit the resource!
Key Changes: Charging
- Models must finish Charge Moves closer to at least one of their targets, and in base contact if possible.
- Heroic Intervention is now a universal stratagem allowing a counter-charge at a unit that finishes a charge within 6”. Despite this being a charge roll, it does not grant Fights First.
- Overwatch works as described in the Movement Phase section, and now happens at the start of end of a Charge Move, so after the Roll is made.
Fight Phase
Now we’re done charging, it’s time to fight. First up, each eligible unit that has Fight First (either on their Datasheet, granted by an ability, or because they have a Charge Bonus) must activate and fight. A unit is eligible if it made a Charge Move this turn, or if it’s in Engagement Range of the enemy. As mentioned above, players alternate picking a unit starting with the player who is not taking their turn. This makes Fight First an incredibly powerful ability, even more so than it has been in previous editions, as now the very first unit that fights will be the first Fight First unit that the non-active player selects. Charging a dangerous Fight First unit is thus very risky, as is charging anywhere where they might be able to use Heroic Intervention to join the party. Once all Fight First units have been selected, players once again alternate through all the rest, again starting with the non-active player until all units have fought. If a unit that has Fight First becomes eligible during the “normal” fight step then they can be selected to fight, but don’t get to skip to the front of the queue.
Each time a unit fights, three things happen – Pile In, Attack and Consolidate. When a unit piles in, any model that is not already in base-to-base contact with the enemy can be moved up to 3”. They have to end the move closer to the nearest enemy model, and must end this in base-to-base contact if possible. In addition, if a Pile In move does not allow at least one model in the unit to end up in Engagement Range of an enemy unit, they cannot Pile In at all. This means that if two of your units charge the same enemy unit, and the first one activates and destroys it, the second unit will be eligible to fight, but won’t be able to make Pile In moves unless there’s another enemy unit they can tag. Experienced players will need to make sure they’re thinking harder about where their units end their charge move, because multi-charging into a squishy target no longer provides reliable further movement to play around with. It does also create the interesting fringe outcome that if a unit that charged can’t Pile In to something successfully, it’s still “eligible” and uses up its activation in the Fight First step. That means that occasionally an opposing unit that was just out of reach of them can, when their turn comes around, smash something else then consolidate into the unit that charged entirely safely, because they’ve already activated. There’s also no longer a Fight Last step – you now either Fight First or at the normal time.
Once Pile-Ins are done, it’s on to the process of attacking. First, work out which models in your unit are eligible to attack – this is any model that is either within an inch of an enemy model OR is in base contact with a friendly model that is, itself, in base contact with the enemy. This is a pretty big change from previous editions, as it’s now very hard to get more than two “ranks” of normal-sized models fighting – most of the time. Larger bases get a bit more leeway, and this can actually incentivise including a character model on a larger base in a melee unit, as if the character boldly leads from the front (as they should) their base can be used as a touch point to get more attacks in.
Each eligible model then selects one of the melee weapons on its profile (not all of them like shooting), chooses where it’s allocating those attacks (if it’s in contact with two different units, following the rules above), and resolves them. Attacks are resolved exactly like in the shooting phase, but unlike the shooting phase you can split attacks from your weapon between your targets however you like. Some models will also have a weapon with the Extra Attacks ability, and it gets to make attacks with this weapon in addition to whichever other one it chooses. Unlike in previous editions, charging units are no longer restricted in who they can target – so if a Pile In can get them into an additional unit, they’re free to swing at it (which is a bit of a trade-off for that unit now being potentially eligible to Overwatch you even if you didn’t charge them).
Once all that’s done, and there are hopefully fewer enemy models in the vicinity, your unit gets to Consolidate. This works exactly like a Pile In, with all the same restrictions, with one exception – if you would not be able to make a move because there are no enemy units you can reach engagement range with, your unit can instead move towards the nearest Objective Marker as long as that move gets them within range of the objective. This is nice, because it means if you wipe out an enemy unit that had blocked you a fraction of an inch from an objective you don’t get punished for it. Do note, however, that you can only take this option if ending in engagement range of an enemy unit isn’t possible – so sometimes, a cunning Heroic Intervention with a durable unit can stop an opponent reaching an objective, even if your unit isn’t especially dangerous.
Key Changes: The Fight Phase
- The non-active player chooses the first unit in both the Fight First and Remaining Combats step, so Fight First on a powerful melee unit is gold dust.
- You can only Pile In if you can end it within Engagement Range of an enemy unit.
- Pile-ins must end in base contact if possible.
- Charging Units can target whoever they like with their attacks.
- To fight in multiple ranks, you now need to be in base contact of a model in base contact, rather than within half an inch of a model within half an inch.
- You can only Consolidate normally if you can end it in engagement range of an enemy unit.
- If that’s not possible, but it is possible to get within range of the nearest objective by moving 3”, you can move towards that instead.
- When Consolidating towards an enemy unit, you must end in base contact if possible.
Leaders
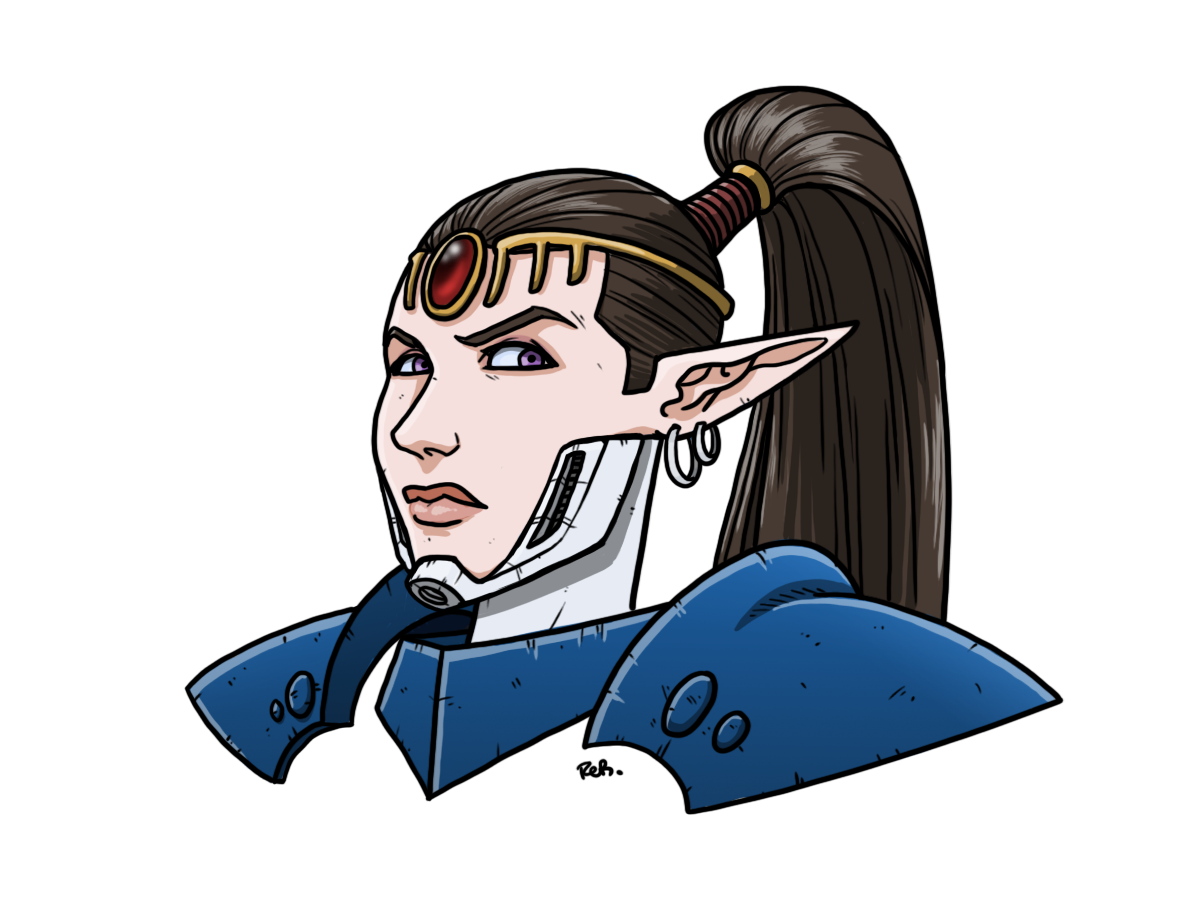
That ends the summary of the phases of the game, but there’s a few more sections of rules that are going to be key to understanding how 10th edition works. One of them, and the biggest divergence from the last two editions, is that most (though not all) characters are now Leaders. All missions now have a Declare Battle Formations step that incorporates the Declare Reserves and Transports step from the previous Edition, and also allows any Leader in your army to be attached to a unit. Their datasheet will list what units they can attach to, and once attached they’re part of the unit for the whole game, or until every other model in that unit is dead. The attached unit is referred to as the Bodyguard Unit, and most leaders that we’ve seen provide some sort of buff to their bodyguard, though in some cases you may just want to attach them to avoid getting shot, as there’s now no intrinsic protection afforded to solo Characters unless they’re Lone Operatives. Leaders are also often nastier fighters than the units they can join, providing a bit of extra punch, particularly in the Fight phase.
Not too complicated in theory – but massive in impact. The good news is that there’s clearly been plenty of stress testing of ways that this could go wrong rules-wise, and there are plenty of other parts of the game that have been updated with this in mind. Coherency rules now allow up to six models to be in “loose” coherency rather than five, so you don’t get punished on positioning for adding a Leader to a 5-model unit, and the rules for evaluating Starting Strength account for what happens if every non-Leader model in a unit gets murderised. There’s also specific rules about wound allocation to prevent the kind of jank that some older editions used to have. While a Leader is in a Bodyguard unit, the Bodyguard unit’s Toughness is used (locked in at target time, so there’s no need to slow roll in case a Leader is suddenly alone part way through), and no wounds can be allocated to a Leader while there are Bodyguard models remaining, even if the Leader has somehow lost some wounds (unless the opponent forces the issue with a Precision weapon). However, they’ve also considered problems that might arise from the other direction, where a Leader could use a Bodyguard unit as a pool of wounds while doing inadvisable Hazardous things. Mortal wounds suffered in this way still go on the Leader first, so using dangerous psychic powers is between you and the warp.
That does make Leaders hard to take out, which could sometimes be frustrating if you don’t have access to Precision weaponry, but luckily there’s a more general solution – send your own heroes. The 1CP Epic Challenge stratagem lets a character add Precision to their melee attacks in the Fight Phase, ready to reach in and annihilate a skulking buff bearer. Notably, any Character can do this, not just Leaders of your own, so monster and vehicle characters could end up being very potent counters to Leader-heavy strategies.
The one glaring gap on Leaders is that the Core Rules don’t really cover how keywords work with them – we’re assuming they’re additive, but that then creates some slightly odd potential interactions with Anti-X. It’s also not fully clear what happens to the Leader if their unit is under some kind of effect, such as Oath of Moment, and the Bodyguard unit dies but the Leader (and potentially Leaders, in situations like a Space Marine Lieutenant being able to join the same unit as a Captain) survives. We’ll be watching closely for an early FAQ on these, and were surprised not to see them covered where otherwise the rules are pretty comprehensive.
We’ll need the full set of Indexes to know whether there are any huge pitfalls out there, but on paper this looks promising, well-considered and likely to have a huge impact on the game.
Key Changes: Characters
- Many Characters now have the Leader keyword, allowing them to join a unit in the pre-battle process.
- Once joined, the Character remains part of that unit till the end of the battle, or every “Bodyguard” model is dead.
- Wound allocation, Starting Strength and other rules like Hazardous take account of this.
Other Rules
The Core Rules stick to a pretty healthy length, but there are a few more things that haven’t really fit anywhere else that we need to cover in order to wrap up.
Deployment Abilities
We’ve already looked at the Deep Strike deployment ability, but there are a couple more unit abilities that affect where they start the battle. Both of these represent consolidations of abilities that turned up on a lot of Datasheets across various factions, so are a nice bit of simplification.
First up, Infiltrators means that when deployed, a unit can be set up anywhere that’s more than 9” horizontally from the opponent’s deployment zone and any enemy units. Your standard “forward deploy”, and liable to continue being an extremely useful ability.
Second, we have Scout X, which is the codification of a pre-game move. Units with this ability can make a Normal Move of up to X inches at the start of the first battle round, and must end this more than 9” away from any enemy models. So far so familiar – what’s new is that this now always transfers to a Transport that the unit is embarked within, providing that all embarked models have the ability. Previously this was reserved for a few unique units, now it’s far more widespread, and it’ll be very interesting to see what players come up with using it. In addition, centralising this means we’re finally free of the horror of inconsistent wordings about what happens if both players have units like this – now, the player going first moves all of their Scouts first, allowing the second player to use this responsively if needed.
Key Changes: Deployment Abilities
- Forward deployment is now Infiltrators.
- Pre-game moves are now Scout X.
- Scout transfers to a transport the unit is embarked in, as long as every embarked model has it.
- The player going first always moves all their Scout units first.
Aircraft
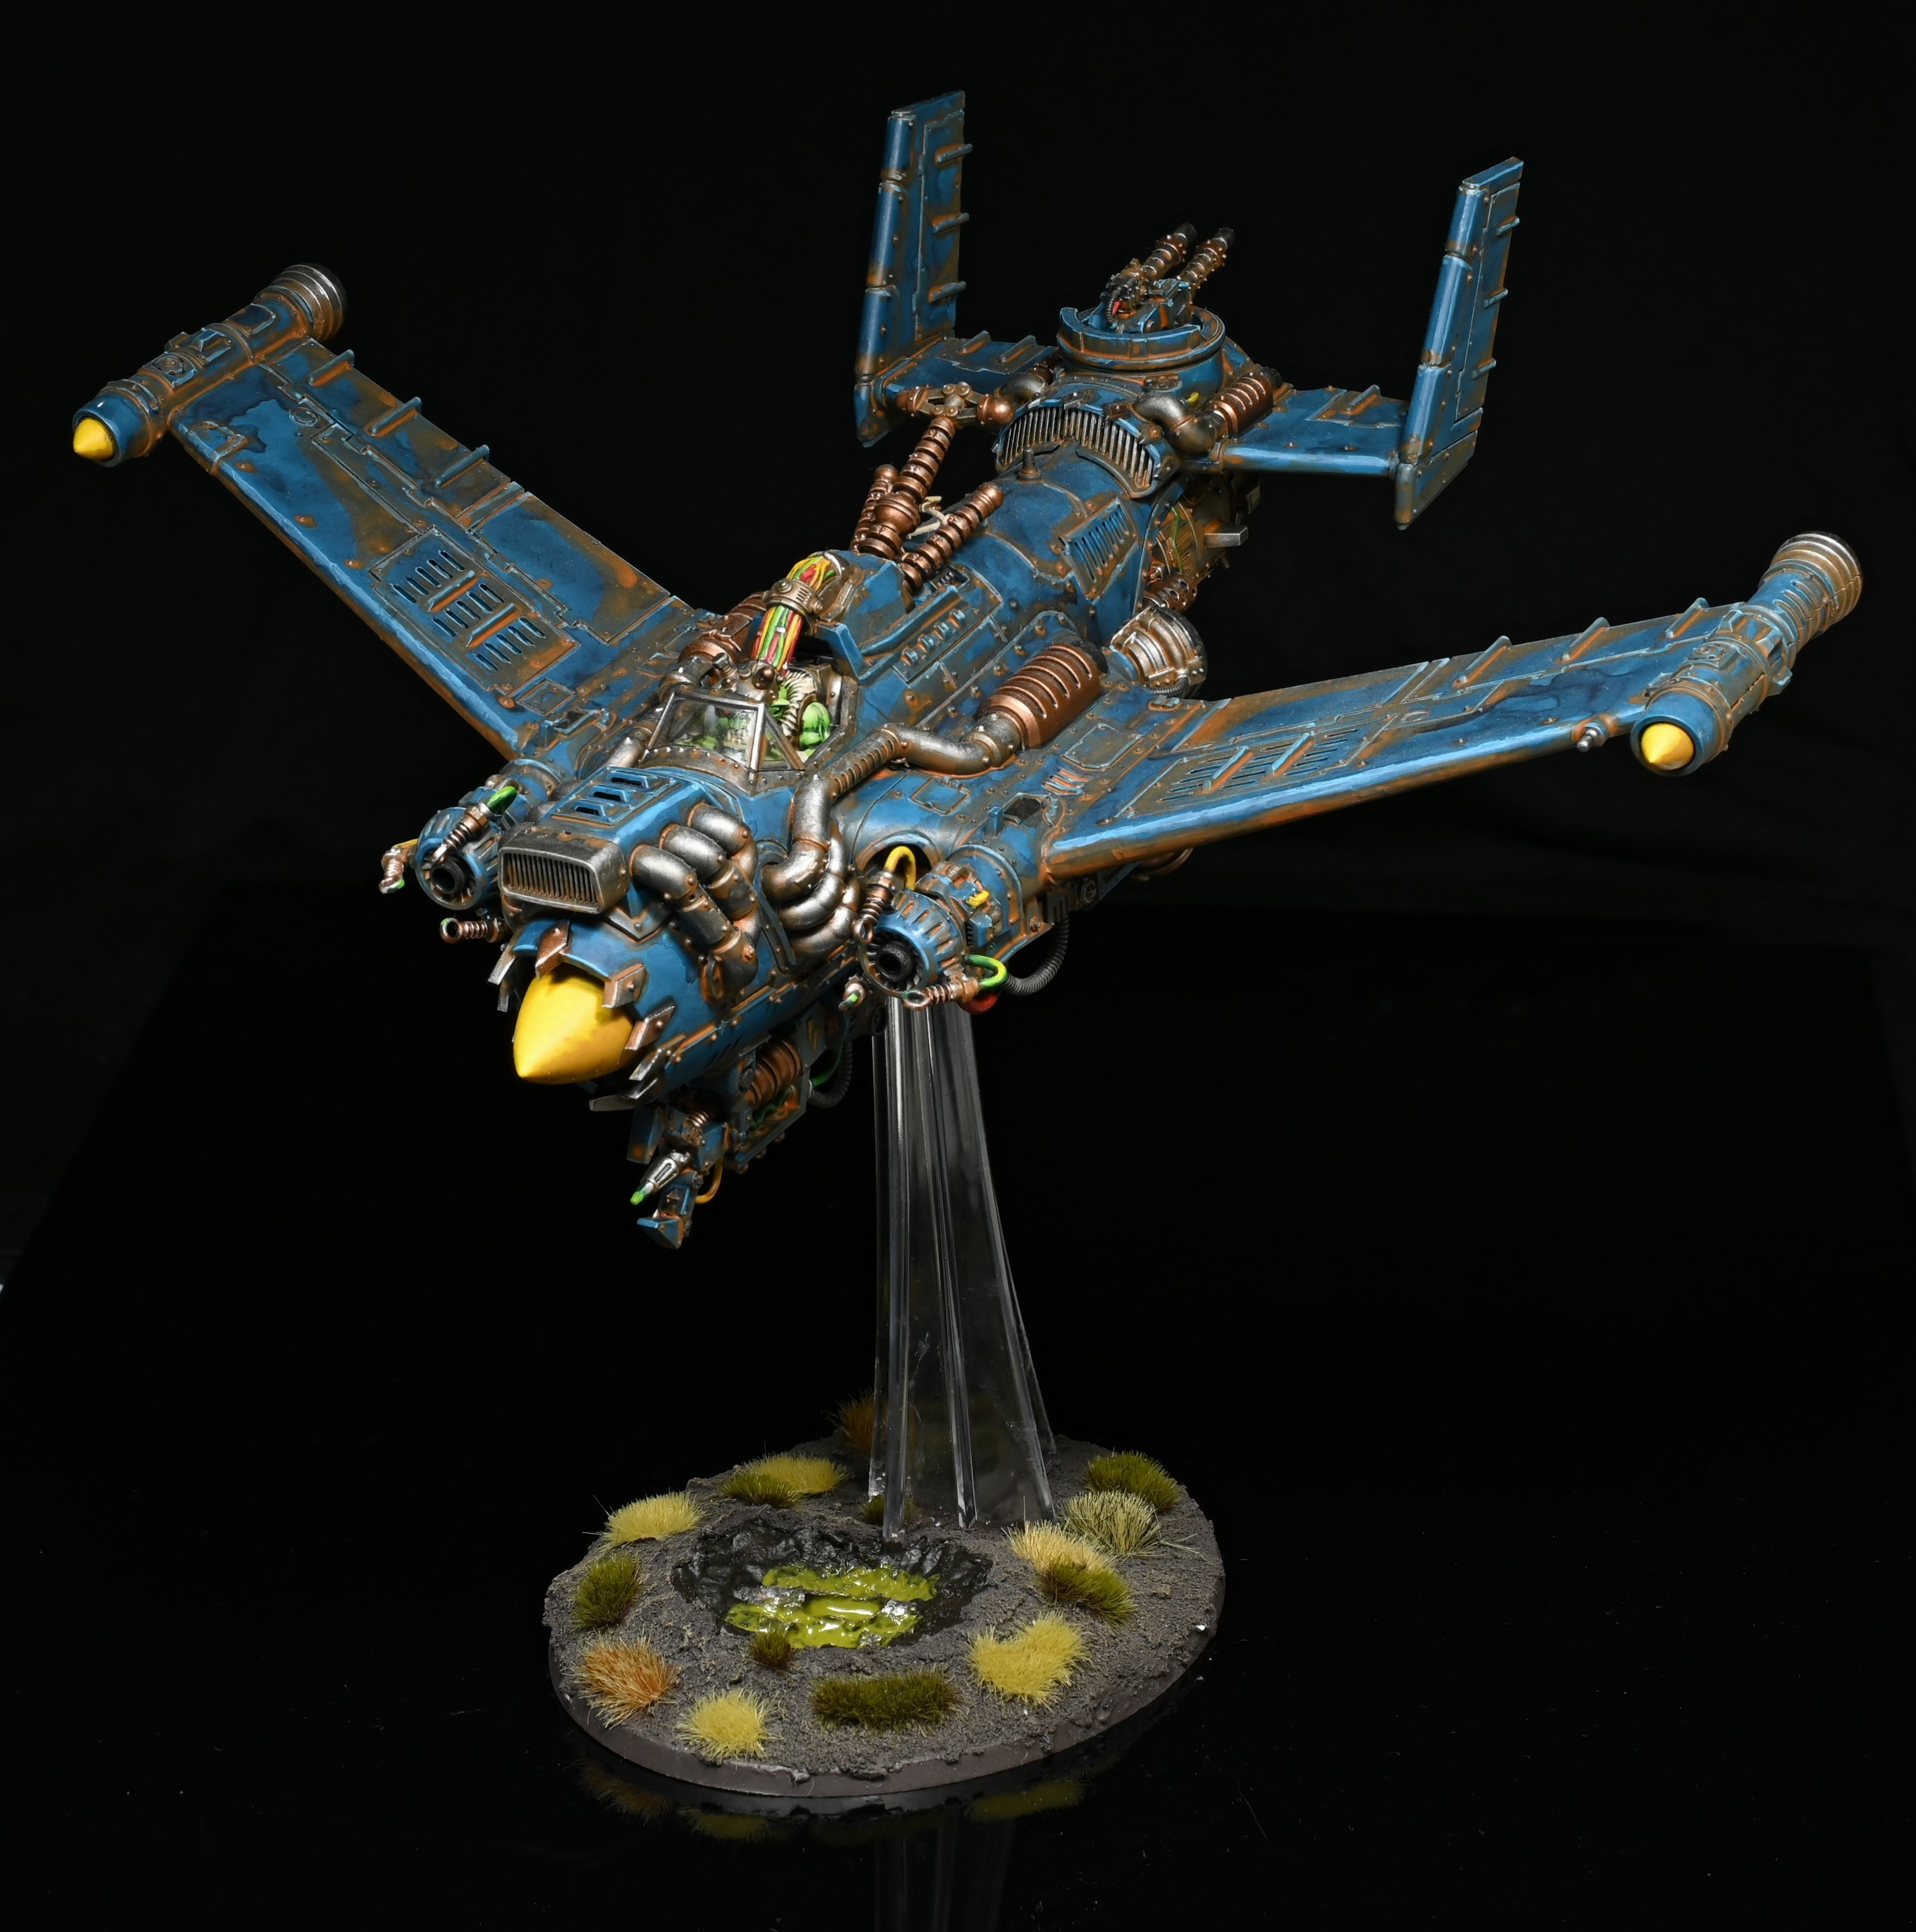
Aircraft have been a consistent source of weird and wonderful rules interactions over the years, and this time around the design team are confronting this up front, dedicating a whole double-page spread to the rules for how they work. An Aircraft is any unit that has the AIRCRAFT keyword on its datasheet… most of the time.
The first, up front thing here is that some Aircraft can now opt out of any of these shenanigans, and many will probably want to. If an Aircraft has the Hover ability, then at the start of the Declare Battle Formations step of the mission sequence you can choose for it to lose the Aircraft keyword for the battle, and change its move characteristic to 20”. After that, none of the rules in this section apply to them – it’s just a tall vehicle, but one hovering low enough to the ground that it can even hide behind Ruins. This is definitely a change that will make our poor, long-suffering Ruleshammer editor very happy – no more weird, mid-battle state transitions, no more exceptions that awkwardly apply – either you’re an Aircraft or you aren’t, full stop.
So what if you are? You interact with the game quite differently. First up, you always have to start the battle in Strategic Reserves, so you won’t be present until at least turn two. Once you arrive, your movement is much more constrained than other units. Aircraft must always make a normal move of at least 20” forwards, and then at the end of it can pivot up to 90 degrees on the spot. If any part of their base crosses the edge of the battlefield as a result of this, they are put into Strategic Reserves, and must deploy to come round for another pass next turn. For experienced players – yes, the pivot now happens after moving, so make sure you’re planning ahead.
Aircraft also interact differently with enemy models than usual. Because planes are way up in the sky, enemy units can move through them without any issue as long as they end the move outside of Engagement Range. If they somehow end up in engagement range, enemy units can also move away freely – they’re not forced to Fall Back.
When you hit the Charge and Fight phases, Aircraft can’t proactively interact with these – they can never Charge, and can only Fight or make attacks against enemy units with FLY, and cannot pile-in or consolidate. In turn, only enemy units with FLY can Charge or Attack an aircraft, and other units ignore their presence for the purposes of determining which direction they can Pile In/Consolidate.
What this all ends up meaning is that we’re very likely to see more use of Hover units than we did in late 9th, as the option for them to just be a fast, flying tank makes them a much more flexible choice. With all these limitations baked into the core rules rather than being added via a thousand cuts of FAQs and changes, non-Hover planes may also be costed sufficiently aggressively that they see usage – but we’ll have to wait and see on that one.
Key Changes: Aircraft
- Hover is now activated pre-battle, and stops a unit being an Aircraft for the whole game.
- Aircraft now pivot after moving.
- Aircraft no longer have an upper movement limit – while Aircraft, it’s just 20+.
Core Stratagems
The last thing we need to cover (we promise, this is very long at this point) is the remaining Core Stratagems. Where it makes sense, we’ve already covered this inline, so go look in earlier sections if you want the details of any of the following:
- Epic Challenge
- Insane Bravery
- Fire Overwatch
- Heroic Intervention
That still leaves seven more core Stratagems, some of which are going to be extremely impactful.
First up, we have two returning champions – Command Re-roll and Counter-Offensive. These both work pretty much the same as they always have – the former lets you re-roll one roll from a defined list of options (hit, wound, save, Advance, Charge, number of attacks, and new arrivals Hazardous Test and Desperate Breakout Test), and Counter-Offensive lets you interrupt the normal flow of combat to fight with a unit immediately after an opponent’s unit fights – usually used to allow one of your units to attack in the Fight First step when they wouldn’t normally.
After that, we’ve got a mix. Two provide you with ways to throw mortal wounds at the enemy, the first literally. This is Grenade, replacing the Grenade weapon type entirely. Instead, units equipped with grenades have the GRENADE keyword, which lets them use this stratagem, as long as they haven’t yet been selected to shoot this turn. You then pick an enemy within 8”, roll 6d6, and inflict a Mortal Wound for each 4+. You can still then select your unit to shoot normally, but the ordering prevents you from shooting, realising you’ve narrowly failed to kill a target, then unleashing this after. The other opportunity for inflicting mortal wounds is Tank Shock. You can use this after completing a charge with a VEHICLE unit, and roll a number of d6 equal to the S characteristic of one of their melee weapons, +2 if it’s greater than the target’s Toughness. For each 5+, deal a mortal wound. Similar abilities to this turned up in lots of books, so it’s good to see it centralised, but it’s a little uneven in execution. It’s odd that MONSTERs can’t do it (given that Hive Tyrants could do exactly this last edition), and it’s extremely good on any Dreadnought or Knight-style unit with a massive melee weapon, perhaps offering output that’s a bit too reliable. Potentially fine, but slightly on our watch list.
Next, two options to not die. Good news Marine players – you no longer have to have one Stratagem per codex dedicated to Smoke Launchers, there’s just a core Smoke stratagem now. This gives a unit with the SMOKE keyword the Stealth ability (-1 to hit for shooting) and the Benefit of Cover for a phase in response to them being targeted with a shooting attack. This is pretty spicy, especially with the promise of fewer re-rolls in the game, so definitely check your keywords and work out where this is viable. Also offering protection is Go To Ground, which can be used by INFANTRY in response to being shot. This also provides the Benefit of Cover, along with a 6+ invulnerable save. The former is also great here, the latter a bit more fringe but occasionally useful to try and cling on in adversity. We will say that it’s a little surprising to see multiple Core Stratagems handing out effectively +1 to saves in the open, as the maths on armour saves means that improving them gets substantially better the stronger your initial save is. The designers have partially mitigated this with the limitation on units with 3+ saves not being able to benefit from cover against AP0 attacks, but it’s still very good for high-save units shrugging off AP-1. A similar core ability caused pretty significant balance problems early in the latest AoS edition, so hopefully the tuning on saves has taken this into account.
Finally, in “Any Other Business”, we have Rapid Ingress, one of the first Stratagems previewed on Warhammer COmmunity. This allows one of your Reserve units to arrive in your opponent’s Reinforcement step rather than your own, and is really good. Proper use of this is absolutely going to be a key skill for 10th, and the breadth of what you can achieve with it is considerable. It’s also a nice bonus for the player going second – it means they get the first opportunity to have one of their Reserve units on the board and fully operational for a turn, which can be devastating.
Key Changes: Core Stratagems
- Grenades are now a Universal Stratagem that deals Mortal Wounds.
- Smoke centralises all smoke launcher-style abilities.
- Vehicles can Tank Shock for Mortal Wounds on the charge.
- All INFANTRY can Go to Ground for cover in the open.
- Rapid Ingress lets you arrive from Reserves in your opponent’s turn.
What Does it All Mean?
A whole lot. 10th edition represents the biggest overhaul of the game since 8th, and although there’s enough familiar ground that existing players won’t feel lost, we think the end result should be a significantly different experience. The catch here is that quite a lot of the change is wrapped up in the datasheets, so exactly how different things are going to be will be heavily influenced by the quality of those.
In terms of the core rules, we broadly like them a lot, with just a few reservations. These are a very solid set of core rules, and we’re impressed with the attempts to streamline the game with them without making it too simple. A lot of this will hinge on the index rules and mission rules, which we’ll cover in future articles.
Have any questions or feedback? Have thoughts on 10th edition or its mechanics? Drop us a note in the comments below or email us at contact@goonhammer.com.


You must be logged in to post a comment.