There’s an old saying that’s drifted around the miniature hobby space that pops up from time to time: there’s two things that people first look at when they see your miniature, so you need to make sure they look good. You gotta take care of your models’ faces and bases.
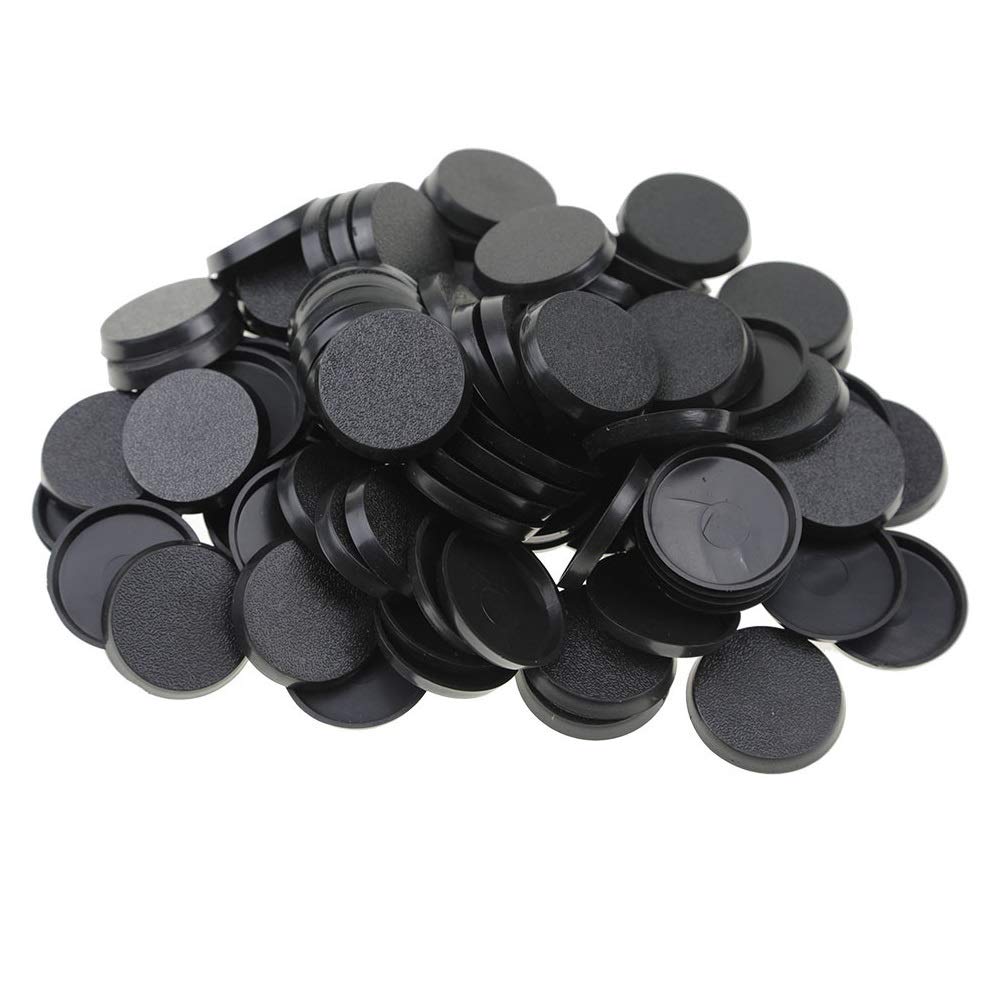
Few things are ubiquitous as bases in the hobby world. Round bases, square bases, clear bases, big, small, flying, not flying. If you spend very long doing anything with miniatures, you’re going to get real familiar with these little things.
For gaming purposes, bases are helpful tools to make sure that we can clearly define the space that a model takes up on a game board. They also help the people who design models come up with exciting and dynamic poses for models that would fall over without a base to balance them. This pragmatism defines model bases at a basic level, and for many entry level hobbyists this leads to bare bases. I was one of those bare base havers, for a very long time. Painting itself could already be so difficult, why add on this layer of complexity to the thing the model stands on?
When we open ourselves to the opportunity of decorating our model’s bases, the greater potential of the humble base is clear. Bases are what transforms each model into something greater. When we go through the process of decorating the bases of our models to reflect the environments and battlefields we would imagine they would be found on, every model in our collection suddenly becomes it’s own diorama. Well done basing not only looks great, it can be used to sell the story your imagination has created for your collection. It’s DIY environmental storytelling.
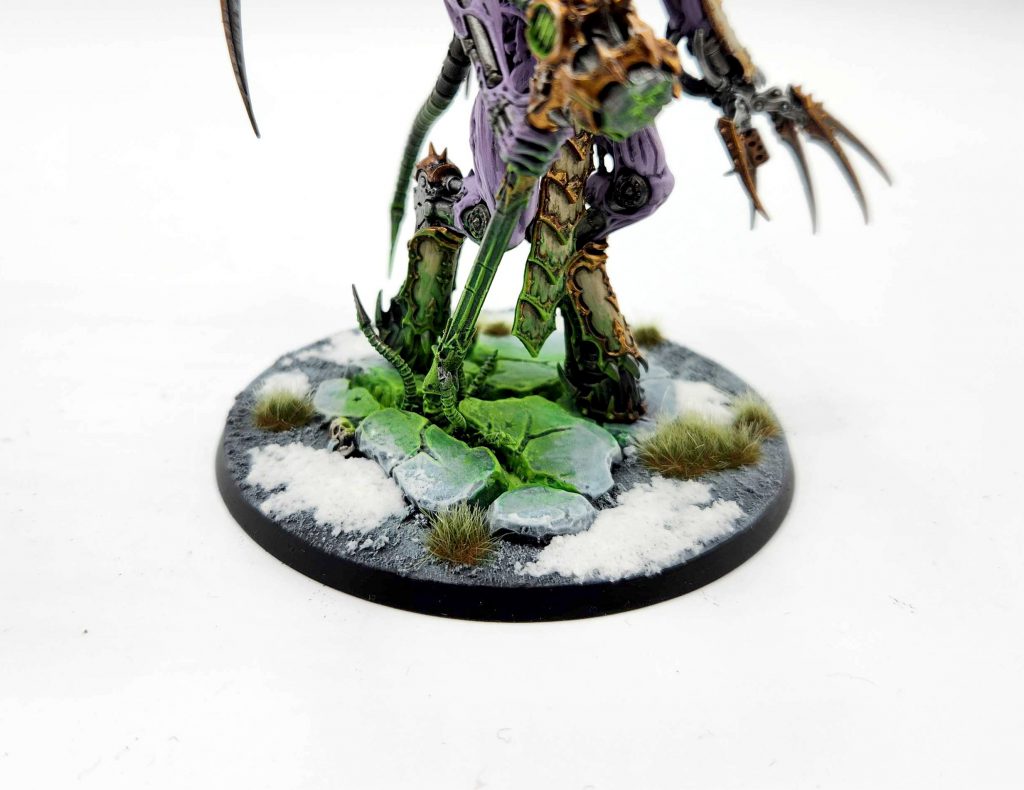
And that’s why basing really is the Dark Souls of Hobby 101.
No wait please don’t close the browser, I have helpful things to say. I won’t make an outdated Dark Souls reference again please I promise. Look, I’m even moving past the intro here into the meat of the article, as an olive branch!
What do I need?
Basing can be very simple, or very complicated, depending on how complex your work is. Rather than overwhelm you with options, here’s a few things you’ll need for almost any basing work.
Glue
First, you need something to keep everything all together, in one place: glue. That may seem easy enough, you’ve probably got more super glue and plastic glue than you know what to do with at this point. While you will probably want to still keep the super glue in reach, these types of glue won’t work very well for most of the work we do in basing. We want a new, third type of glue: PVA glue.
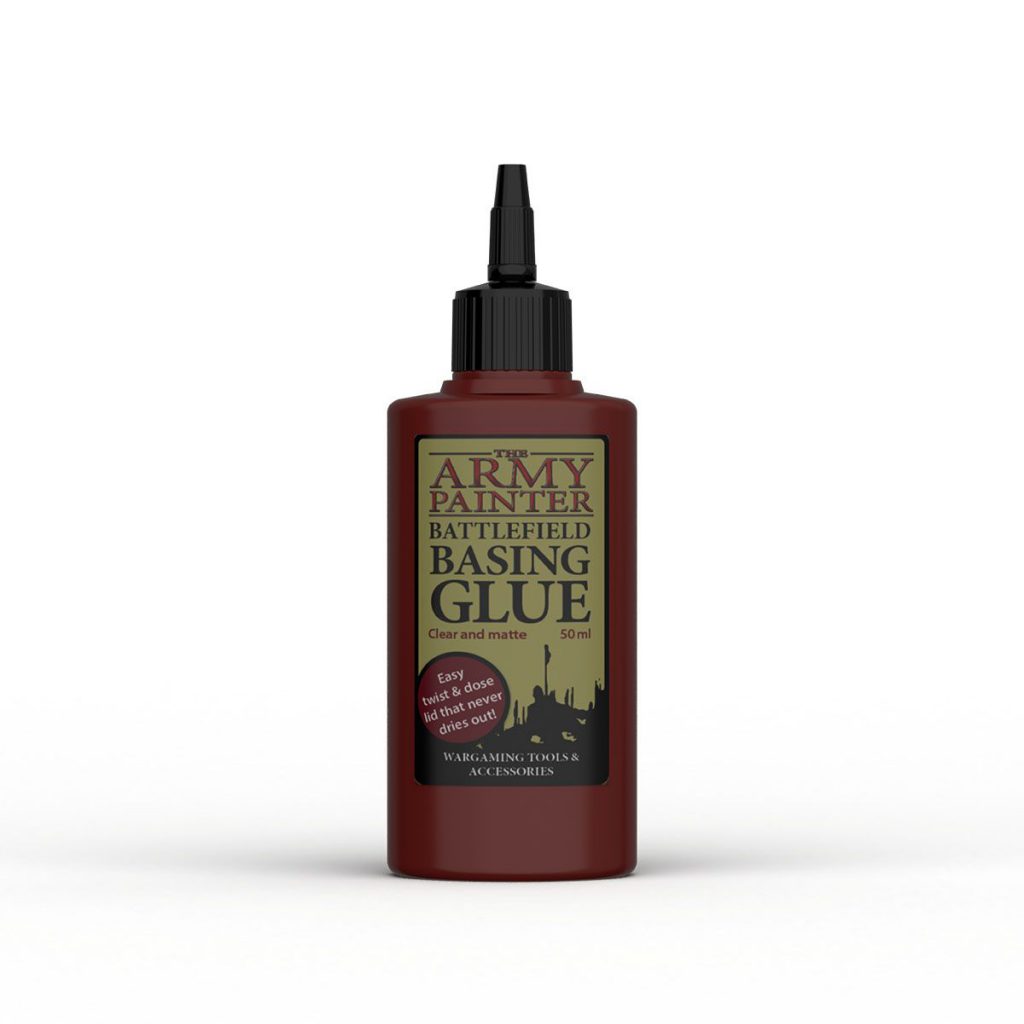
If you’re worried about finding PVA glue, relax. PVA glue is better known as the kind of craft glue that most people get very familiar with in their elementary school years. It’s very easy to find almost anywhere. Preferably, you’ll want to go grab some PVA glue with a long tip and better control to make getting glue on the base in harder to reach areas simpler. Army Painter Basing Glue is great for this, and is pretty easy to find in most hobby stores.
Why PVA glue? Isn’t it weaker than superglue? You’re right, the bond created by PVA glue is much weaker than superglue, and it takes longer to dry in most cases. If you tried to glue a model together with Elmer’s glue, you’d be able to pull it apart pretty easily and any piece that’s remotely heavy will struggle to stay in place long enough for the glue to dry. Strong bonds is what defines super glue and makes it the best choice for assembly, and is good for a few parts of basing too.
There are two reasons that immediately spring to mind that makes PVA glue better for basing. Firstly, it has a longer drying time which makes it easier to spread around the base. You’d be stuck to most bases by the time you finished covering it in superglue. PVA is also a much more flexible bond than superglue. When it dries, superglue tends to be very brittle, and with the commotion caused by transporting and moving models you’d probably lose little pieces of rock or sand all the time. PVA has that extra flexibility that lets the stuff on your base stay in place even while being handled frequently.
Basing Materials
There’s many different ways and materials that can be used in the process of decorating a base. Depending on what kind of base you want, you’re going to be using totally different things to build a different environment. Urban bases will have more rubble and rocks, but the inside of a spaceship or the Underhive may not have any rocks. Does the locale your model is standing in have foliage? Strewn body parts and skulls? Snow? Think about what you want your base to look like, and collect the right materials to create the scene. Army Painter has a great collection of basing materials and tools to select from and their Battlefields Basing Set is a great starting place.
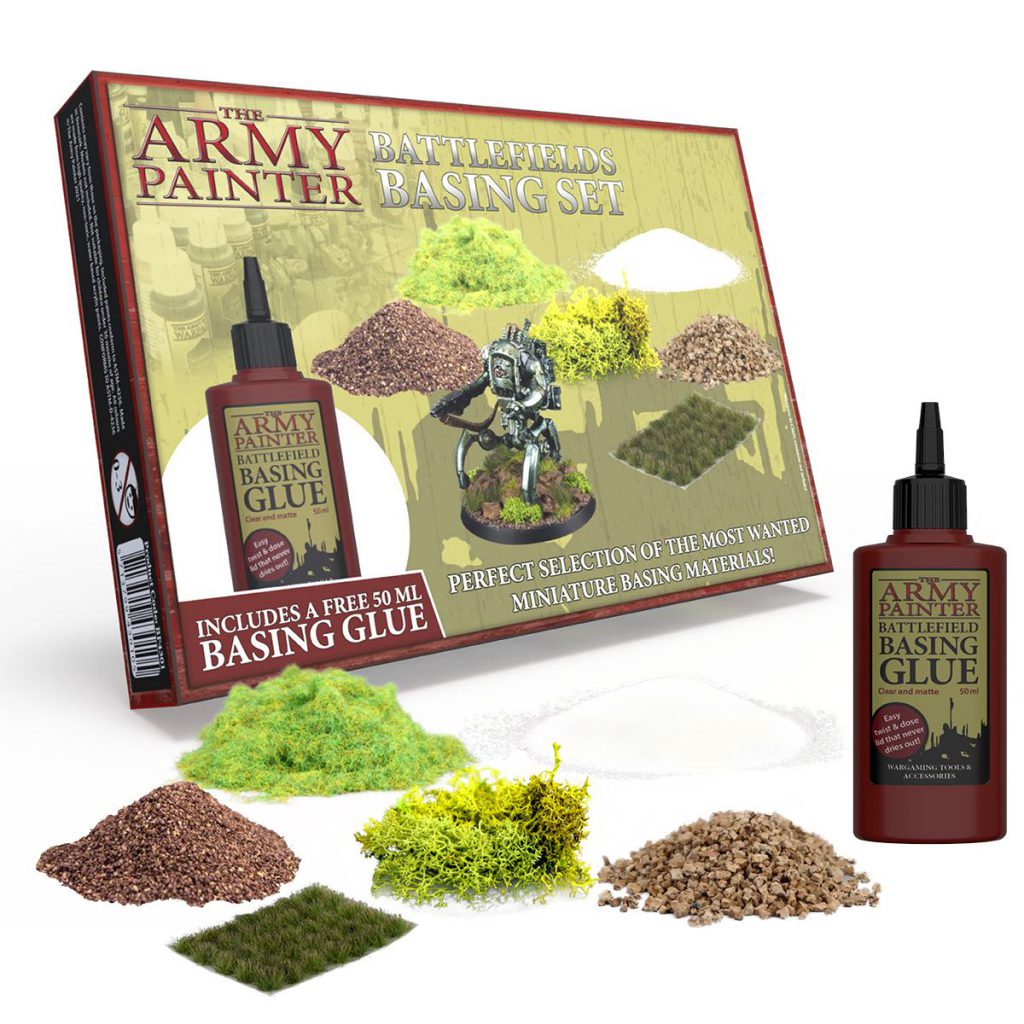
For this Hobby 101 article, here are the materials I used to create the two bases you’ll read more about soon:
- Army Painter Battlefield Rocks
- Army Painter Brown Battleground
- Army Painter Swamp Tuft
- Army Painter Battlefield Razorwire
- Citadel Astrogranite Debris
- Army Painter Wasteland Tuft
Paints
Ah, you thought you could escape paints in a basing article didn’t you? Keep your painting stuff handy, you’ll probably end up using it while working on your bases. Preferably, use an older, medium to large sized brush that you don’t mind getting beat up by basing work.
Also, having a drybrush will be helpful. Drybrushing is a type of highlighting technique where you use a dry brush with a little bit of dried paint on it to create highlights. Makeup brushes work well for this, as well as specific brushes made for drybrushing like Army Painter’s Masterclass Drybrushes.
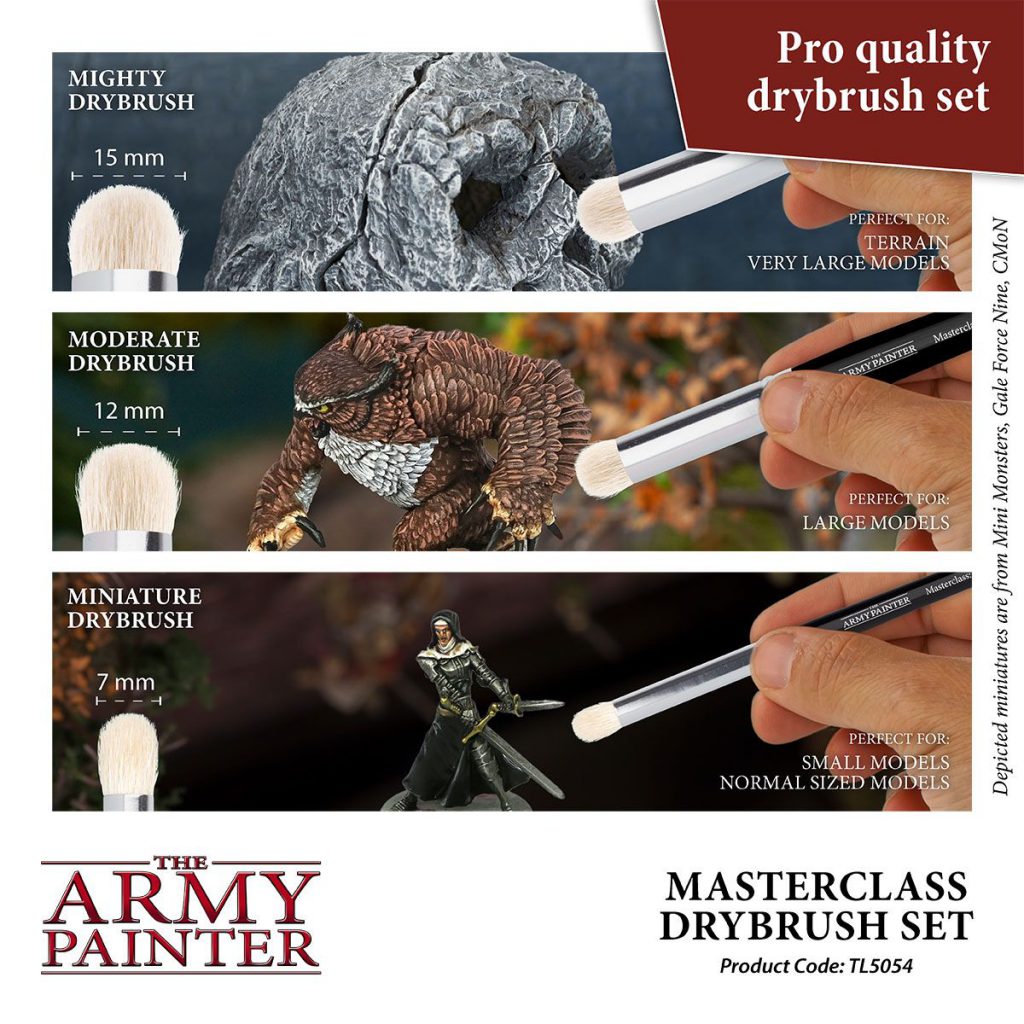
You apply drybrush highlights by quickly and lightly brushing the drybrush over the area you want to highlight, like you would a feather duster. The dried paint will tend to catch on the raised areas of where you are drybrushing and make nice highlights quickly. Drybrushing isn’t a very precise way to highlight, but for what we will be doing with our bases today it’s perfect.
Do I have to do basing before I glue my model to the base?
If you’re like me, you’re an impatient goblin-creature who wants to assemble every model they get as soon as your weird skeleton hands opens the box, already aspiring for all the glory this model will attain as soon as it hits the battlefield, eager to glue the model to the base the literal second you are able to. Woe be upon all of mine small, plastic enemies.
Well, folks like me can rest easy. You don’t have to base your model before you glue it to said base. It is admittedly much easier to do basing work without a model in the way, and more complicated bases will probably mean you have to wait before you glue the model down. A compromise here is to use sticky-tack to stick the model to the base until it’s finally time to work on the base, that way you can pull the model off without damaging the model or base. We will have already glued the models to the bases for this tutorial today, but keep some sticky tack in your hobby drawer in case you may need it.
We’re going to go over two different bases here, to show off a few different basing styles. The first will be the Blood Angels Intercessor I painted in the traditional painting article in this series. The second will be a Chaos Space Marine Chaos Lord.
The Blood Angels Intercessor
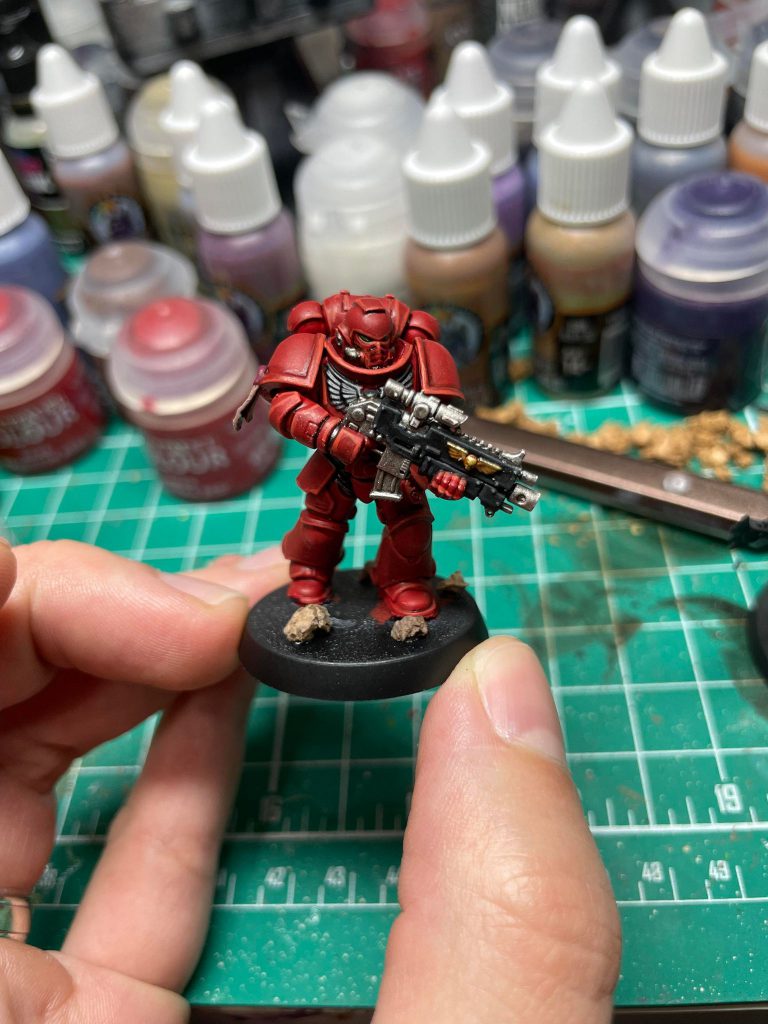
First off is the Intercessor, who will be on a rocky battlefield. We get our guy glued to his new base, and we also glue on some rocks from the Army Painter Battlefield Rocks set. I don’t want these to have this brown color though, so I put some primer on them to paint them up to be a more traditional gray rock color.
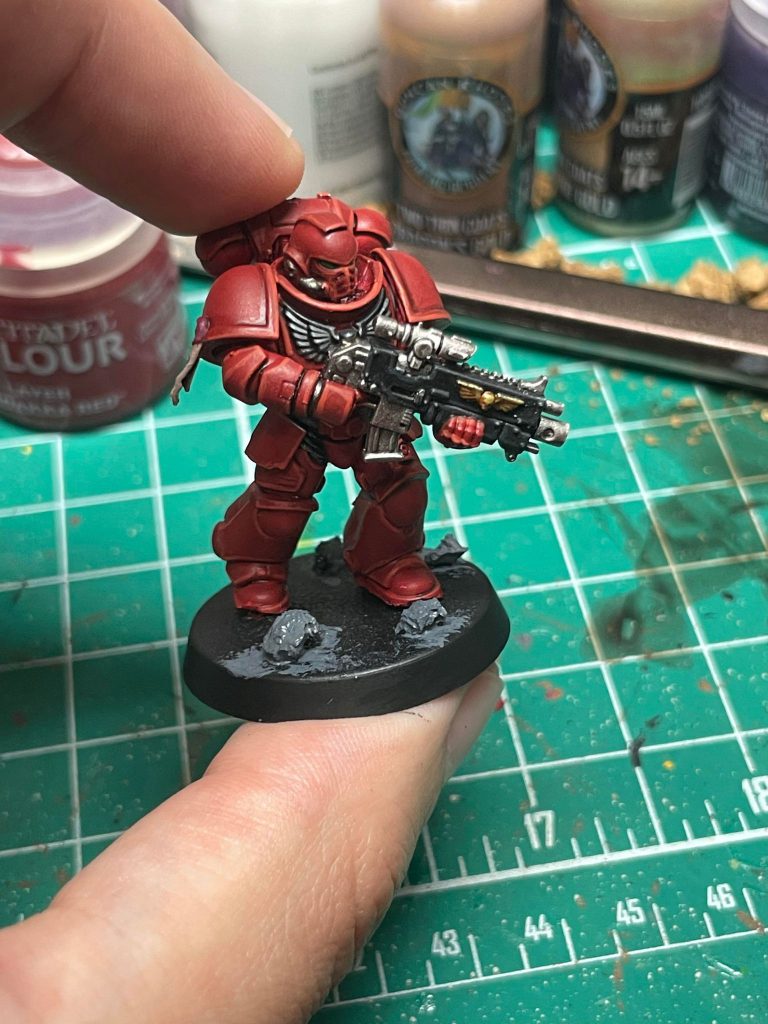
After I basecoat, I apply a black wash and wait for it to dry. Once it dries, it’s drybrush time. I load up my drybrush with Citadel Dawnstone paint, and using a paper towel I brush off the excess paint. I want there to be just a little bit of paint coming off when I’m drybrushing, for the best highlighting effect.
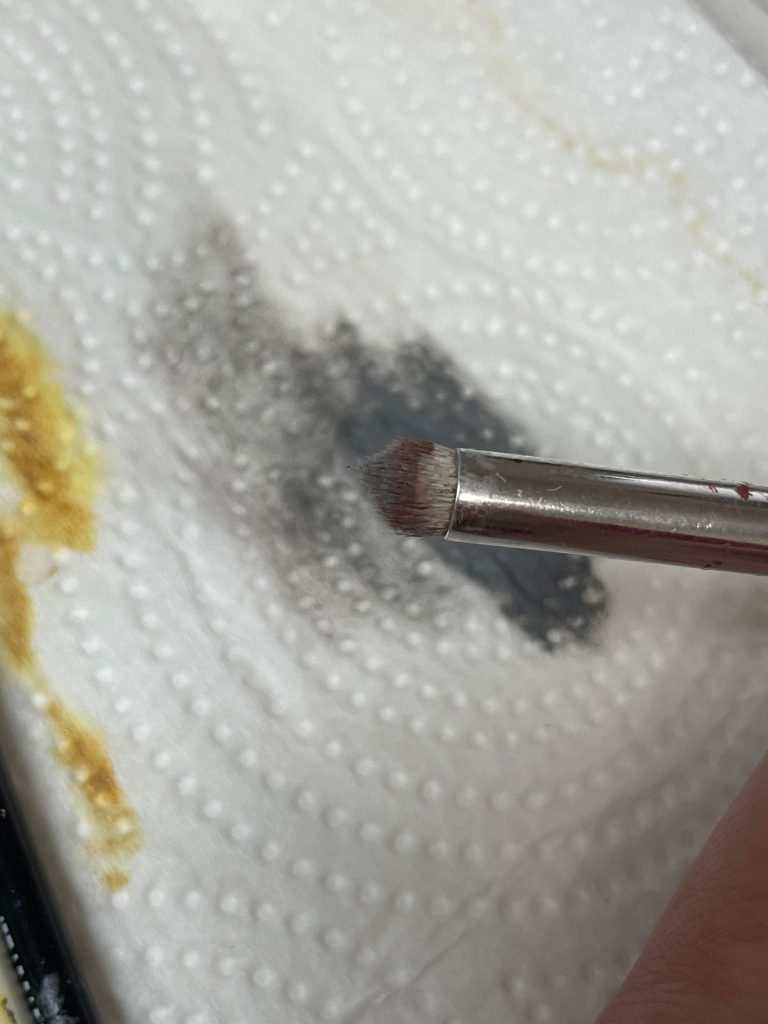
Once we’re ready, I drybrush the rocks, and viola. Easy highlights. Remember, it’s like using a duster, light and quick strokes. Don’t press too hard.
I then paint the whole base and the rim brown. There’s no correct rim color, though Goblin Green is objectively the one that causes the most eye strain and is therefore the coolest. I like brown since it is a nice neutral color, and by painting it all over my base it will help cover for any gaps that may come about on my base without drawing immediate attention.
I now want to cover the base in smaller rocks to compliment the bigger rocks we just drybrushed. To do this, I’m going to glue on some Army Painter Brown Battleground all over the base.We need to apply PVA glue all over the base for this. It helps if we thin the glue down just a tiny bit with water as we spread it, and we can spread it with an old brush we don’t care about anymore, sculpting tools, or a toothpick. If you can find the Texture Spreader tool from Games Workshop, it’s perfect for this.
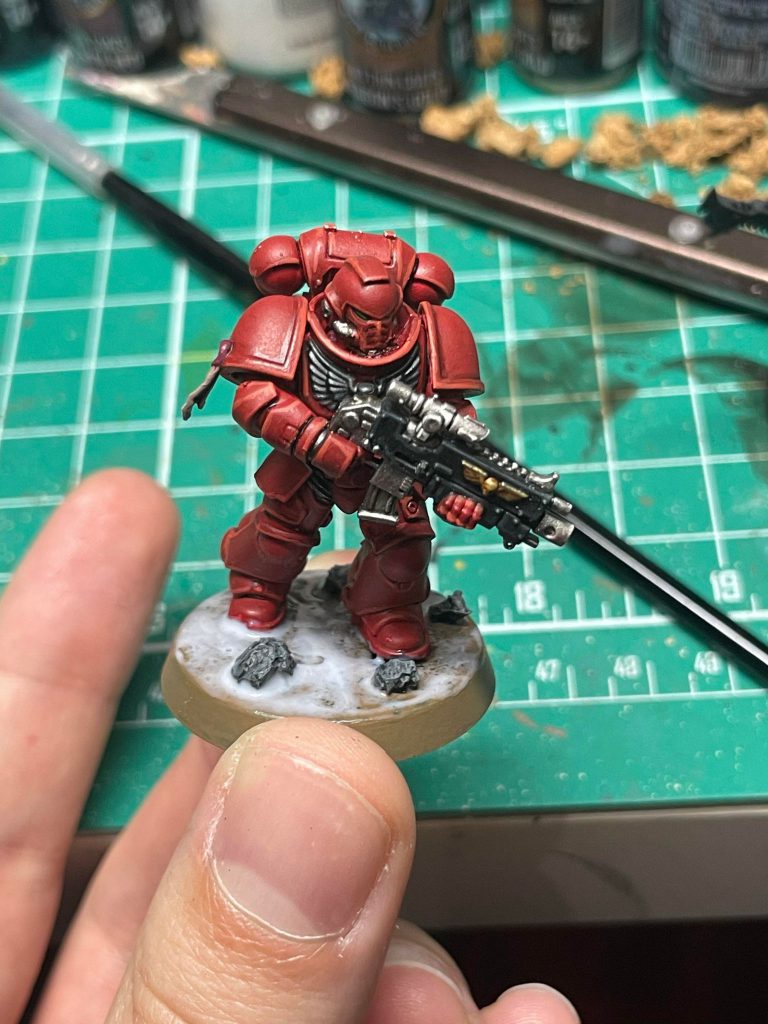
Once we have the glue spread over the base, we can apply the Brown Battlefield. For larger bases, you’ll need to pour the material over the base, preferably with a bowl or something underneath to catch the excess. This base is small enough that we can just stick it inside the Brown Battlefield container and make our lives easy. If there’s too much material on it or we don’t like the way it looks when it comes out, we can tap off the excess material or use the tools we used earlier to shift the materials around or remove excess.
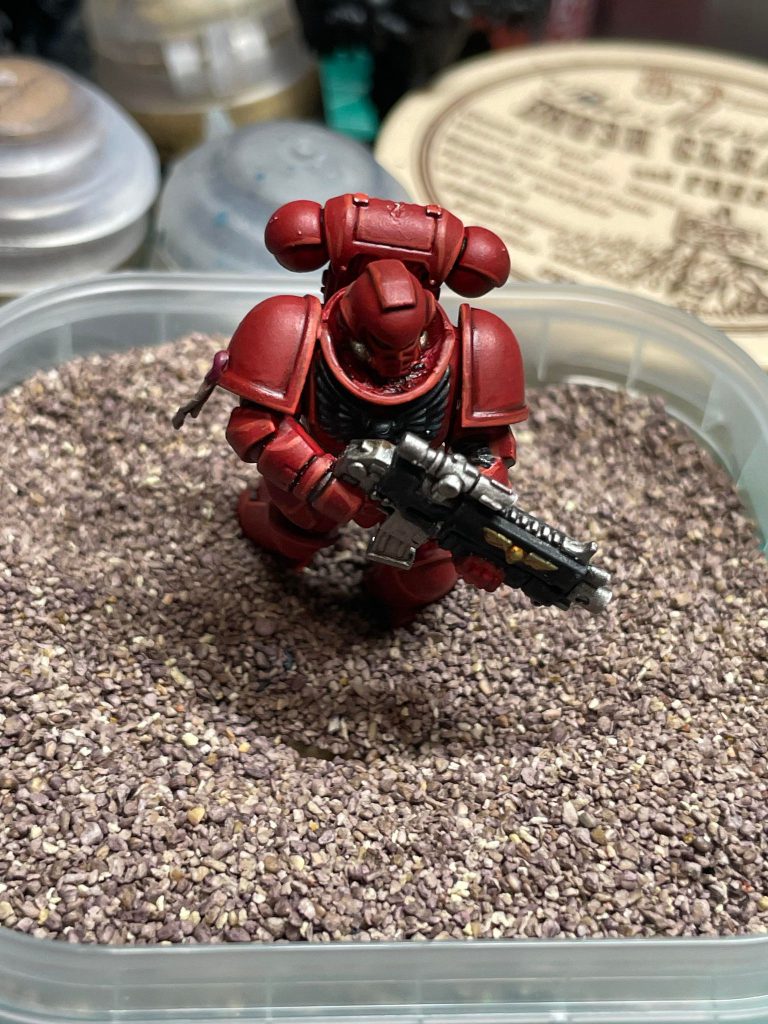
PVA takes a good while to fully dry, but if you’re impatient you can use a hair dryer. It’s a good trick for making paints dry faster too. Just don’t put the setting so high or the hair dryer so close to the model you actually blow the material away.
Once we are confident it’s fully dry, I apply some Aggros Dunes contrast paint to change the color and make easy highlights. One-Coat style paints are a great tool for easy highlights while basing. After another trip to the hair dryer, the material is dry!
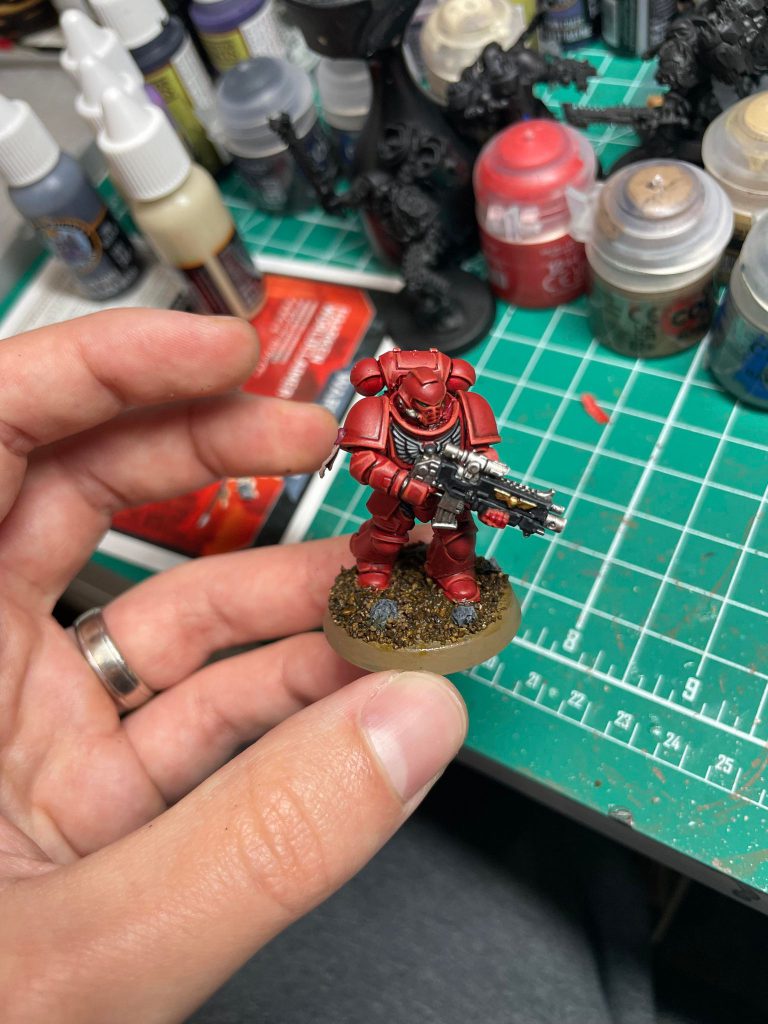
In this photo, some basing material came off because I was a little impatient. It’s okay though, just like in traditional painting mistakes are okay. I apply some glue carefully, and repeat the process of adding material, drying, and painting until it looks good.
Now that I’ve fixed my happy little accident, I’m going to put on some decorations. First, I’m going to put on some Swamp Tufts from Army painter. These have some adhesive material already, but I like a little bit of PVA glue to supplement the bond to the base here. Plus, since this is an uneven surface we are gluing to with the flexible bottom of these tufts, PVA works best. For the Battlefield Razorwire, I’ll use superglue since I need a stronger bond there to keep it on the base. For that neat curling effect, you can just wrap the piece of wire around the end of a brush. Super simple, but looks great.
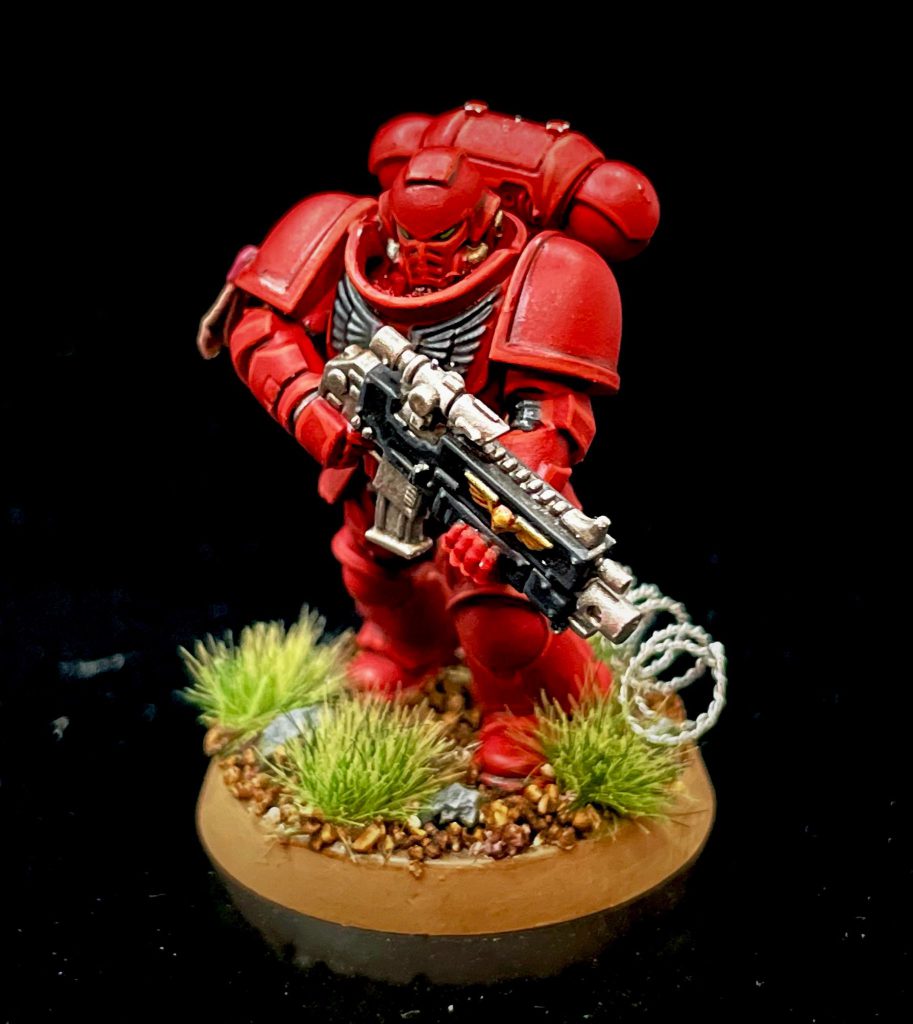
And that’s one base down! Didn’t even break a sweat. Now onto the next one.
The Chaos Space Marine Chaos Lord
For my Chaos Marine Collection, I try to make a more urban battlefield look with a sinister red glow. To show that I’m the bad guys. How else will my opponent know?
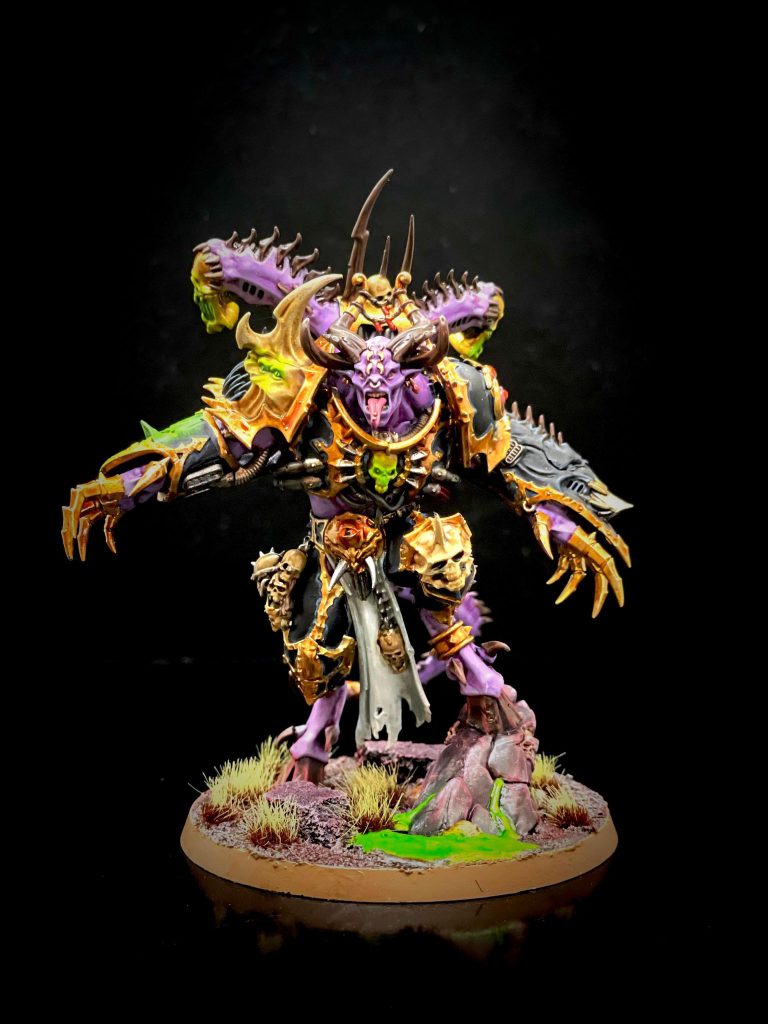
Just like last time, we glue on our Battlefield Rocks, prime, and drybrush them, and paint the whole base brown.
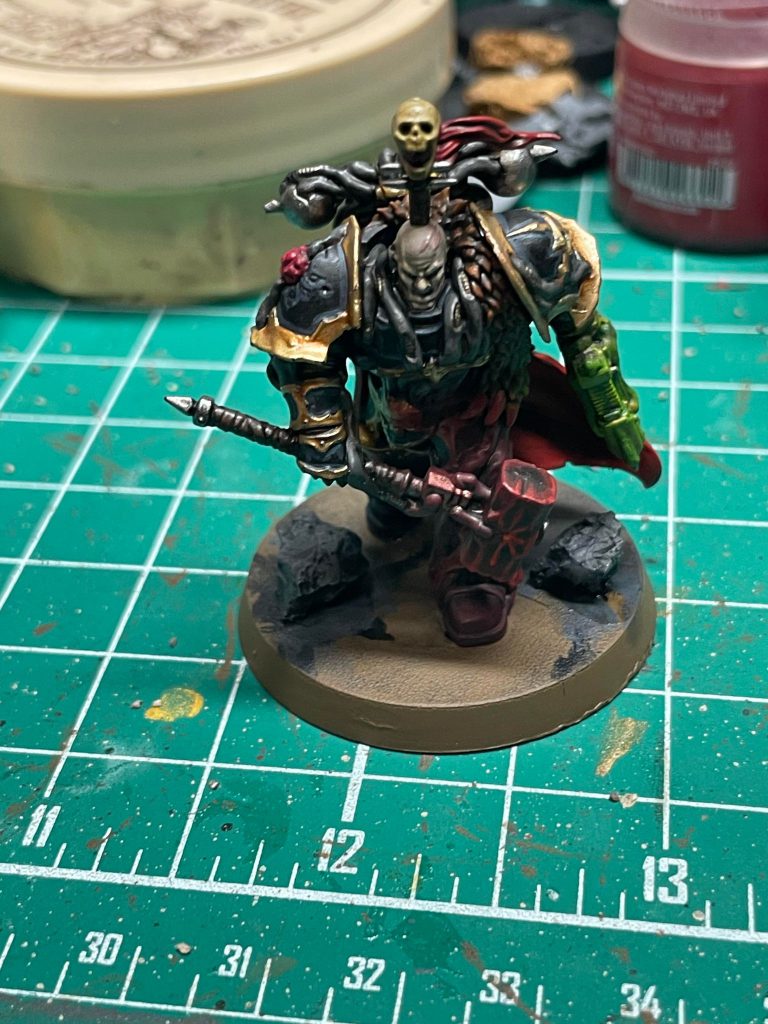
Next, I’ll be applying some Texture Paint from Games Workshop. Specifically, I’ll be using their Astrogranite Debris. Unlike the Brown Battlefield, I won’t be gluing this onto the base itself. This will go on much more like a regular paint would. I use my Texture Spreader tool to scoop material out of the container, and spread it all over the base, making sure nothing is too thick or too thin, and then letting the whole thing dry.
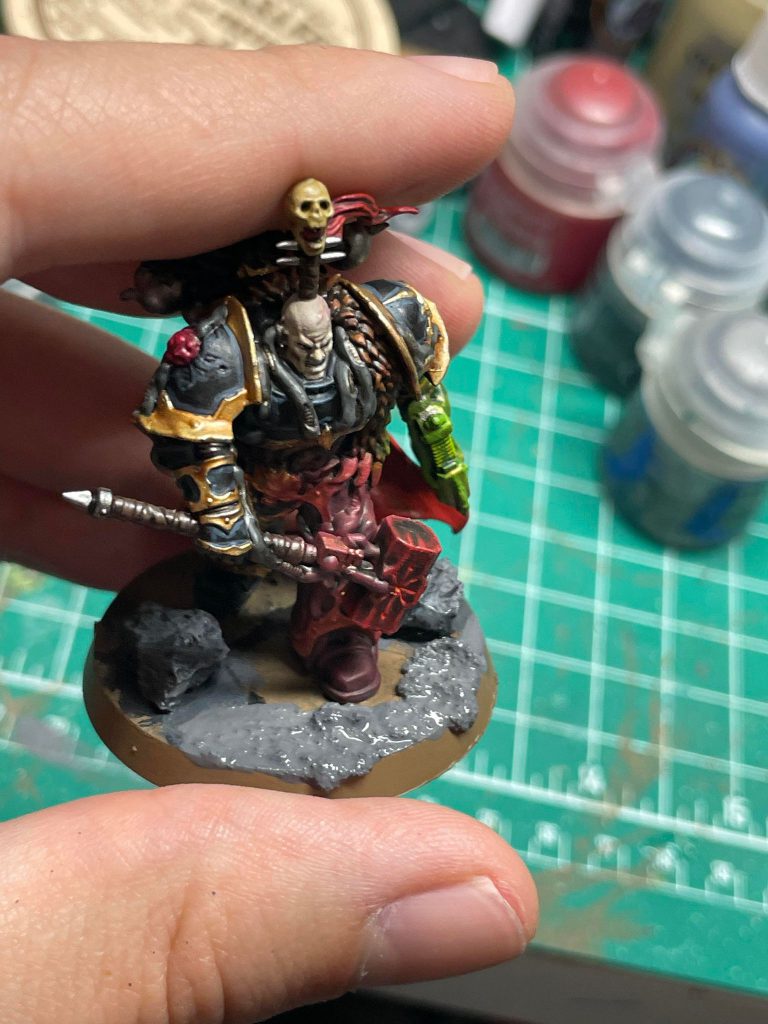
If you do use the Citadel Texture paint, check if you are buying the kind you want to use. Each color has a kind like we see here that dries with a rocky effect, and a type that creates a cracked earth effect. A quick trip to the Games Workshop website should tell you which is which.
Once the Astrogranite is dry, I apply a coat of Agrax Earthshade, and allow that to dry as well.
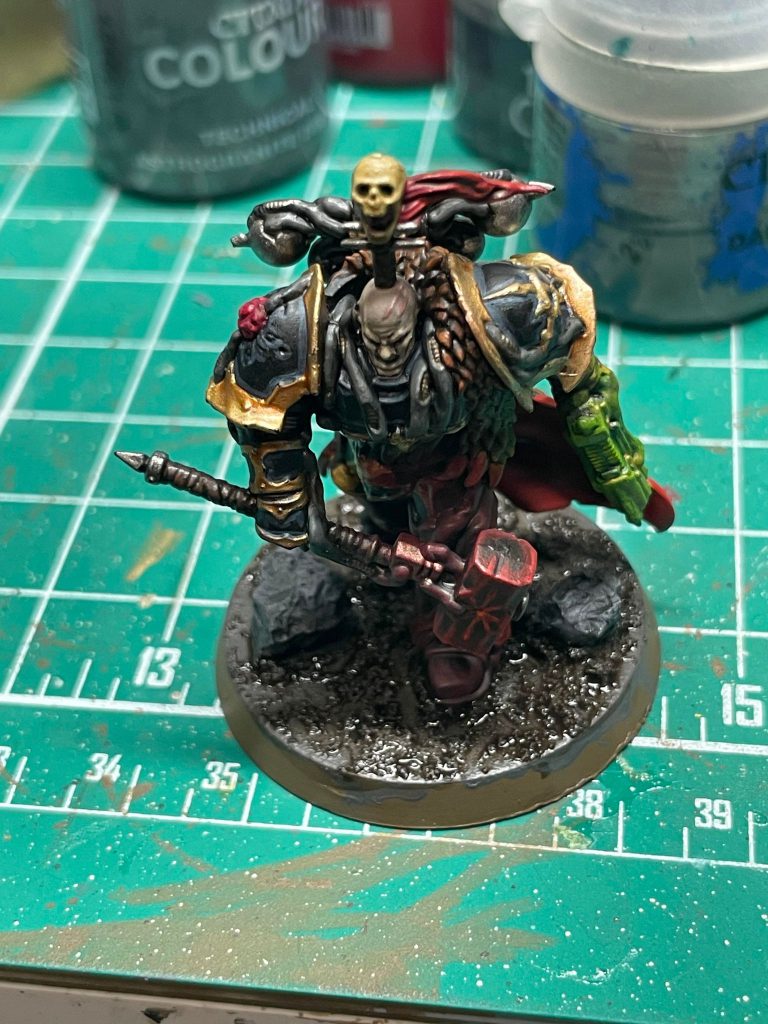
Once the base is ready, I break out my drybrush. For this base, I’ll do a red drybrush followed by a very light bone white drybrush. I don’t care if the red gets on the rocks or the model, it gives it a little glow effect, but I’m a little more careful with the bone white.
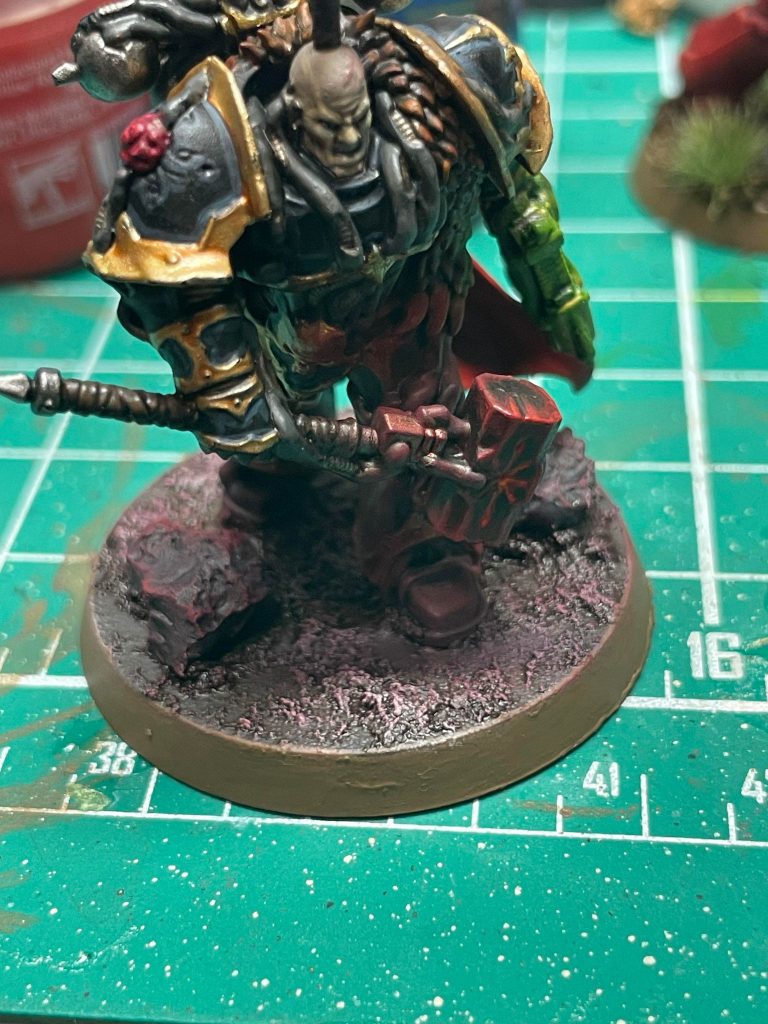
Finally, I apply some Wasteland Tufts to the base and clean up the base rim so it’s an even brown. You really can’t go wrong with the basing tufts from Army Painter, they are very easy to apply and look really great.
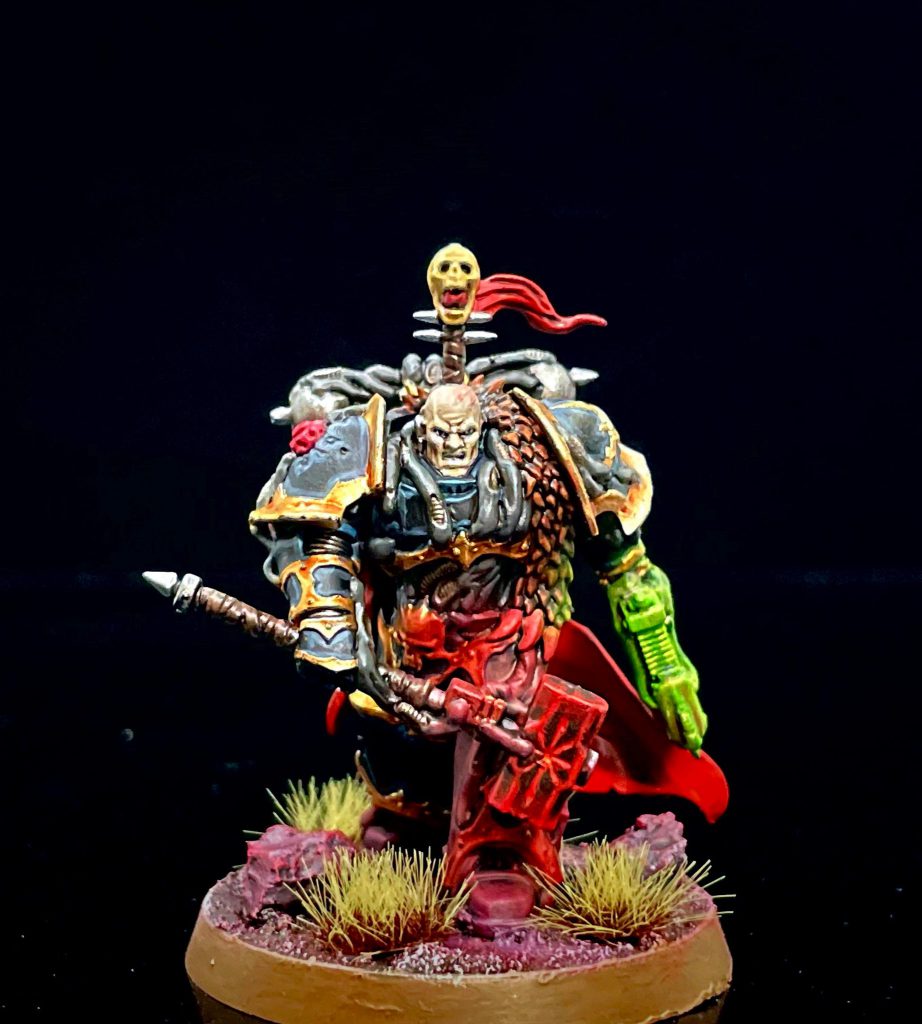
And with that, our second base is also done and looks outstanding!
If you take anything away from this article, remember that basing is one of the best ways to elevate the look and storytelling of a model. A good base can take a model that’s already great into something remarkable, and as we’ve seen in this guide it’s very simple to do. Whatever you decide for your bases to look like, make them your own!
