Basing is a critical part of the painting process. Armies on the battlefields of the 41st Millennium or the Mortal Realms will find themselves fighting across a wide variety of terrain, from lush jungles to barren rockscapes, industrial wastelands to agrarian fields. Your basing helps tell the story of your army – where are they fighting and why? In the spin-off How to Base Everything series, we look at different methods for basing your miniatures, so that you can locate them in time and space.
The Concrete Jungle
For many players, when they think of the battlefields of the 41st millennium, their minds immediately picture vast cityscapes of crumbling buildings and ruined skyscrapers, streets filled with rubble and debris. The thought of fighting in densely-packed urban environments is just aesthetically cool, and it’s no coincidence that, of all the battlezones Games Workshop could have chosen, only Cityfighting has gotten not one but multiple supplements devoted to it over the last 30 years. From hab blocks to sprawling hives, nearly every planet in the 40k universe features some kind of urban center that can be turned into a theater of war. And so it’s no surprise that players may want their models and bases to reflect this, to make them feel like they’re taking part in an urban campaign.
So how do you go about basing your models to communicate that they’re in an urban environment? In today’s article, we’ll explore some tips and tricks for making your models look like they’re locked in urban warfare.
Reference Material
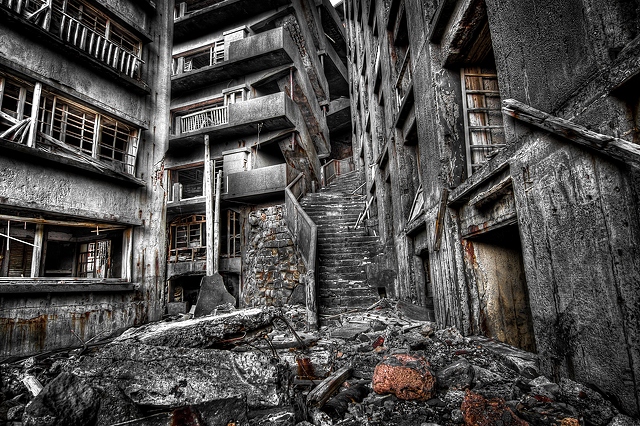
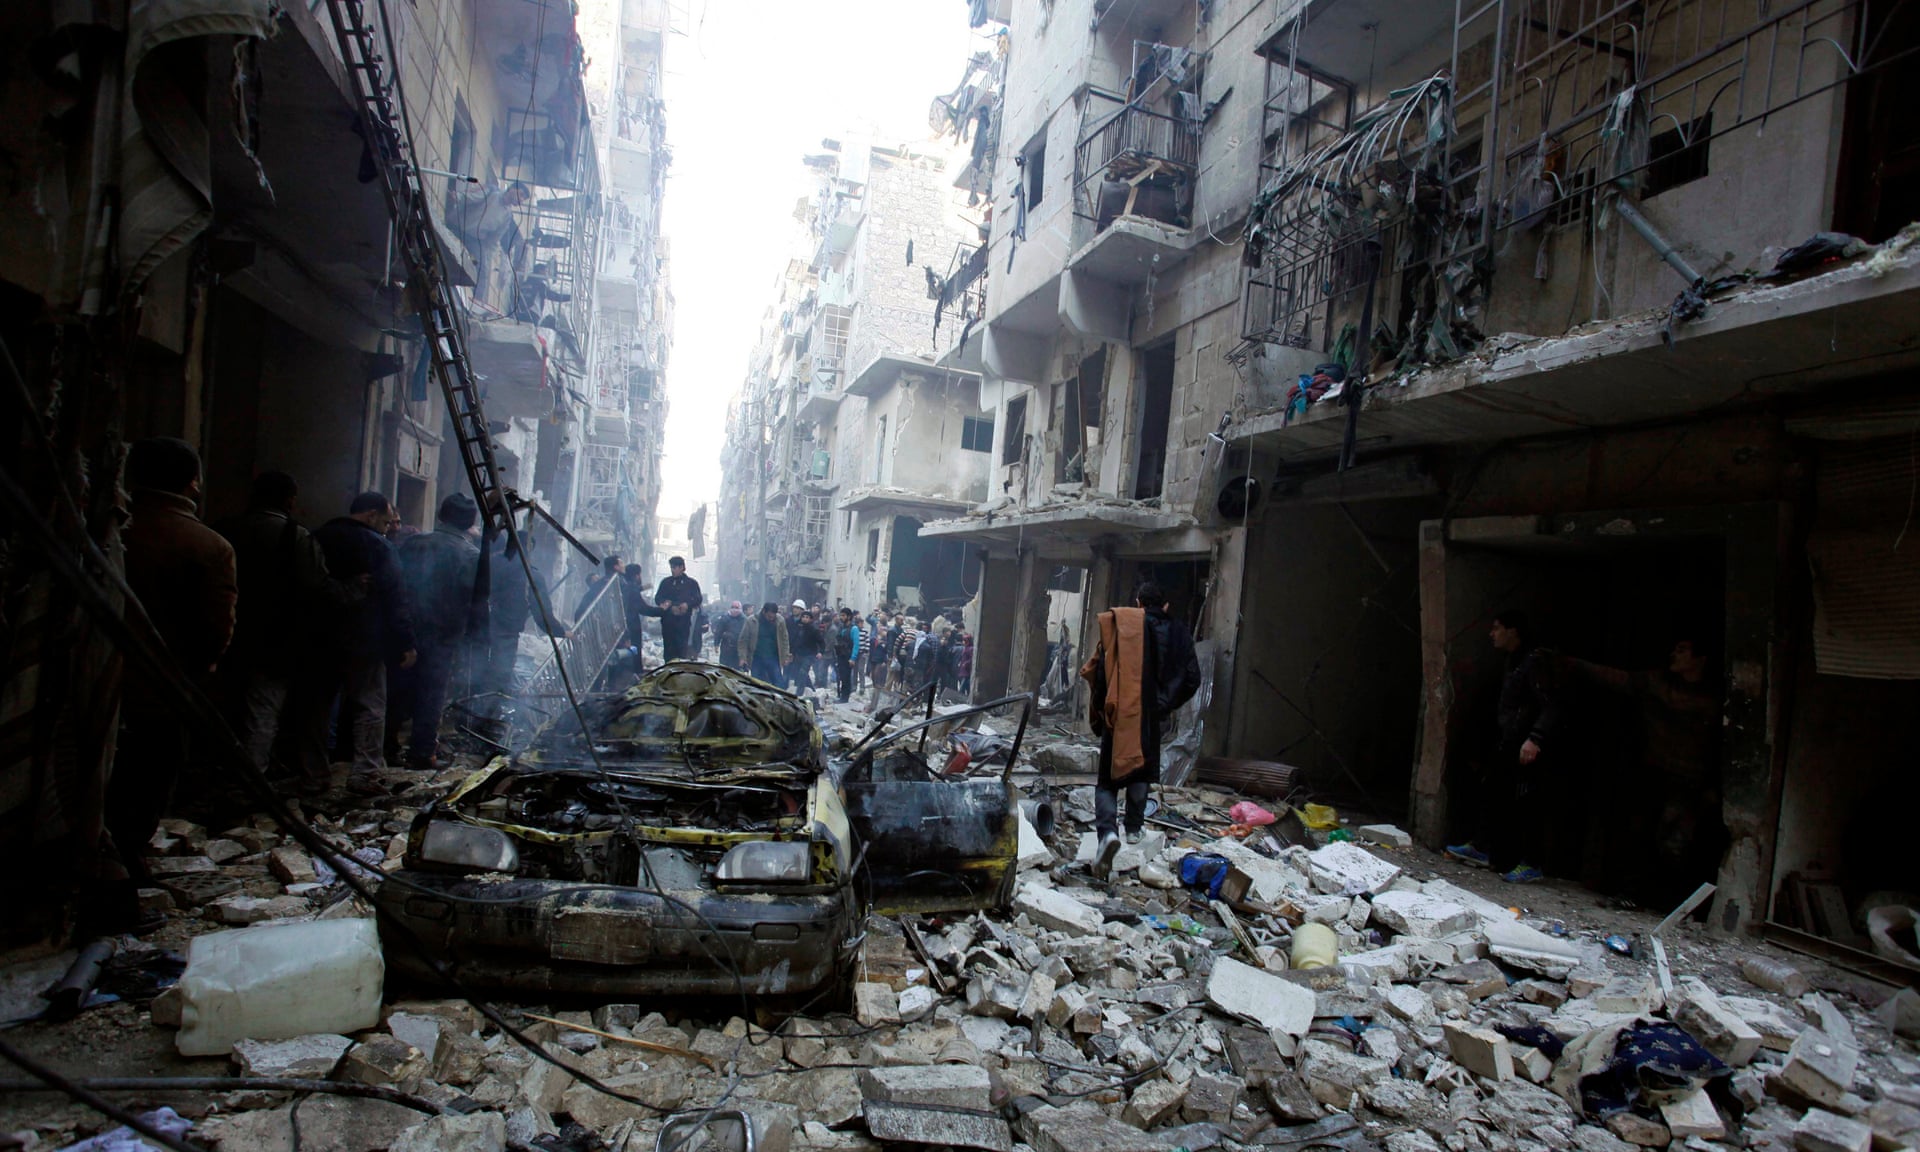
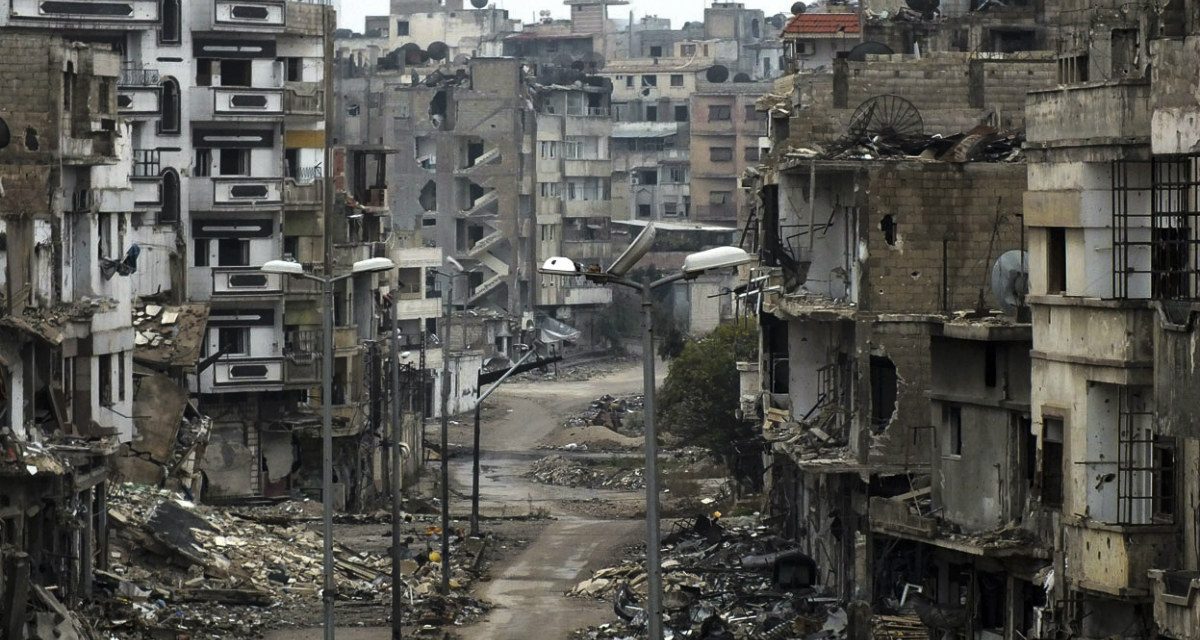
Collapsed buildings. Falling skyscrapers. Scattered rubble. Peeling paint. Clouds of dust. Falling ash. The primary textures we’re looking for with futuristic citycapes will tend to be concrete and steel. Twisted metal, big slabs of concrete. That means lots of grays and metals, with some browns and rust colors. We’ll be looking at a lot of clutter and debris, and when making urban bases one challenge will be making them distinct from ash fields and rocky wastes. As we’ll see, mostly we’ll do that by adding rubble and rubble to them.
Making Urban Bases
As usual, we’ll explore several different methods for building your own urban bases, starting with the one that takes the least time (and most money), and then looking at how several other Gonnhammer authors build their urban bases.
Note that, with most techniques and methods, urban bases are going to look gray. This can be a real positive, because it means that urban bases can go well with pretty much any color scheme, and work best when the model itself has bright colors, so that it can pop against the gray base. It also means that most of the time we’ll need another way to visually communicate “urban” beyond just “gray grit,” particularly on larger bases where the effect may look boring. In these cases, we’ll see how things like rubble, debris, roads, and other destroyed structures can help pull the model together and complete the effect.
The “Just Buy It” Method
We’ve come a long way since the days of deodorant stick tanks. If you want to get some urban bases that look great but don’t want to spend a ton of time, you can just buy them from Games Workshop or another company. There’s a ton of options out there, and the method is just “paint the bases in various shades of gray. Note: THERE IS NOTHING WRONG OR SHAMEFUL ABOUT THIS METHOD. These bases tend to look great.
TheChirurgeon’s Method
It’s a well-known fact that I don’t love basing models. I don’t hate it, but it’s something that wasn’t even part of my repertoire until maybe 6 years ago, when I finally started basing all of my older models and making a point to base the newer ones. Sometimes I put effort into my bases, and most of the time I don’t. Usually I have a quick, dirty method I use for most infantry, and then for larger bases and models, I do more involved things, like making roads. I’ll talk about both methods here.
The Easiest Possible Method: Astrogranite
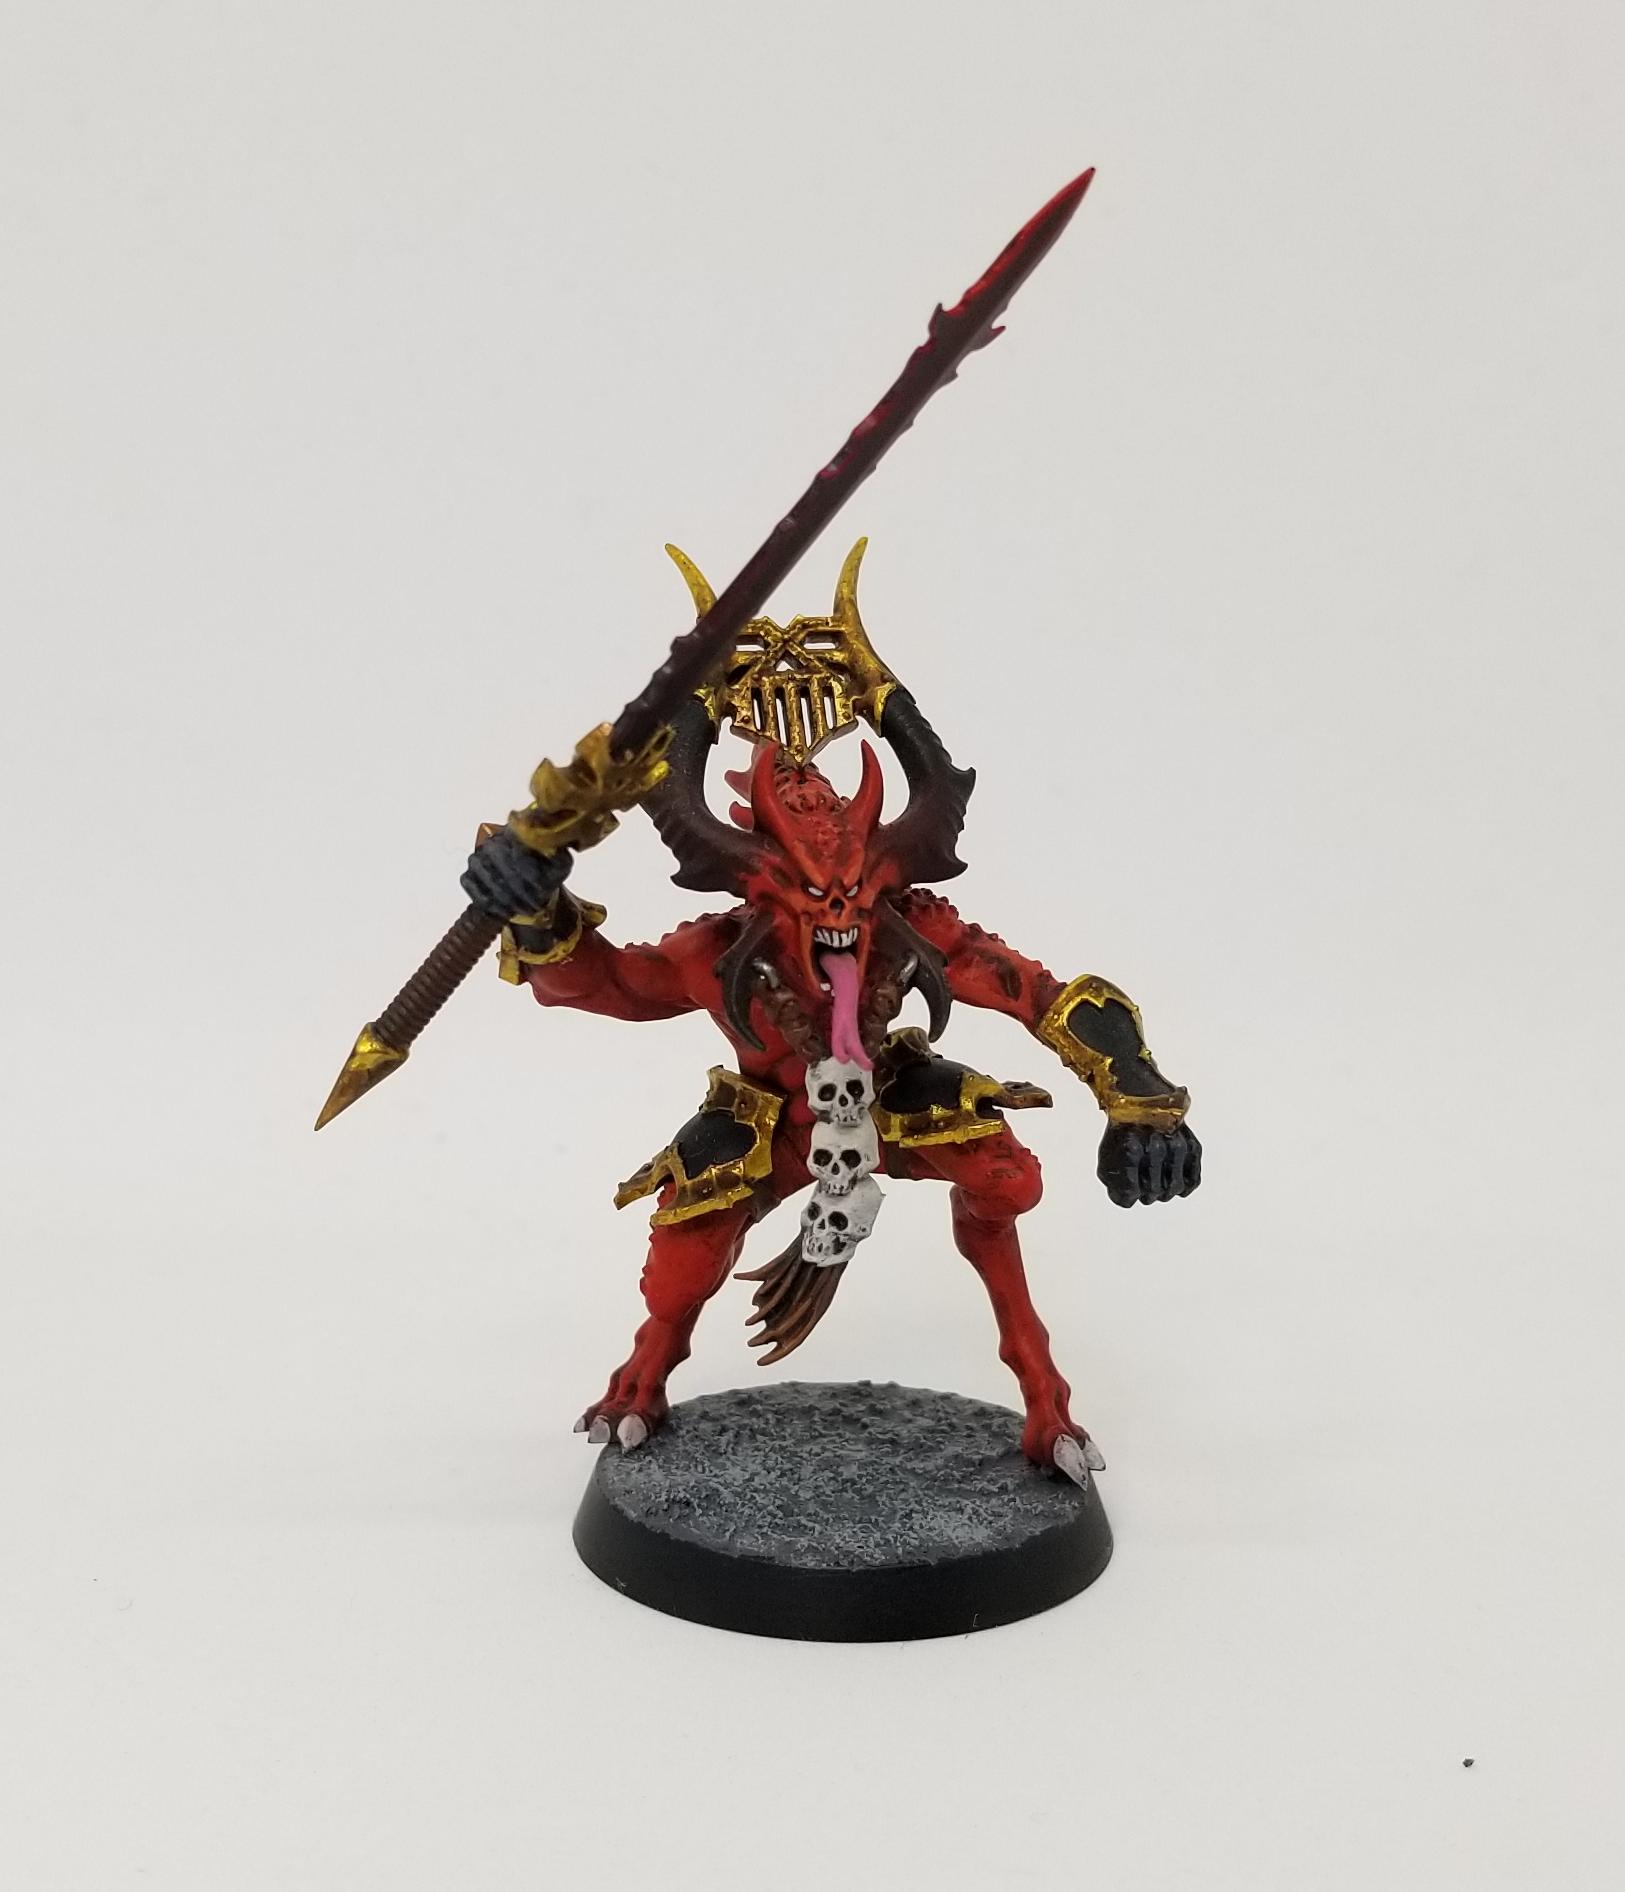
What can I say? I love GW’s Texture paints. For urban bases, I lay down Astrogranite, then once that’s dry I wash it with Nuln Oil, then I drybrush the whole thing with Celestra Grey. It’s quick and easy, and it looks good enough. Sometimes I’ll add an extra garnish like a skull or marine helmet to this, but the goal is to finish something quickly, then move on to the next thing.
That said, if you want to add some easy variety, you can spice things up pretty easily by adding small pieces of rock or rubble to your bases, or shading them with other colors. I use splotches of Agrax Earthshade to give the appearance of oil and dirt and vary up the coloring, and Blood for the Blood God to do blood spills to break up the monotony when I want to do larger bases that still don’t take a long time.
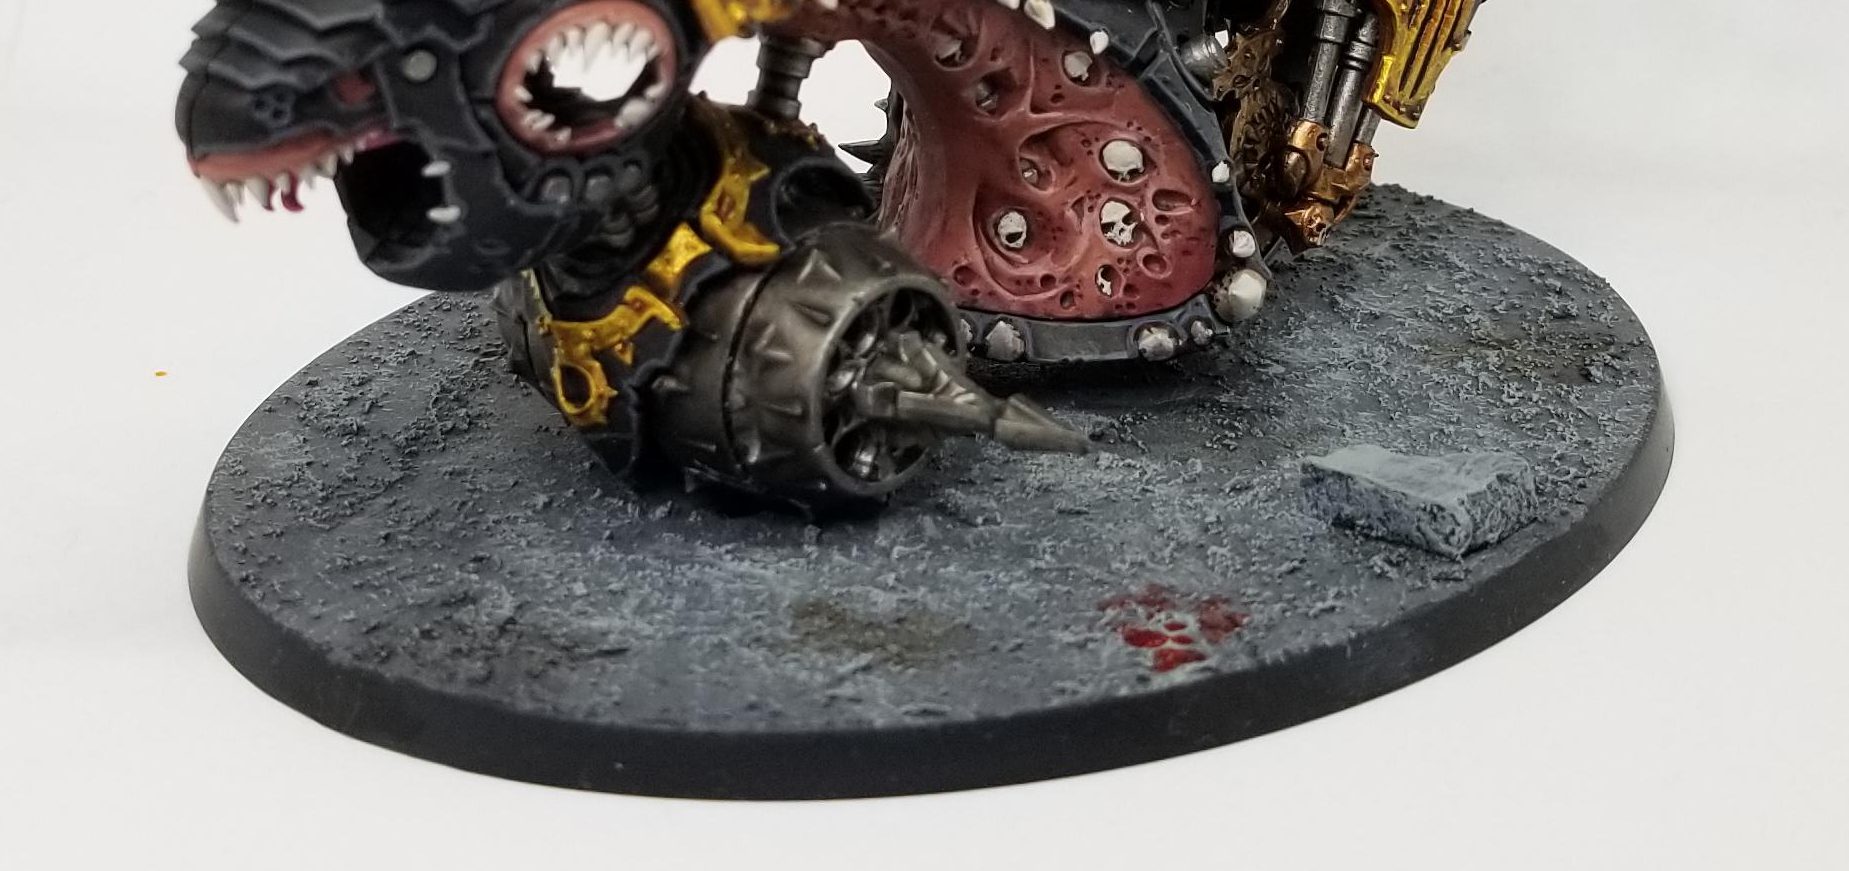
Dust and Basing Effects
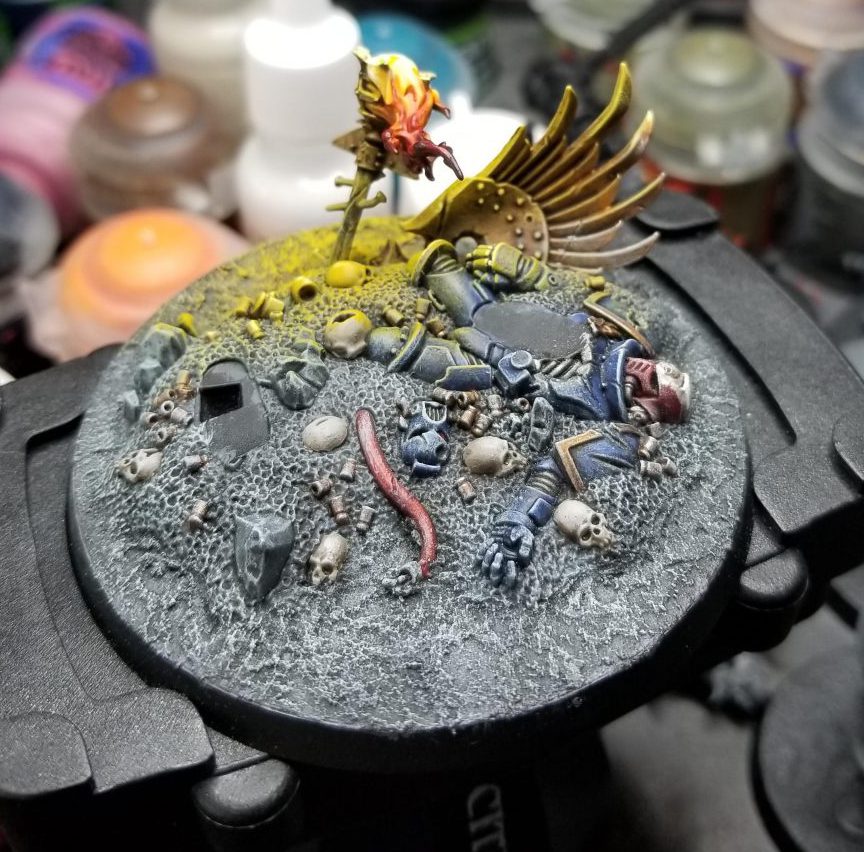
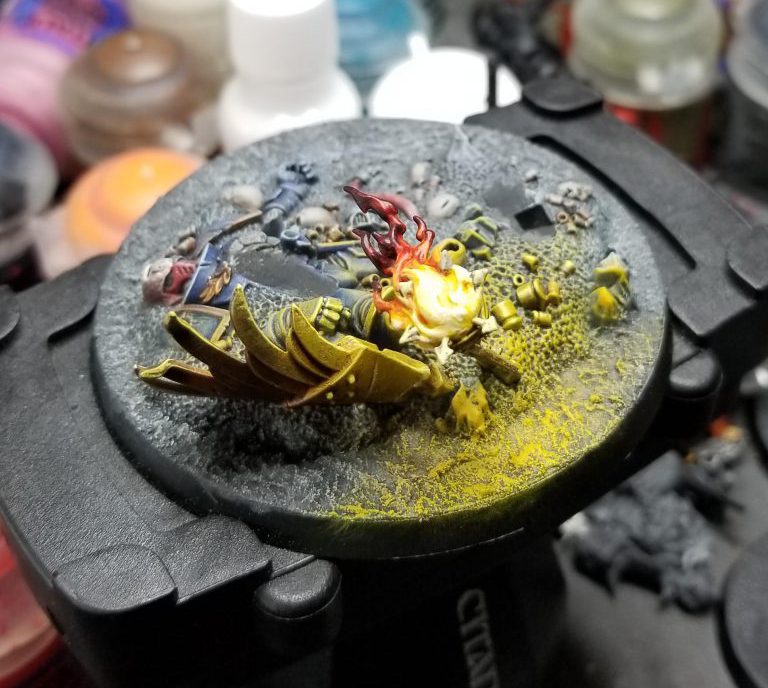
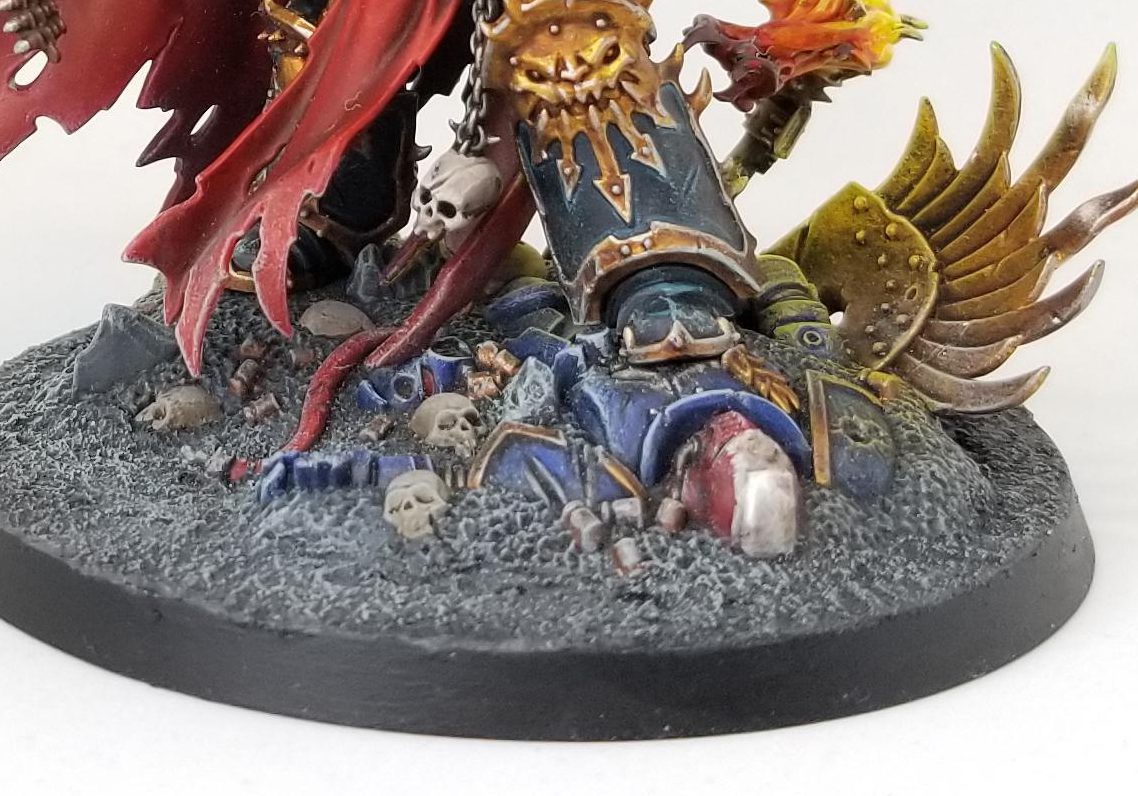
The newer characters tend to come with more detailed bases that included modeled scenery such as casualties and other effects. I find that Astrogranite makes a fine surround for these. Something to keep in mind is that in urban environments and cityscapes where concrete is being destroyed, you’re going to have lots of thick, gray dust everywhere. So when I do my urban bases, I tend to drybrush everything on the base with a very light layer of Celestra Grey to give it a dirty, dusty feel. I do this before I add any lighting or OSL effects, since the dust is likely to catch the light.
This extends to the models as well, where I’ll drybrush the lower parts of models with Celestra Grey as well to both blend them with the base in a natural way and also make them feel like a part of the environment.
Making Roads and Asphalt
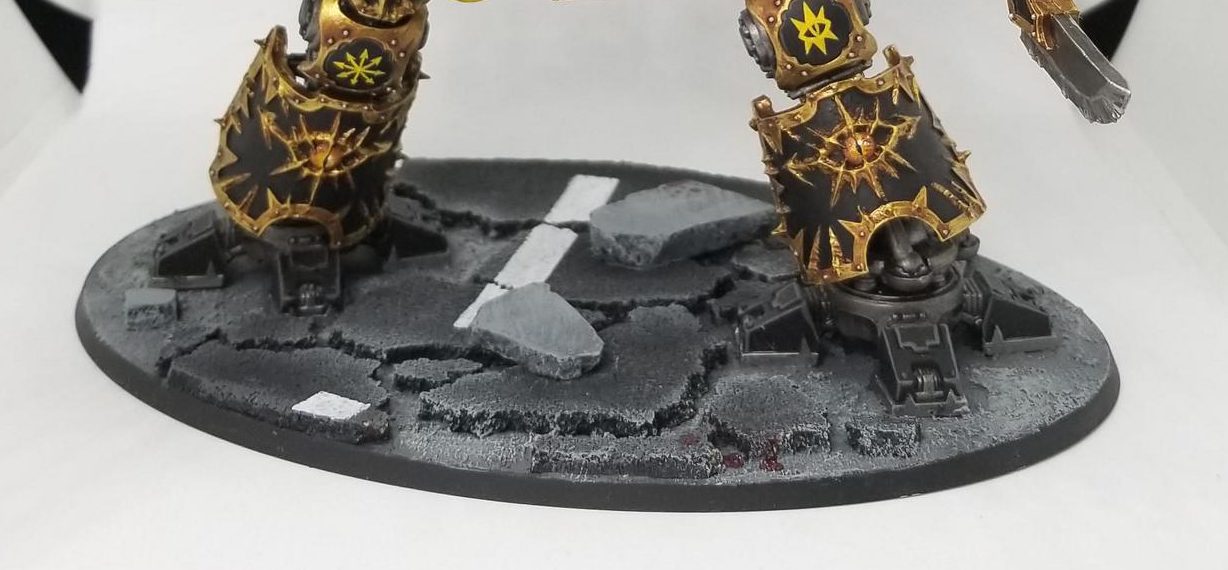
Roads are an integral part of the urban environment and great for showing scale. On some of my larger bases, particularly Chaos Knights, I add torn-up roads to both create more of an urban feel and also give the model a sense of scale.
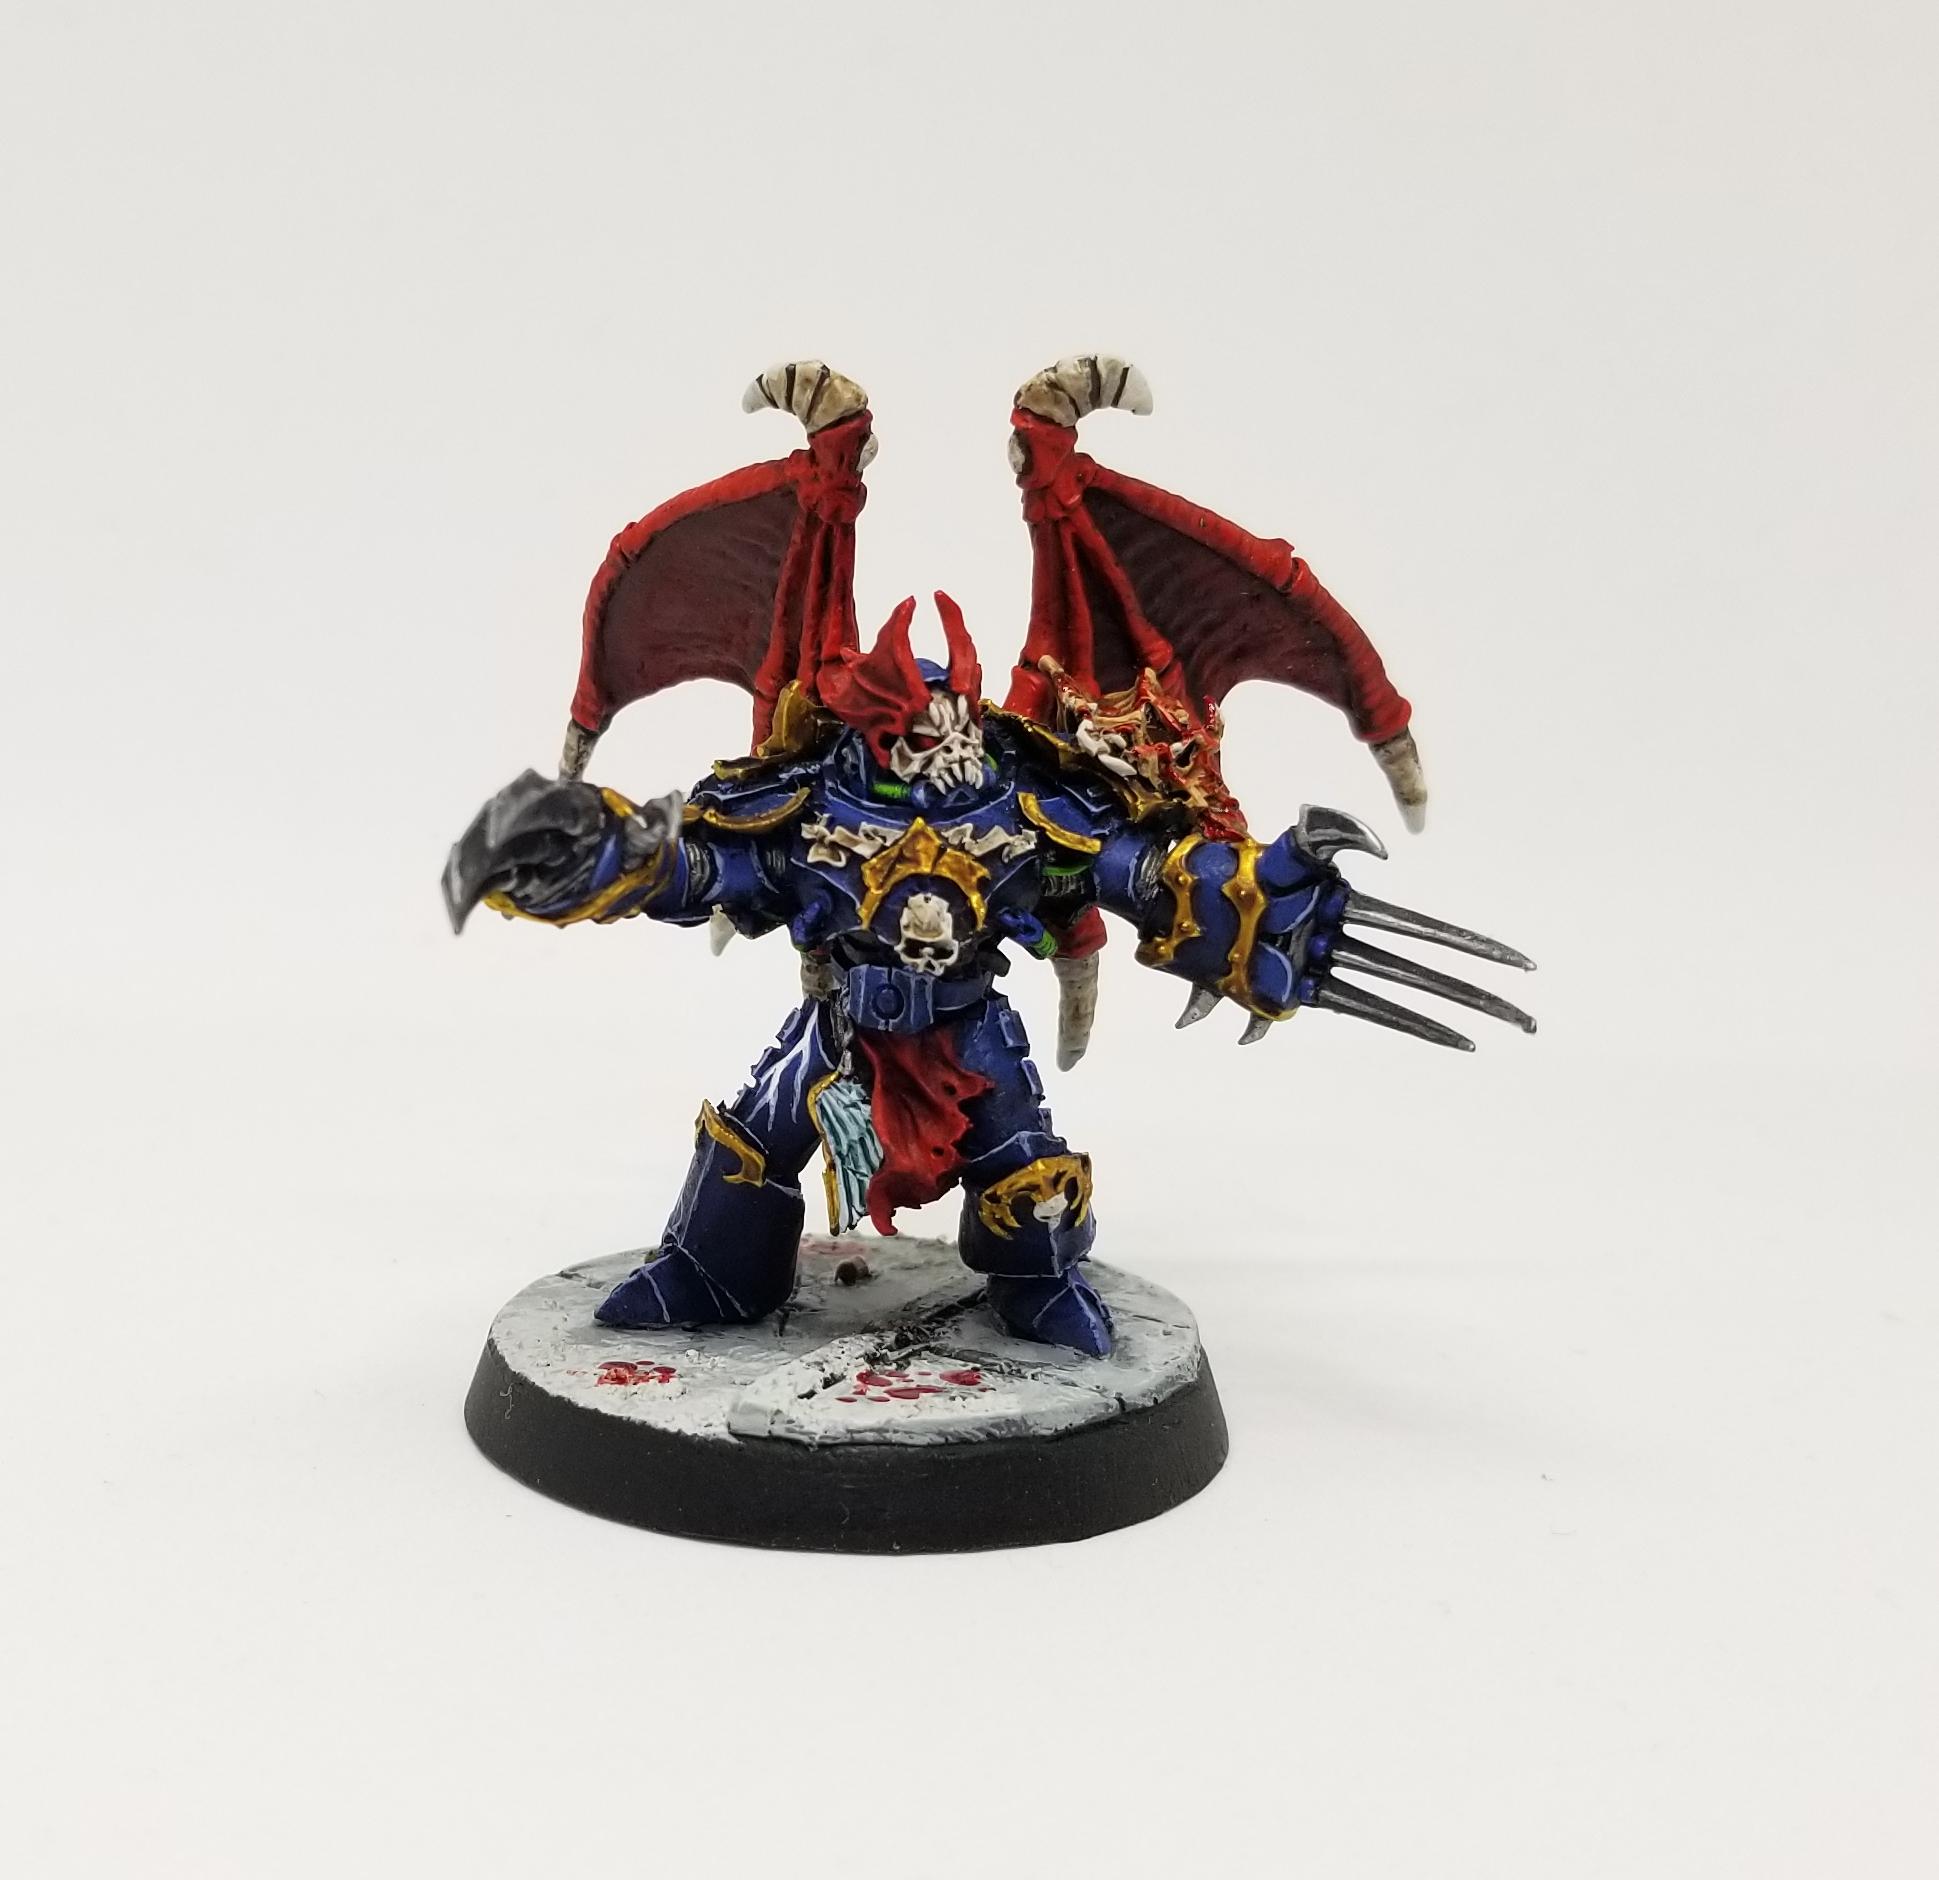
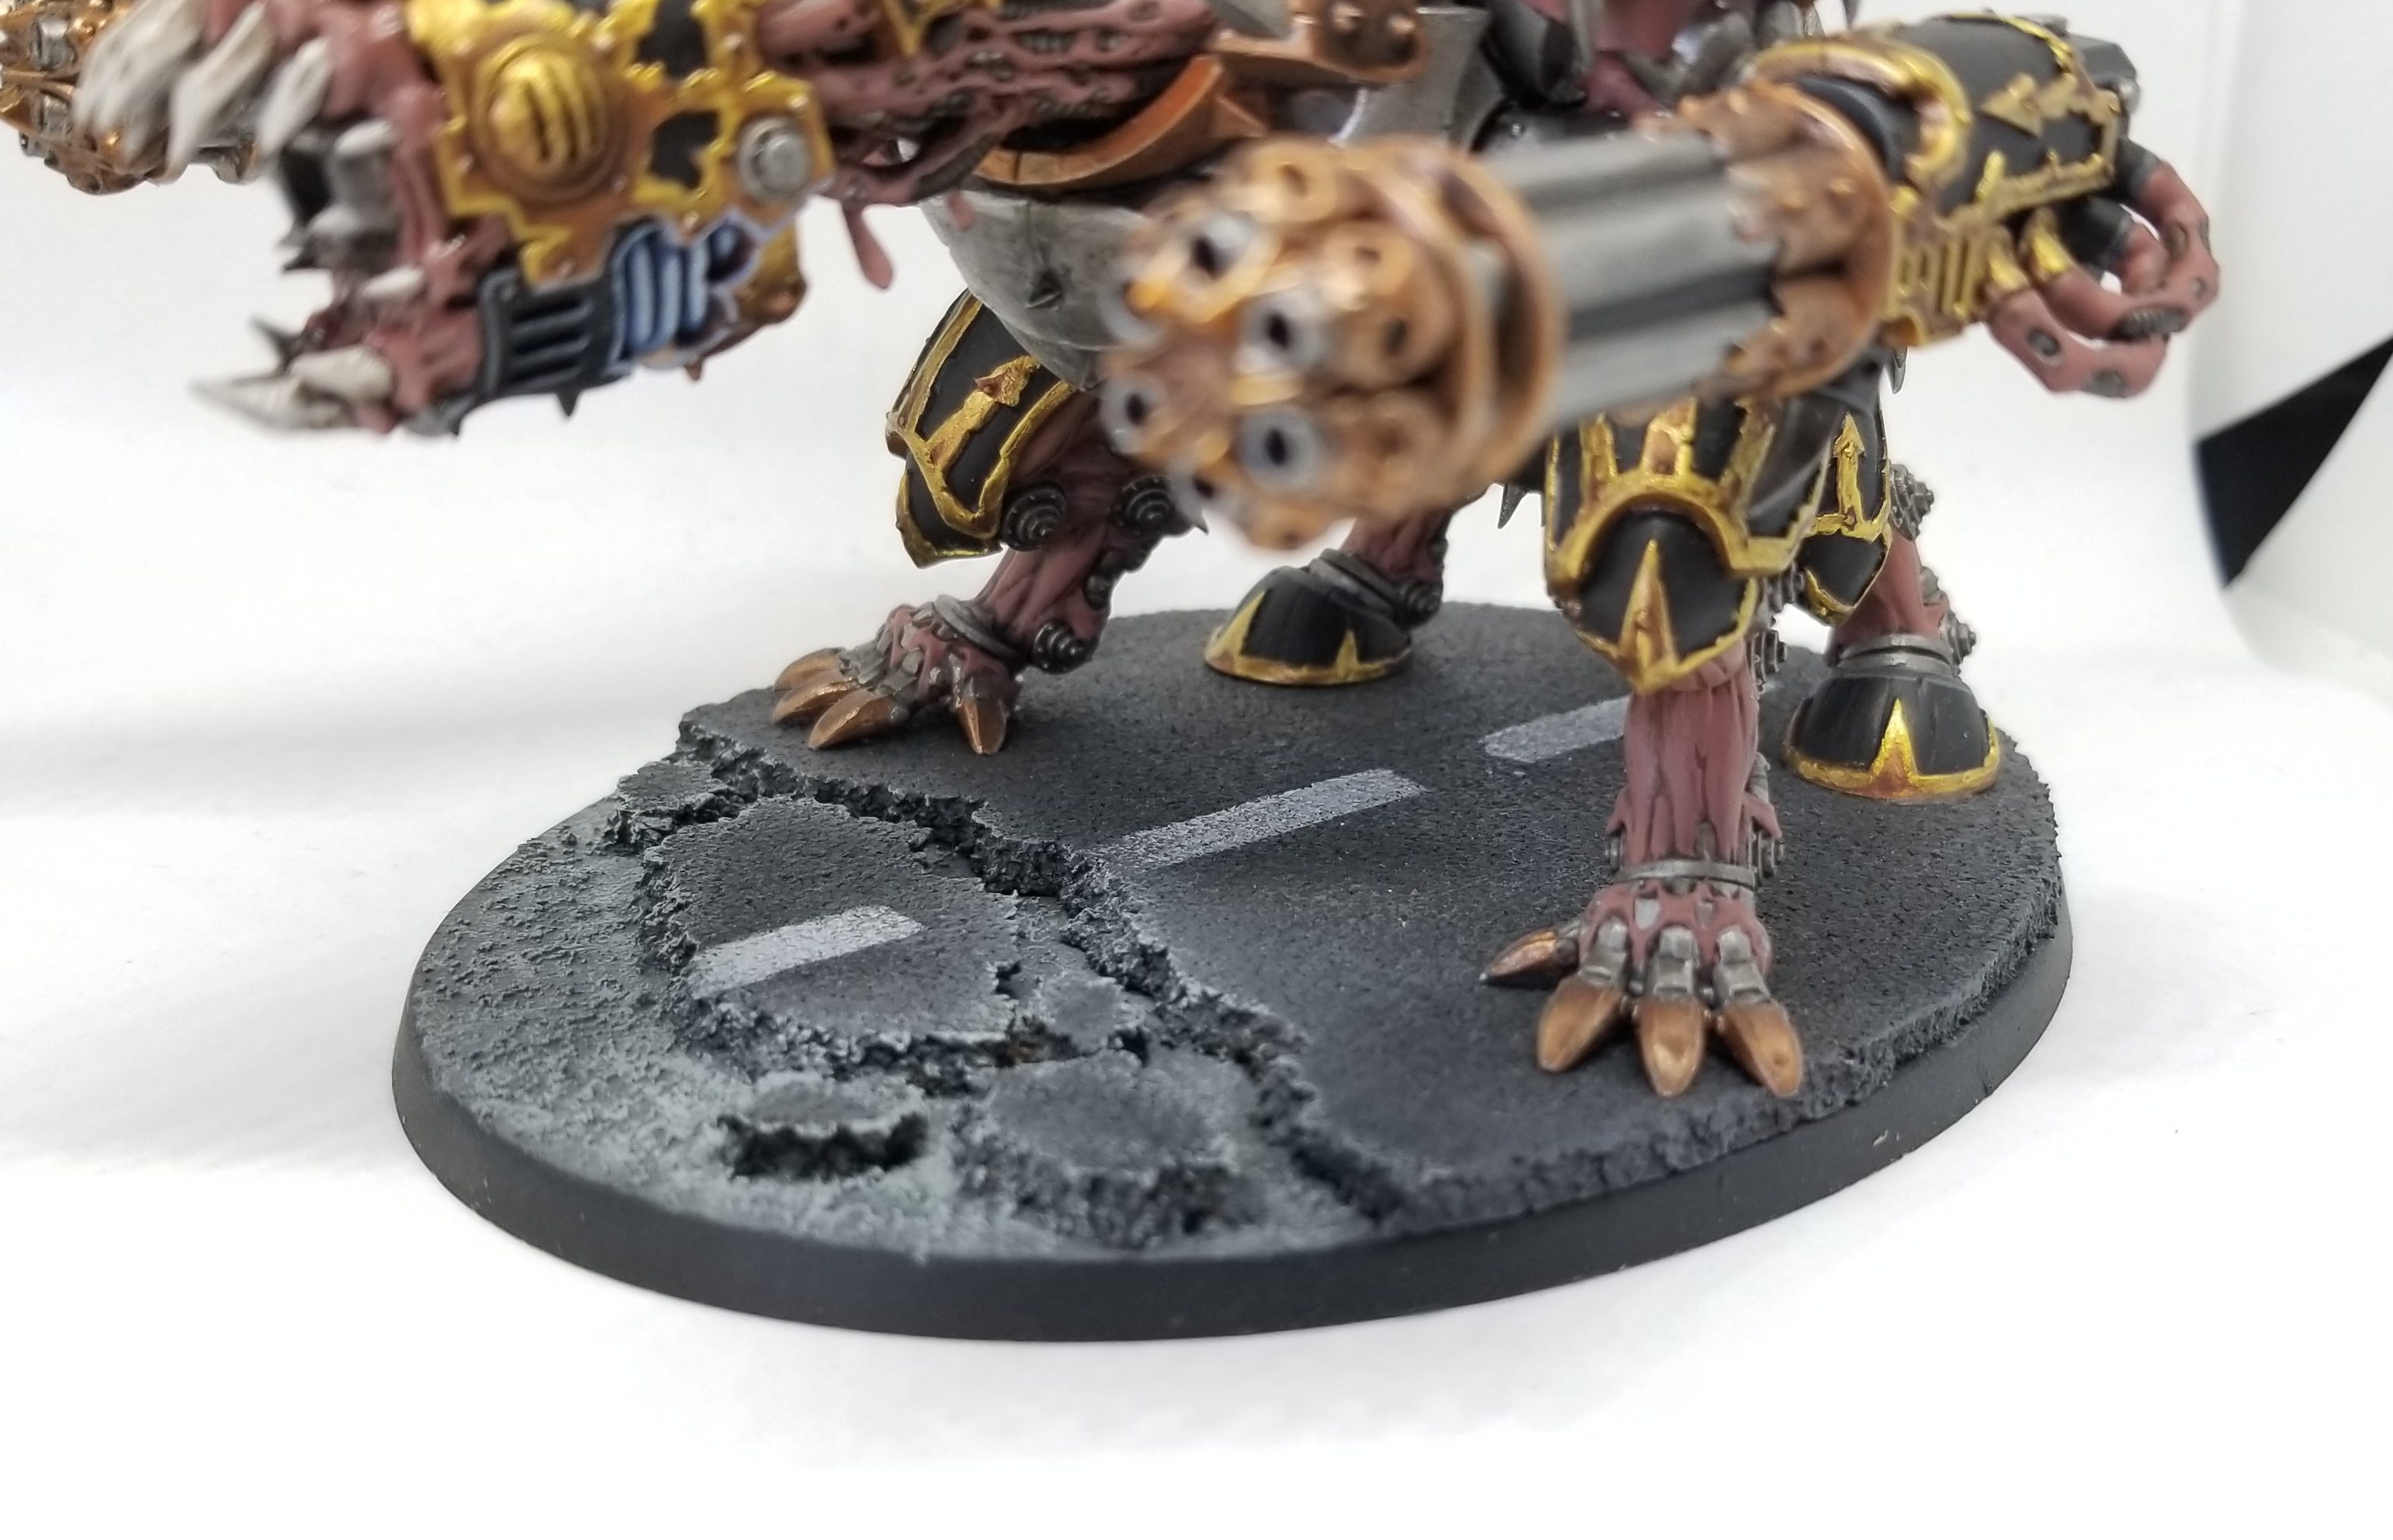
When I create these, I typically use a sheet of cork for this – 1/8″ or 1/4″ will do for this. I start by planning the largest pieces I want and cutting them to fit the rounded edge of the base. I tear the edges and glue them using PVA glue to create a series of cracked, broken pieces. You can see this on the base I built for my Knight Despoiler, below.
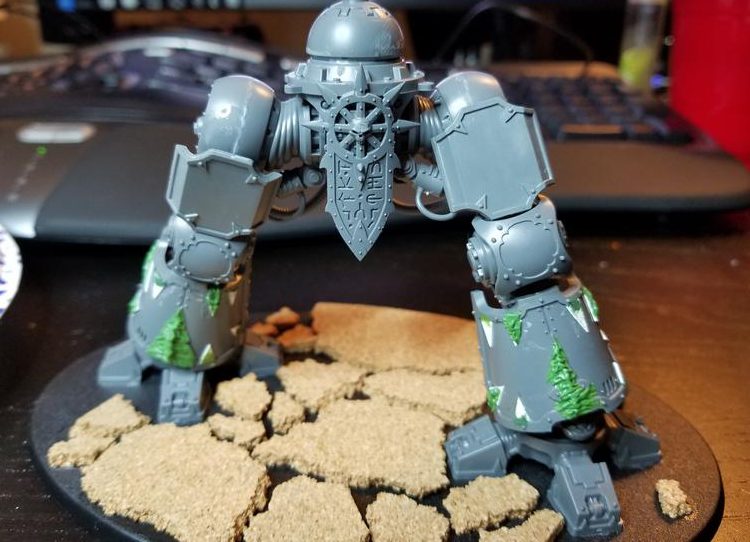
Once I’ve got that in place, I prime it and add Astorgranite around it and in the cracks in-between. I may also add mud or tufts of grass to those spots, depending on the effect I’m going for. When I paint the roads, I paint them Abaddon Black, usually covering the pieces of the cork that didn’t catch paint. Then I paint white stripes using Reaper Pure White and then drybrush the edges using Mechanicus Standard Grey and Celestra Grey.
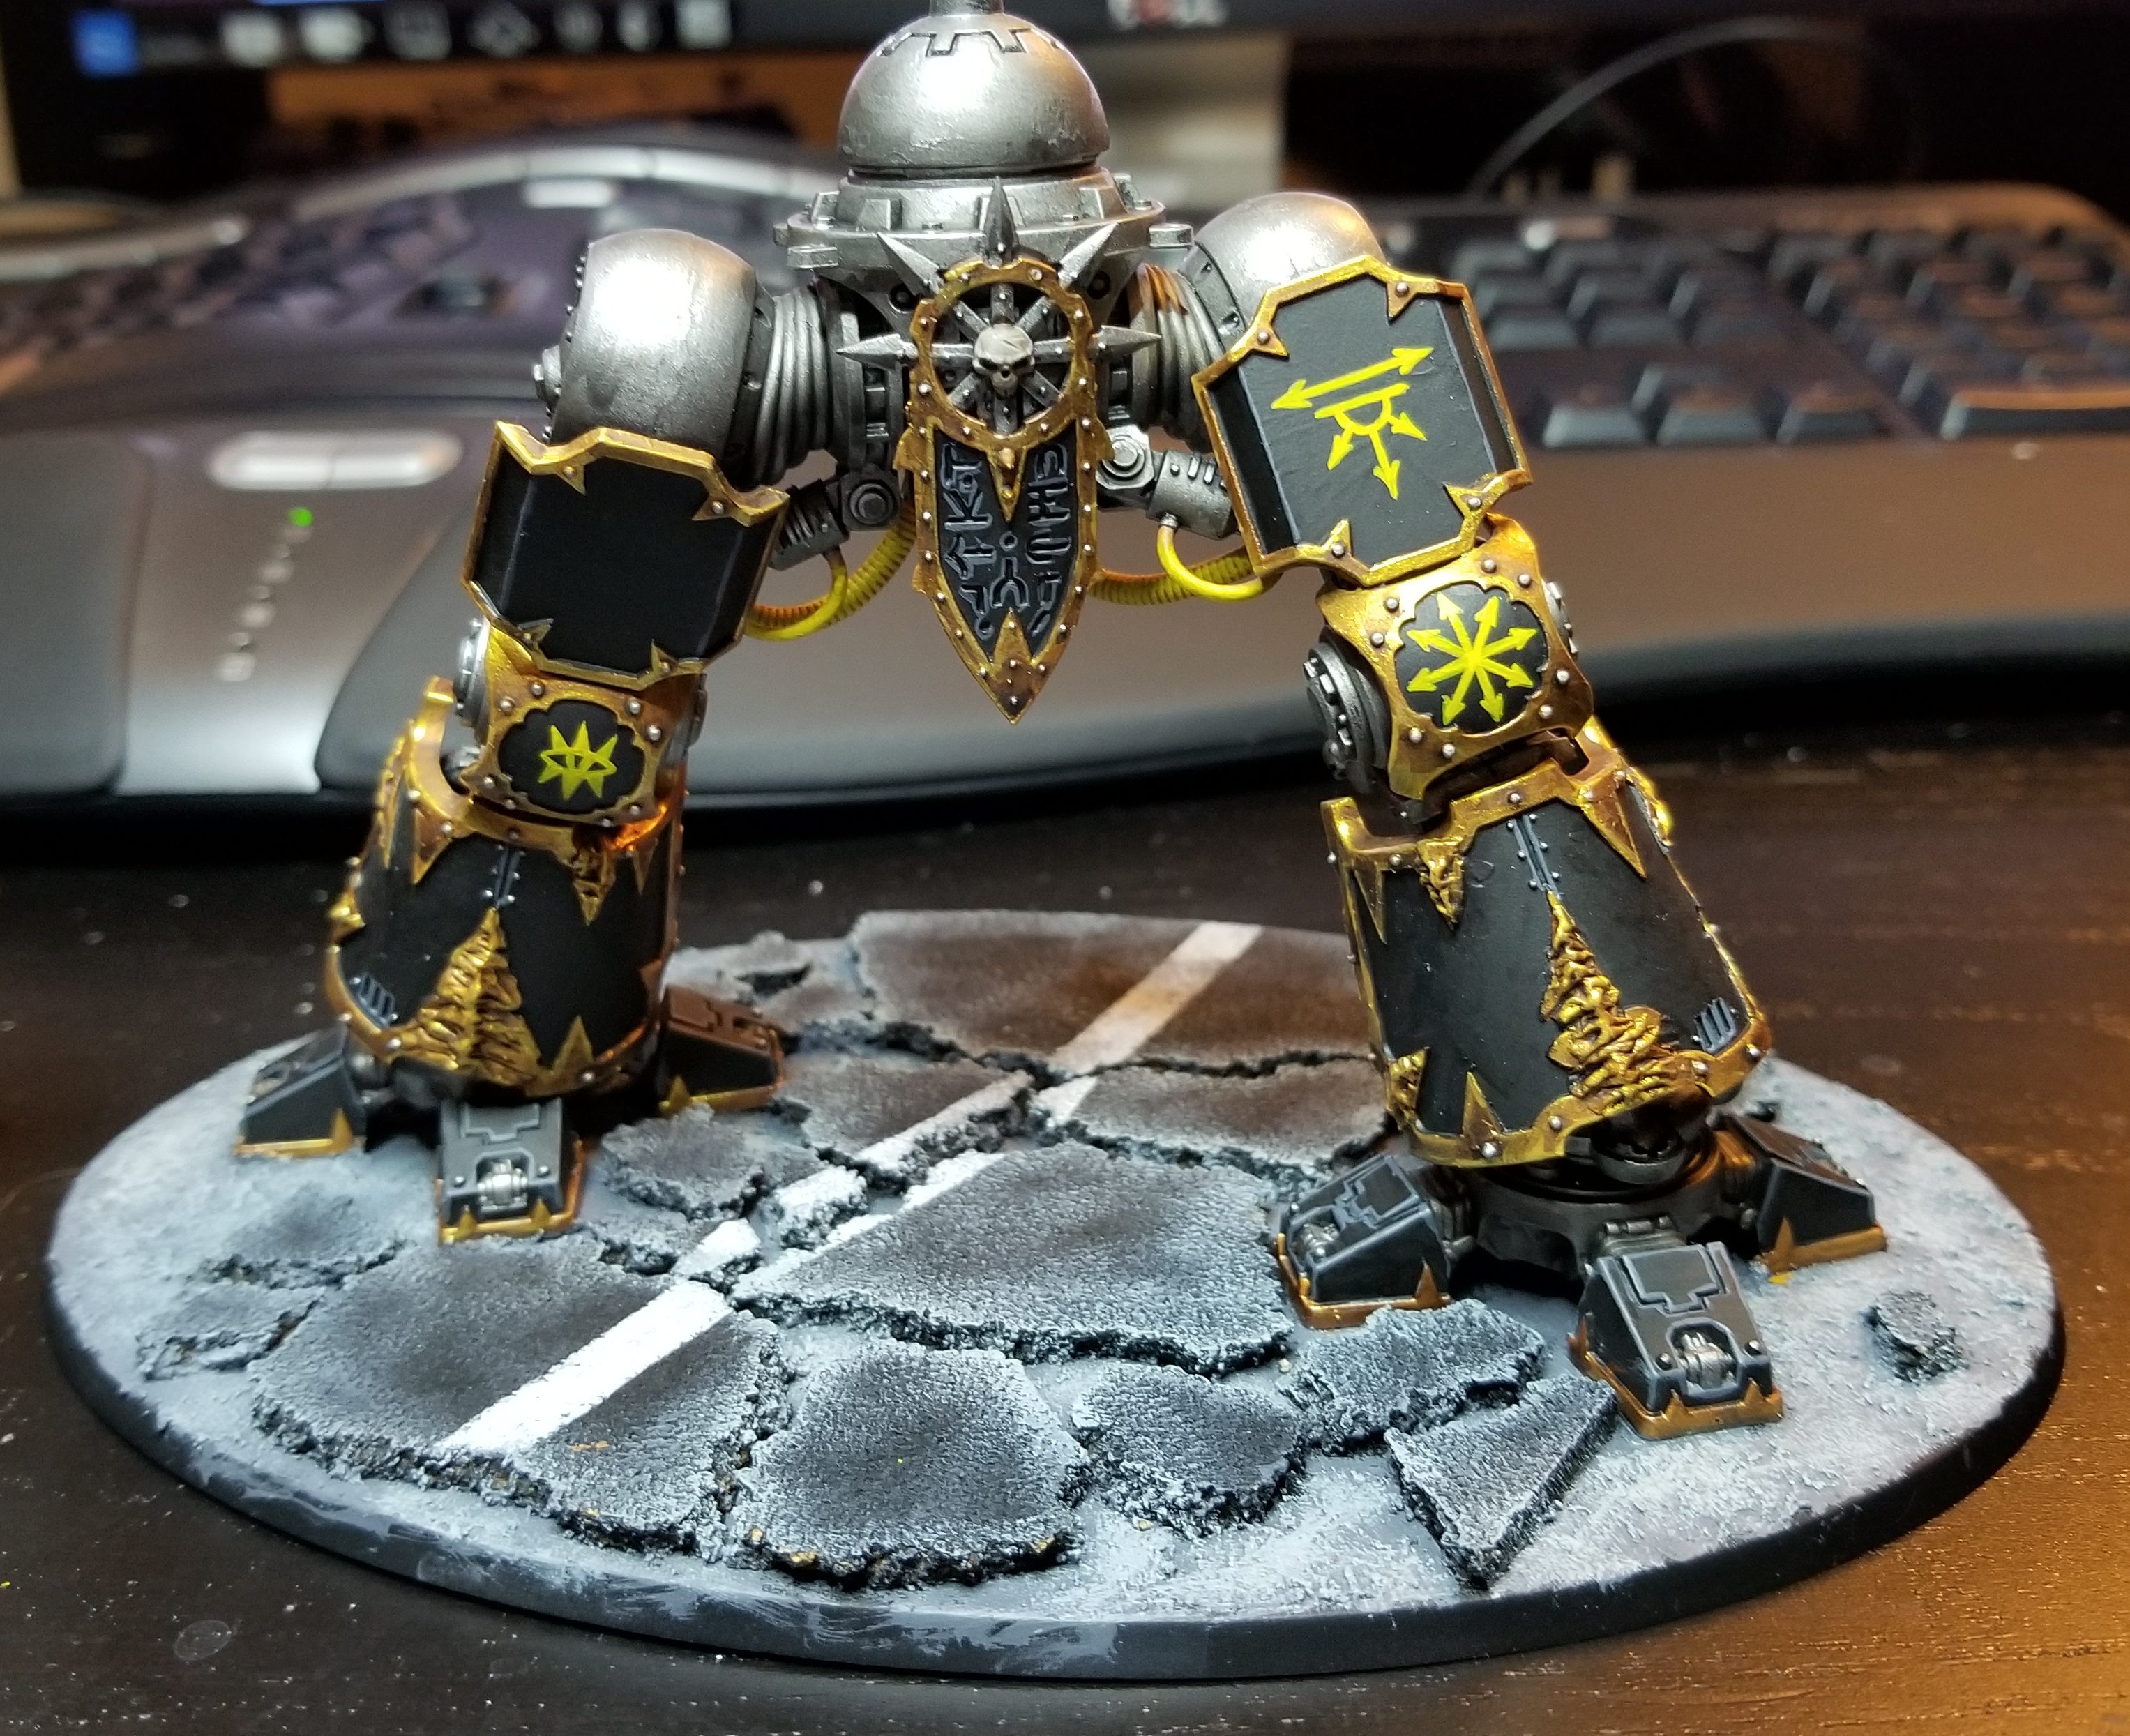
The end result is pretty easy to achieve, and can be varied up using different layouts or stripe patterns. You can also easily add more variety to these by adding more flourishes like skulls, rocks and rubble, and other urban debris. I’ve got a few extra examples below that show how you can vary the layout and add-ons.
Credit: Robert “TheChirurgeon” Jones
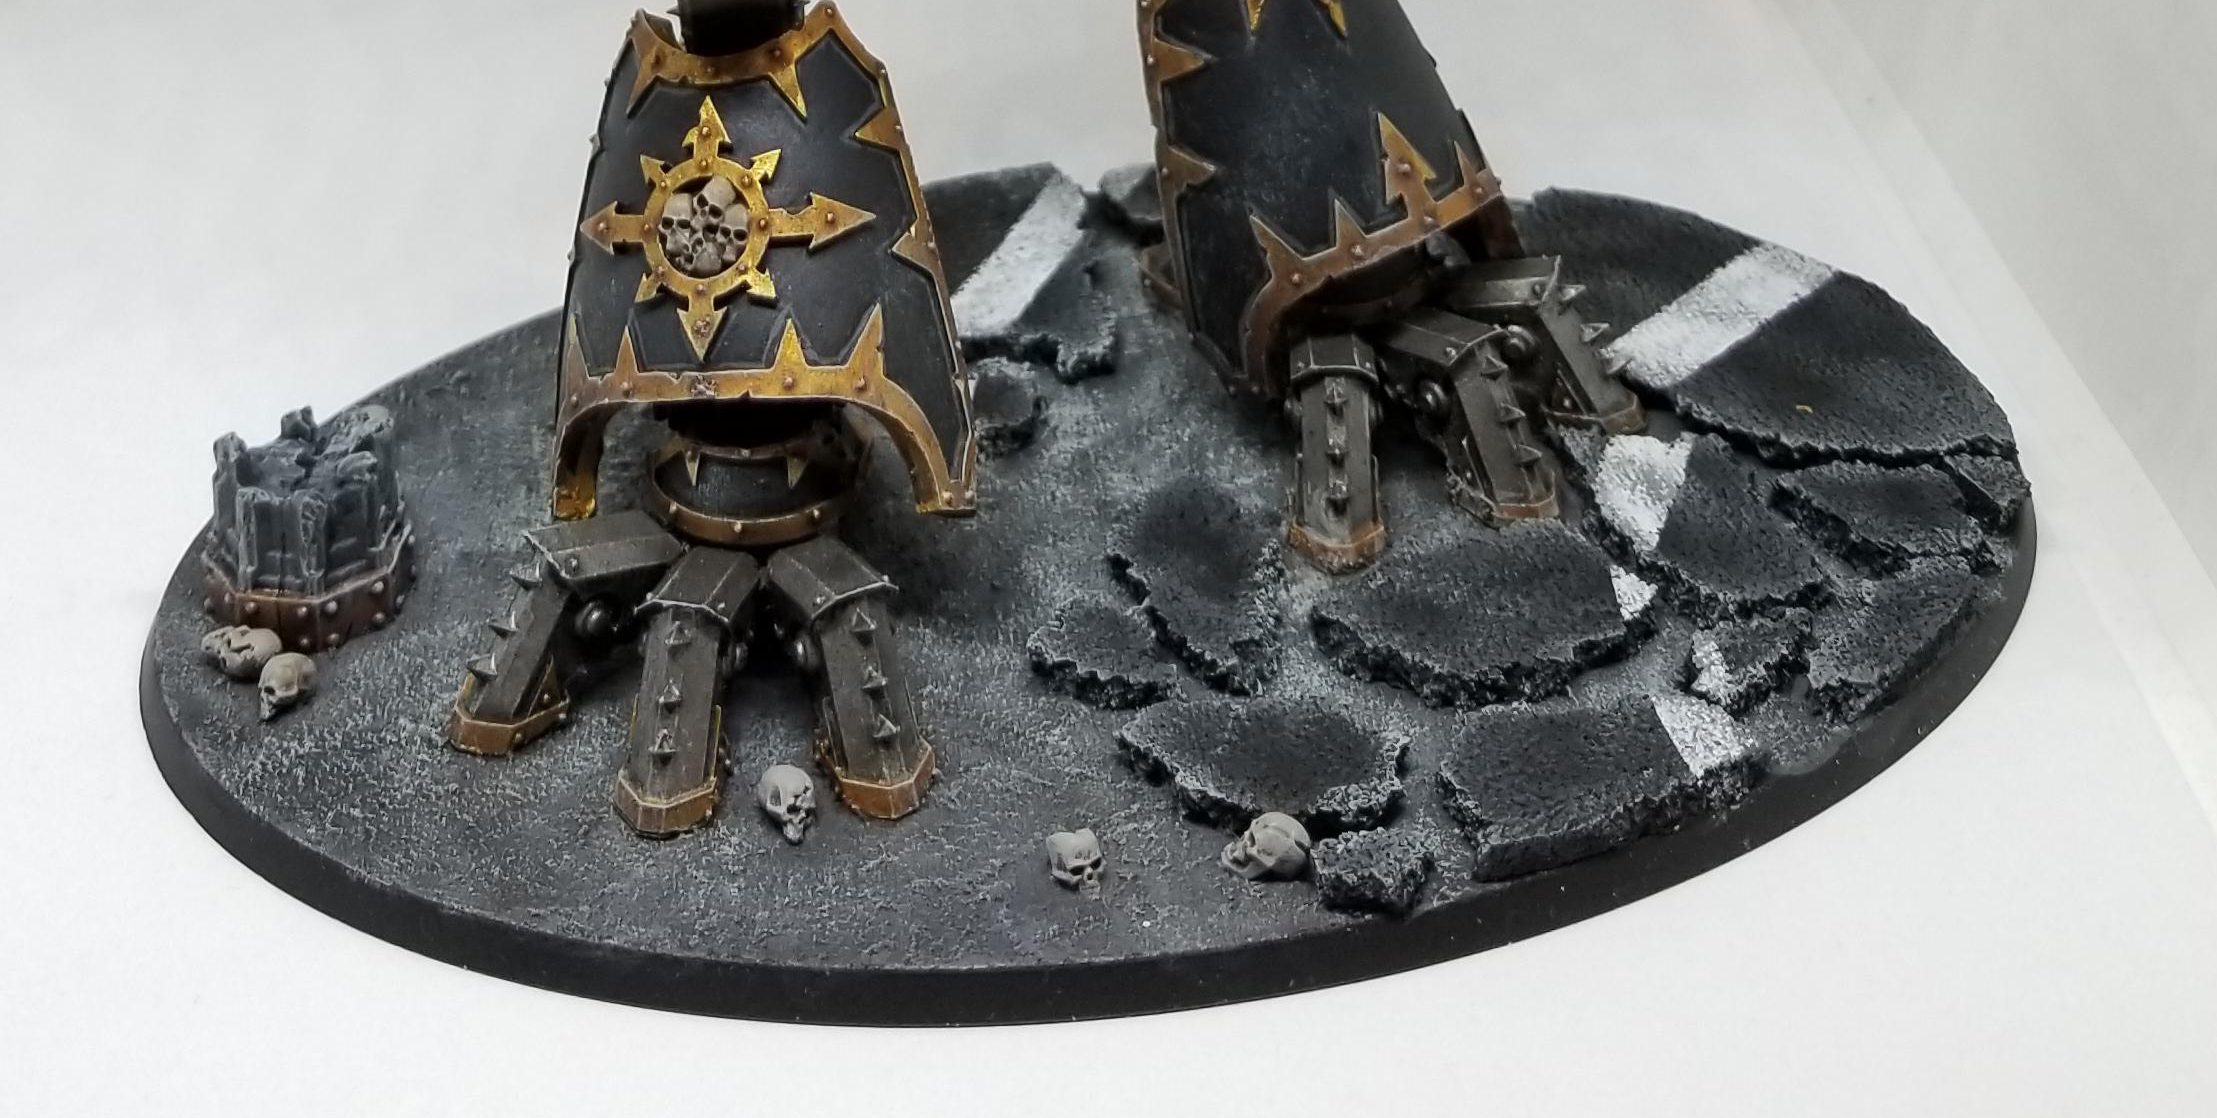
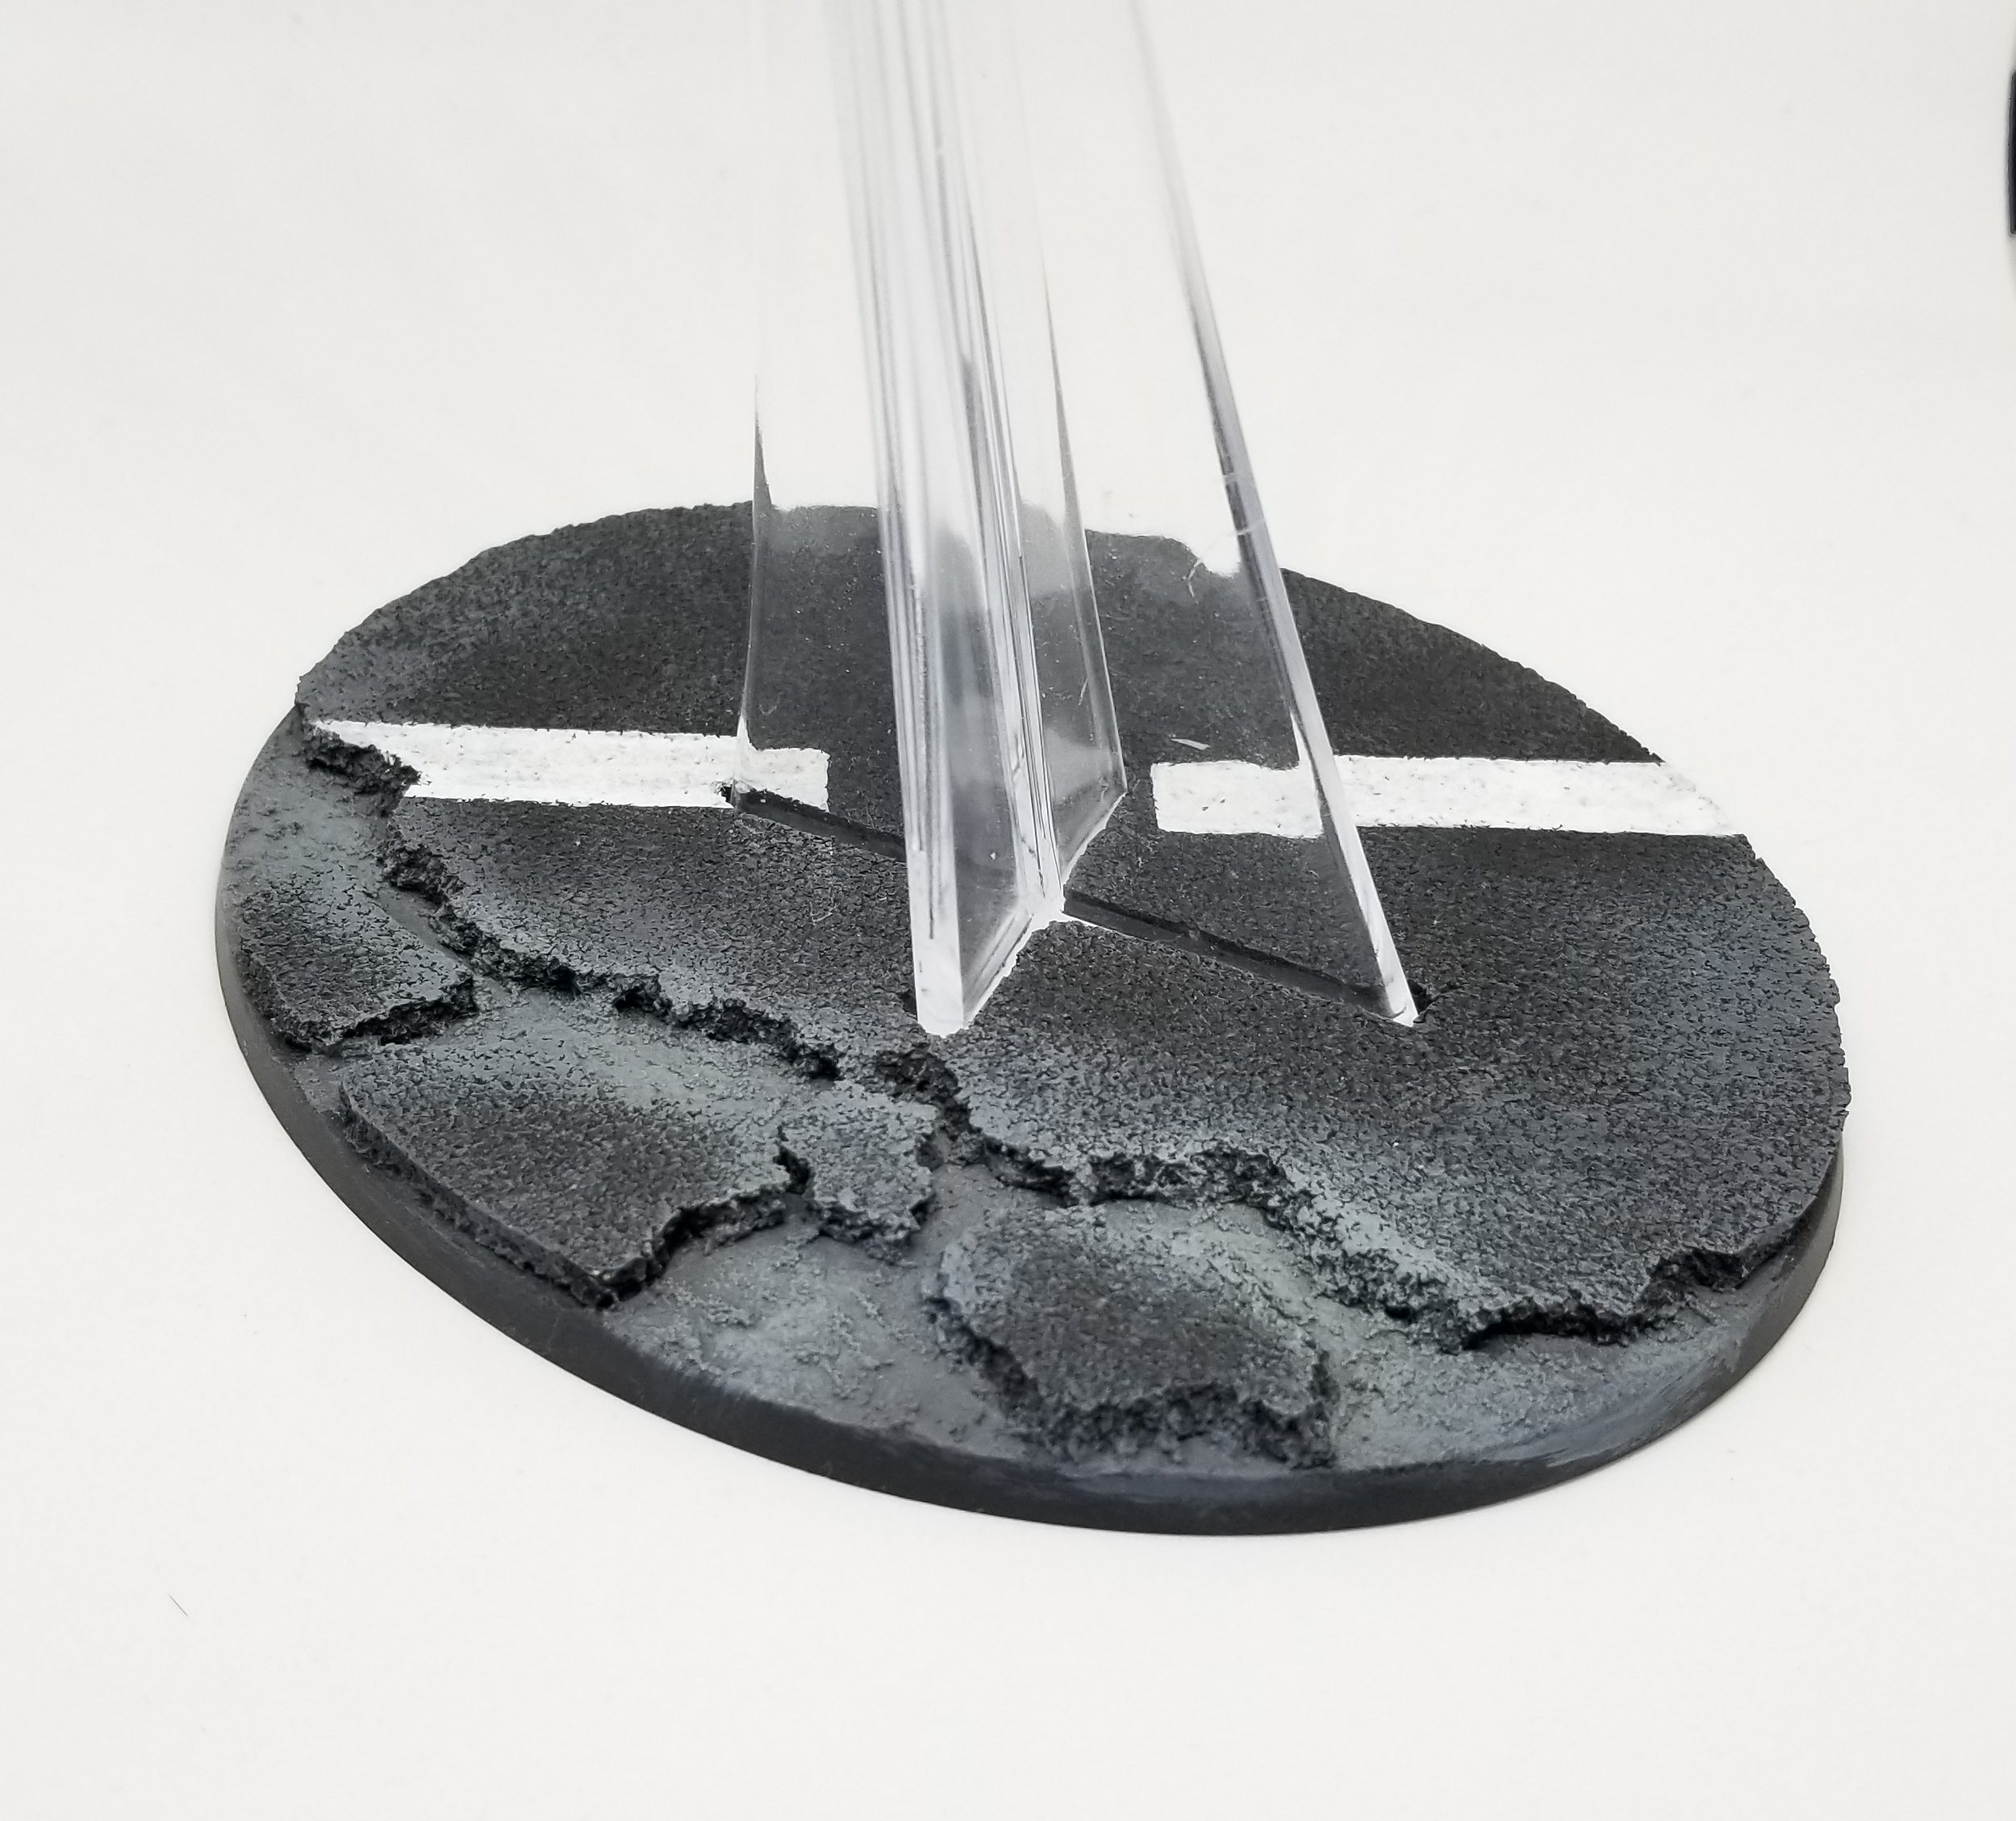
This is also pretty easy to do for flying bases too. On those what I do is I cut a hole for the flying stand beforehand — just place the stand on the cork sheet and trace out the cross shape with a pencil, then cut it out with a hobby knife. Then I paint the thing as normal and glue the stand into the hole.
Adding Graffiti
If you’re doing walls and pieces of rubble on your urban bases, one way to add realism, color, and detail them is to add graffiti to them. I covered the technique behind painting graffiti in a prior Narrative Forge, so if you want to read more about tagging up your terrain, go ahead and click here.
Andreas “Pand” Hees’ Method
For starters I want you to look up the opening for Terminator 1 and 2.
That’s the kind of look I was (subconsciously perhaps) going for. And is what urban warfare might look like in the 41st millennium. A forever war nightmare of concrete, steel and skulls.
Can’t forget the skulls.
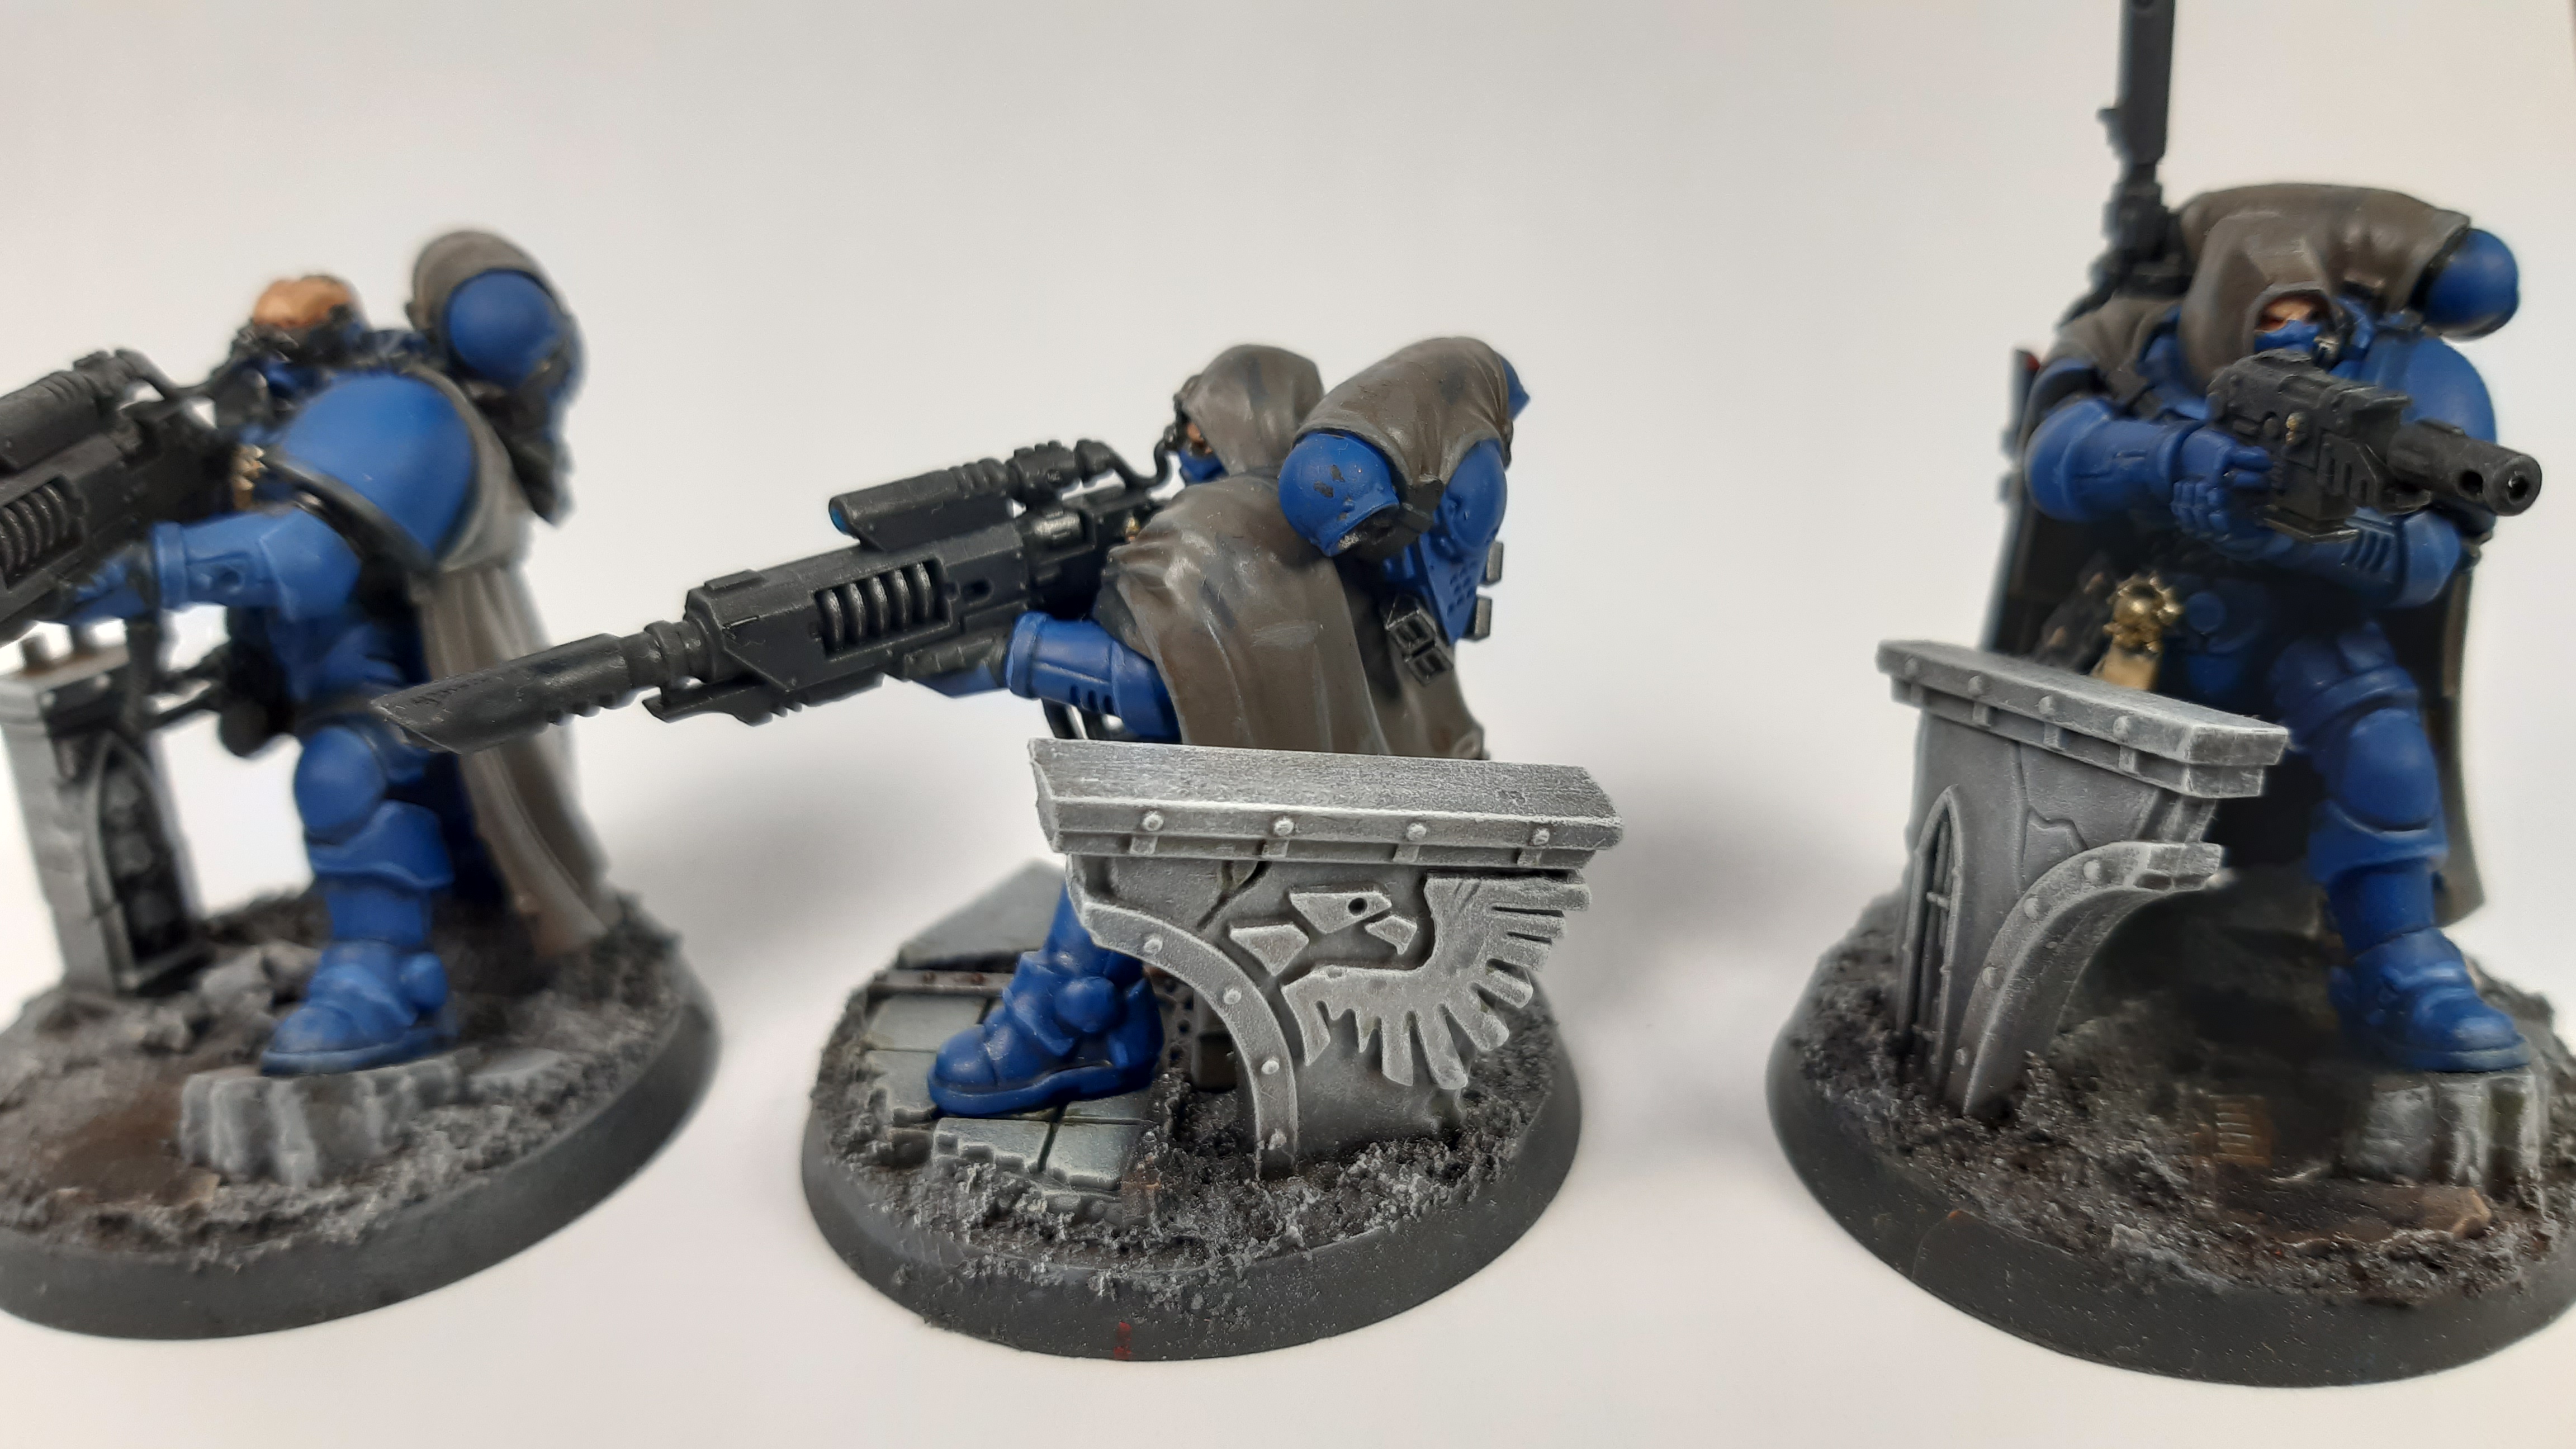
First up, I use “Vallejo rough grey pumice” with some sculpting tools to form the groundwork. It’s a nice compromise between the ready made (but expensive) Astrograniteand the DIY of the filler with sand and paint method.
Next, while the pumice is still wet it’s time to put down some rubble, concrete, skulls etc.
All kinds of variation are possible here but be mindful how your mini goes on the base in the end. I often do the basing last and and do it around the mini. While this approach is slower because you have to carefully spread the paste around the models feet you can more easily create the “scene” around it.
Of course if you want to put down a larger slab of concrete you’ll have to glue it on after the fact.
I base the whole thing in Mechanicus Standard Grey, then wash it unevenly with Agrax Earthshade. From there i heavily drybrush on Dawnstone and then lightly with Terminatus Stone.
From there pick out the larger rubble and stones and stipple on some Vallejo Model Colour Ivory to make them stand our from the rest of the rubble.
Use an old brush and don’t be shy with it you can always knock it down with washes.
And do that same with a pure white towards the top of any structures and larger stones.
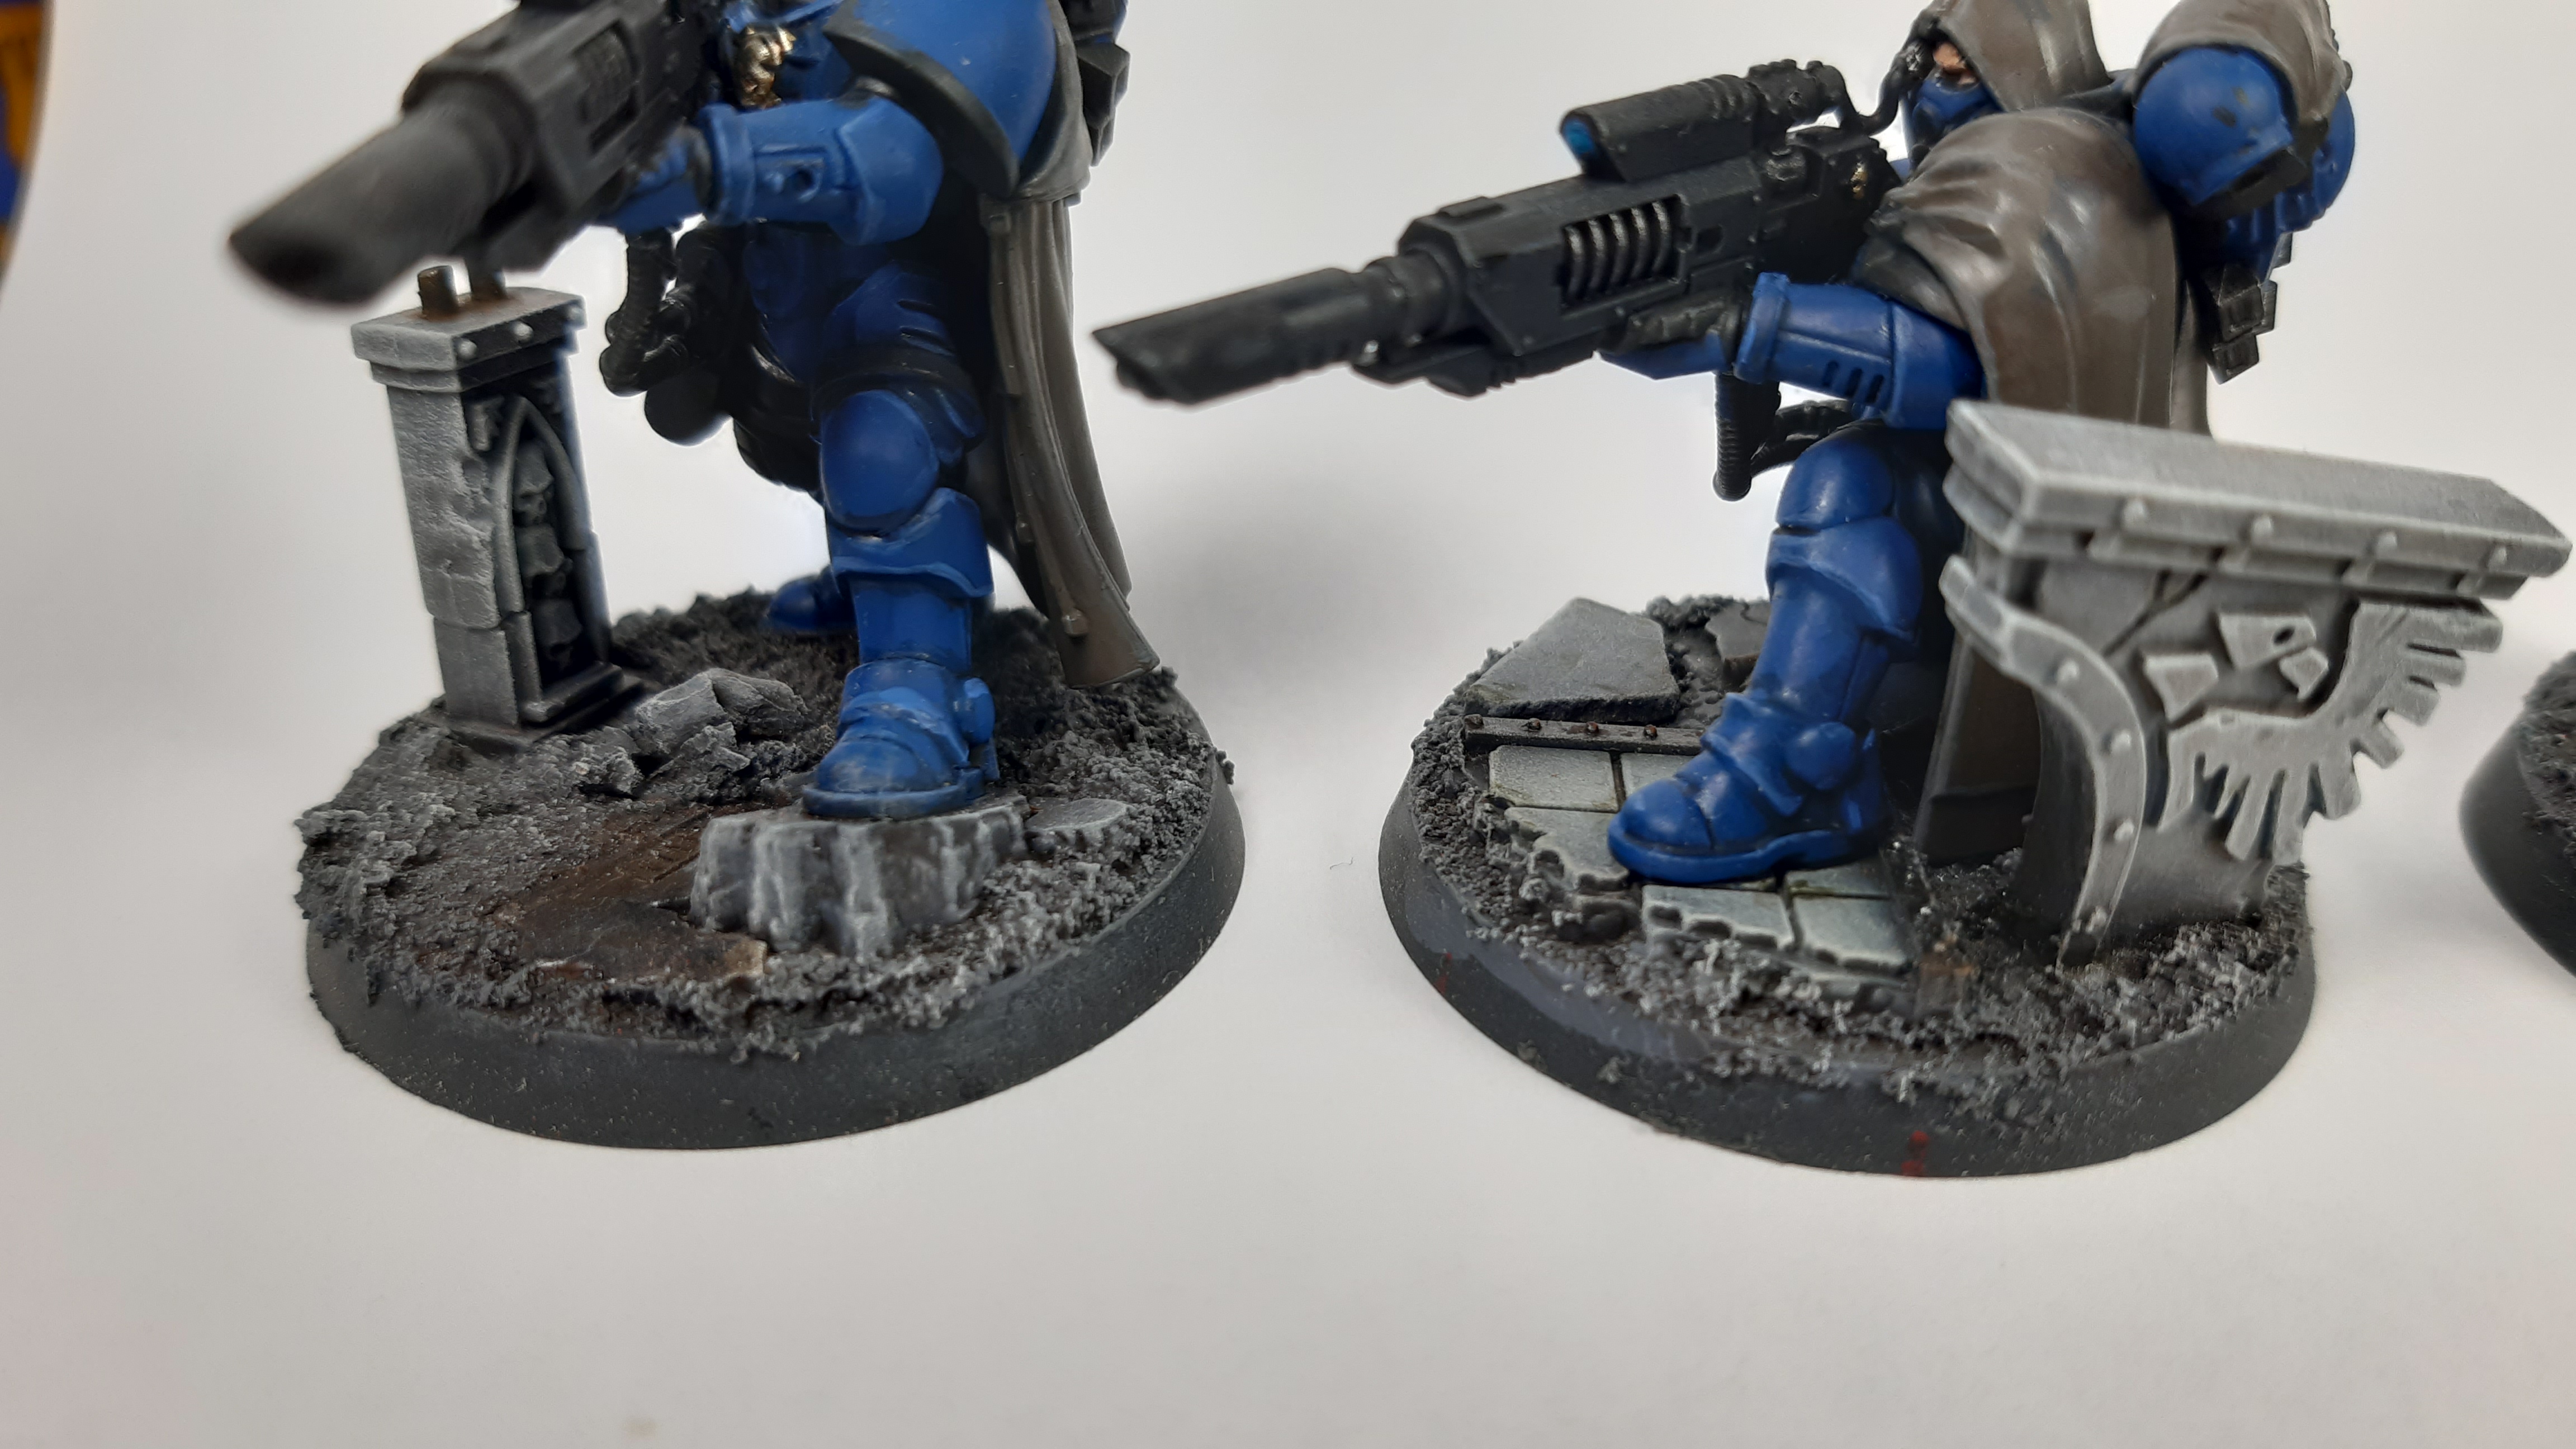
Now at this point your are mostly good to go for the most part. If you want to you can start working in more grime and dirt on to your stones by washing halfway up some of them with Seraphim Sepia. You can use Athonian Camoshade for moss growth. Nuln Oil for bullet holes and cracks etc. Just be random in application so it won’t look too even. Then reapply some of the dry brushed colours to rebuild some of that grime.
To finish it up paint any metal parts like rebar and weather them with rust and grime.
Personally I didn’t add grass tufts just to underscore the bleakness of the battlefield. But you certainly could add some here and there for variance.
From there you can start getting real fancy. Puddles of toxic liquids with paint and clear acrylic. Adding barbed wire etc. But for the most part you should have a decent base, that’s easy to paint up and can really make your minis stand out.
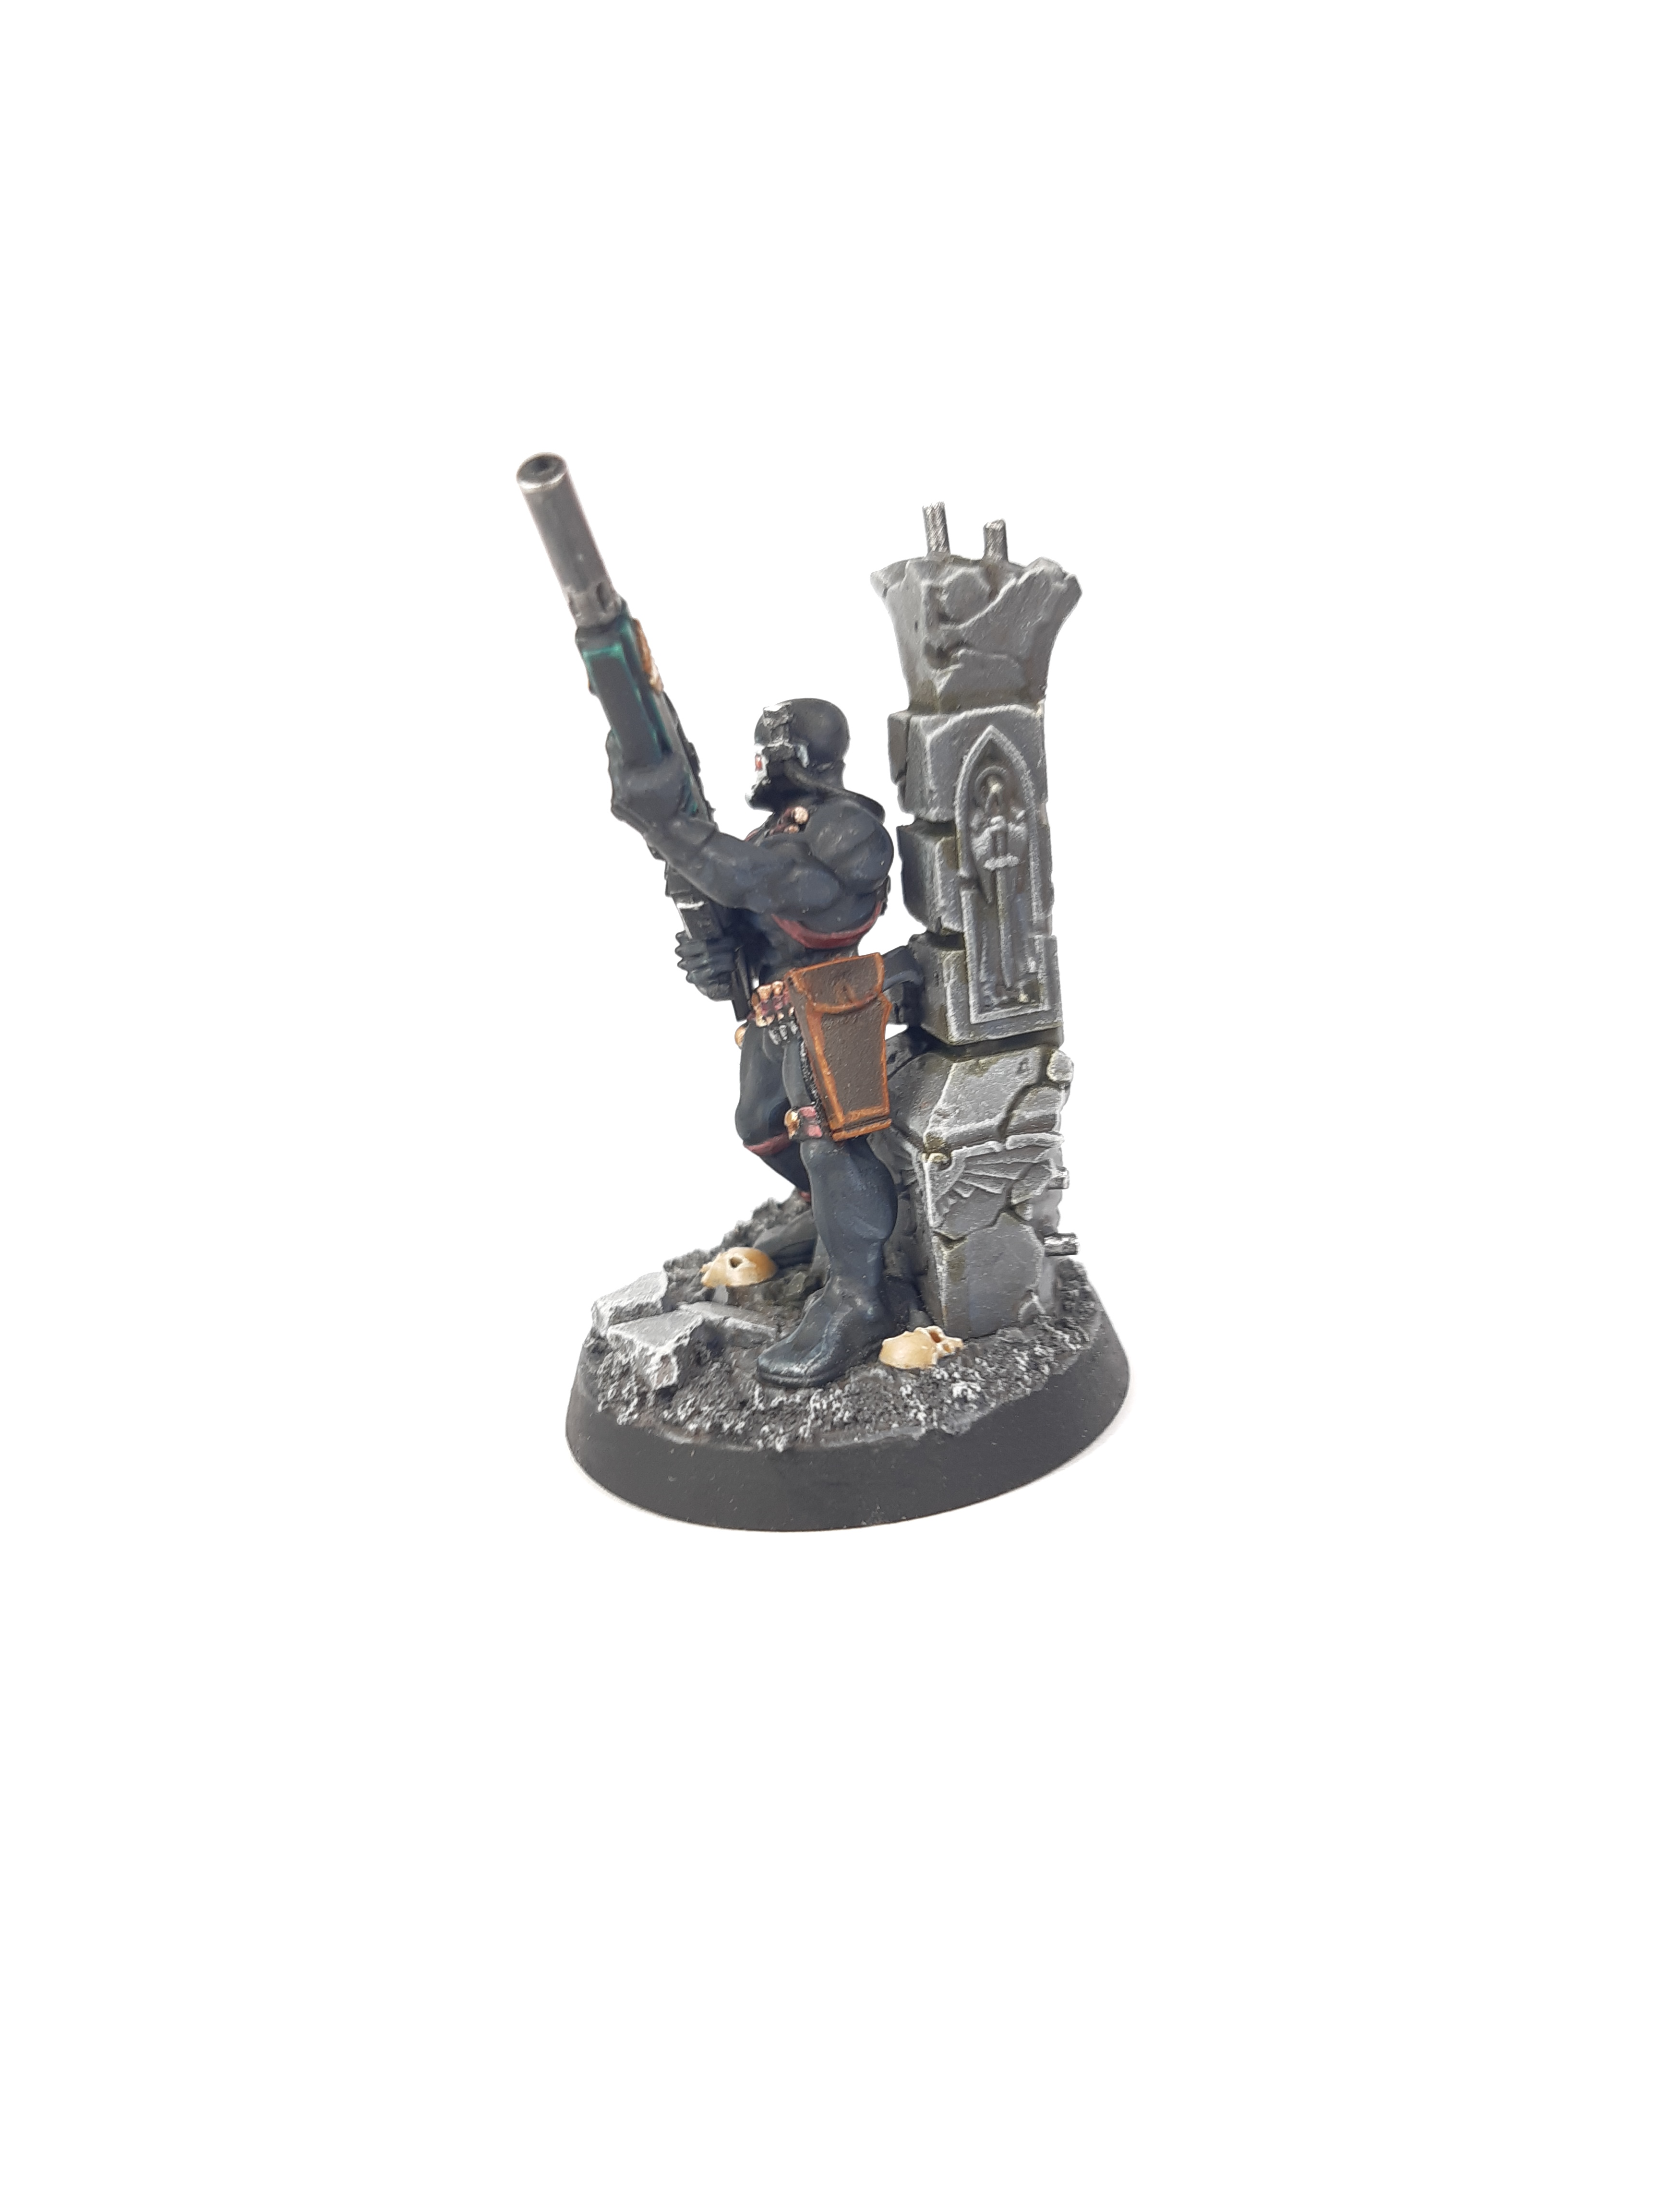
Jack Hunter’s Method
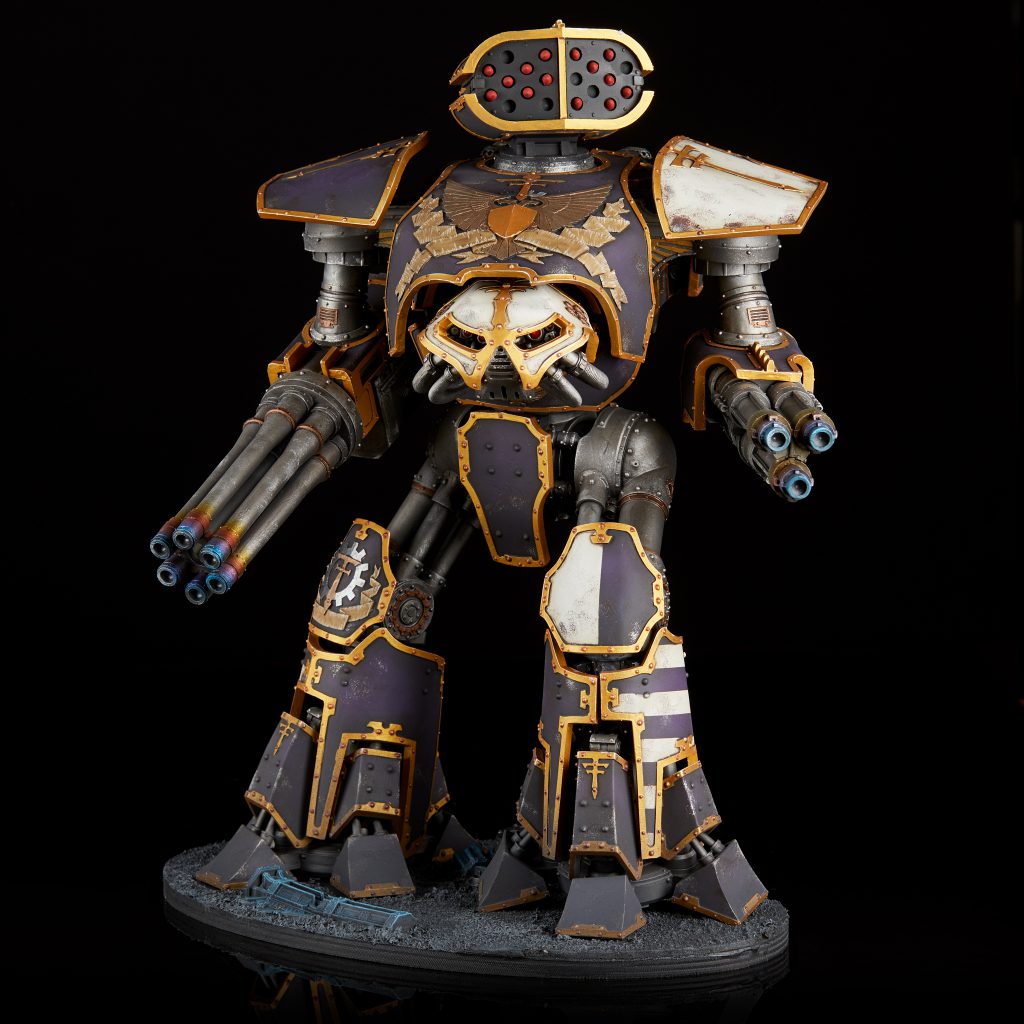
My basing method is pretty straightforward. The vast majority of my armies are just based on resin bases. I buy from a wide variety of manufacturers, which I find helps keep my army from looking overly repetitive. One of the biggest issues with resin is that each manufacturer likely only has 5-10 distinct sculpts for 32mm bases, with even fewer for larger bases, and they often aren’t quite generic enough to not have repeats stand out. Mixing manufacturers, a little bit of carving, and a little bit of texture paint goes a long way to providing variety. I paint nearly all my bases following the same rough method, though not always with the exact same paints – black primer then quick drybrushes of dark and medium grey. As with using different bases and modifying them slightly, the variation in painting the bases helps with realism.
After I’ve painted the bases up I want to make sure my models tie into the bases nicely. Personally, I find that even if I spend some time adding chipping to my models they just don’t look quite right without some extra work to the feet. For that, after I’ve finished everything and done the final varnish, I grab my pigments and go to town on the feet. Personally I use pigments from Secret Weapon Miniatures, but they’re available almost anywhere. My boots are a mix of Exhaust Black, Ash Grey, and Slate grey, giving me some color variation to match with the bases.
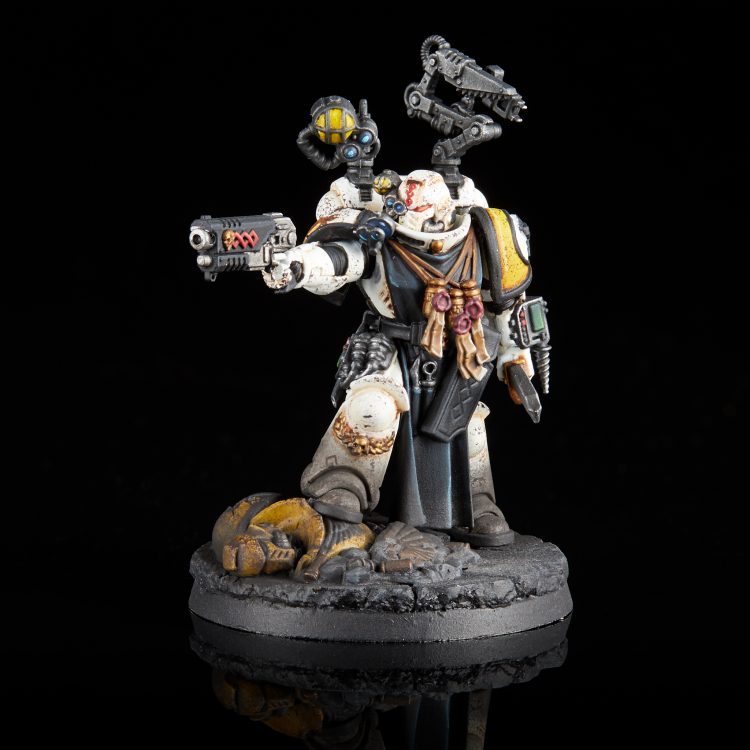
The next step up that I’ve been taking with my bases is to specifically match them to my terrain set. I’ve decided to paint most of my buildings in a simple blue/green drybrush based on a few different mixes of GW Incubi Darkness and Scale75 White Sands (or any other warm off-white). With that in mind, anything on my bases that looks like it would be building rubble gets painted up the same way, and I save the neutral blacks and greys for anything that looks more like asphalt or concrete.
These bases look fantastic when I get to play on my own terrain, and even when I’m not using it the matching color splashes across the army ties everything together nicely.
Fighting Block to Block
Hopefully by now you’ve gotten some ideas about how you can do your own urban-themed bases, and are already planning out how you’ll do your army. As always, if you have any questions, comments, or feedback, or just want to share some sweet pictures of your own models with urban bases, shoot us a note in the comments below or email us at contact@goonhammer.com.



You must be logged in to post a comment.