On the heels of finally completing the Disney+ show Ahsoka (I know, I’m way behind) and my enjoyment of both Marvel Crisis Protocol and Star Wars: Shatterpoint, I wanted to dip my toes into Atomic Mass Games’s Star Wars Legion, and I knew the first model I had to paint for my burgeoning Rebel force had to be Ahsoka Tano (aka Fulcrim). I knew it would be a challenge after painting the larger scale of MCP and Shatterpoint for several months, but I was very excited about the challenge.
After assembly, I primed the model with a coat of Badger Stynlrez black primer, like I do with every single model I paint. I applied this through my airbrush (1).

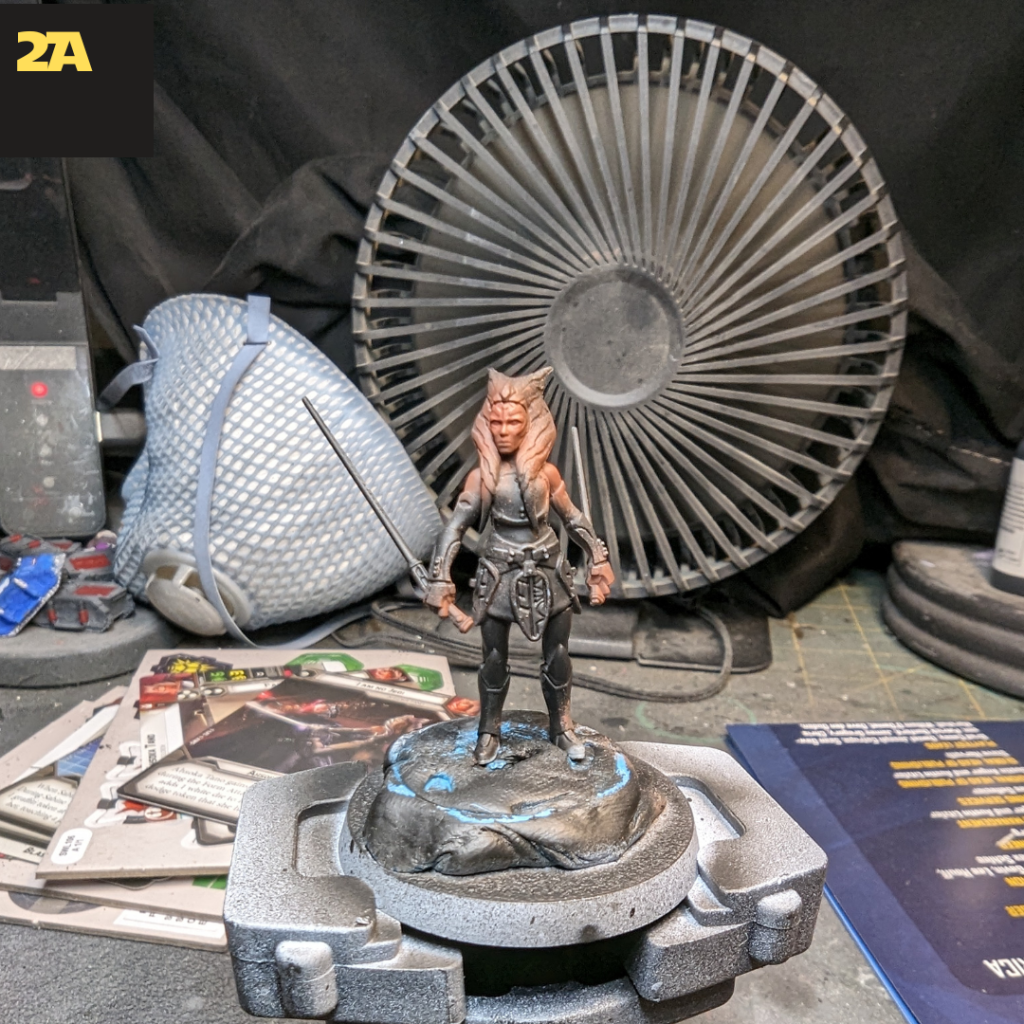
I continued using my airbrush in the next step, as I chose to work on Ahsoka’s very distinctive and eye-catching skin tone. I knew I had to get this part right, as it was such an iconic visual part of the character. The first pass I did was a layer of Games Workshop Squig Orange (2A), and I then applied a layer of Games Workshop Deathclaw Brown from above to give it a nice highlight (2B).

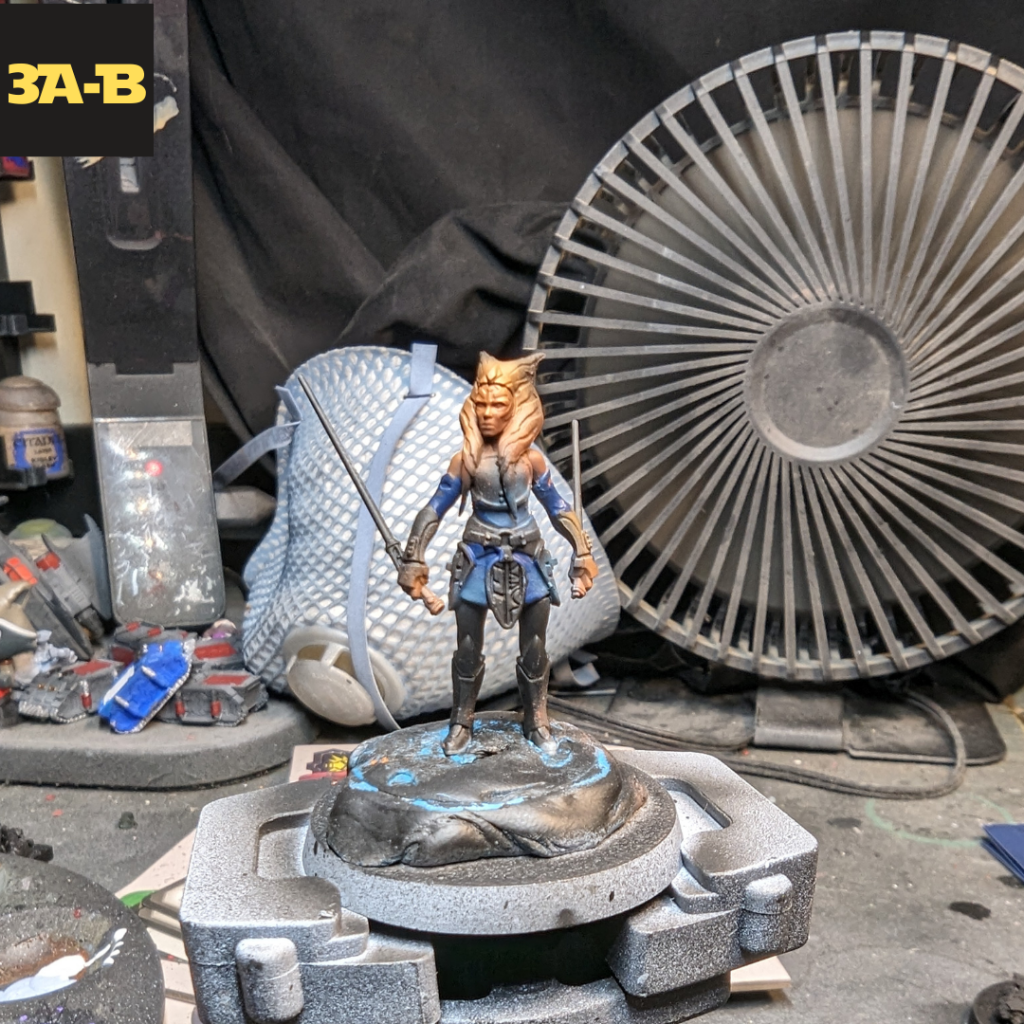
After her skin, I needed to redefine the sections of the model that had been blurred from overspray with my airbrush. I tackled the areas that had blue cloth first, using my trusty #2 Monument Hobbies Bombwick sable brush to apply Kantor Blue to those areas first (3A), and then highlighting those areas with a very selective layer of Games Workshop Thunderhawk Blue with my airbrush (3B).
Next, I covered the area with purple cloth with Vallejo Game Color Royal Purple with my paintbrush (4A), and then gave it an airbrush highlight with Vallejo Game Color Hexed Lichen (4B).

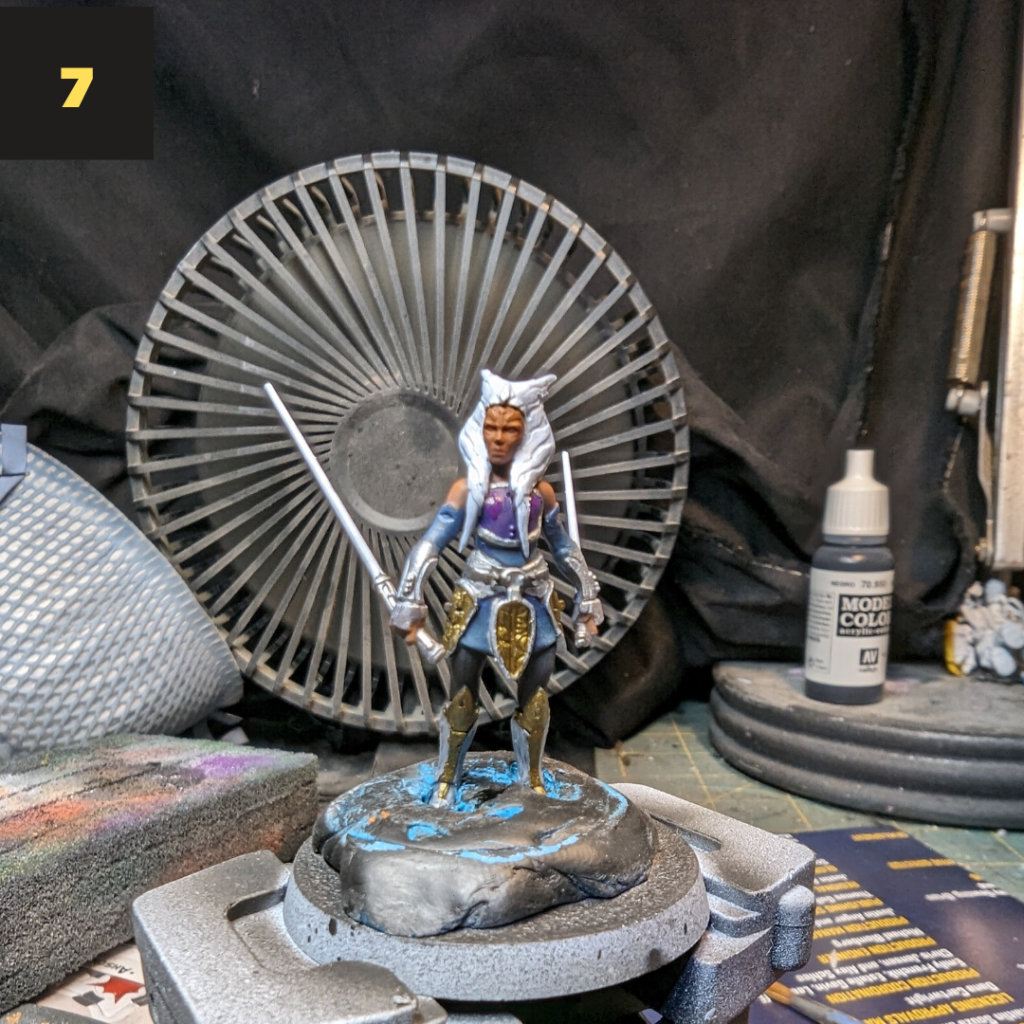
With all of the cloth complete, I turned my attention to the metallic areas. I painted all of the areas that needed a silver metal with Scale 75 Heavy Metal (5), and all of the areas that were gold metallic with Scale 75 Necro Gold (6). I hadn’t used metallic paint in almost a year, and had forgotten how great they look!


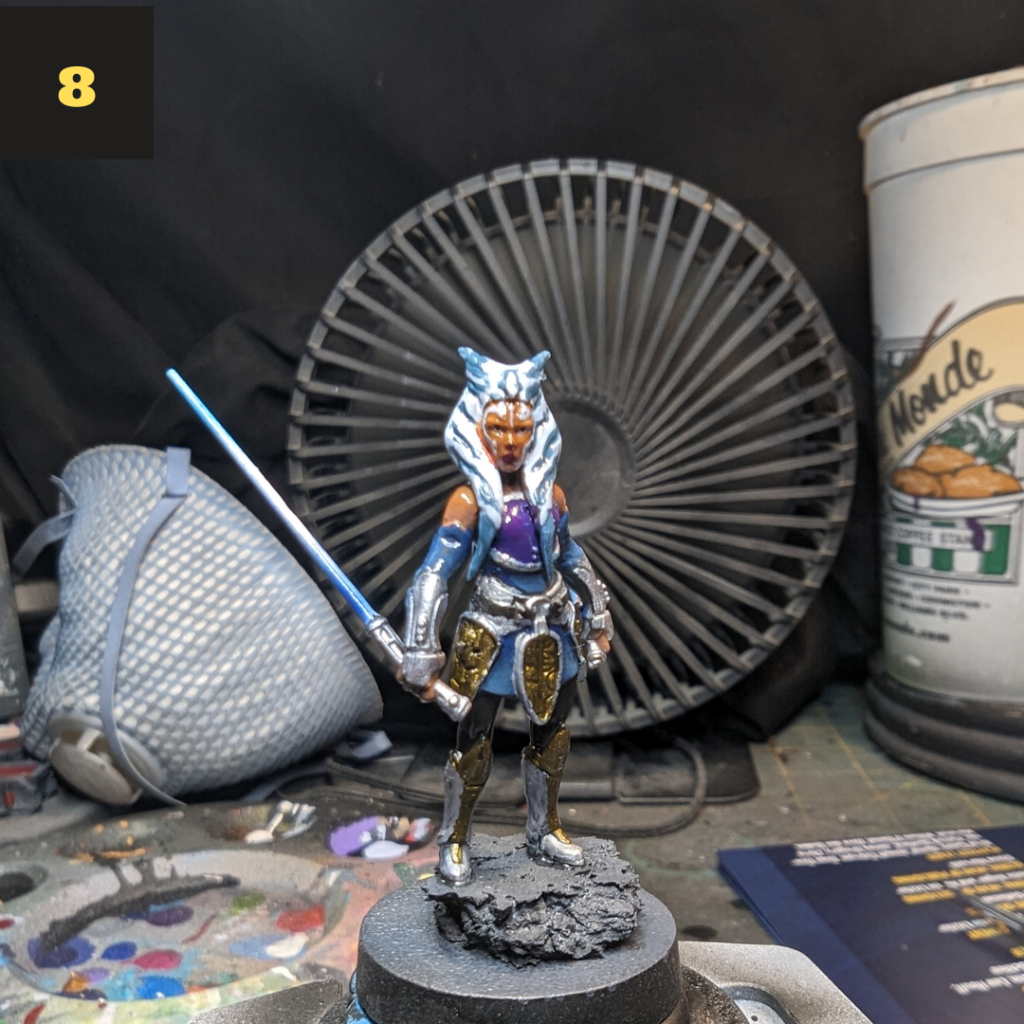
Next, I used my brush to apply Vallejo Game Color Glacier Blue to her hair and lightsaber blades (7). I completed the final details of the model by filling in the lines of her hair with Thunderhawk Blue, the lines on her face and eyes with Glacier Blue, her irises with Monument Hobbies Coal Black, her lips with Games Workshop Barak-Nar Burgundy, and a quick airbrush of Minitaire Ghost Tint Plasma Blue on the edges of her lightsabers (8). With all of this done, I sprayed her with Liquitex Gloss Varnish and worked on her base while it dried.
For her base, I attached a piece of cork to it and primed it black. I sprayed the cork with Games Workshop Eshin Grey and used a silicone brush to spread Games Workshop Stirland Mud around the rest of the base. I glued her to the cork at this point. With the gloss dry, I applied a black oil wash to the majority of the model and cleaned it up with artist’s spirits. Once these dried, I painted the rim of the base black and sprayed the entire model and base with Liquitex Matte Varnish. When the final varnish dried, I applied dried grass and wildflower tufts from Gamer’s Grass to give it that final piece it was missing.

I hope you found this guide helpful, and I look forward to painting more Star Wars Legion!


You must be logged in to post a comment.