So you’ve seen the movie and now you know with absolute certainty where Napoleon went wrong. You can, and will, do better. It’s time to get into real wargaming. Welcome to Napoleonics.
This article is part of our Getting Started: Napoleonics guide.

You’ve watched the Sharpe series, right? You’ve seen the Peninsula where Sharpe makes his name and leads the Forlorn Hope. He marries Theresa, the Spanish guerrilla leader and has a daughter with her. Most of the Spanish infantry you see in that series are guerillas – irregular soldiers who definitely helped resist and turn the tide in the Iberian peninsula.
Today we’re here to talk about the poor lowly infantry, the dudes who are known in history for losing a lot to the French generals while Napoleon was off screwing around in Russia (though they did manage to nab the first defeat of French forces in Europe at Baylen in 1808).
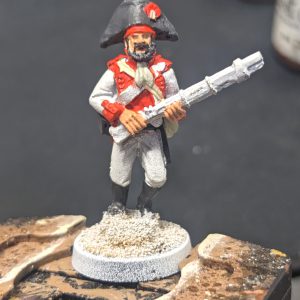
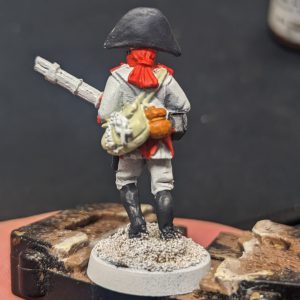
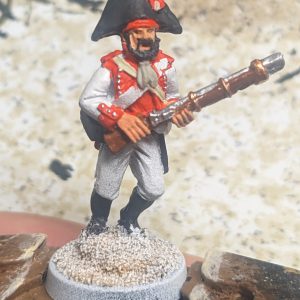
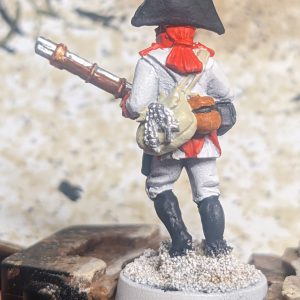
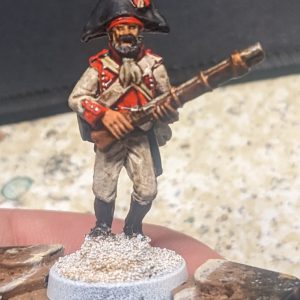
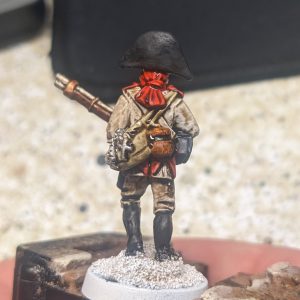
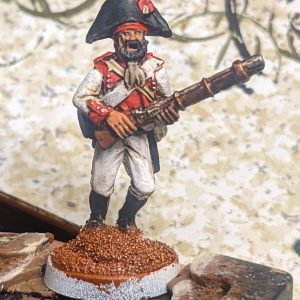
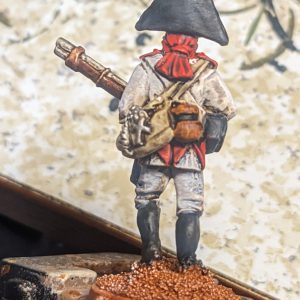
There were many variations of the Spanish uniform due to availability, British support, etc. We are painting this mini from North Star today in the 1805 uniform of the 10th Regiment Guadalajara. They had red facings and silver buttons. This mini is part of my unit for The Silver Bayonet.
Napoleonic Spanish armies can vary quite a bit with differently colored regiments, guerrillas, and artillery. As in all of our Napoleonics painting guides, we’re going to recommend picking up a Uniform guide from Osprey. The color plates included will give you a great base of information for how to paint your minis that you can then expand with other books and internet sources.
I’ve painted this Spanish infantryman using Osprey’s Spanish Army of the Napoleonic Wars (2). I think you could knock this out in about a half hour to an hour depending on your skil and experience. I go for a tabletop quality with my minis – mostly letting washes do the work with some drybrushing.
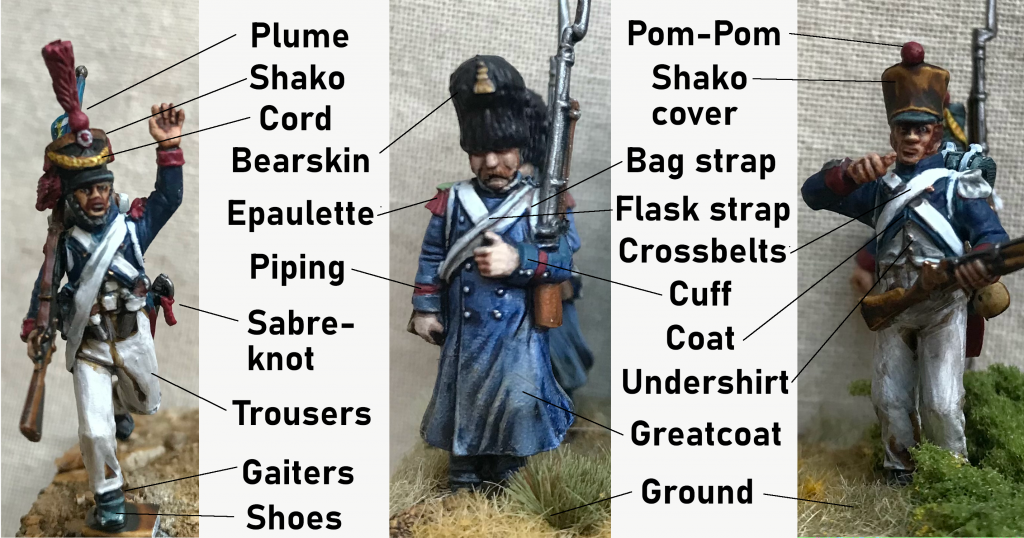
We will use a little Napoleonic uniform terminology in this article, so here’s our handy French Uniform reference card for guidance:
Step 1. Basecoats
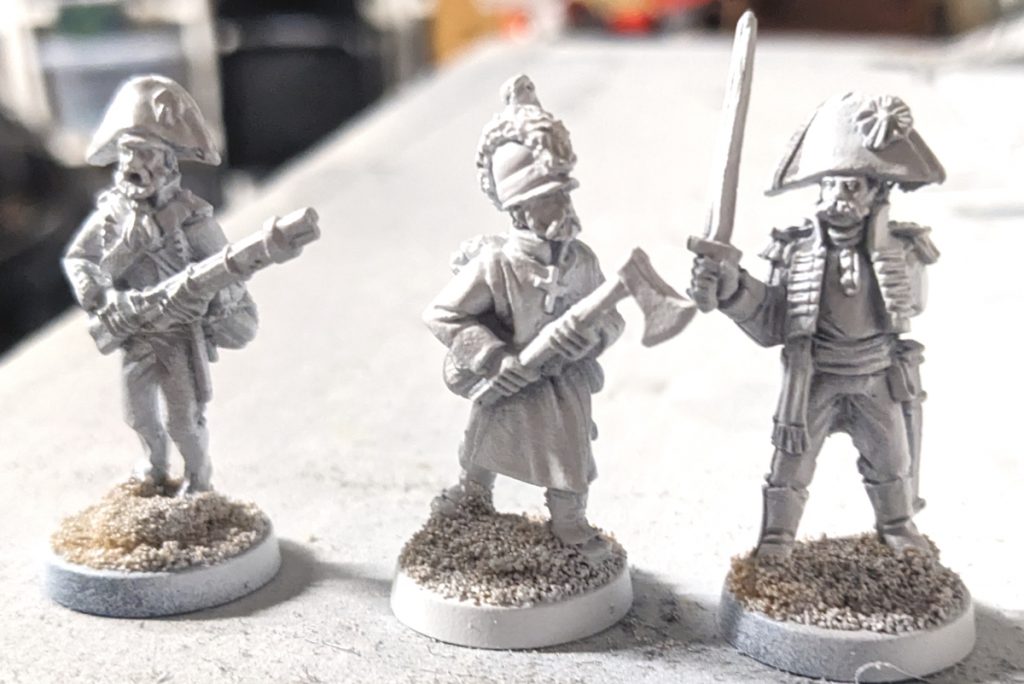
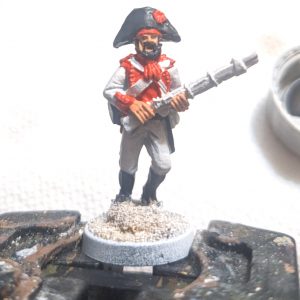
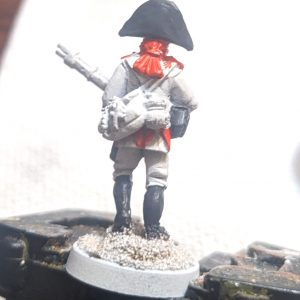
I primed my example with Army Painter White aerosol primer. You really can use any white you have access to, but I prefer white because it means our colors are going to pop better. I started off at the skin tone level first and worked up from there. At some points you can see where I accidentally had some overpainting but you’ll see it is fixed in the end.
- Jacket: White (I just left it the color of the primer)
- Trousers: White (I just left it the color of the primer)
- Leggings: Army Painter Necromancer Cloak
- Red cuffs, collar, bandana, hat badge, and turnbacks: Coat D’Arms British Scarlet
- Black (bicorn): Army Painter Necromancer Cloak
- Black (Leather): Army Painter Necromancer Cloak
- Musket: Coat D’Arms Wood Brown
- Skin: Army Painter Barbarian Flesh
- Canteen: Coat D’Arms Leather Brown
- Facial Hair: Army Painter Necromance Cloak
Step 2. Large Area Color
At this point I painted the jacket and pants white with to make sure any spots missed by primer will be bright white before we wash.
- Jacket: Vallejo Game Color Dead White
- Trousers: Vallejo Game Color Dead White
- Haversack: Coat D’Arms Undyed Wool
- Tie: Army Painter Ash Grey
Step 3. Detail Color
Here is where I try to be a little more careful and make sure the spots I’m painting don’t spill over into other areas of color.
- White Cross belts: Vallejo Game Color Dead White
- Bicorn badge detail: Coat D’Arms Undyed Wool
- Musket barrel: Vallejo Game Color Silver
- Musket bands: Vallejo Game Color Brass
- Canteen strap: Army Painter Necromancer Cloak
- Cross and beads: Vallejo Game Color Silver
Step 4. Wash
Here I liberally apply a wash to make details pop and put shadow in the crevices of the mini. I used Army Painter Strong Tone but you could Soft Tone or another wash if you like them better.
- Wash: Army Painter Dark Tone
Step 5. Highlight / Recolor
Army Painter Dark Tone and other washes will stain your model a bit and take some color away. That’s okay, because now we’re going to go over it a bit and repaint the raised areas with the color we want.
- Red bandana, facings, cuffs, collar, badge, ect: Coat D’Arms British Scarlet
- Skin tone: Army Painter Barbarian Flesh
- Jacket and pants: Vallejo Game Color Dead White
- Cross strap: Vallejo Game Color Dead White
Step 6. Basing
Once we’re done with the model paint then we move on to basing. I choose to leave the integrated base on the model (I’ve seen one manufacturer call this a ‘puddle’). I used white glue spread with an old brush to put sand on the base. Late in the painting process I then went in and painted it all dark brown and drybrushed with Vallejo Light Sand.
I use a mix of flock, static grass, leaves, and other stuff all shaken up in a little bin to make my bases look alive with grass and stuff. I put a little white glue on the base then stick it in the box and shake it around until it is covered. Probably one in three models in the unit will get a tuft of static grass that hopefully contrasts a bit with the other basing material. Paint the base rim Army Painter Matte Black and you’re done.
This scheme should be easy to batch paint, but it will also stand out in a very small skirmish game like The Silver Bayonet. Paint a few units and take back the Iberian Peninsula!
Have any questions or feedback? Drop us a note in the comments below or email us at contact@goonhammer.com.



You must be logged in to post a comment.