
Honestly? Basing miniatures sucks. Mini production is hella sophisticated: they are modelled in complex 3D software, produced by a plastic injection molding industry that spans the planet or by a seemingly sci-fi-esque 3D printer that creates them from goo. And the first thing you’re supposed to do when you get your hands on these tiny marvels of engineering is glue a bunch of dirt and rocks to them like a cave man.
I kid, dirt is a perfectly fine way to base a miniature, but it is kind of limited to being a generic texture. It’s also messy and an extra step between you and painting the miniature. What I propose is painting directly on the base, no basing materials required; with a bit of practice, its remarkably easy and fast to get some dungeon flagstones. Eye catching and time saving!
Of course, you COULD get 3d printed flagstone bases, but there are some pitfalls. Printed bases can be expensive if you don’t own a 3d printer, or a hassle to print if you do. No resin base will match the near indestructible strength of a plastic mini attached to a plastic base with plastic cement.
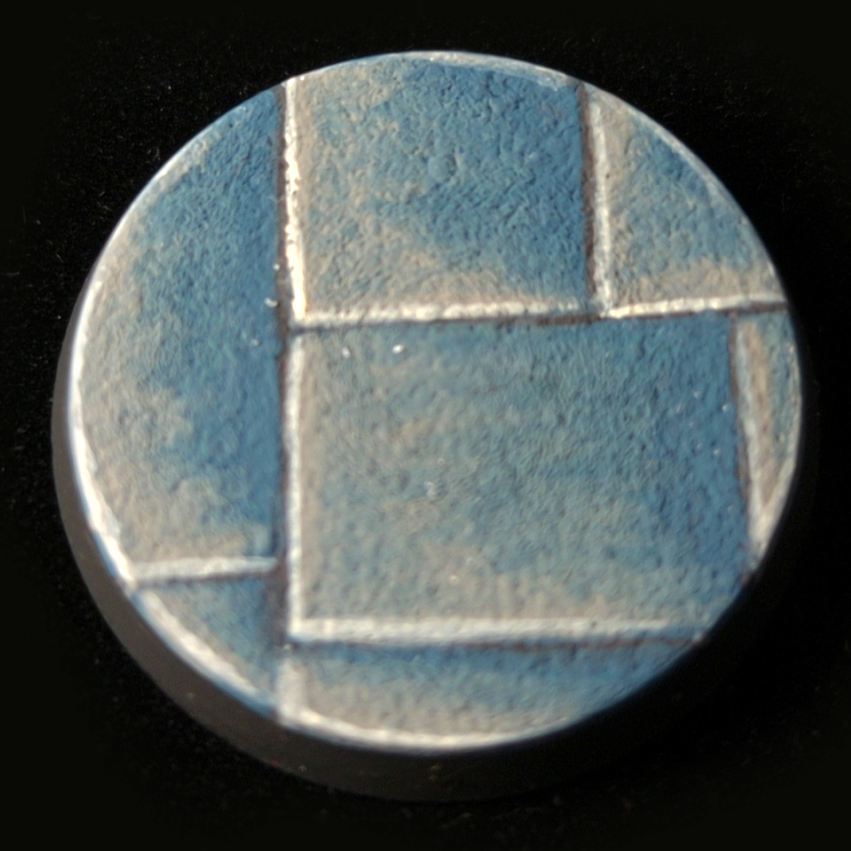
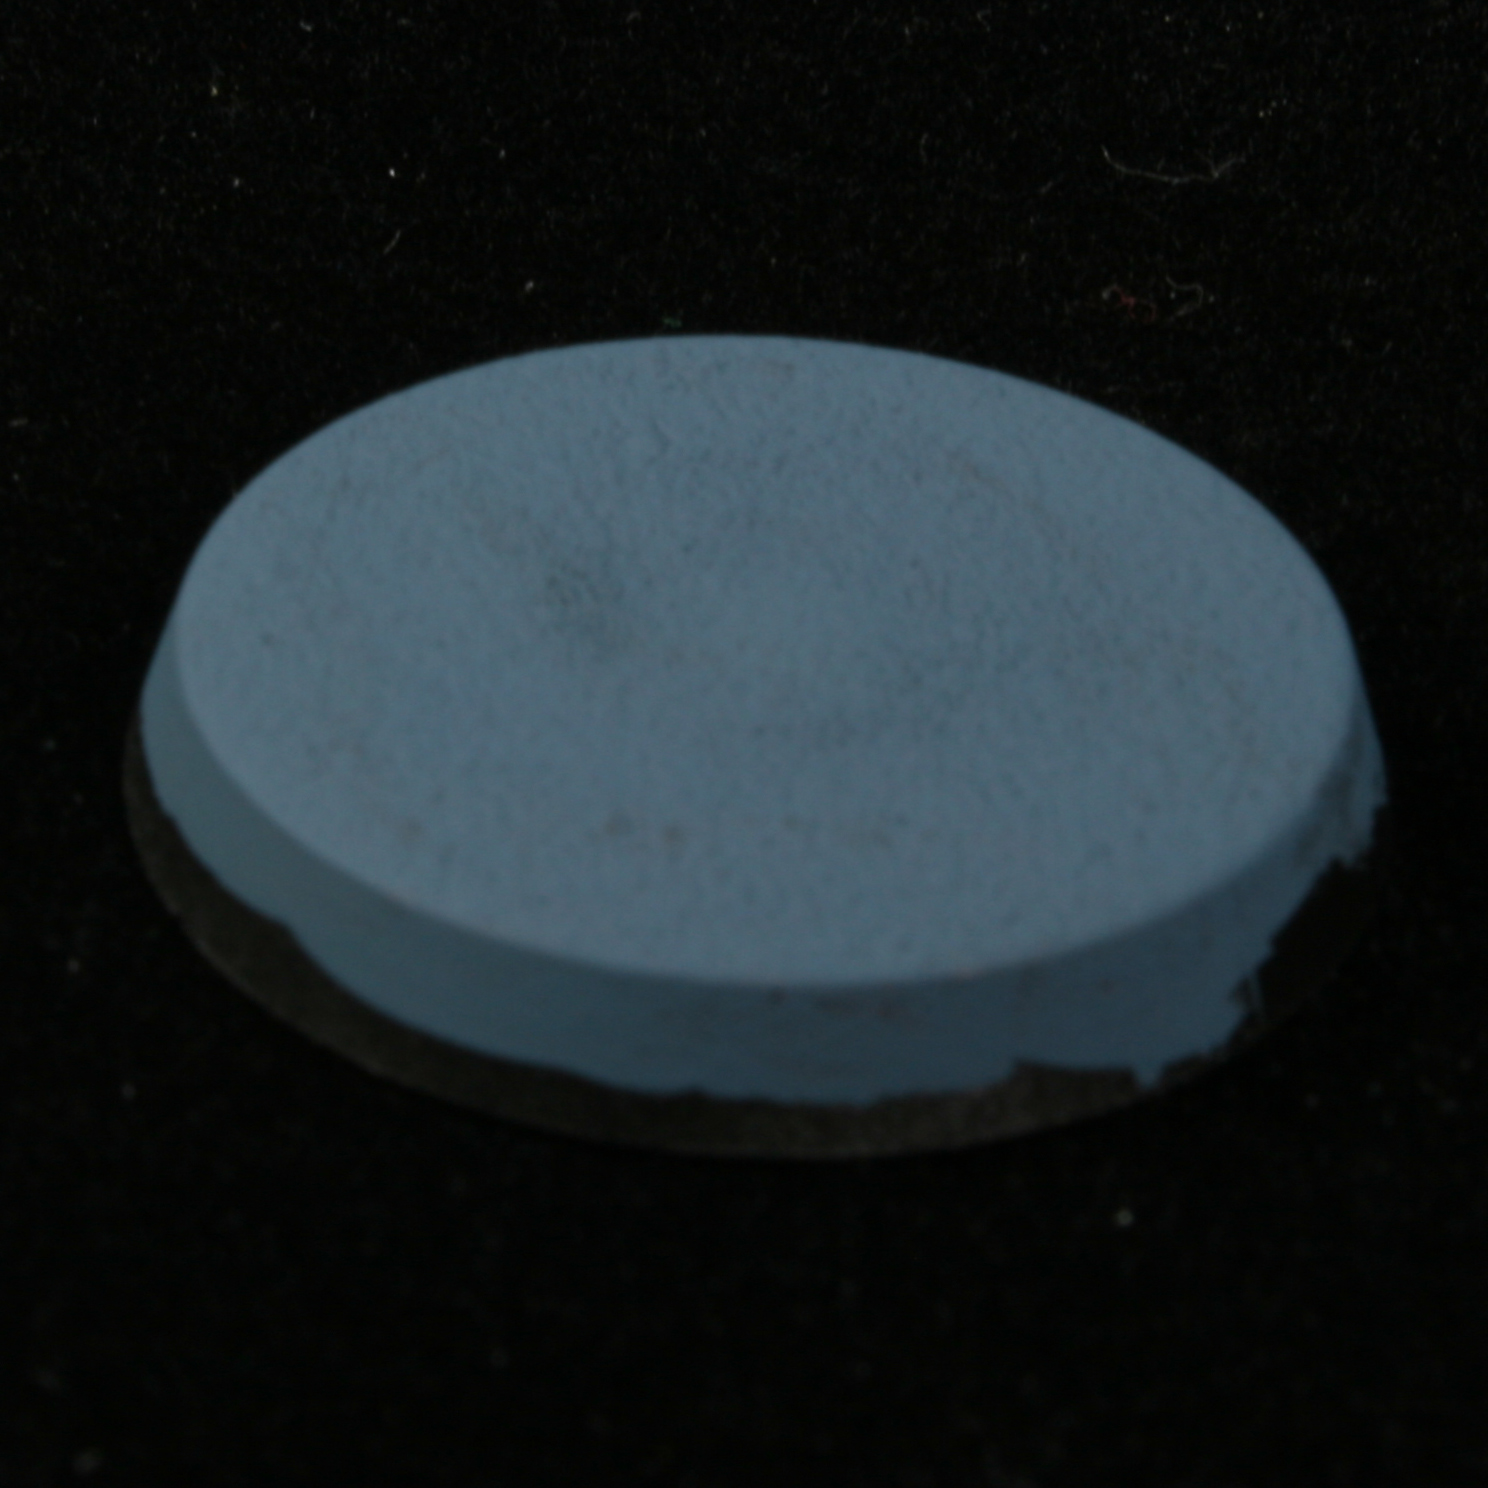
So, let’s paint some bases!
You have a lot of freedom of color for painting flagstones. Seriously, check out this hero quest board, its practically a rainbow! If the mini has a muted color scheme, then you can go brighter on the stones. If you have a colorful mini, tend toward desaturated colors for your stones. If you’re not sure what colors to use, you simply can’t go wrong with gray.
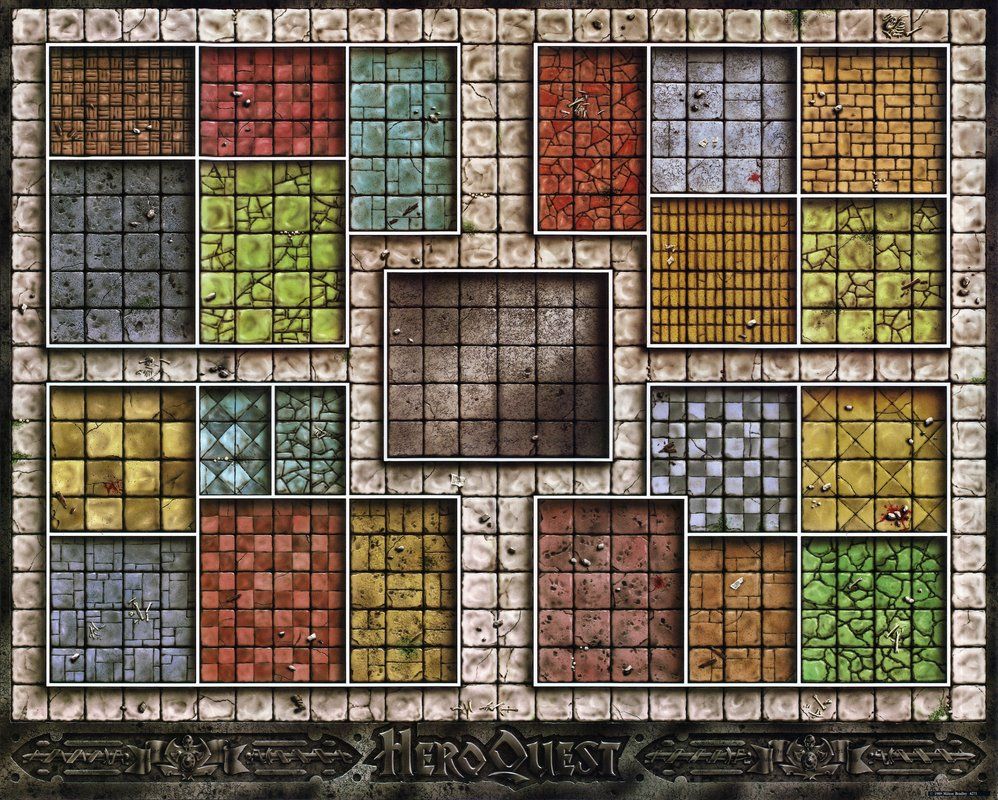
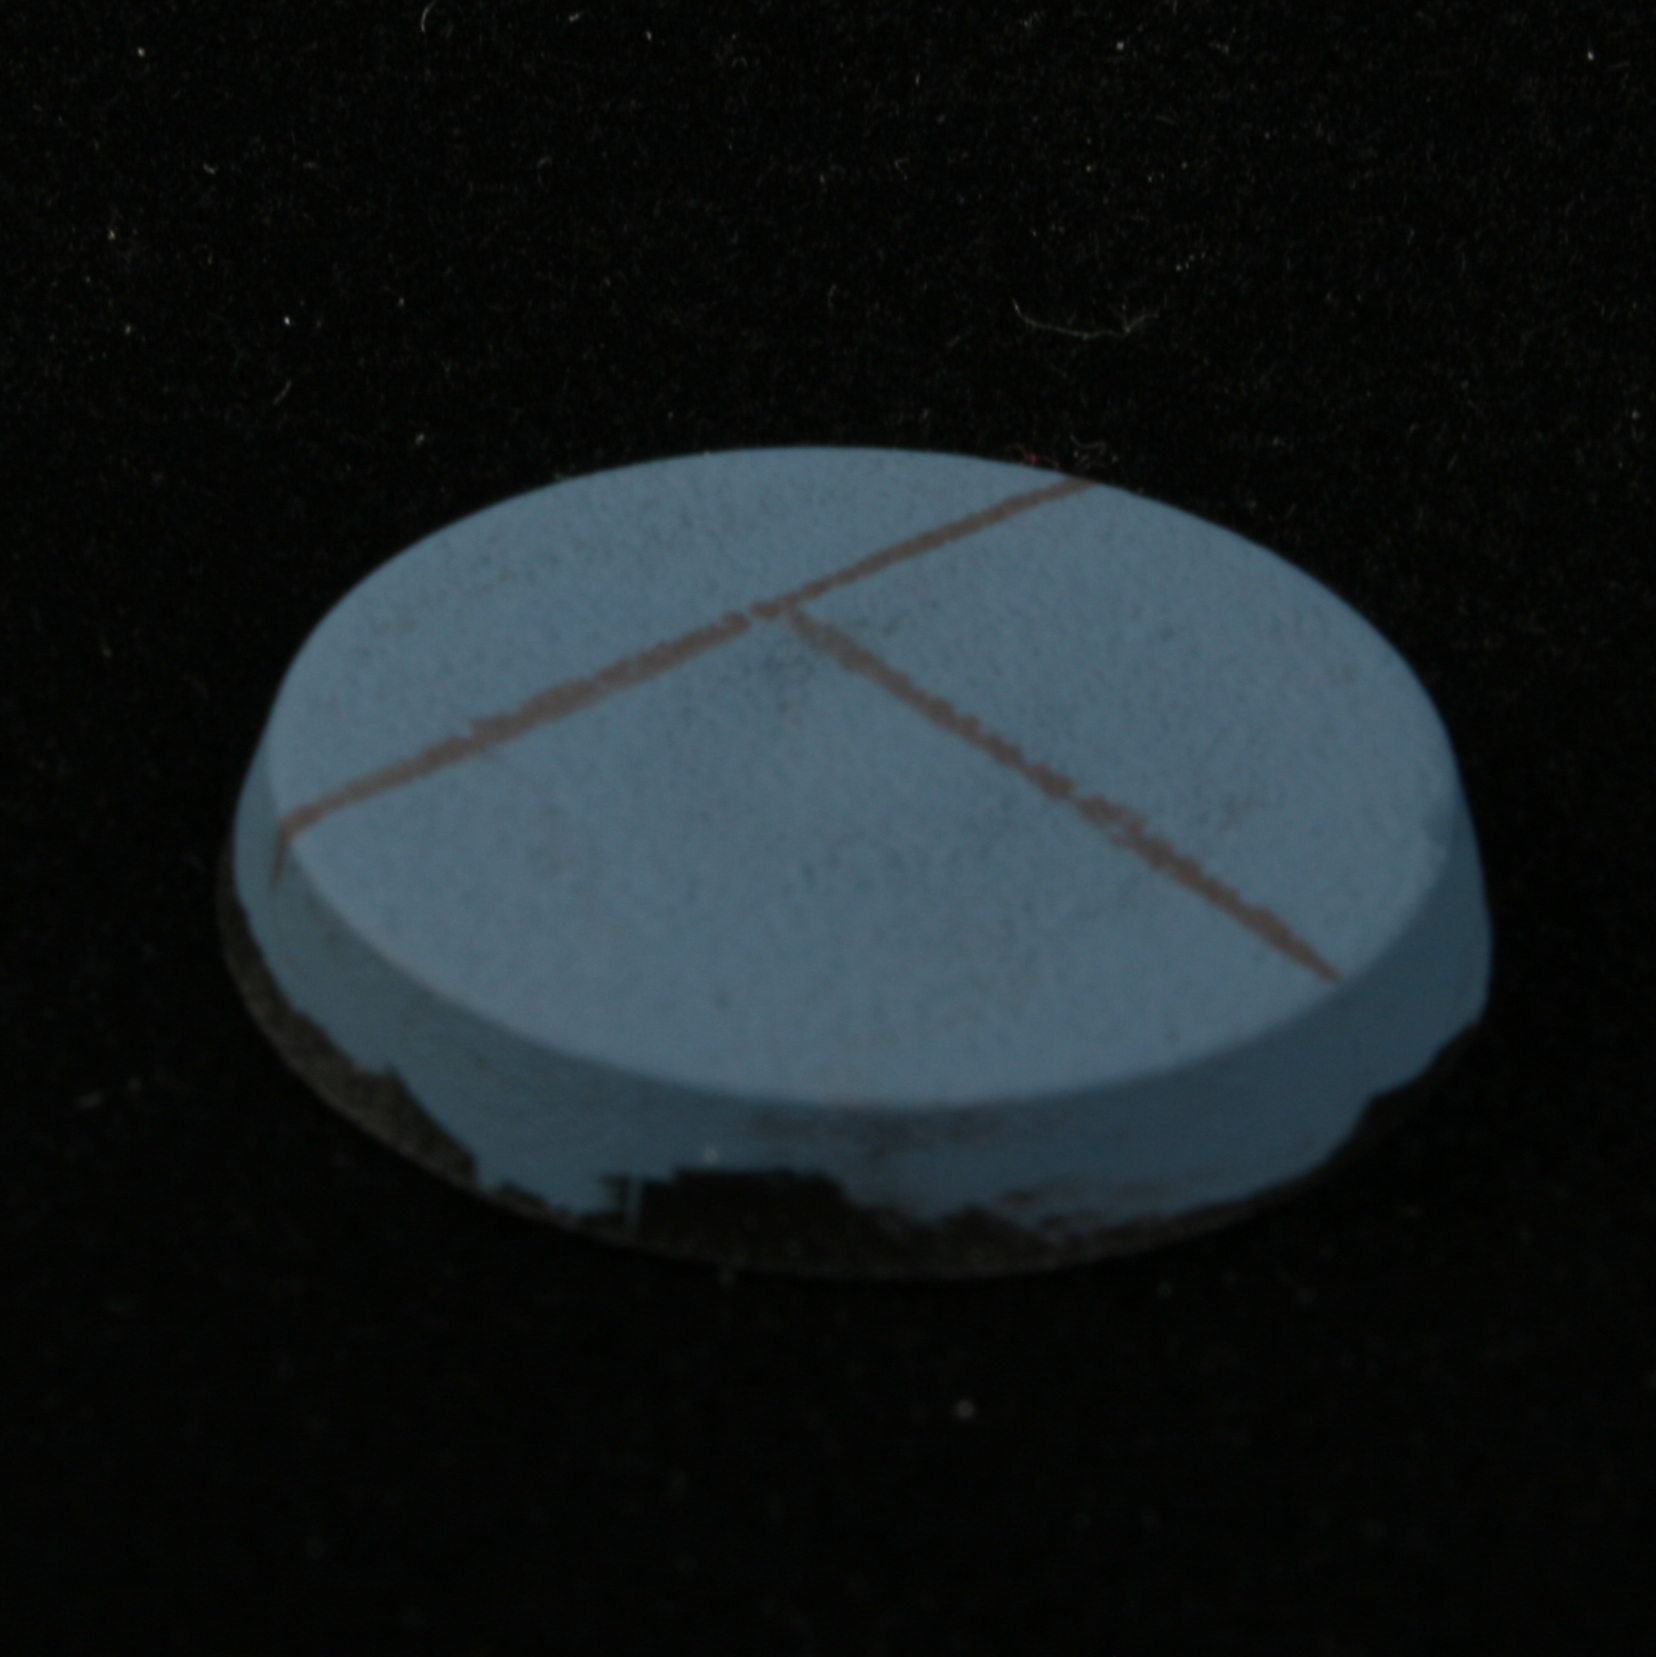
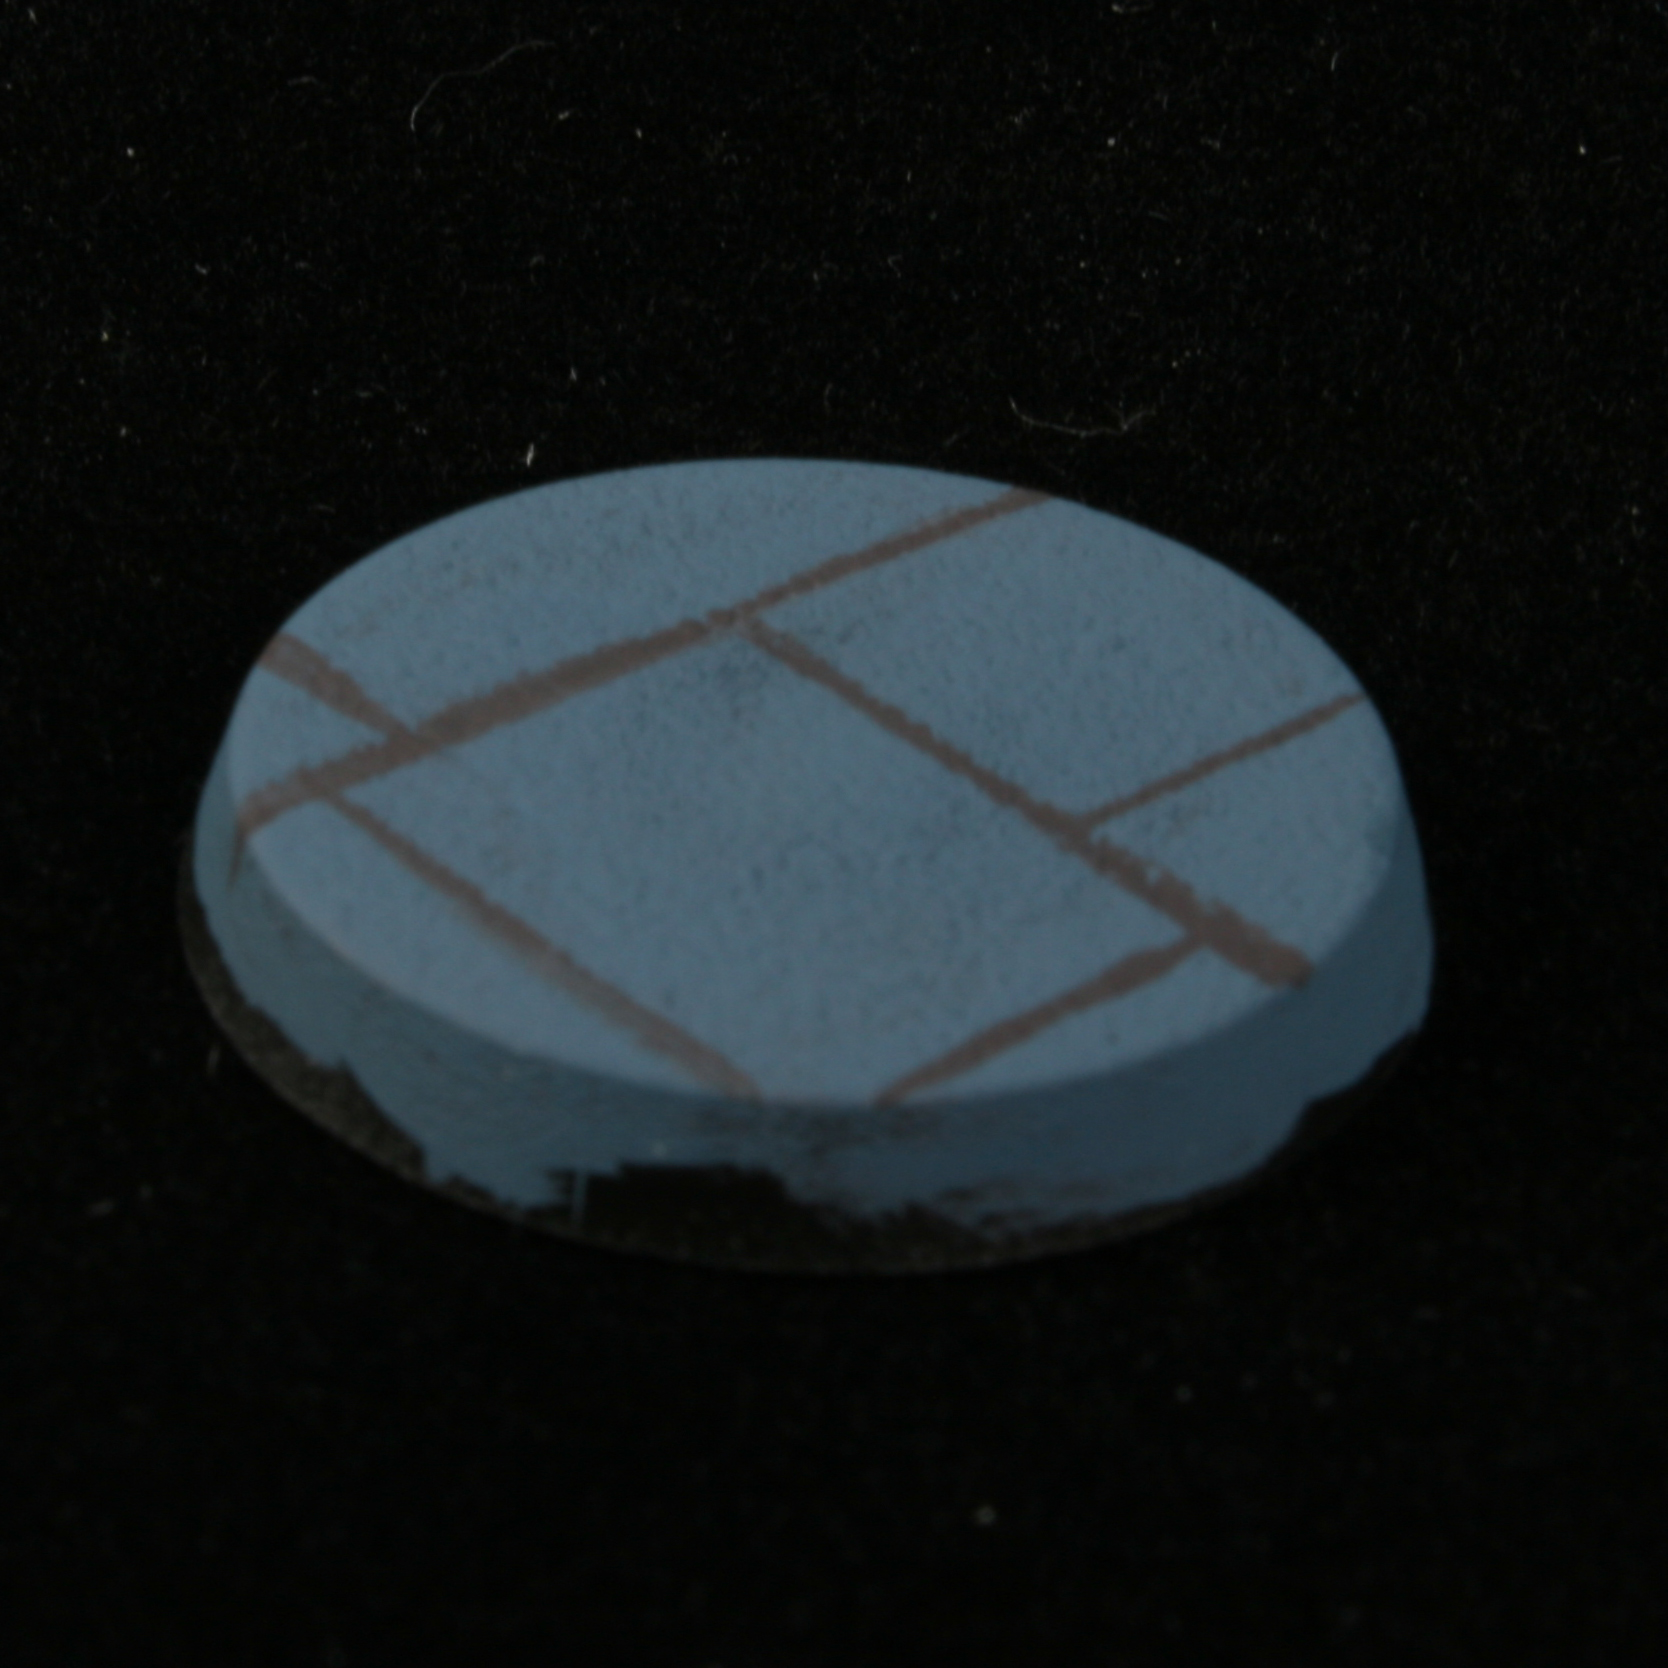
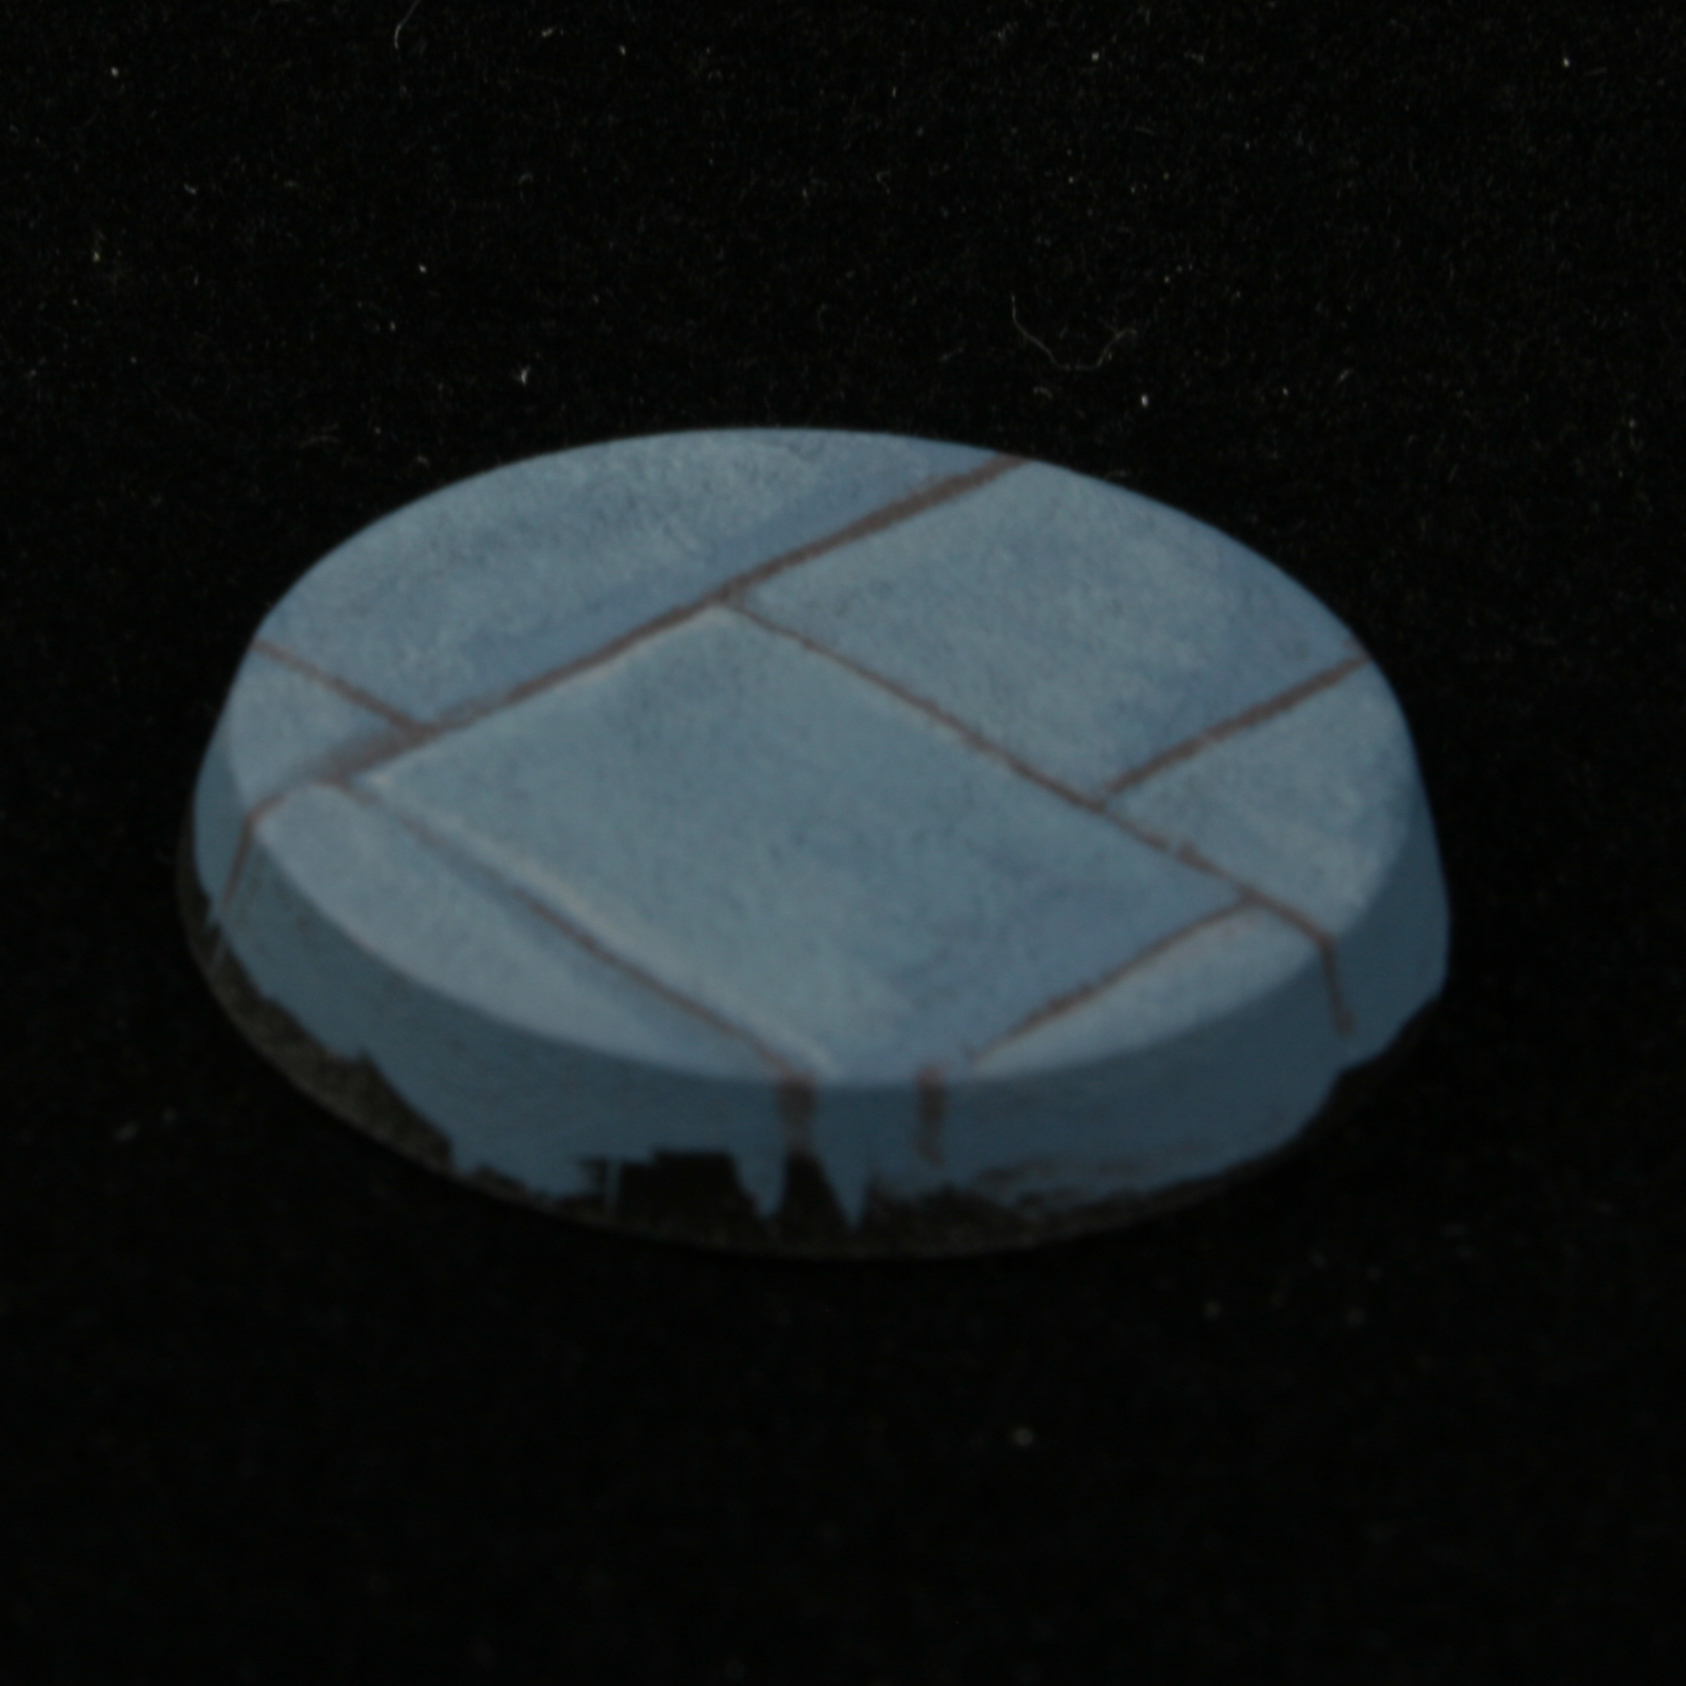
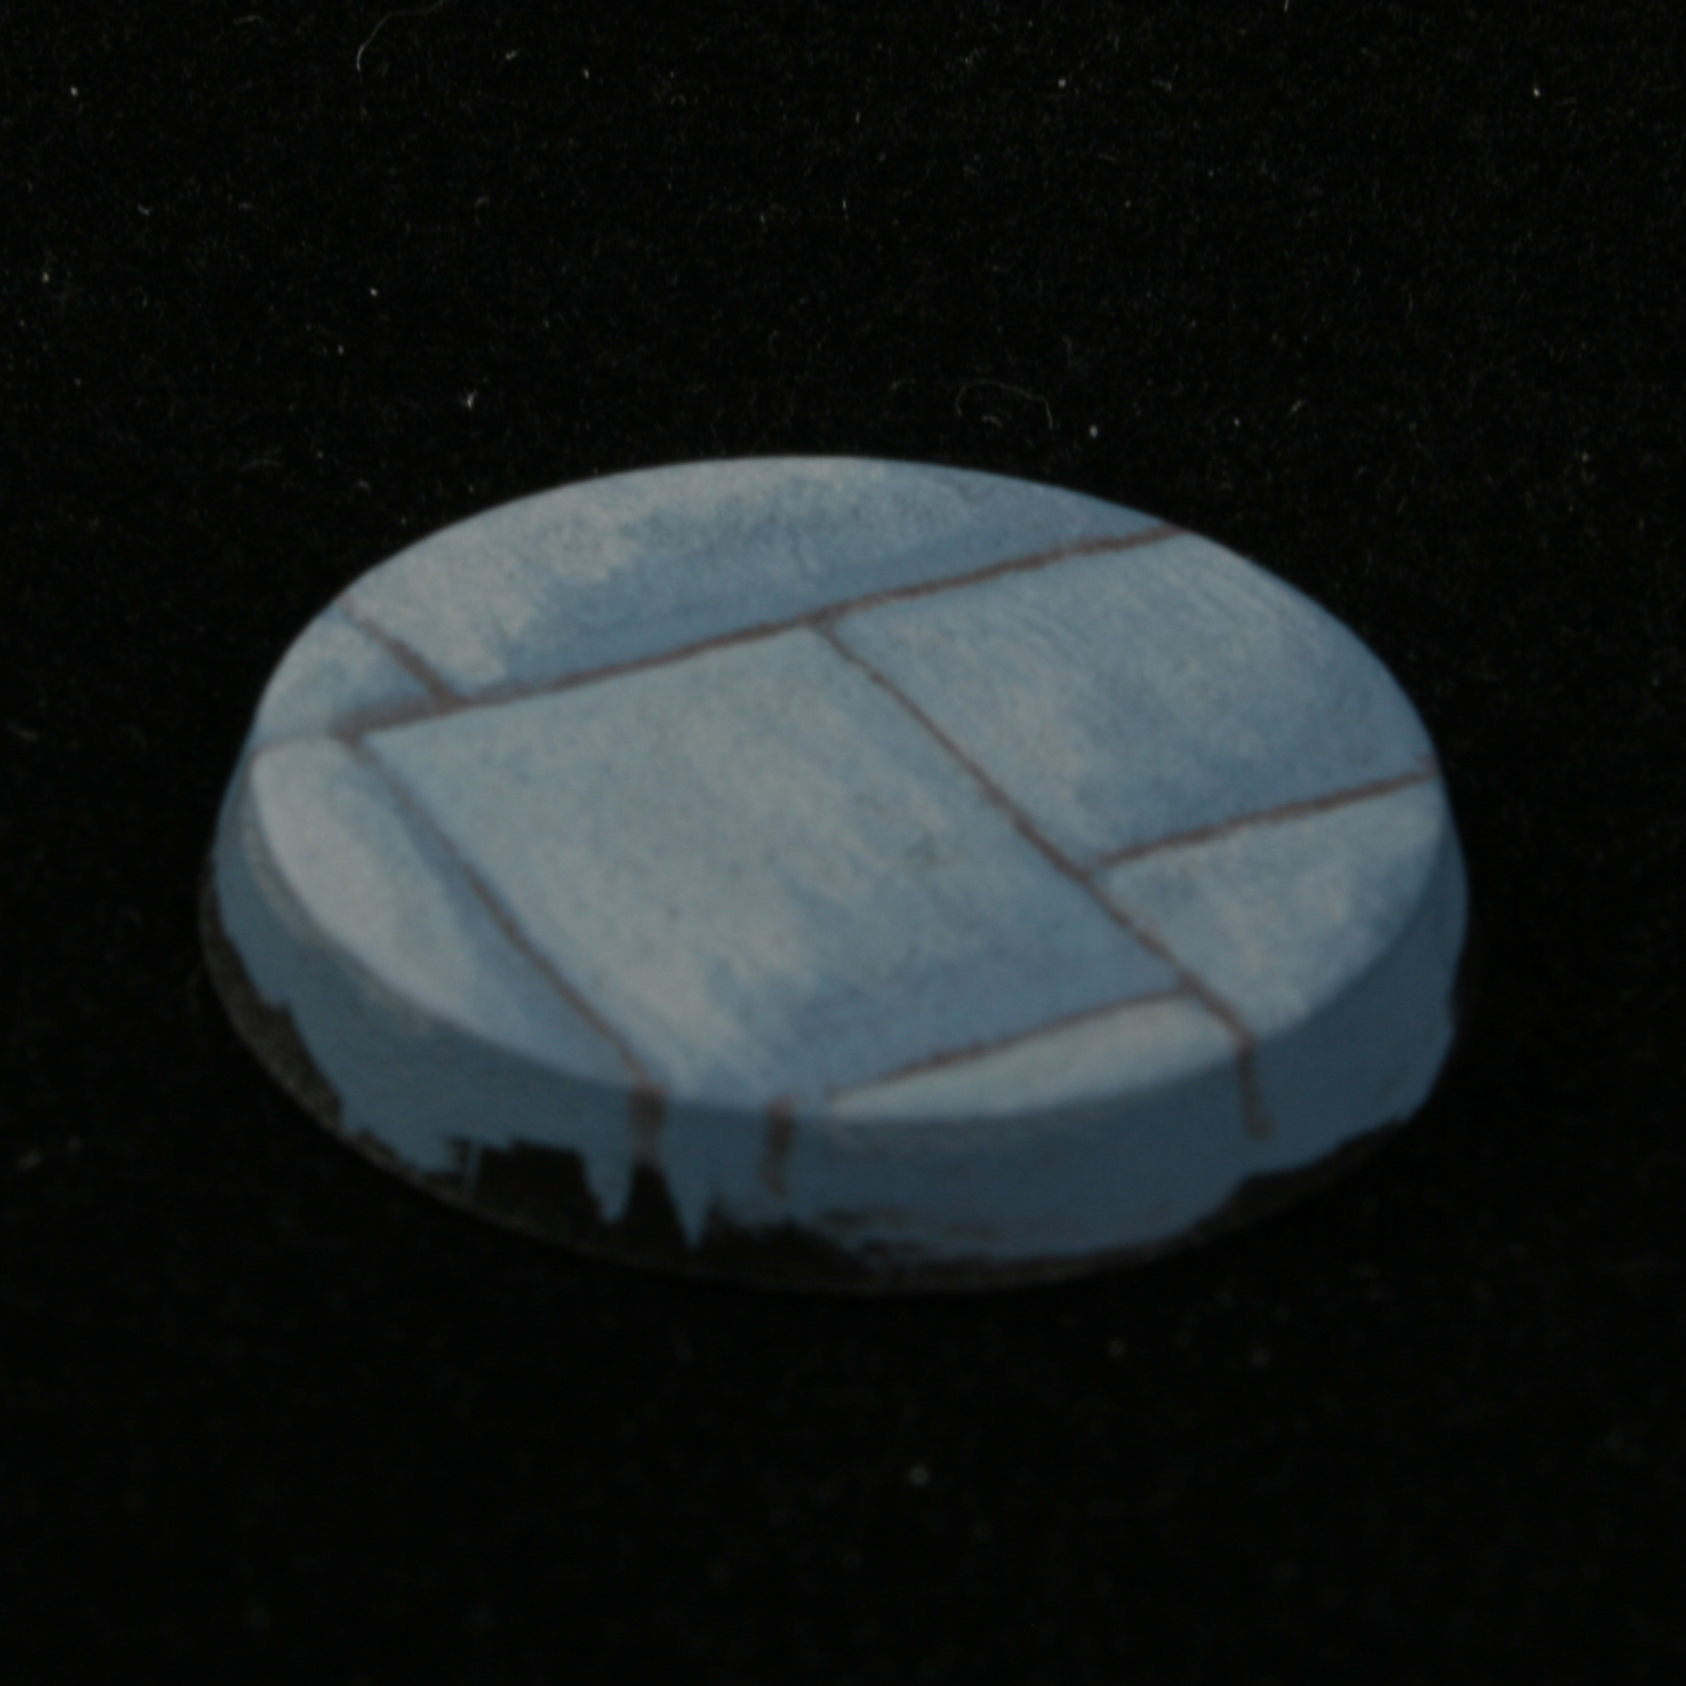
How dark the lines between the stones should be is a function of how thin you can make them. The thinner the lines between the stones, the darker the lines. When you’re starting out, it may be tough to get hairline division lines. This is okay, just keep the contrast down by using a color that’s only a bit dark than your base coat. As you get better at making nice crisp lines, you can use darker lines.

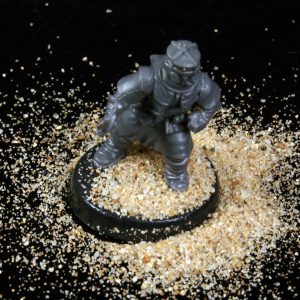
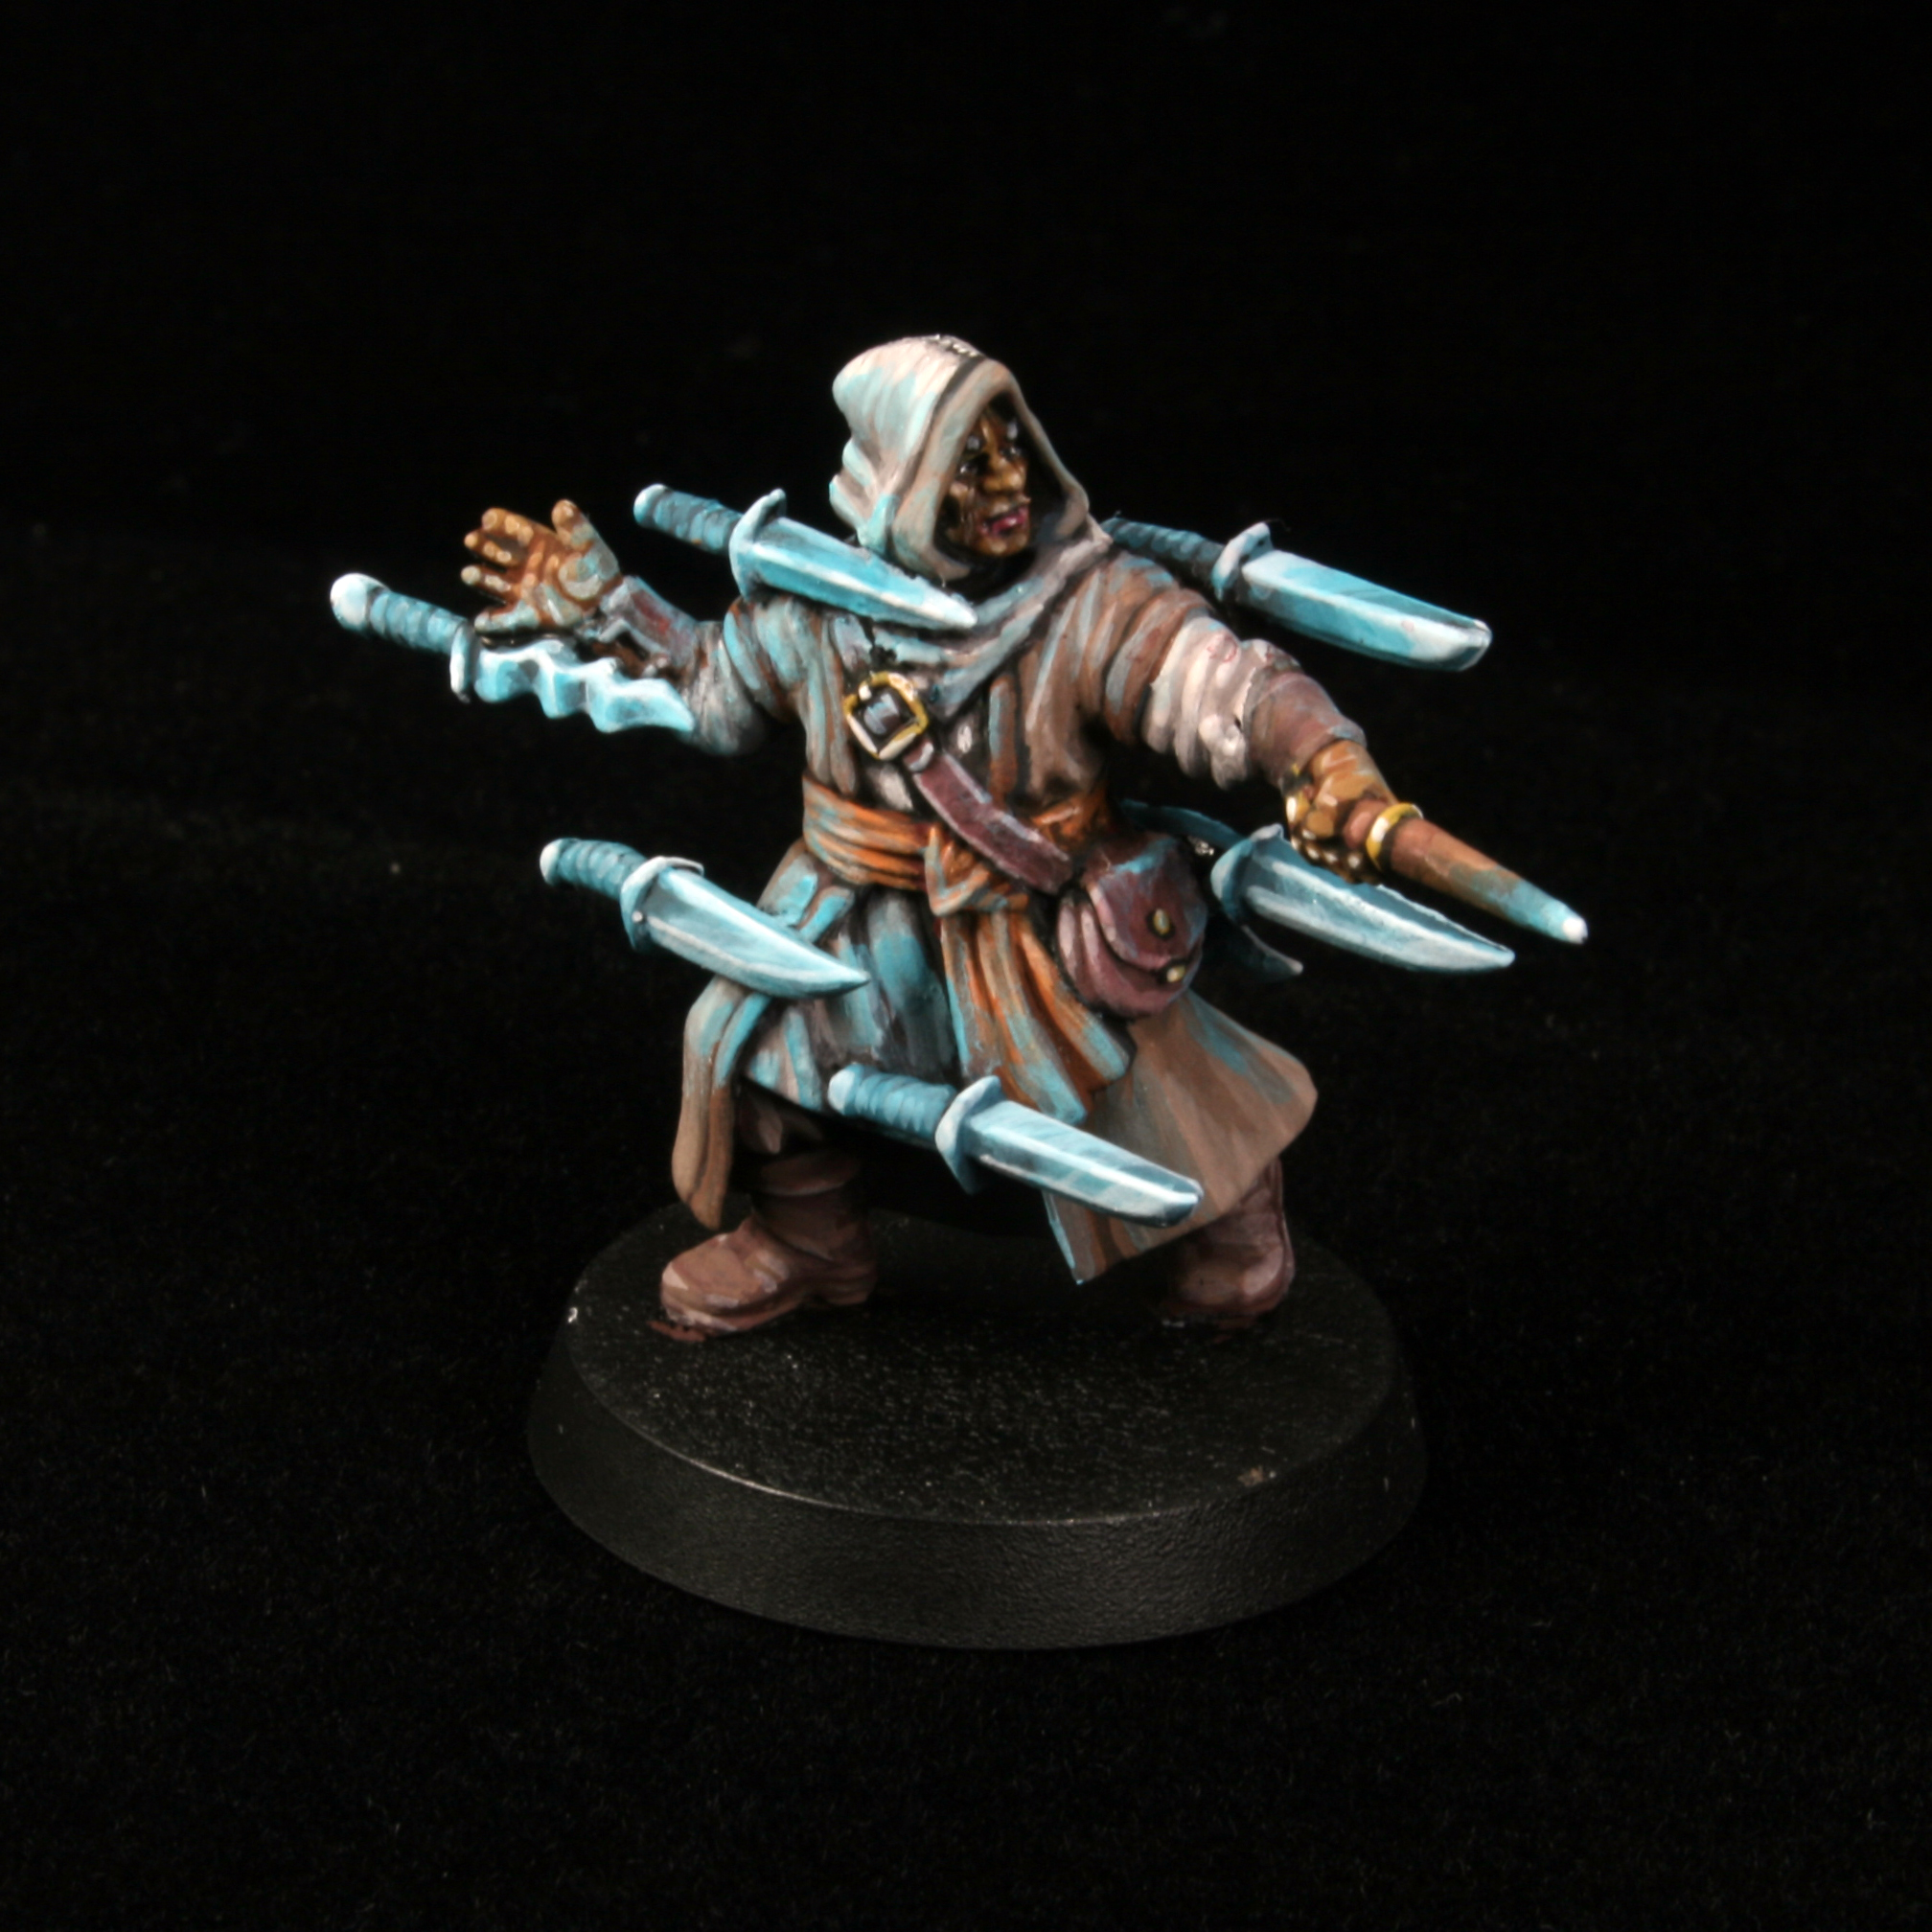
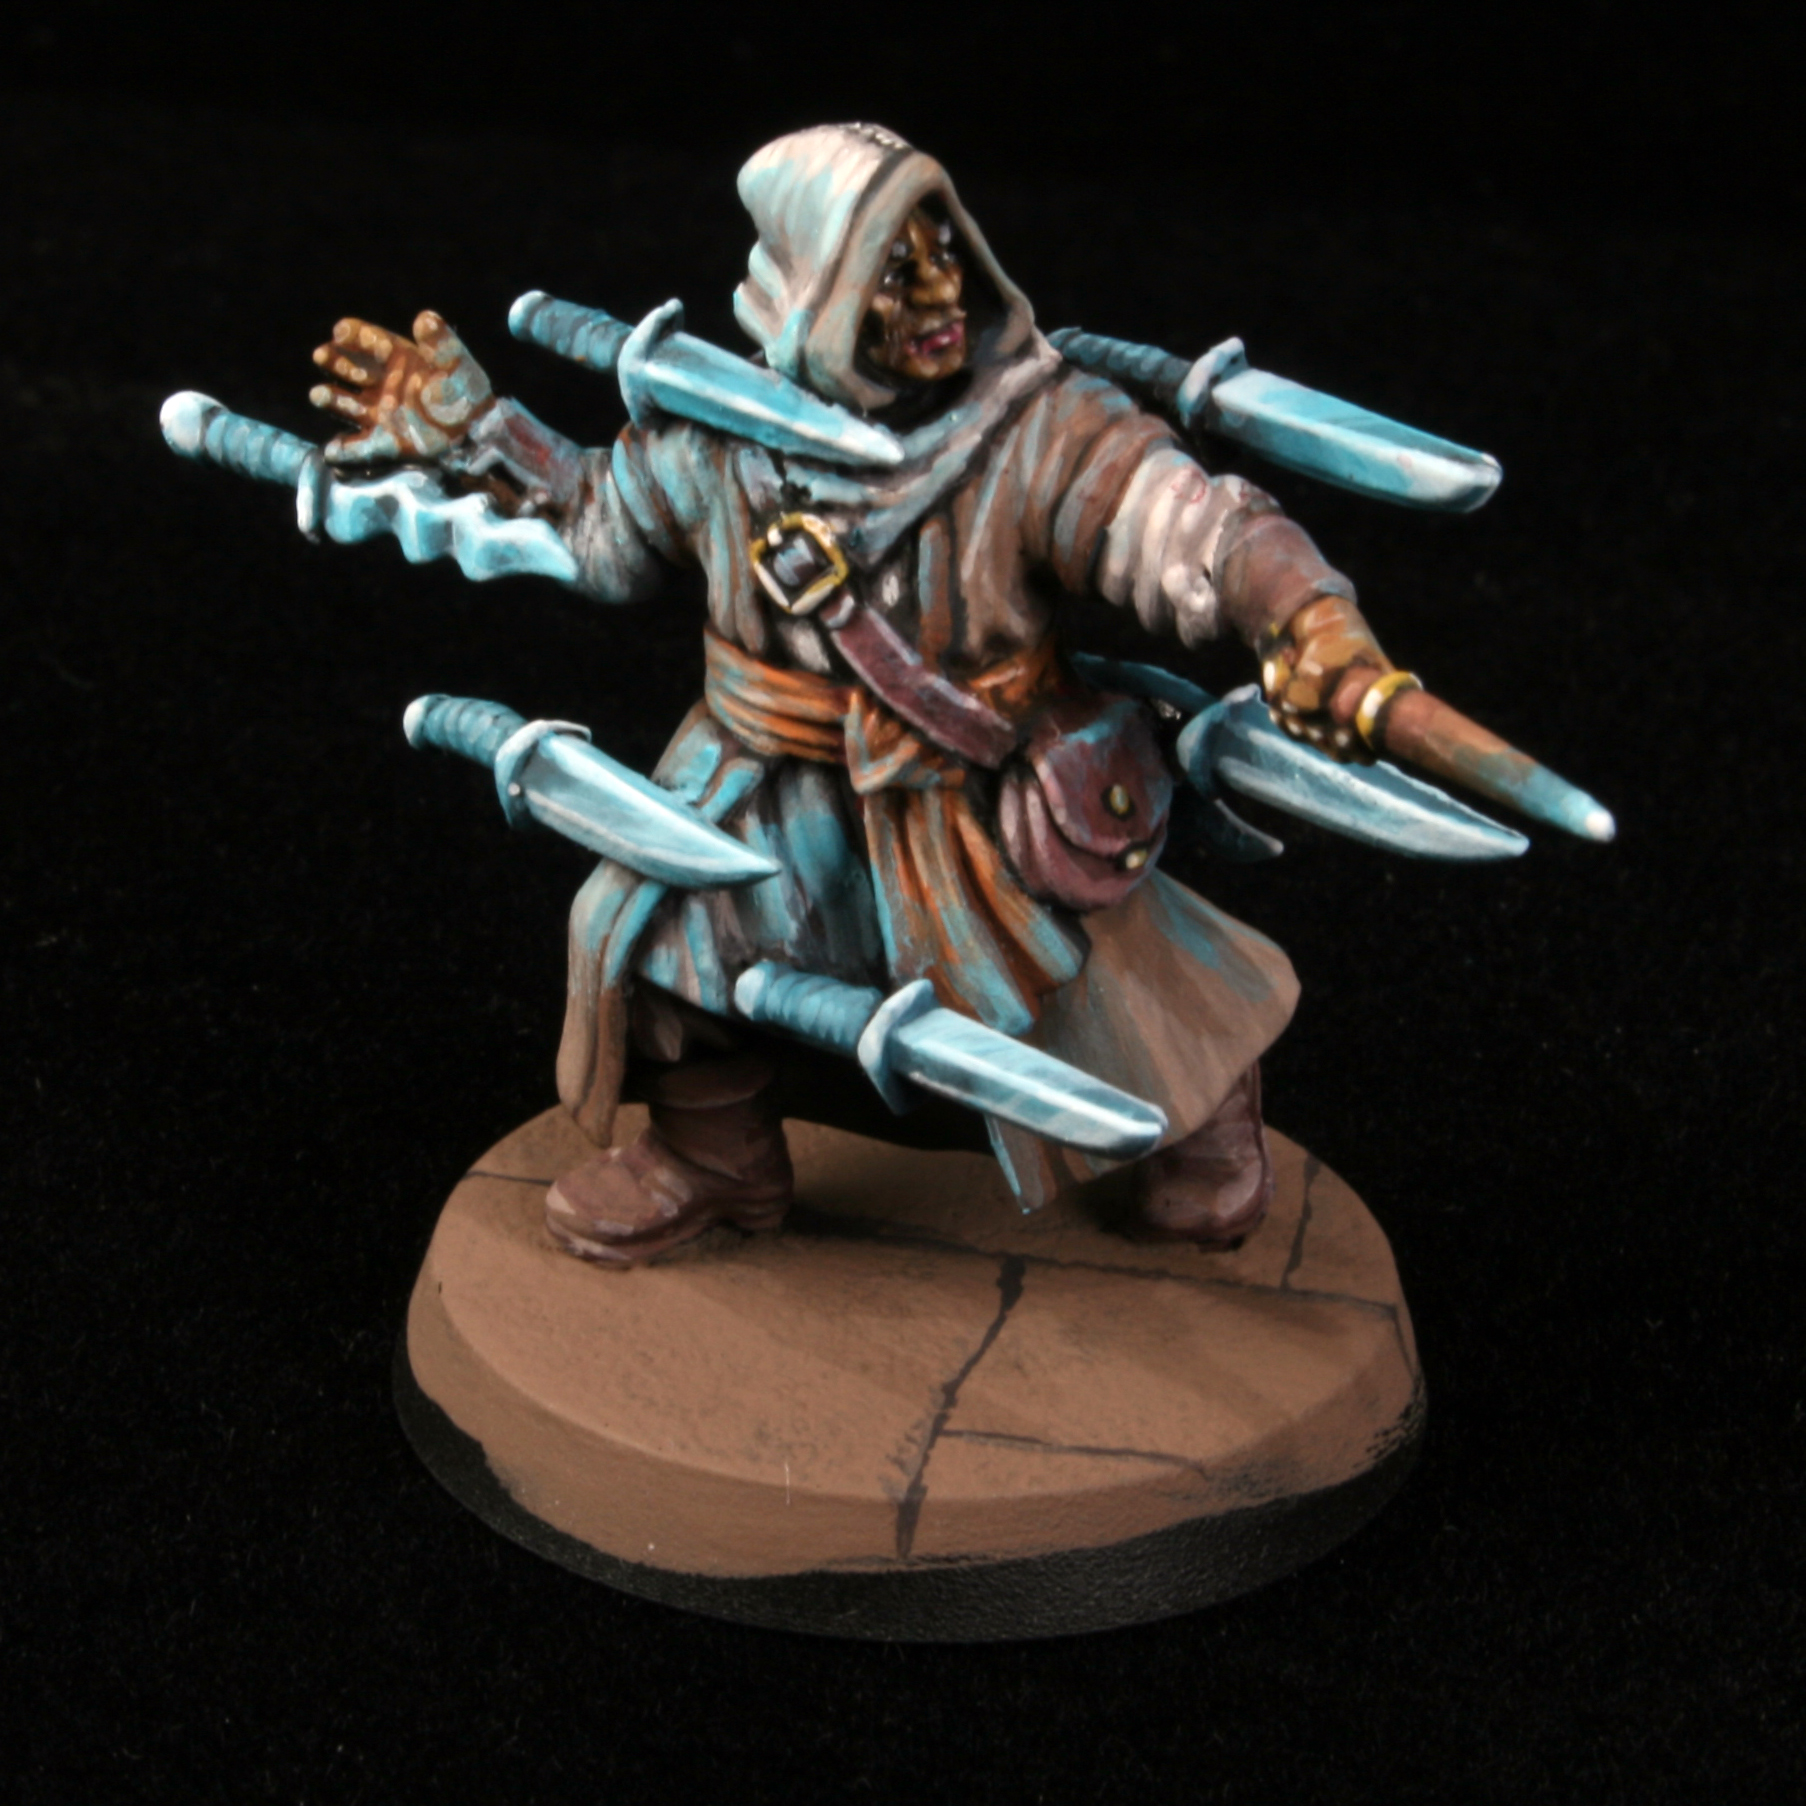
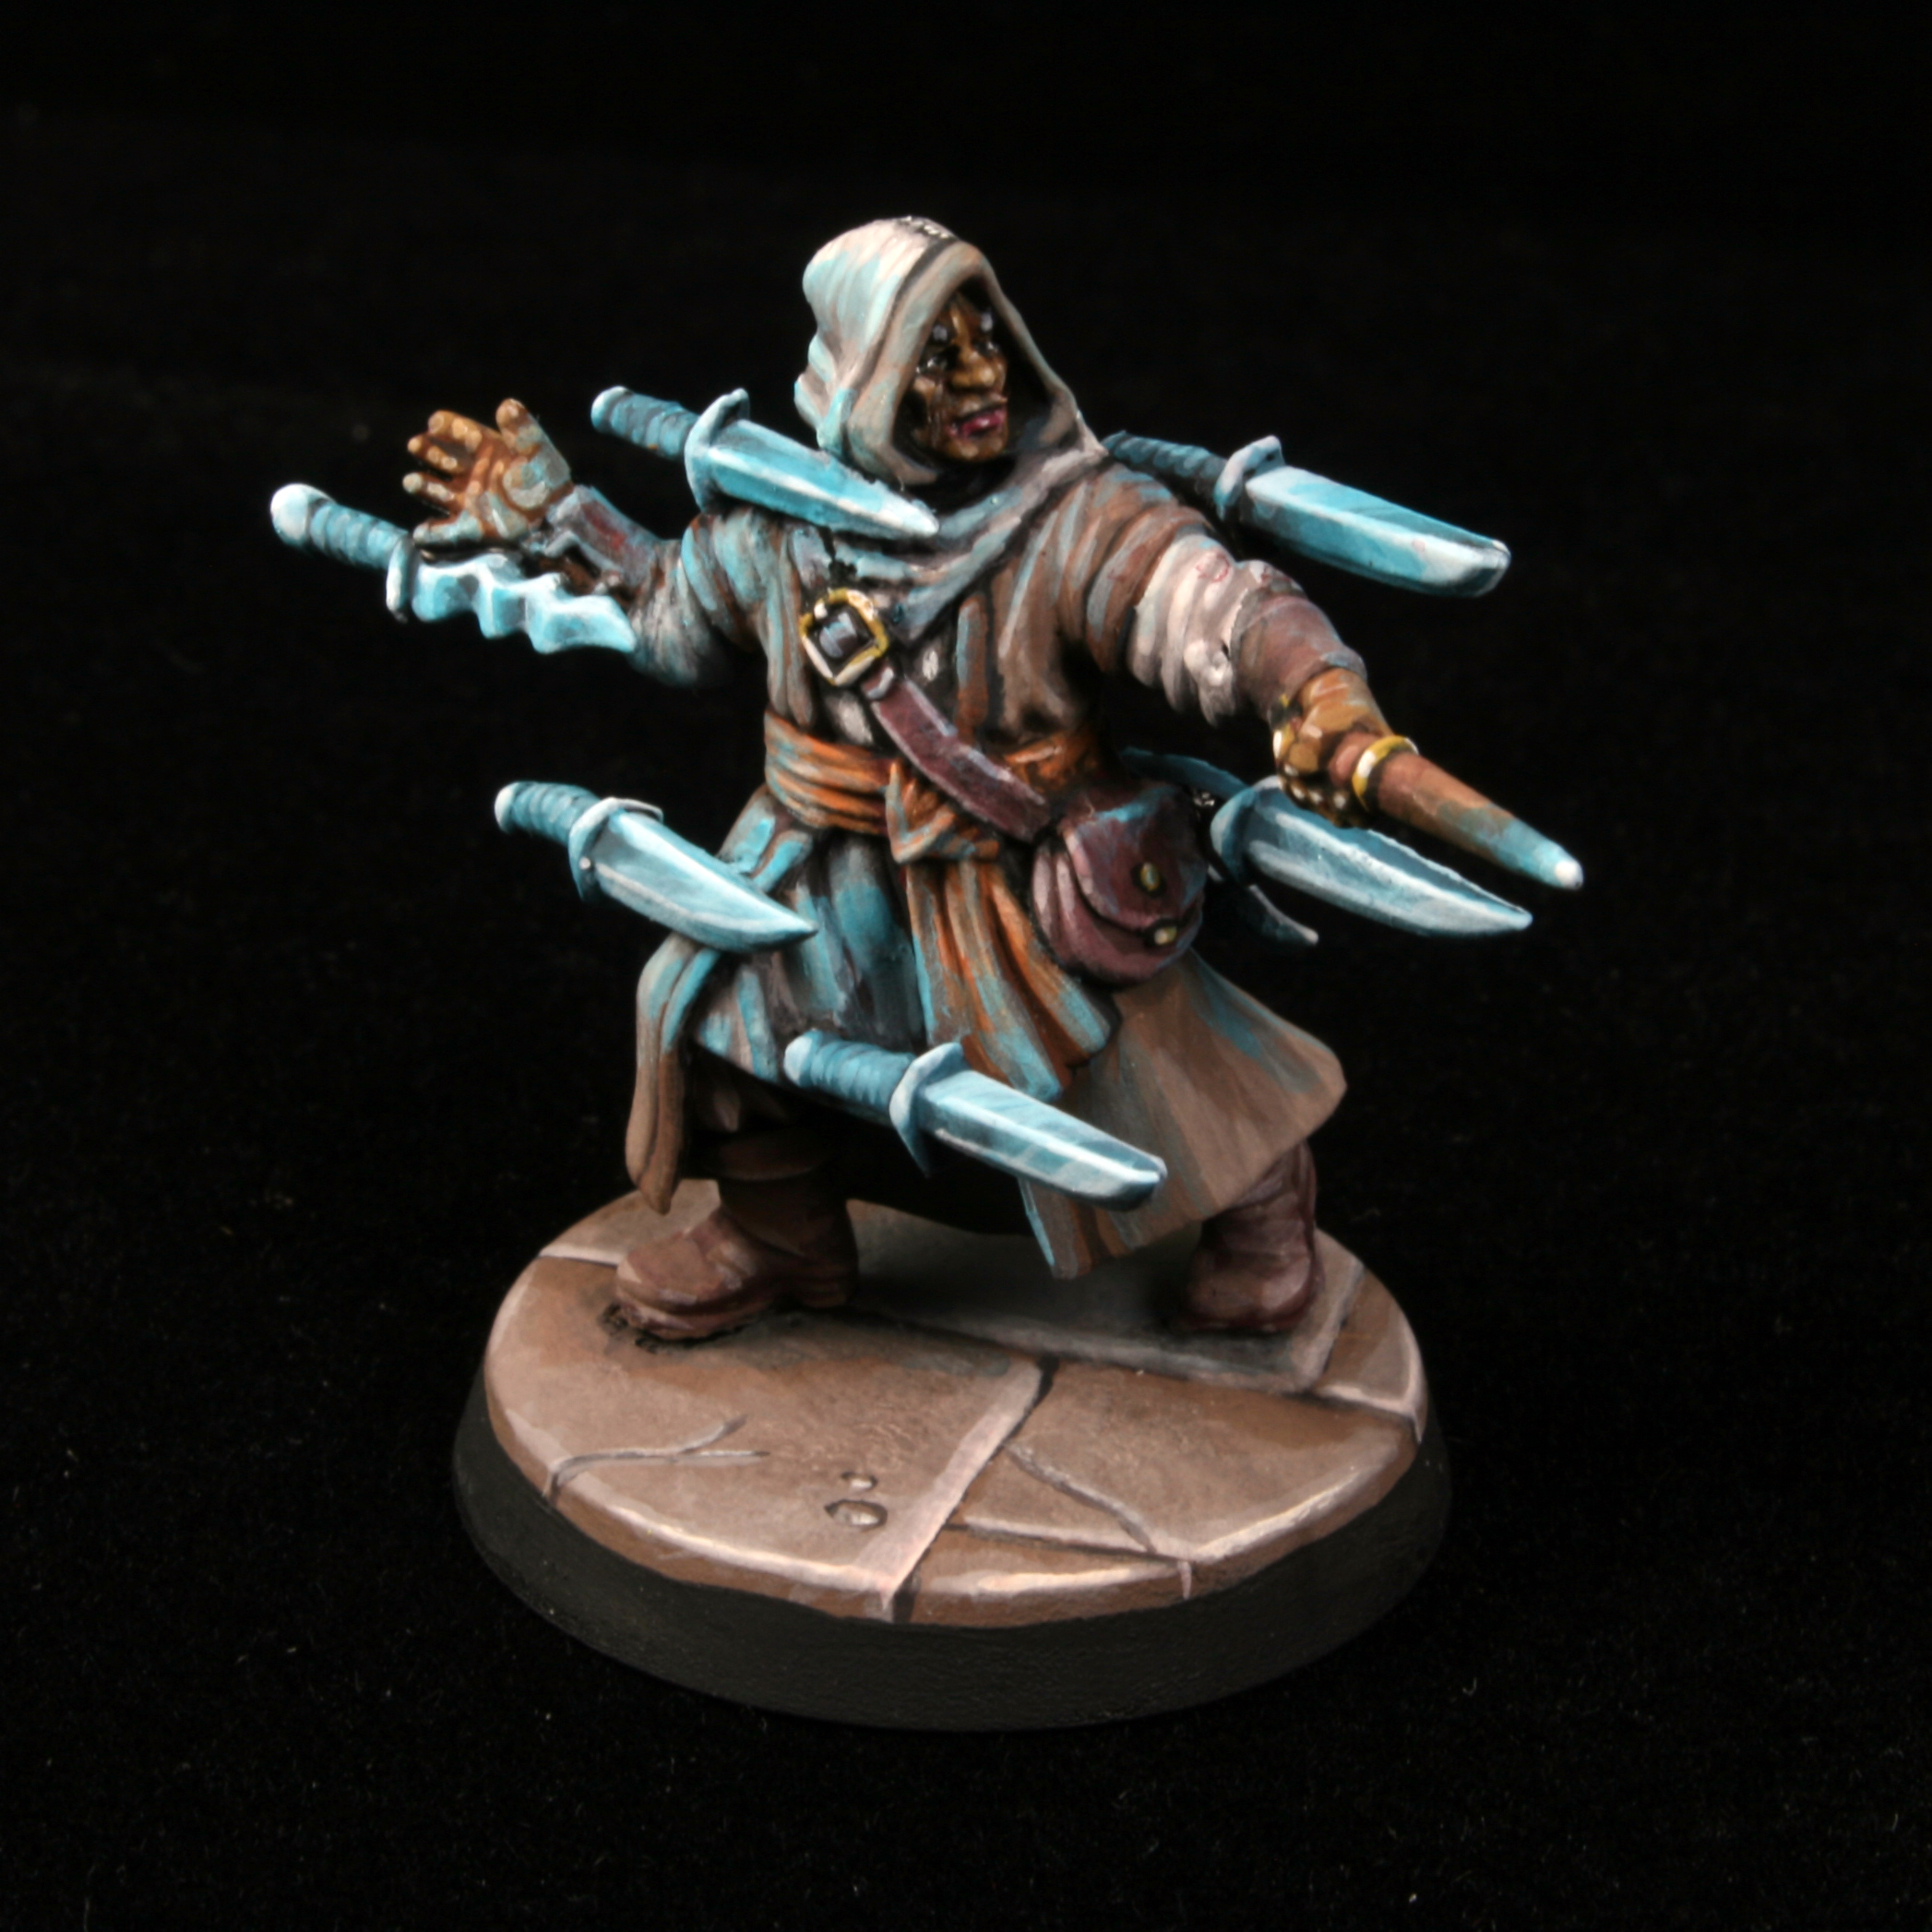
Let’s do an example with a miniature. I’ve built a wizard from the Frostgrave Wizards kit. He likes knives.
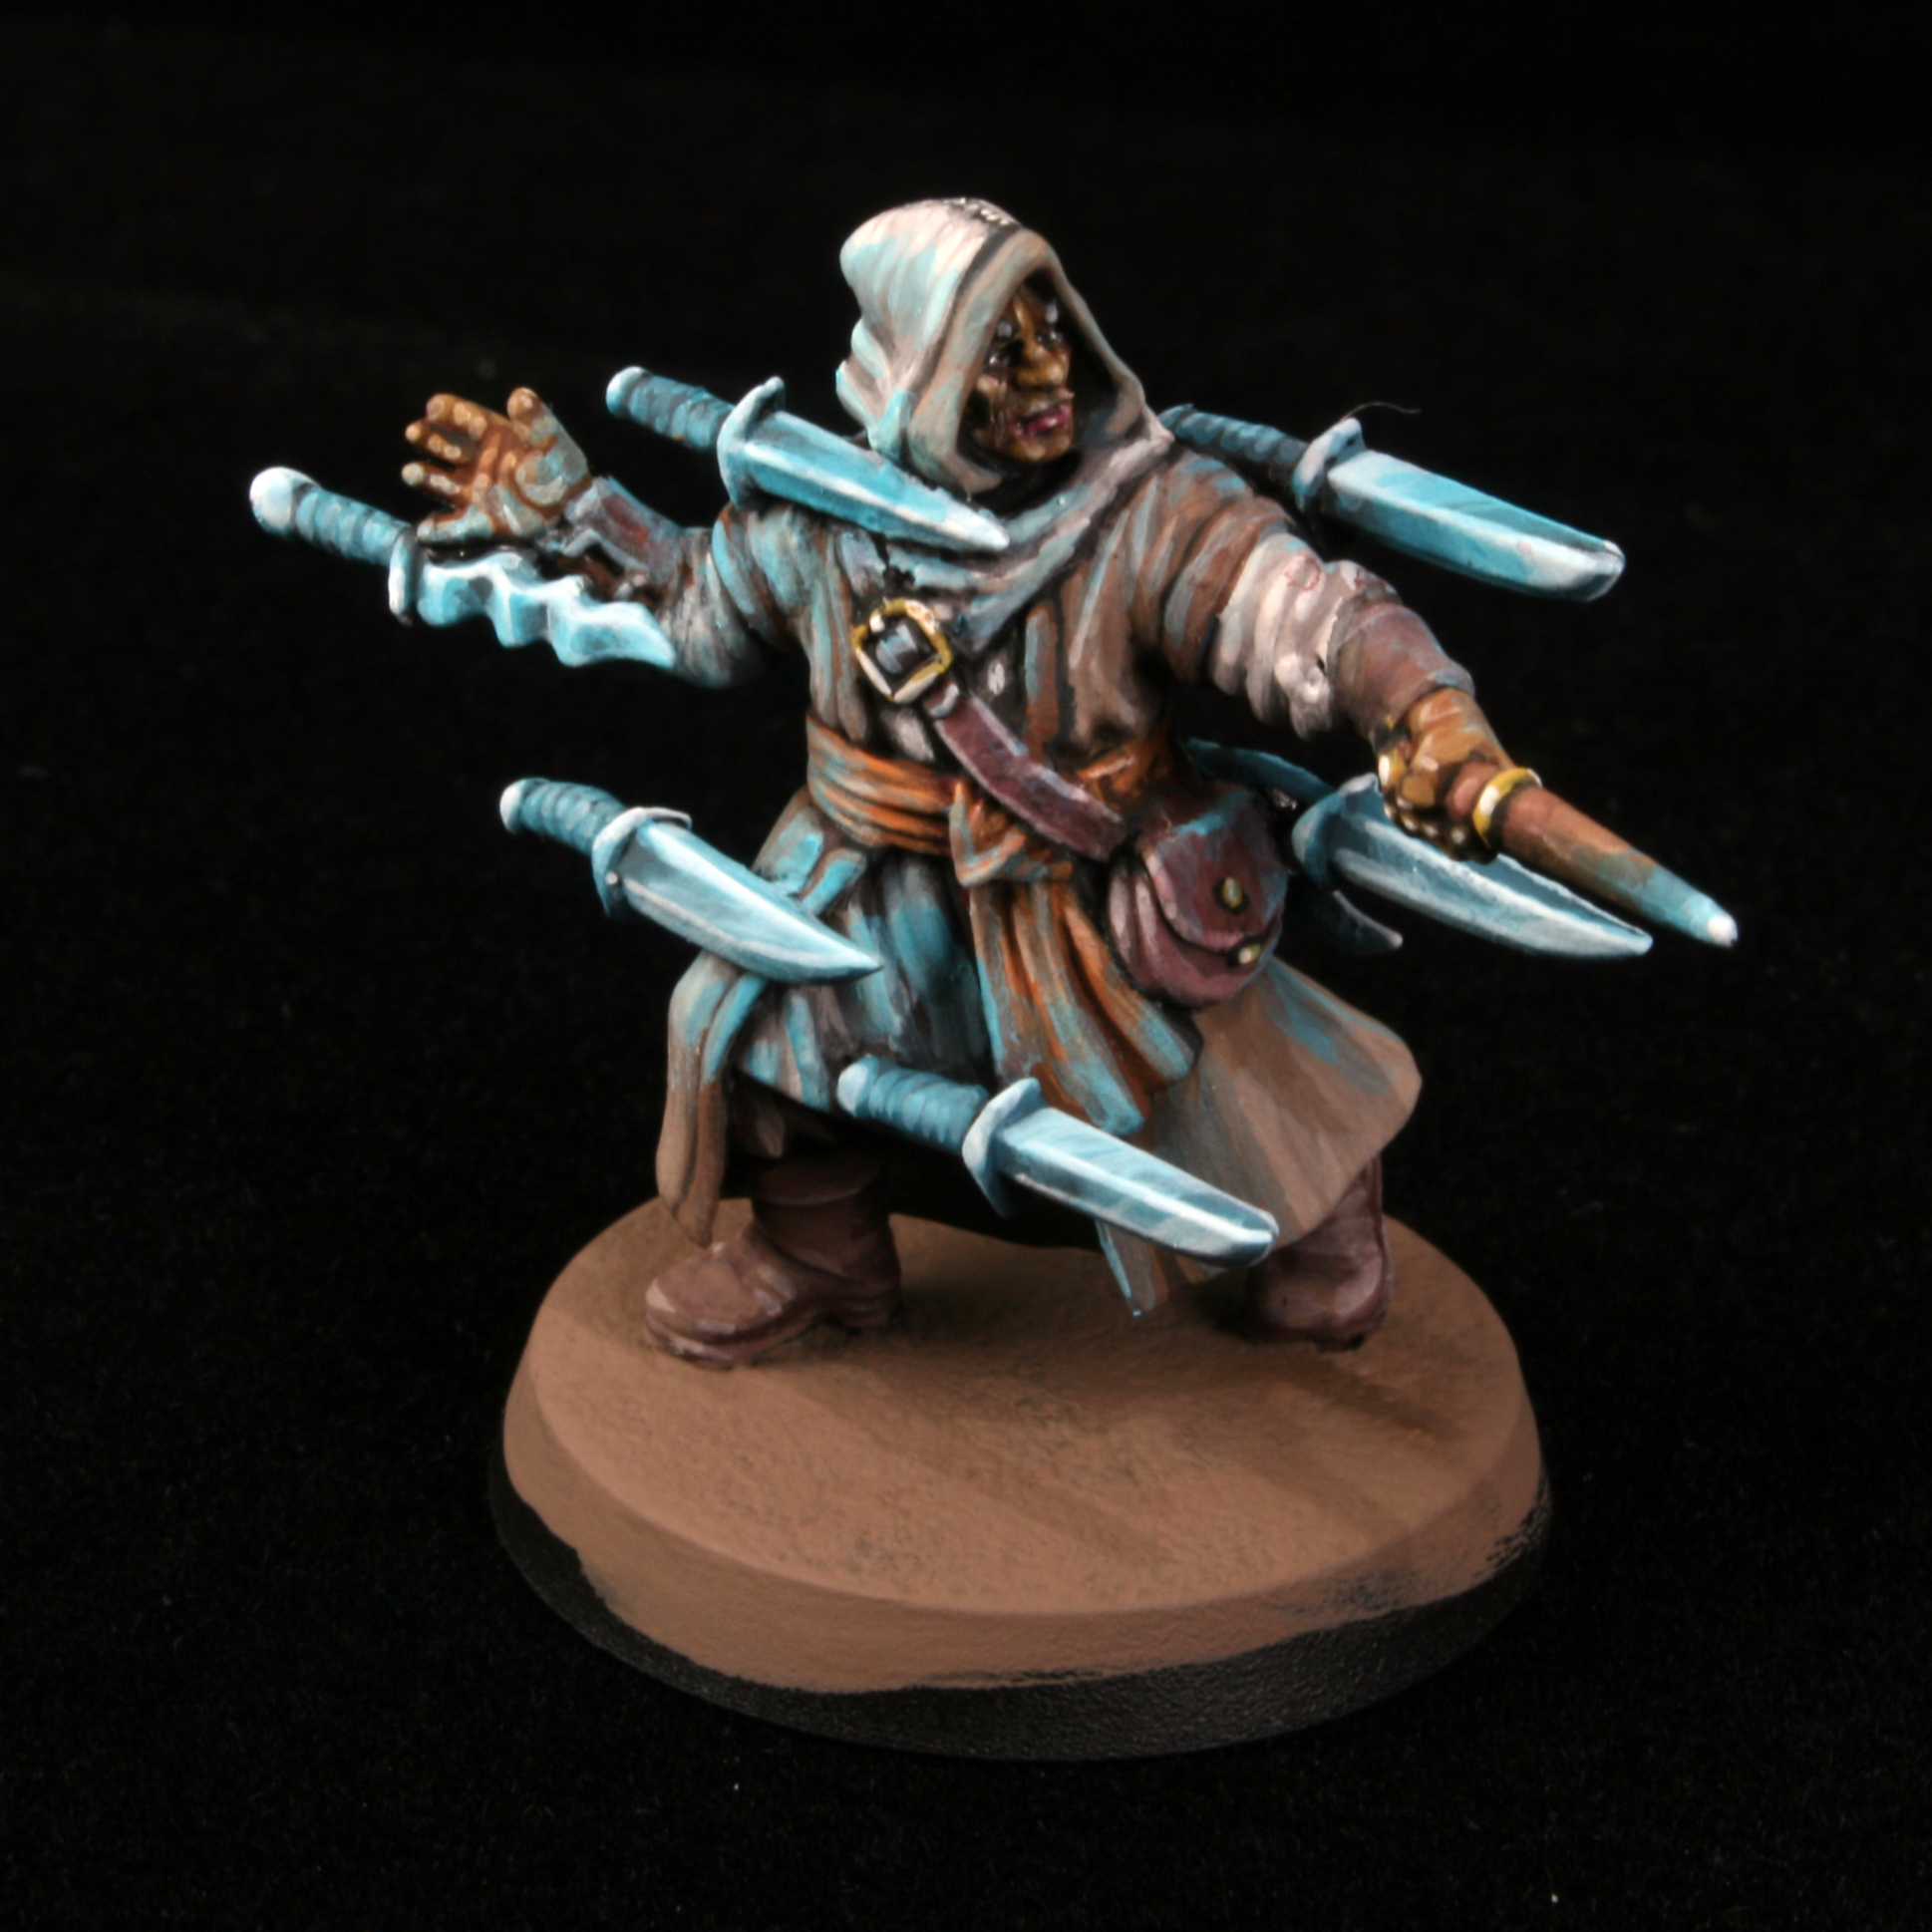
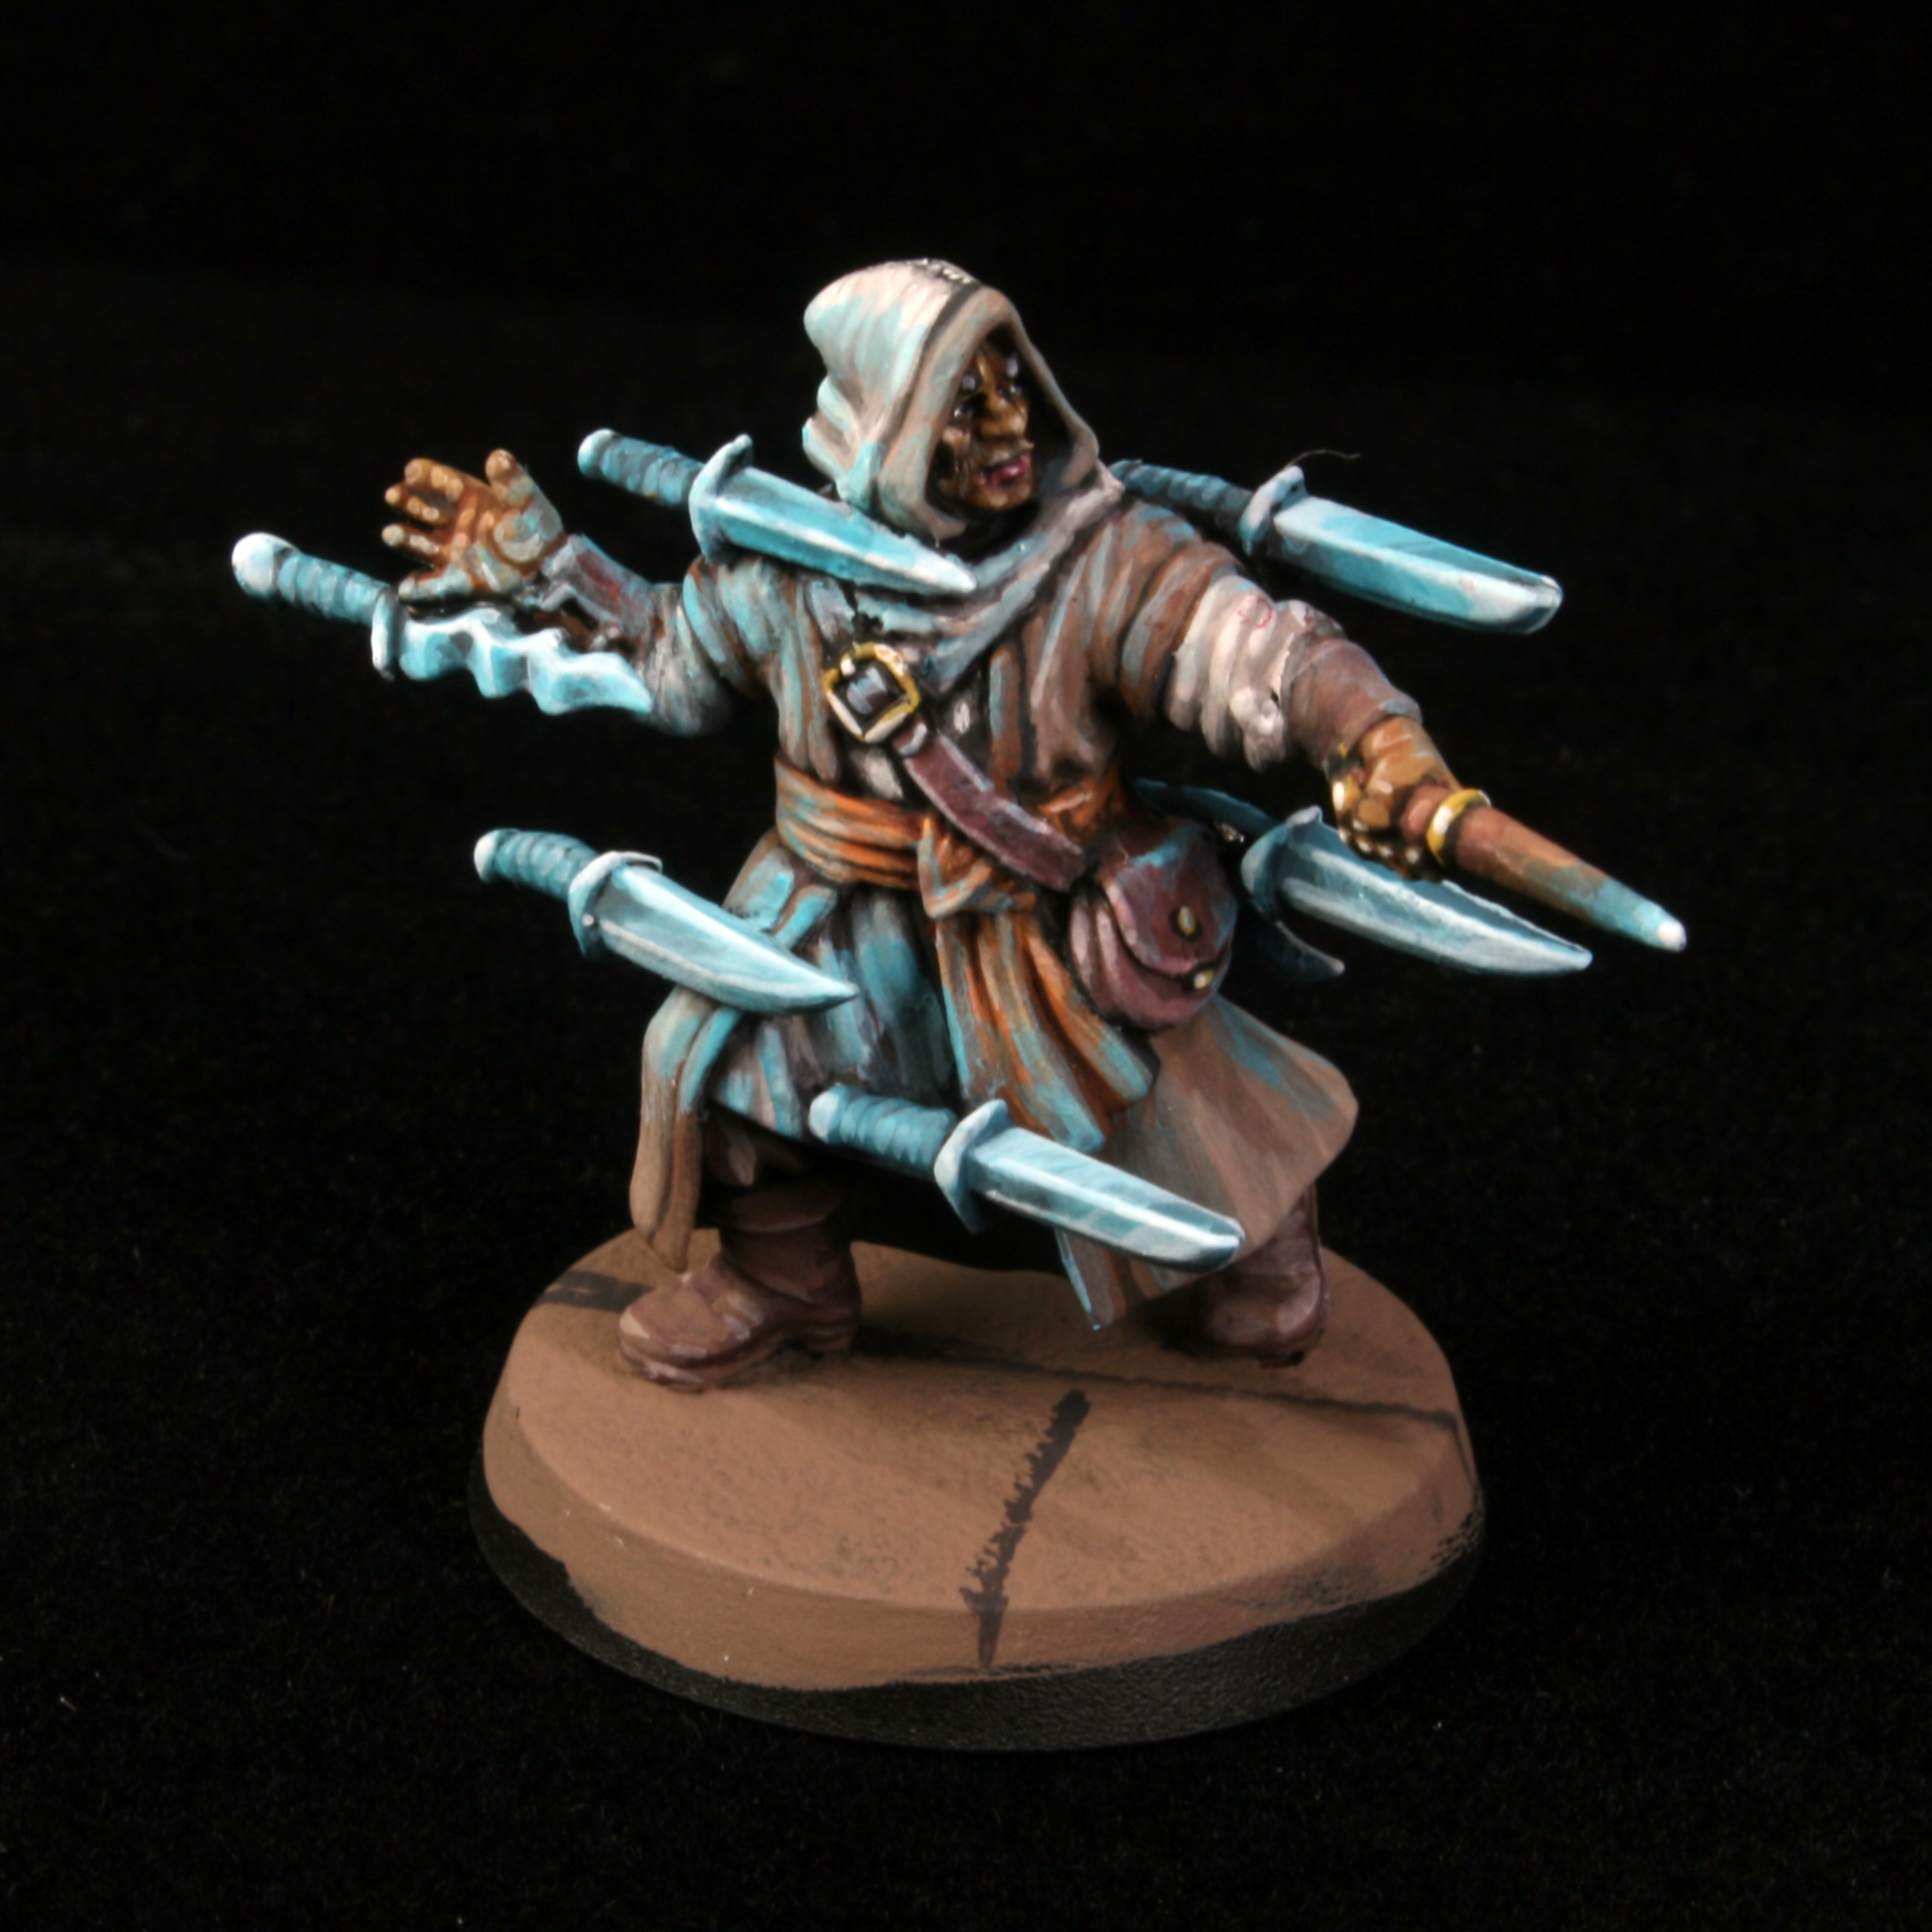
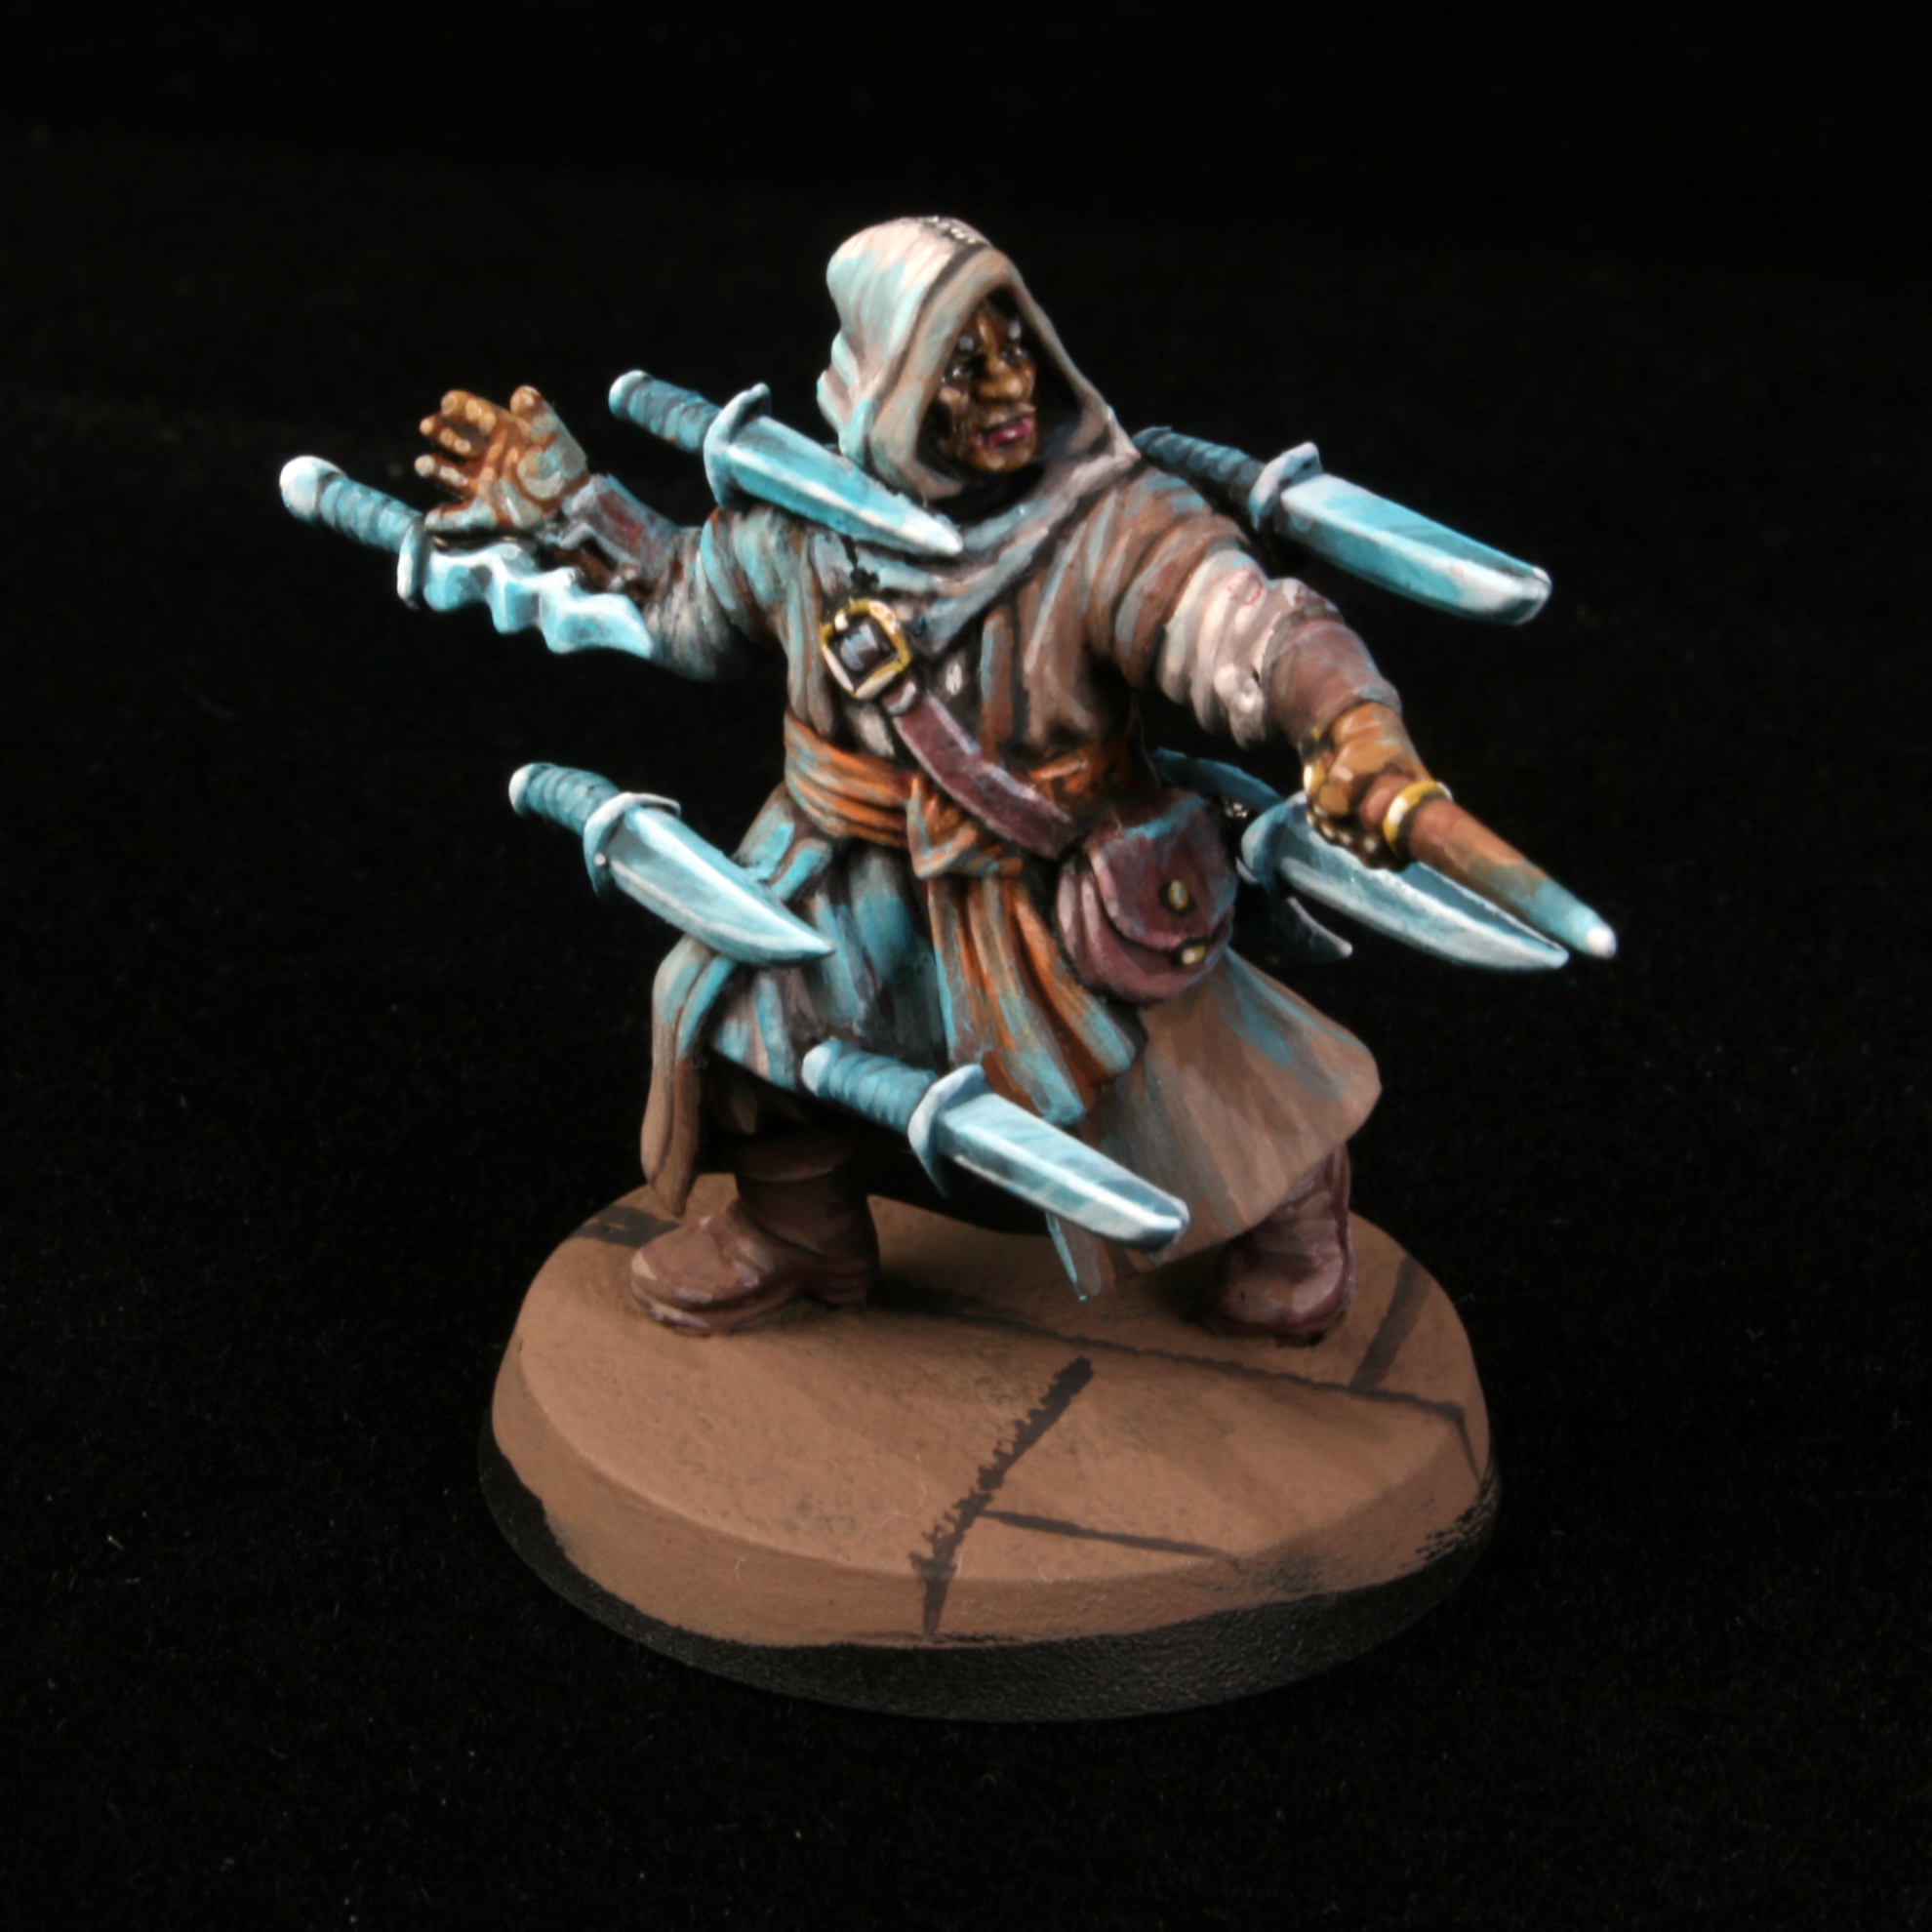
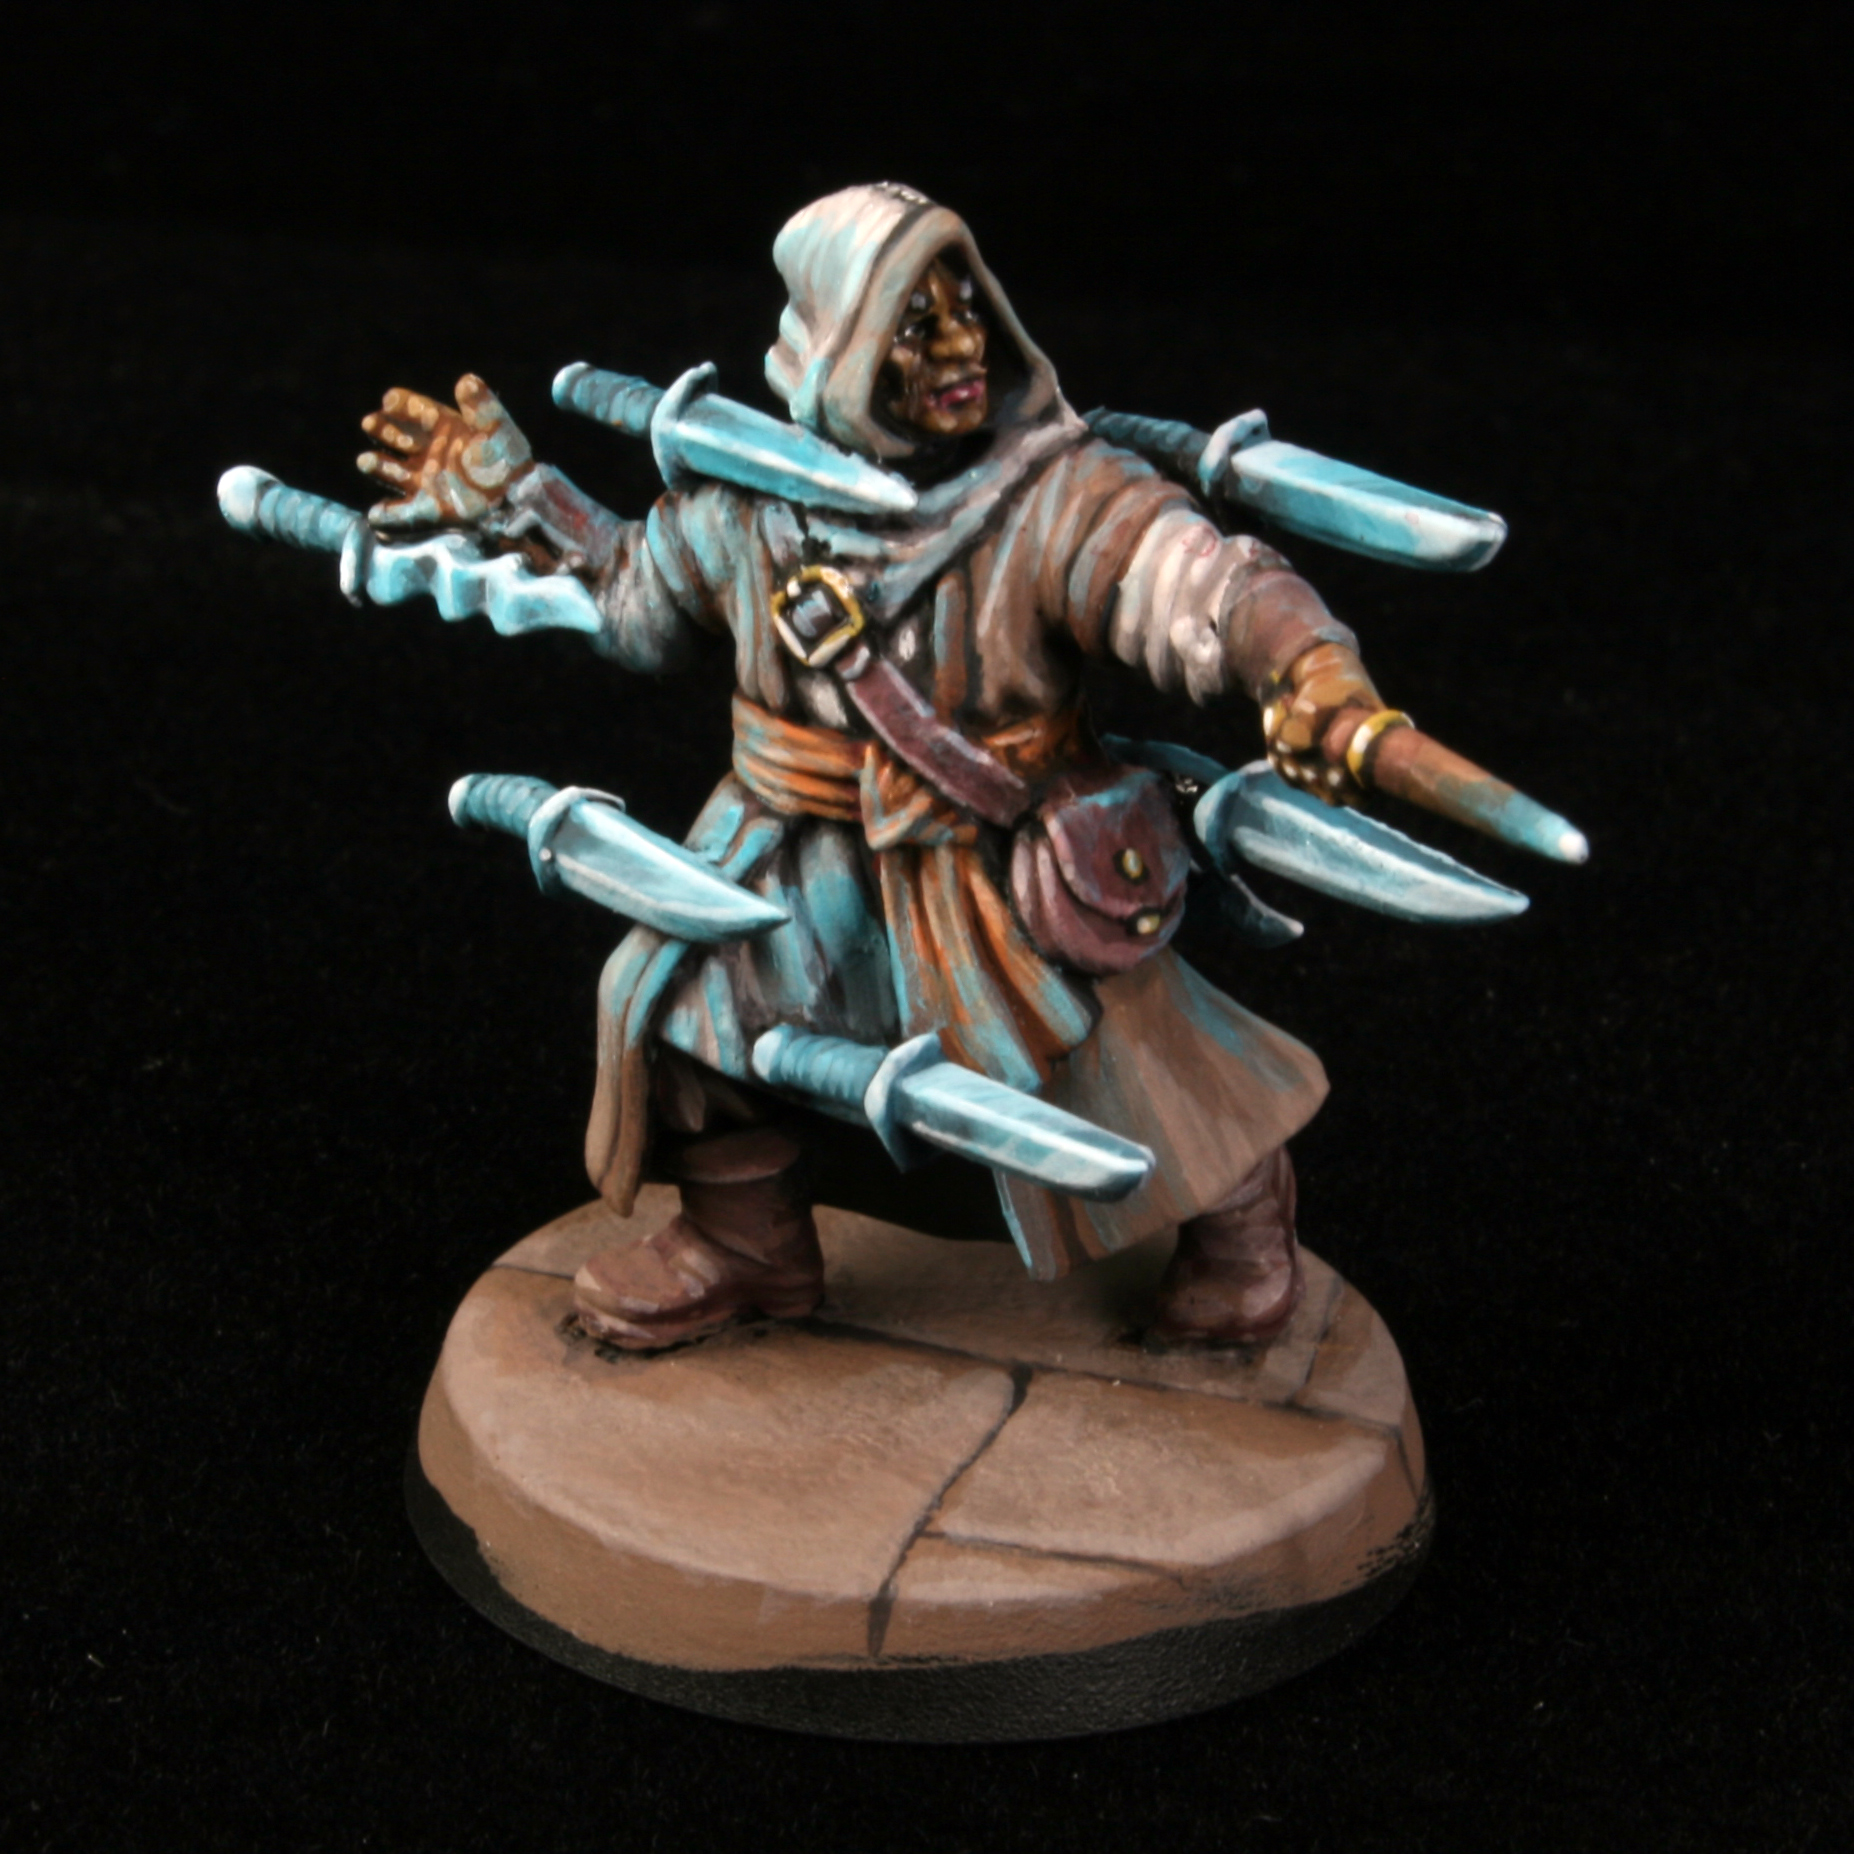
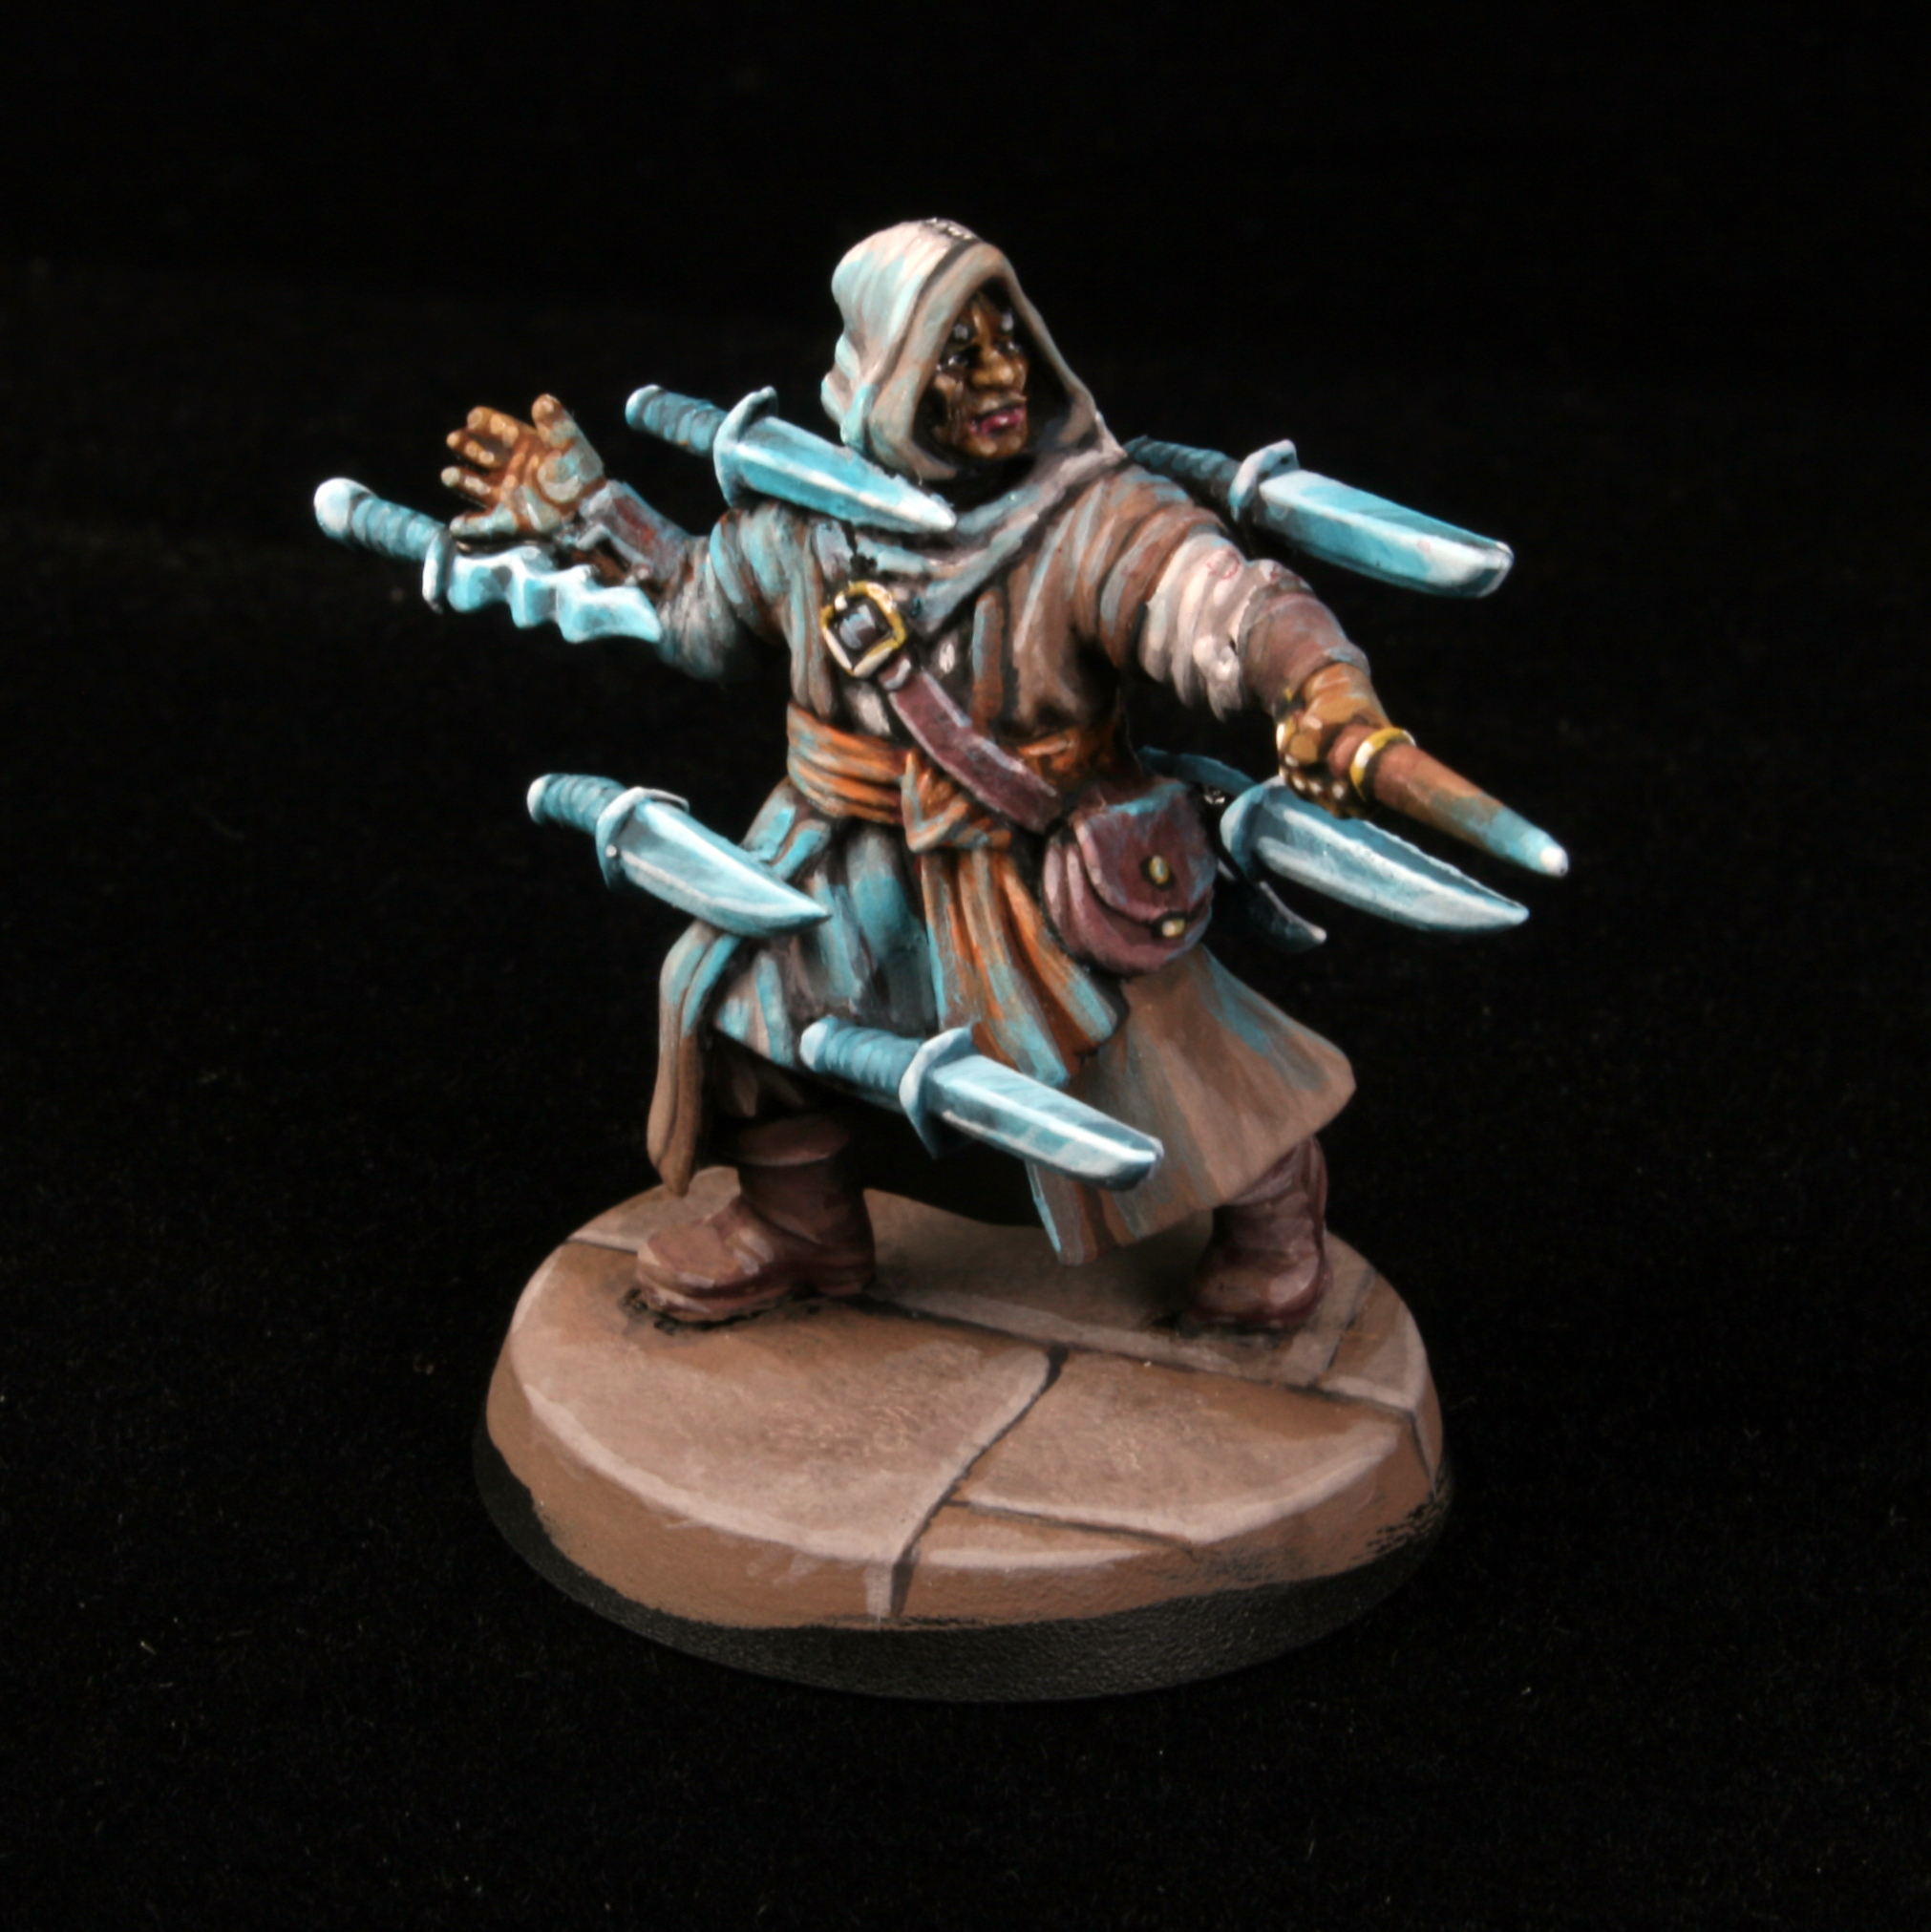
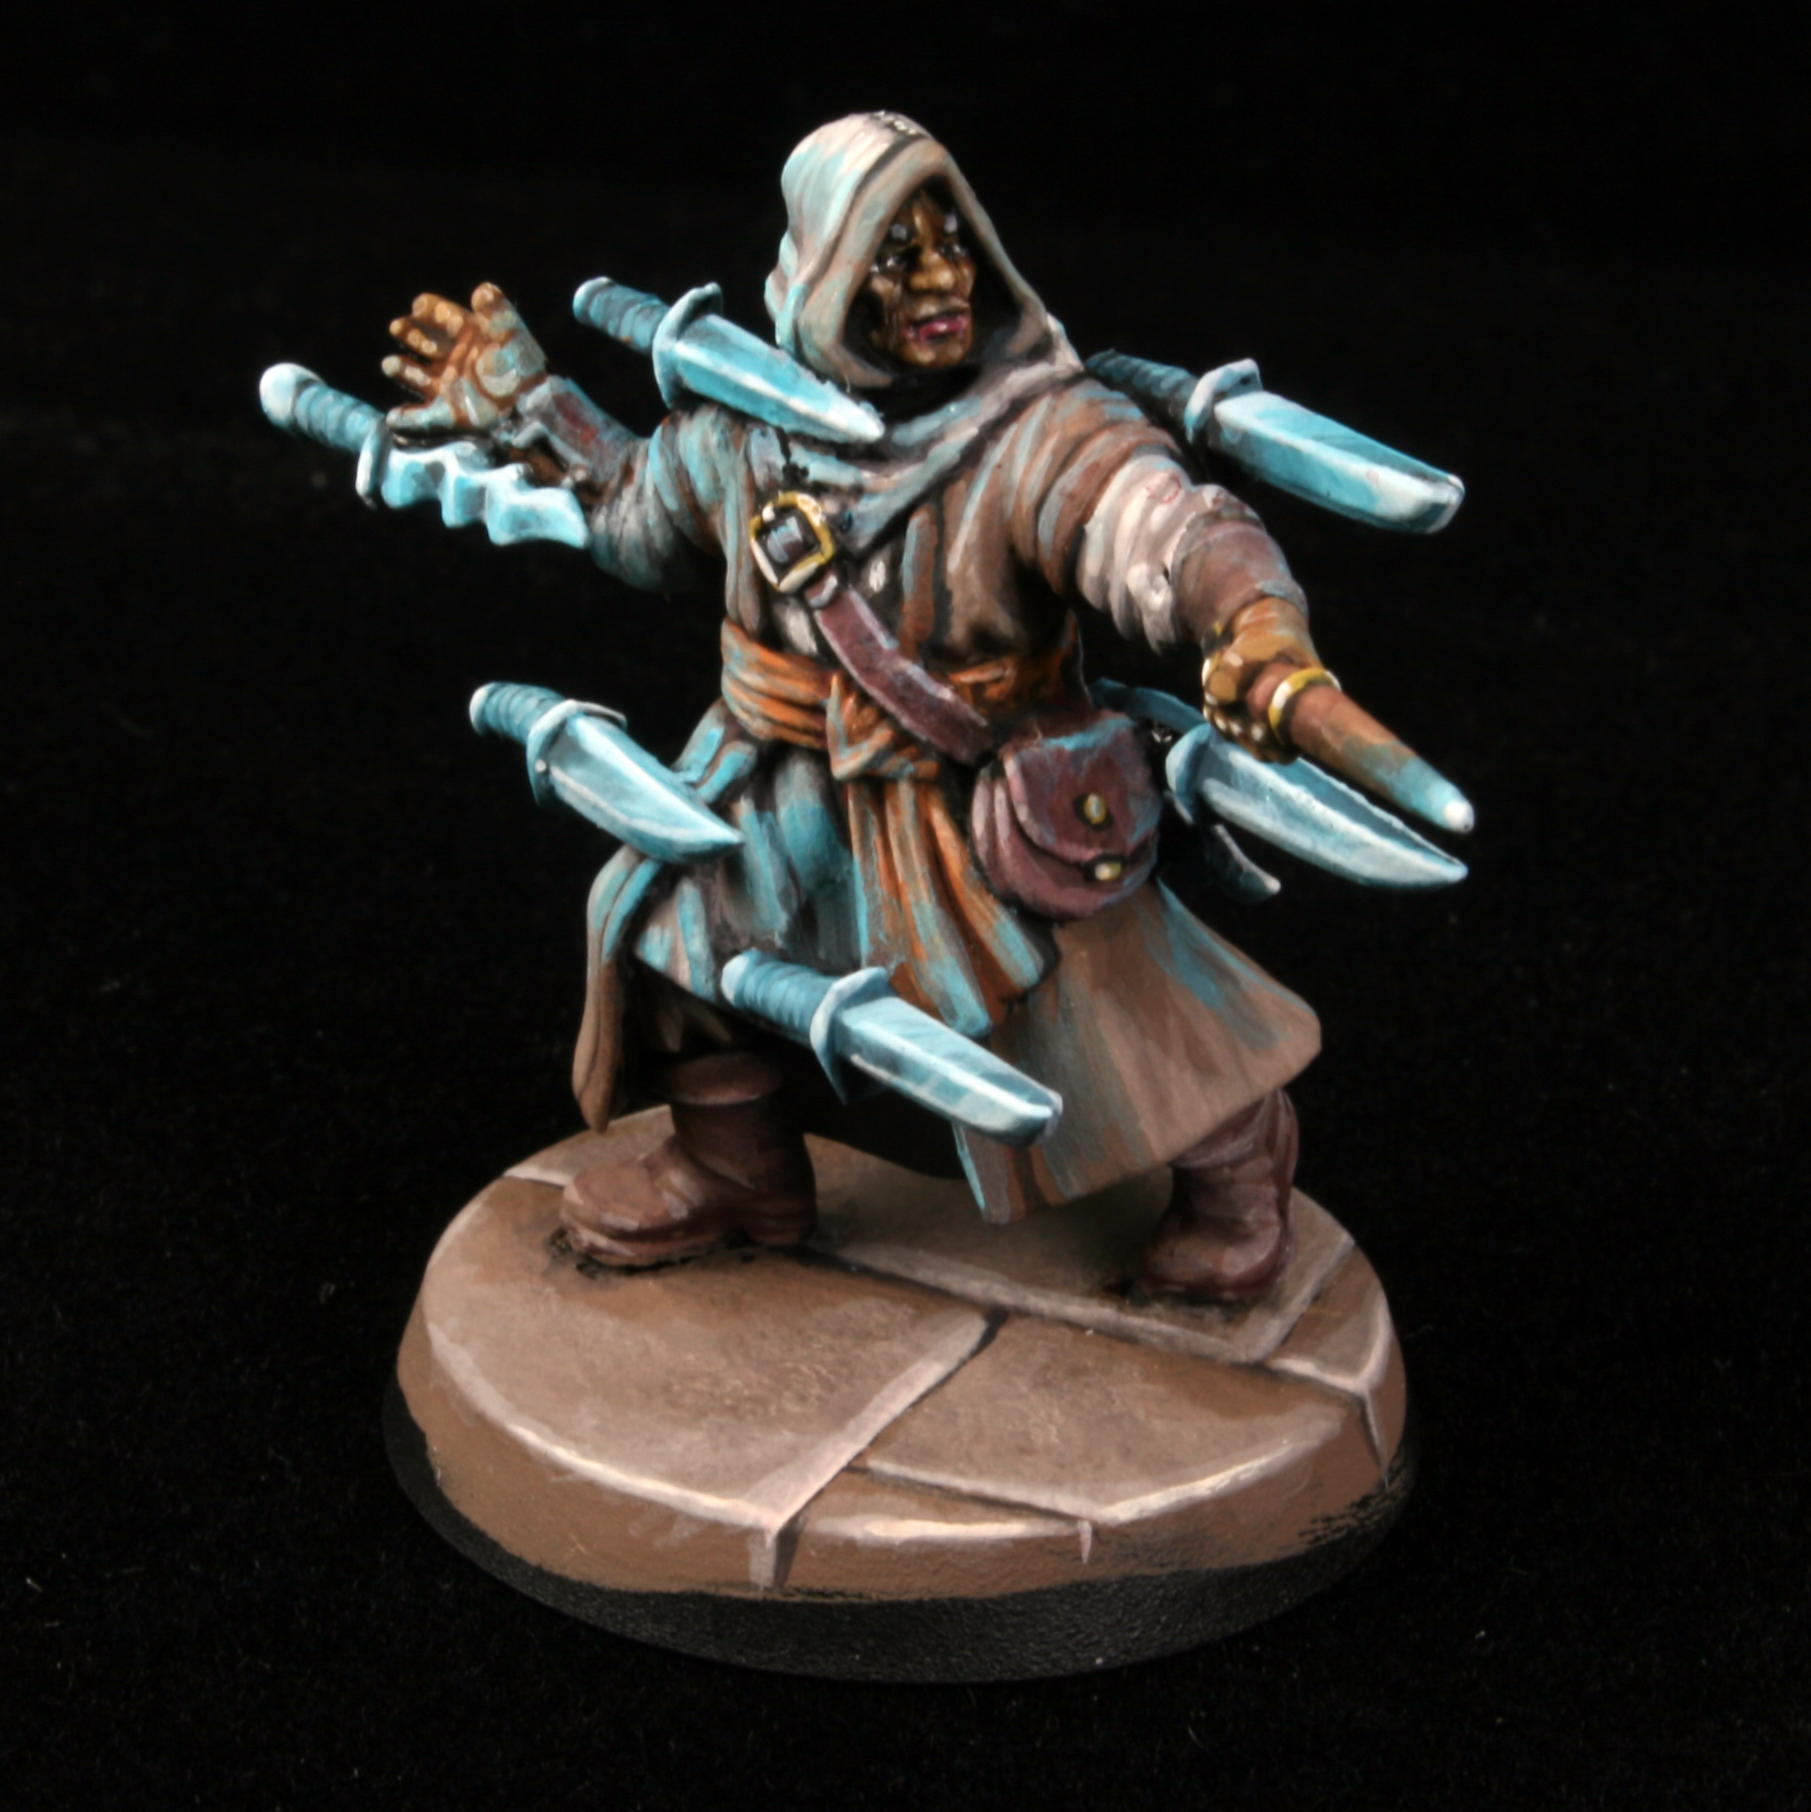
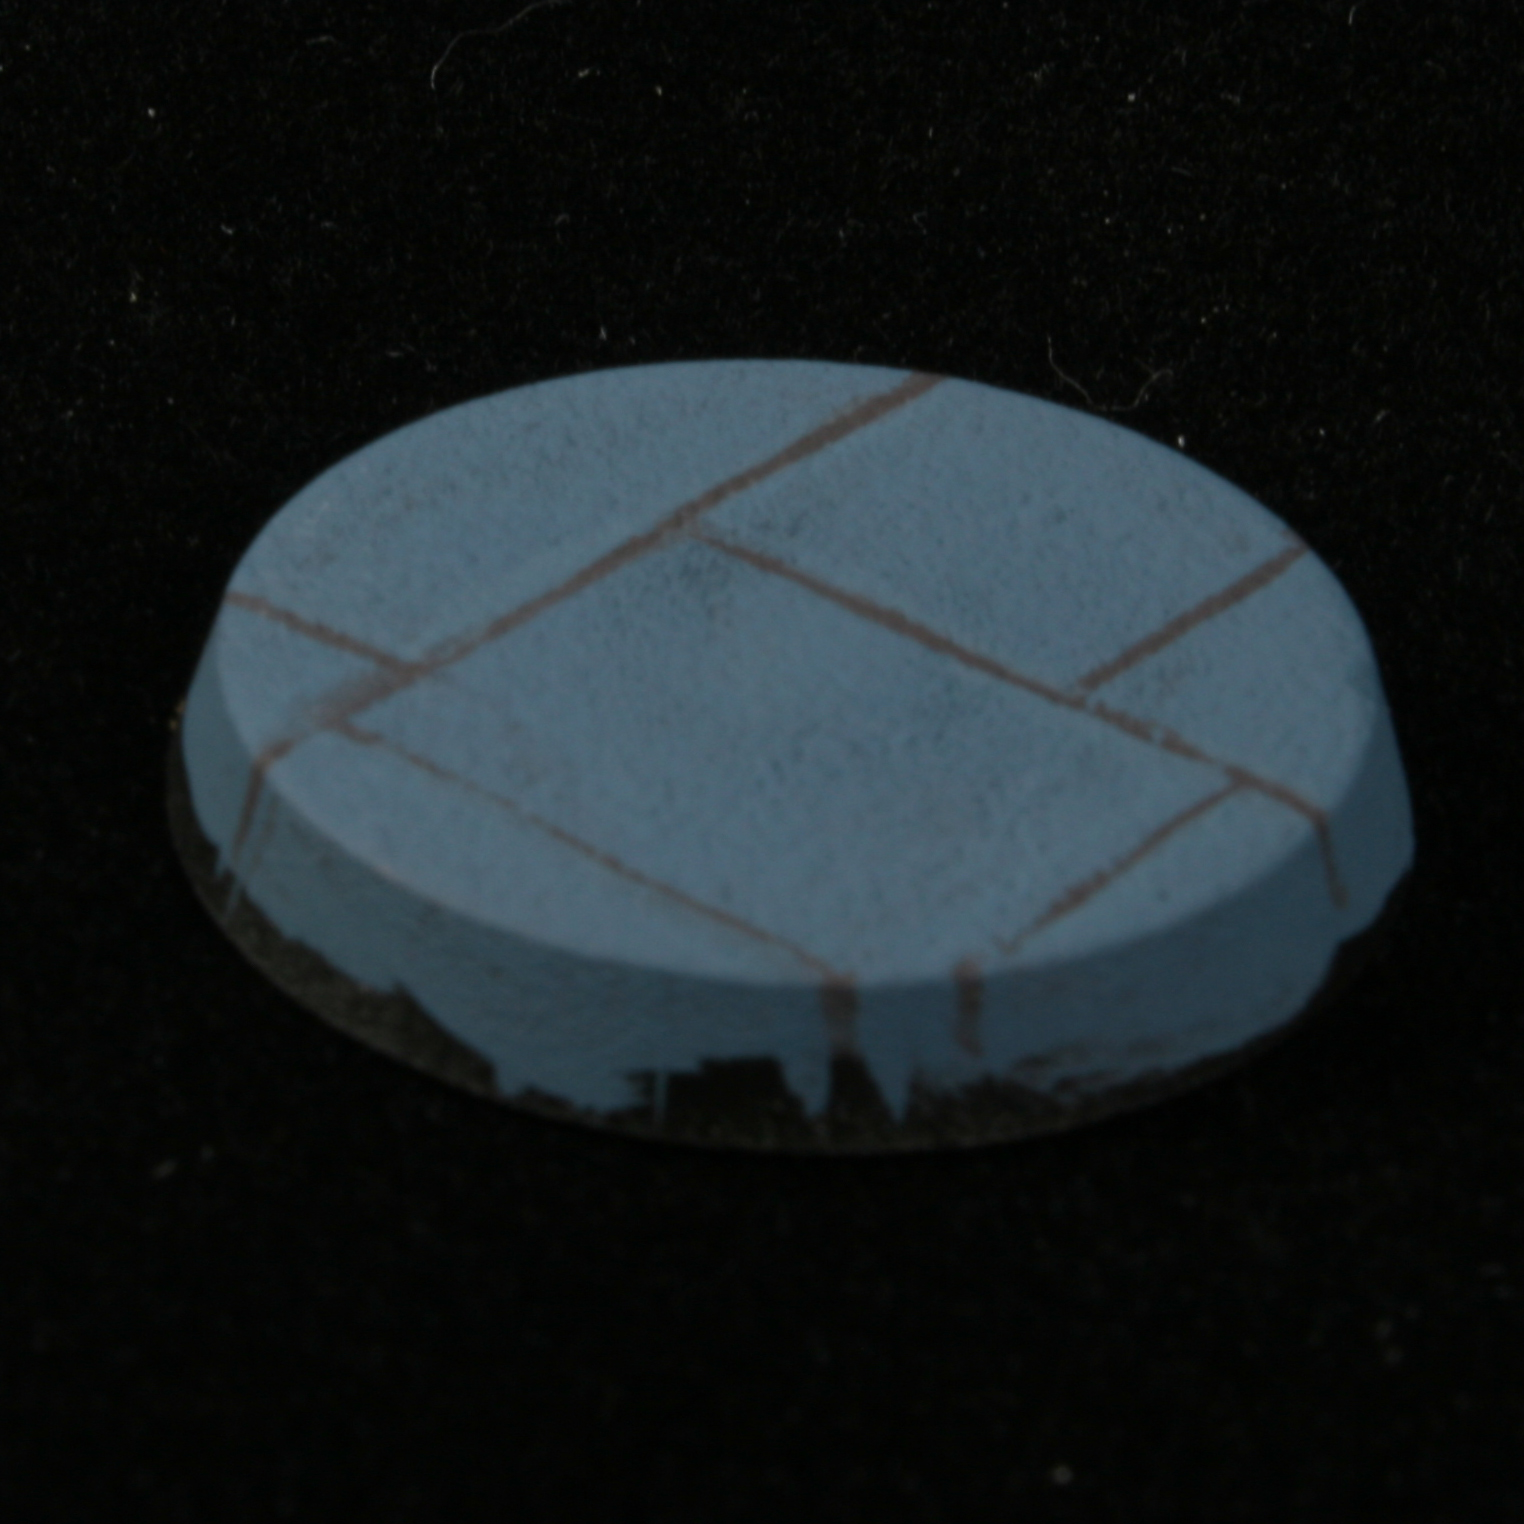
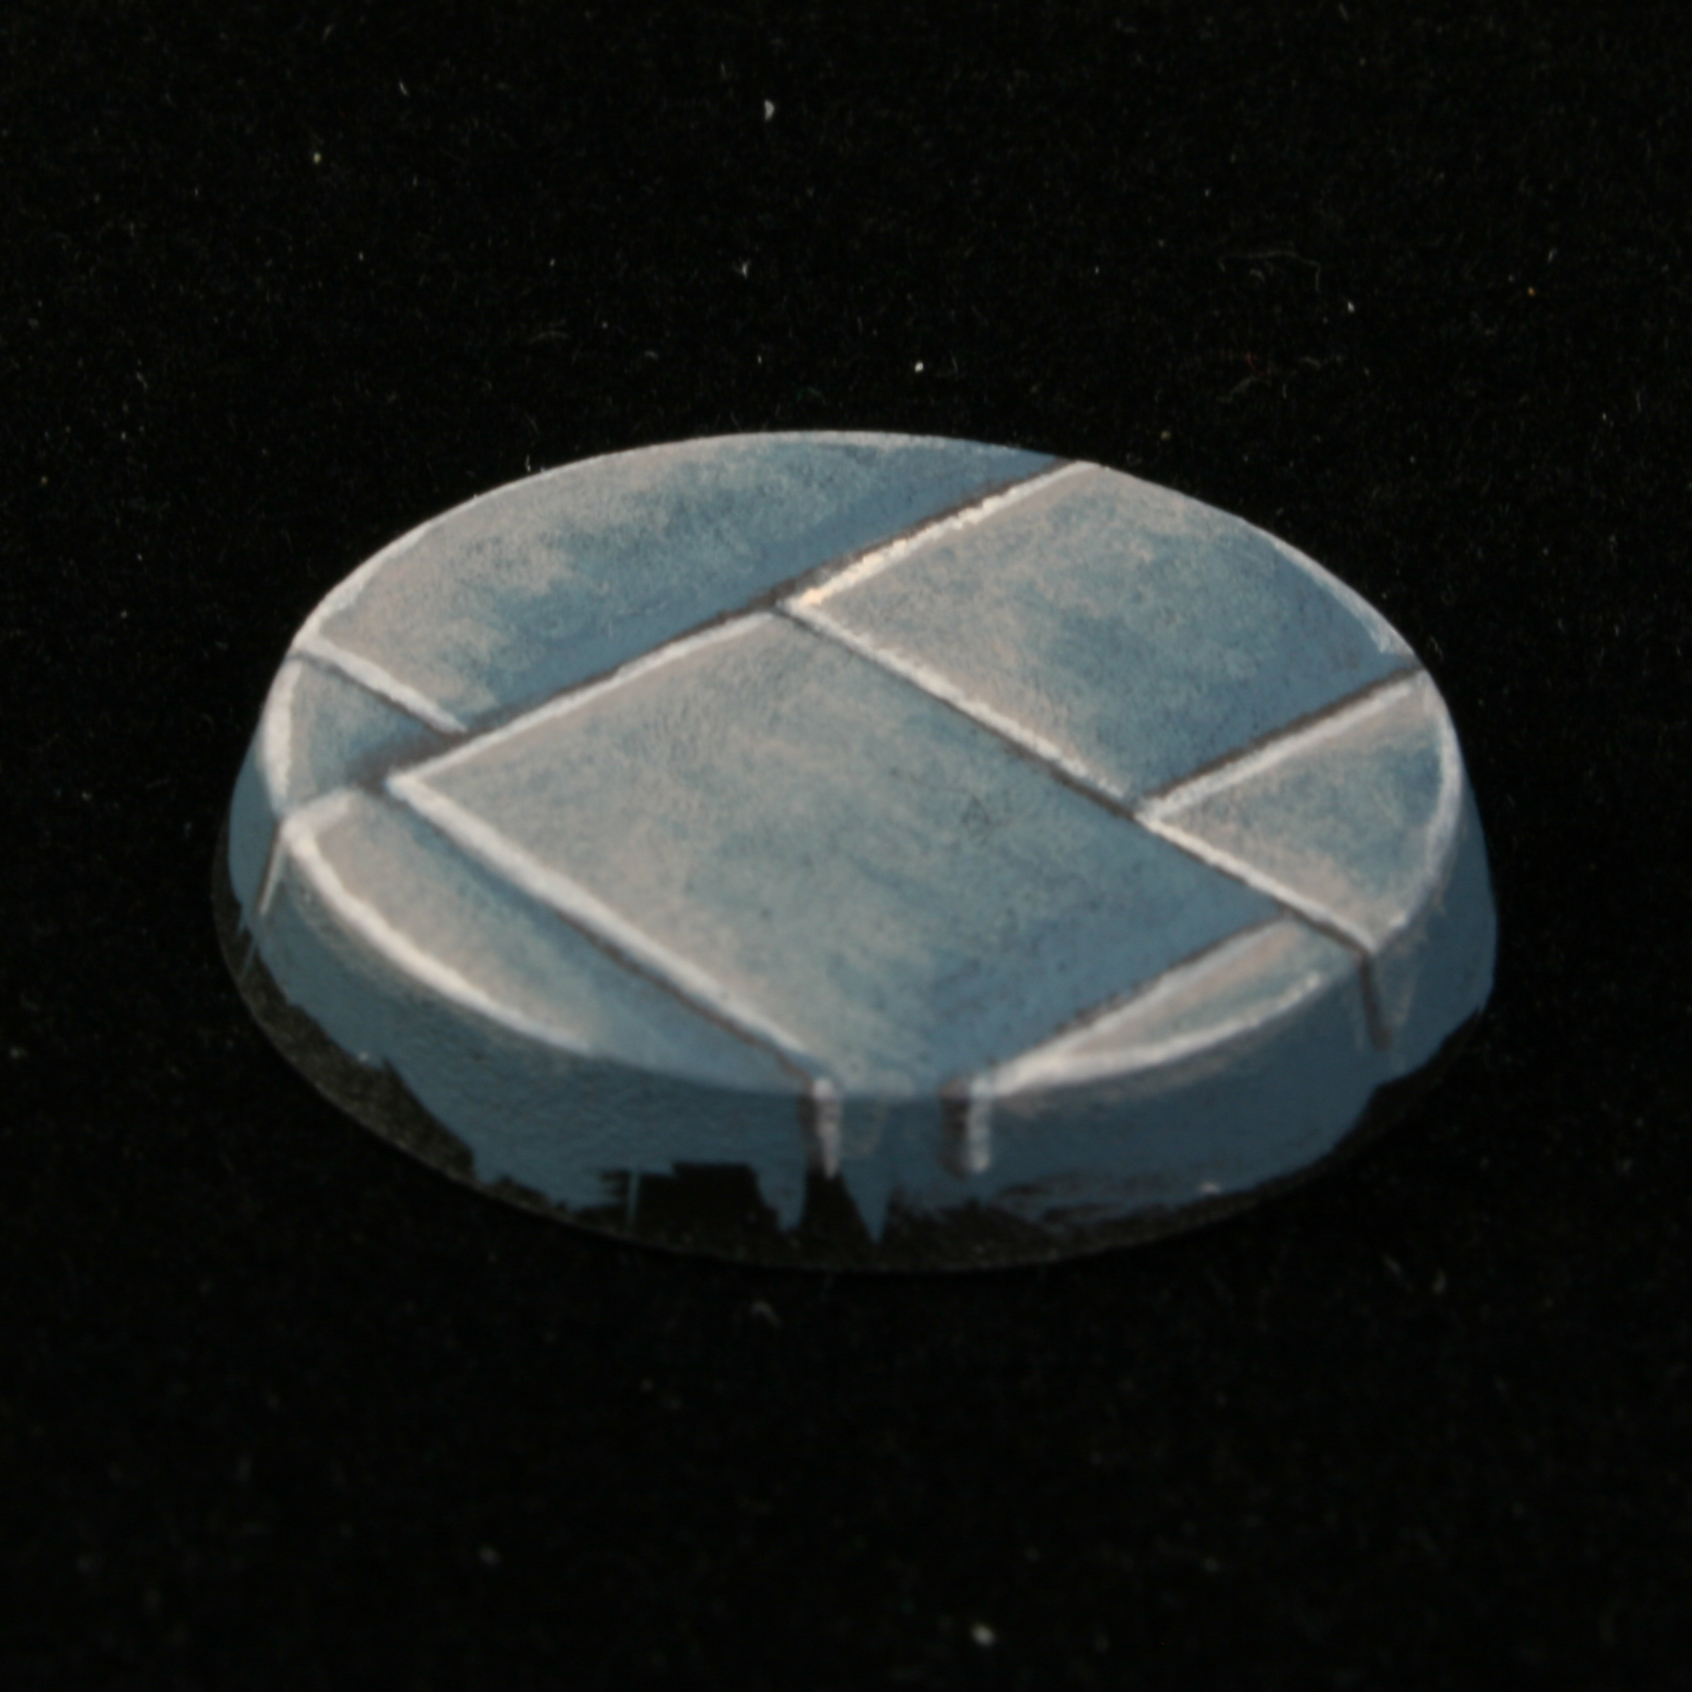
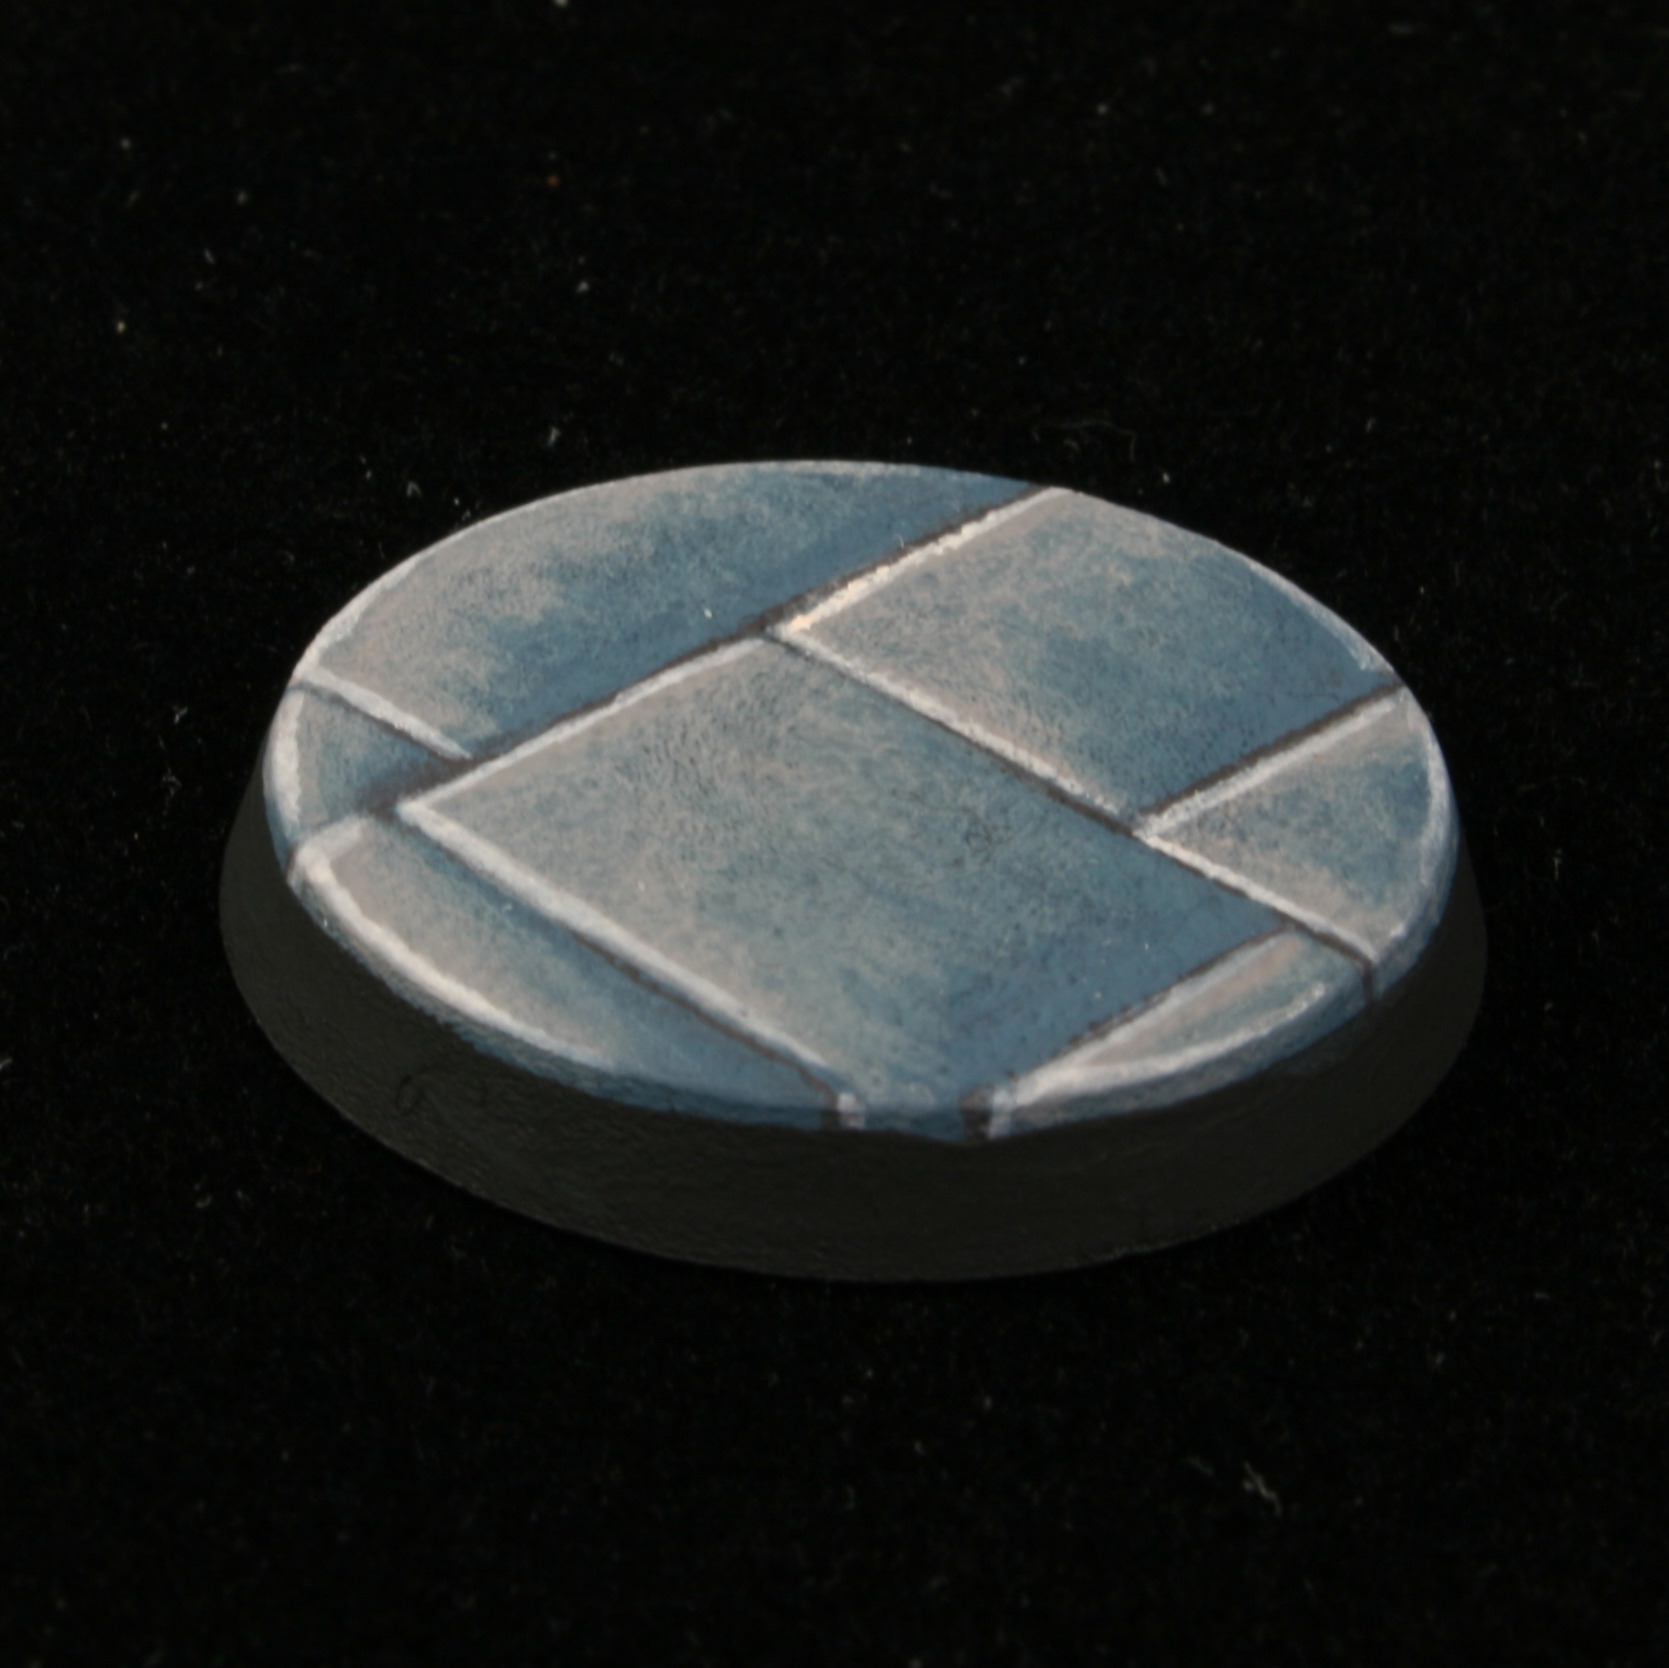
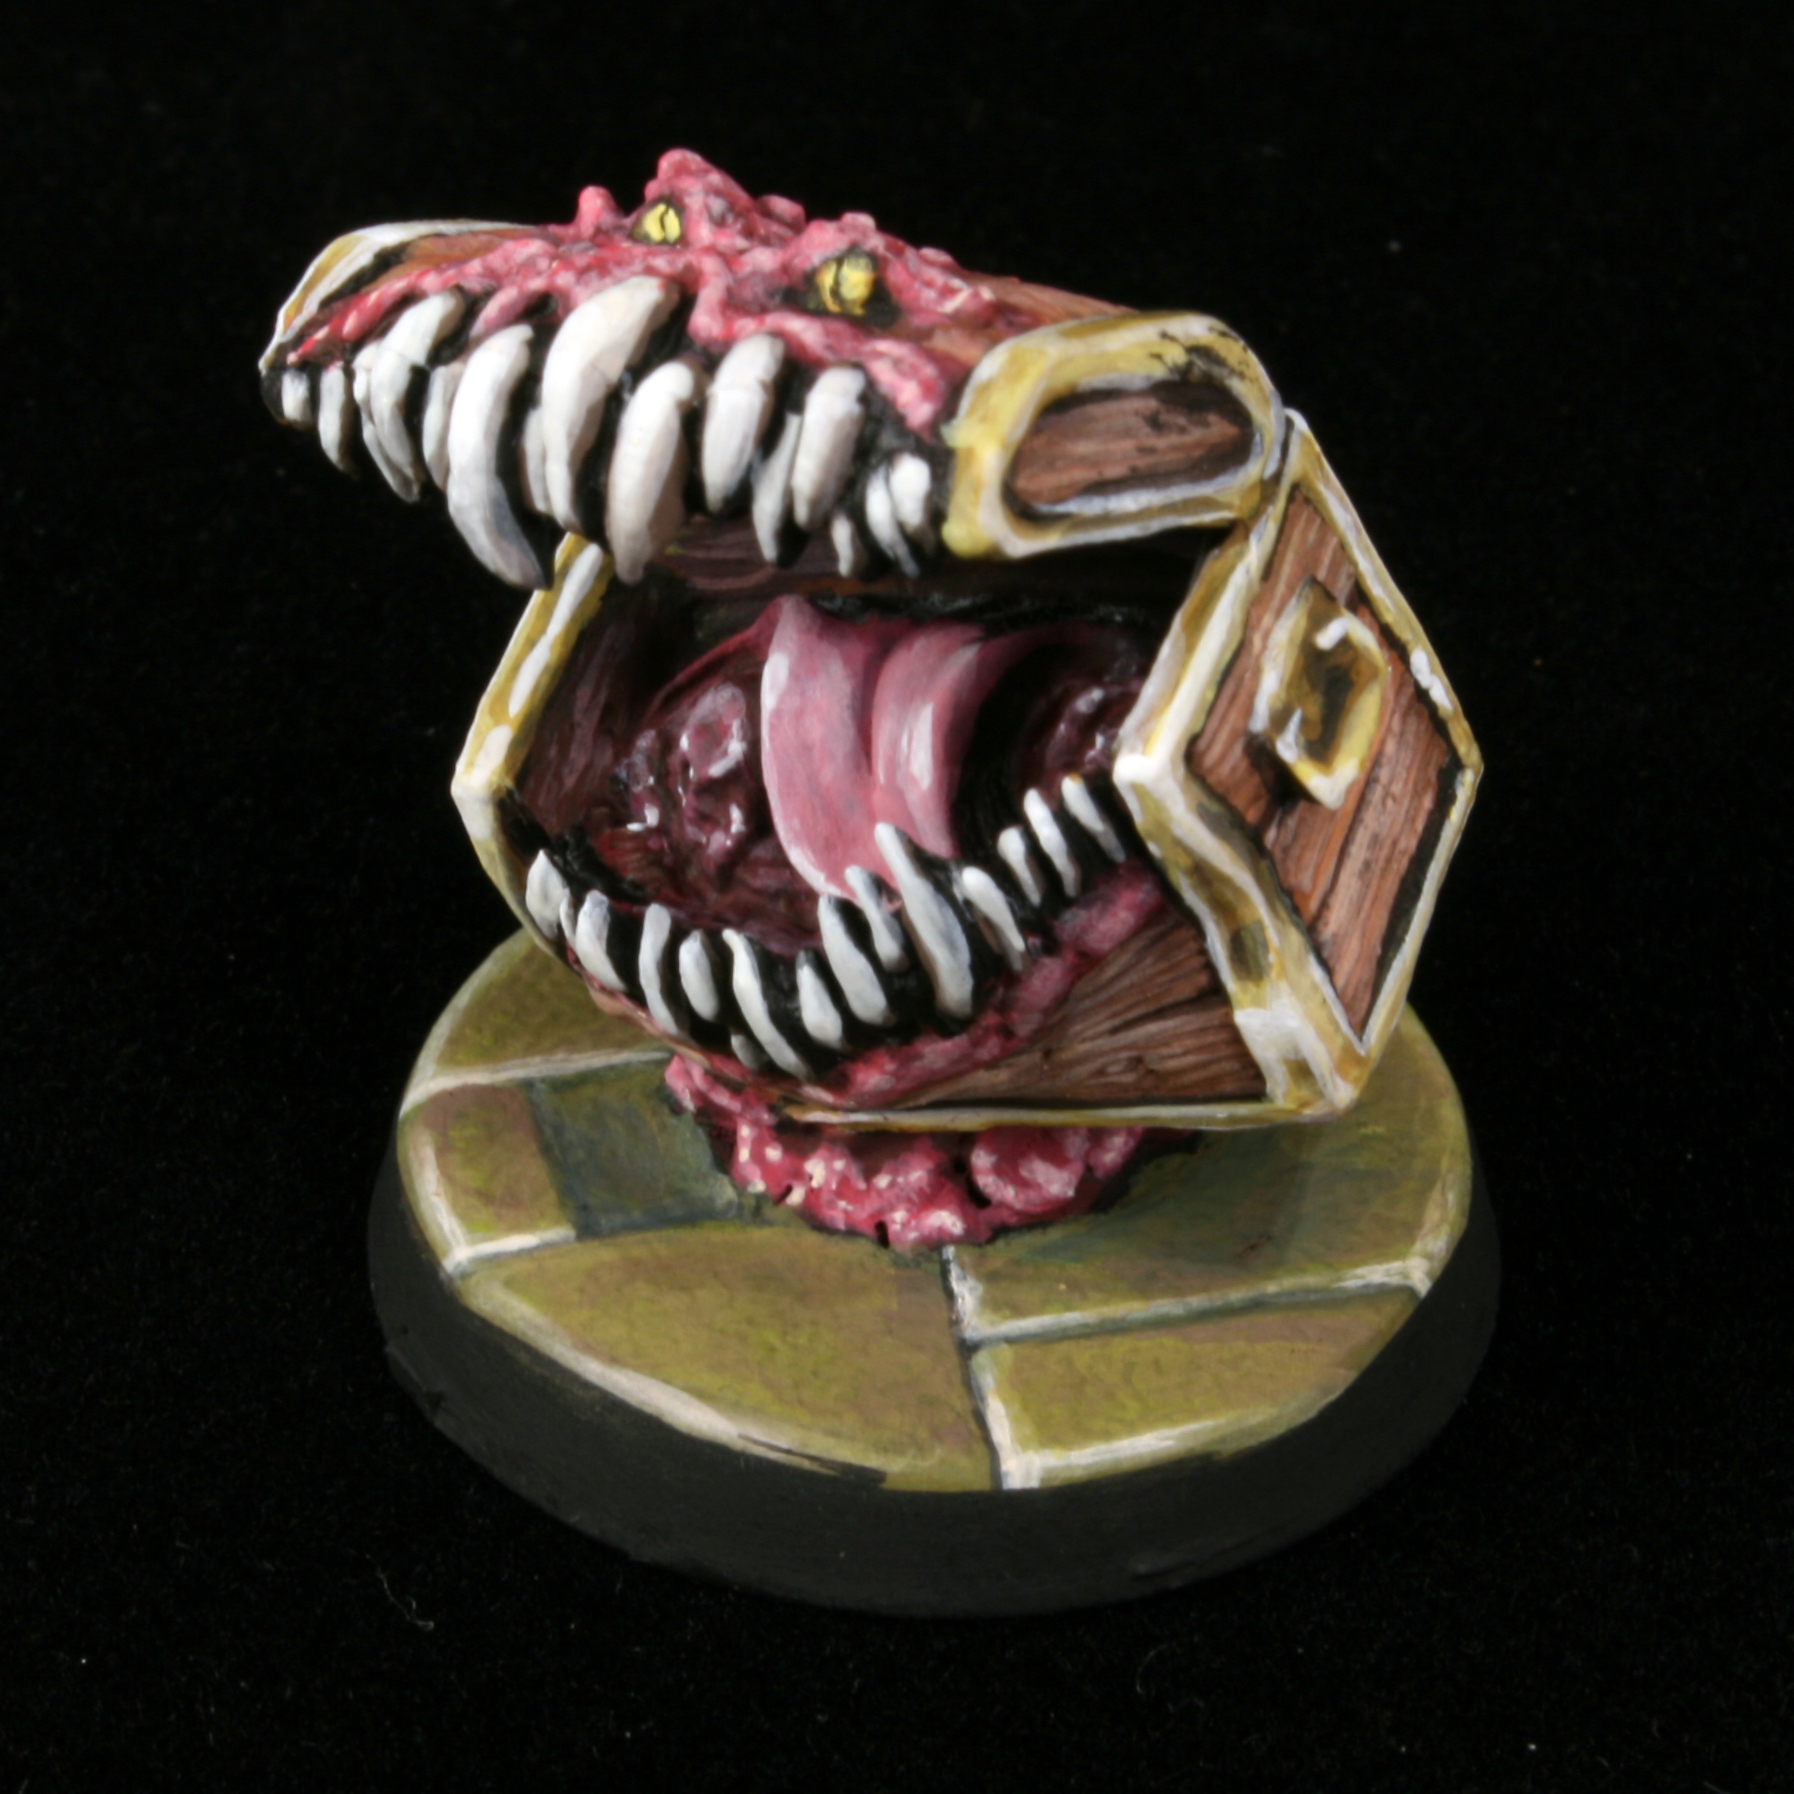
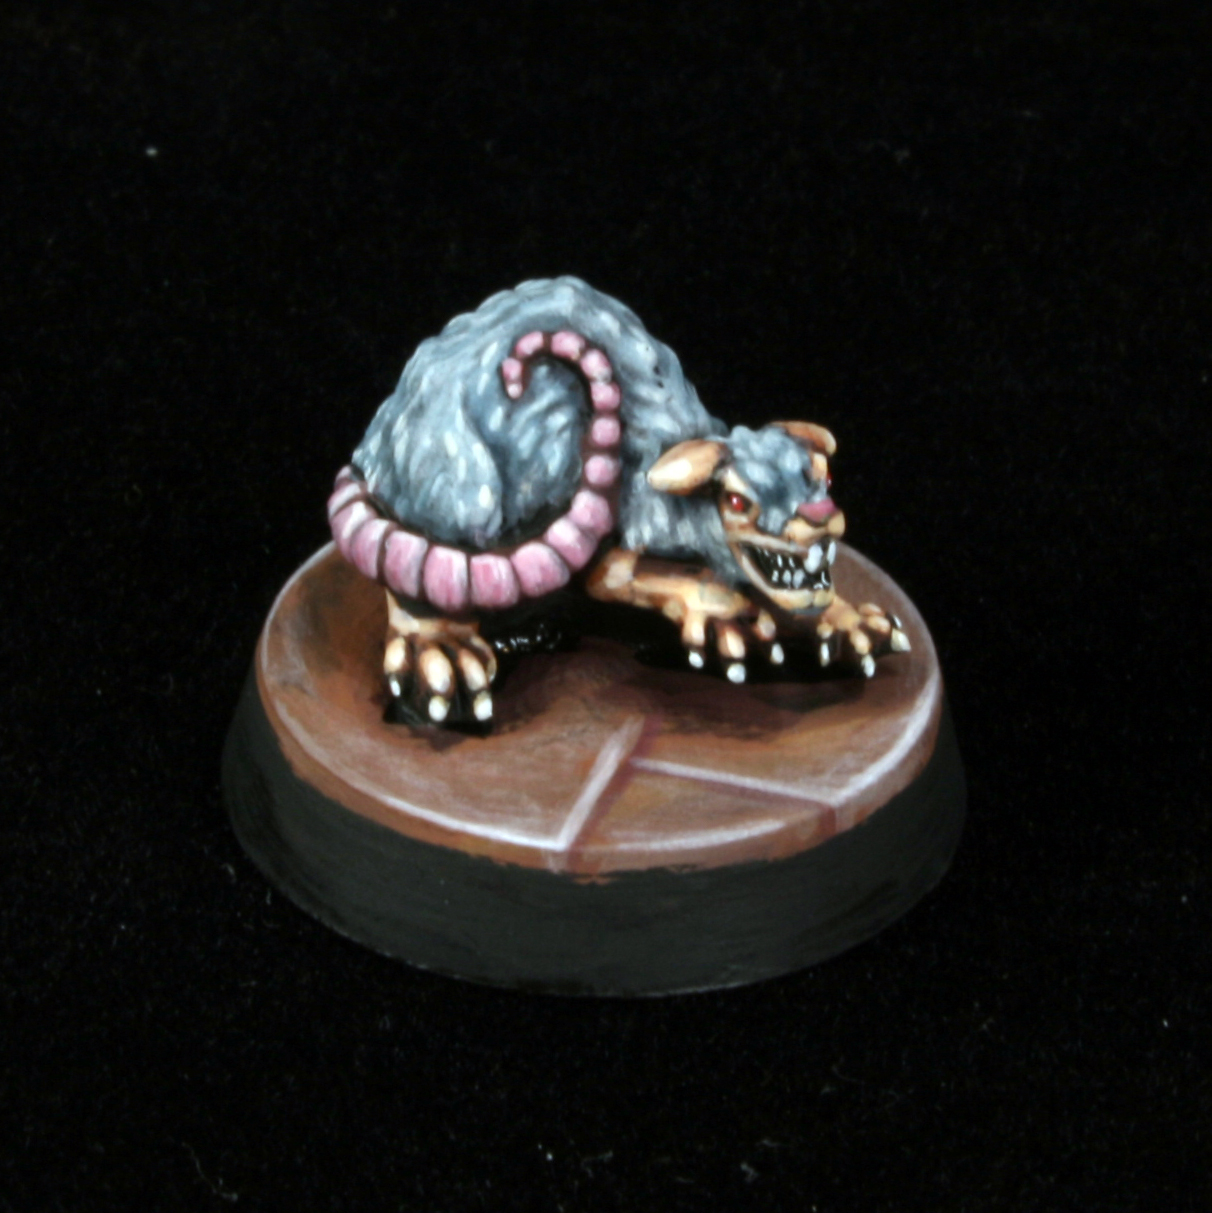
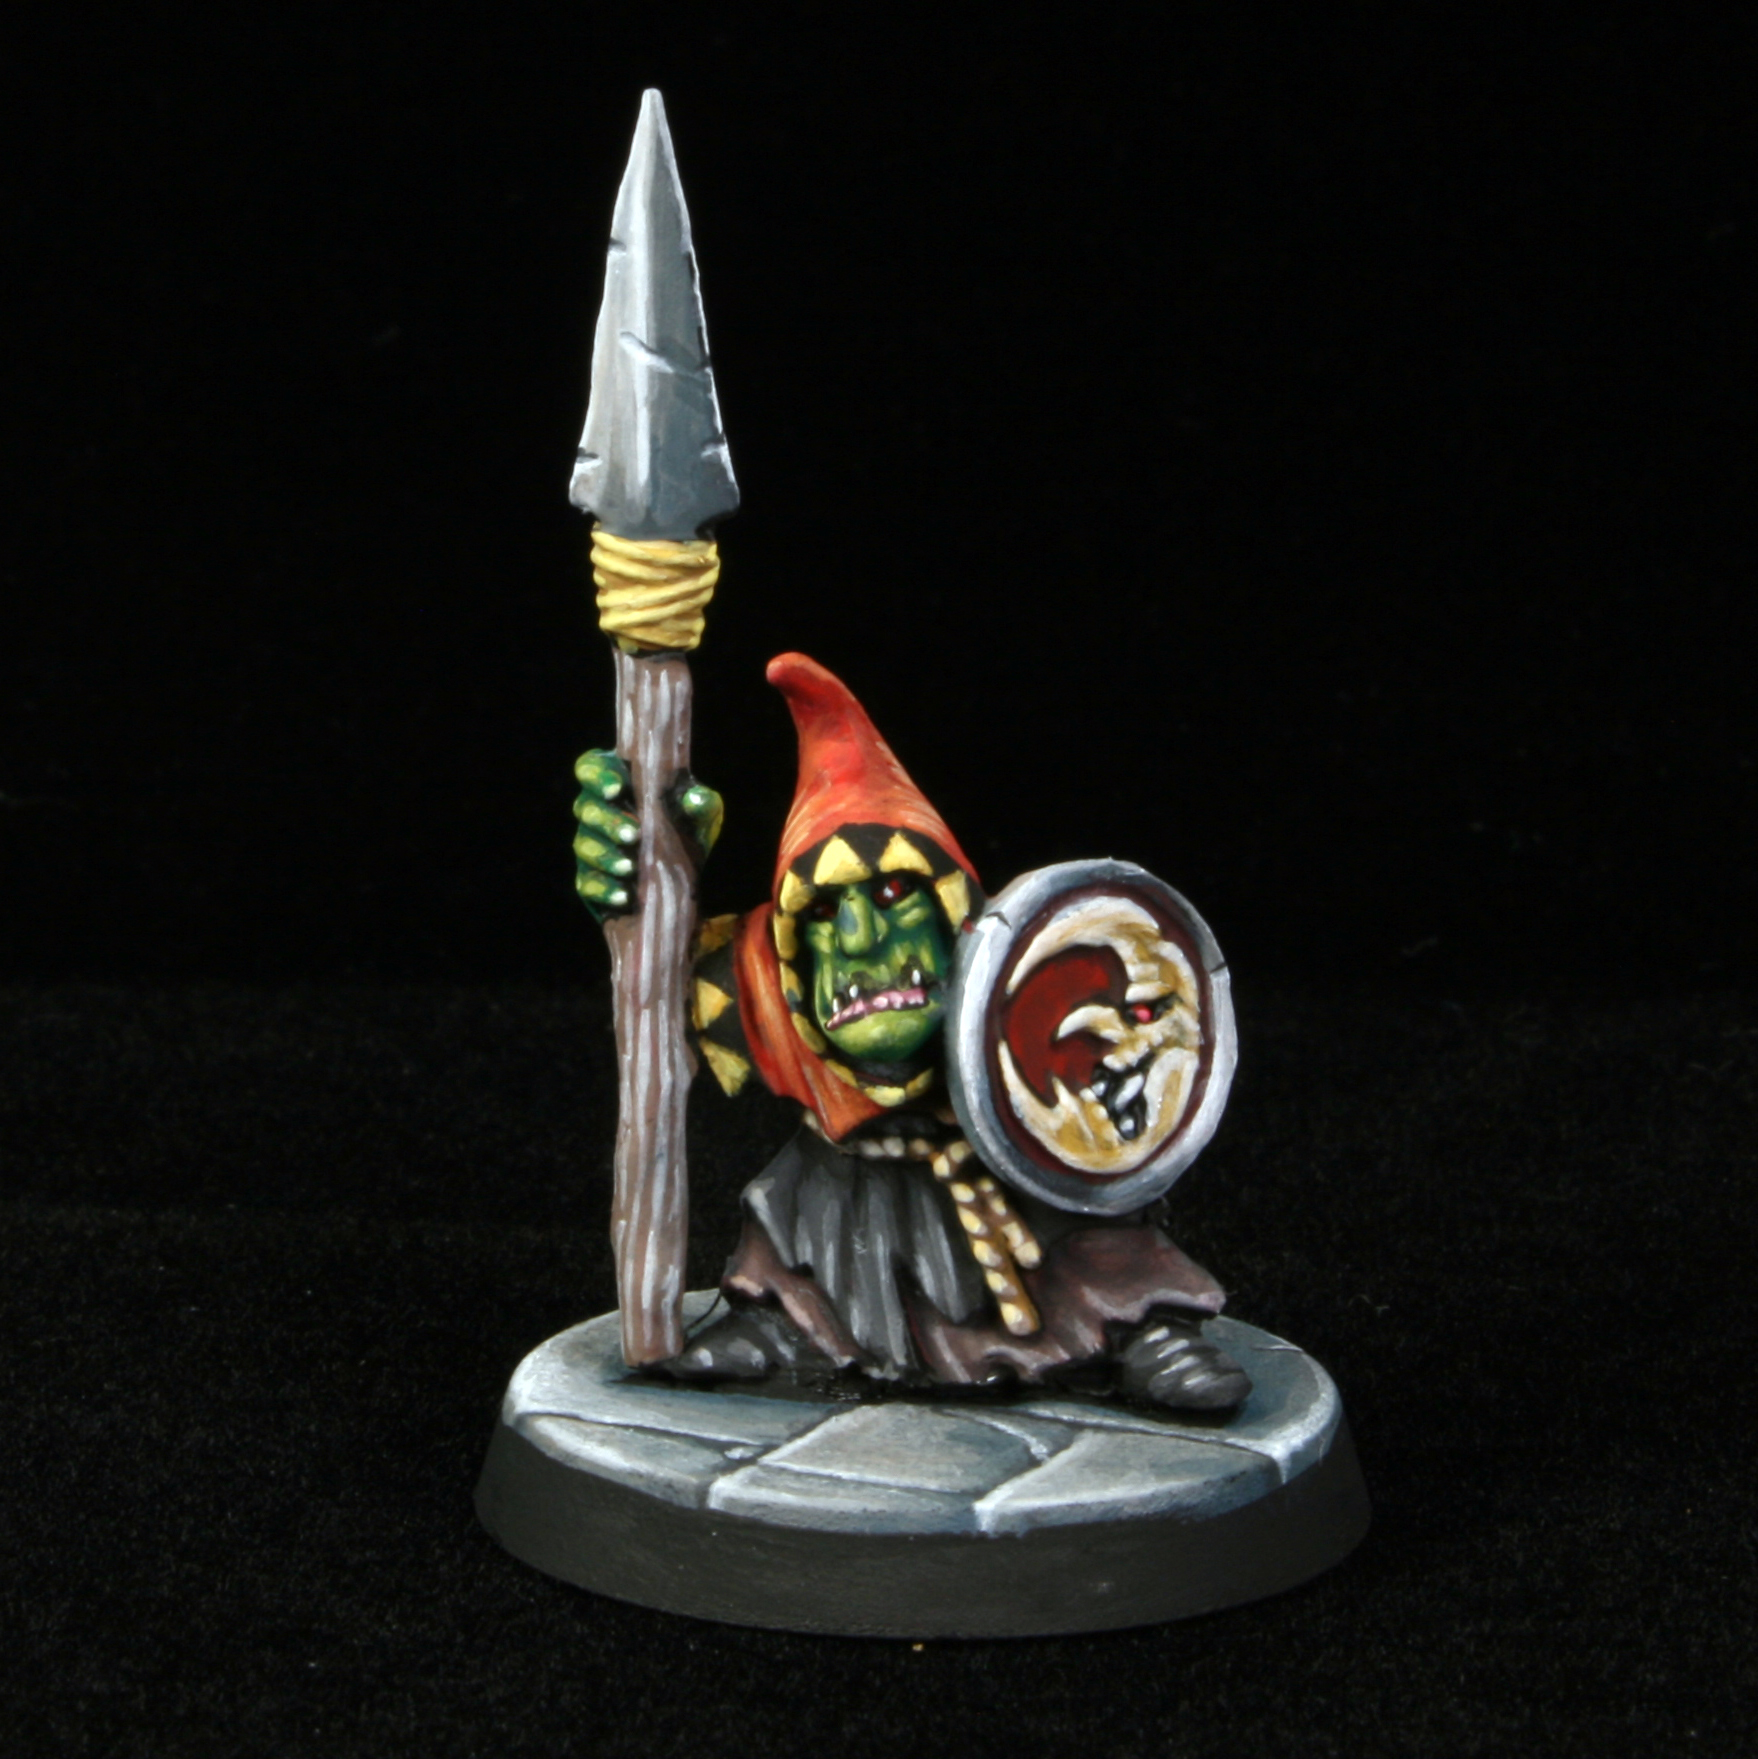
Let’s look at some more examples:
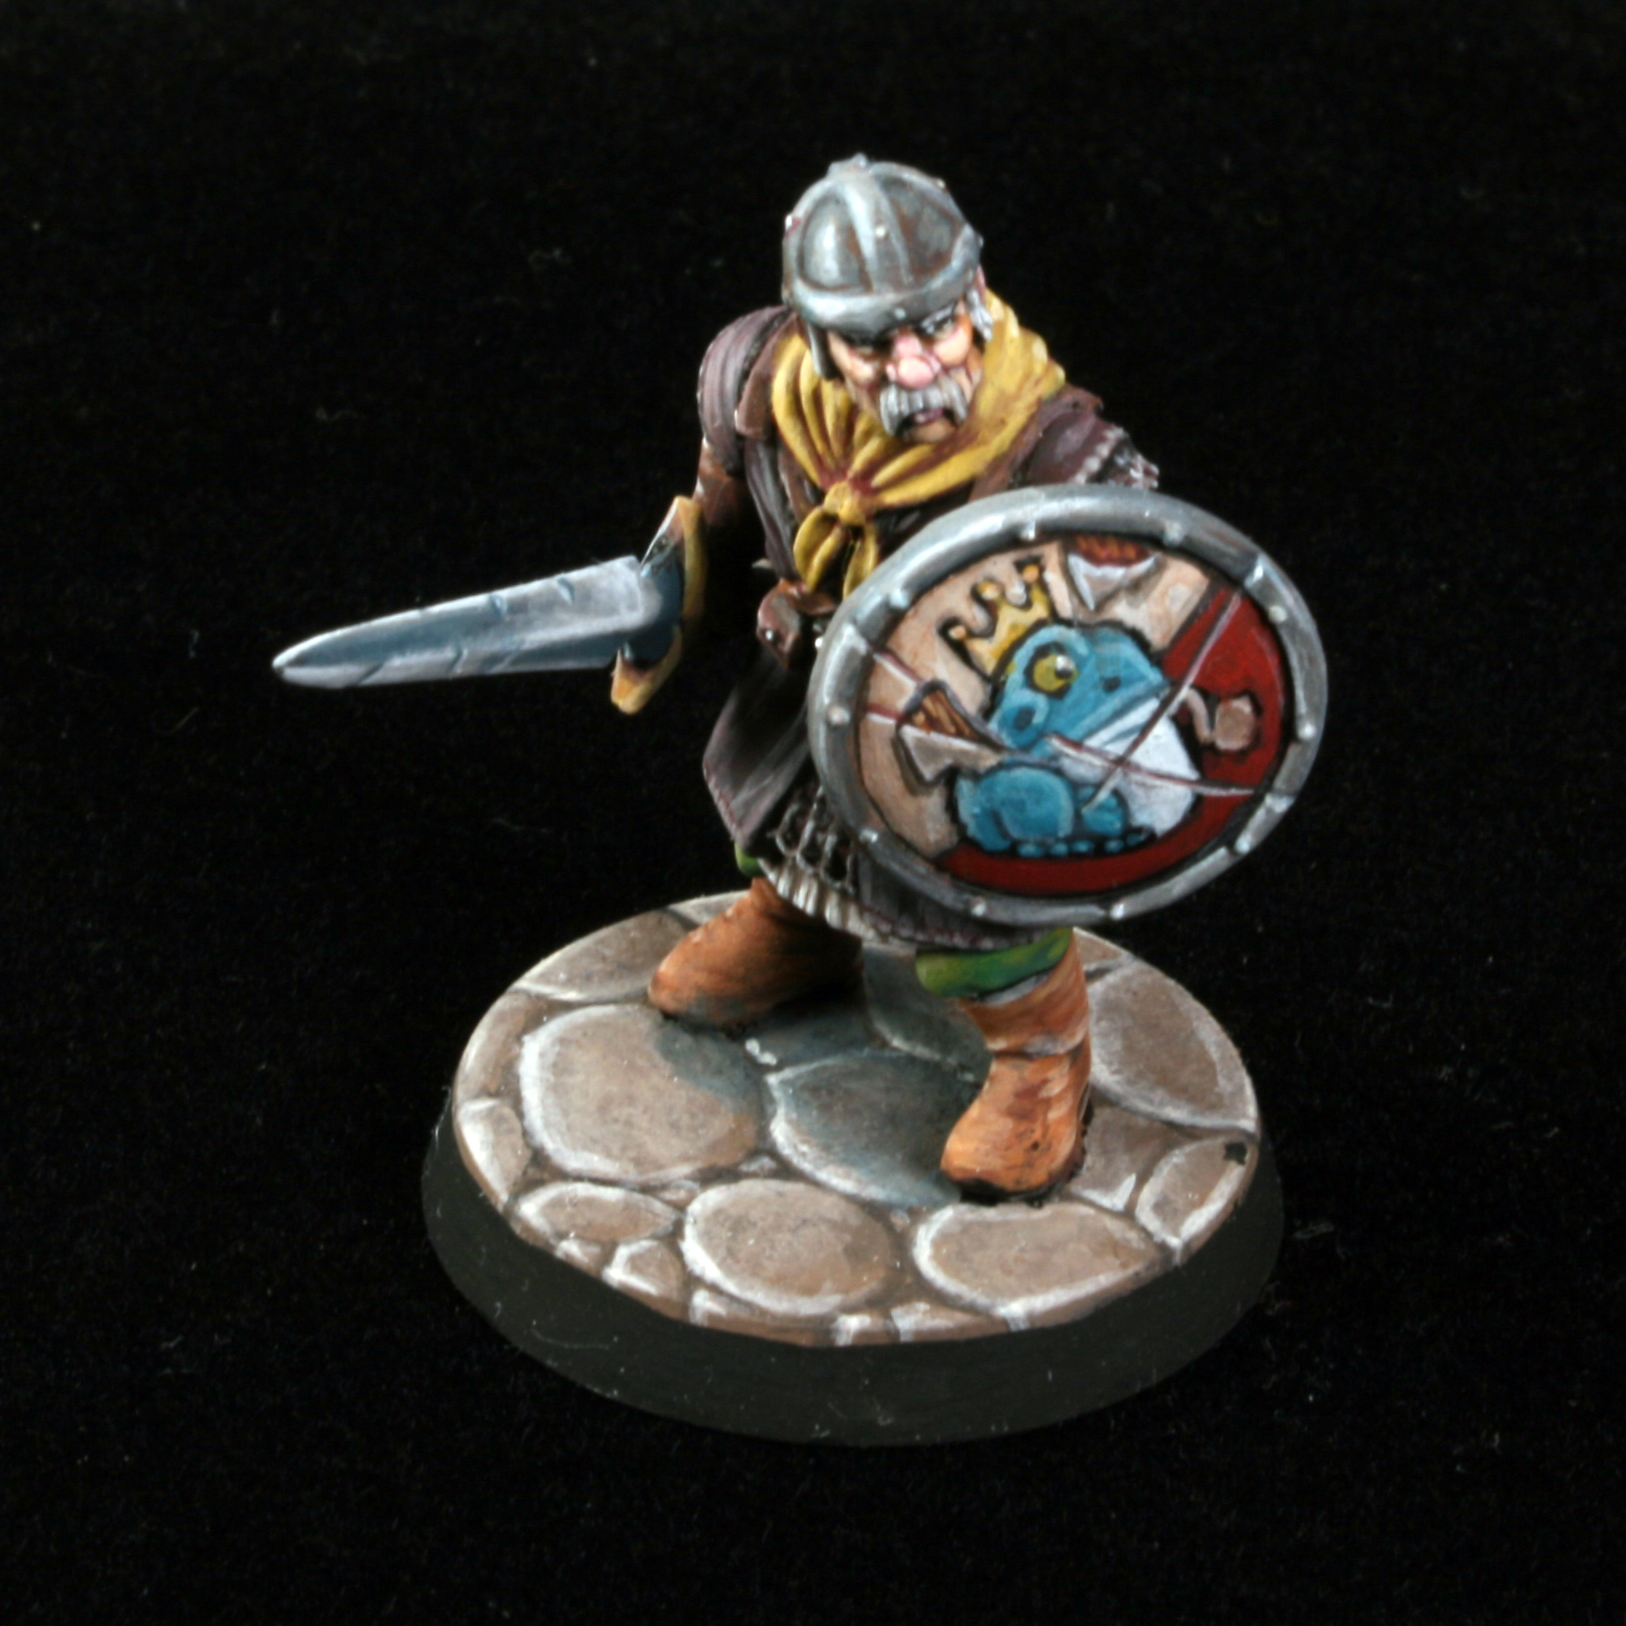

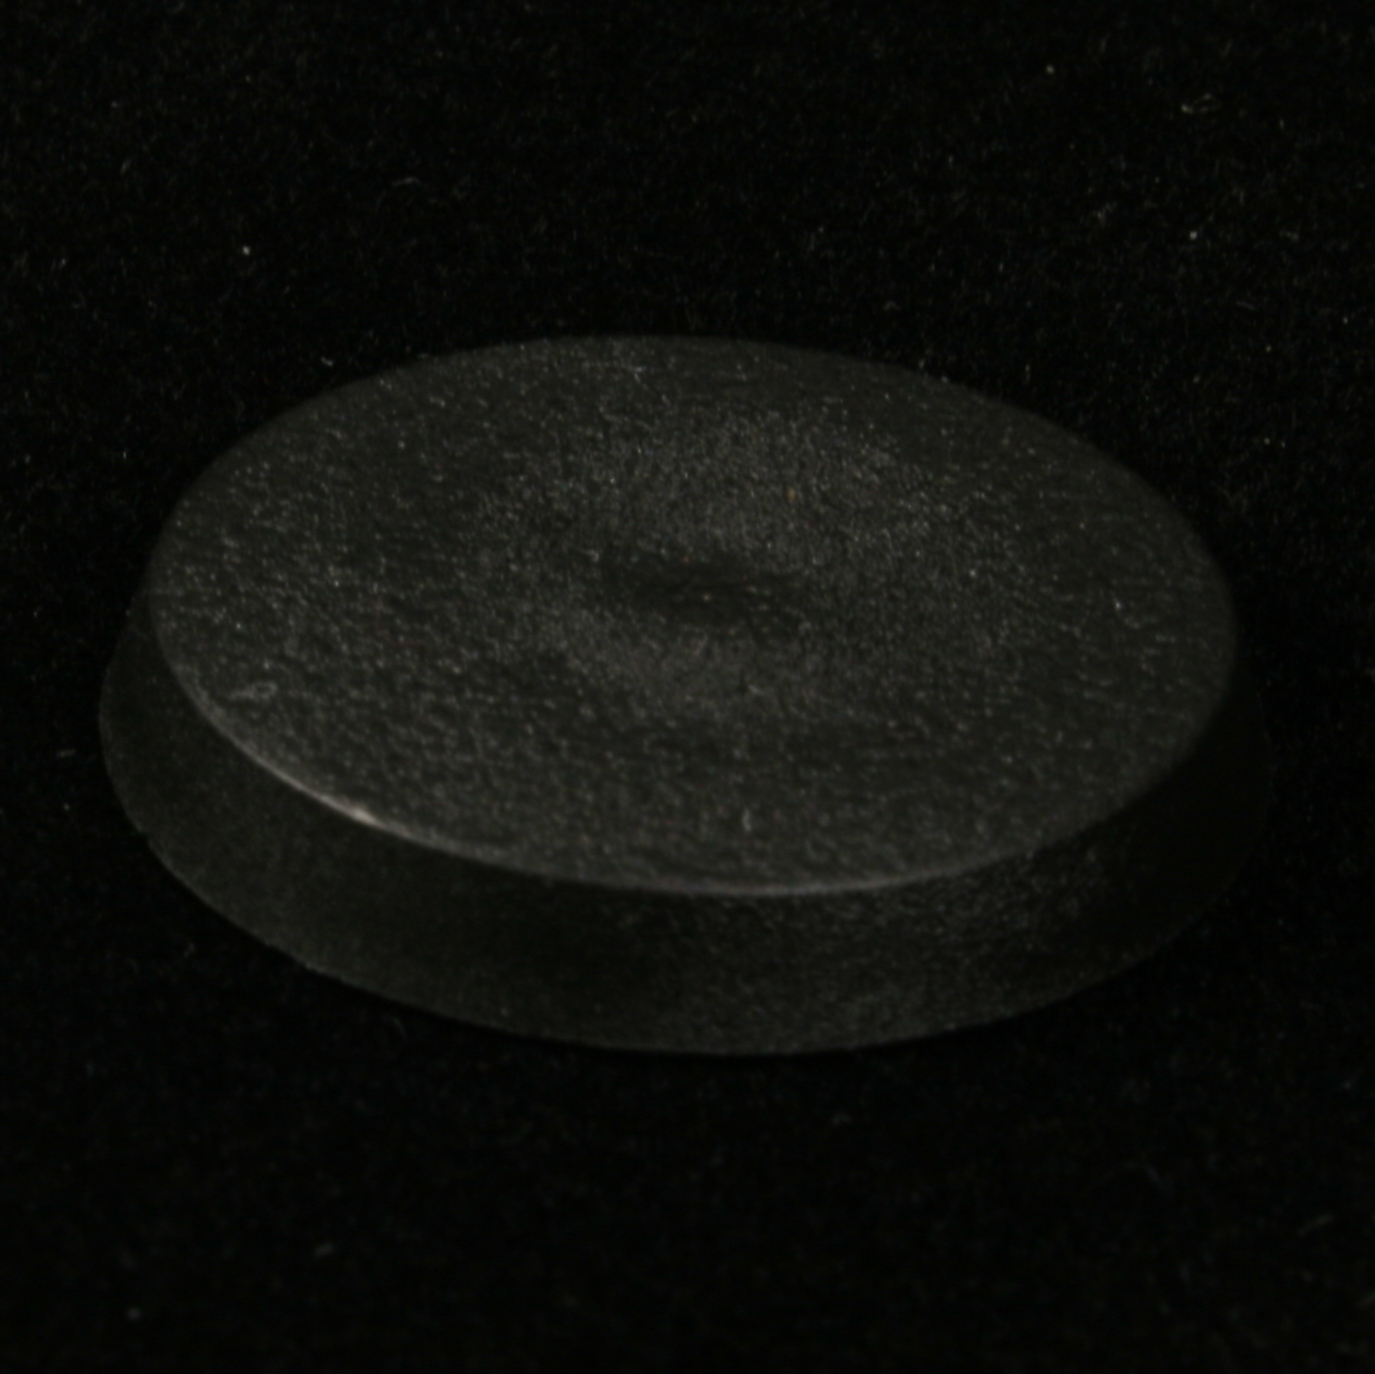
And that’s all there is to it. One of the nice thing about painted on bases is that they are inexpensive and very easy to practice on. Try your hand at a few blank bases and become comfortable with them. You can also combine painted bases with static basing elements like grass or the dreaded, aforementioned dirt. As you get better, you can add stippling, cracks, pebbles, grates, wood planks, etc. You could do uniform brick patterns, or shapes beyond squares. The dungeon floor is the limit!

You must be logged in to post a comment.