Warning: This article is disgusting. The images are disgusting. The reference images behind links are disgusting. The process is pretty disgusting. If you are squicked out by anything to do with toe or finger nails, please, just don’t scroll down and go read something nice instead. I’m really serious about this.
Editor’s Note: He’s really serious about this. This is your last warning before in-line images.
There’s a thing going round the Goonhammer Discord at the moment (which you should join, by the way) that can be summarised as:

Instead of doing that, I did this. Beware.
Toe Tanks
This started when Goonhammer writer and game designer Lupe announced that a new game based around Tiny Scifi Tanks was in the works – Hypersteel Nightmare. When the game releases it’ll have awesome, high-scifi, modular tanks for gaming with, but until then in order to do some playtesting, I needed a scifi tank force. I have a lot of tiny tanks already – the Victrix 12mm WW2 range, which would do for playtesting, but I decided they needed an opposing force. Something radically different, but based on the same models. After thinking I could maybe buy some Legions Imperialis tanks, I was slathering my incredibly painful chilblains with sudocrem when I thought…. what about feet?
Feet are weird, toenails are weird, chilblain afflicted feet are weird and painful and all of that came together to produce the concept for a horrible, grimdark, science fiction tank army based around all the disgusting and painful things that can happen to your finger and toe nails. Within about an hour of this realisation, I had two toe tanks assembled, modelled and looking grim. Since then, I’ve added a full foot’s worth of them, and now I get to inflict how they were made on you.
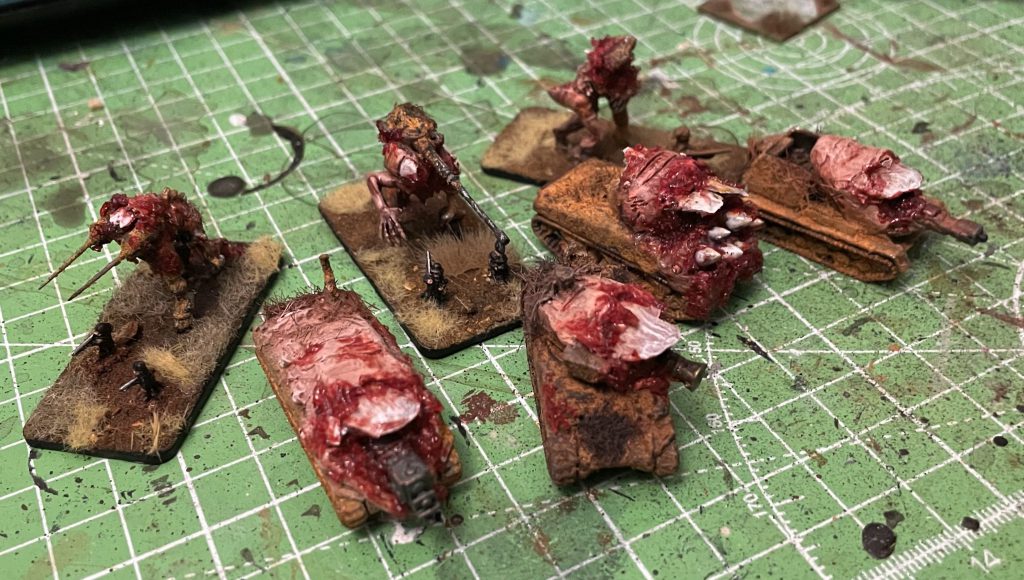
Making a Toe Tank
The toe tanks start off very simply, with a hull from a Victrix WW2 tank. As the Victrix kits come with a number of spares, I swapped turrets and tracks where I could, breaking up familiar silhouettes into something that already looks a little bit wrong. After that, I grabbed a selection spare 40k weapons and without looking whipped them out of a bag and stuck them on the turrets. Once the weapons were assigned, they were shoved into place where the stock weapons would be, or rough holes were hacked out of the hull and the weapons crammed in. The assignment of whatever weapons I could find made for a nice eclectic selection of stuff that makes little sense – a Cawdor Blunderbuss, a Grognard Flamethrower, Skitarii microwave gun or whatever it’s called, some weird missile bits – and that was perfect for the vibe of chaotic, nonsense horror I was going for.
Once the weapons were almost completely glued in, it was time for the Toenails. These are just large pine cone scales left over from making my Knight Lancer. I used a lot of whole scales for the Knight, so the remaining ones were scabby and broken – perfect. I glued these directly over the weapons with careless abandon.
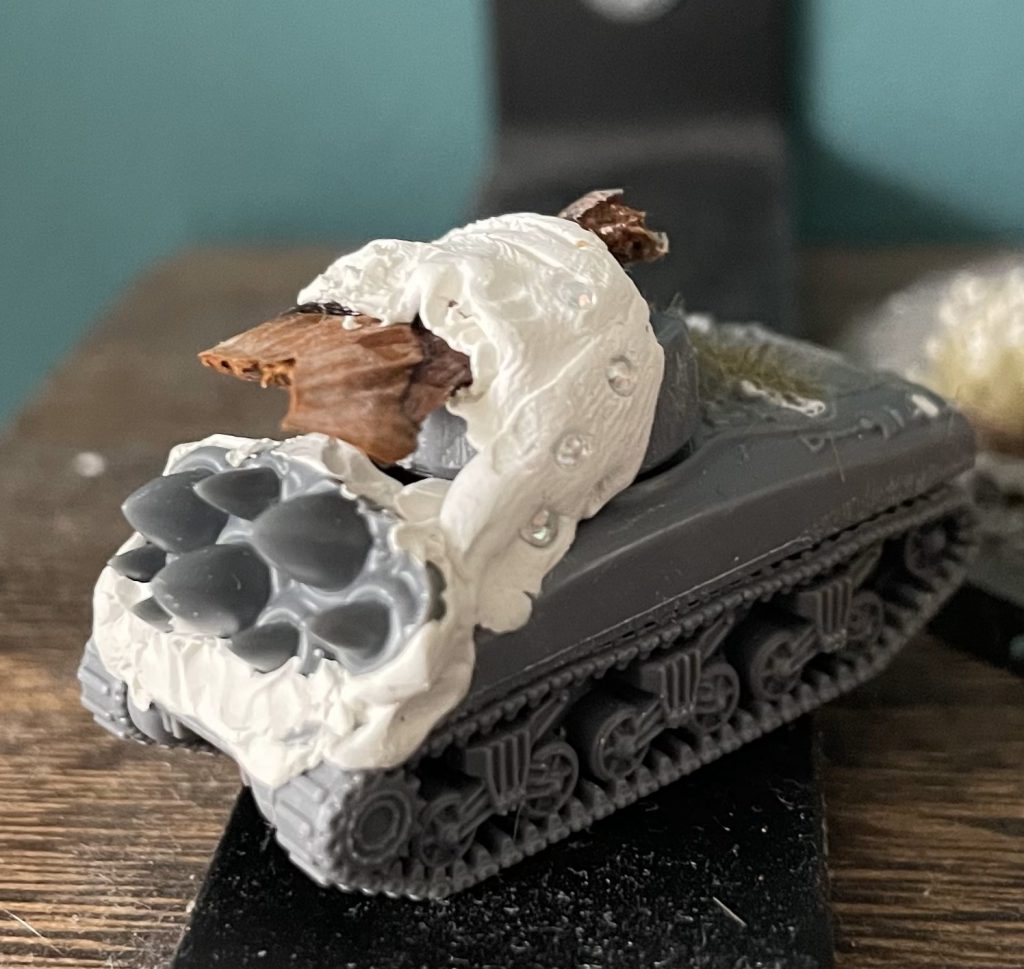
Again, without waiting for these to really dry, I grabbed some milliput and started sculpting the thumb flesh. Most of this was just blobbed on and roughly shaped (with my fingers) into an organic roundness then given knuckle grooves with no great attention to detail. Around the nail, I took care to pull at the milliput with unlubricated metal tools that would stick to the modelling clay and tear away from the pine scale. This created a nice hangnail look, and blobbed up the modelling clay behind the tears to suggest at Paronychia, the red and sore bumps that hangnail infection that can lead to. A couple of the tanks were then set with modelling hemispheres to represent blisters – the characteristic pustules of Herpetic whitlow, a finger infection caused by herpes simplex, but then I painted them as eyes because that’s somehow worse.
Once this had set, I stretched milliput underneath the weapons from the left and right of the thumbnail, then again attacked it with unlubricated metal tools. This created the ragged “smile” I wanted, in order to show that the weapons had grown through the nail bed and ruptured tip of the finger. More milliput was mashed into the gap to make for broken and torn flesh.
Some of the tanks got a row, or randomly scattered, eyes sculpted onto them too – why not, eh? Sculpting simple eyes is pretty easy, and I have a three step process for doing so:
1. Roll a tiny ball of milliput and press it into the model, smoothing the edges into it to make sure it stays where you want it.
2. Use the edge of a modelling tool to make a curved indent (convex) about a third of the way down from the top
3. Use the tip of the tool to press in gently in a curve (concave this time) at the very bottom of the blob. Voila! Simple eyes.
For the first of these tanks I initially thought that was disgusting enough, then thought i could really up my game by adding hair. I roughly daubed areas of the tanks with PVA then stuck on a variety of lengths of static grass. At this point they look ridiculous, but are fully constructed. Time to move on to painting.
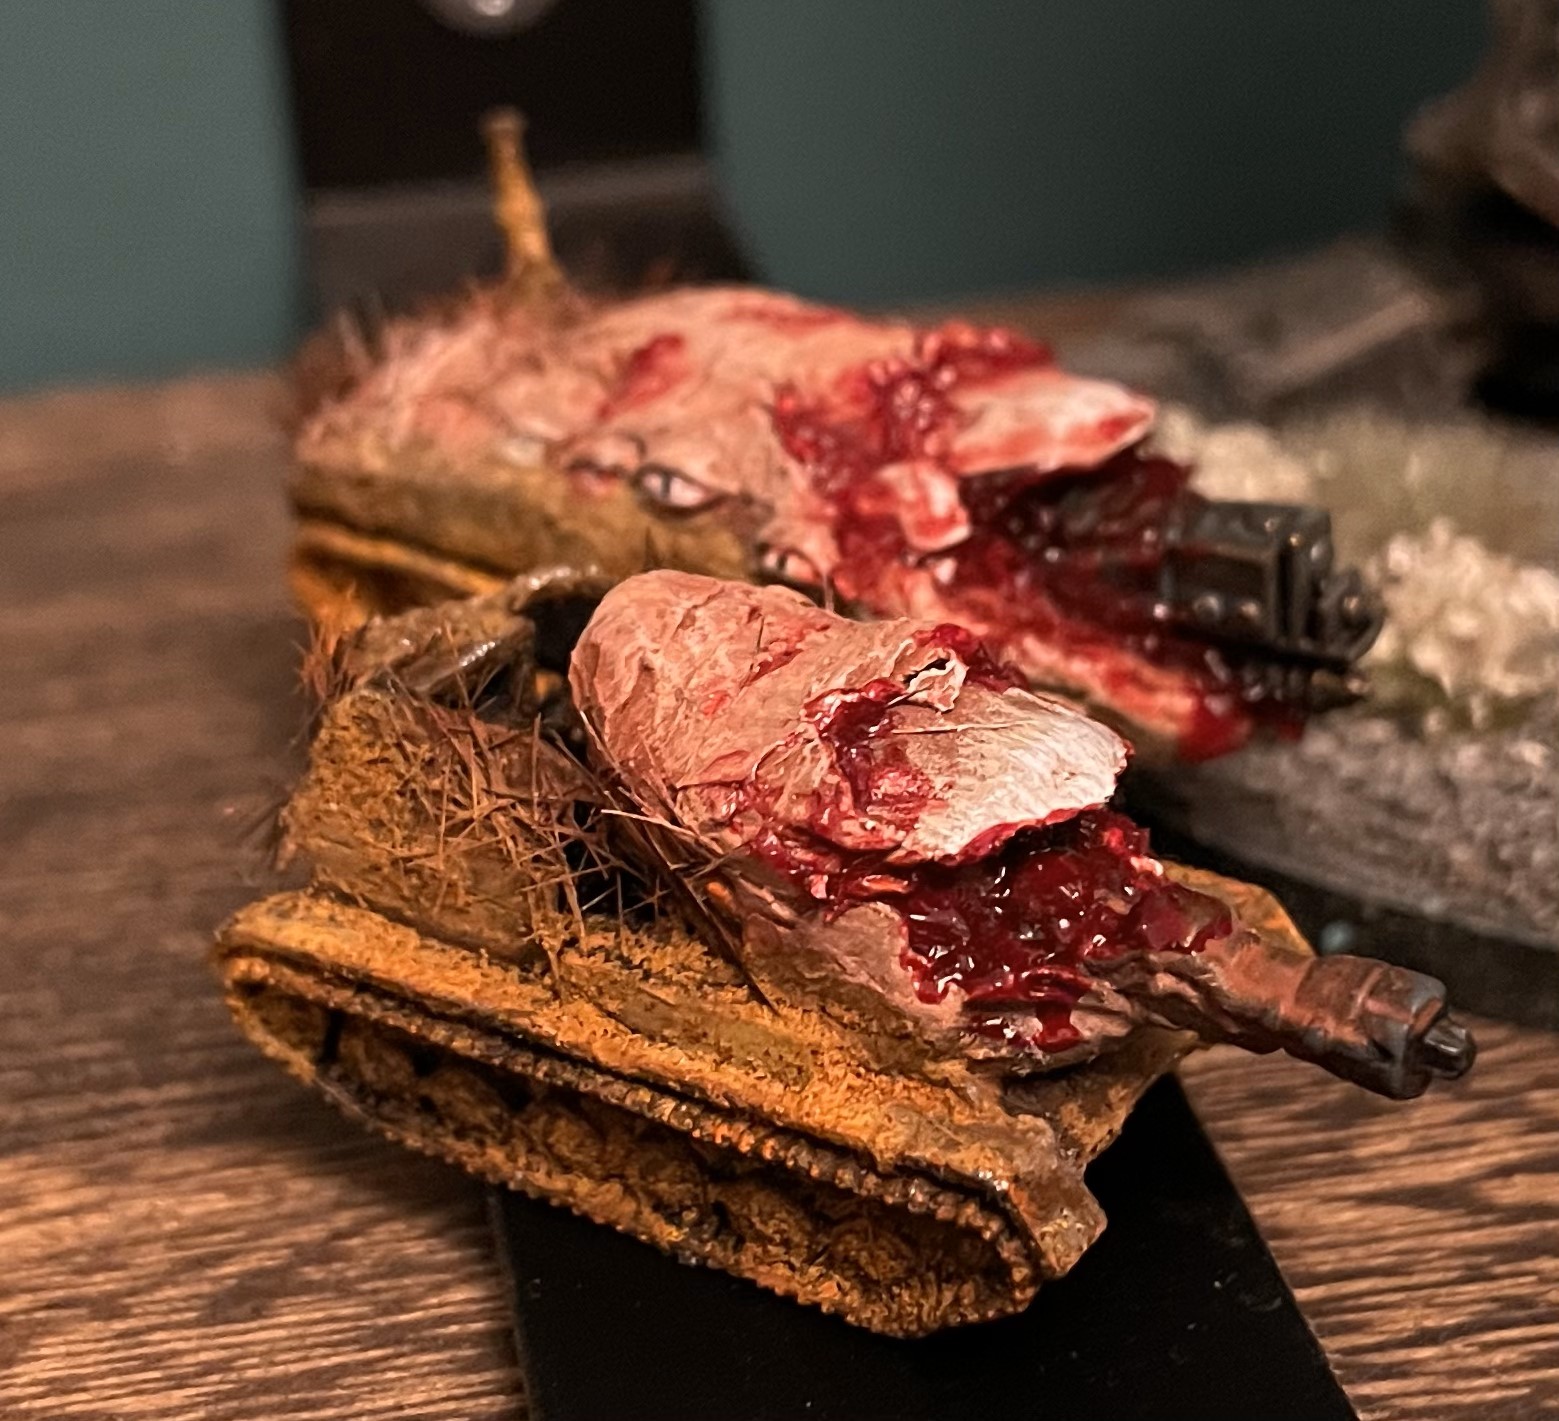
Painted Toenails
Painting these is as simple as the rest of the process, but uses some paints that might be unfamiliar. They all received a black basecoat and then a thick coat of Vallejo Dark Fleshtone over the whole model – flesh and metal alike.
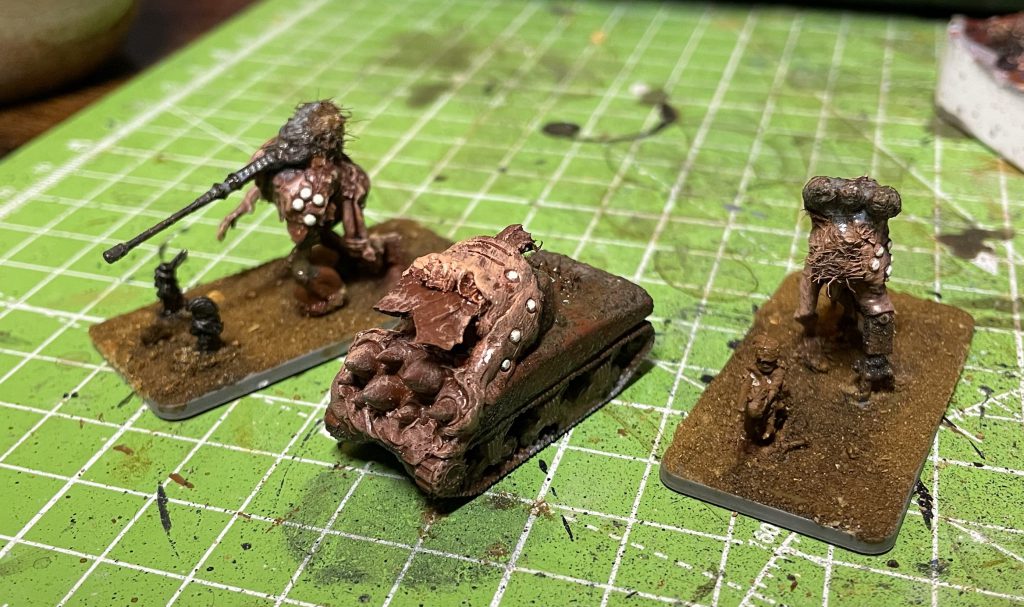
The metal is a little unusual. All metal areas (except the gun) were painted with Ammo Deep Oxide. This is one of the U-Rust paints, a paint essentially made up of iron filings that instead of simulating rust, actually creates it. You can achieve amazing real rust effects with this paint, and I used it extensively on my Knight Lancer. Unlike the knight, however, for the toe tanks I applied it liberally and sloppily. Once you’ve applied the U-Rust paints, you want to let them dry in place for 5-10 minutes depending on the drying conditions at your painting space. After that, you apply one of two (or both) activators to the model. I think these are essentially copper oxide solutions, precipitating an oxidation reaction that turns the Deep Oxide into real rust.
Applying Activator One and Two separately or together makes for different effects – both at the same time produces a very dusty, fine-grained rust, which I like for these tanks. Again, these were just slapped on wherever, mixing with the Deep Oxide and spreading it over the model. As the U-Rust series dries and reacts, it will expand, creeping across the model making a controllable, but never 100% predictable, reaction.
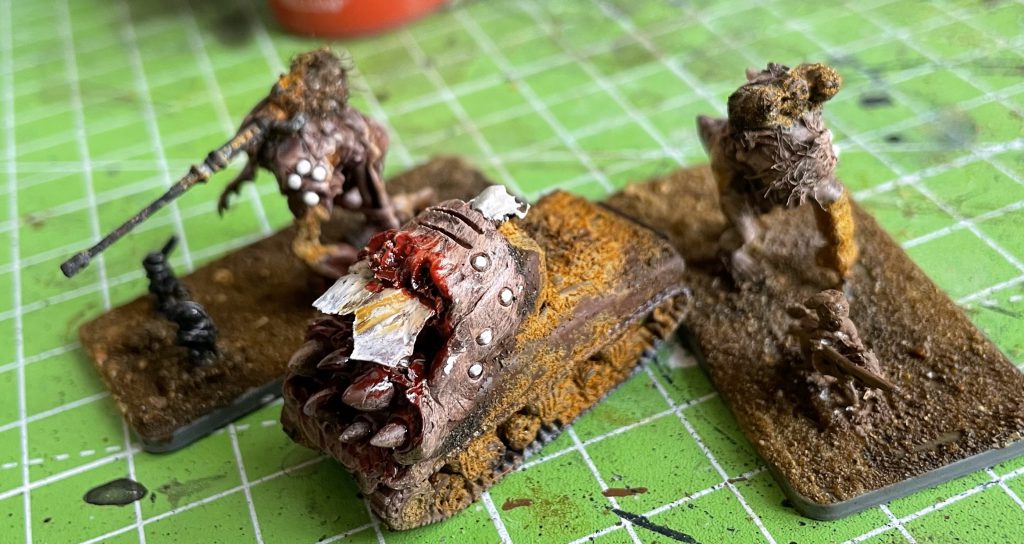
You want to let this dry for quite a while, at least overnight. Once it was done reacting I moved on to paint the flesh. This was, again, very quick – an overbrush of Army Painter Barbarian Flesh, then a drybrush of Citadel Kislev Flesh, paying extra attention to the raised and torn skin edges. The nail then got a drybrush of Citadel Wraithbone and finally, Corax White. Hair got a final light drybrush of Vallejo Beasty Brown and was chopped at with scissors to trim it from thick, unruly thatch into a matted mess. Eyes were very roughly painted Wraithbone and then white.
Oh God No
Now for the fun bit! Where the weapons burst through the nail bed, I wanted grim, wet, sticky looking blood. Citadel Blood for the Blood God is my usual go to, but it was a little watery. I used it to wash the eyes and dab onto the edges where flesh meets metal, but for the nail bed it needed something a bit worse.
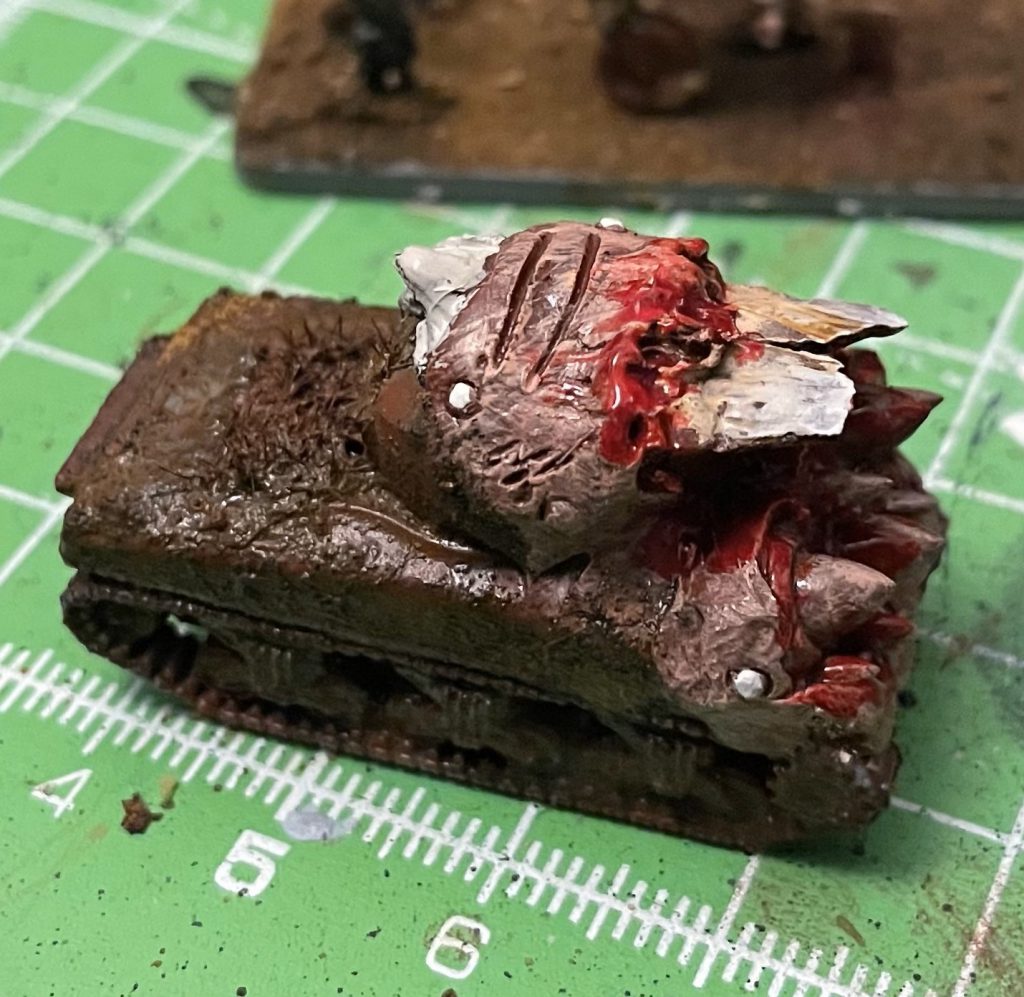
Enter wave effects. I mixed a blob of wave effects with some Blood for the Blood God and mixed it into a pink-red mess, then applied this liberally with a cocktail stick to the areas underneath the nails and around the hangnail/torn finger flesh above the nail. When it had dried to a tacky consistency, I used a pin to tease little bits out, adding texture and – to be honest – turning my own stomach as I did so. This will dry to a horribly textured, messy, wet and dark mess. Absolutely ideal.

With the nail beds dry, I slapped on some gloss varnish on the nail and anywhere else that would benefit from looking wet – eyes and blood, mainly – and there you have it! Disgusting.
Hangnails
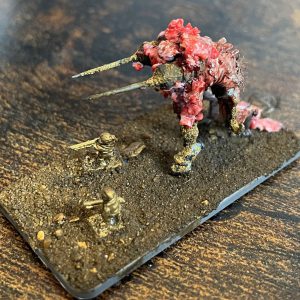
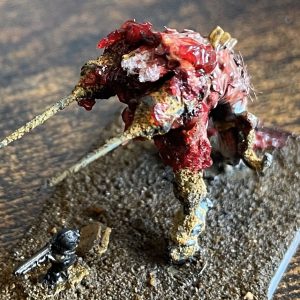
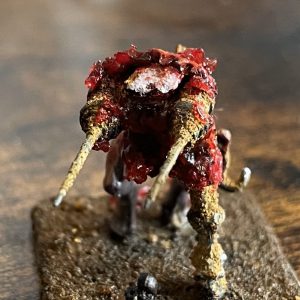
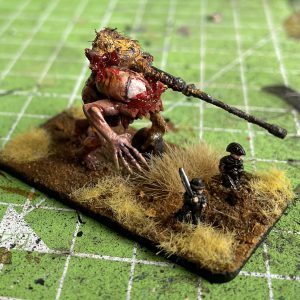
After making a few tanks with no eye on the rules whatsoever, I had a look at what actually worked and played in Hypersteel Nightmare. I had a couple of fixed weapon hulls and some turreted tanks, all somewhere in the heavy tank line. I wanted something a little faster, still weird and uncomfortable (and on the toenail theme) and decided on some light mechs to give a faster arm (or foot) to the hideous tanks.
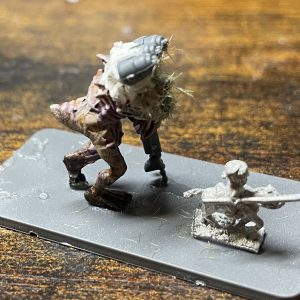
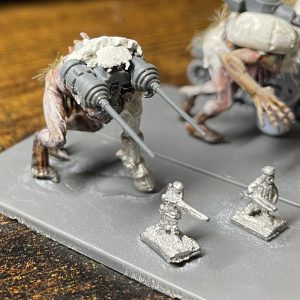
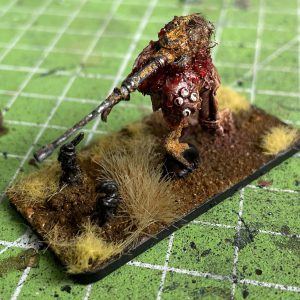
This was another fairly easy conversion on the same lines – grabbed some old ghoul bodies I’d once turned into mutated genestealers, slapped on some spare bits (making sure any gun barrels looked suitably thin using bayonets and aerial pieces rather than 40k scale guns), crammed a nail or sculpted a toe on each one and applied the same paint scheme. They looked a little lost and difficult to scale, so some spare 6mm Napoleonics originally destined for my Haitian army were added to the bases, making it clear that these are monstrous, lumbering nightmare-walkers, for all that they’re supposed to be “light mechs”.
I’m really happy with how these came out, using the same techniques and colour palette as the tanks, making the whole thing horribly uniform while retaining a completely unique build for each piece. They’ve certainly absolutely disgusted the entire Goonhammer discord, and hopefully you too.
I’d love to see your horrifying abominations of modelmaking that should never have seen the light of day, so send them over and together we can take miniatures gaming into places it should, nay, must never go.
Questions, comments, suggestions? Ignored the warning and think this was utterly indecent to publish? Contact@goonhammer.com, or leave a comment below.



You must be logged in to post a comment.