In our Fabricator General series, we cover large projects or those with lots of building and construction and custom work. This week, we’re looking at how you can properly finish your 3D-printed models to give them a smooth, completed look.
We’ve already covered the basics of 3D printing in a prior Fabricator General article, including which printers to use. You can find that article here. This week we’ll be focusing on how you take your 3D-printed model from dull plastic to a smooth and finished product, offering step by step guides for a number of different methods to get the most out of your finished print. Keep in mind, you don’t have to do anything once your print is done. Throwing some primer on it and getting started with the painting is totally fine, but for those pieces where you want that extra smooth finish, we’ll be providing some advice.
Today we’re going to be focusing on how to finish your PLA prints with several dfferent methods; some of these techniques will apply to other print materials but there might be better methods out there. You’ll often see vapour smoothing mentioned but this doesn’t apply to PLA and is typically used for ABS prints.
Method 1: Filler primer
Autoprimer with a sandable finish fills in all those little ridges left behind by the layers nice and fast. A couple of coats of thin this, with sanding in between will allow you to get a nice smooth finish and a primed model at the end of the process. Note that this works best for models with large flat surfaces; if you have a lot of steps or tight places trying to get the sandpaper in there will be a pain.
Materials needed:
- Filler/Sandable primer
- Sandpaper in varying grits (200,600,1000)
You want to look for a primer that in particular says it is a “filler” or “high build” so it gets into and fills the little gaps between your print layers. There are some primers that just say “sandable” and I’ve seen varying results reported online from using those. I use a Rustoleum filler primer myself but there are plenty of people who swear by other brands as well. .
Give your model a thin but thorough coat of the filler primer, let it dry completely (you do not want to rush this), then sand it down with your roughest grade of sandpaper. Inspect the model for layer lines. If they’re still visible on a part or the whole of the model give it another thin coat. As with normal primers you don’t want to obscure the details of your model, you just want the lines gone. Once the gaps are filled it’s time to start sanding.
Method 2: Epoxy smoothing (XTC3D)
When I’m not just priming straight over bare PLA, this is my preferred method. You retain a nice amount of detail and it’s relatively low, if slightly smelly effort.
Materials needed:
- XTC3D epoxy
- Paper plate
- Disposable brush or piece of foam
- Gloves
- Newspaper
This stuff stinks, and you don’t want to get it on you or your work surface, so start by gloving up and getting some newspaper down and picking a model! For this tutorial, I’ll be using a WW2 era German building designed by Voxelhouse.
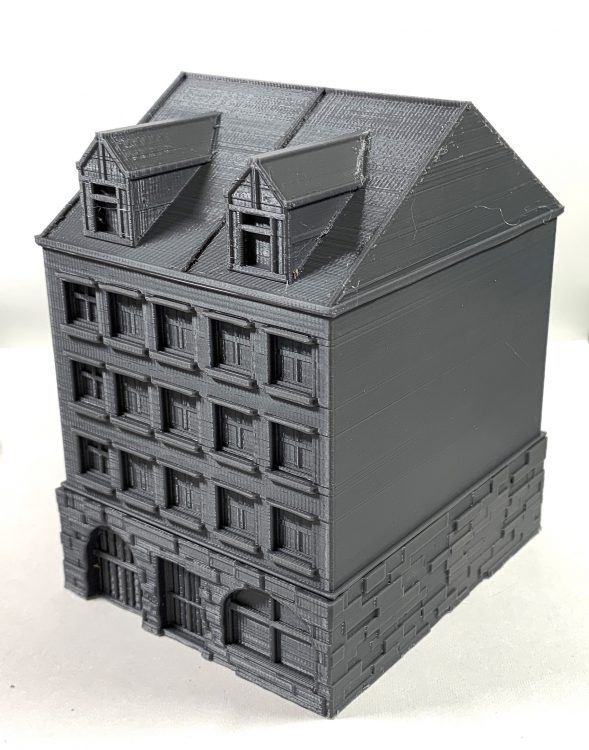
The epoxy goes a surprisingly long way and has a reasonable working time, of around 15 minutes, so if you don’t want to waste stuff it’s probably better to mix less than you think you need.
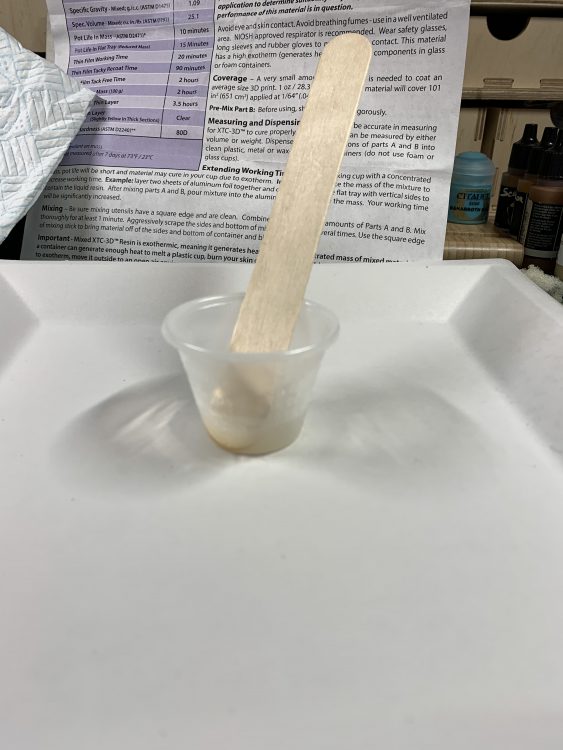
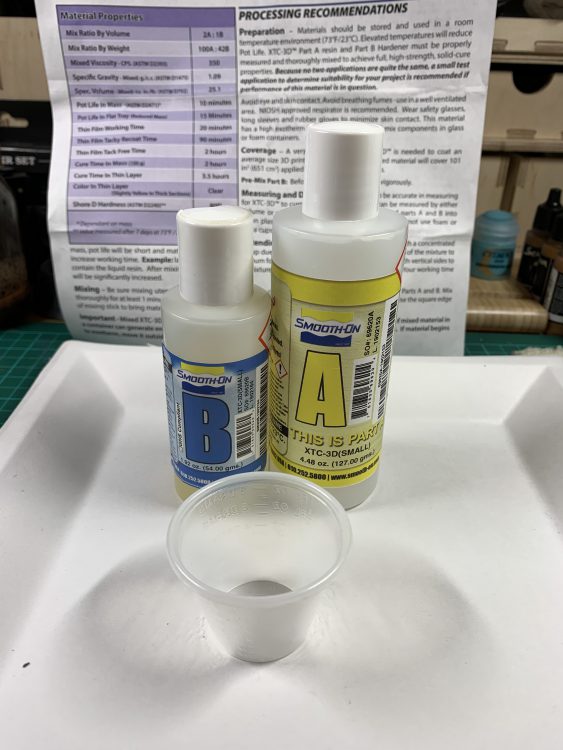
Start by mixing it as described in the instructions in a small disposable cup, then pour it out on to your paper plate. The epoxy is thermo reactive, generating heat as it sets and the warmer the environment, the faster it goes off. By spreading it out you increase your working time.
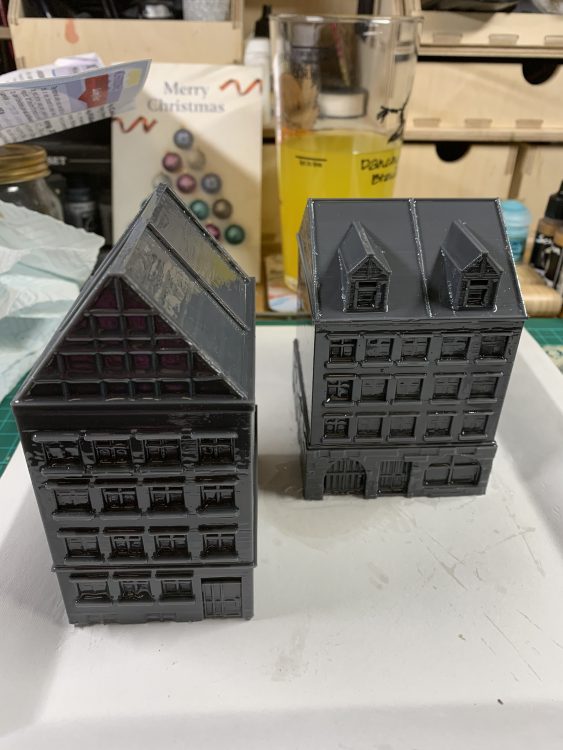
Set about spreading a thin layer across your entire model, it has reasonable surface adhesion and self levels so no need to worry that it’s going to run off vertical surfaces. You can see in the picture below a little bit of pooling around the base but the shine indicates there’s still some on the surface of the model, which is what we want.
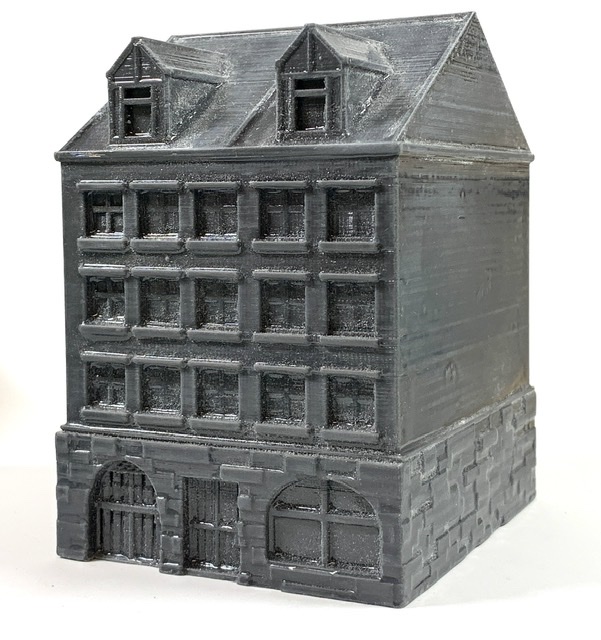
Now you wait, you’re probably going to want to give it a full 24 hours to completely go off but the instructions indicate four hours should be enough. You can accelerate the curing process by applying heat but be careful not to cause delamination or melting. Once the resin has fully hardened, give it a light sand with a sanding sponge or some high (think 600+) grit sandpaper so that the paint will adhere better.
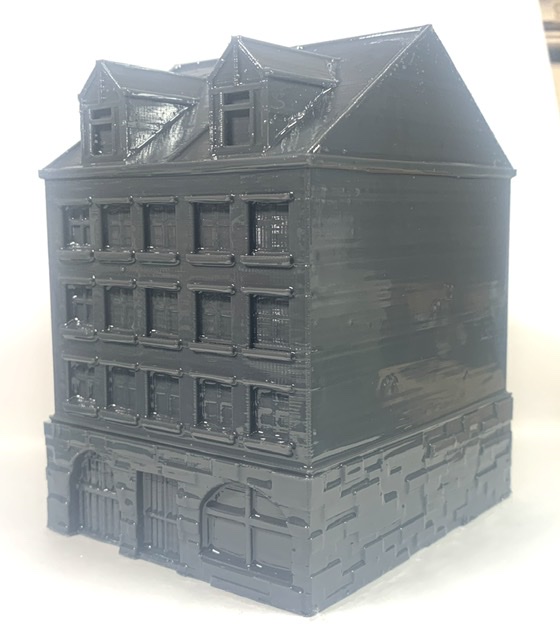
I used a paintbrush instead of the recommended foam chip brush, which means I’ve lost a little bit of the detail due to the way the brush was loaded. While still visible, the layer lines can’t really be felt anymore. And here’s the piece ready for priming.
Method 3: Sanding
This is possibly the cheapest method of print finishing, but also one of the most time consuming. You successively sand the entire model, increasing the grit as you go until you hit a finish you’re satisfied with. If you don’t mind spending a little extra time, this method can give fantastic results.
Instead of repeating everything again, we’re just going to recommend you check out this guide by rigid.ink. As with the filler primer method, you don’t need to go much further than 1000 grit and definitely don’t want a mirror finish if you expect your primer to stick.
Method 4: Heat-gun smoothing
This is a method I don’t see get mentioned very often, but it’s still worth discussing as one of the fastest ways to smooth a print out. It’s not without it’s risks though. As the 3D print warms something called delamination can occur, where layers split away from each other potentially ruining the print. So why on Earth would you want to try this method? It’s fast and doesn’t require much sanding.
Start by lightly sanding the surface of the print, then put your heat proof gloves on and go get your tongs. Holding the print with the tongs begin heating the surface of it evenly, don’t linger on any one area as you may damage the print. Keep going until the surface is smooth.
Materials needed:
- Heatgun
- Metal tongs
- Heatproof gloves
Create Wonderful Things
That wraps up this installment of “Tech heresy and you”; we hope you found the guides helpful, and that they help you create many more wonderful custom creations. As always, if you have any questions or feedback, drop us a note in the comments below or shoot us an email at contact@goonhammer.com.


You must be logged in to post a comment.