
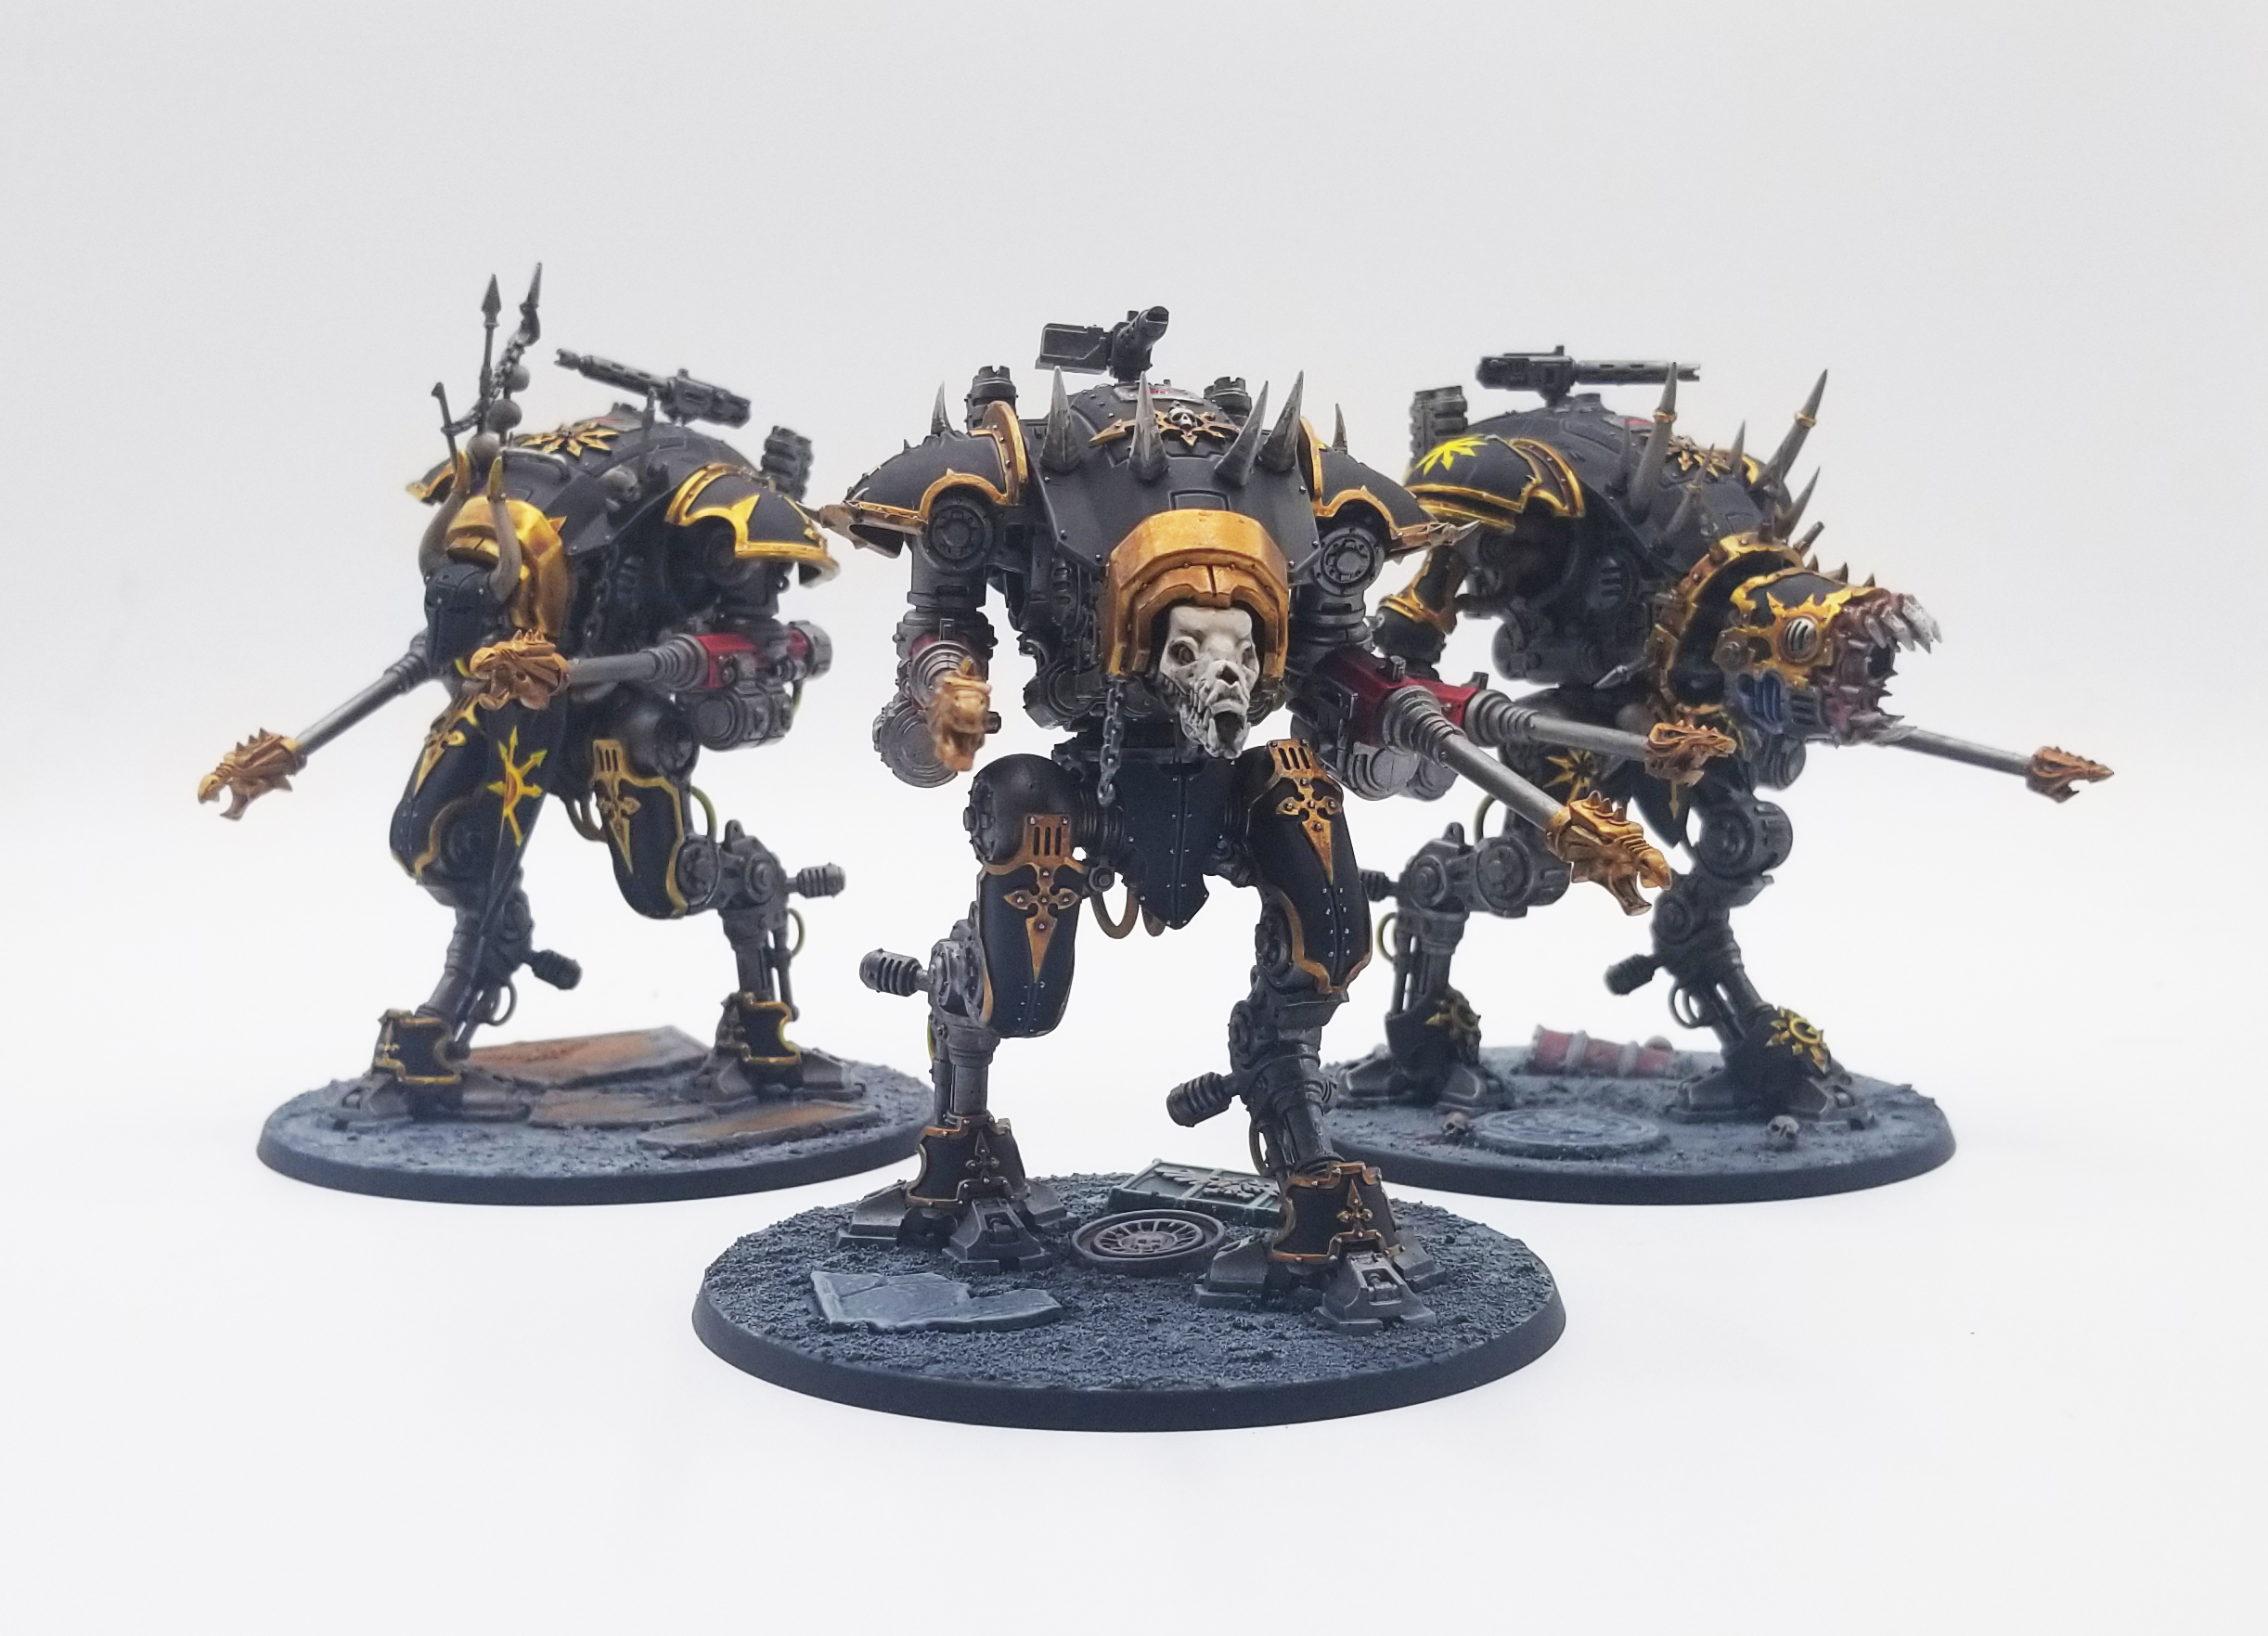
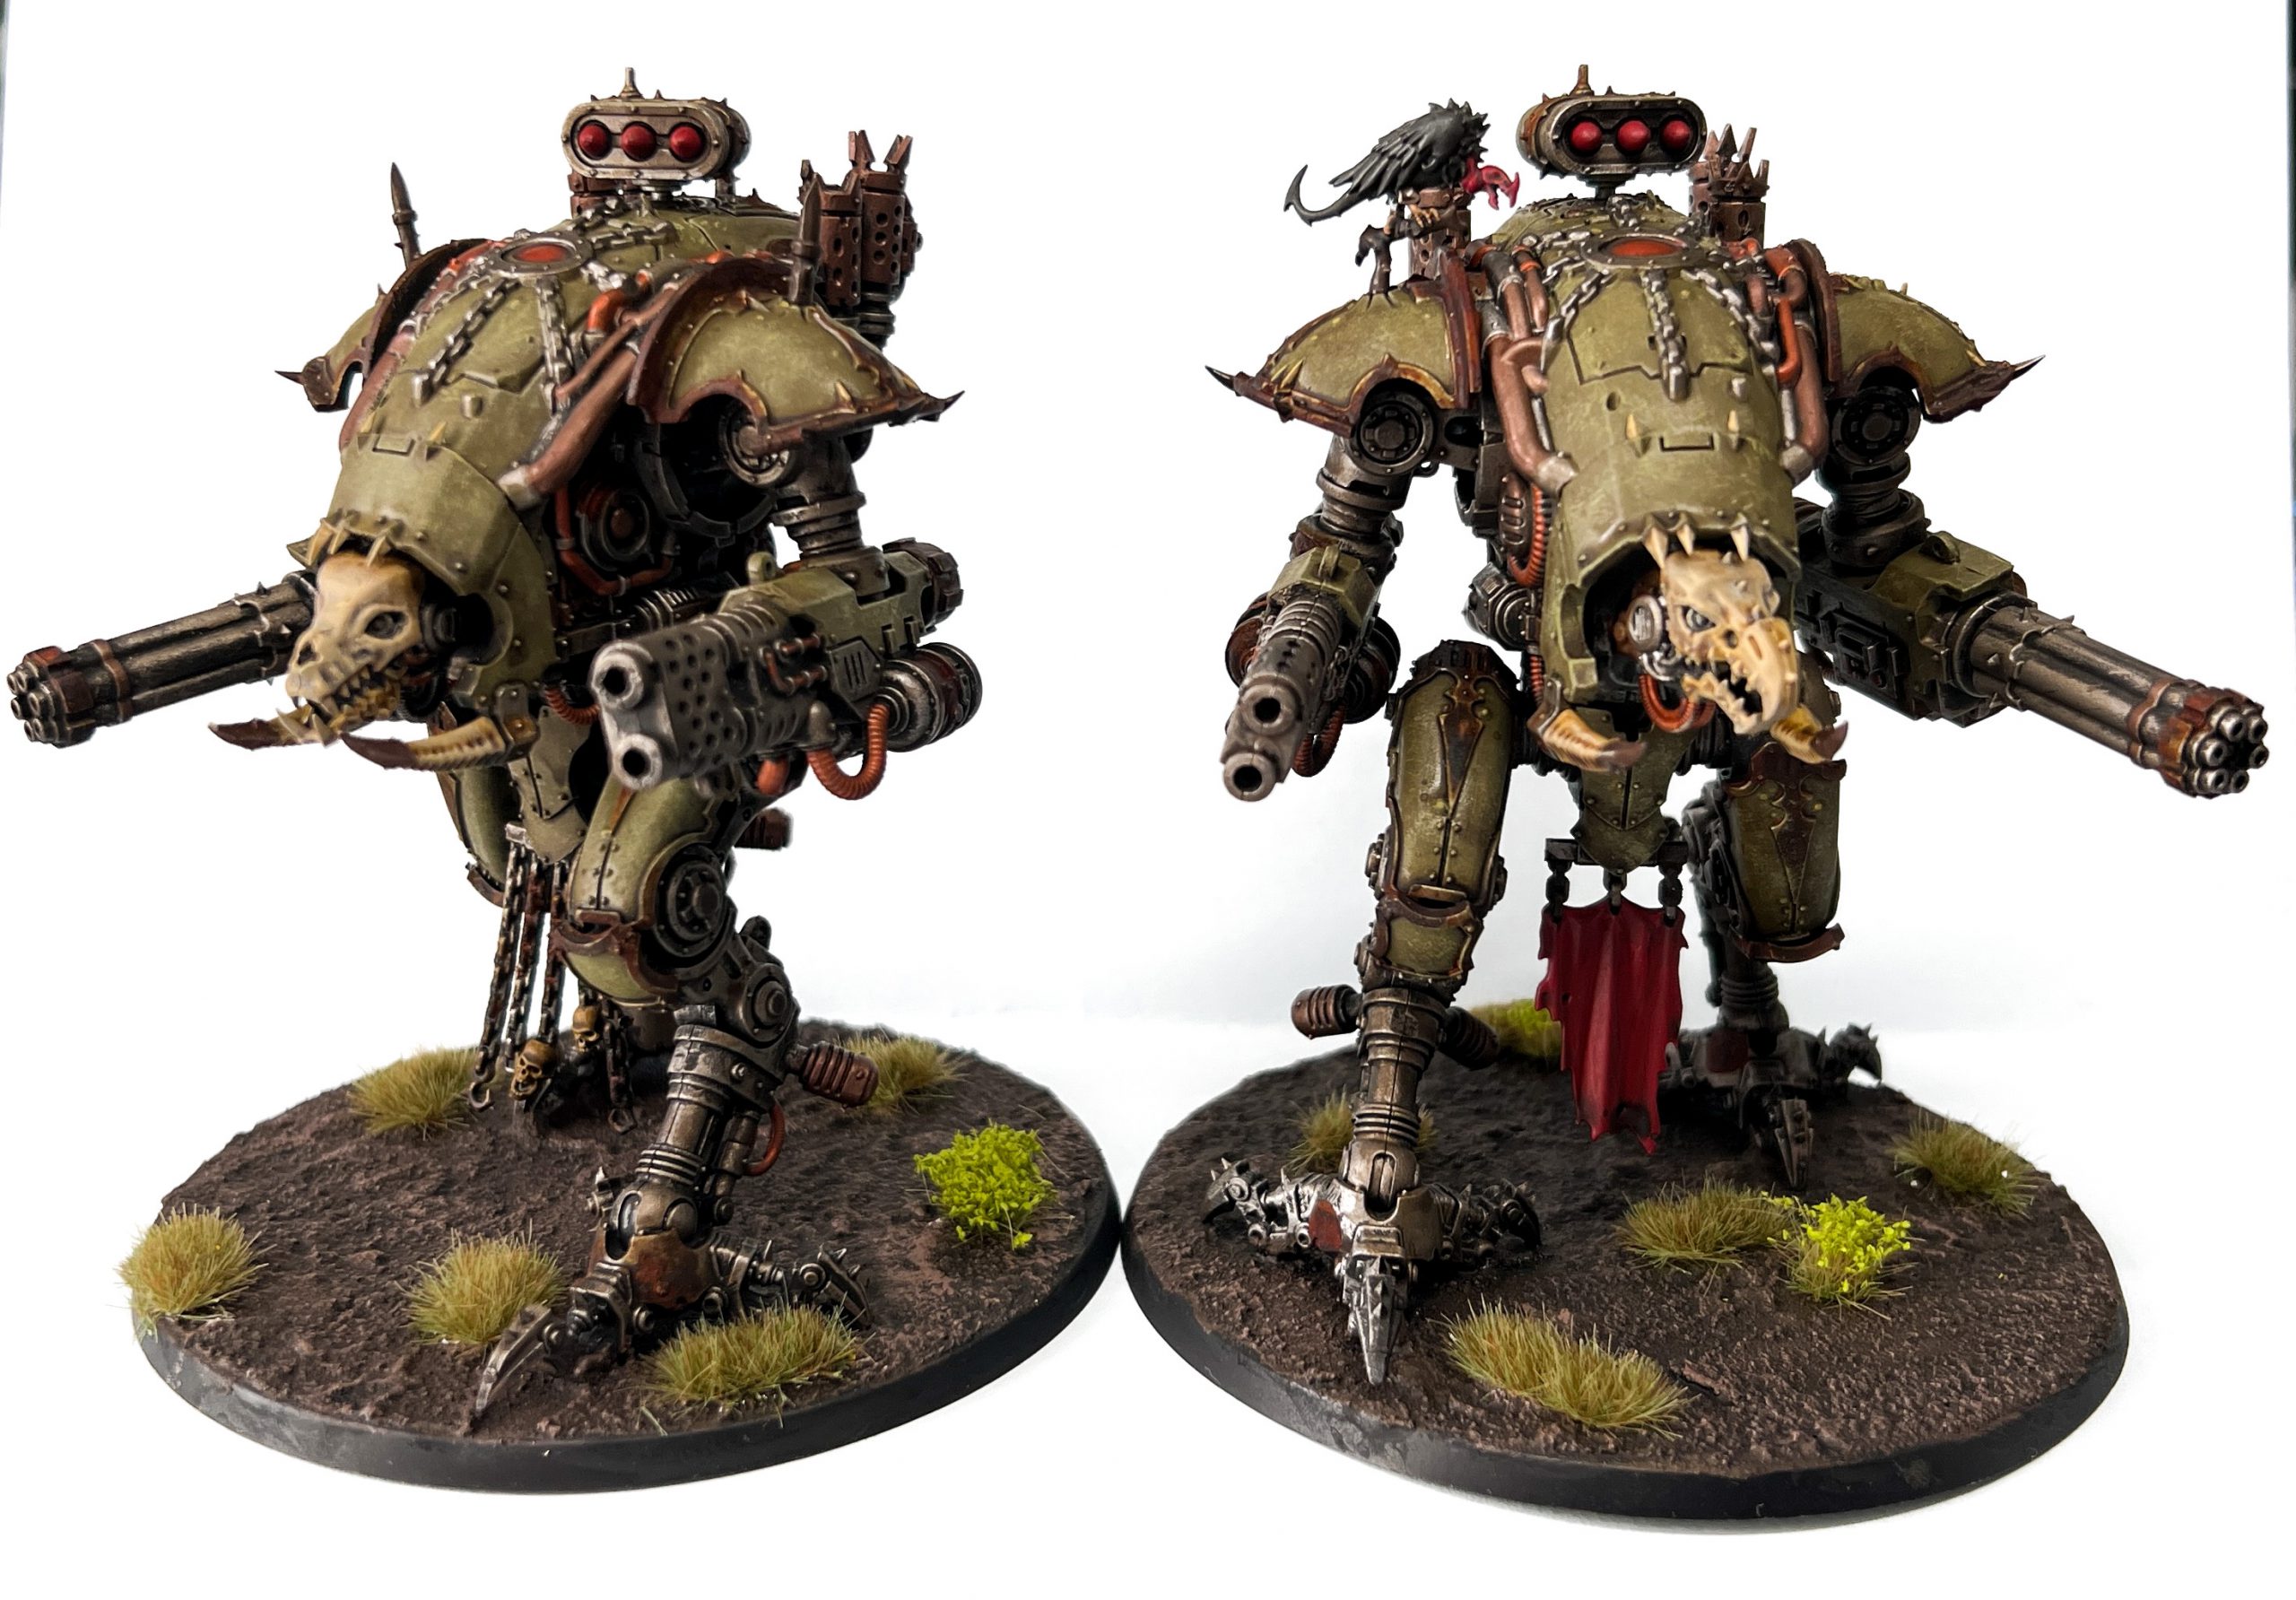
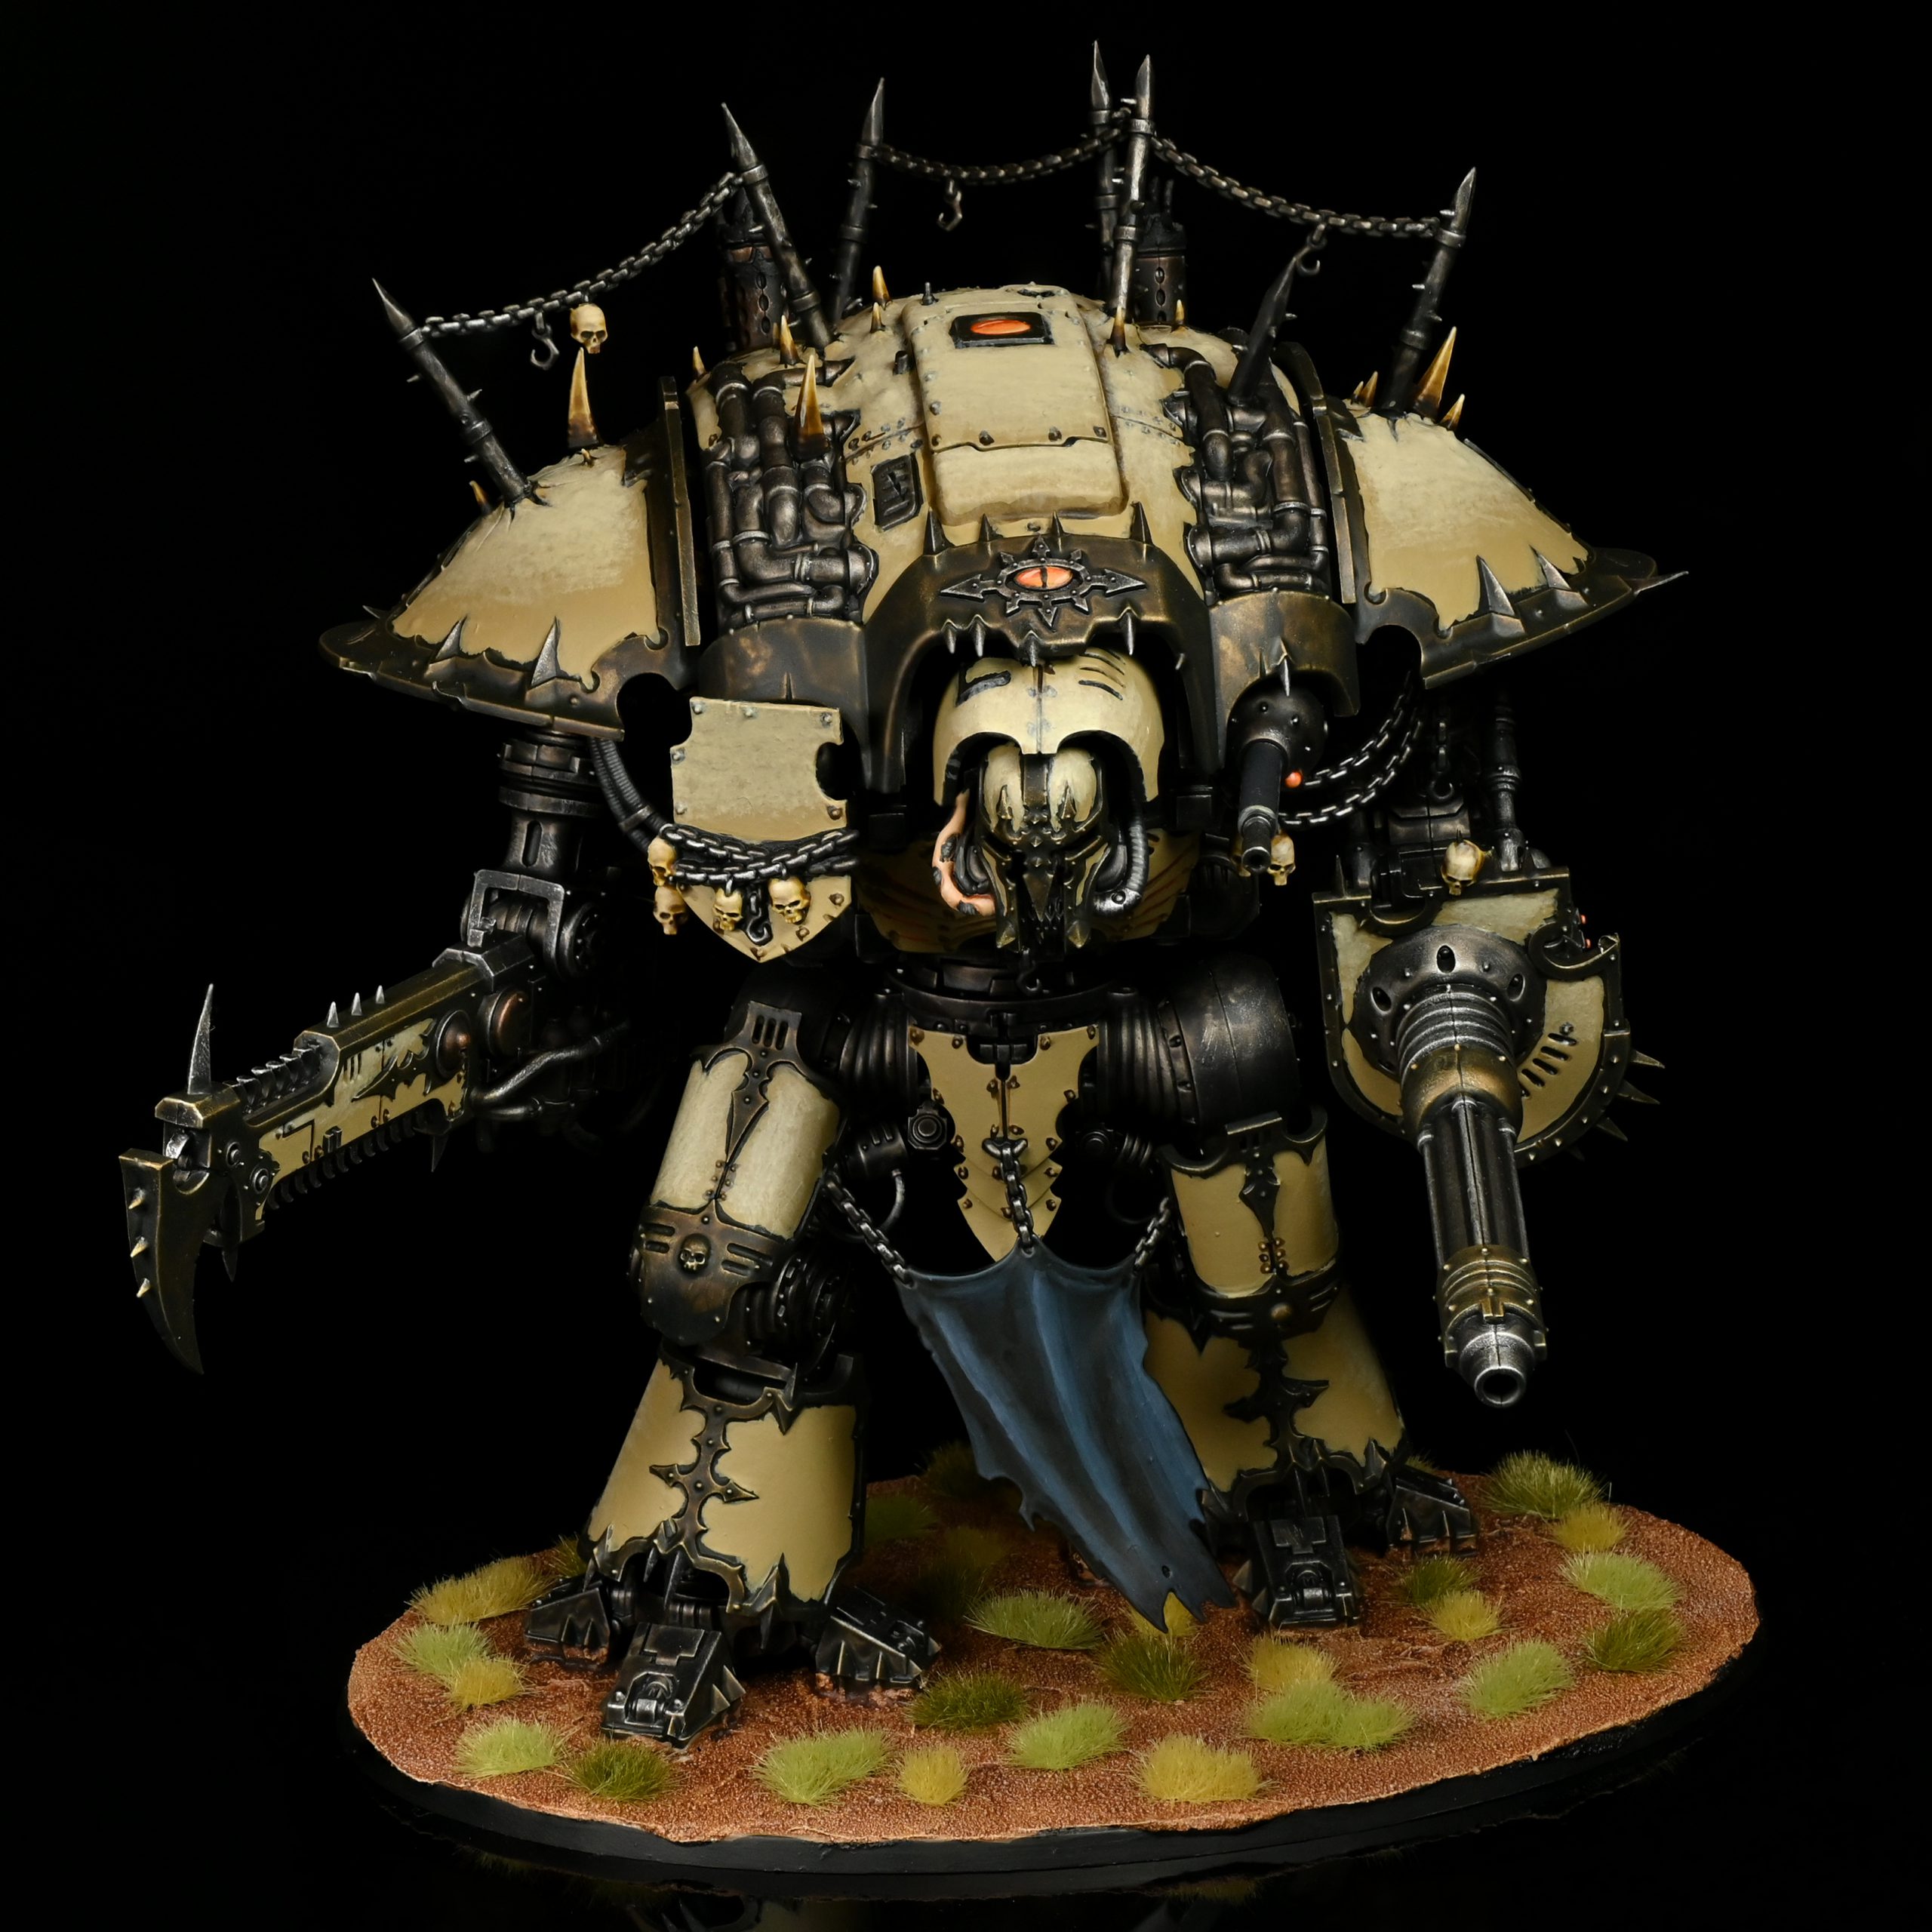
In this series of articles we take a deep dive into a specific detachment for a faction, covering the faction’s rules and upgrades and talking about how to build around that faction for competitive play. In this article, we’re covering the Traitoris Lance Detachment for the Chaos Knights.
The only Detachment the Chaos Knights currently have access to, Traitoris Lance released with the 10th edition indexes. Its primary function is forcing additional Battle-shock tests and giving you access to the Knights of Shade Stratagem. Otherwise the Detachment is known for not bringing a lot to the table for Chaos Knights, who instead rely on their datasheets and some of the game’s Core Stratagems (Command Re-roll and Tank Shock, mostly) to get by.
Detachment Overview
I’m not going to mince words: This is the worst Detachment in the game. It’s a running joke among Chaos Knights players that their Detachment doesn’t add anything to the army. Since this Detachment was published, multiple other armies have just had access to better effects at modifying leadership and forcing Battle-shock tests.
Detachment Rule: Forged in Terror
In the Battle-shock step of your opponent’s Command phase, if an enemy unit below starting strength is within 12″ of a Chaos Knight from your army, that unit has to take a Battle Shock test. This doesn’t cause extra test, it just modifies who has to test.
That’s it, that’s all you get. Thanks to your Harbingers of Dread army rule, that test will likely be at -1 Leadership, but putting Ld 6 units on a 7+ isn’t exactly going to win you a lot of games. This ability got substantially better after Insane Bravery was nerfed to be once per game and used before rolling a test, but it also still doesn’t matter nearly enough. Your benefits for attacking a battle-shocked unit aren’t large enough and even with that modifier an opponent may still not fail the tests you need them to. Every now and then this will help you steal an objective but it’s just not something you want to plan for or rely on.
Enhancements
There are four enhancements here and of them, Panoply of the Cursed Knights is the most useful, but it’s also the most expensive. In fact, they’re all pretty expensive.
- Lord of Dread (35 points) – At the start of the Fight phase, you can pick on enemy unit within Engagement range, that enemy unit must take a Battle-shock test. The use-case for this is basically “I am trying to get +1 to Wound against a high-toughness target on round 3 or later” but the melee restriction basically means this is only really going to matter against other knights.
- Aura of Terror (25 points) – If you control an objective marker at the end of your Command phase, and the bearer is in range of the marker, it becomes tainted. You control it even with no models in range of it until your opponent controls it at the end of any phase (note this change is from the Q1 dataslate errata to similar effects). It also gains the Despair Dread ability as if it was a Chaos Knights model from your army, giving off -1 to Battle-shock and Leadership tests. That said, Despair is an aura, so this won’t stack with your knights’ Despair aura effects. Being able to sticky an objective is still pretty great, though.
- The Traitor’s Mark (30 points) – The Doom and Darkness ability is active from turn 1 for the bearer. This only affects battle-shocked units and you’re not going to get any of those on turn 1, so this is pretty worthless as an upgrade as it’s really only giving you heavily conditional turn 2 benefits.
- Panoply of the Cursed Knights (40 points) – Each time an attack is made on the bearer worsen the AP of that attack by 1. This is pretty expensive but it’s also very solid. Chances are if you’re taking a single big knight you’ll have enough points left over for this upgrade and that’s the place where you’ll run it – on your single Rampager – provided you’re okay giving up a unit of Nurglings for it.
Norman: More often than not you’ll see folks take the Aura of Terror enhancement if any for a few reasons. First off it’s a good point filler as the cheapest enhancement and second it allows your dog that’s guarding home to flex out beyond your home objective marker to be more involved in the fight. While Panoply of Cursed Knights is handy, it costs the same as an entire Nurgling unit which will almost always be more useful than trying to keep your big knight alive. If your opponent wants your big knight dead, its gonna die.
Stratagems
The six Stratagems available in this Detachment tend to mostly be pretty mediocre, but some have their uses. The good news is that they all cost 1 CP. Mathematically, Bulwark is a little better than Disdain for the Weak’s standard mode and a bit better if you’re able to use it to get a 5+ Feel No Pain.
- Dread Hounds (Battle Tactic, 1 CP) – Used at the start of your Shooting or Fight phase. Pick two or more War Dog units from your army and one enemy unit that is an eligible target for each of those selected units. Until the end of the phase, those War Dogs can only target that enemy unit but gain the SUSTAINED HITS 1 ability. They also get critical hits on a 5+ if that unit is Battle-shocked.
- Disdain for the Weak (Battle Tactic, 1 CP) – Used in the Fight phase after an enemy unit targets you. One of your Chaos Knight units gets the Feel No Pain 6+ ability, or 5+ against attacks from Battle-Shocked units.
- Pterrorshades (Wargear, 1 CP) – Use in any phase after an enemy unit within 12″ fails a Battle-shock test. Roll 6D6 and for each 4+ that model takes a mortal wound and your model within 12″ regains a lost wound. This is basically your replacement for Grenades, but with healing and one massive hoop to jump through. When you can get it off it’s pretty solid – but you can’t rely on it.
- A Long Leash (Strategic Ploy, 1 CP) – Used in your Command Phase on an Abhorrent and up to three War Dogs in your army. Until your next Command phase War Dog models count as being in range of the Abhorrent’s aura abilities. Your best use of this is giving your War Dogs the ability to re-roll hit rolls of 1 in melee from the Knight Rampager. The Desecrator’s ranged version is good, but then you’d have to take a Desecrator and it just isn’t worth it.
- Knights of Shade (Epic Deed, 1 CP) – Used in the Movement or Charge phase. Pick either up to two War Dogs or one TITANIC Chaos Knight and for the rest of the phase they can move through models and terrain as if they weren’t there. This is fantastic for getting off key charges, especially with a Rampager. It’s easy to ambush opponents with it and get off a move they weren’t expecting. It’s one of your two go-to Stratagems in the Detachment.
- Diabolic Bulwark (Wargear, 1 CP) – Used in the opponent’s shooting phase after they target you. Your Chaos Knights model gets a 4+ invulnerable save against ranged attacks for the rest of the phase. Your Rotating Ion Shields Stratagem, this is very useful, but it’s not a magic trick for saving a knight. Most of the time it forces an opponent to overcommit to taking down their primary target, leaving them fewer attacks to allocate to the next target, or forcing them to spend CP of their own to improve their odds. In that sense, Bulwark is less about saving your knight and more about stopping your opponent from taking down more than one or two in a turn. It’s a good Stratagem to have, but keep an eye out for what’s coming in – if you’re up against a single shot, Command Re-roll gives you better odds of avoiding damage, while for 3+ shots against your invuln Bulwark is better. Paradoxically, once you get into really big numbers, Re-roll starts being better again as it’s more likely to be useful on your “last” re-roll if you spike a bunch of saves.
Norman: Knights of Shade is by far the Stratagem you’ll use the most. It’s what will keep all your Knights as threats at all times and even just having it in your pocket changes how your opponent moves around the board. I would avoid using Diabolic Bulwark more often than you’d think. If you’re taking only three high power attacks (a Gladiator Lancer for example) you’re better off rolling the saves and rerolling if you really want it to stay alive.
Playing This Detachment
The good thing about having a bad detachment rule and mediocre Stratagems is that you don’t have to spend a lot of time thinking about them, and can focus on the winning the game with superior datasheets and firepower. Chaos Knights list as a result don’t spend a lot of time and energy playing around with these rules. Most lists at the competitive level come in one of two varieties:
- All War Dogs
- One big knight (usually a Rampager), and as many War Dogs as will fit
On top of that, you’ll need to fill out your list with some kind of cheap units to do actions, as you really do not want to have War Dogs giving up their shooting to Cleanse or Investigate Signals. That’s where Daemons come in. Most Chaos Knights lists run 2-4 units of Nurglings, but you can get some additional utility from trading out two of those Nurgling bases for a Poxbringer. The Poxbringer is a little bit easier to hide and nearly impossible to screen out from a deep strike, and has the added bonus of giving units within 6″ an extra -1 to their Leadership, which can actually help push through some of those Battleshock tests, but you really do not want him getting within 6″ of things which can kill him unless he’s already scored you 8-10 VP for Behind Enemy Lines, Engage on All Fronts, and Investigate Signals. He can hold your backfield objective in a way that Nurglings can’t, but he’s better most of the time as a deep strike threat. Your other alternative is a Beast of Nurgle to play as a cheap home objective holder, giving you a durable OC 2 unit which can’t easily be killed by a Plagueburst Crawler or Basilisk and will just regenerate all its wounds if they fail. Beasts are showing up more often in lists, and with good reason.
Ultimately you’re just going to ignore the Detachment rule in most games and focus on using your War Dogs to bully units off objectives and cover the board aggressively early on. With OC 8 units capable of scrapping in melee you’re rarely going to come up against challenges on objectives you can’t solve through violence, so getting off the occasional unexpected Battle-shock is more of a fun bonus than something you’re relying on and playing around.
Final Thoughts
The Chaos Knights don’t have an exciting Detachment but in some sense they don’t need one – the faction has some great datasheets, with lots of fast, durable units with insanely high OC characteristics. At the very least, they’re more than capable of winning events even without good Detachment rules.
Have any questions or feedback? Drop us a note in the comments below or email us at contact@goonhammer.com.
