We’ve previously covered how to paint the new Octarius terrain from Kill Team 2021 in our How to Paint Everything article on the topic, but today we’re bringing you an extra dose covering Crab-Stuffed Mushrooms’ wonderful efforts to assemble and paint the full terrain set. In addition to painting the terrain, he’s also talking about basing it and creating bases that still allow you to assemble the “full building” superstructure.
I was pretty excited about the new Kill Team terrain, so much so that I tore through it as soon I got my hands on it! I knew the secret to finishing would be speed: If a project takes too long, I get distracted by life and lose enthusiasm. All in all, this project took 3-4 days:
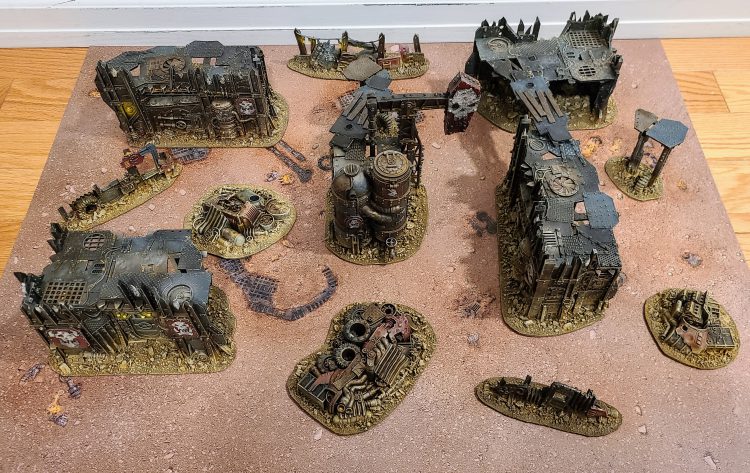
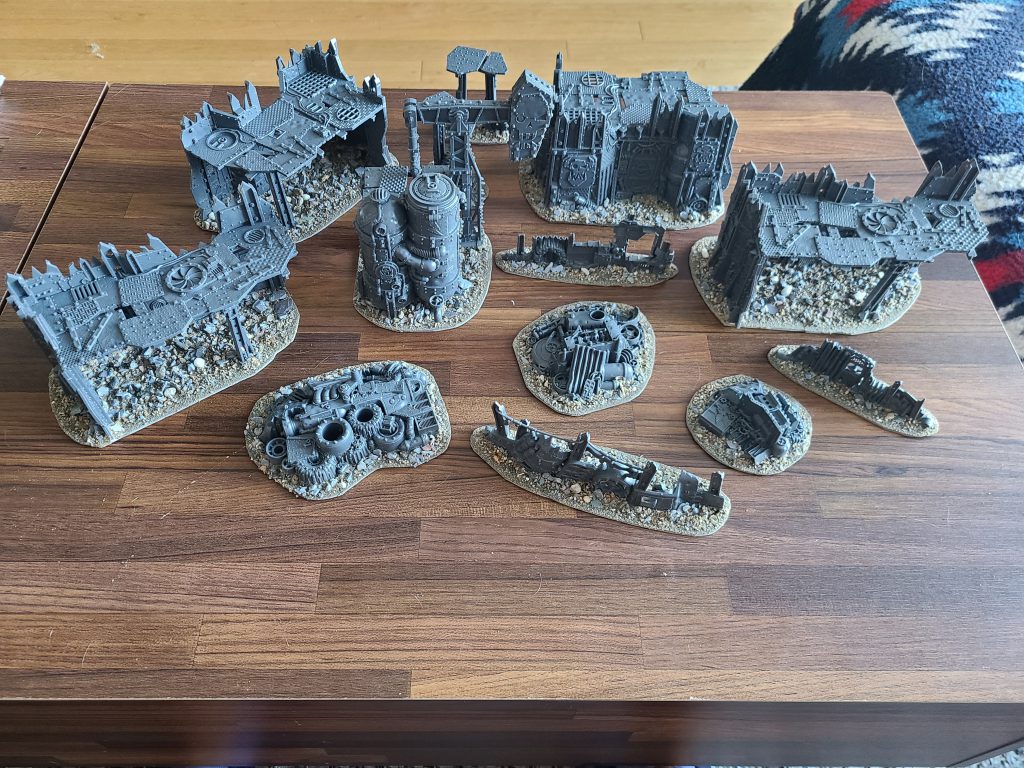
Basing the Terrain (Optional)
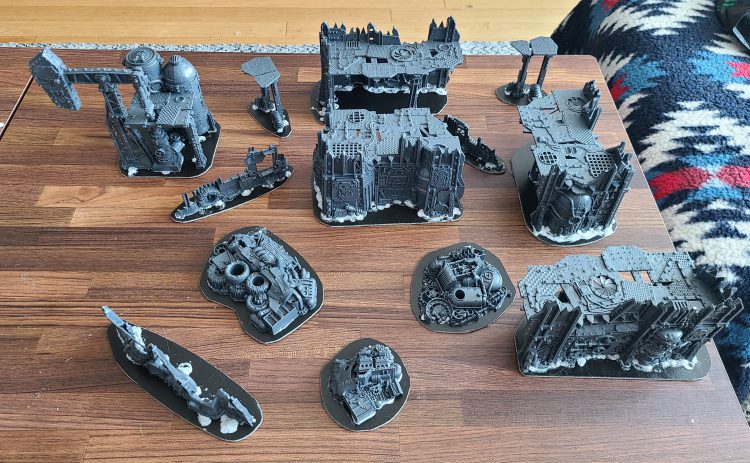
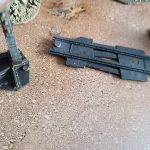
Basing Kill Team terrain is optional, but doing so can really add to the immersion. GW’s new plastic terrain is pretty sturdy, but adding bases can make the models easier to handle (particularly while painting them)! I was able to base these pretty easily using BuffaloChicken‘s tips from an earlier article on Goonhammer. I attached the terrain to the bases using Gorilla Glue, but this turned out to be overkill – you can see how the glue started to expand because I didn’t read directions on the bottle. In retrospect, mere PVA glue or a glue gun would have sufficed.
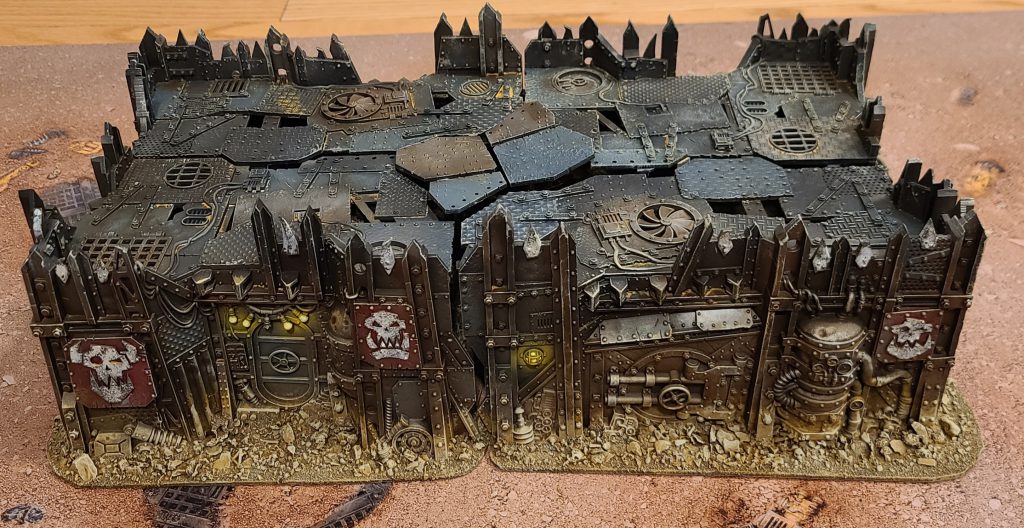
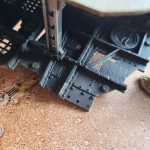
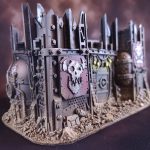
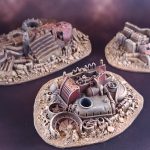
NOTE: When basing the corner buildings, I kept the outline of the bases small so that they could still be placed together into a larger building:
Flocking the Terrain
I keep a large bucket of sand, gravel, pebbles and other detritus as flock for basing terrain. You can get a combination of materials from local hardware and pet stores. Throw it all in a container and save it for future projects.
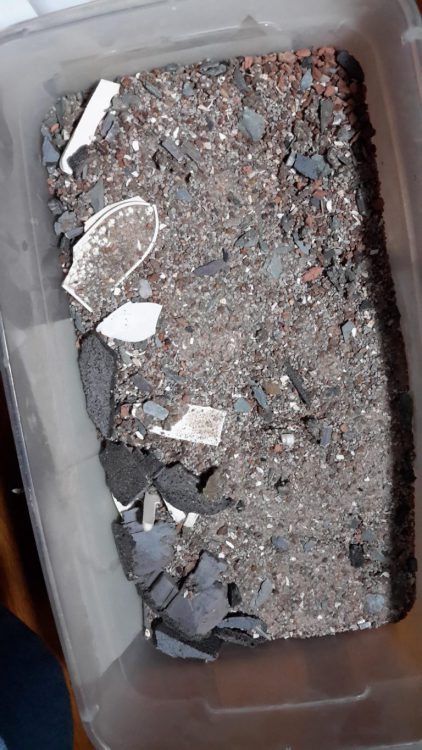
I based these with PVA (Elmer’s) glue. Keep the layer thin and gently tap the terrain to remove any excess. I did this over the container lid so I could recycle the excess flock for later. You may need to add a second layer based on coverage. Leave this to dry overnight before priming.
Magnetizing the Terrain (Optional):
To help anchor the bridges that came with the set, I added magnets to the underside of most of the buildings. Make sure you check the polarity and ensure the same side is facing up!
Painting Terrain (Draw An Owl):
As is tradition, I neglected to take photos during the most crucial part of the process: Painting the terrain! But bear with me, I’ll walk you through it:
- Prime the terrain: I primed these using GW’s Chaos Black spray – but you can also use auto primer. I recommend wearing gloves and doing this outside over a cardboard box and some newspaper. If you based the terrain, you’ll find it much easier to hold.
- First layers: I used an airbrush for this, but you can also use spray paint:
- To break up the black, I went over the original black undercoat with random patterns of dark brown (Dryad Bark) and dark grey (Mechanicus Standard Grey).
- Any dark grey or brown will do. Don’t try to be precise with this. Spray from a distance and avoid covering the black completely.
- If you’d like an example, GW author John French posted a similar tutorial for his Necromunda terrain, using tips from GW’s terrain guru, Mark Bedford.
- Painting the Metal:
- I didn’t want the terrain to be completely black, I painted random parts of the model (such as the girders, doors and armor plates) with Vallejo Burnt Iron.
- You can also use Leadbelcher or Iron Warriors paint from GW.
- Avoid being neat, drybrush or roughbrush the color. It’s okay if there’s spillover.
- The fuel canisters were base coated with Balthasar Gold.
- Spot Colors:
- To help break up the black and metal, I added red and dark blue spot colors to random parts of the model:
- Red armor plates were basecoated with Gal Vorbak Red, then roughly brushed with Mephiston Red.
- I also painted the glyphs (Ork symbols):
- The glyphs were basecoated with Steel Legion Drab, followed by a rough coat of Pallid Wych Flesh.
- To help break up the black and metal, I added red and dark blue spot colors to random parts of the model:
- Battle Damage:
- I applied weathering / battle damage using a similar method from a previous article: Applying a dark grey to the edges of terrain with a torn piece of sponge.
- In this case, I used Skavenblight Dinge, applied with a torn piece of blister pack foam.
- The Secret Sauce:
- The trick to bringing all of these colors together is a Pigment Wash and a light Drybrush of the entire model:
- All terrain pieces were given a wash of pigment powder mixed with water. I used a ratio of approx. (Updated): 3 parts water to 1 part pigment).
- Note: You can be flexible with the ratio. The more pigment you use, the dirtier the model will be. Since you’re using water to bind the pigment instead of alcohol, you’ll be able to wipe off anything you don’t like, later.
- I used Dark Yellow from Secret Weapons pigment line (sadly going out of business), but any light pigment powder should suffice. Note: The color of the pigment will become dull after you’ve varnished the terrain, so when in doubt, go lighter!
- Let this dry overnight so the pigment has time to settle.
- Because we used water to apply the pigment wash, we can remove any excess pigment we don’t like with a wet brush.
- All terrain pieces were given a wash of pigment powder mixed with water. I used a ratio of approx. (Updated): 3 parts water to 1 part pigment).
- Once the pigment wash had dried, I applied a light drybrush of Ushabti Bone over the entire model.
- The trick to bringing all of these colors together is a Pigment Wash and a light Drybrush of the entire model:
- Painting the Bases
- The bases for each terrain piece were rough brushed with Mournfang Brown, followed by a heavy drybrush of Balor Brown, and a final drybrush of Ushabti Bone.
- You can be rough in your application (avoid neatness), but try to leave some of the previous layer showing by drybrushing less vigorously or covering a smaller area (such as against the base of the buildings):
- Object Source Lighting (OSL) / Painting the Lights
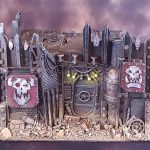
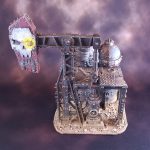
- I painted the light glow for the lamps with an airbrush of Averland Sunset, but you can get a similar effect by drybrushing Averland Sunset as well.
- I then painted the individual lights with a much brighter yellow, using Dorn Yellow.
- Varnish:
- Varnishing the terrain will protect it from inevitable wear. It will also seal the pigment. Warning: Applying varnish will dull down the color of the pigments you used.
- I used Vallejo’s Matt Varnish (for airbrushes), but any dull or matt varnish should work.
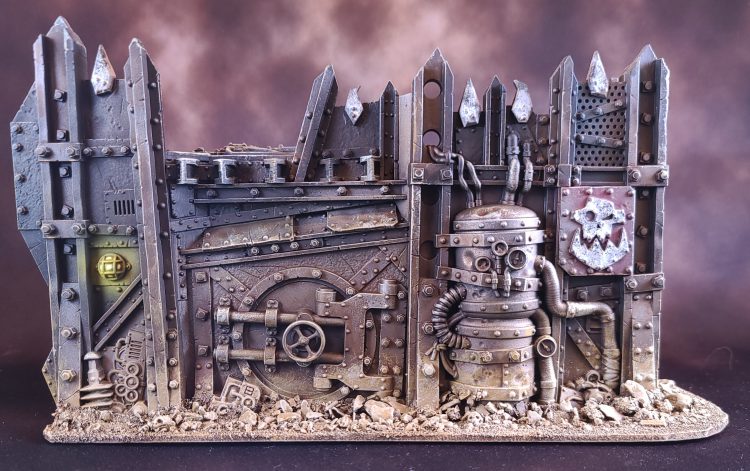
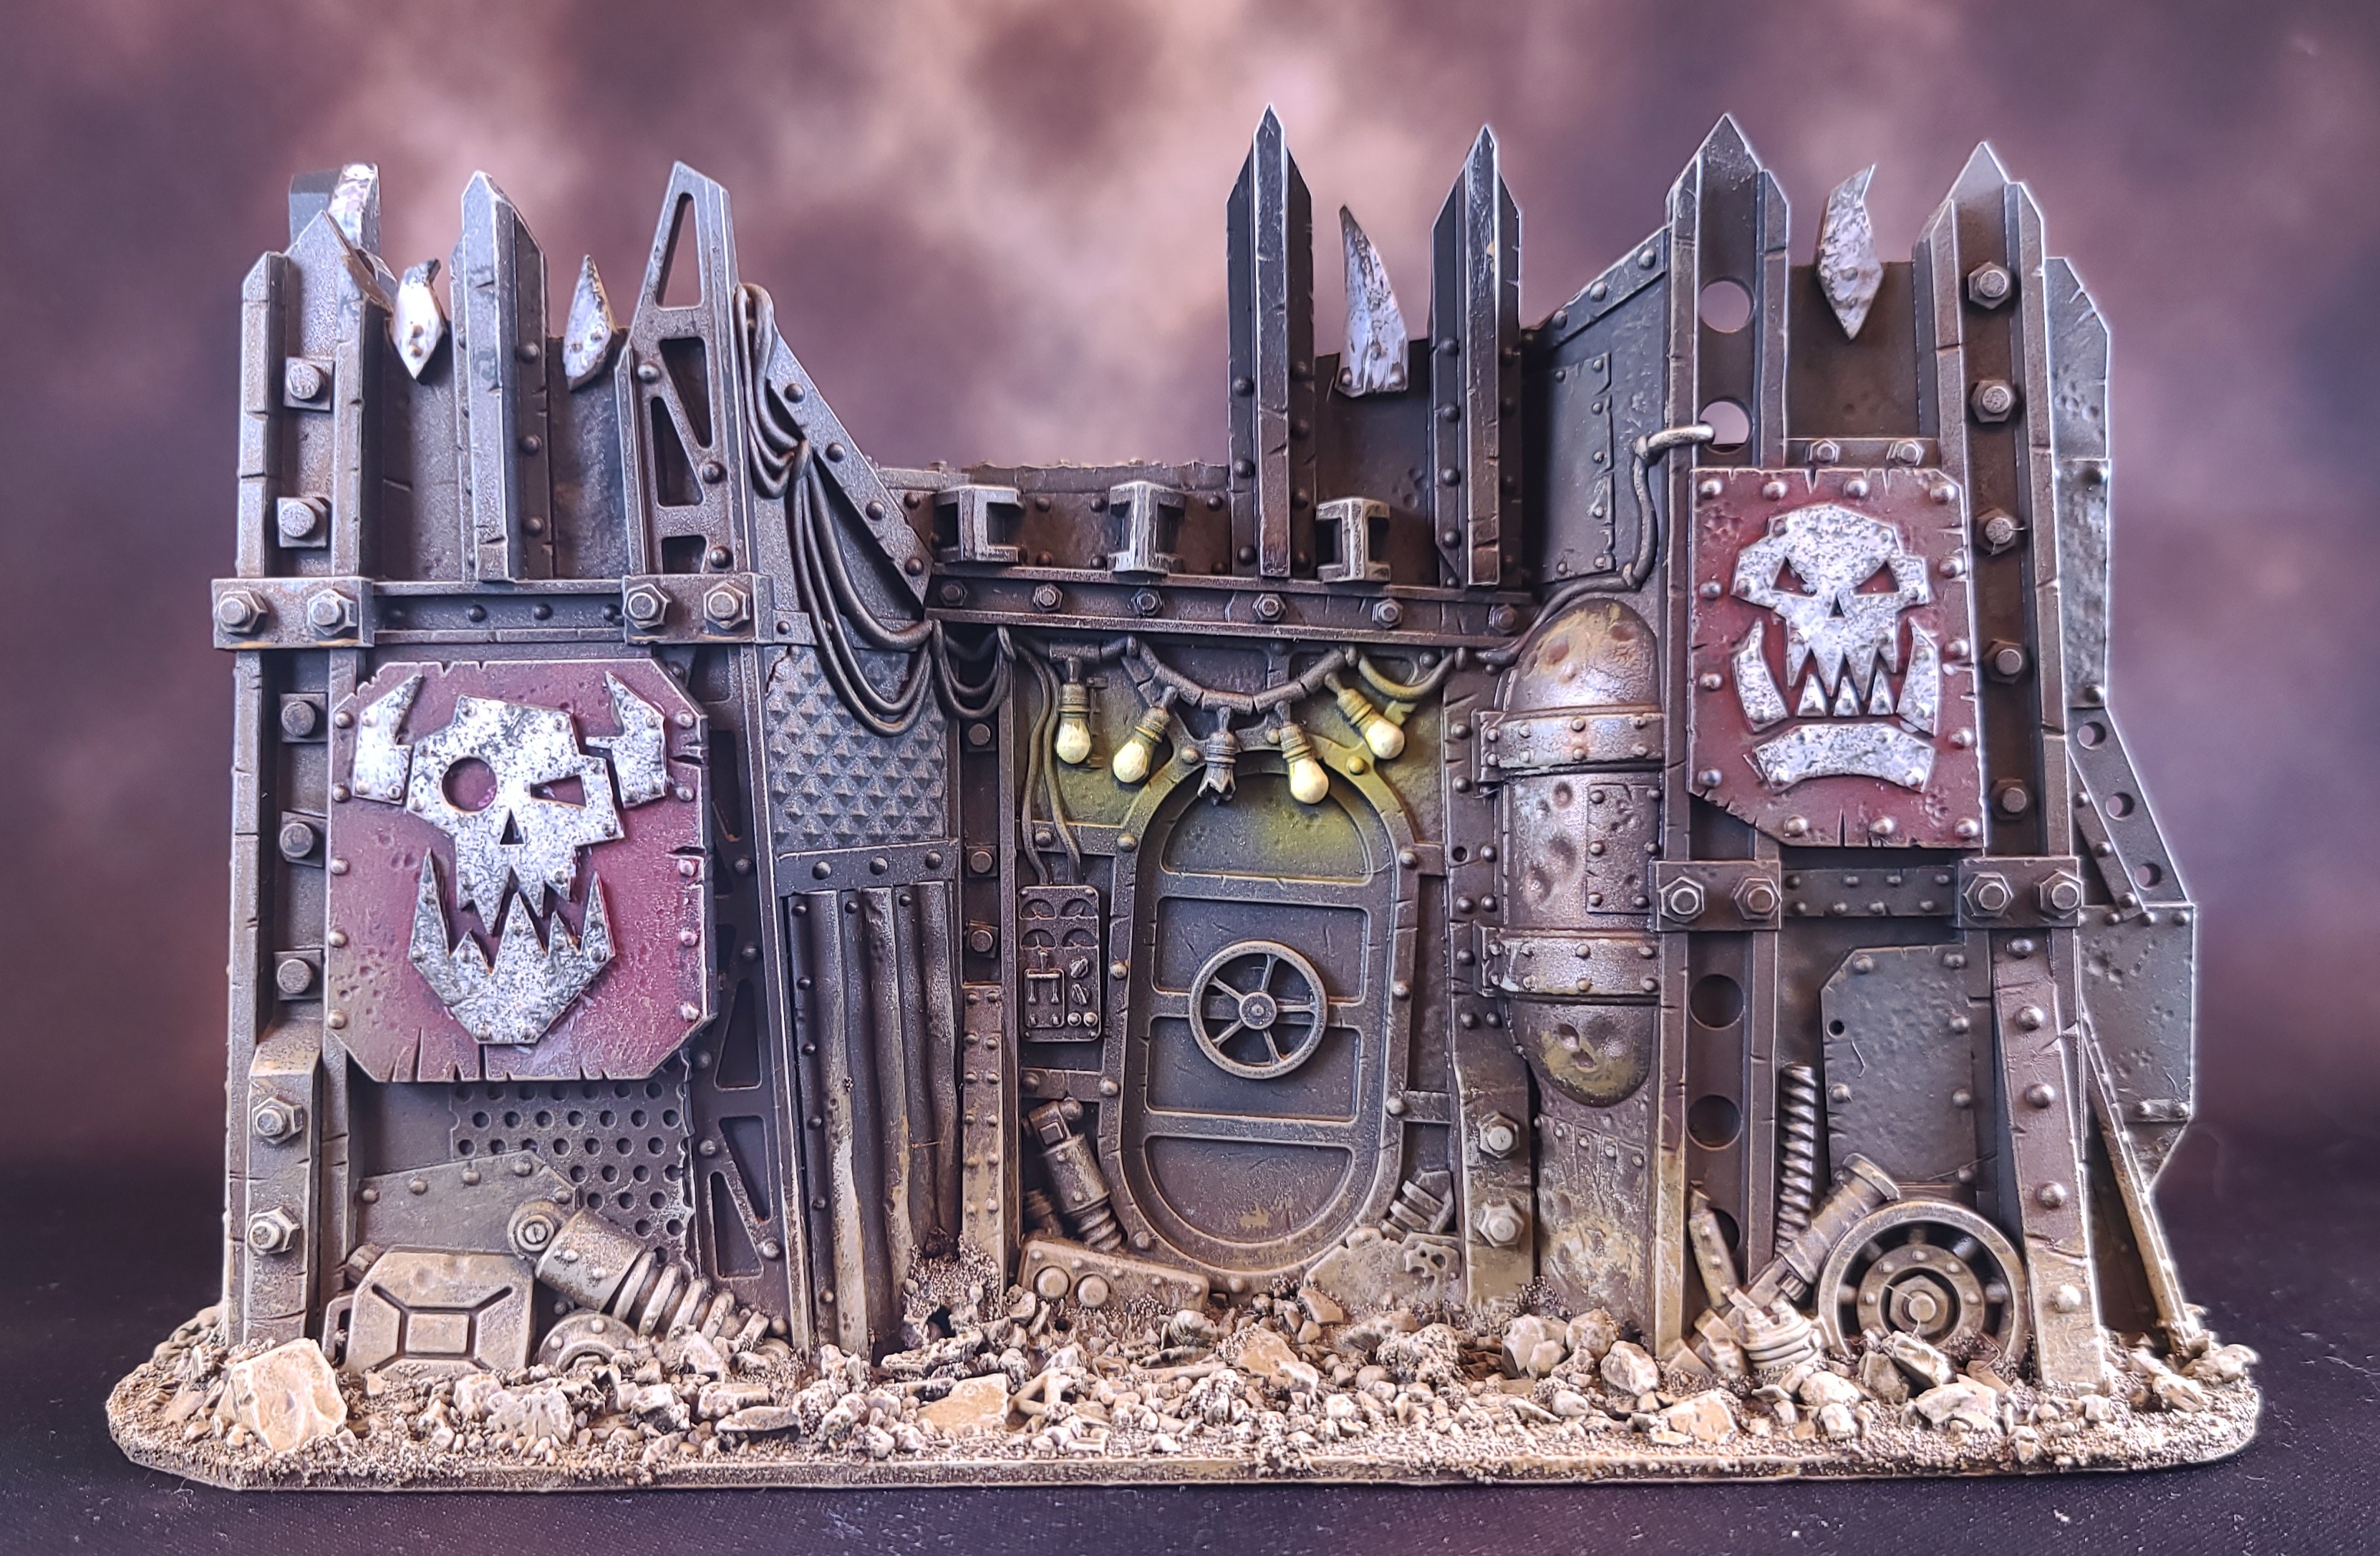
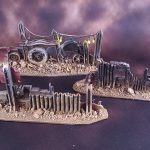
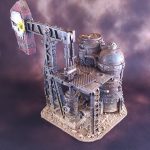
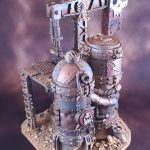
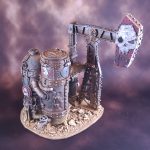
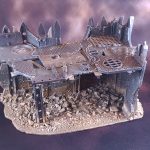
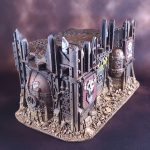
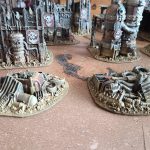
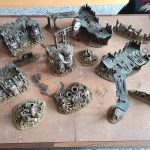
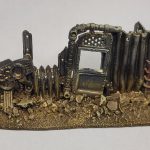
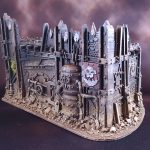
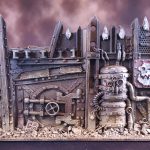
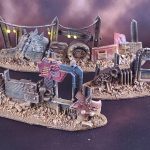
Terrain Gallery:
Have any questions or feedback? Drop us a note in the comments below or email us at contact@goonhammer.com.


You must be logged in to post a comment.