
In our How to Paint Everything series we look at how to paint, well, everything! We look at the lore and heraldry around the models and talk about multiple techniques and methods for painting them. In today’s How to Paint Everything, we’re looking at how to paint the villainous monsters of Warhammer Quest: The Cursed City.
Note: This article was originally published on June 24, 2021
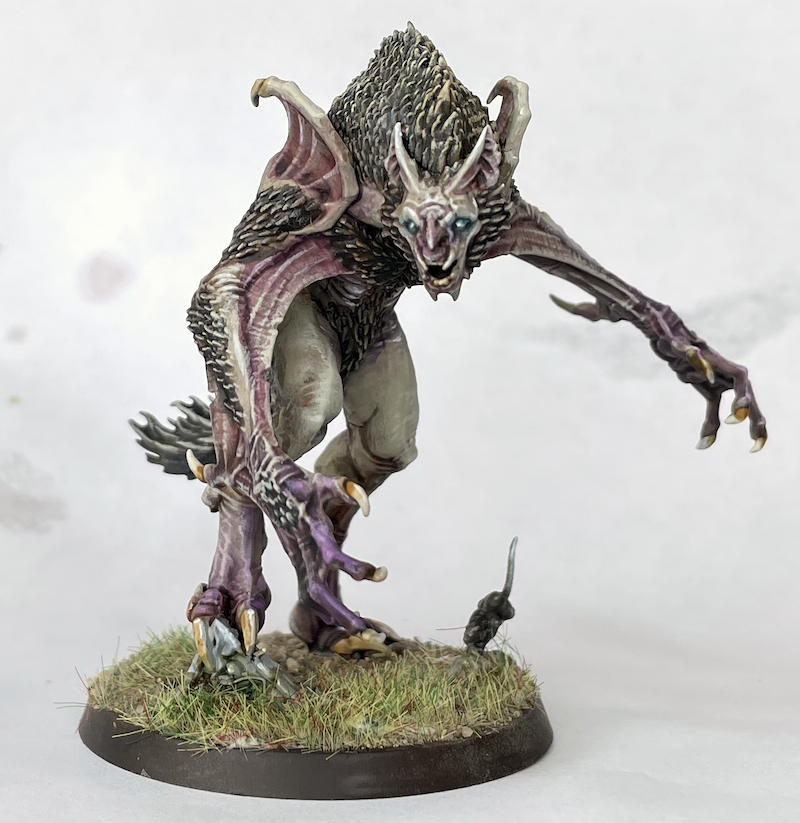
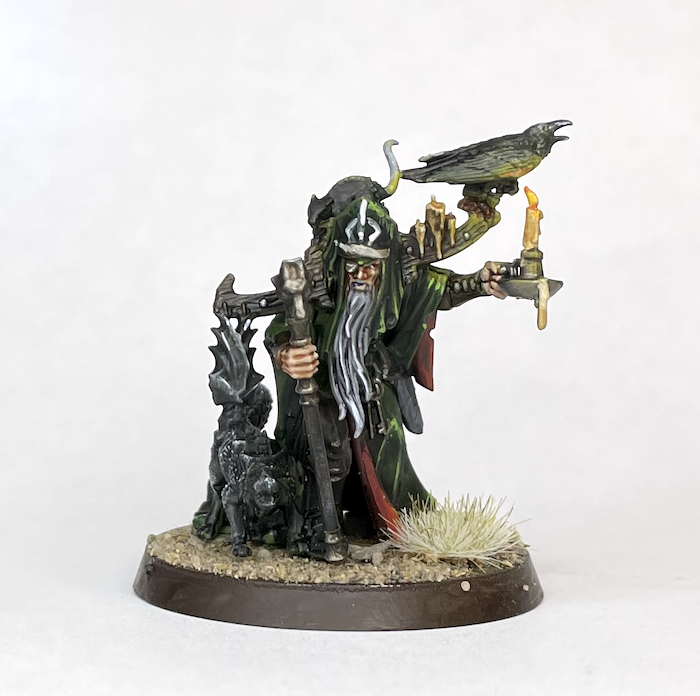
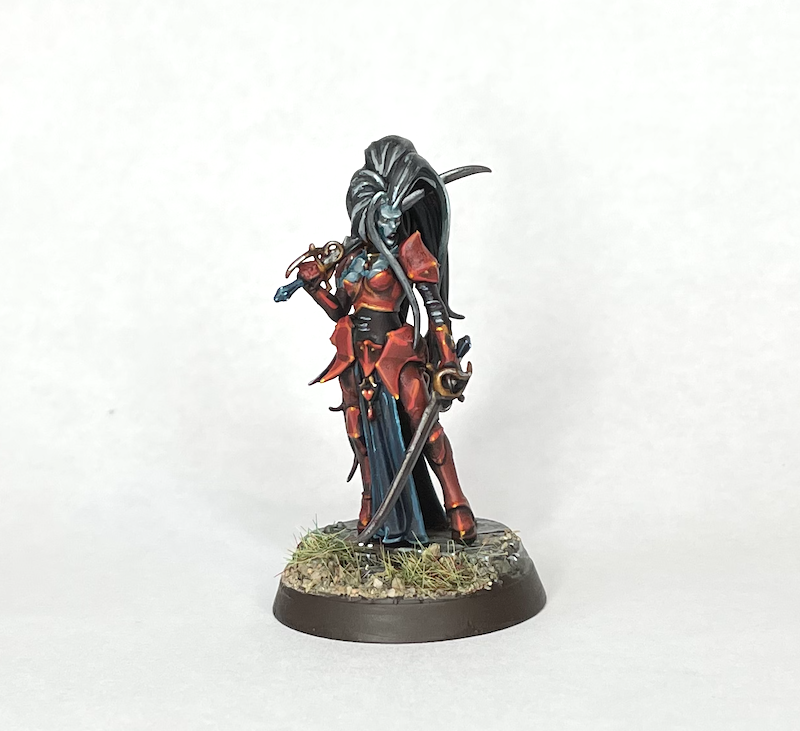
Cursed City is filled to the brim with lovely models and if you were lucky enough to get a copy you may easily have found yourself stymied by the number of models in the box or the amount of detail on them. Well worry no more because today we’re talking about how to paint the monsters and shambling undead minions in the box, with multiple methods you can use for tackling this project. The monsters of Cursed City are a varied gallery of disfigured horrors, and between them there’s a good mix of skeletons, zombies, and other things that go bump in the night. We’ve already covered methods for painting these generally so if you’re looking for some additional help with some of the models and don’t love the methods you find here, consider checking out our other How to Paint articles on skin, leather, and monsters:
- How to Paint Everything: Zombies
- How to Paint Everything: Ghouls
- How to Paint Everything: Skeletons
- How to Paint Everything: Eldritch Horrors
- How to Paint Everything: Draculas (and Vampires)
- How to Paint Everything: Werewolves and Fur
- How to Paint Everything: Leather
- How to Paint Everything: Human Skin
Without further ado, let’s jump into methods for painting the individual models:
Richyp’s Method
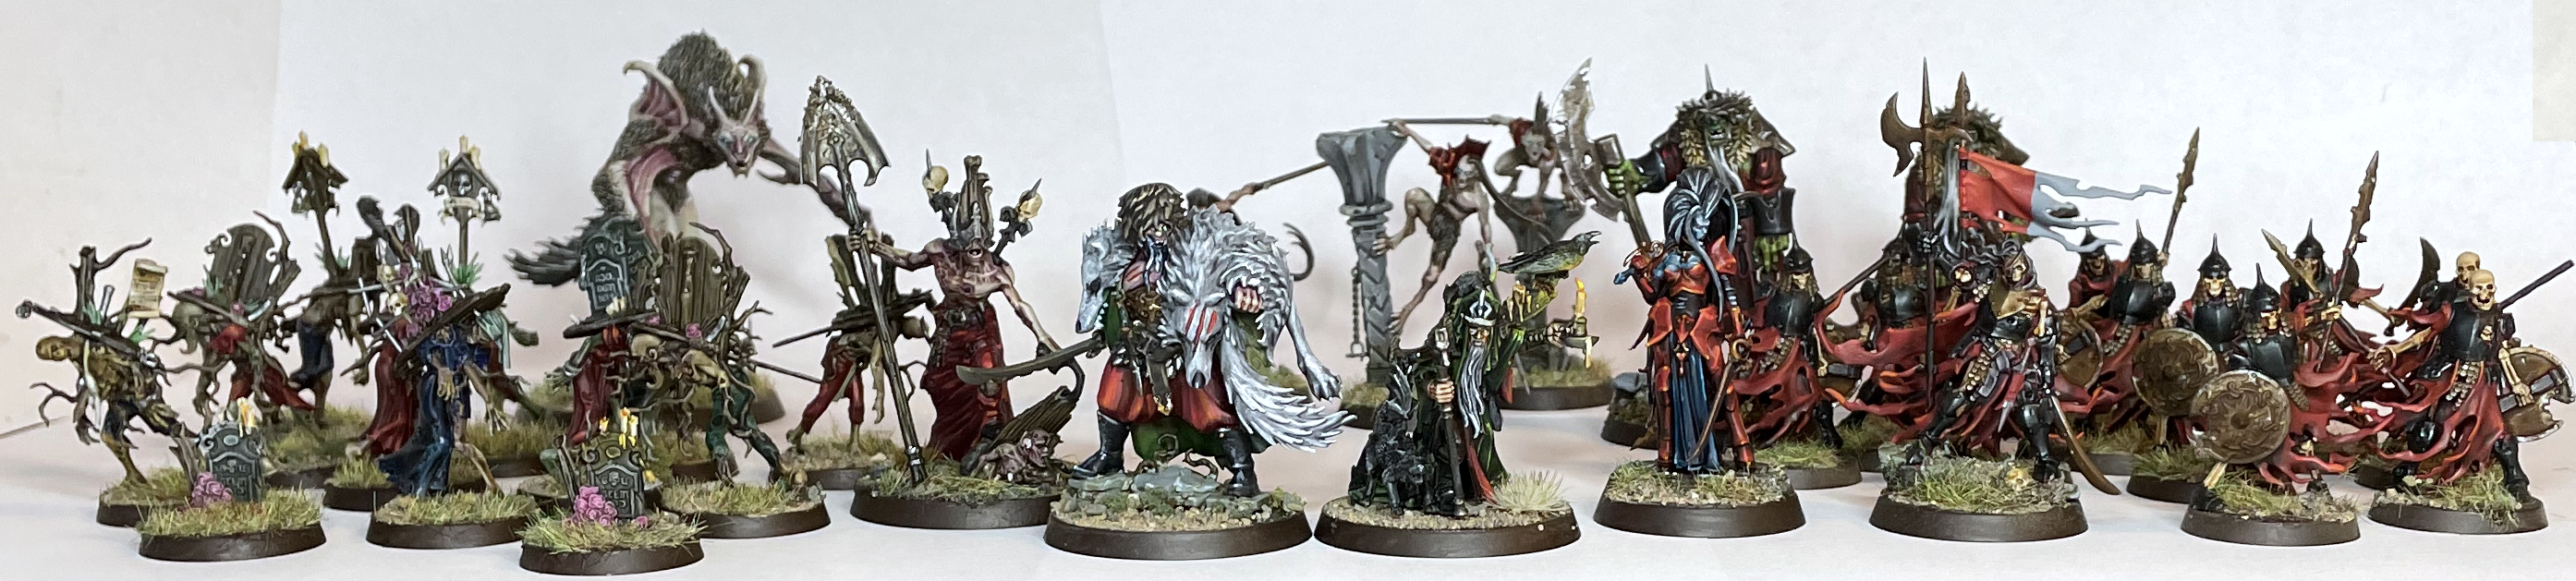
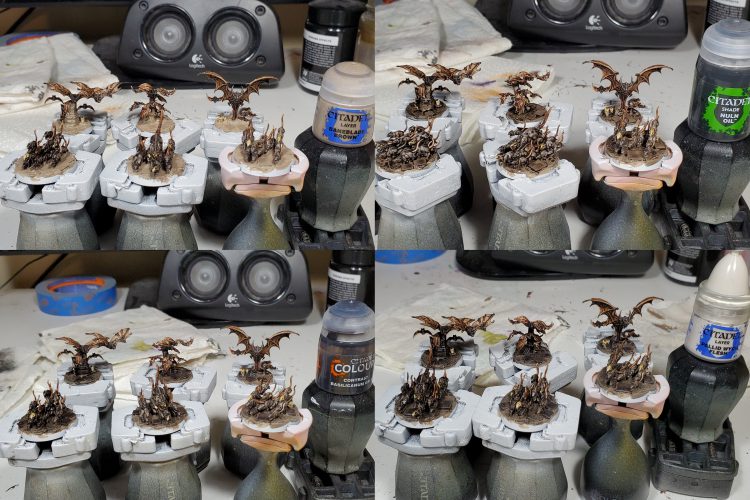
The Cursed City models are amazing and in my opinion some of Games-Workshop’s best models to date, as soon as the images appeared on the internet I new I needed to get my hands on them as soon as possible. Once the live reveal of all the models took place on the Preview stream I had my heart set on a new Death army (my old one is on Goonhammer from a couple years ago). I was one of lucky ones and managed to snag a box within a couple minutes of release but did have to wait a few extra days for the box to arrive, once it did though I got cracking on the Zombies and Skeletons first and then rewarded myself with the big baddies.
I primed all of the models in Death Guard Green for 3 reasons:
- I like a common key colour to tie things together
- It’s a good base colour to work from like grey, and his a sickly feel to it
- It was the only rattle can primer I had left and there was a shortage.
The paints used across all the models were (all directly over the Death Guard Green Primer):
Reds
Red was the predominant colour across the army, the recipe for which is:
- Citadel Contrast Flesh Tearers Red
- Vallejo Game Colour Scarlett Red highlight
- Vallejo Model Colour Orange Red Second Highlight
- Vallejo Game Colour Sun Yellow Spot Highlights
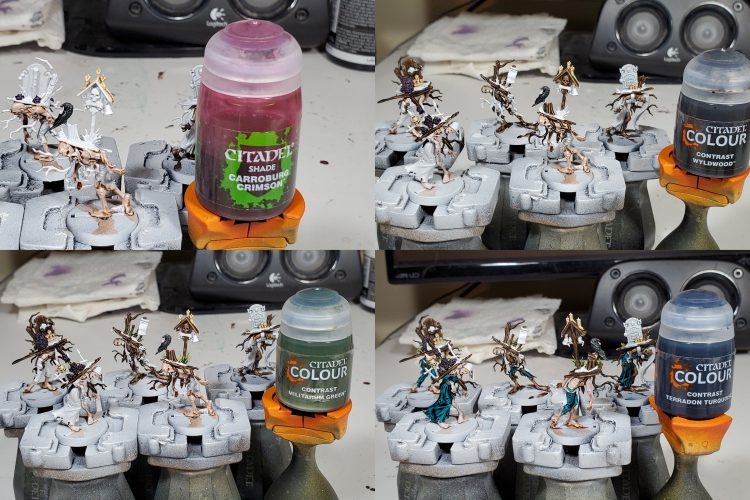
- Very thin Citadel Contrast Wyldwood in the recesses.
The Dark Blue/Black cloth
- Citadel Contrast Arkhelian Green
- Vallejo Game Colour Electric Blue Highlights
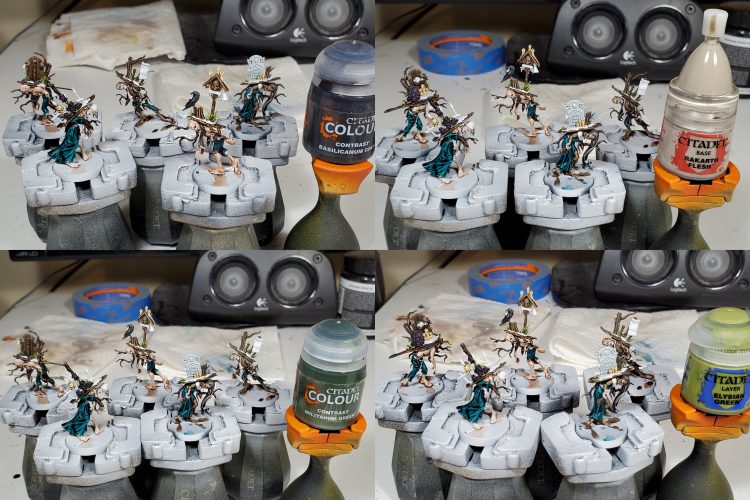
- Very thin Citadel Contrast Basilicanum Grey in the recesses and folds.
Old dark metals
- Vallejo Model Air Gunmetal (brushed on)
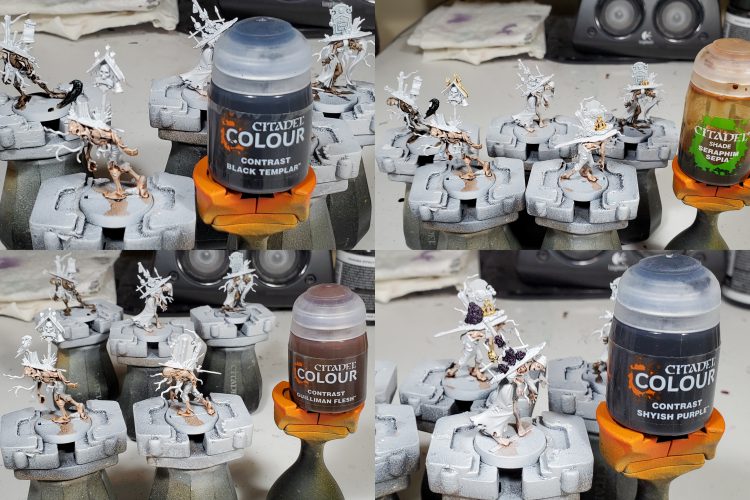
- Very thin Citadel Contrast Black Templar
Old rusty metals
- Vallejo Model Air Gunmetal (brushed on)
- Stippled on Citadel Rhinox Hide and Vallejo Model Colour Orange Red (with an old stiff brush)
- Wash of thinned Citadel Contrast Wyldwood
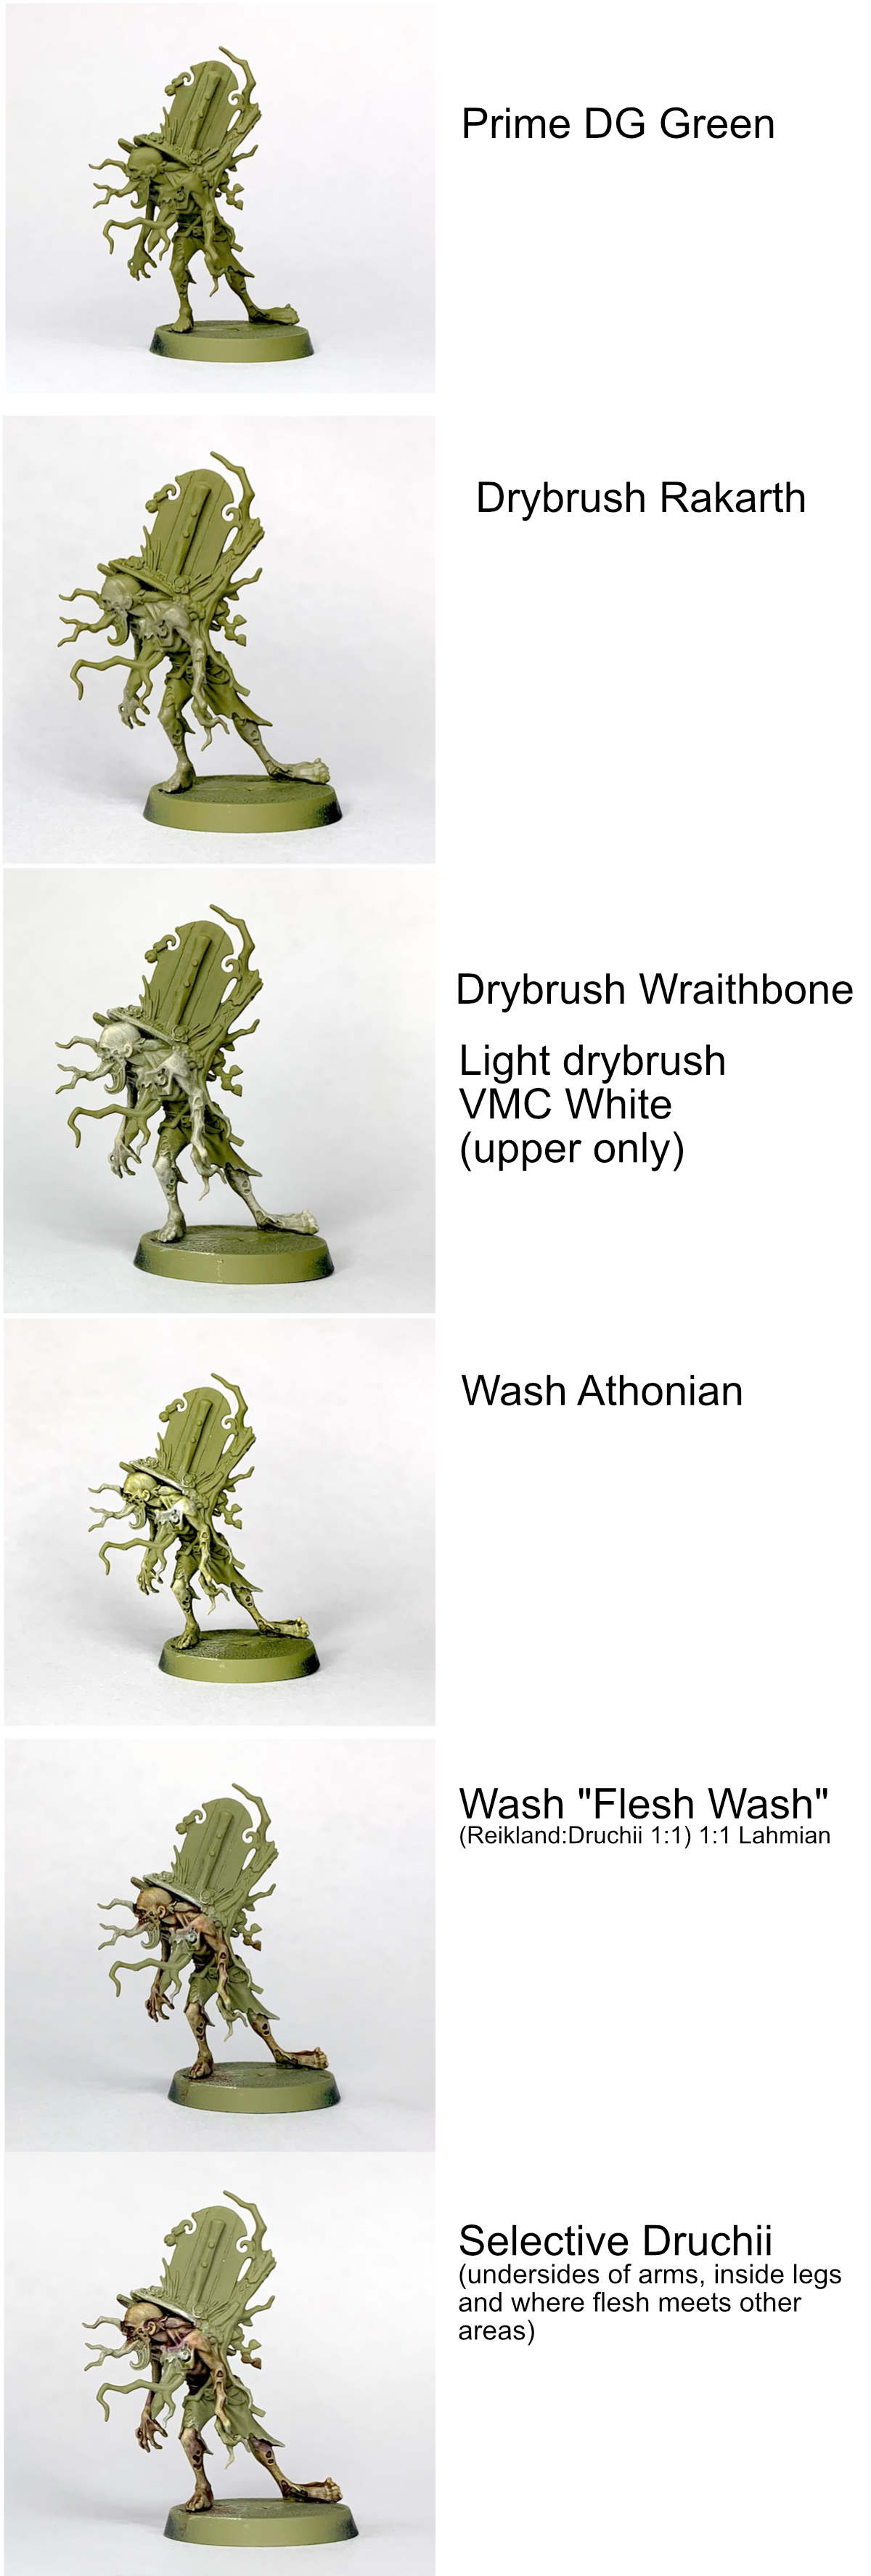
Vampire Flesh
- Citadel Deepkin Flesh
- Citadel Shade Druchii Violet and Carroberg Crimson in recesses
- Drybrush/Layer of Citadel Wraithbone
- [Optional] For the blue flesh on the Crimson Court Vampire, I glazed thinned Citadel Contrast Arkhelian Green
- Selective Highlights of Vallejo Model Colour White
All of the models were painted with those recipes, the biggest deviation was the Zombies who had different colour glazes over the flesh to give some variety. Here’s how they all look separately:

To wrap up my bit here’s a quick step by step for the Zombie Flesh:
After this step I glazed over the skin on some of the models with different coloured washes to tint them and add some variation. Everything from blue, green, brown, purple, blue and yellow were used.
I loved painting each and everyone of these models and I’m super pumped for the separate box releases of the Skeletons and Zombies.
Beanith’s Smooshing Journey
**Disclaimer** I will be eventually basing all of my Cursed City on 3D printed bases so the current bases are “temporary”… but if anyone asks, it’s snowing in the decaying city of Ulfenkarn.
Normally I’d claim my guide is super fast but since RichyP probably finished his Cursed City collection in the time it took for you to read this sentence, I’ll have to settle for “easy”
I’m planning on linking all of my hereos using Contrast Talassar Blue as a spot colour somewhere on the model and the same for the Bad Guys using Contrast Flesh Tearers Red so this will be a common theme across my contribution to these articles. My wheel house is a quick and dirty paint job in a single sitting so I can smash through the box and get these lads on the table ready for the game so you may want to consider these techniques more for the rank and file. That said, have fun with it and as Badcast Greg put it recently, Just Paint
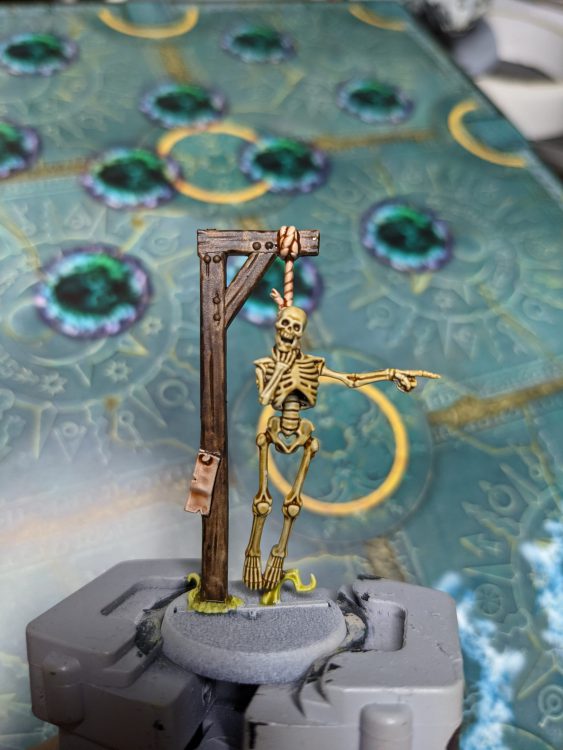
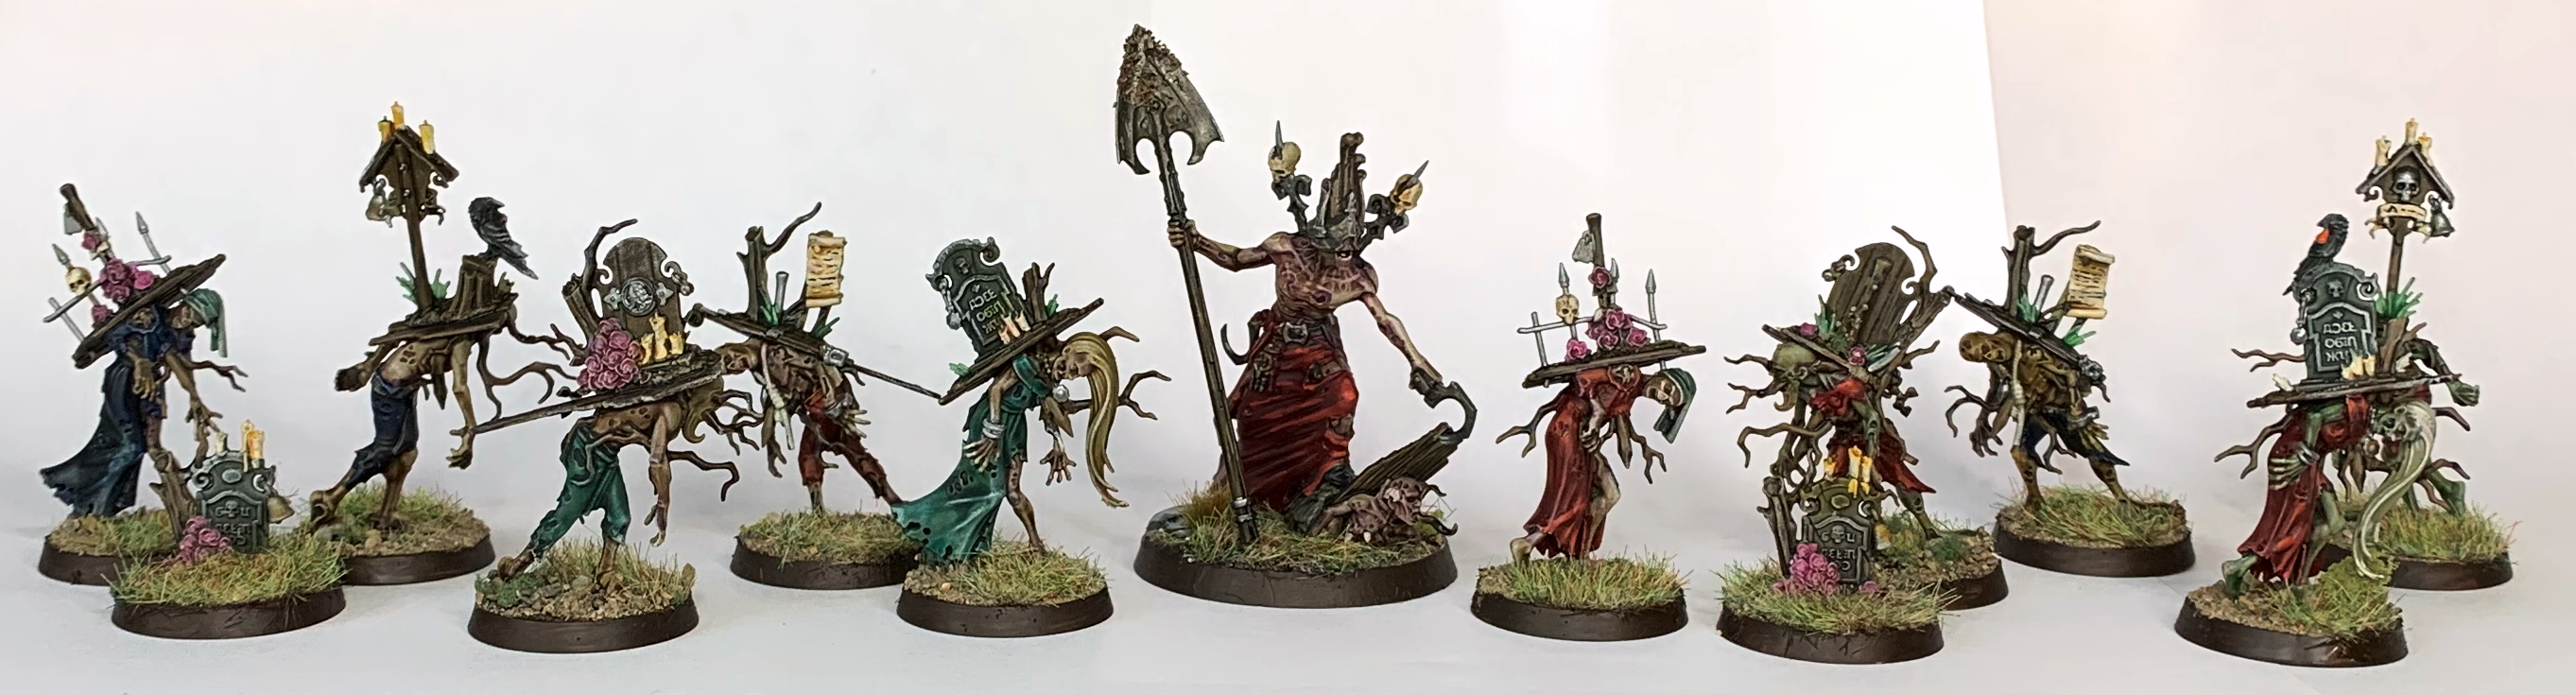
This one is super easy to slap some paint on. Here I just used the following Contrast Paints: Skeleton Horde (guess), Wyldwood (wood), Darkoath Flesh (rope and parchment) & Plaguebearer Flesh (grass).
Ah the joy of close up photography showing my sins. I’ll go back and tidy this guy at some stage but it will do for this guide. He looks great at 3 feet away at least.
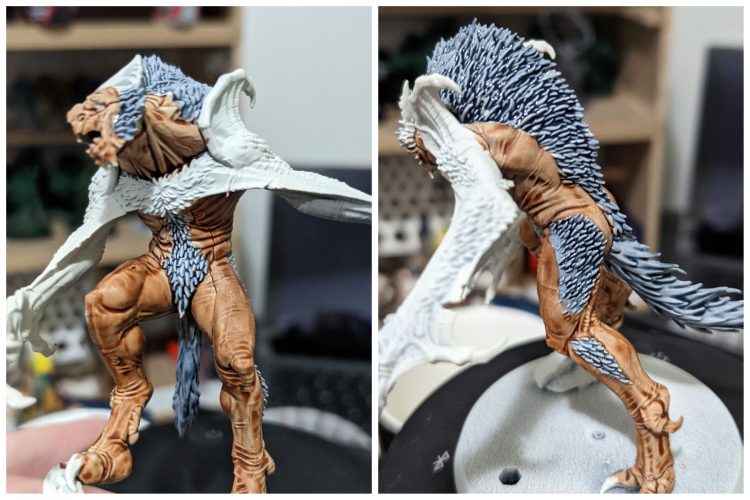
Here I just smooshed on Contrast: Guilliman Flesh on the skin & Contrast: Space Wolves Grey on the fur.
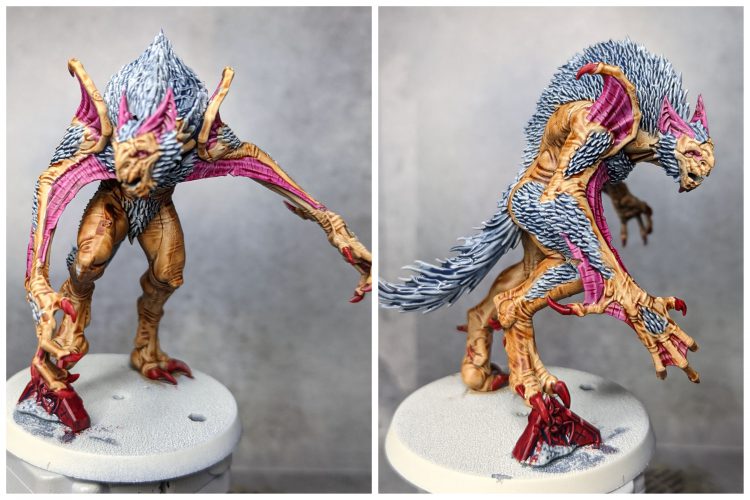
After that, I added Contrast: Volupus Pink on the membrenes and ears and around the eyes. Finished it off slopping on the Contrast Flesh Tearers Red on the all the claws
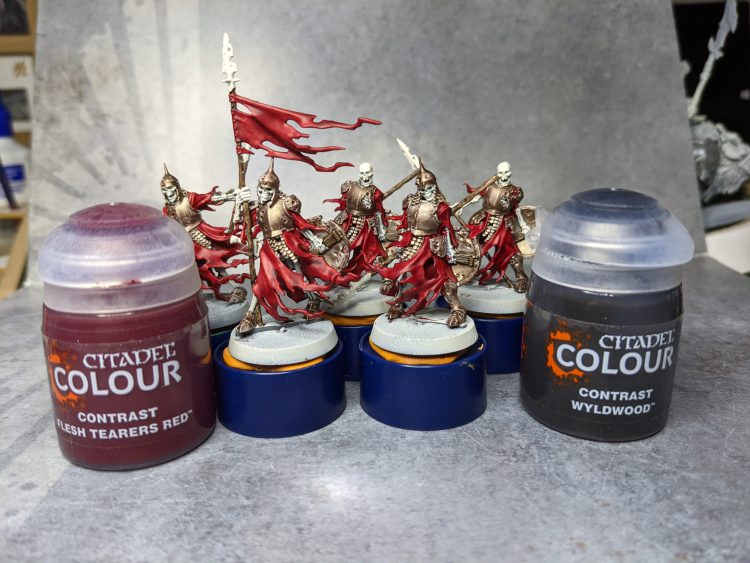
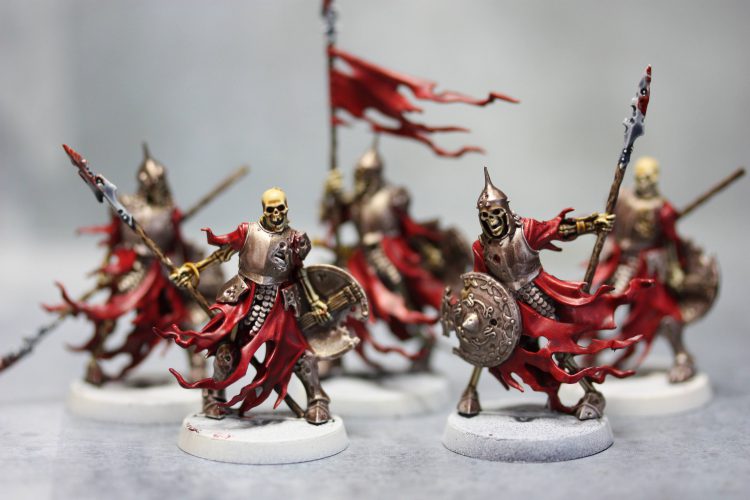
The skellie patrol I did all of the armor using Vallejo 72.060 Game Colour – Tinny Tin (tin tin tintinity ti boo), the wood using Contrast: Wyldwood and the cloth using Contrast Flesh Tearers Red.
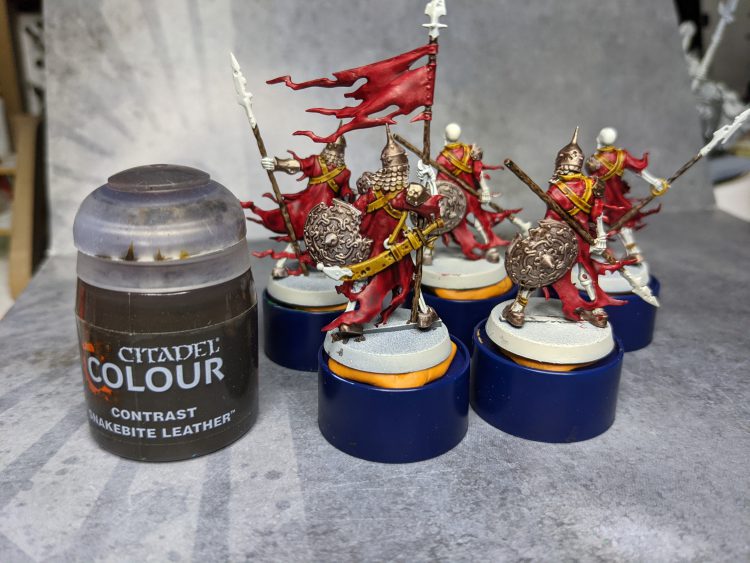
Next I broke out the old favorite for all my Leather needs, Contrast: Snakebite Leather.
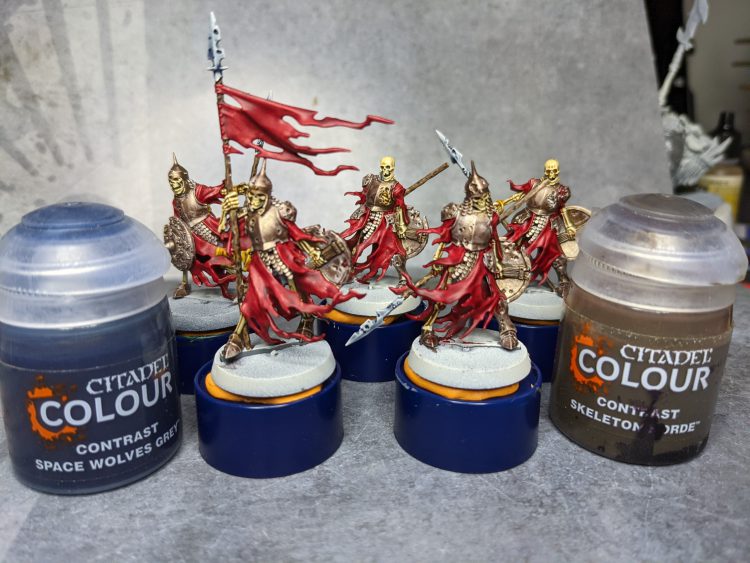
Here I used Contrast: Space Wolves Grey & Contrast: Skeleton Horde on the bone and weapons tips. I’ll let you work out what went where.
Here I am playing with a Macro lense and Technical Blood For The Blood God paint. Next step is a varnish and one day the bases.
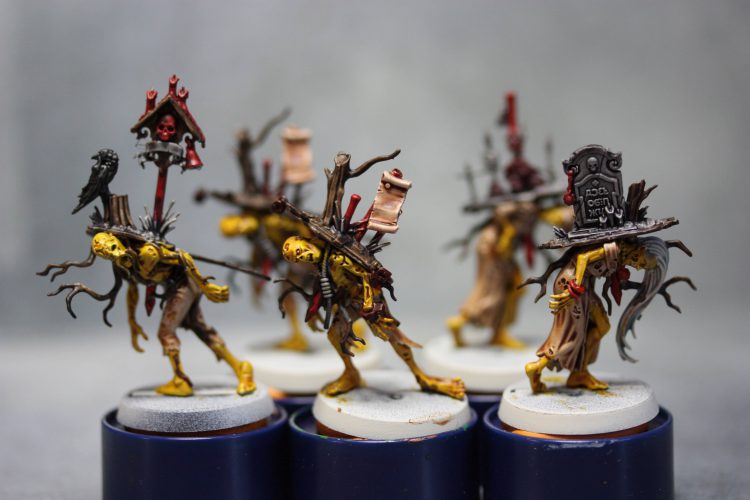
Here I’ve accidently turned Simpons background characters into zombies. I was hoping the Contrast: Nazdreg Yellow would work as a skin tone but it’s not working for me so I’ll go back, smoosh on the Corax White and then see how Contrast: Fyreslayer Flesh or Contrast: Plaguebearer Flesh look instead. Otherwise it was Contrast: Wyldwood for the wood, Contrast: Basilicanum Grey for the stone and rope, Contrast: Apothecary White on the hair, Contrast: Guilliman Flesh on the cloth and spots of Contrast: Flesh Tearers Red.
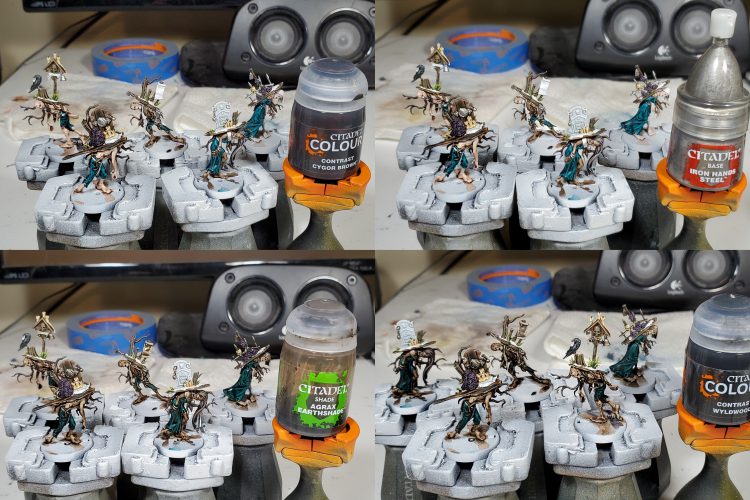
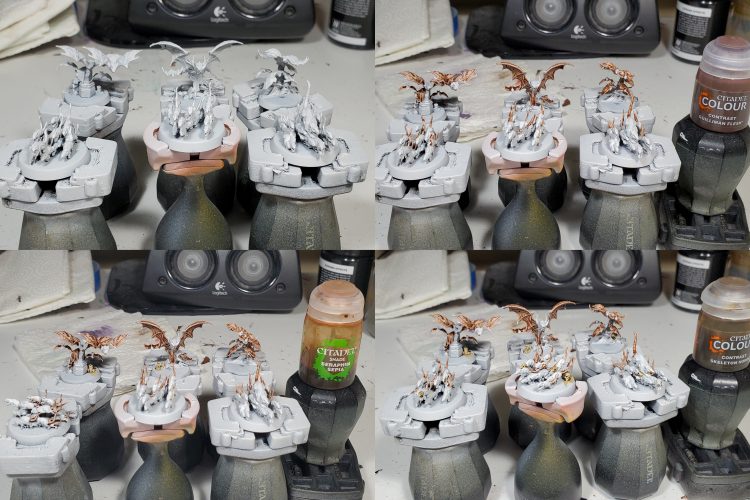
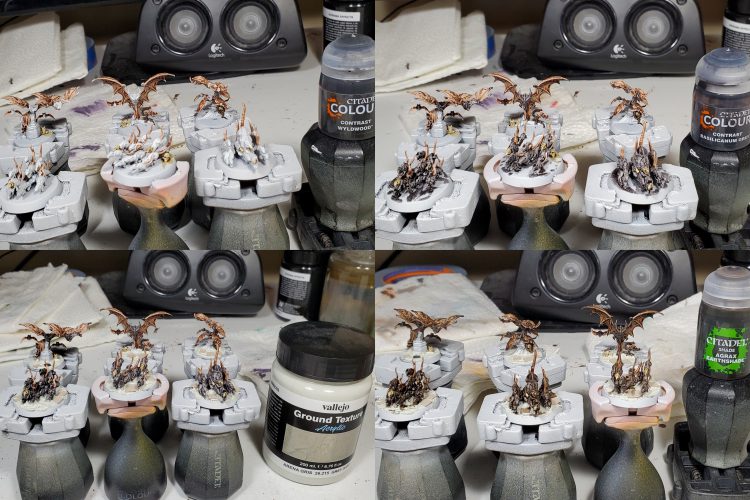
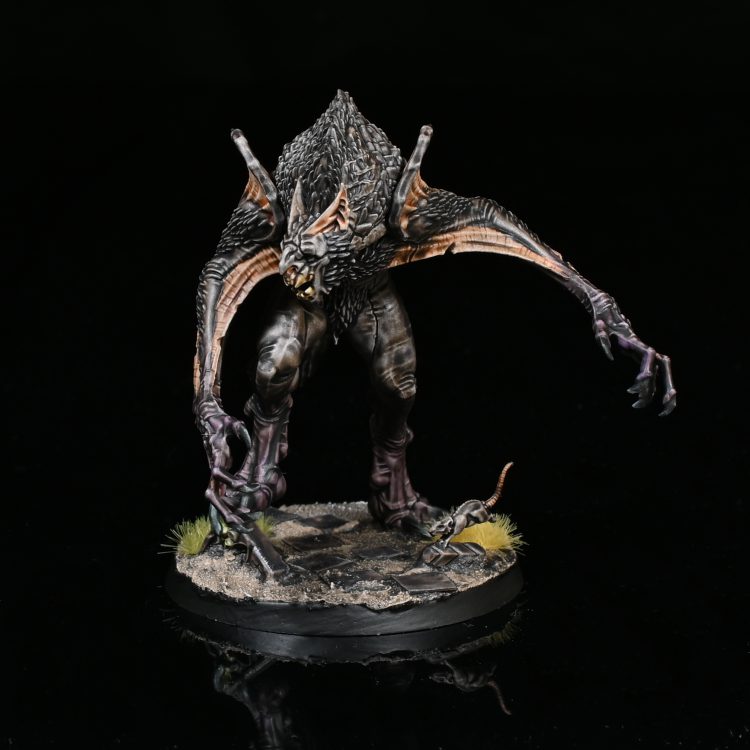
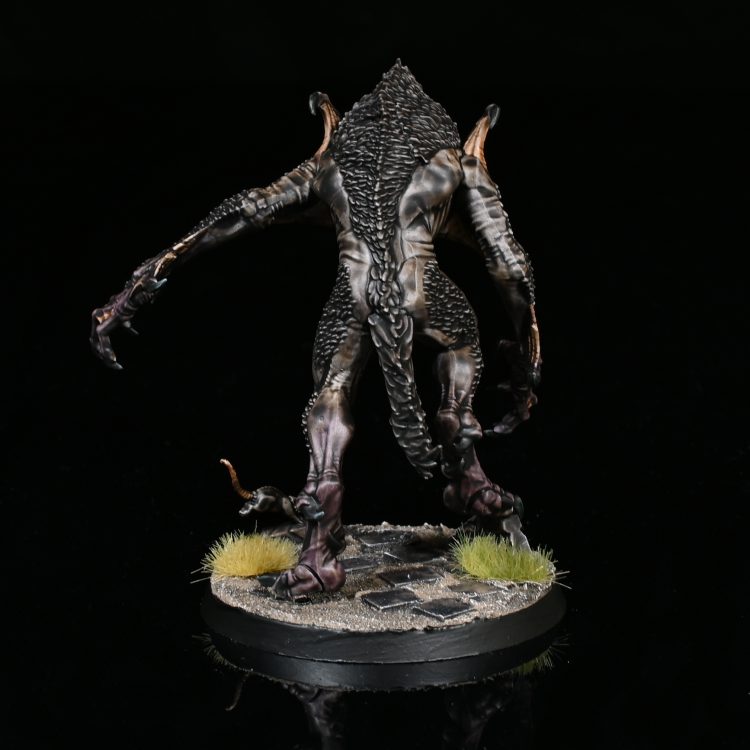
Rockfish’s Monsters

Since this is a board game with a bunch of mooks and I have other armies on the go already, I decided to go for simplicity other then a few things I thought would be fun.
To save time I basically did not bother with any highlights outside of wood, the main thing is just going to be really slopping the washes on over Vallejo grey primer. For this kinda thing you can really go overkill so the wash settles into crappy highlights on its own.
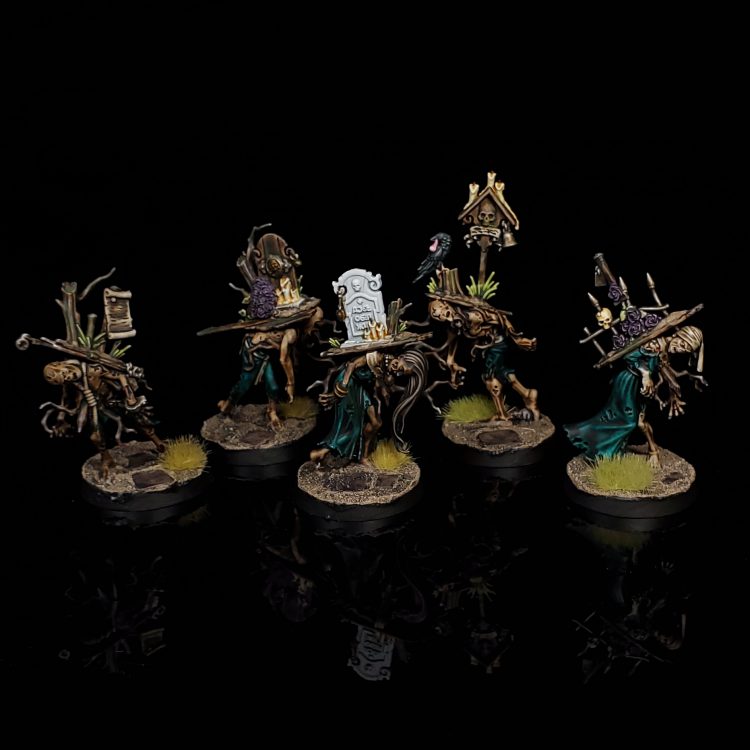
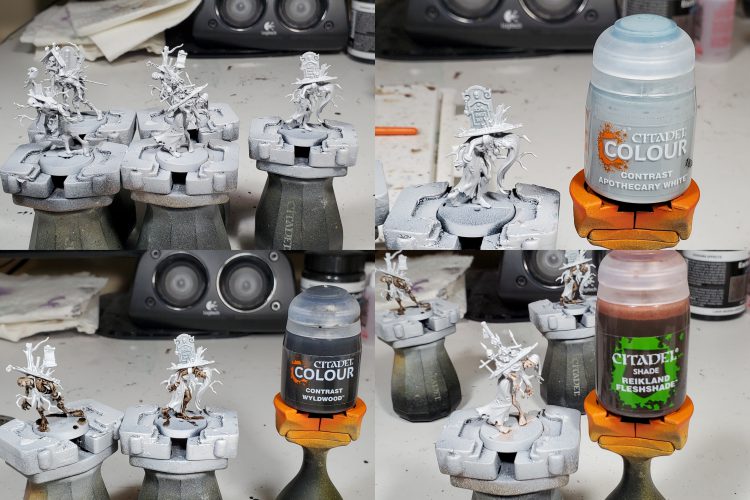
Skeletons
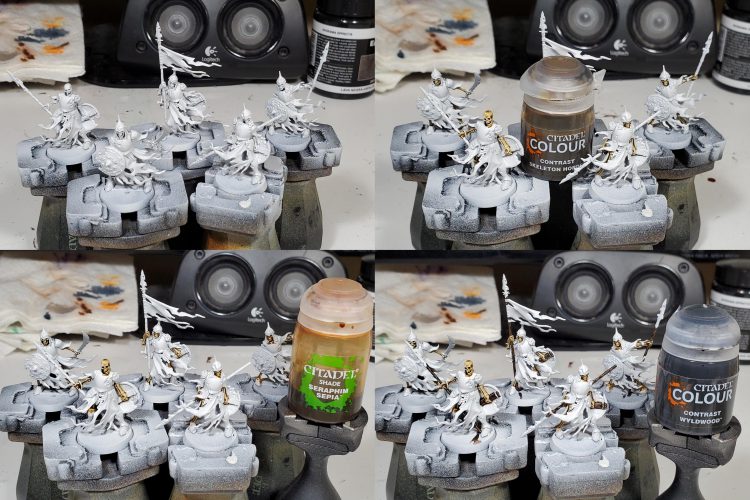
You can probably skip the sepia in the recesses here, as it is not particularly impactful to the final models.
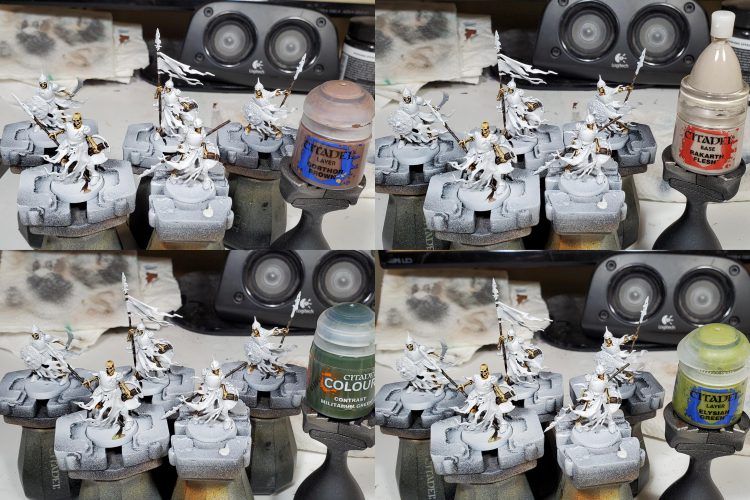
When doing the wood I only kind of go for highlights, mostly just streaks to indicate the grain of the wood, for the rakarth have it extremely thin too otherwise it will be overpowering. I used the militarum and elysian to give implication of moss or slime growing on the wood, but you could skip that.
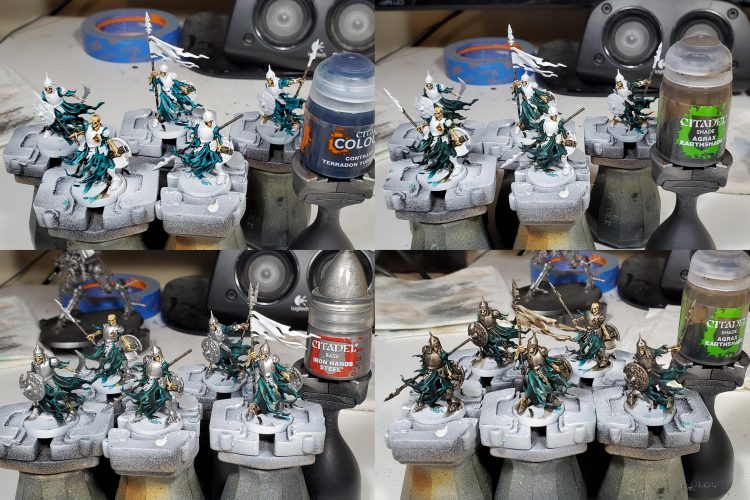
You could have waited to do the agrax wash on the cloth until after the metals and such are done to save a bit of time here.
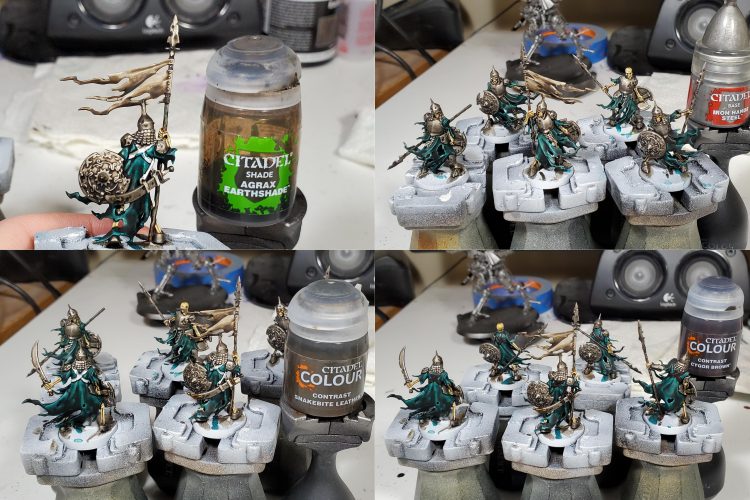
To get the dirty looking flag I just repeatedly layered agrax on the lower areas.
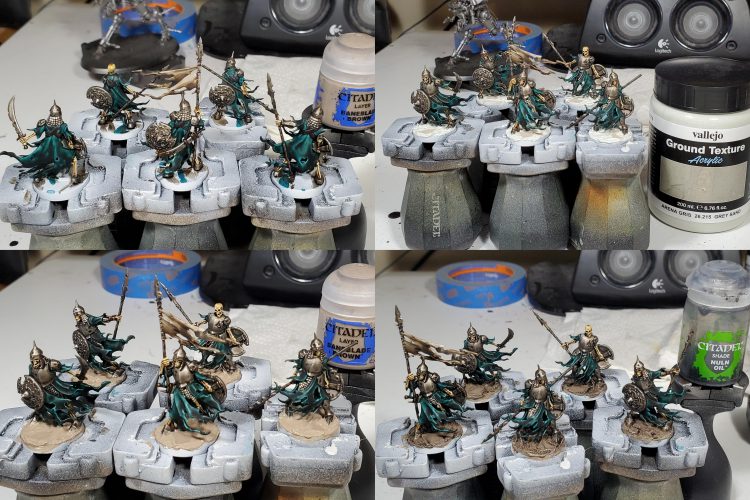
I pushed little square pieces of cardboard from normal GW boxes to add some more stuff to the base and give the implication of some kind of tiled or paved flooring
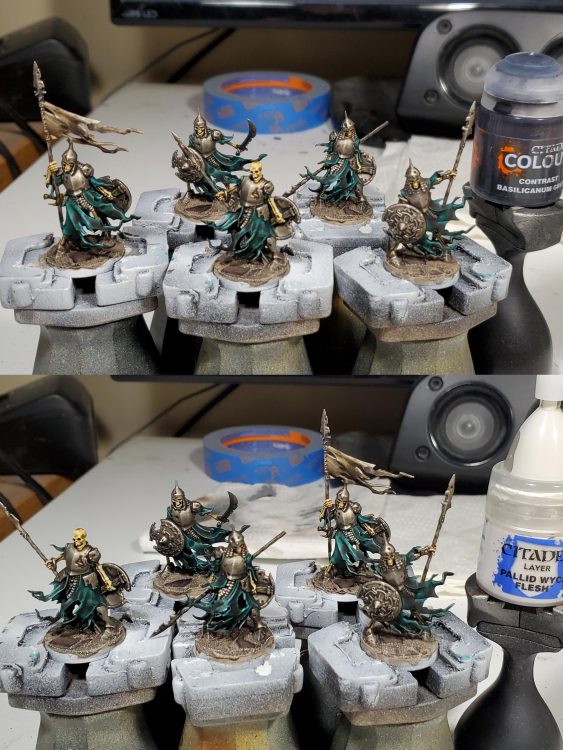
I used basilicanum to differentiate the tiles a bit from the rest of the base.
Zombies
To give a bit of implication of different skin tones and states of decay on the zombies you can basically raid your washes for whatever will even vaguely tint the primer a bit. (note that thinning denser contrasts works quite well for this too)
I wanted to have bone to be distinct to candles, so I used sepia for candles as it has a somewhat different colour to skeleton horde.
I later went back and did another coat of carroburg on the eye before dotting in a pupil and iris with wyldwood and black templar.
Once again the wood gets a bit of greenery going with the contrast and elysian, note that I forgot to take a picture after applying the first highlight of gorthor.
I ended up dotting the wicks of the candles with wyldwood.
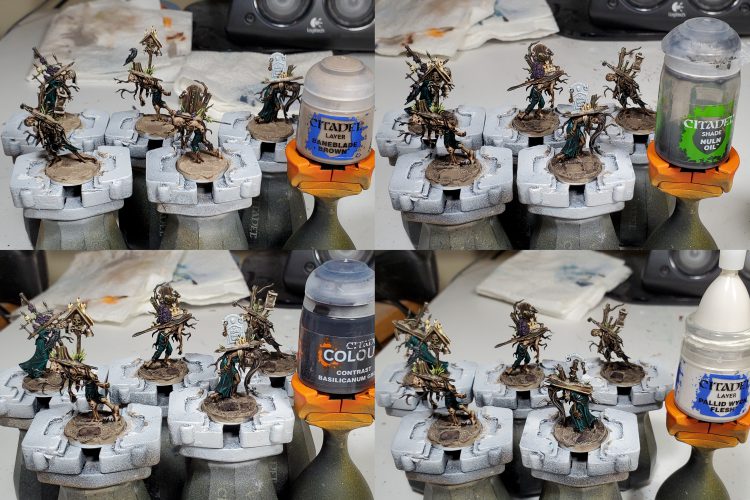
The last few steps are basically the same as those from the skeletons.
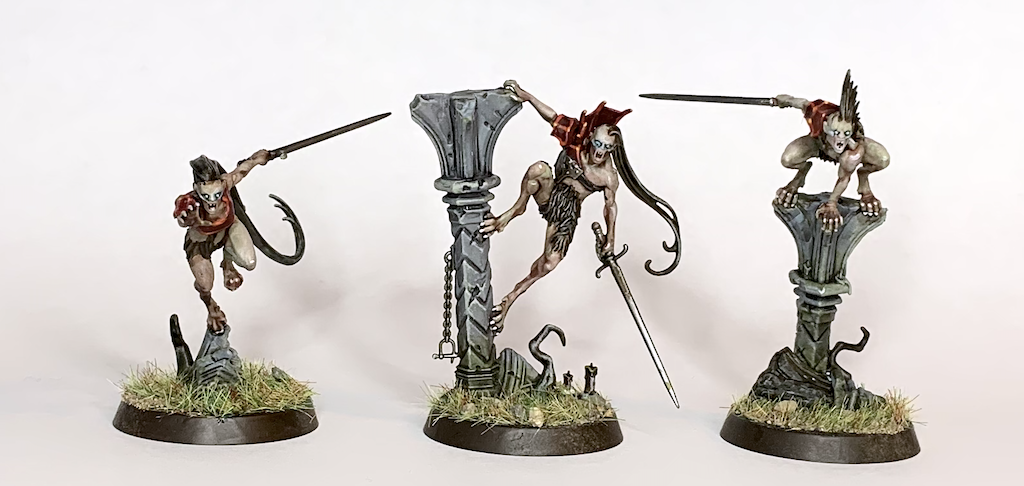
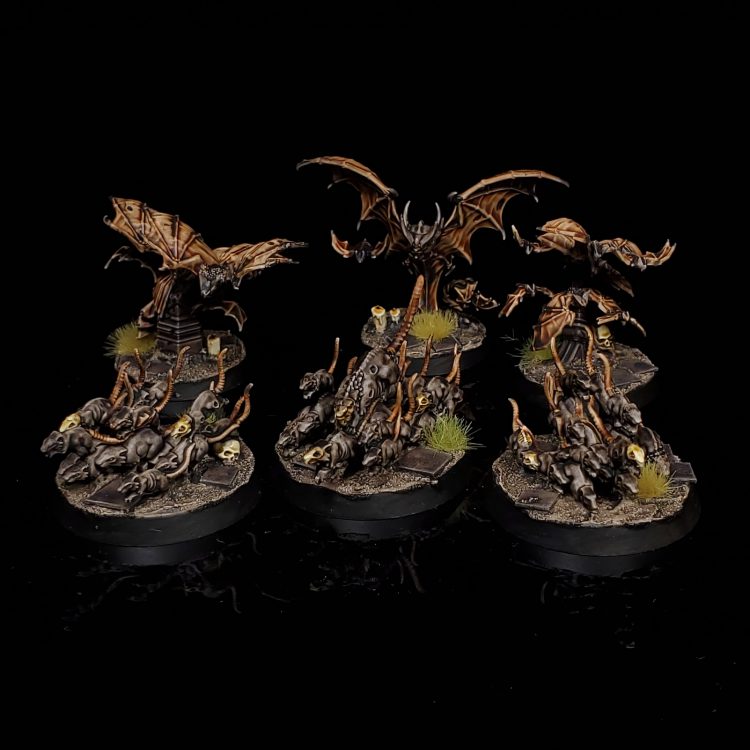
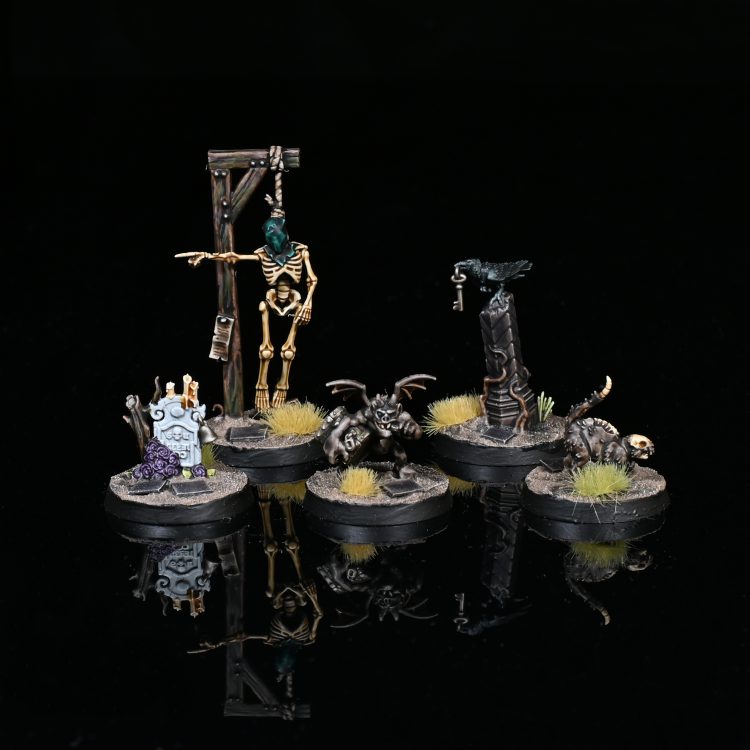
Rats and Bats
Most of these colours will be the same as from the skeletons and zombies, mostly with stuff for fur and wings.
If you want, you could skip the agrax here and leave the flesh and fur the contrast colours, but I like how the agrax desaturates the colours.
Once again they finish off with the same bases.
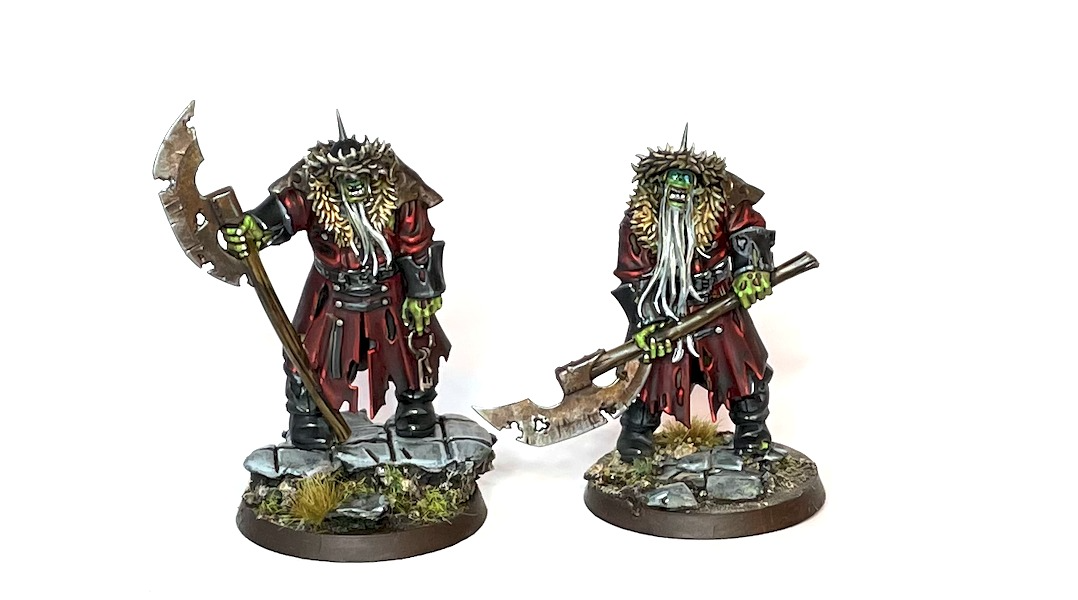
The rest of the monsters
You can basically reuse the recipes from above for everything else with little tweaks here and there as needed.
That wraps up our look at painting the monsters of Cursed City. If you’re looking for the heroes in the set, check out our article on how to paint those models here. And as always, if you have any questions or feedback, drop us a note in the comments below or email us at contact@goonhammer.com.
