This article is part of a larger series on how to paint Necrons. To return to that series, click here.

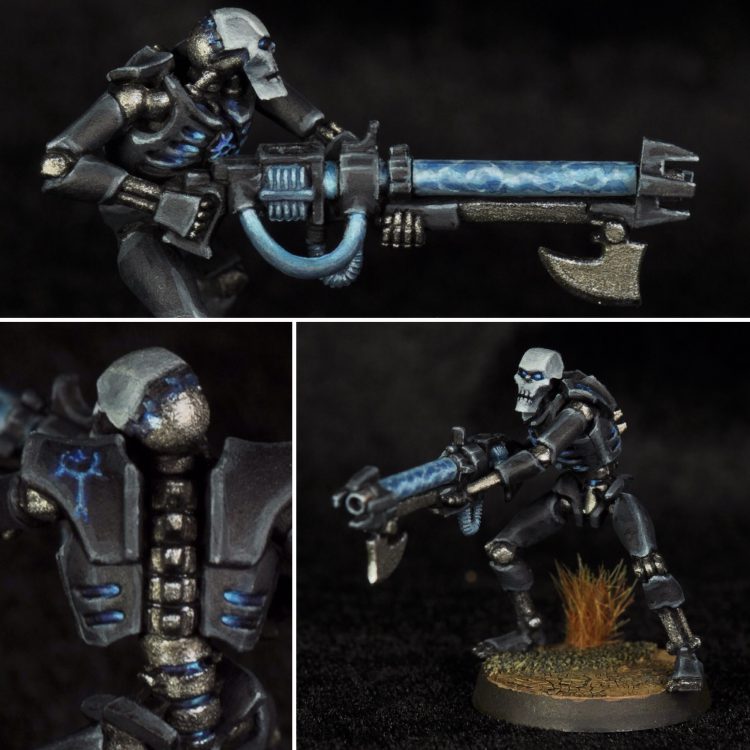
I’m doing a take on the Thokt Dynasty, going with a largely blue and grey scheme.
Paints used
GW: Leadbelcher, Temple Guard Blue, Nuln Oil
Vallejo: Model Color Basalt Grey, Model Color Dark Prussian Blue, Game Color Stonewall Grey, Game Color Dead White, Game Color Ultramarine Blue
Daler Rowney: Indigo Acrylic Ink
Golden Acrylics: Satin Glazing Liquid
Painting the Scheme
Metal: Base the metal bones bits with Leadbelcher and give that a wash with Nuln Oil.
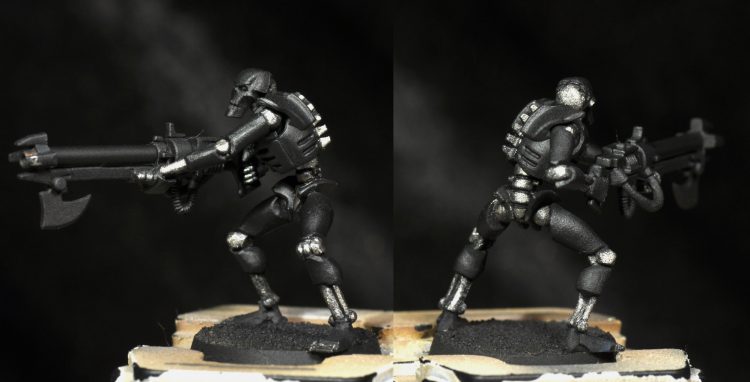
Base: The armor/carapace/face and gun housing were all based with a mix of German Grey with little bit of Dark Prussian Blue mixed in for a bit of tint- in the range of 10-20%. I don’t think this is strictly necessary, how blue you want it (if at all) is up to personal taste.
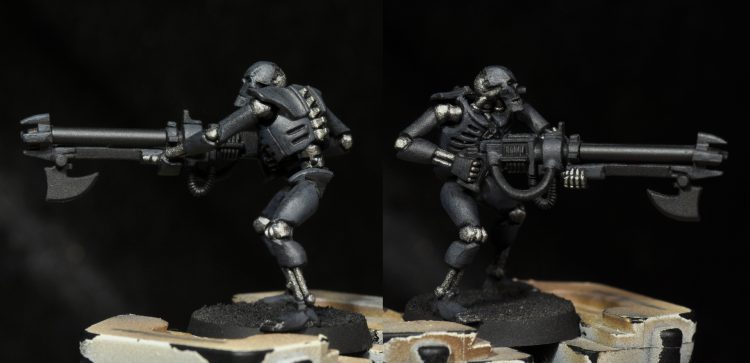
First edge highlight: A mix of Basalt Grey and a bit of the base color plus 10-20% Dark Prussian Blue (to taste) again. This is put on as thicker edge highlight and over the whole face. (At this point I also went back and did the axe and haft in leadbelcher, then gave it a wash. I fixed the brown wash later to match the rest of the metals.)
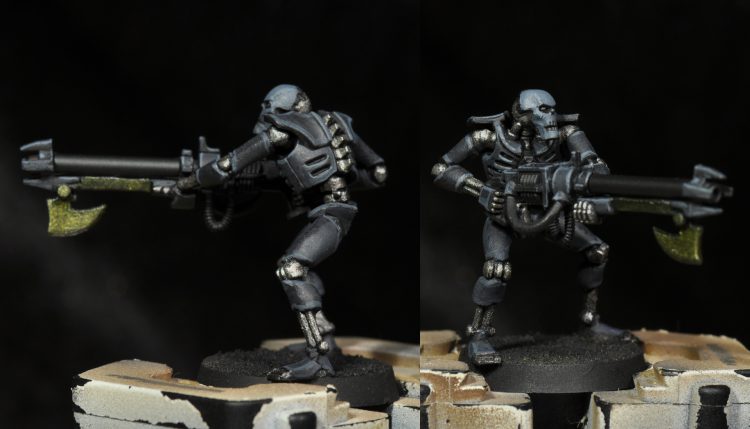
Second edge highlight: Stonewall Grey 1:1 with Basalt Grey and a small amount (in the 10-20% range again) of Temple Guard Blue. This is a finer highlight along all the edges. Then the same color was used to paint the whole face again along with the gauss tube, wires, and coils on the gun. The wires hanging out of the chest were painted this too, along with the raised portion of the chest emblem.
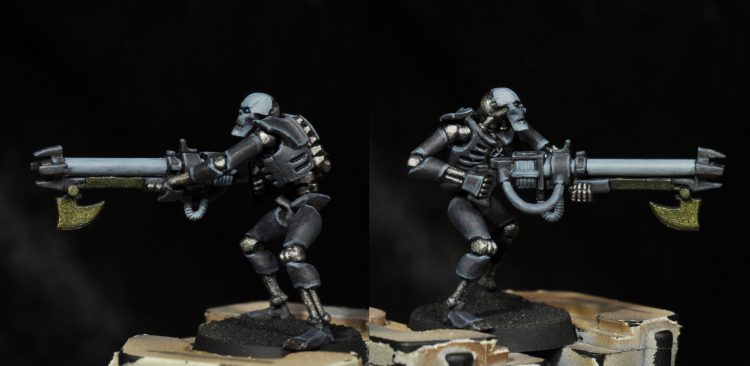
Third edge highlight: Stonewall Grey and plus 10% or so Temple Guard Blue was done as the final edge highlight on most of the body, focusing on the top edges and sharpest corners and covering less area that the last one. This mix was also painted over most of the face, leaving the recesses as the previous layer. It was also used to paint the emblem, edges of wires and gauss coils, and squiggled along the sides and top of the gauss tube as the first layer of the energy effect.
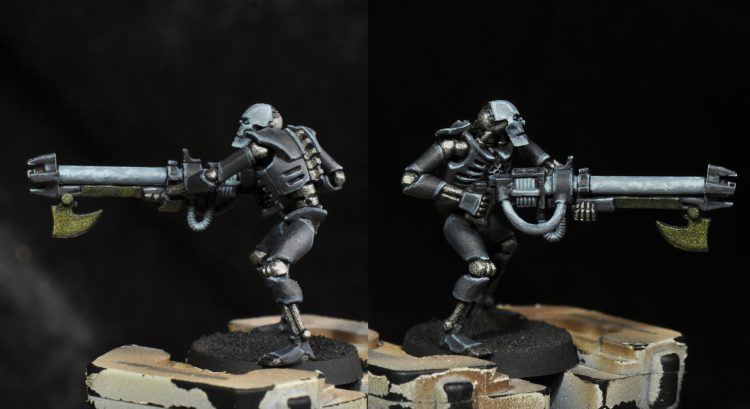
Blues: Pure Temple Guard Blue was used to edge all the gauss wires and coils, and the eyes and emblem. I put a small drop of Indigo ink on my wet palette and thinned it with water until it was transparent. This was put into the eye sockets, the mouth lines, and dabbed along the gauss tube between the previously painted light areas. It was also allowed to flow into the recesses on all the wires and coils.
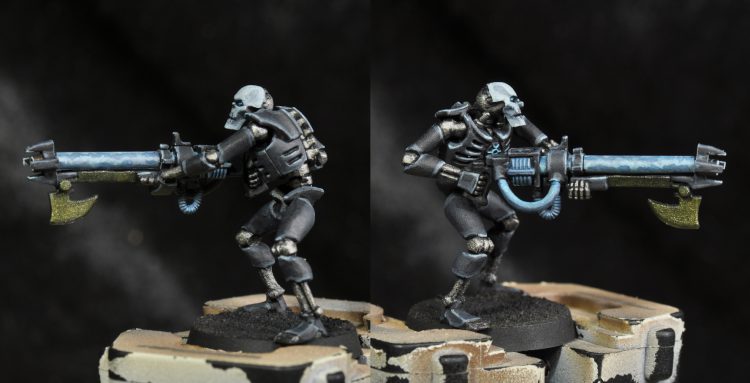 White highlights: White is put on the sharp corners of the face, dabbed along the bright areas of the gauss tube, and on the most raised portions of the gauss coils and wires. At this stage I could call this guy done, he’s ready for the battlefield.
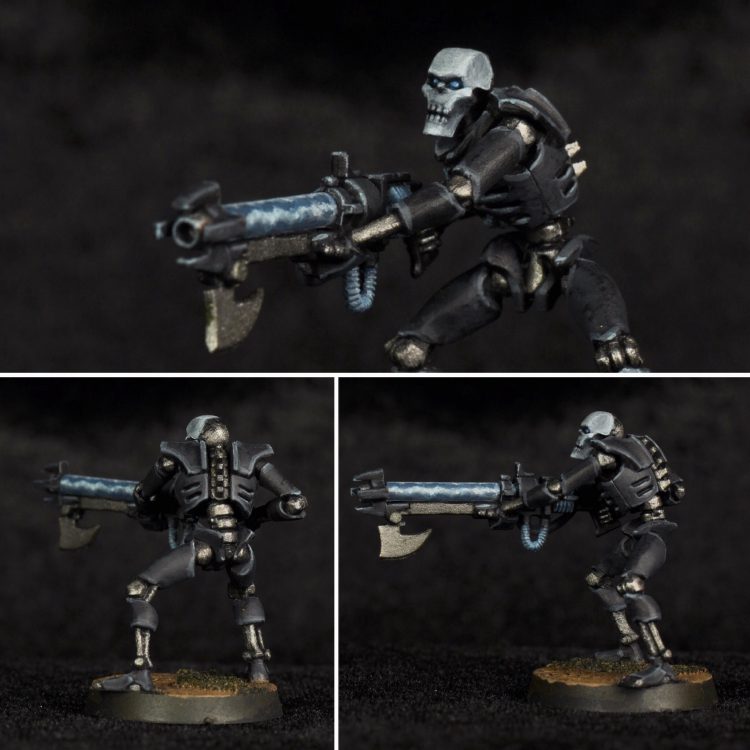
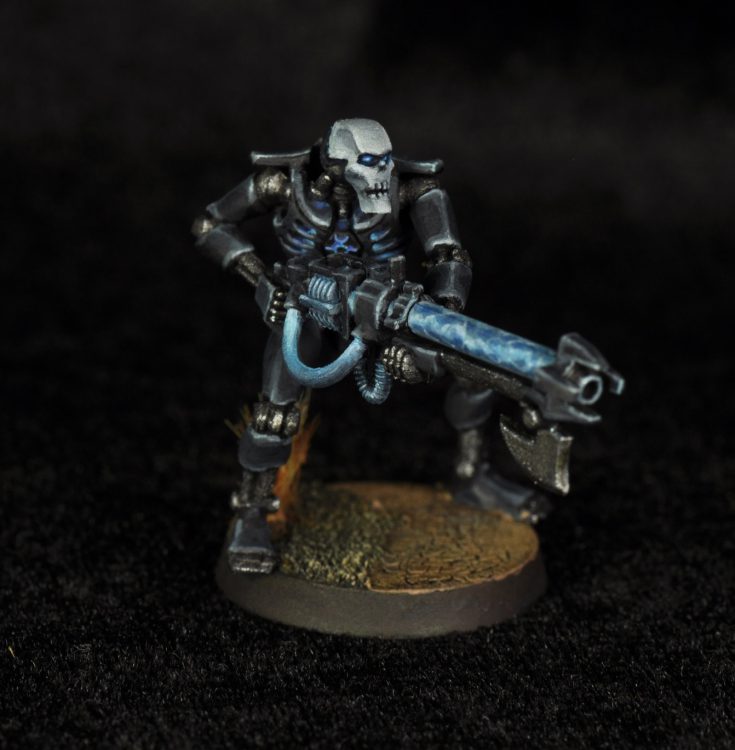
Refined: To push this one a bit further I glazed over the gauss bits with a transparent mix of Temple Guard Blue and glazing medium, then glazed white at the edges again and refined some of the electric effect with glazes of white. The glow in rib cage was done starting with a coat of Prussian Blue in the whole recess. Then layer Ultramarine Blue was painted in half of the recess toward the spine and emblem, followed by half that area covered by Temple Guard Blue. Next was a transparent glaze of Ultramarine Blue to smooth the color transitions, and finally a mix of Temple Guard Blue and White in the center corner of the recess.
This article is part of a larger series on how to paint Necrons. To return to that series, click here.

