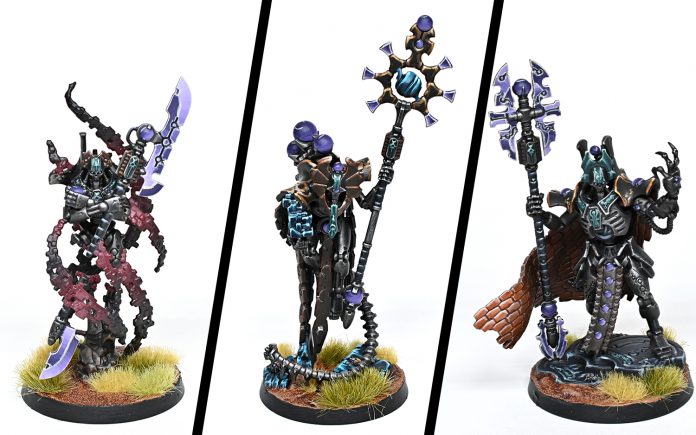
It’s finally time to move on from the twin factions of the launch box when it comes to new models, and the new releases bring us a double feature of imperial and xenos models. In this article we’ll be talking about the trio of new Necron character models. If you wanted to see our opinions and takes on the Sydonian Skatros, you can find them here. Before we get to the model, we’d like to thank Games Workshop for sending us review copies of these kits early.
Imotekh the Stormlord
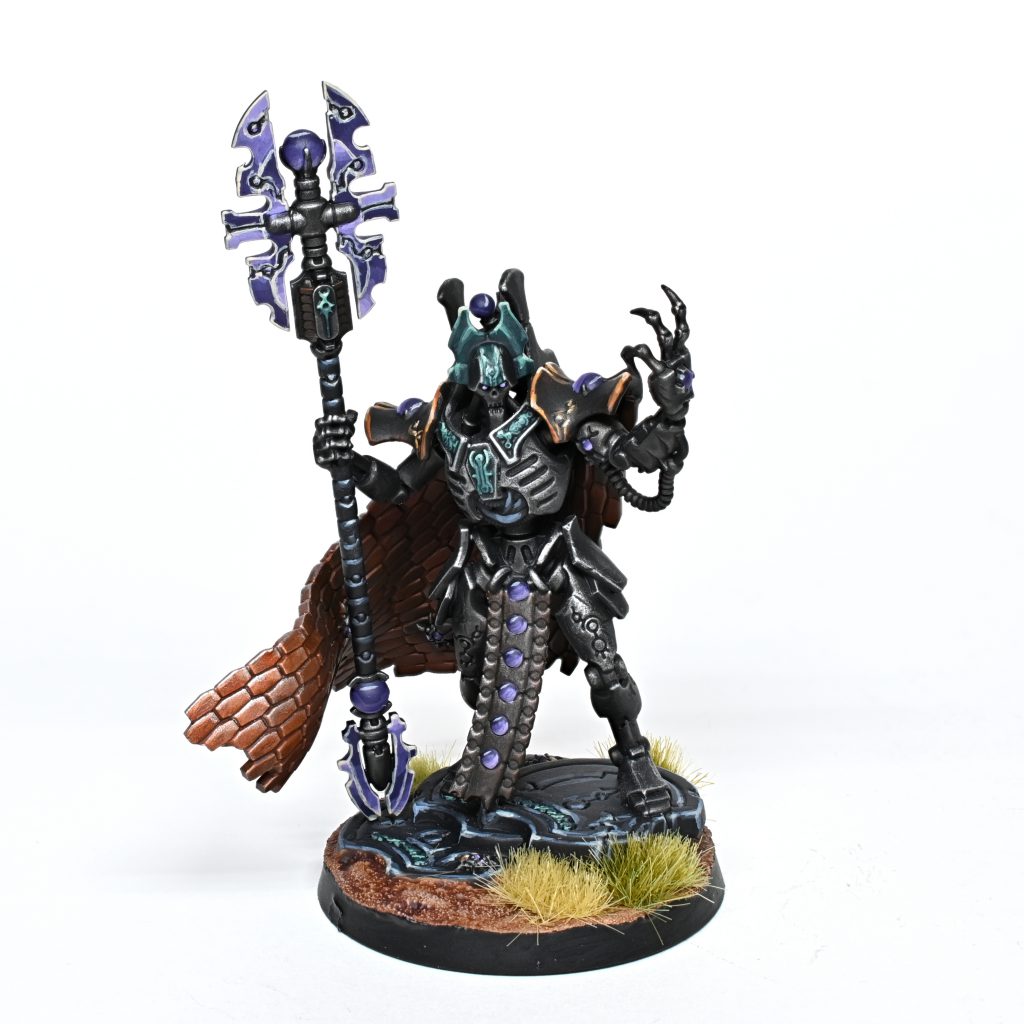
Rockfish: I have… mixed opinions on this model, and they are entirely with the build. It’s hard to find anything to object to about design itself, as it’s very clearly Imotekh as seen through the lens of modern GW plastics. Since he is a more conventional Necron character, if you were being uncharitable you could say the Stormlord himself is relatively basic with no major departures from the overlord body plan. I on the other hand am a huge fan, as it means that the model isn’t overly busy and his distinctive cloak and claw really stand out. As a little bonus his posing being open and broad means that brush accessibility is really good even when fully assembled, which is a nice segue into the parts of this model I am not as enthusiastic about.
It’s this, I hate everything about this.
To be a bit more explicit, every aspect of this little area seems contrived to cause pain to me specifically. Essentially, you have the guy’s spine which in turn has a mount for his back, which in turn has a place his arms get attached to which makes sense, except that there is one issue with this that might be barely visible on the assembled model through the airgap between the neck and chest piece. That gap means that the only connection between the entire upper body, including the cloak, and the legs/base besides the two tiny little neck bits is that single little rectangle on the spine. This is only barely enough of a grip and I had more than a little grief trying to keep everything aligned and together while it set. This isn’t really a deal breaker, given it’s one model and you could go slow to let each section fully set before continuing, but I still would have preferred just a little bit more of a positive and confidence-inducing connection.
Pendulin: Definitely agree there. Imotekh has some awkward build steps, however, my biggest fear was the cloak. I had fully expected a nightmare of interlocking pieces, and an hour or more of work with green stuff/sprue goo to get it looking right. However, it was two simple pieces of plastic that fit perfectly together with no fuss and look great immediately. Hats off to the sculptor!
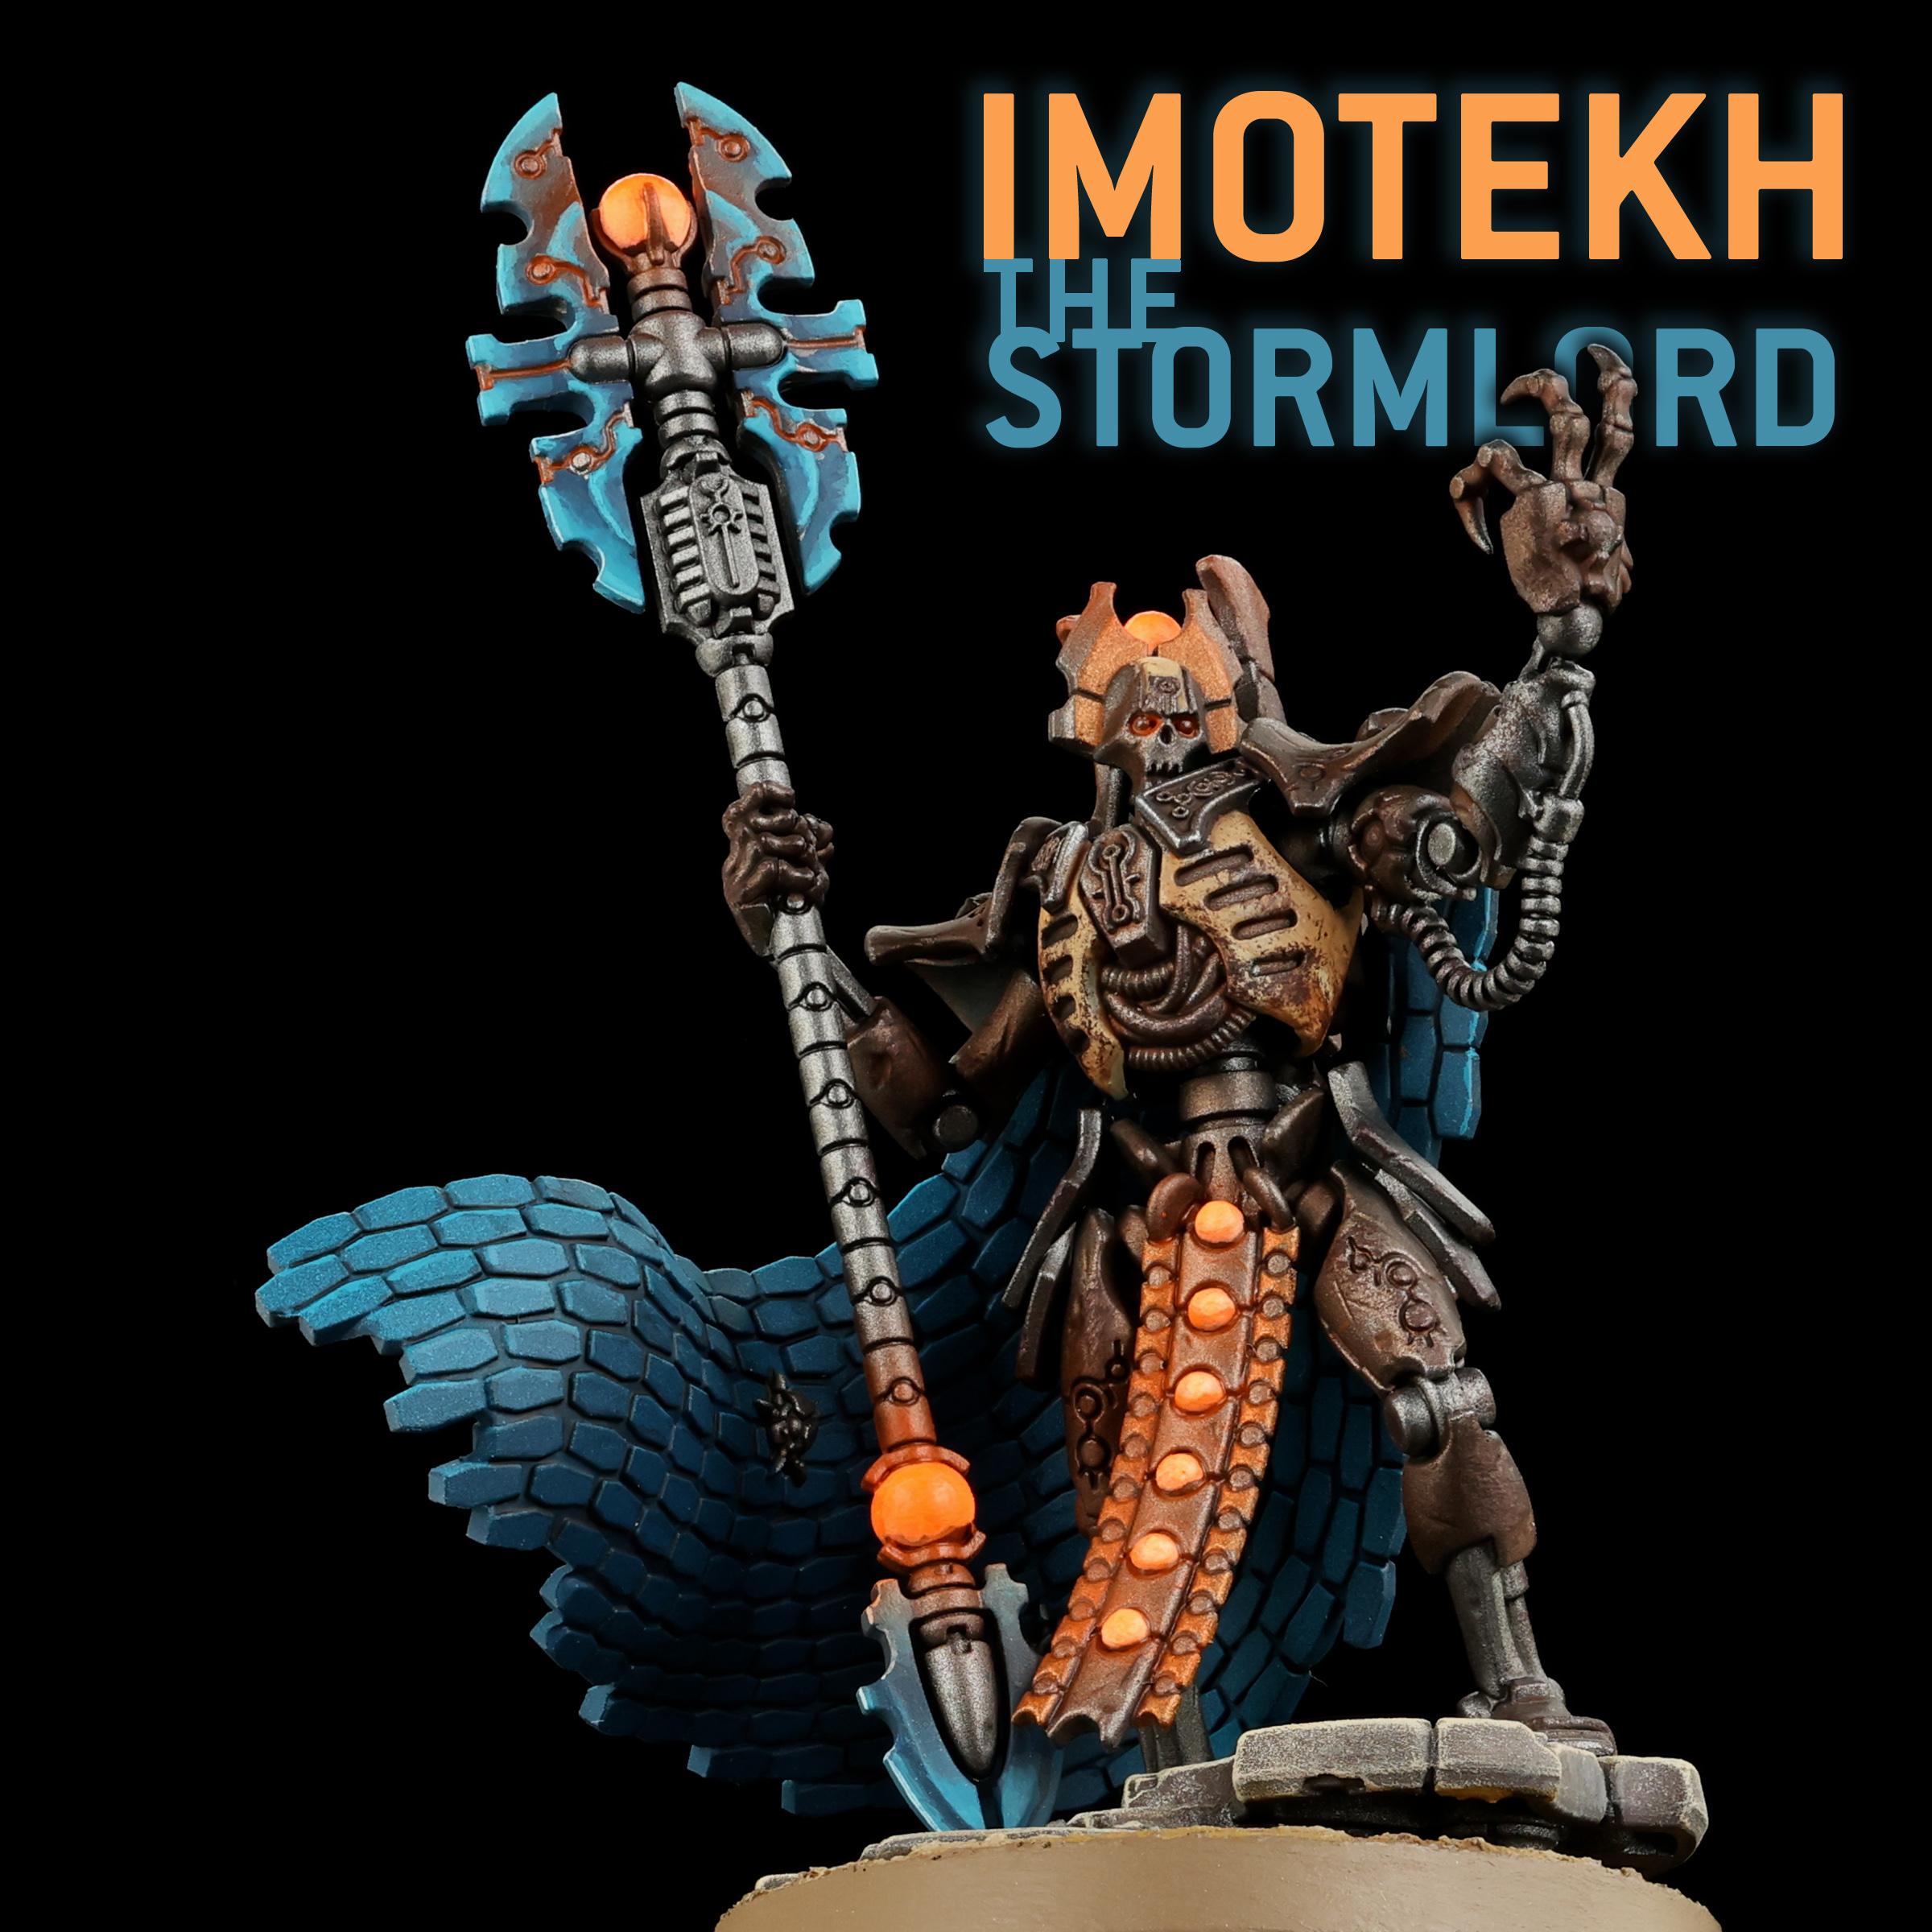
As for painting the model, you absolutely need to keep the cloak separate. Fortunately that’s pretty easy as it’s held in place with three connection points: the two shoulders and one of the back spines.
The cloak has an extremely cool texture you could easily spend hour upon hour detailing. I rushed it a bit, a couple colors through the airbrush to give some depth, a shade to let the scales pop, and I called it good.
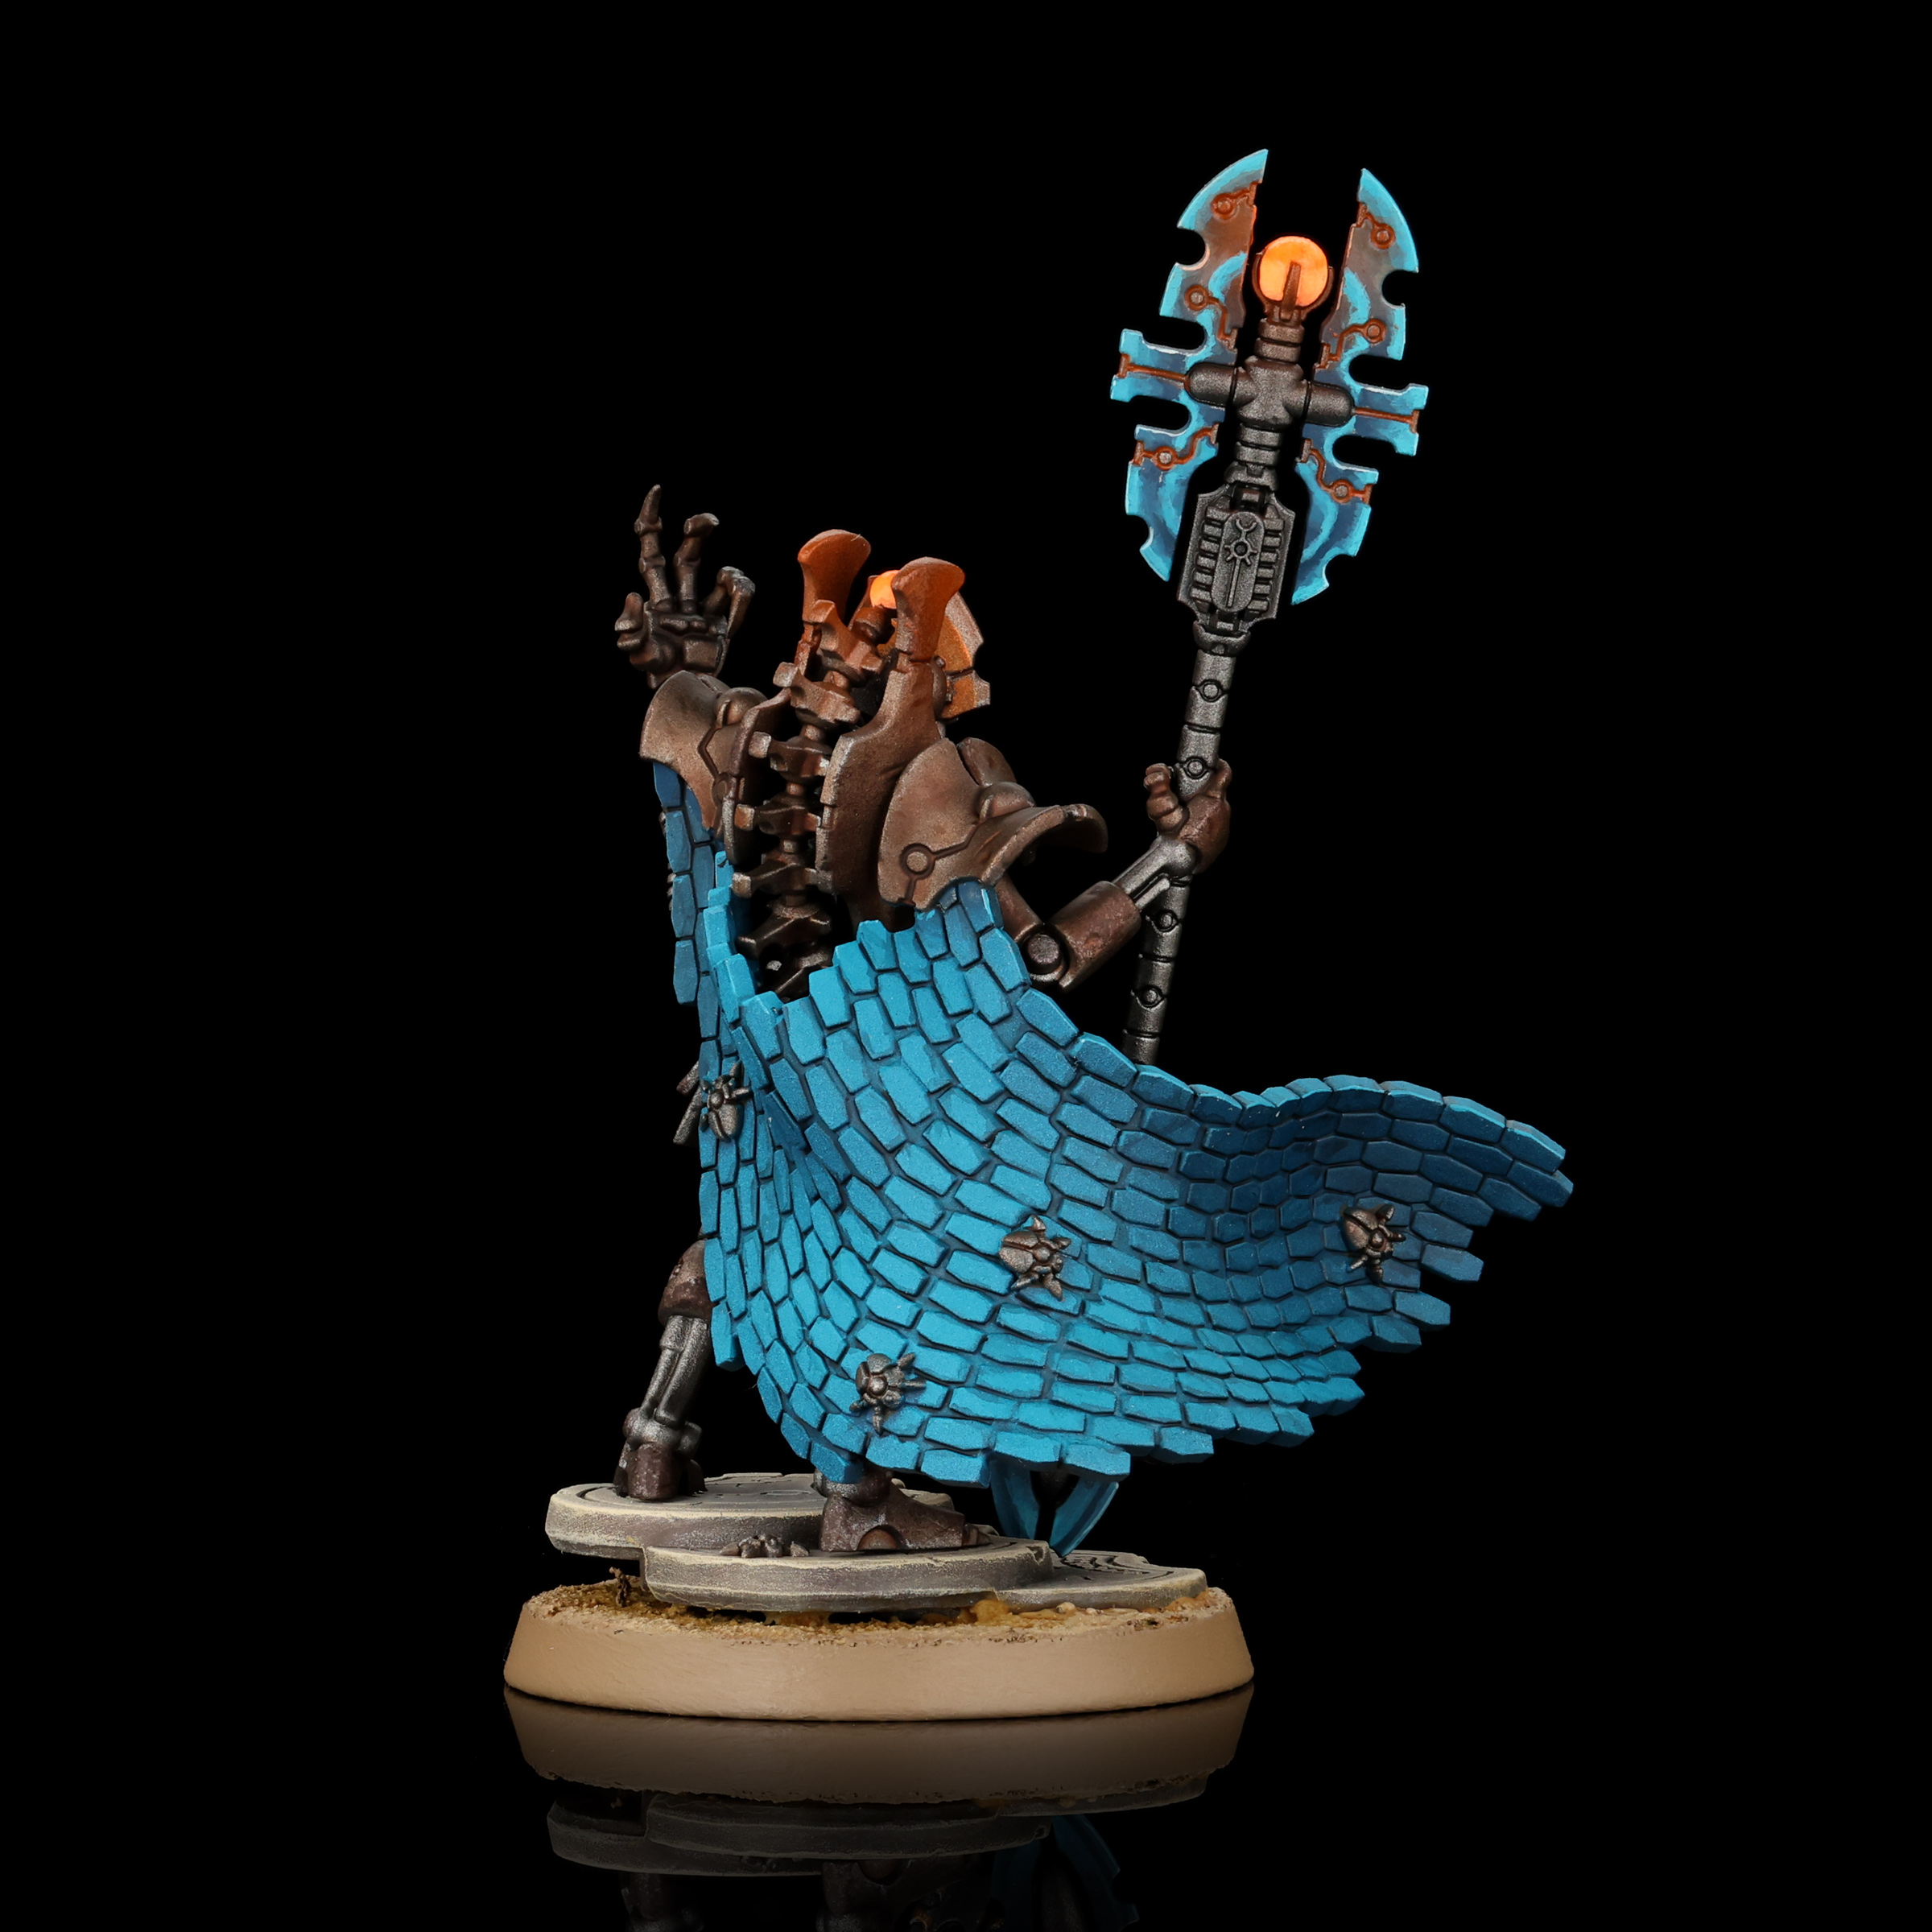
The rest of the model is more or less “Necron character as normal.” It’s a great pose, the terrain he’s standing on gives some nice height to the model, but other than the cloak there’s not a lot going on that really makes him stand out from the sea of other Necron characters. The staff does have a relatively unique silhouette, and was a lot of fun to blend colors on.
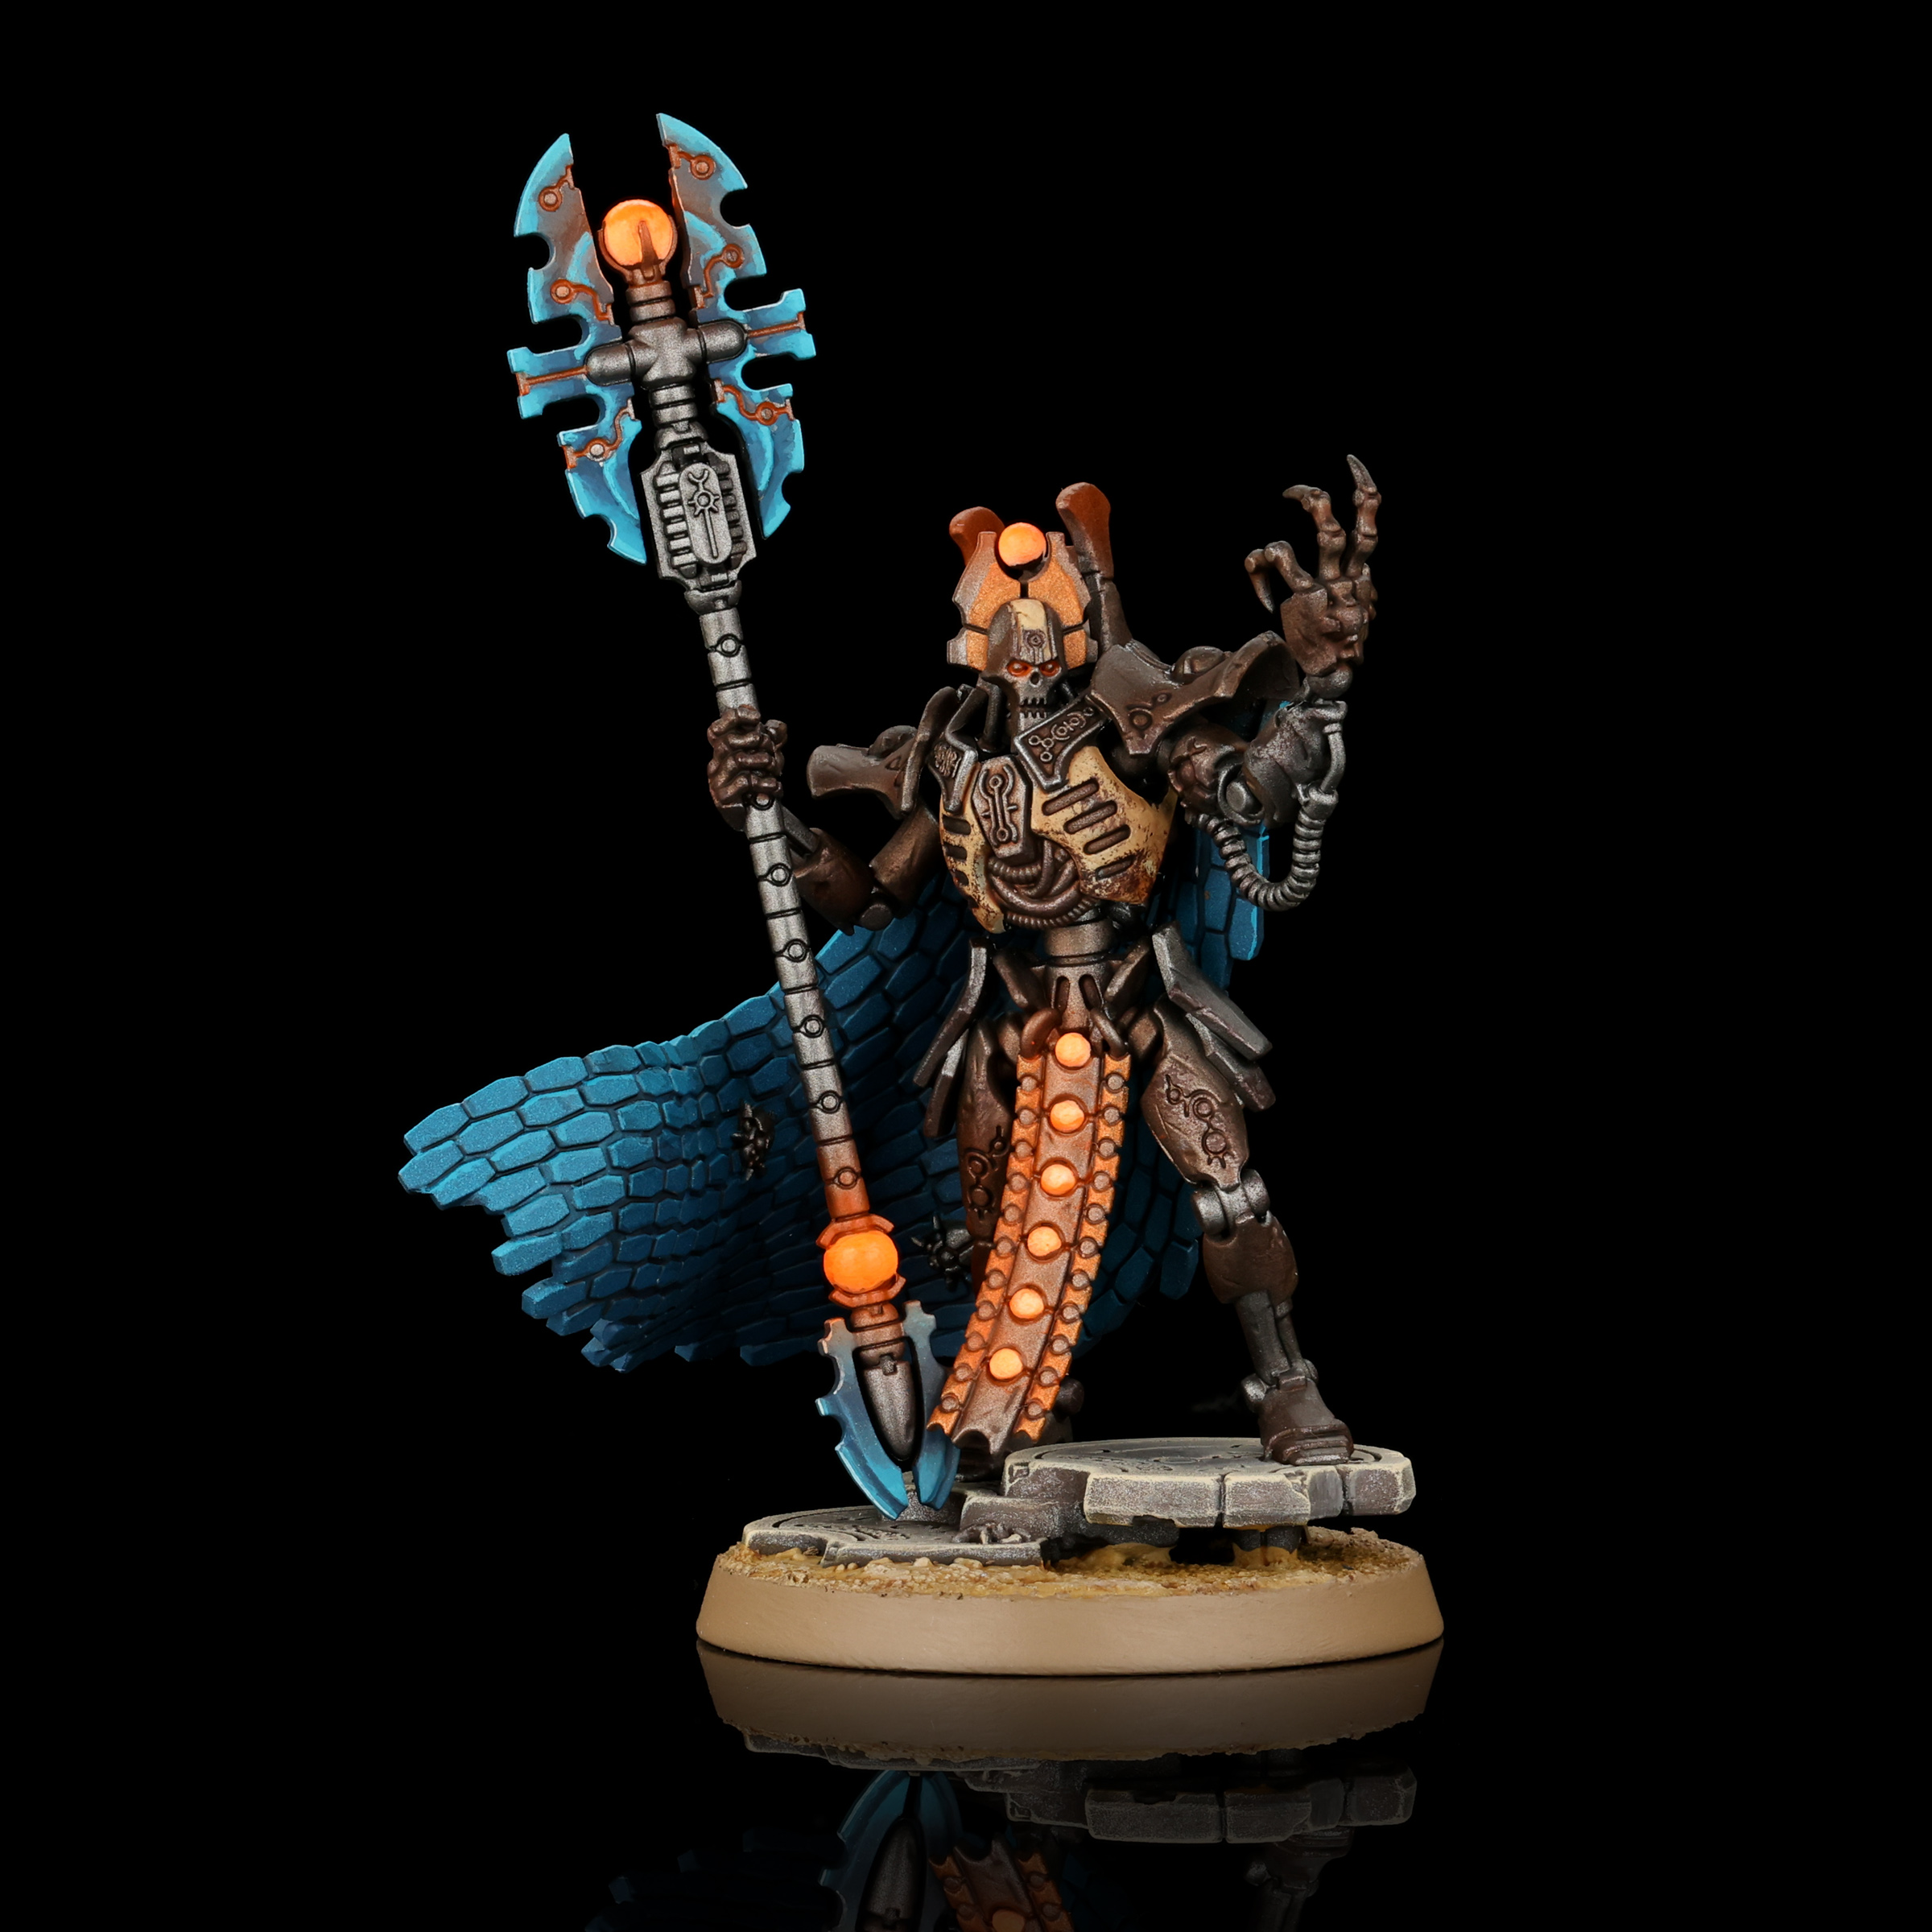
That all being said, it’s a very faithful re-sculpt of the classic model. So if you have fond memories of Imotekh, you’ll definitely want to check out this new model.
Orikan the Diviner
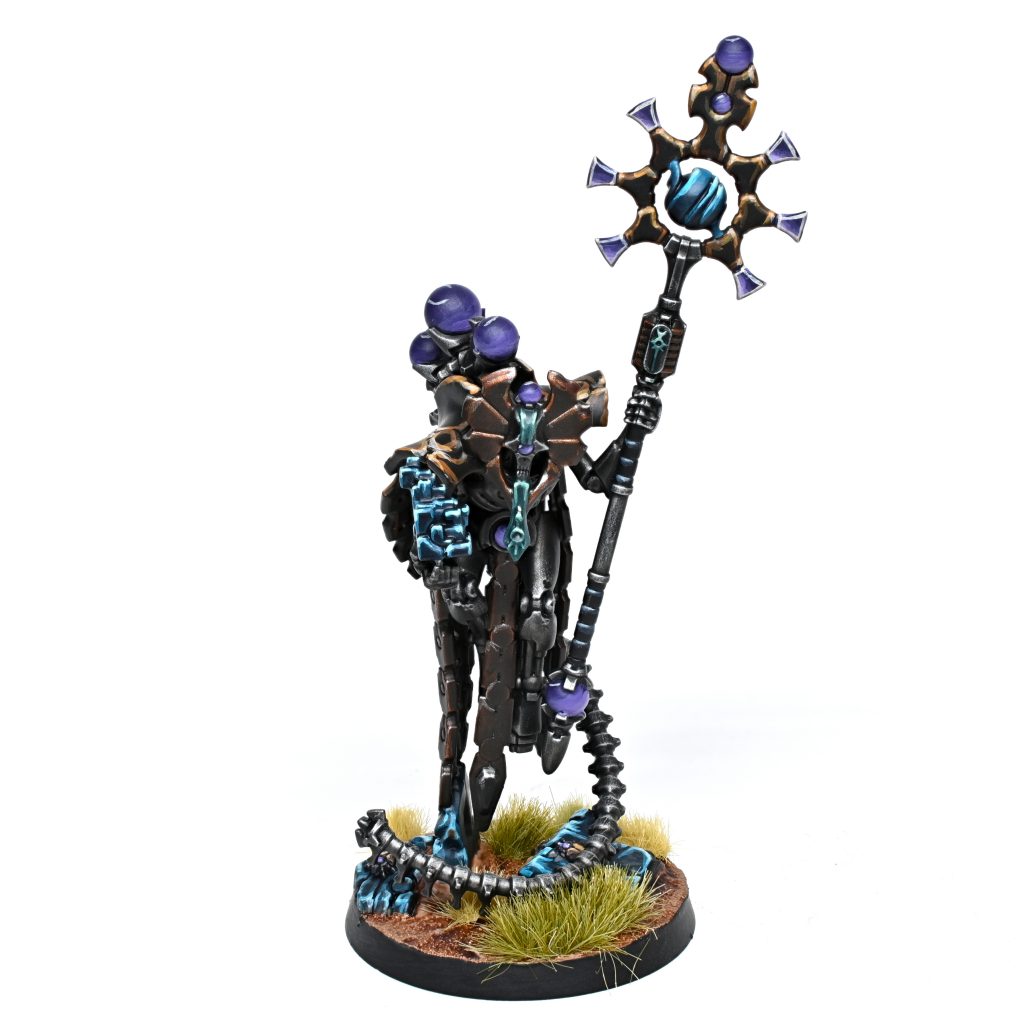
Rockfish: I love the big weirdo nerd energy this model exudes, everything about him is just the right level of odd, unconventional, and over-the-top without actually pushing it too far. I quite like how the designers chose to bring Orikan up into the modern era, they included each of the things that set him apart, the staff, backplates, tail, and death mask but modernized to fit the current style. This means that some of the details are arguably simpler than the old model, like the staff, but that makes way for extra stuff on the model like his fancy time cube without making the painting a chore. I will warn you that given the collection of different materials and shapes on the model it is pretty easy to go too far when picking colours, too many different tones and shades in such a small space can easily lead to overwhelming the viewer. (A friend who isn’t into 40k couldn’t really understand what he was looking at when he saw the studio scheme, and I am not entirely disagreeing as there was rather a lot.)
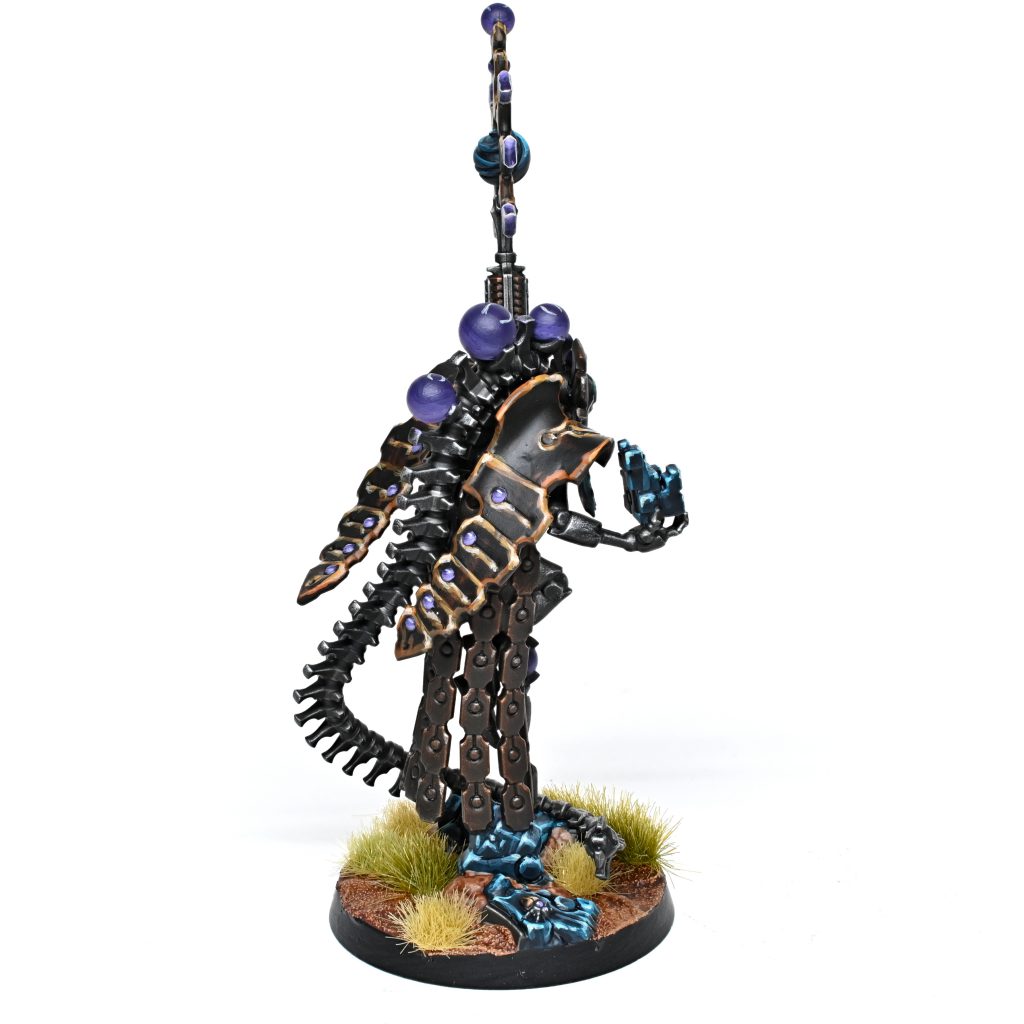
On the plastic side of things, the build for this guy is a bit funny in that he has sixteen pieces. This can feel like rather a lot for the size of him at first glance, but it works out to be fine as they all seemed to index nicely resulting in the model going together swiftly and without drama. I found the painting to be similarly straightforward, with brush accessibility being reasonable and the surfaces all playing nicely when planning out colours.
All together an excellent modernization of a classic Necron character, if I were to say there is one big miss it’s that they didn’t release this model alongside Trazyn. The Infinite and the Devine is probably one of my favorite pieces of 40k fiction, so I’m slightly disappointed that they didn’t pair them up.
Pendulin:
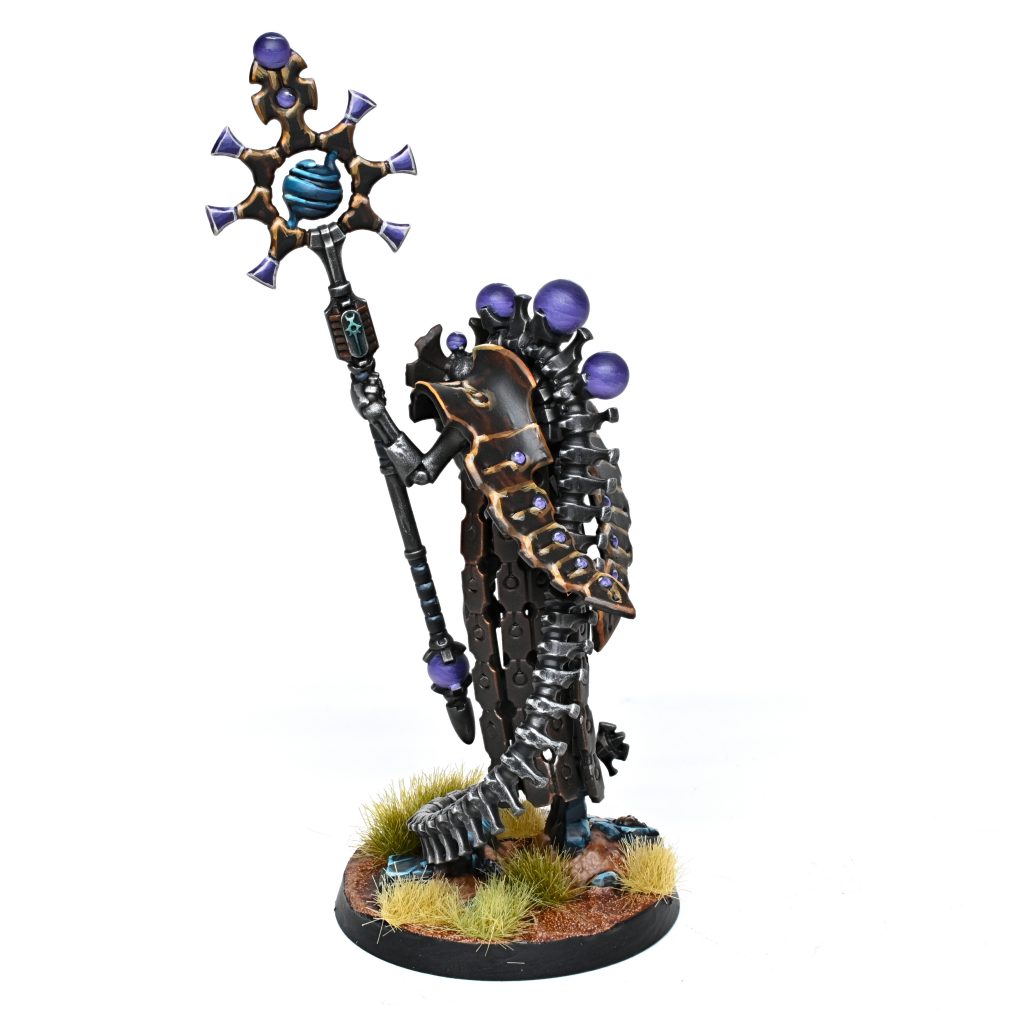
Another great Necon character. My only complaint with Orikan here is that the coolest angle of this model is from the back. The cloak and spine/tail are extremely cool, and you just don’t really get to see them from the front.
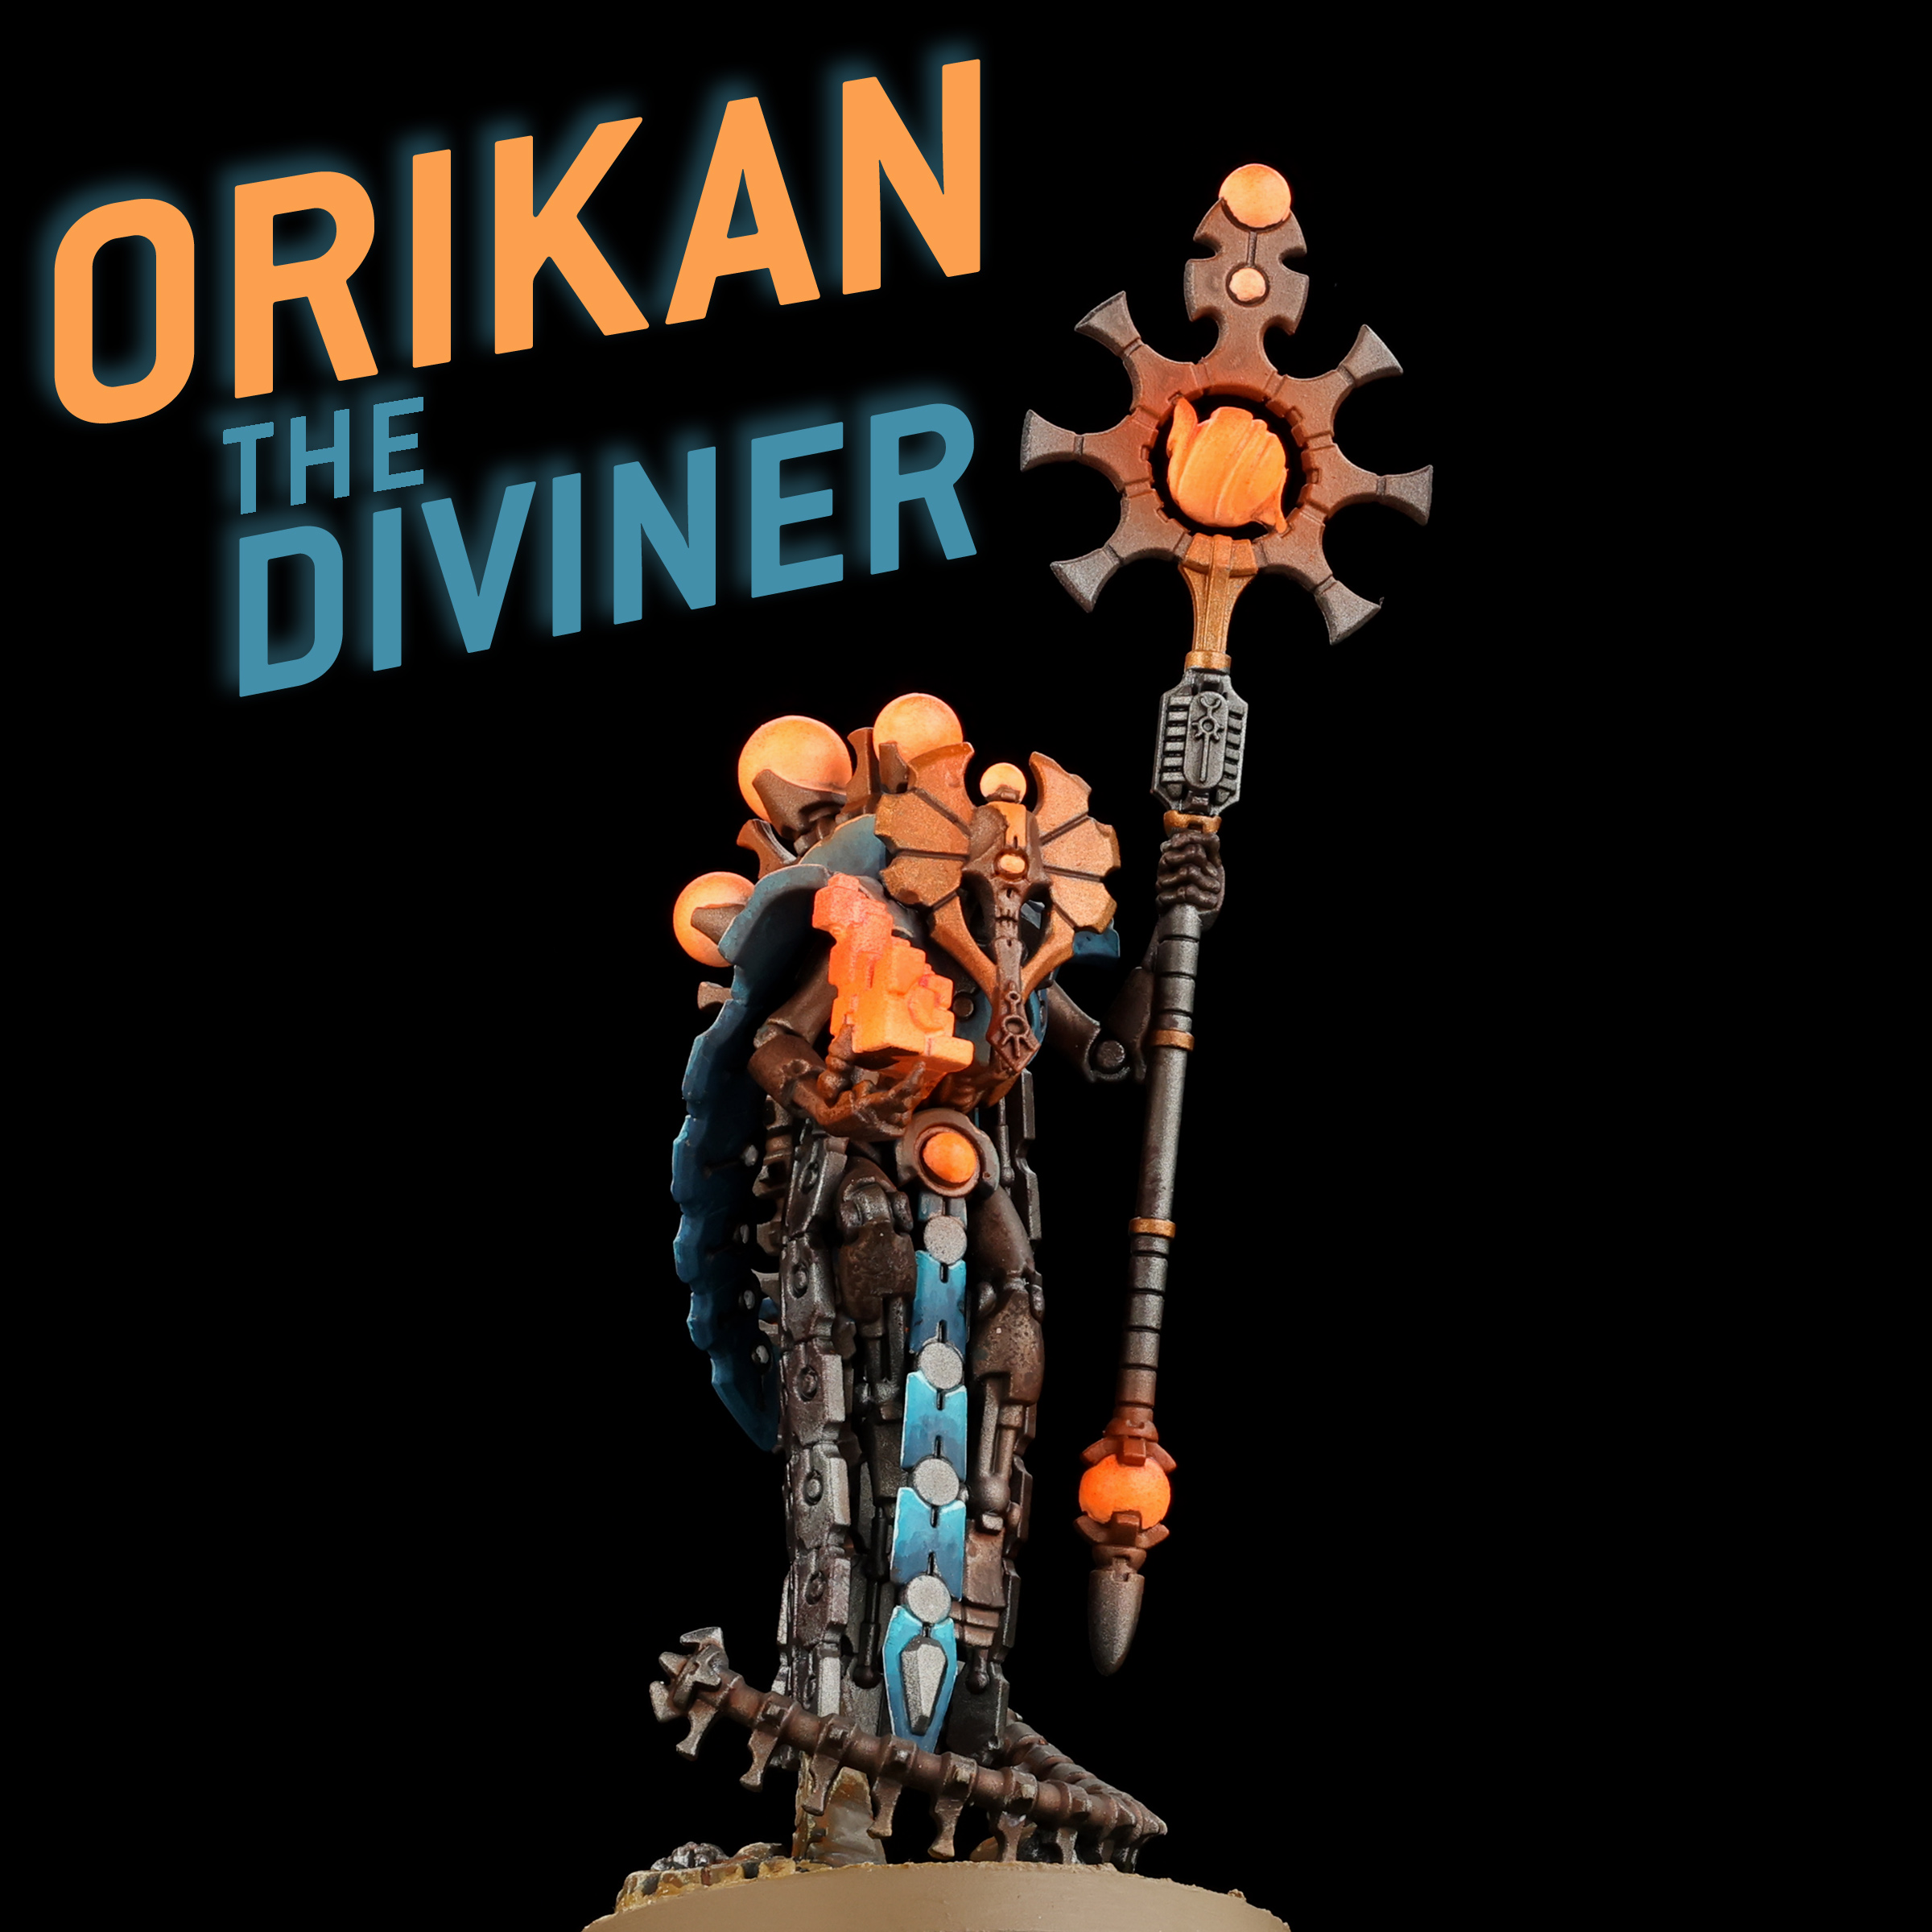
Fortunately, if you are looking at the model in-person, chances are you’ll be looking down on him and you’ll be able to easily see the cloak and tail. This makes the model look a lot better in person than it might in photos.
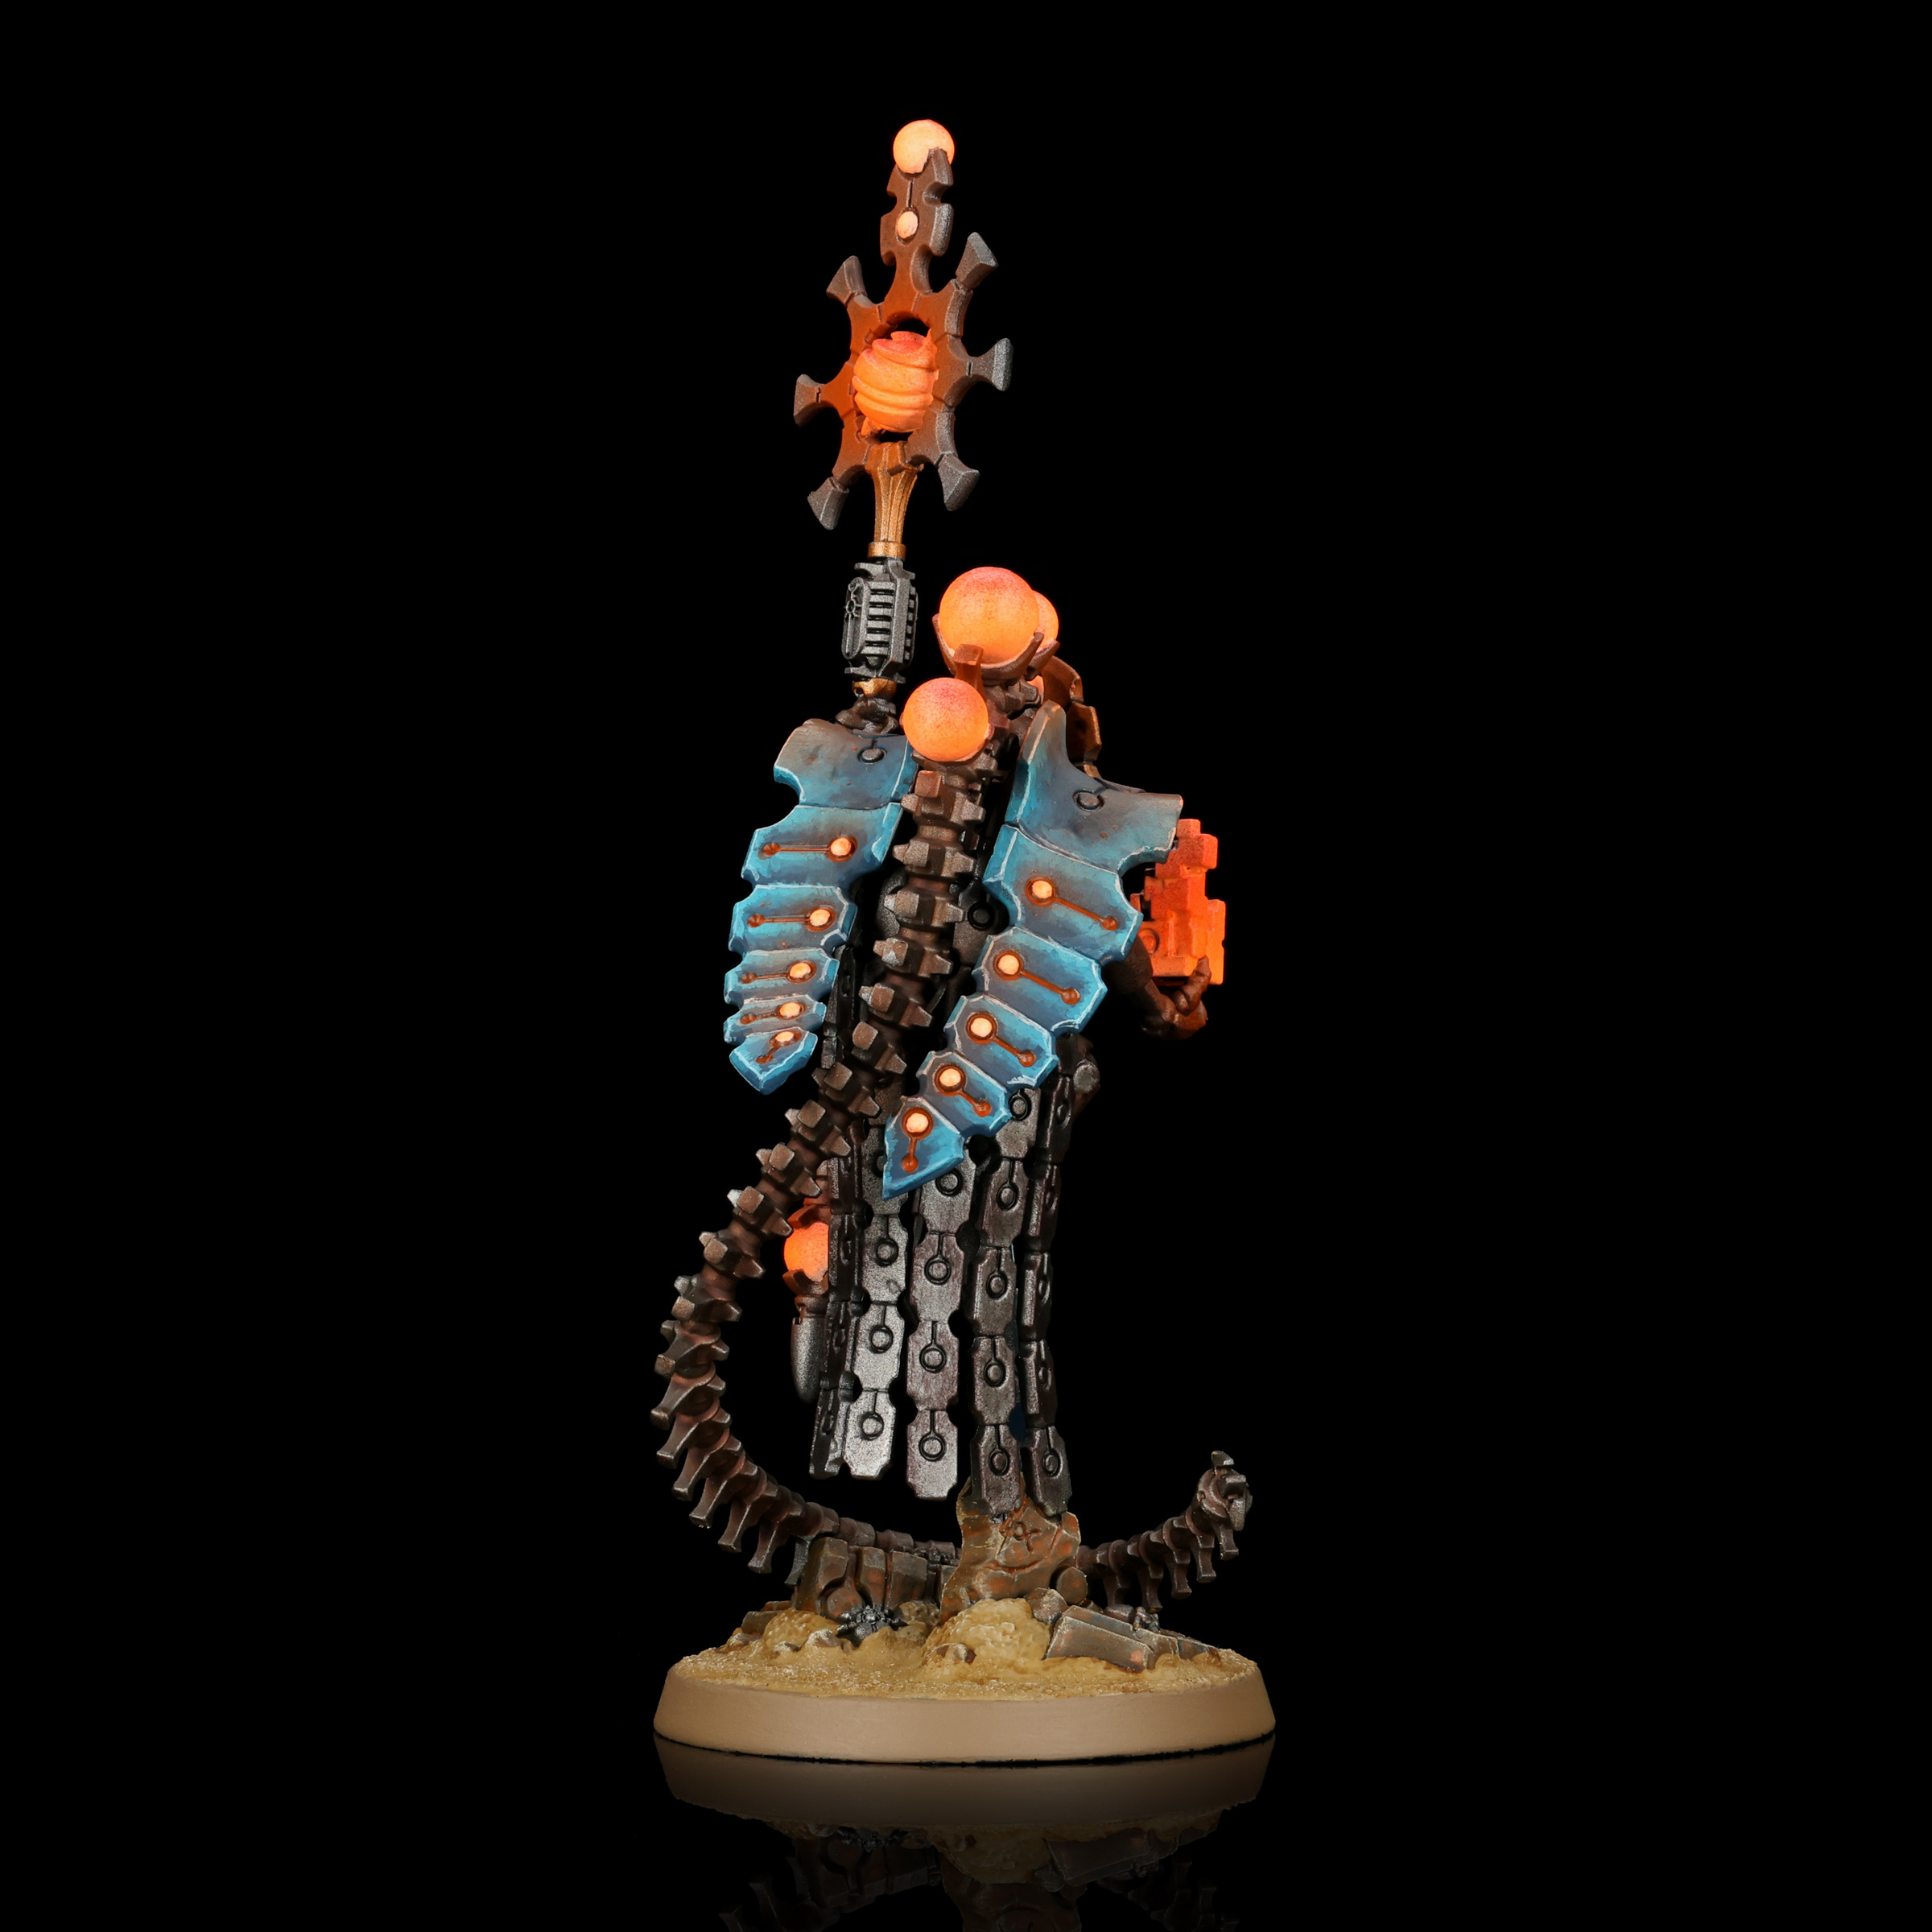
As for building him, he’s quite straight forward. My only recommendation is to paint him in subassemblies: keep the spine/tail separate from the rest of the body and paint them independently.
Sometimes subassemblies are a pain, but in this case it’s extremely easy. Both pieces rest on the ground, which makes them easy to mount while painting. And connecting them afterwards is as easy as a couple drops of super glue and just pushing the spine in.
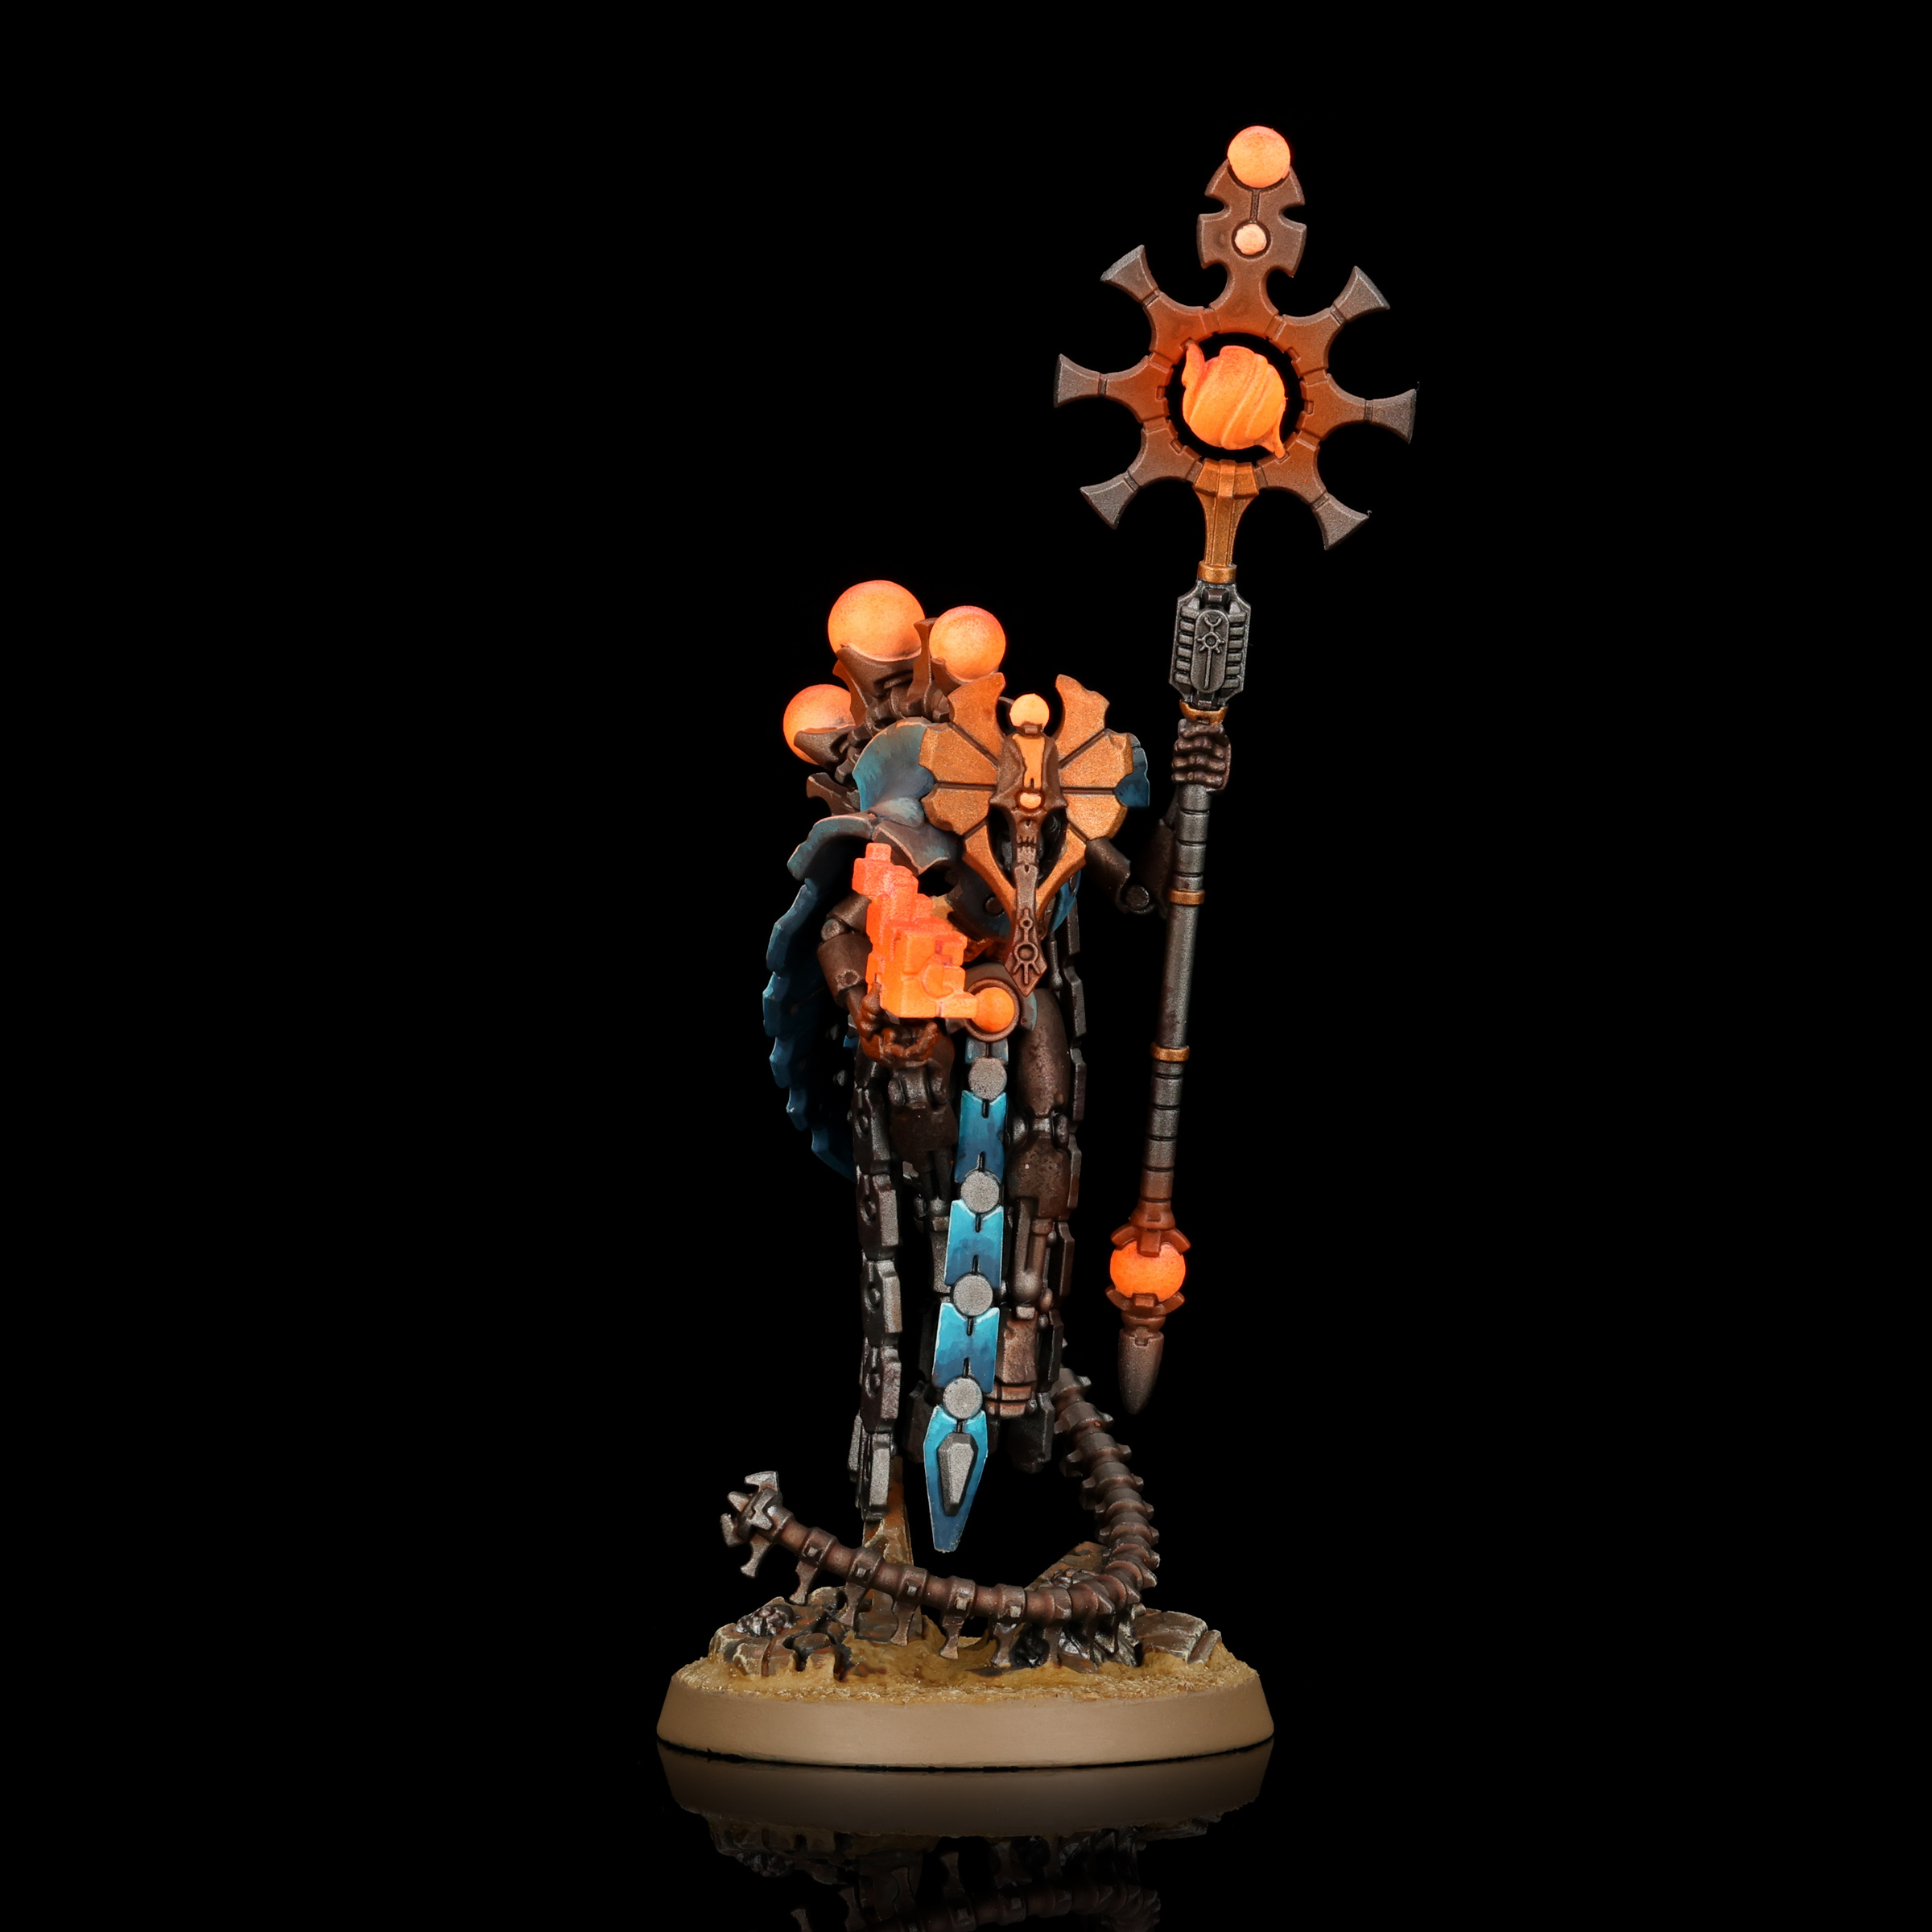
Looking at this finished model, I really wish I had spent the time to do a blue blend on the “blade” of the “staff” instead of leaving it metallic. I think that would make the front of the model pop quite a bit more, but I don’t hate it as-is. I’ll just add it to “go back and touch this up” backlog.
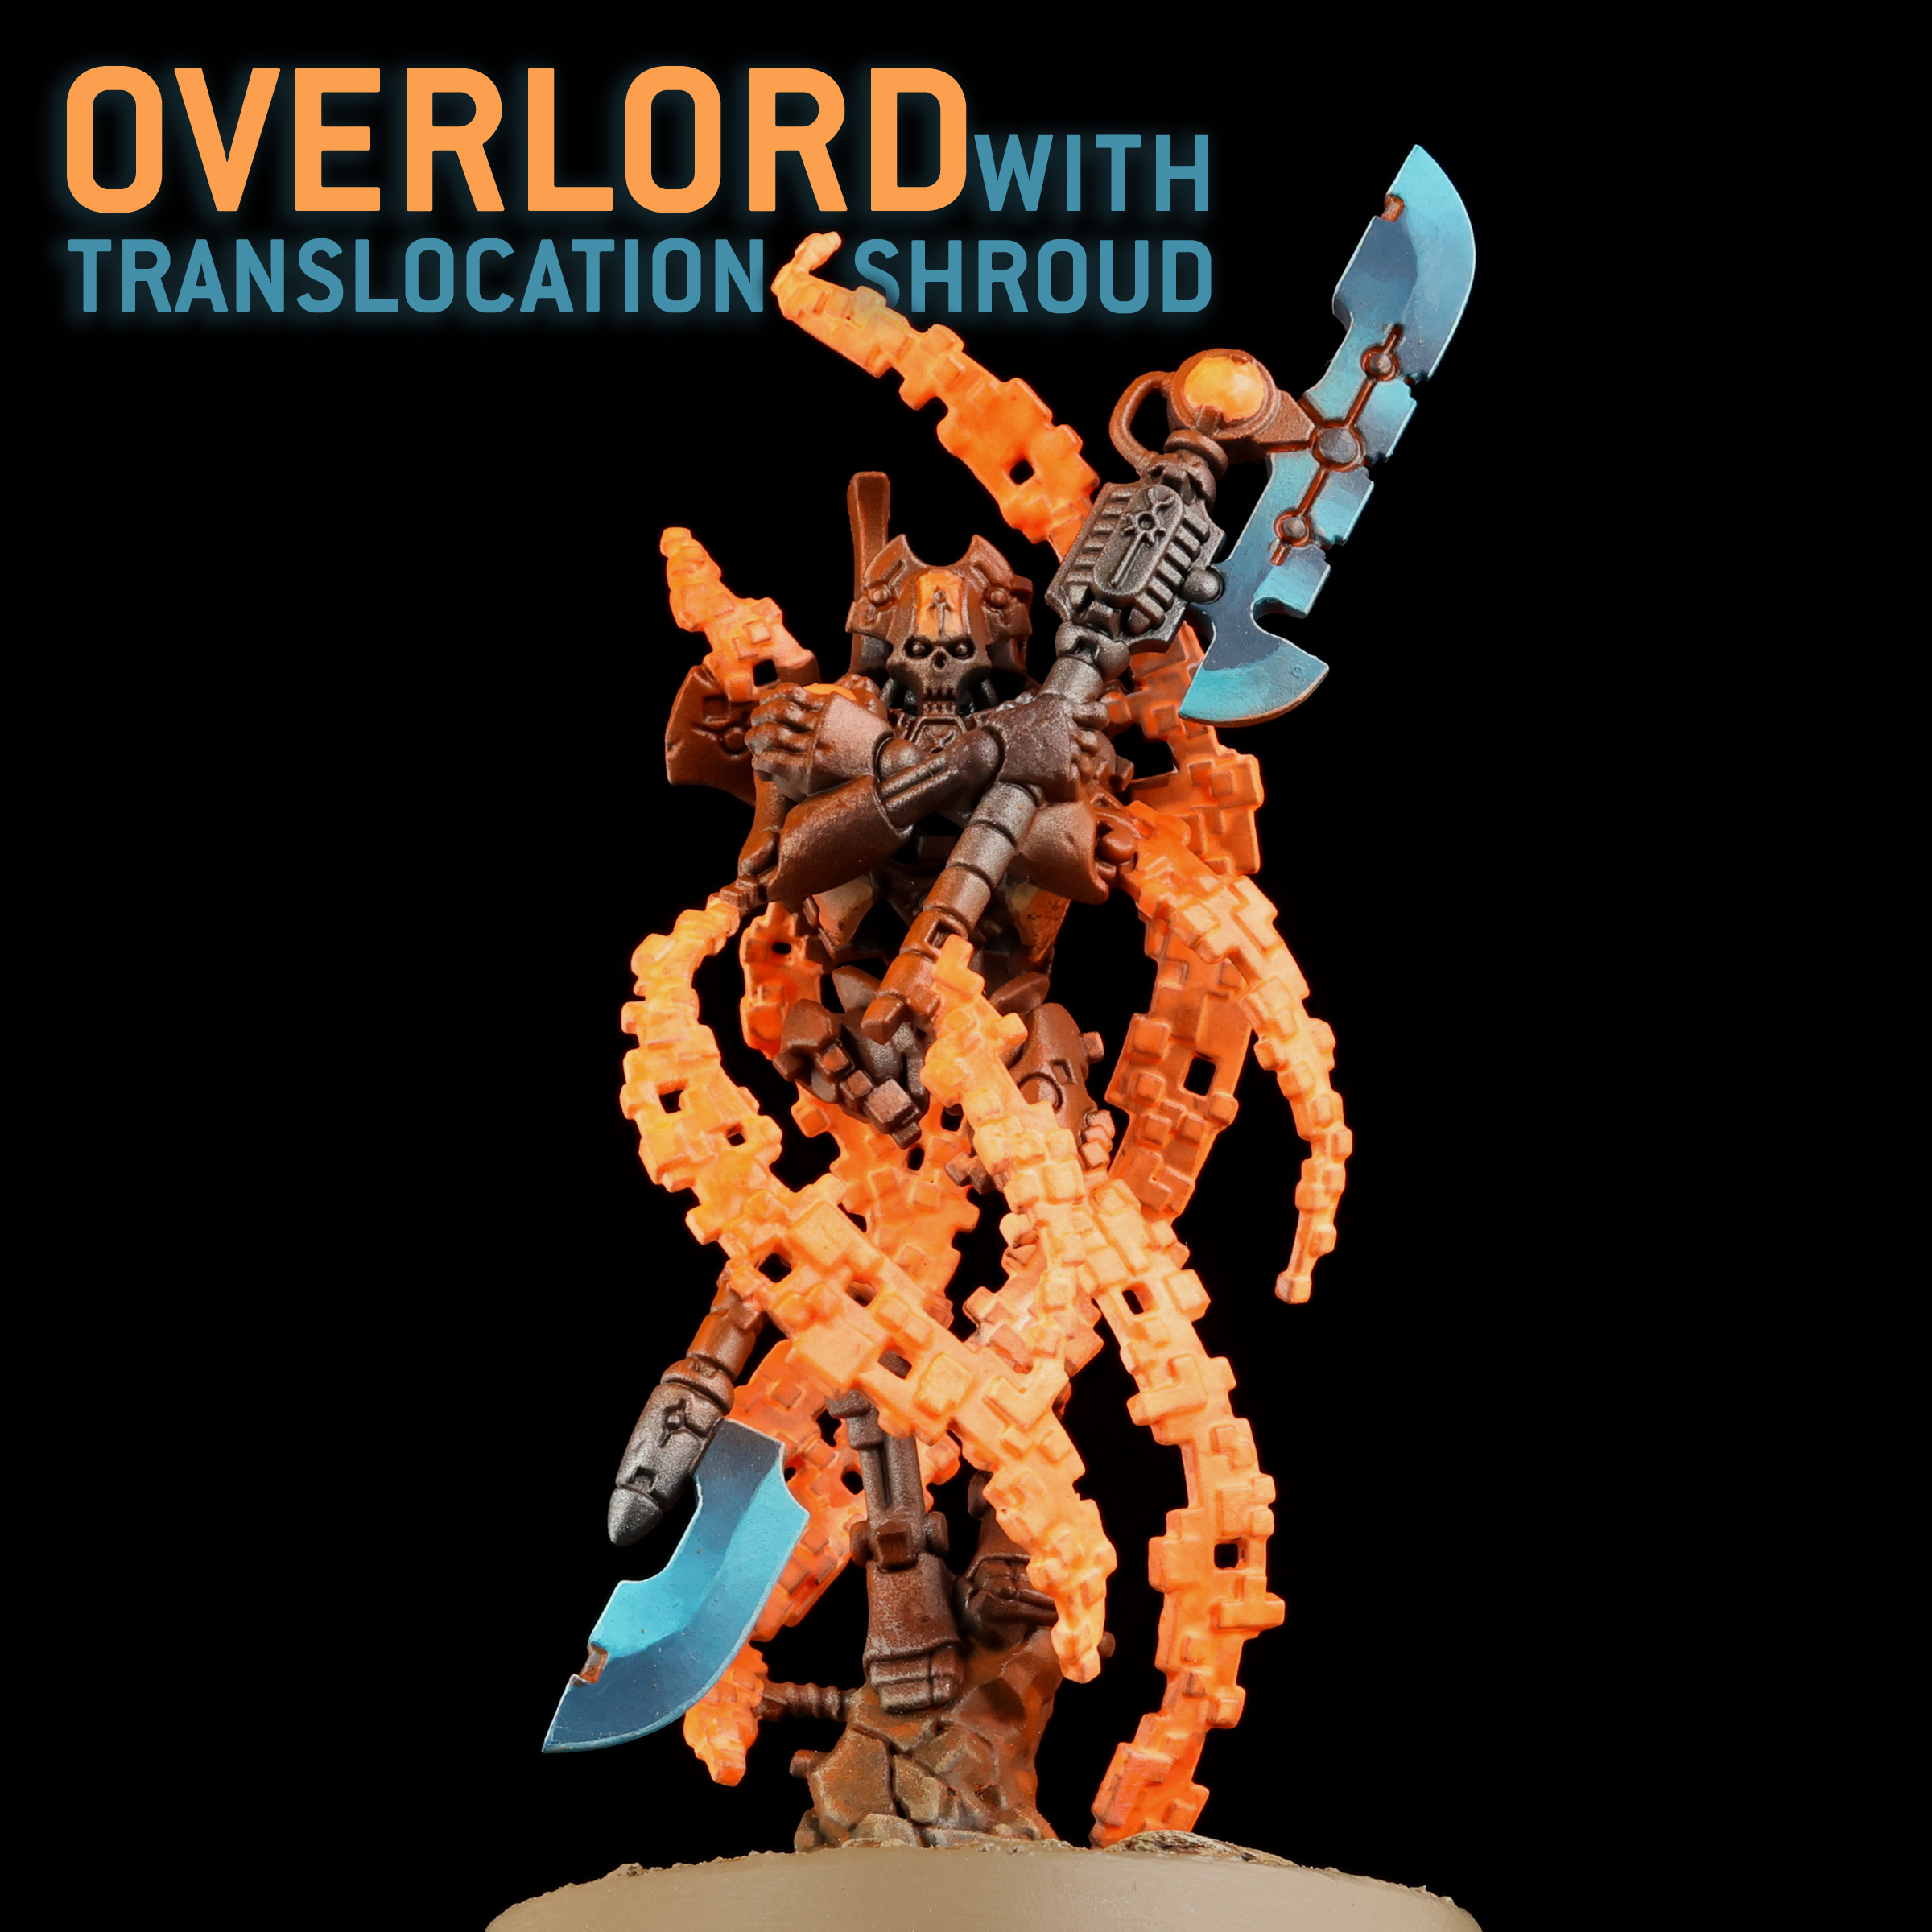
Overlord with Translocation Shroud
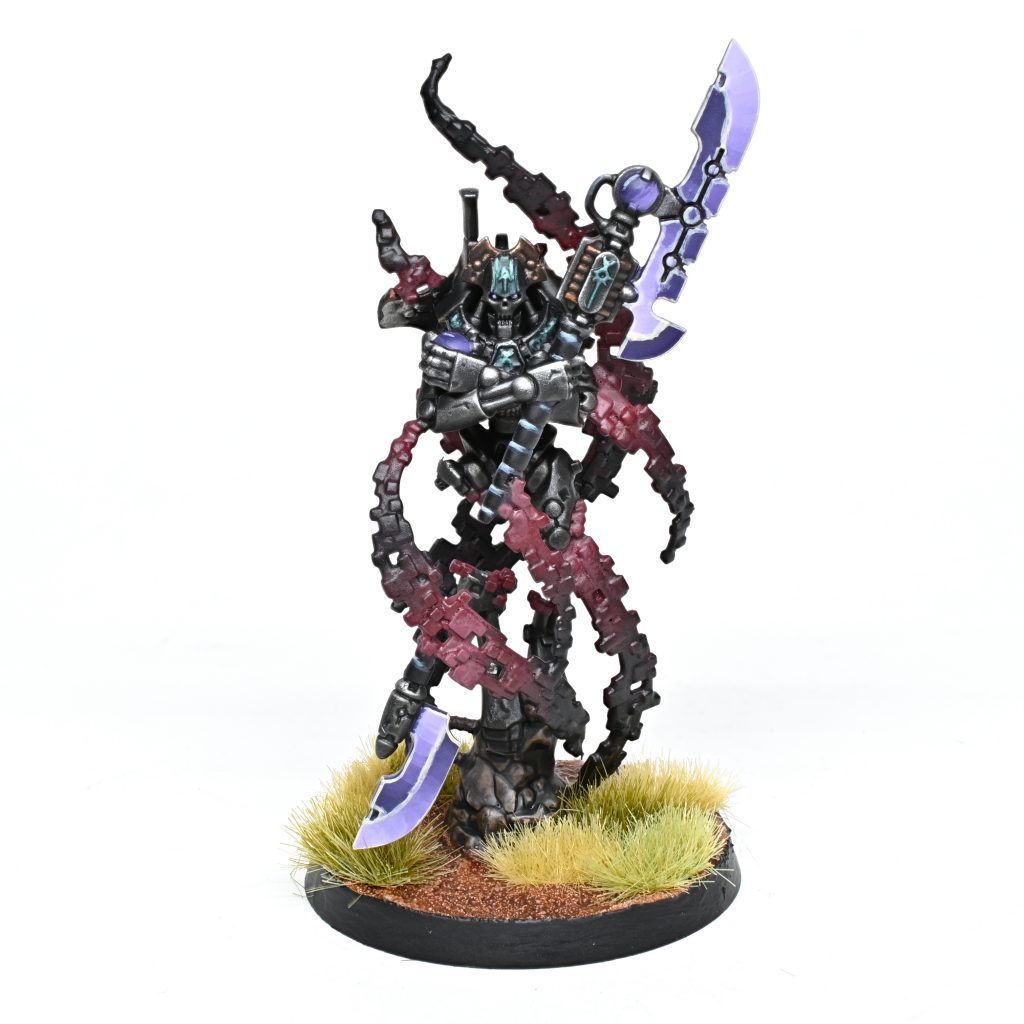
Rockfish: I’ll be honest and I groaned a little when I first saw this model as it looked like an absolute nightmare to paint, so I was quite pleasantly surprised that even with my somewhat masochistic tendency to fully assemble models I didn’t have any troubles at all. Despite the number of convolutions to the various translocation effect parts, none of them actually get in the way of anything when you are trying to get a brush in there. If anything the model was rather quick to get through, to the point when I put my brush down at the end of my first two-hour sitting all I had left to do was paint the base once paste dried.
Ok, enough of my rambles about painting, what do I think of the model? It’s pretty great overall, this is a unique pose that can look absolutely stunning once the paint is on. As a way to make a fairly ‘basic’ HQ model like a necron lord distinctive without going over the top with the design of the model itself, this is probably one of the coolest ways they could have gone. I will mention that this does have one slight disadvantage in that it’s going to be super obvious if you take repeats of the model in your list, and it would be hard to do much to the model to differentiate duplicates without a rather impressive amount of work. It’s also going to be at least a little tricky if you want to bash another lord into this loadout while still being recognizable, as without the fancy effect the main differentiating detail is the rather small orb on their back.
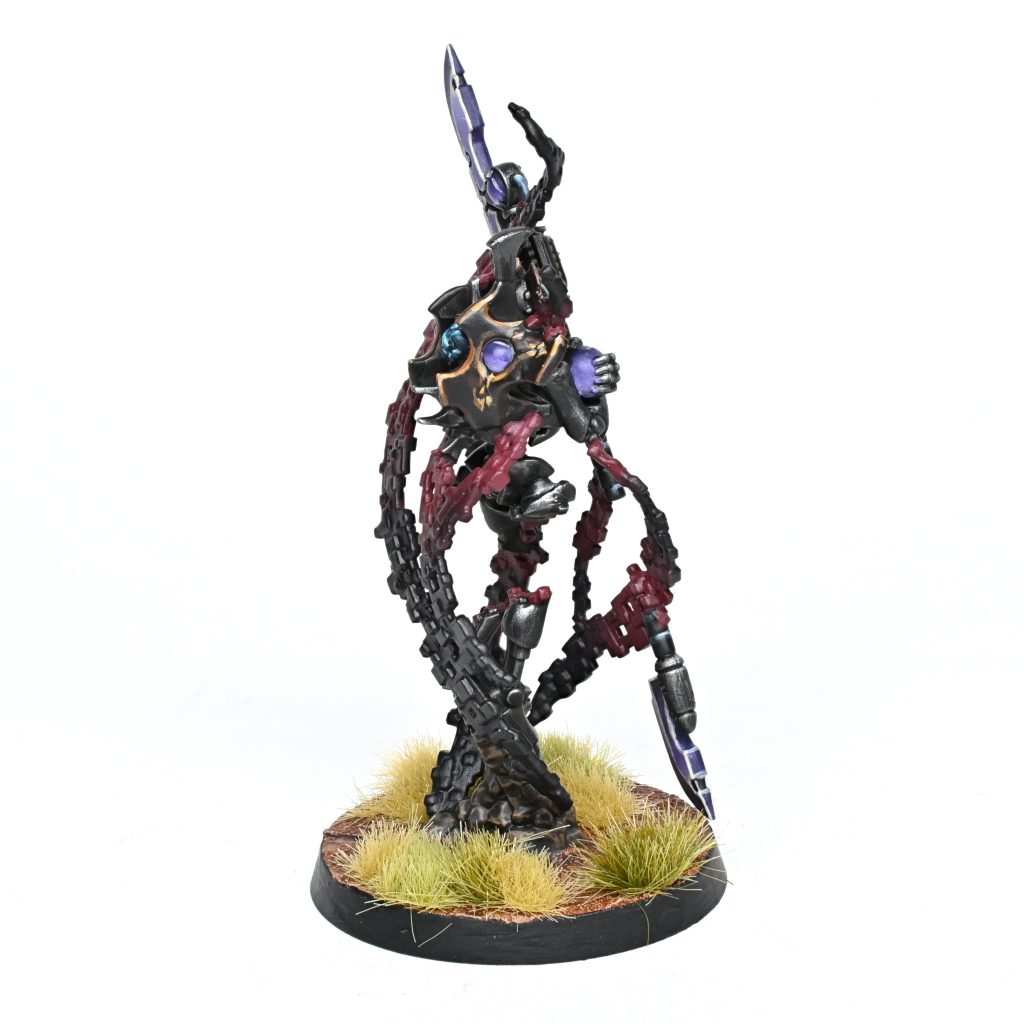
One neat little detail of the packaging, since this is a tiny sprue it came in a little tray, like for the special models GW puts out every once in a while, which made for a slightly odd experience when opening the box. This segues into the build, which is quick and easy as you would hope for with how few pieces the model is composed of. At a total of five including the two pieces for the head, you would probably be rather annoyed if the build was more than basically just stacking the layers together.
Overall, a pretty decent kit with all the advantages and disadvantages of a hyper-specific look, just expect to spend most of your time on the effects rather than the Necron themselves.
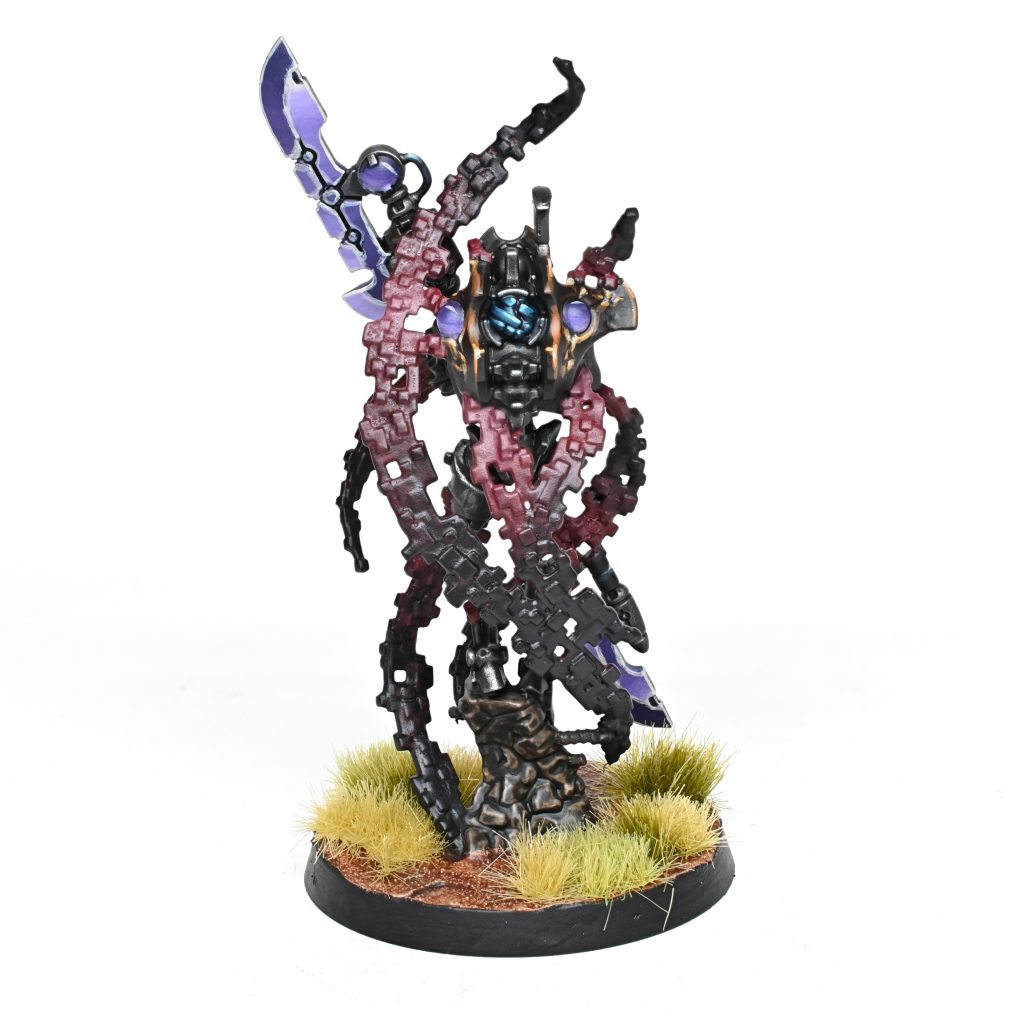
MasterSlowPoke: When I first saw the sprue for this robot, I knew that I had to paint it. I was shocked to see that it was a mere five parts – the driver on the Ghost Ark has more! It even features the signature Necron separate-neck-bit, though that does plug in pretty easily.
My initial thought was that I needed to paint it on sprue, because of all the digital warping effects. However, it turns out that you don’t really have any trouble painting both the effect and the robot on the assembled model. If you are the airbrushy type and want to do each half differently, you will have difficulty masking, so I’d plan to do one of the halves with a regular brush.
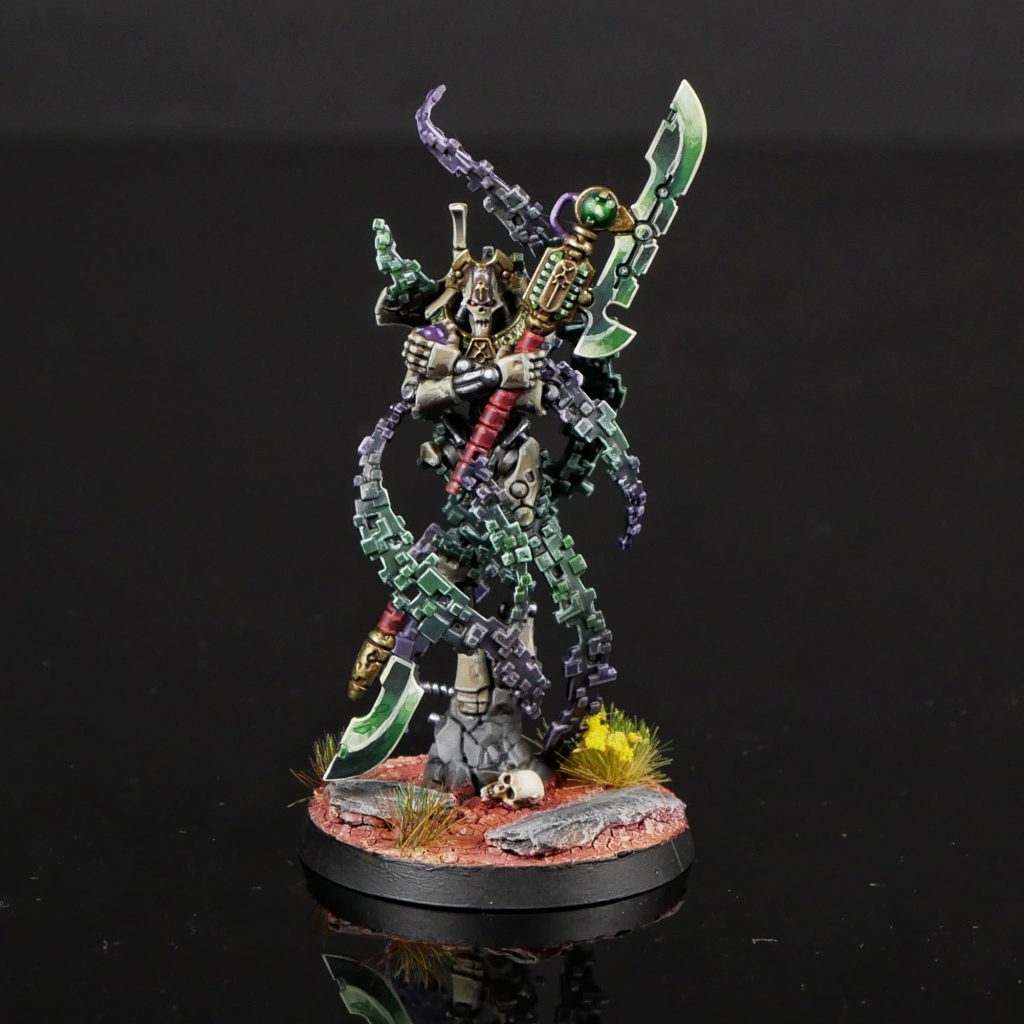
This is the first Necron I’ve painted in years, and it was fun to go back to my old Sarnekh Dynasty scheme. I had no trouble at all painting the model, and completed it in a brisk two nights. The only detail that is hard to get to are the wires under their ribcage, but those are almost impossible to see from any reasonable angle.
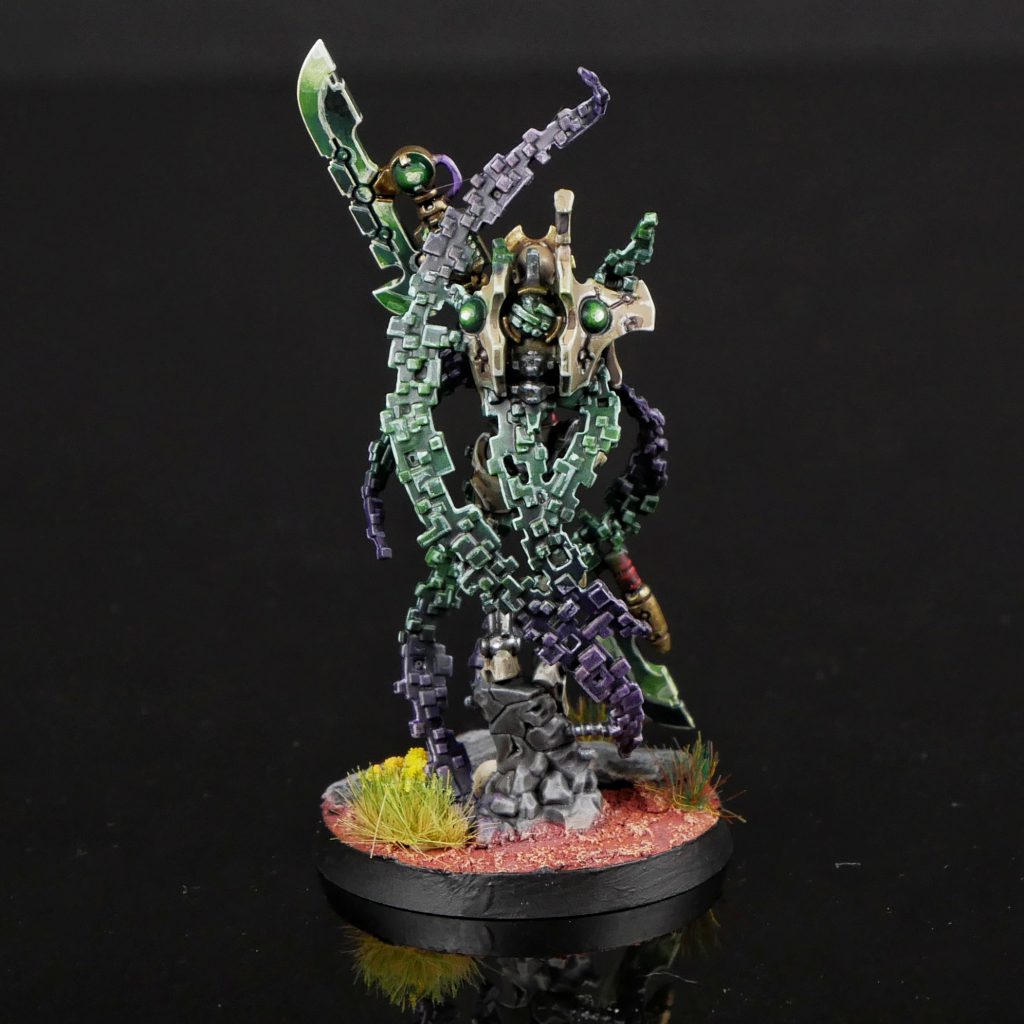
The swirly bits were surprisingly not too hard to paint, either. I basecoated it in green and purple stripes, then blended between the two to soften the borders. I followed up by drybrushing brighter greens and purples, and finished by mindlessly edge highlighting every square edge. It was a bit tedious, but the design of the model really made it easy.
Pendulin:
What a model. We already mentioned it but wow, five pieces of plastic. If you told me that this model came in 20 pieces, I’d be resentful and bitter. But not surprised. At only five pieces, you can build this guy in no time flat.
Even the mould lines are easy to clean, and dealing with those is usually my biggest complaint about working on a model. All around, an absolutely stellar kit to build. And that’s not even mentioning how incredibly cool looking this guy is.
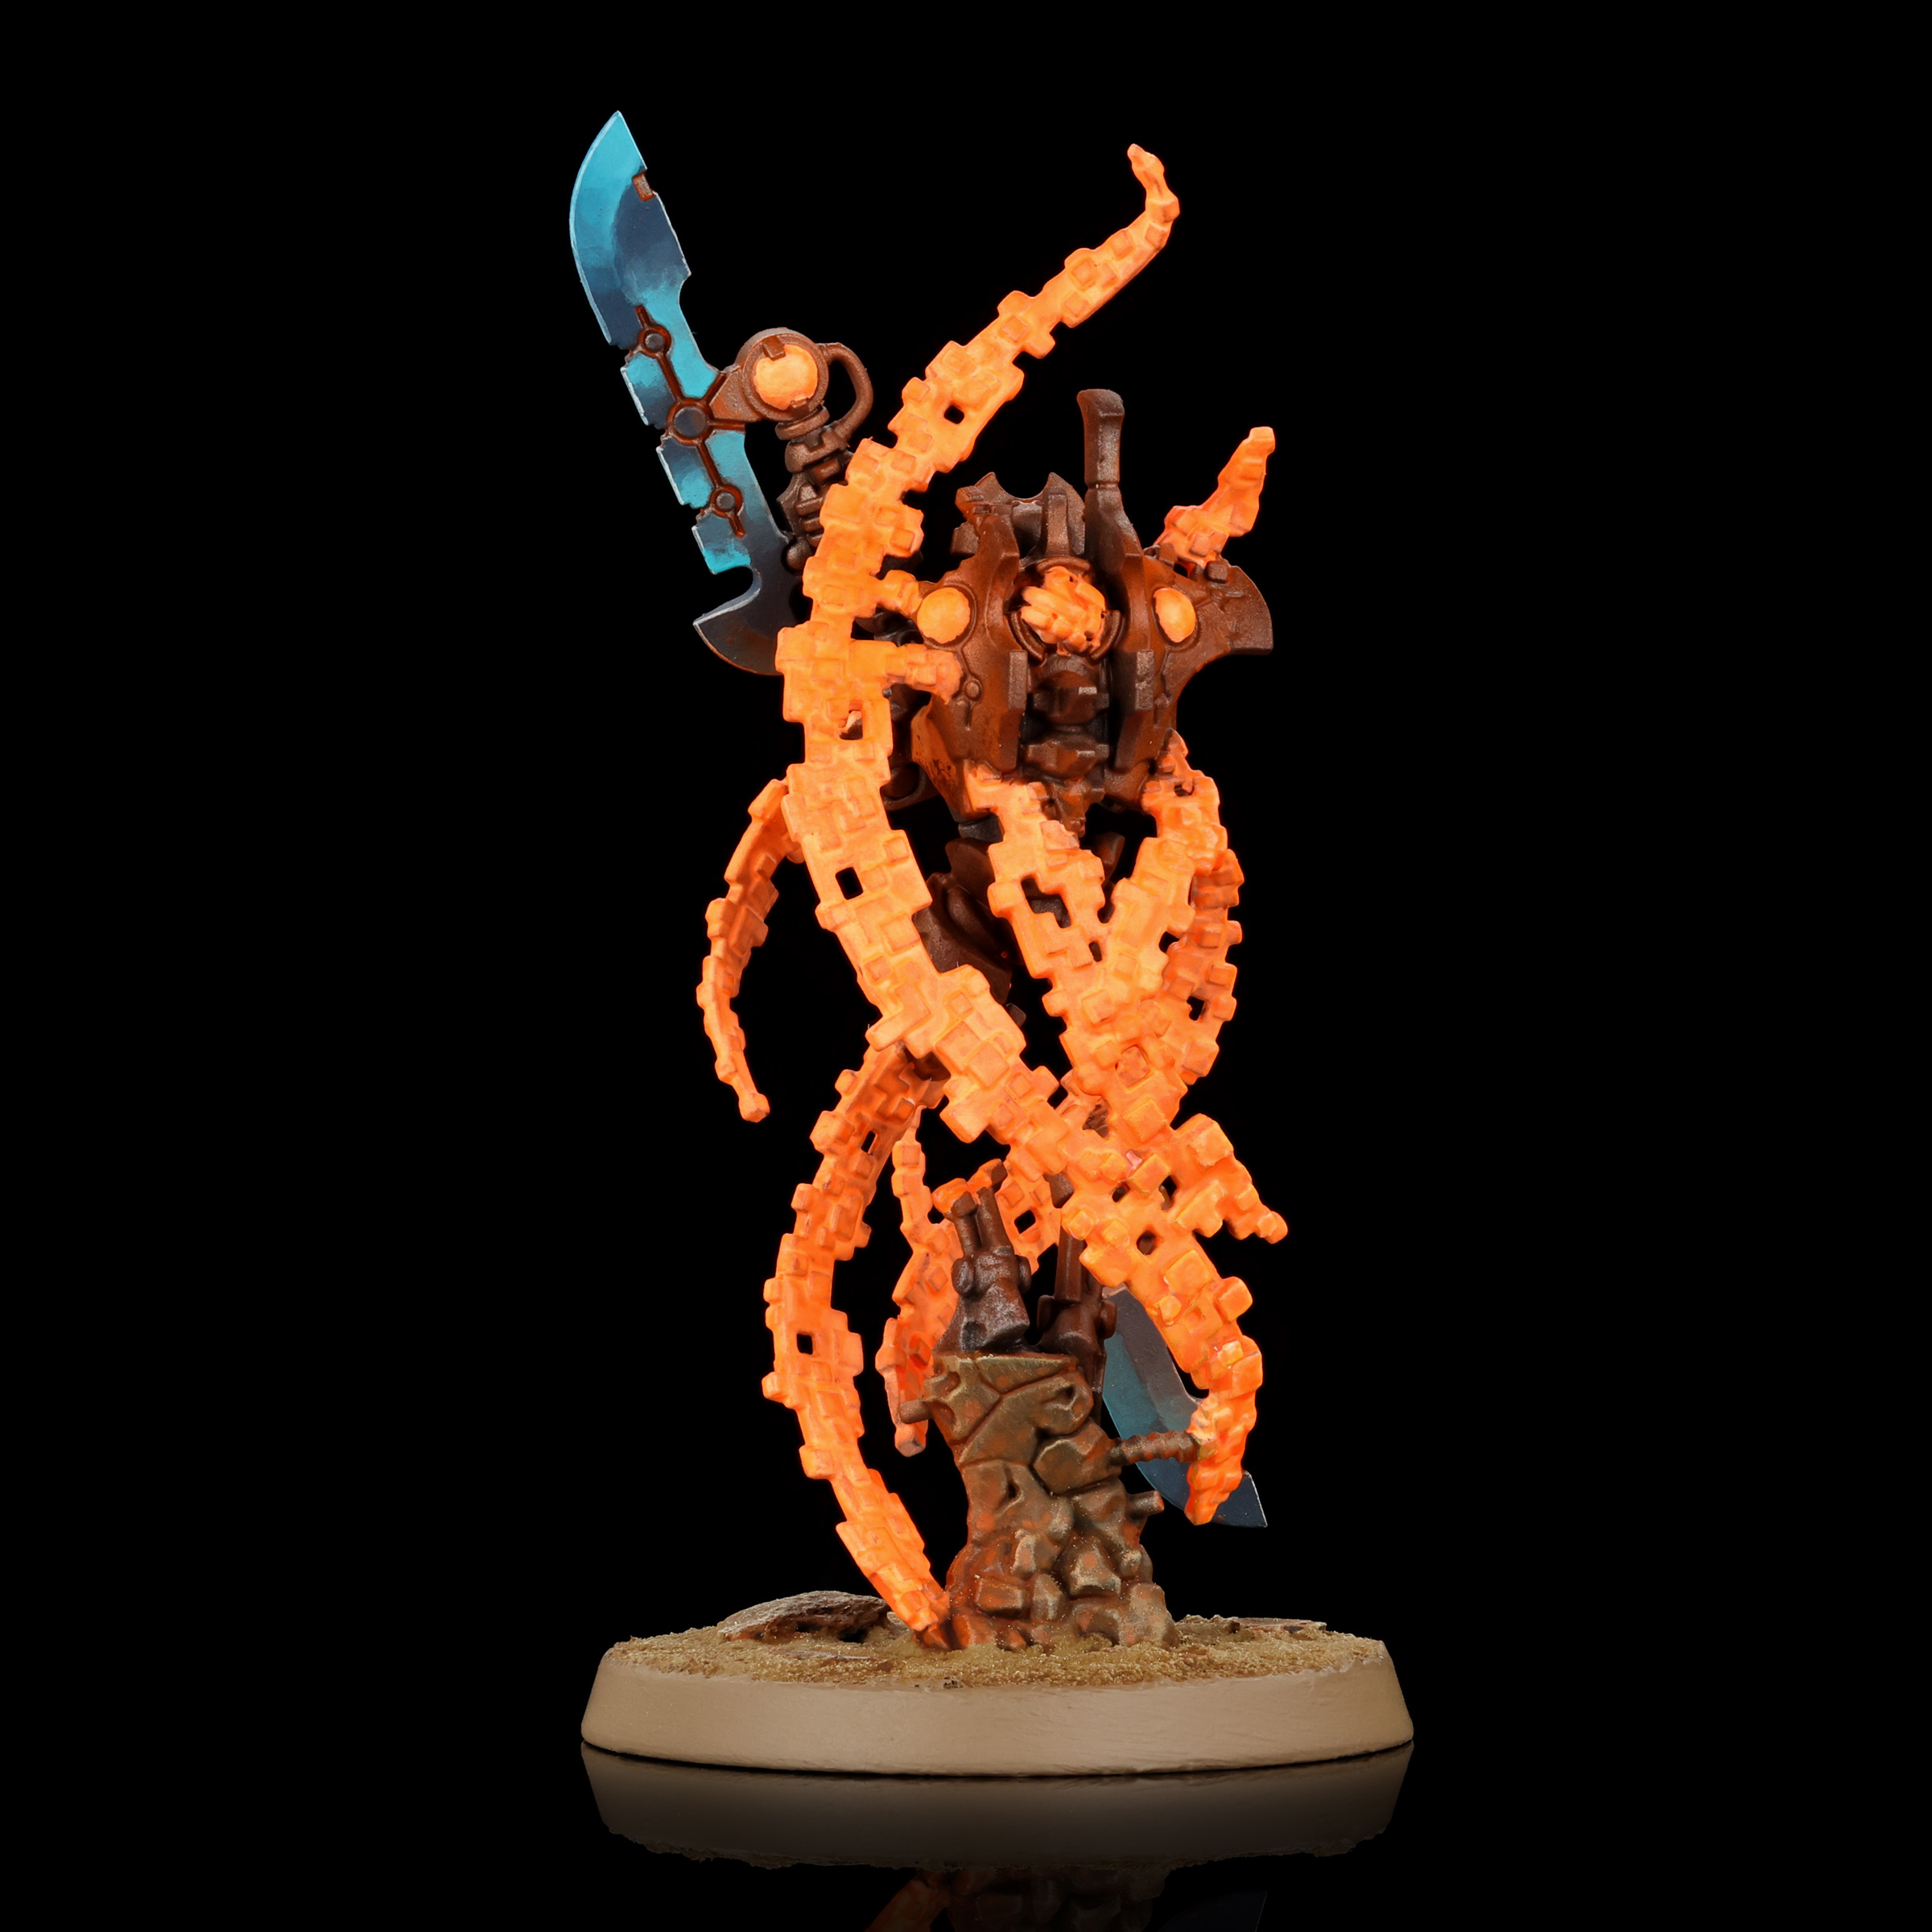
If I were to go back and paint him again, I’d likely do a bit more gradation on the translocations swirly bits. Hit it with some whites and reds to give it a bit more variance. It’d be a little tricky because he’s functionally impossible to build with subassemblies (given that he’s only 5 pieces of plastic). But with just a little more work I think I could have taken this model from good to great.
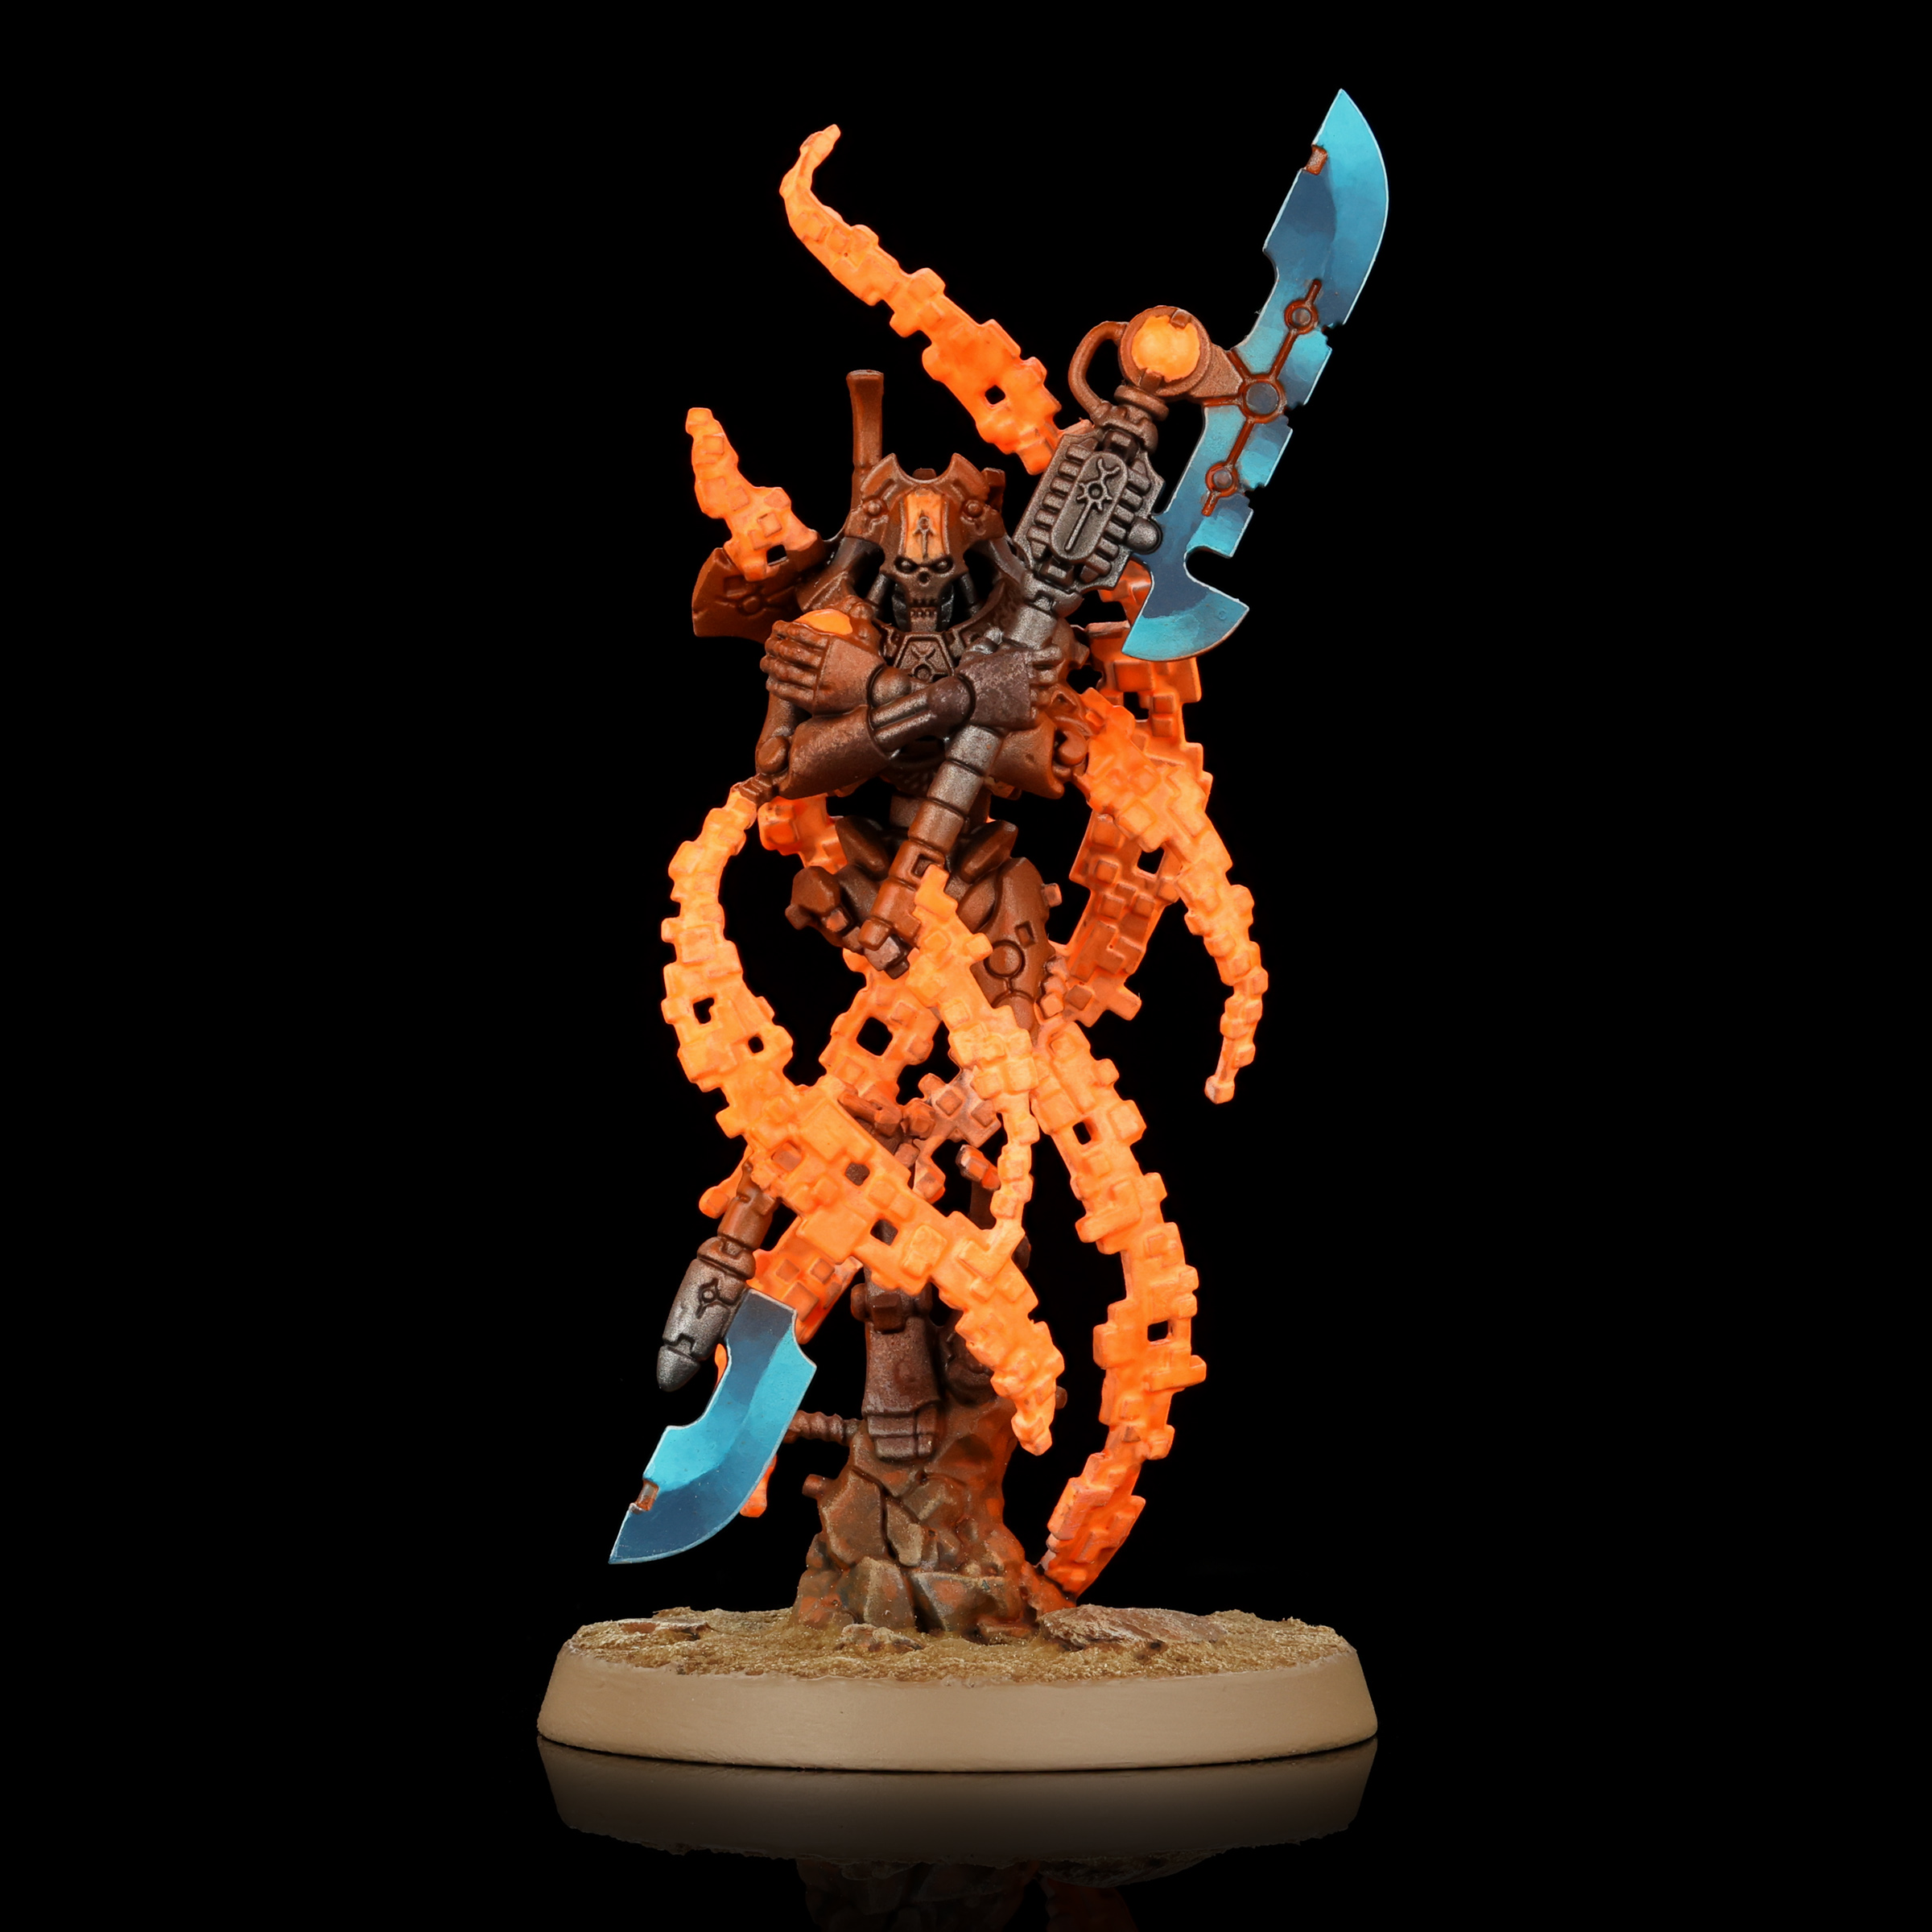
Overall, all three of these Necron models look incredibly cool, and worth looking at if you’re in the mood to paint some evil metal skeletons with flair.
Have any questions or feedback? Drop us a note in the comments below or email us at contact@goonhammer.com.
