
I’ve been slowly assembling a German force for an upcoming Monte Cassino campaign using Victrix’s lovely 12mm WW2 miniature line. This time I’m reviewing a couple new kits I’ve added to my force: the StuG III Ausf. G and Pak 40 & Sd.Kfz 11 kits from Victrix (prepare yourself for a lot of German military designations in this article). These two kits will add some assault guns and AT support for my infantry forces and give me a fairly balanced force. So let’s take a look at what these two kits come with!
Disclaimer: These sets were provided by Victrix for review.
Sculpting & Component Review
As has been my experience with all the Victrix 12mm kits, all the sculpts are very clean and crisp. My understanding is that Victrix uses digital sculpting for their models, which is how they get such great detail on these tiny little guys. The castings are also nice, with very little in the way of mold lines or flash.
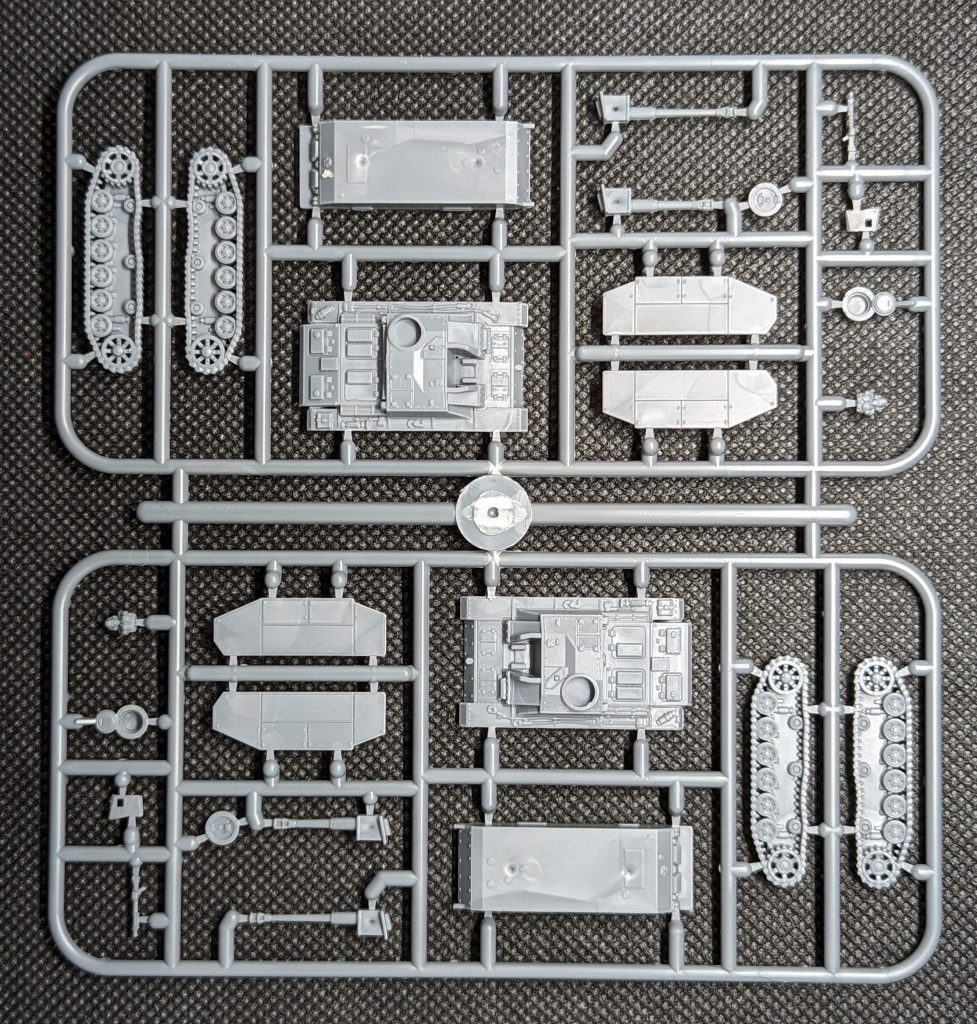
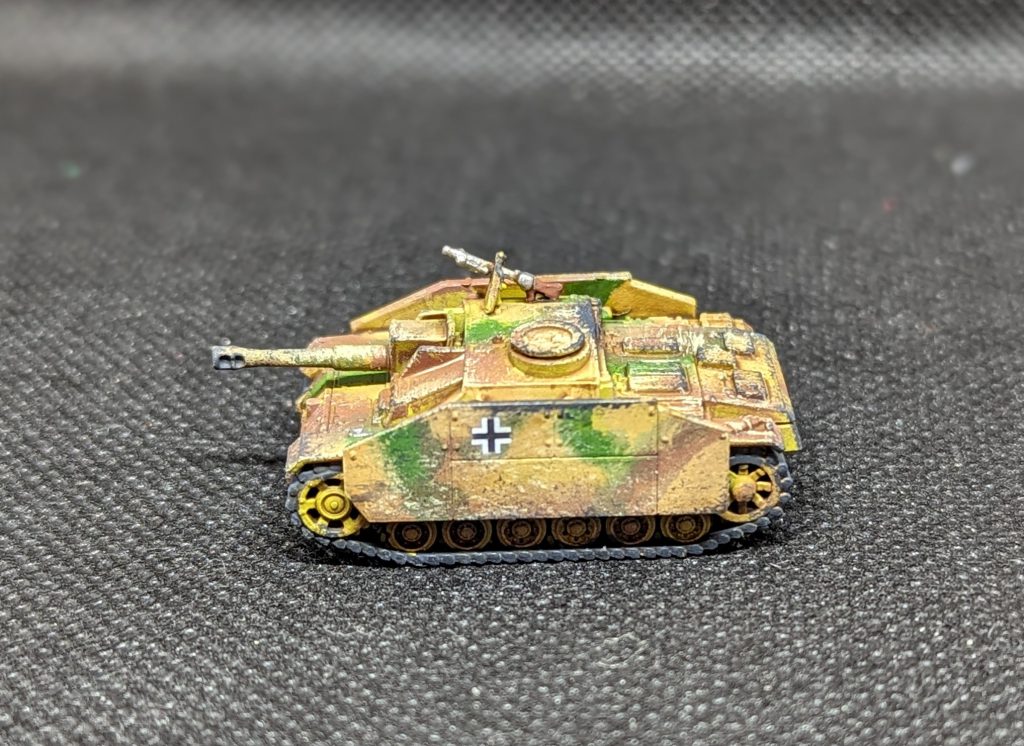
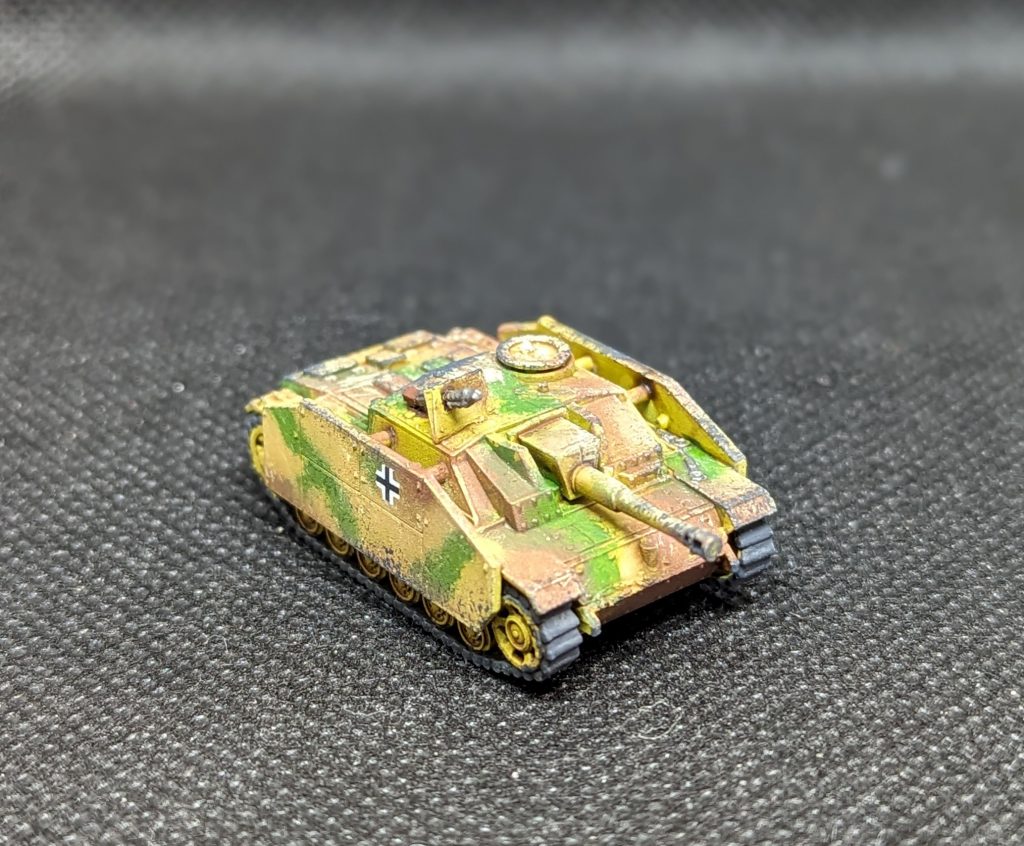
The StuG III kit comes with six tanks, with a couple customization options. You can choose between the usual 75mm gun, or the 105mm gun to make a StuH42 instead. There are also options to attach schurzen or not, a roof-mounted MG, and a little tank commander poking out of the top hatch.
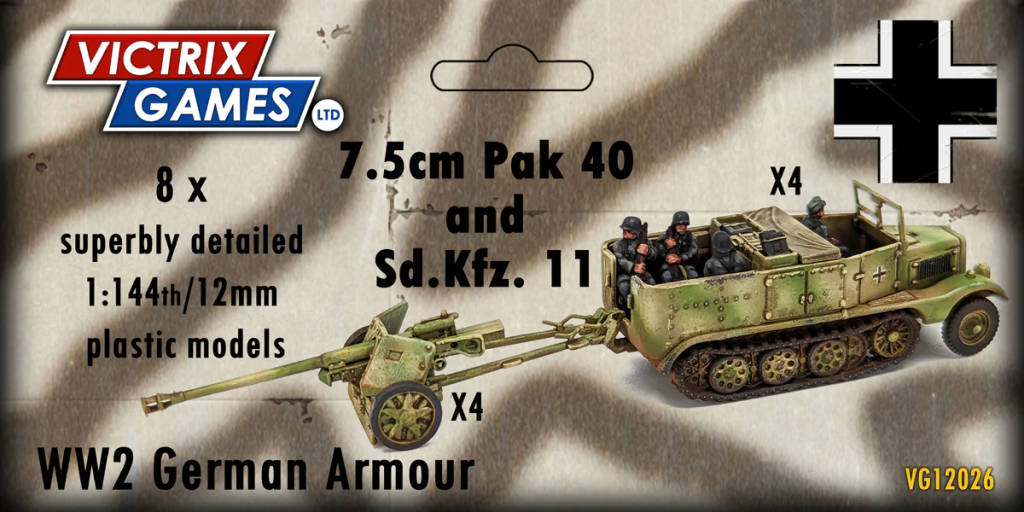
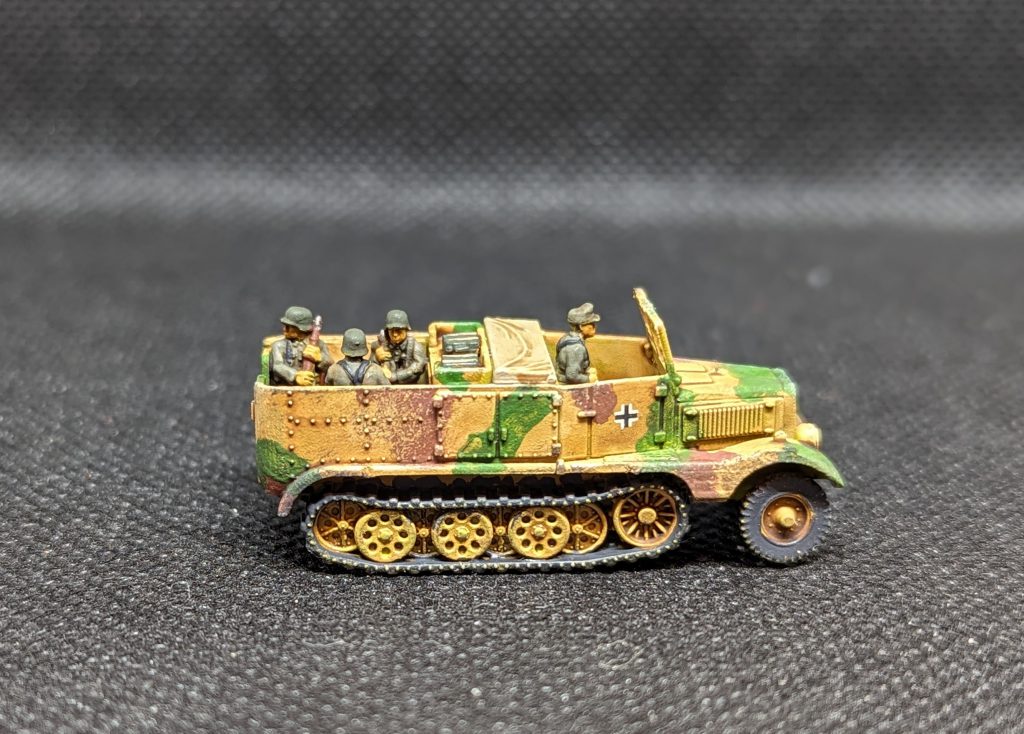
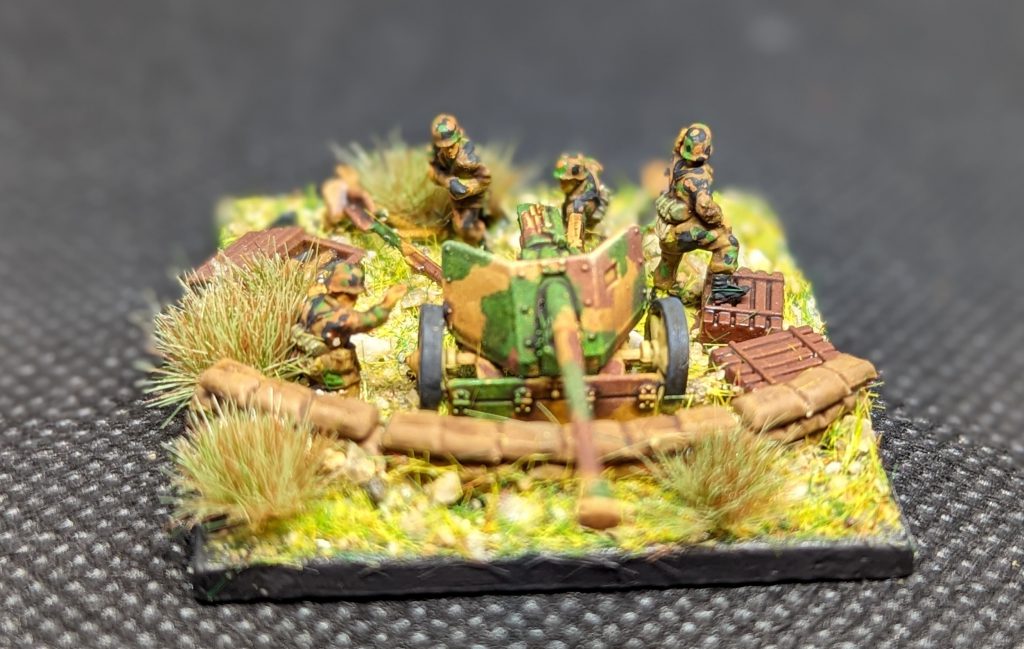
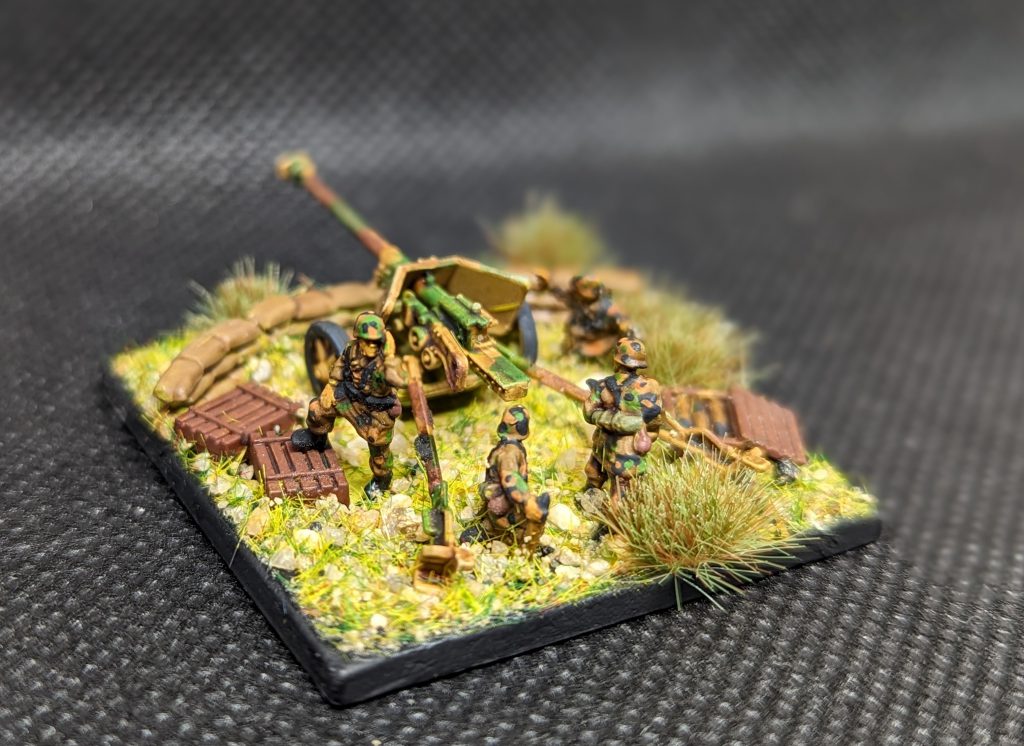
The Pak 40 and limber kit has many more options. Each kit gives you enough pieces to build four Pak 40 teams, and four Sd.Kfz. 11 tow limbers. The Pak 40 can be built either deployed or in the process of being towed, which is a neat option.
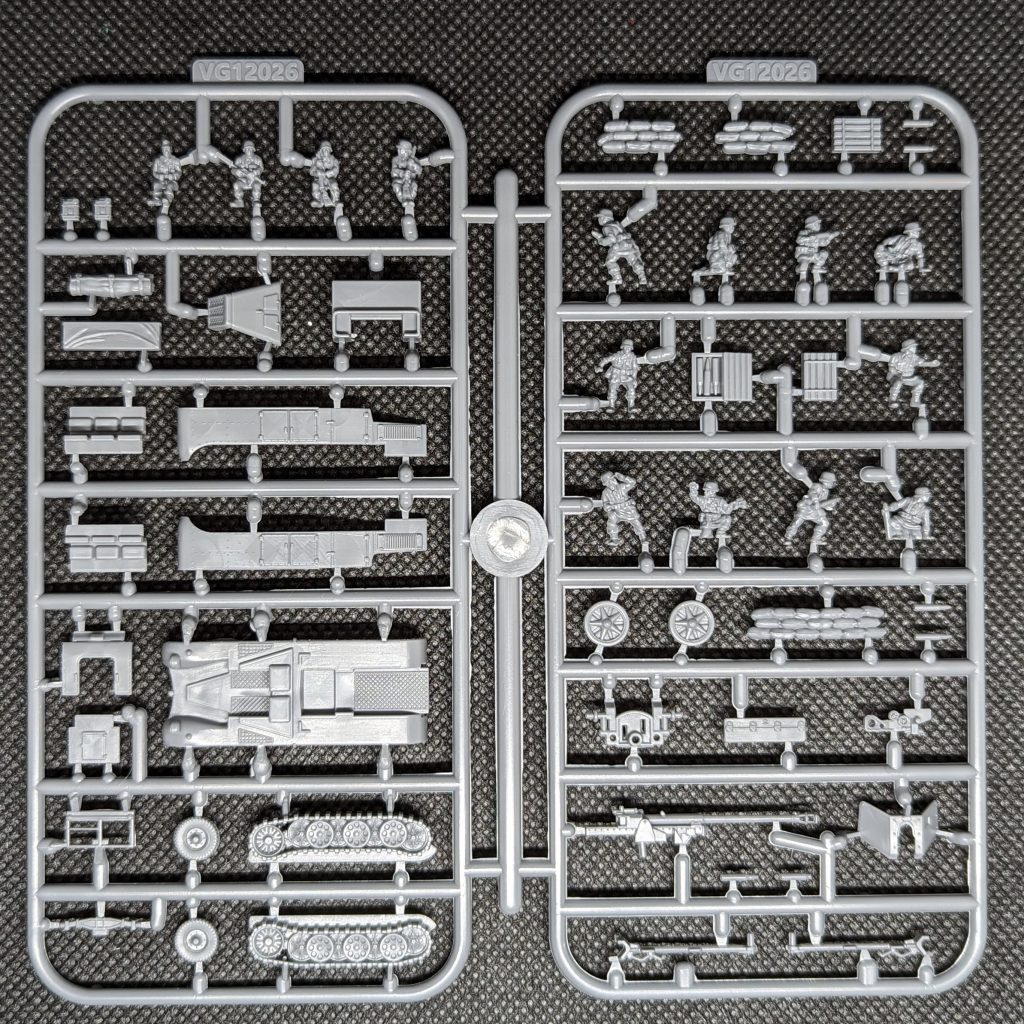
The crew options for the Pak 40 are pretty great. Each gun can be crewed with either models in standard Heer uniforms, or SS smocks. Furthermore, each limber comes with a driver and up to five passengers. The result is you’re likely to have plenty of extra models left over after assembly to be used elsewhere.
One thing I’d like to note is that the StuG kit comes with a sheet of decals, but the Pak 40 kit does not.
Assembly
The StuG assembly was pretty easy – with really only two pieces for the body. From there, it’s mostly just a matter of gluing on the tracks, gun, schurzen, and a couple little details. The most difficult part is probably threading the MG through the gunshield, but that is optional – you can also choose to simply lay the gun shield down flat and assume the crew is stowing the gun inside the tank chassis.
The Sd.Kfz. 11 is a little more work to put together, with about 16 total pieces needed to finish assembling the vehicle. Everything fits together nicely, so it’s not too difficult to put together, but for those that struggle with small pieces it could be frustrating.
My biggest issue with these kits is how fragile they are. During the course of assembling and painting these models I broke a StuG gun barrel, the front axle and windshield of the Sd.kfz. 11, and one leg of the Pak 40 gun. Some of these broke while trying to snip them from the sprue, others during assembly, and of course if you’re clumsy and drop your models like I do, they can easily break from even a relatively minor fall.

When assembling these, do anything possible to avoid dropping any pieces, because trying to find a component half the size of a grain of rice in your carpet is not fun.
Painting
Note: all paint colors mentioned here are Vallejo brand.
For painting the vehicles I essentially followed this Sonic Sledgehammer painting guide for a 1:56 Tiger Tank. I chose this painting guide because:
- Sonic Sledgehammer is a great channel
- He paints this model without an airbrush
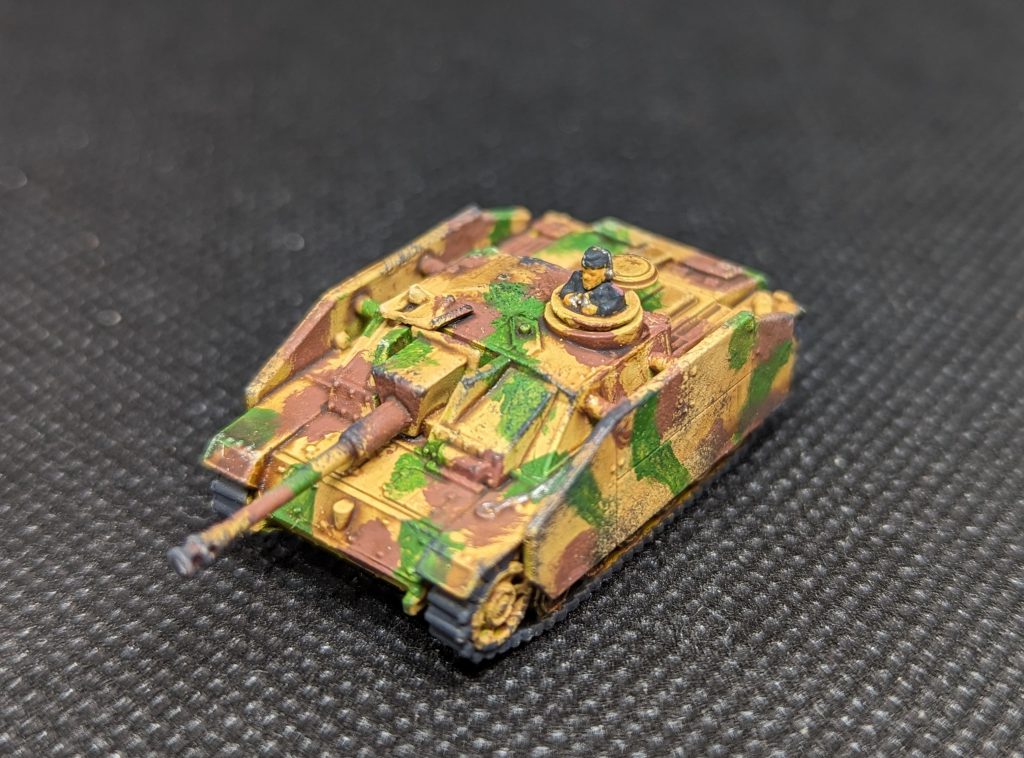
Since my airbrush is on the fritz, this was a good method for me. I primed the vehicles in Desert Yellow, then stippled Saddle Brown and Olive Green stripes/blotches across the vehicle. Then, I washed each vehicle in Aly’s Brown Liquid, followed by a light drybrushing of Buff.
Finally, I went in and painted in any other details, the crew, and added decals.
Since the Pak 40 comes with crew in both regular uniform and smocks, I decided to challenge myself and see if I could pull off SS pea dot camo on 12mm figures. I used a base of English Uniform, followed by blotches of Black, Light Brown, and German Camo Bright Green. Then you just go back and add little dots of color on their opposite splotches to make the camo pattern. Not really all that hard!
Final Thoughts
Let’s consider what you get for your money, starting with the StuGs. For $28 USD you get six vehicles, which comes out to $4.66 per tank. Meanwhile, a pack of five Flames of War StuG would run you $50 – or $10 per tank! Of course, you can always 3D print your vehicles, which cost relatively little. WW2 vehicle files are relatively cheap and easy to find, but that presumes you own a resin 3D printer and are willing to go through the hassle of printing them up.
For Company Commander, you generally don’t need a ton of tanks, so one pack of six StuG would be more than enough. I’d probably build half as regular StuG III, and the other half as StuH42 to give myself some options.
Meanwhile, the Pak40 kit runs $33 for four guns and four tows, or about $4.13 per gun/tow. For the Pak 40 this is comparable to FoW, while is a better deal for the Sd.kfz.11, which seem to be hard to find. Furthermore, the extra crew models and options, plus the ability to assemble them as limbered up give it more versatility. This would also be a tough kit to find and print with a 3D printer.
I’m a big fan of Victrix’s 12mm offerings. I previously reviewed their German Infantry kit, and their upcoming Company Commander augmented reality game and liked both of them. I would also recommend these kits. They’re definitely a little tougher to work with, because they require assembly, unlike the infantry kits, but they look really nice when finished and are a pretty decent value for your money!
Questions, comments, suggestions? contact@goonhammer.com or leave a comment below

You must be logged in to post a comment.