This article is part of a larger series on how to paint Necrons. To return to that series, click here.

The newest(?) dynasty are the Szarekhan, followers of the Silent King. Now that he’s back from his 60-million-year midlife crisis joyride around the galaxy’s outer rim, they’re back with a vengeance. They’re unlike the other Necron factions in that they’re primarily a gold or burnished bronze color.
Paints Used:
- Scale 75 Victorian Brass (sub Citadel Screaming Bell)
- Scale 75 Pure Copper (sub Citadel Brass Scorpion or Runelord Brass)
- Vallejo Game Color Silver
- Vallejo Game Color Polished Gold
- Citadel Leadbelcher
- Vallejo Game Color Dark Green
- Vallejo Game Color Goblin Green
- Monument Yellow Green
- Vallejo Model Color Basalt Grey
- Vallejo Model Color German Grey
- Vallejo Game Color Stonewall Grey
- Monument Dark Grey Blue
- Citadel Reikland Fleshshade
- Citadel Nuln Oil
- Citadel Lahmian Medium Umber Ink Wash (this is a custom mix of Umber Ink 1:1 with matte medium + about 4 drops of flow improver to mimic contrast paint- Sub Contrast Wyldwood)
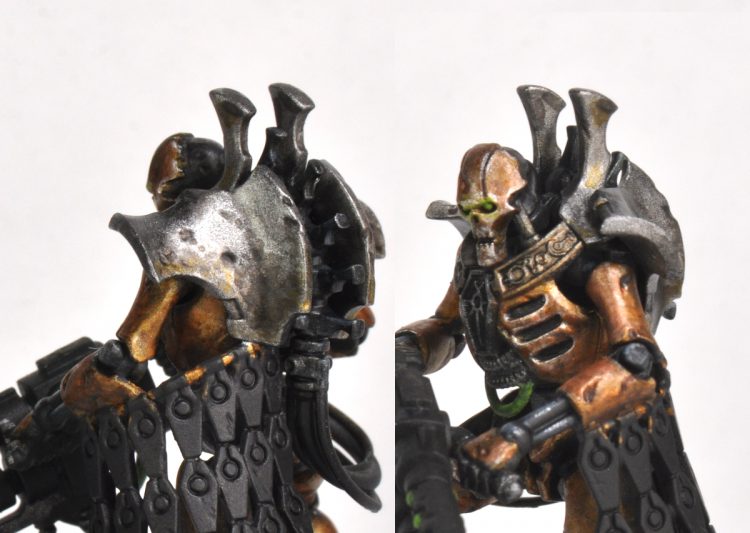
The Copper Armor
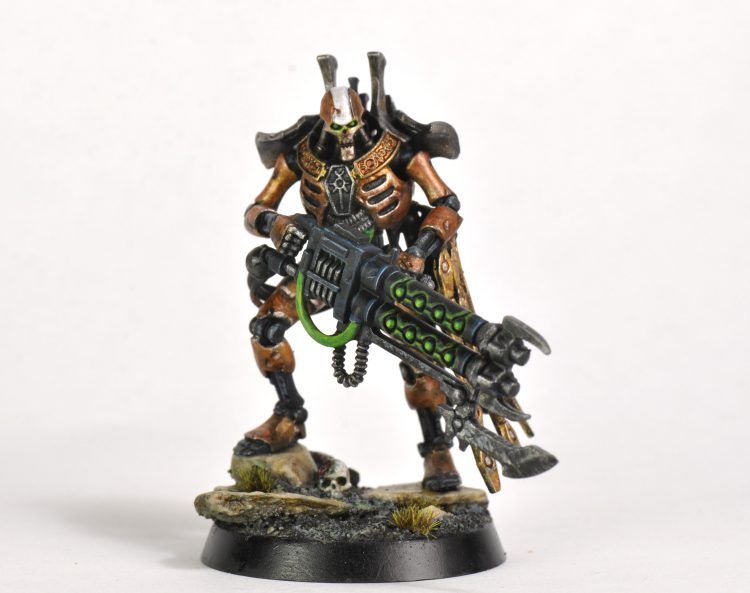
Basecoat with Victorian Brass (optional- just pure copper could be used to save time for battle ready), then cover everything but the recesses with Pure Copper. Mix Pure Copper and Silver about 1:1 and apply to to the areas where most light would catch, under eyes, along cheekbones, upward facing parts of arms, feet, and legs.
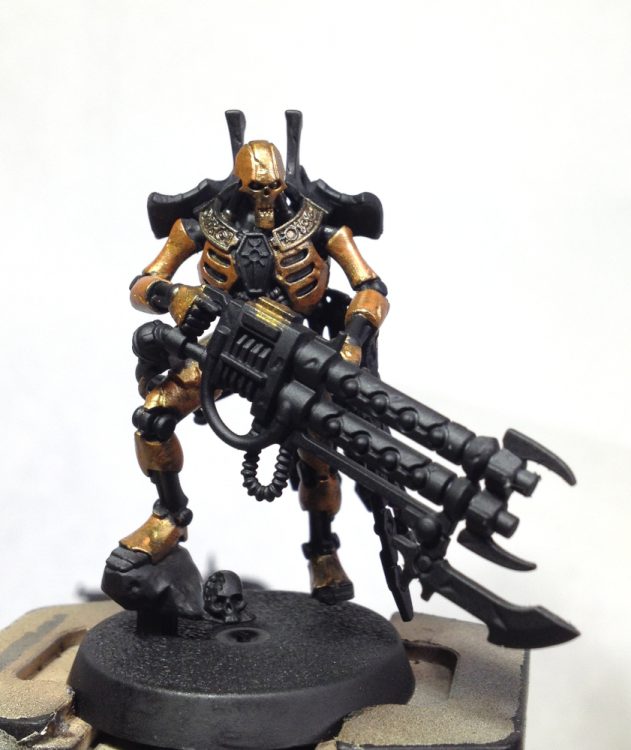
Stipple Reikland Fleshshade on the bottom half of armor panels, and downward facing parts of arms, and along bottom of rib cage. (The stippling can be more of splotching and even slashes.) Hit The stippling can be more of splotching and even slashes the recesses with Reikland, then do an all over smooth wash when it dries, this is more as a filter than shade. Next stipple the Umber ink wash along the bottom edges of everything previously stippled. Try not to just cover up the Reikland stipple, leave it showing so that there is a transition between the heavier pigmented ink and the cleaner armor.
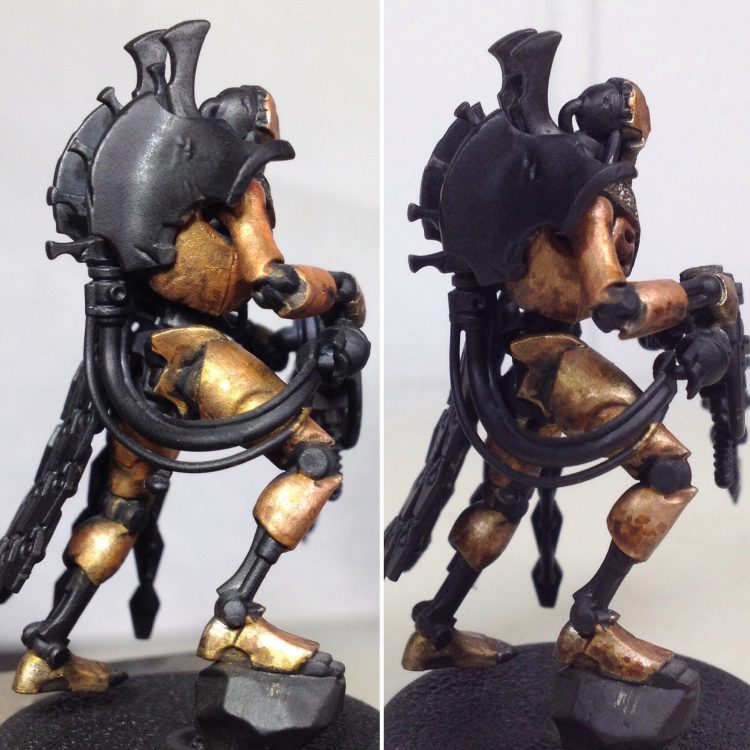
Edge highlight the armor with Silver mixed with just enough Pure Copper to give it a hint of color. Brush everything with Lahmian to give it a uniform sheen.
Bones and Joints
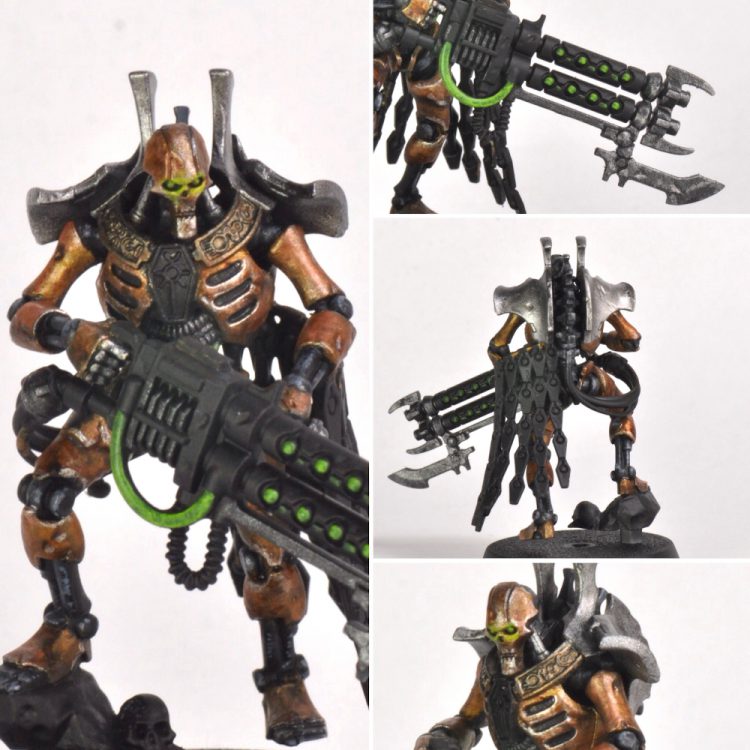
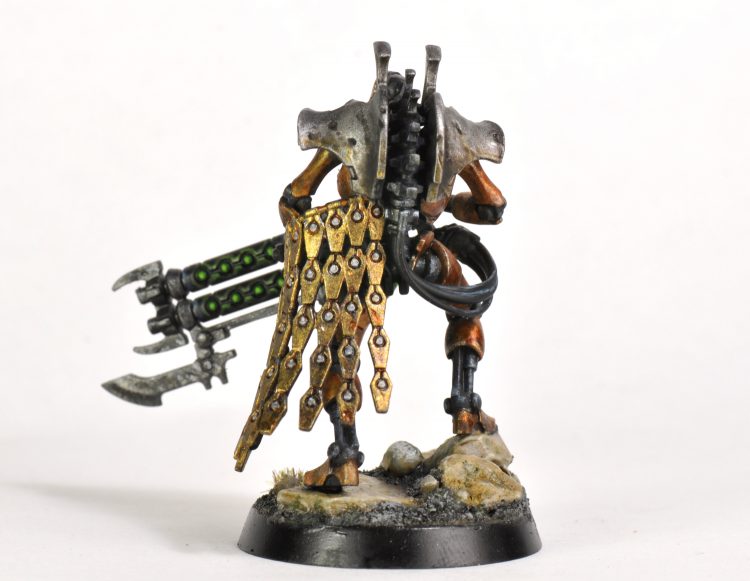
Start with German Grey over everything but the recesses. Mix Basalt Grey and German Grey 1:1 for a thick edge highlight and along the centers of bones. Mix Stonewall Grey and Basalt Grey about 1:1 along with enough Dark Grey Blue to give it a slight bluish tint. Give a light drybrush of Leadbelcher, just enough to give it a slight metallic edge. Silver Armor: Basecoat with Leadbelcher. Stipple/Splotch armor with Nuln Oil along the bottom half of the large plates, and along sides of pillars, then wash in the recesses.
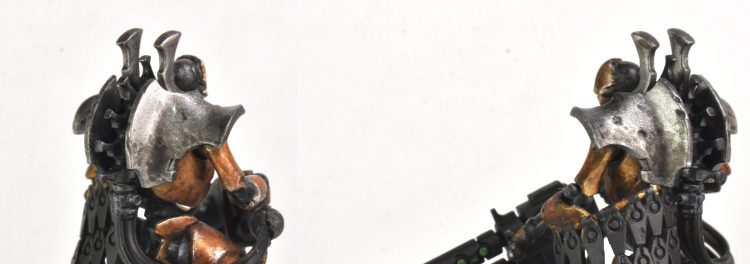
Thin the Umber ink about 1:1 with water (If you use Wyldwood contrast, water will work fine for thinning, contrast medium is not necessary for this technique) and splotch it around somewhat randomly to give the armor a stained/dirty look. Brush armor with Lahmian to give a uniform sheen.
Gauss
Paint the glowing parts with Yellow Green. Then paint Dark Green over all the glowing bits and a thick line on the edges of the Gauss tube. Do a thinner Highlight of Goblin Green on the edges and over the glowing bits. Next a final thin highlight of Yellow Green over the edges and over the glowing bits.
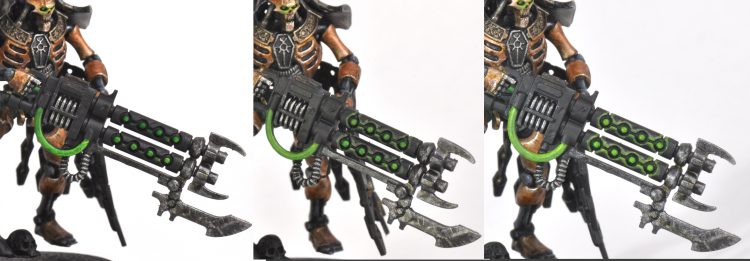
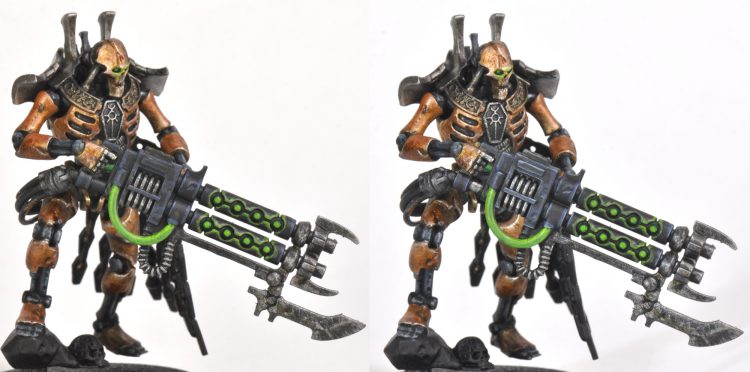
Gauss Blaster
Metal bits were dry brushed with Leadbelcher. Body of blaster has a thick highlight of Dark Grey Blue. A final thin edge highlight of Stonewall Grey with just a bit of Dark Grey Blue.
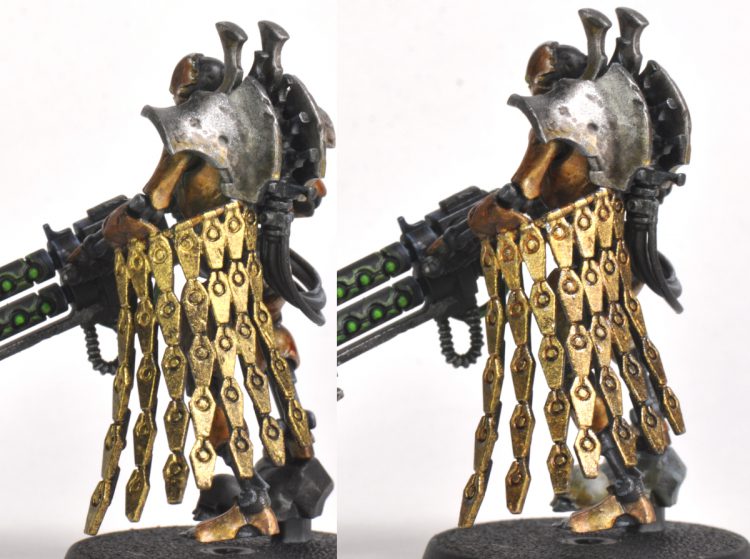
Gold
The cape and hieroglyphics on the chest were given a base coat of Polished Gold. Then an all over wash of Reikland Fleshshade. Next an edge highlight with Silver. For the finished photo I gave the recesses in the cape another careful fill of Reikland for some more definition. Then the circles were painted with a combination of grey and Monument Metal Medium, then a dot of white and Metal medium at the top. The forehead stripe was done with a base coat of Pallid Wych Flesh, then Metal Medium and Wych Flesh mix. A final highlight at the brow and top of head was done with Metal Medium and white mix.
This article is part of a larger series on how to paint Necrons. To return to that series, click here.

