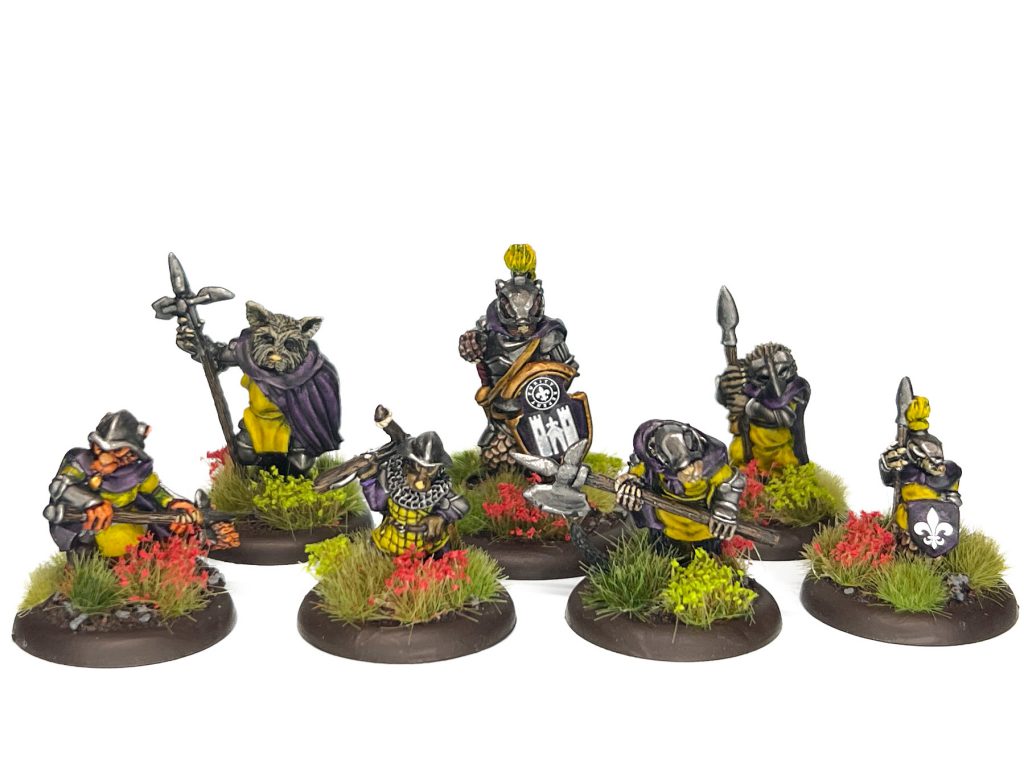
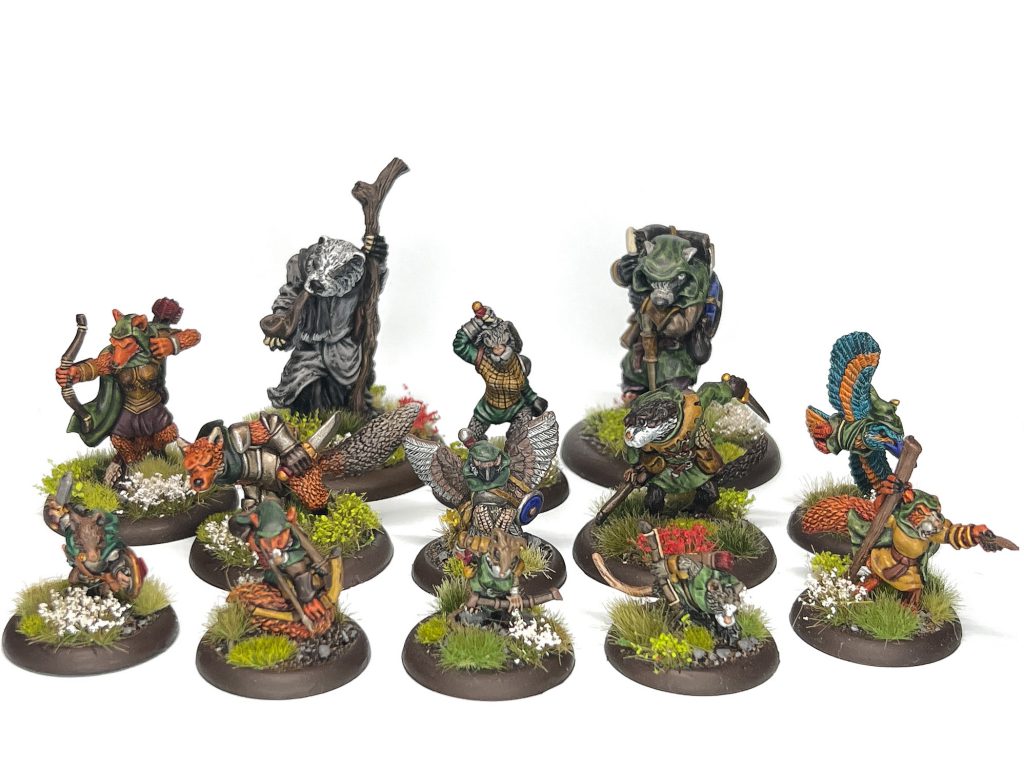
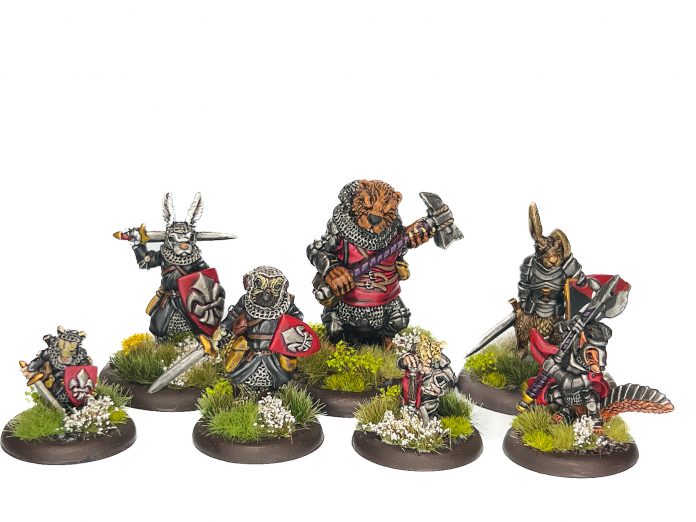
Continuing right along covering this wonderful little game, today Bair is going over how to actually play this game. If you missed it, we interviewed the creator and owner of Oathsworn minis all about his inspiration and process for the minis and game.
From shrews and mice to beavers and badgers, with an incredibly assortment of beasts in between, Burrows and Badgers focuses on small scale skirmishes normally using between 4 to 8 models per side. But how do they actually fight each other?
Core Concepts
The Table
There isn’t a set table size that you’ll be playing on. Anything roughly the size of a 3’x3′ or a 2’x4′ works well for 2-3 player games, if you’re playing a bit larger or like to have more space on a dense table for thematic purposes then up to a 4’x4′ would would pretty well; it might just take a while for some of your fighters to get into the action!
Burrows and Badgers is a skirmish game so like any skirmish game it only benefits more from having more terrain. The more terrain you can have on the table like houses, trees, fences, fields, streams, bridges, wells, or really anything you can think of is going to add more to your games! It’s also a narrative game so setting up a board that tells a story, that makes sense when you look at it, is as important as just cramming all the terrain you have to hand on.
Dice
To start you’ll need a polyhedric dice set or a “Dungeons and Dragons” dice set so that you have a D4, D6, D8, and D12 to hand. You really only need one of each, but I haven’t met a single gamer that’s able to have only one set of dice on hand for any game. Each stat of each beast in your warband will have a value next to it, from D4 up to D12 at max, telling you which dice to roll when it comes time. We’ll get more into stats below, just have a set of polyhedral dice ready and you’ll be good to go!
Stats
Other than wounds each beast has its own statline as mentioned above. Like with any wargame these are shortened to a letter for ease on the table, the stats that every species has is:
- Movement – moving around the table horizontally
- Strike – attacking with melee weapons
- Block – defending against melee weapons
- Ranged – attacking with ranged weapons (big shock, this one)
- Nimbleness – defending against ranged weapons and climbing up/down vertically
- Concealment – used for hiding as well as ambushing unsuspecting beasts
- Awareness – used for a range of checks from looking for hidden beasts and seeing oncoming ambushes
- Fortitude – the beast’s willpower and determination, used for a few checks
- Presence – the beast’s influence on others, used to determine who goes first each turn amongst other checks in game
The movement value as a dice value looks a little confusing at first. That beast will simply move the maximum that it could roll on that dice. For example, a fox moves D8 so it will move 8″ unless moving through difficult terrain you roll the D8 to see how far you may move; difficult terrain will be things you agree before the game such as crop fields or rivers. However, if you’re trying to traverse vertical distance then that’ll use the beast’s Nimbleness stat meaning a fox can only move 6″ vertically with a D6 value.
Let’s look at the simple mouse:
![]()
Mice don’t come with any innate skills and have a very simple profile of nearly all D6’s aside from their Block of D4. They also cost you 24 pennies to take in your warband, but that’s something we’ll touch on in a separate article. Mice are “small” creatures which means they go on 30mm bases but otherwise doesn’t mean too much. A badger on the other hand is a “massive” creature so you can only have so many in your warband at a given time. Let’s take a look at this fearsome creature’s stats:

At little under triple the cost of a mouse, it can be easy to see why. Higher stats almost across the board except for concealment which I hope isn’t a surprise to anyone! Unlike mice, badgers do come with a few skills from the very start: Strong, Tough, and Fearsome. Strong adds a number of damage after roll-offs equal to the number in brackets with both melee and ranged weapons. Tough reduces the amount of damage suffered from any source by the number in brackets. Fearsome has the chance of imposing a negative penalty modifier to enemy fighters attacking with or blocking against melee weapons. In short: badgers are very scary, able to dish out horrendous amounts of damage while soaking up hits with ease.
Wounds
But wait, how many wounds do they have? All beasts, yes all of them, have 16 wounds. Very simple. “But mice shouldn’t be as tough as beavers!” I hear you cry, and you’re right, they’re not! Many larger beasts have an innate skill built-in called Tough that reduces the amount of wounds they suffer. Some smaller ones, like bats, have Delicate that does the opposite. Armour also adds or increases the Tough value on characters but we’ll touch on equipment later on.
Roll-offs
Unlike many wargames there is no rolling to hit, or wound, or for saves after. Instead Burrows and Badgers implements a simple roll-off system where both players involved in the roll pick up their corresponding dice (D4 to D12) and roll them at the same time as each other, taking the difference as the result. If we compare the badger and mouse above, a badger rolls a D8 for its Strike characteristic while the mouse will only roll a D4 to block that attack.
Perfect Rolls
During a roll-off if you roll the highest number possible (a 6 on a D6, or a 10 on a D10) then that’s a critical success and you add +7 to the result after all other modifiers are applied. So that mouse above blocking from a badger attack has 1/4 chance of getting a score of 11, actually, which isn’t too bad when the badger only has a 1/8 chance of getting its own crit. It means that smaller dice will crit more often, but with a lower ceiling, than larger dice.

Actions
Alright but how do you actually do anything?? With alternating activations and actions, that’s how.
Players take it in turns activating one of their characters to do something even if that something is just hiding or running around a bit. Every character has the same list of actions they can perform, the only exception is that magic can only be cast by wizards (well mostly, anyways) as they’ll need to know a spell first! The actions you can perform are:
- Sprint
- Attack
- Shoot
- Hide
- Search
- Cast Spell (if you know spells with that character!)
These are relatively self-explanatory by name. Each character performs just 1 action from the list above when it activates. “But how do they move?” well it’s not only with Sprint! When preforming any of the above actions your character may move first and depending on its action may gain a bonus to the roll if they did move, or if they stayed put!
The Sprint action simply allows a model to move twice its normal speed, so a mouse may move up to 12″ in one go. Attack is just as it sounds – you may attack with a melee weapon; the model must be in base contact, or you must be able to move into base contact to make the attack. If you move more than 2″ though then you also gain a +2 bonus to the following attack roll for charging headlong into glorious(?) combat! On the other hand Shoot allows a model to attack with a ranged weapon its carrying which can range from a simple sling or bow to crossbows or even black powder weapons. Unlike Attacking with a melee weapon if your model does not move then it will gain a positive modifier on its shoot as it takes aim carefully before letting loose, or firing, or whatever it’s doing. Yes, you can shoot into combat, however you have the risk of hitting one of your own models, so be careful with how often you do! Hide lets you, well, hide your character but it does not have to be fully hidden from view to do so! The model may move before hiding and has to be either touching a piece of terrain or entirely out of view of enemy minis to go into hiding. Being in hiding will allow you to perform an ambush later in the turn, or in another turn, but most importantly means that model can’t be targeted or attacked in any way…until it’s found! And Search is the exact action for that! When a beast carries out a Search it rolls its Awareness stat against the hiding creature’s Concealment stat and needs to win the roll-off to succeed. There are a lot of modifiers that go into this and we’ll talk about some of those below. Lastly we have Cast Spell which just allows a wizard or spell-knower to cast some magic. Similarly to shooting, standing still will give you a small bonus to the roll but most of these are not roll-offs, we’ll talk more about magic later on.
Modifiers
Burrows and Badgers is a game of modifying dice rolls and stacking modifiers in your favour. There are a lot of modifiers that will go into just about every single roll you’re making. In the games I’ve played I think I’ve made all of a single attack at one point which didn’t have any modifiers attached to it and it felt…very strange. Various weapons and equipment will add to your Strike or Block roll-offs while skills like Strong or Tough will modify the amount of wounds caused or suffered. Outnumbering your opponent in melee will incur a negative modifier on their block rolls making it easier to hurt them making a horde of mice a very real threat!
One of the most interesting modifiers is nice and simple: for every 4 wounds a character as suffered it subtracts 1 from all of its rolls. Everything. They’re hurt, so they’re not performing to the best they can! A character that has suffered 10 wounds will suffer a -2 to all of its rolls, making it even easier to bring down and more difficult to deal damage or cast spells with.
The rulebook has a few very nice and easy to follow tables on all of these modifiers but it’s also incredible helpful to note on your character’s sheets what skills they have and what those will do to their rolls in game.

Magic
Spells, like with any game, start to get a little funny. As Michael said in our interview magic is one of those things which inherently will break the game in some way…so how is that balanced, how is that used? Well to start, taking magic weakens your character. For each spell they know it’ll cost them some coin and also inflict one point of Delicate and Weak as well (which means they’ll both suffer more damage from attacks, and inflict less damage from mundane attacks). They’ve simply spent too much time studying!
Depending on the school your wizard has learned from, and the spell they’re casting, they’ll use the caster’s Fortitude or Presence stat to roll. Some spells will be a roll between the caster and a set value for the spell to cast off of or a roll-off between the caster and its target. In the former there is no bonus +7 for a perfect roll, however there is in the latter case as it’s a roll-off like any other. Spells can also be further enhanced if your character has the correct ingredients to hand giving a more powerful effect; ingredients are purchased like any other equipment at the start of your warband or throughout your campaign.
The various spell lores you can take from are:
- Light Magic – holy and noble type of magic, big on healing and buffing friendly characters
- Dark Magic – forbidden magic that weakens and damages enemy fighters.
- Wild Magic – ancient and natural this school strengthens friendly models and weakens/attacks enemies.
- Unbound Magic – formed purely from…studying, a variety of effects named after the wizard that discovered it!
- Noble Magic – “pure” magic that will never do any form of direct damage but can teleport models amongst other useful effects.
There’s too many spells to sit here and list so you’re going to have to go and look for yourself! Not using magic isn’t going to hinder you either, so don’t feel like it’s something that you absolutely need to lean into, however it can be very strong.
Scenarios
Like any game you need to have something to accomplish. It’s all well and good pushing your models around and attacking each other, but wiping out the enemy warband isn’t (always) the point! There’s 9 different scenarios and 19 different secondary objectives for your warbands to fight over in each game.
Those scenarios range from a simple open battle to ambushes and surprise attacks to recovering loot or even having an NPC witch on the field that needs to be stopped! Secondary missions you get a few choices from before the game and can tailor it a little to your warband, something that will get your warband further experience, or money, or supplies of some kind for your campaign.
Time to build your warband!
Now that we know how to play the game it’s time to get your 350 pennies ready to buy your first warband and all their equipment. We’ll be reviewing how that all works in the next instalment so keep an eye out!
In the meantime, if you have any questions or feedback, drop us a note in the comments below or email us at contact@goonhammer.com.


