In our How to Paint Everything series we look at how to paint well, everything, talking about different assembly methods, techniques, and colors used. In today’s How to Paint Everything, we’re covering a Warhammer 40,000 and Age of Sigmar double threat: Be’lakor, the first Daemon Prince, as painted by Daniel “Skails” Rodenberg.
My aim with this project was to mimic the box art but not try to go full Heavy Metal on the thing. Be’lakor himself ended up taking about fourteen hours to complete, and the base another nine. This is a great model, full of interesting details. The chainmail and skulls on the tabard are cool as hell, and the whole thing is hanging on rings through his flesh. I could see spending another twenty hours polishing it up into a really nice display or competition piece.
Paints Used
My paint collection has a variety of brands. Each have their own attributes and I recommend using whatever gives you results you like. Anything here is could be swapped for any paint that looks close to the color.
Vallejo
Model Color German Grey
Model Color Basalt Grey
Game Color Stonewall Grey
Game Color Leather Brown
Game Color Silver
Game Color Bloody Red
Citadel
Leadbelcher
Retributor Armor
Auric Gold
Screamer Pink
Pink Horror
Pallid Wych Flesh
Nuln Oil
Druchii Violet
Zandri Dust
Ushabti Bone
Screaming Skull
Wild Rider Red
Incubi Darkness
Pro Acryl
Coal Black
Dark Blue Grey
Turquoise
Scale 75
Hyek Yellow
Initial Prep
The first thing after assembly was to reduce the largest seams, especially on the chest. A dot of superglue was put down on a surface then a paperclip was used to transfer the glue to the seam. Liquid superglue will tend to seep into the seam and mostly fill it in. I did this anywhere I could easily see the gaps where two pieces came together. Some gaps may need a couple layers and could benefit from being sanded when the glue dries. The paint will also fill in the gaps a bit more.
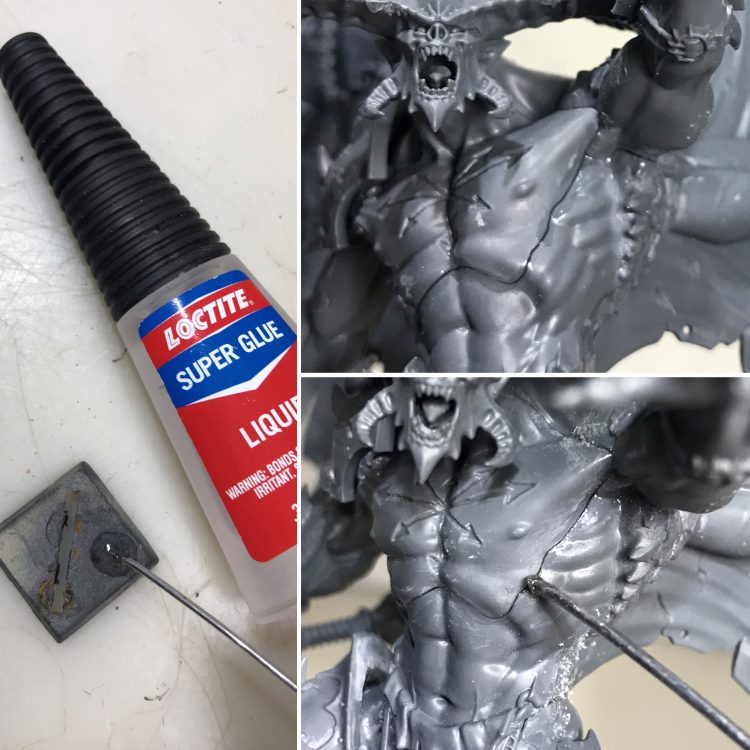
Be’lakor himself was pinned on a 40mm round base using a paperclip and superglue.
The whole model was primed with Stynylrez Ebon Flesh, a medium brown color.
Initial painting:
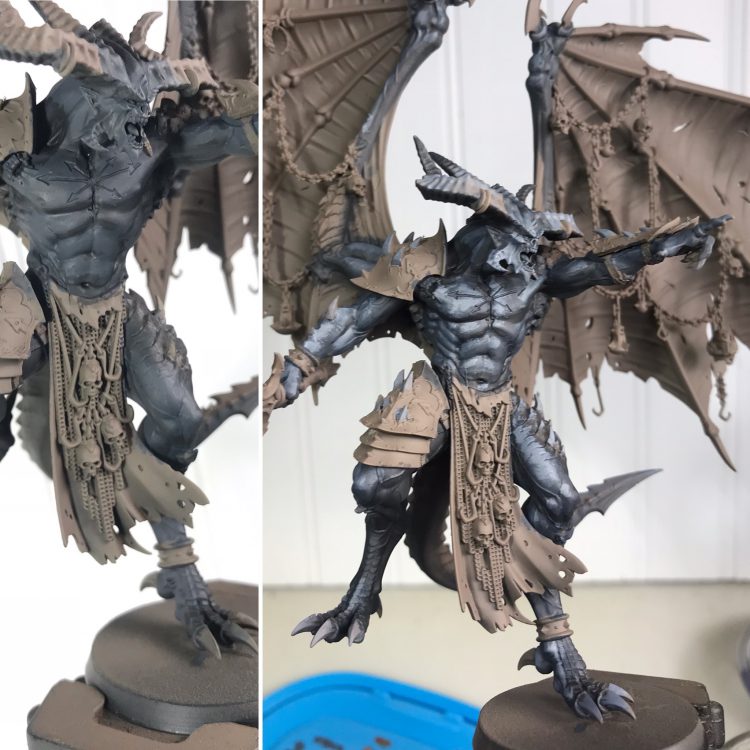
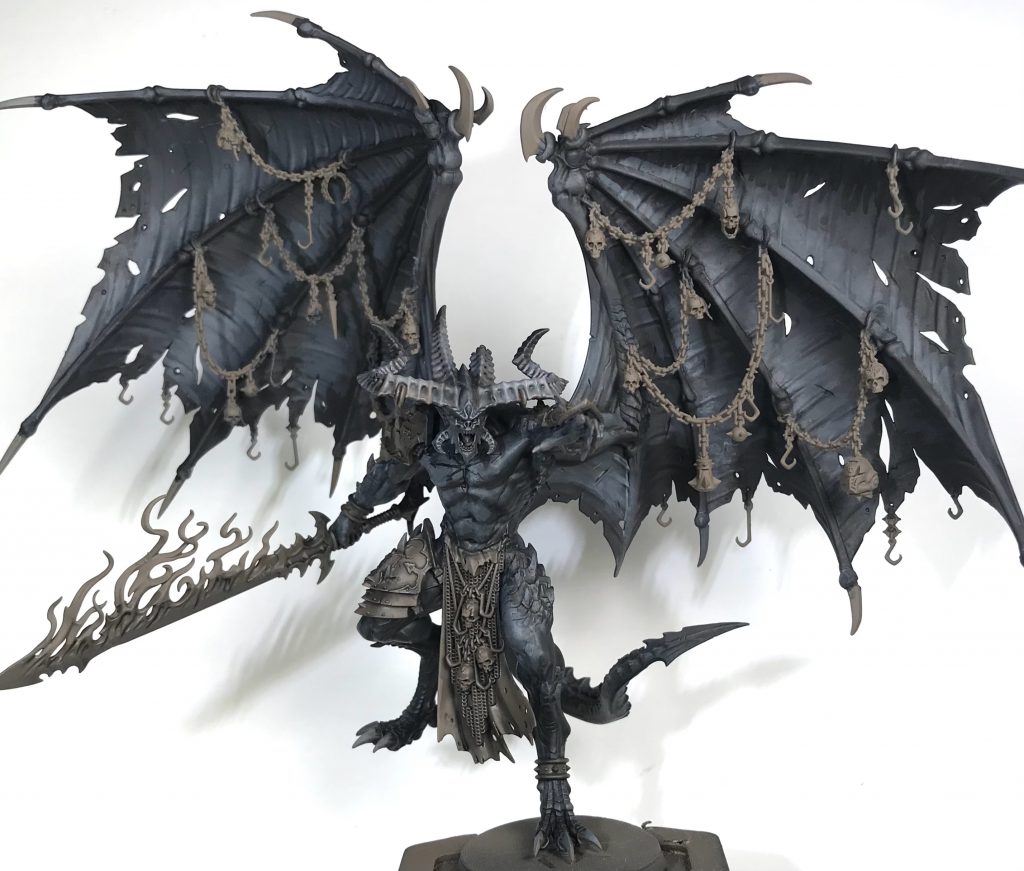
This was kind of an underpainting to figure out how I wanted to approach the paint job and figure out where I wanted to place light and shadow. This whole bit isn’t strictly necessary to do and was done quickly without trying to be too neat. You could just as easily start on in on the next section if you use a black primer. All the skin and wings received a base coat of Vallejo Model Color German Grey. Pro Acryl Coal Black was painted into the recesses and downward facing angles. Vallejo Model Color Basalt Grey was used where any highlights would go. Finally, Citadel Nuln Oil was used liberally across the whole model.
Skin
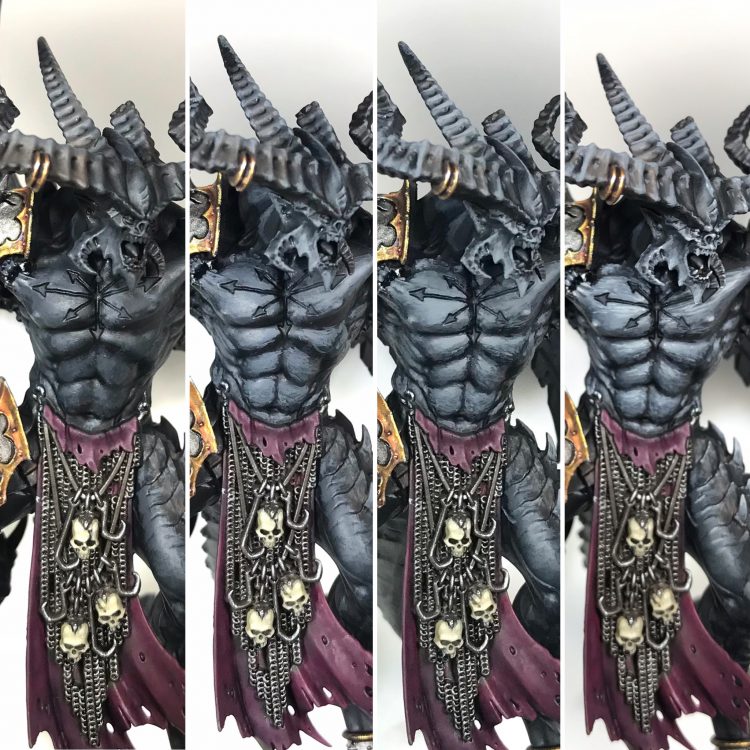
Initial painting. (left)
Basalt Grey over most of the surface except for the recesses.(center left)
1:1 mix of Basalt Grey and Vallejo Game Color Stonewall Grey. This was put mostly in the top half of areas and more upward facing angles. (center right)
Stonewall Grey put on upper portions of areas, edges and most upward facing parts. (right)
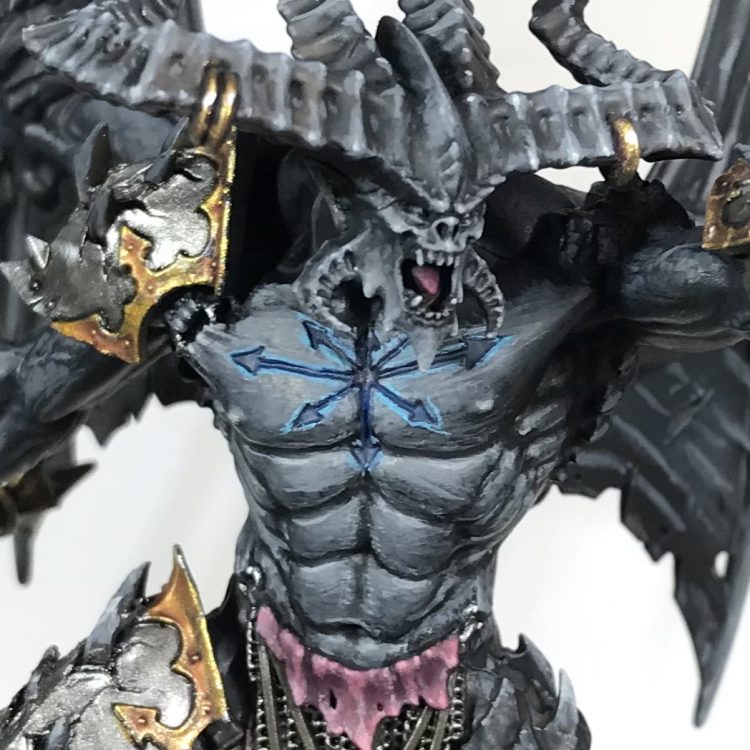
For the final touches I used Citadel Pallid Wych Flesh as a spot highlight on face and horns.
Thin layers of Basalt Grey were used to blend the shadows and highlights, smoothing the transitions.
The upper edge highlight was refined a bit more with Stonewall Grey.
The bottom edges of the muscles were thinly lined with Stonewall Grey for a bounce reflection/ environmental light.
Any of these last four steps can be used to refine and adjust the highlights and mid-tones. Shadows can be built back up or adjusted with Coal Black and German Grey.
Chaos scar and eyes were painted with Pro Acryl Dark Blue Grey. Edges done with Pro Acryl Turquoise.
Horns
These were done with the same steps as the skin. The idea was to have black at the ends of the horns and top of head, and be lighter toward their middle. Any raised areas got more lighter colors while the recesses were mostly left alone. The pits in the middle of each horn segment got a little spot of basalt grey.
Armor
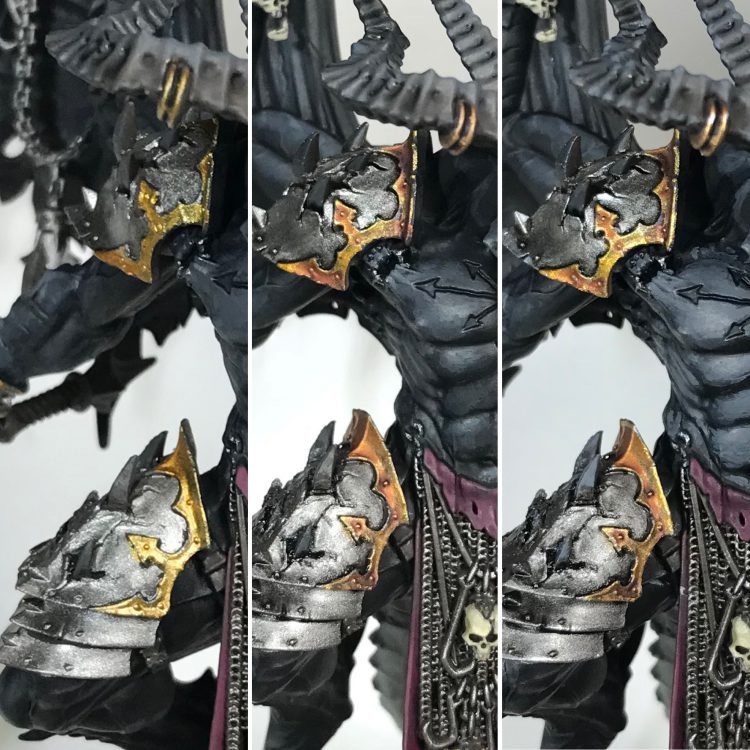
The steel was done with a base coat of Citadel Leadbelcher, an all-over layer of Nuln Oil, then a final edge highlight of Vallejo Game Color Silver.
The gold was done with a base coat of Citadel Retributor Armor, an all over wash of Citadel Druchii Violet, chunky highlight with Citadel Auric Gold, and a final highlight of Vallejo Silver.
Sword
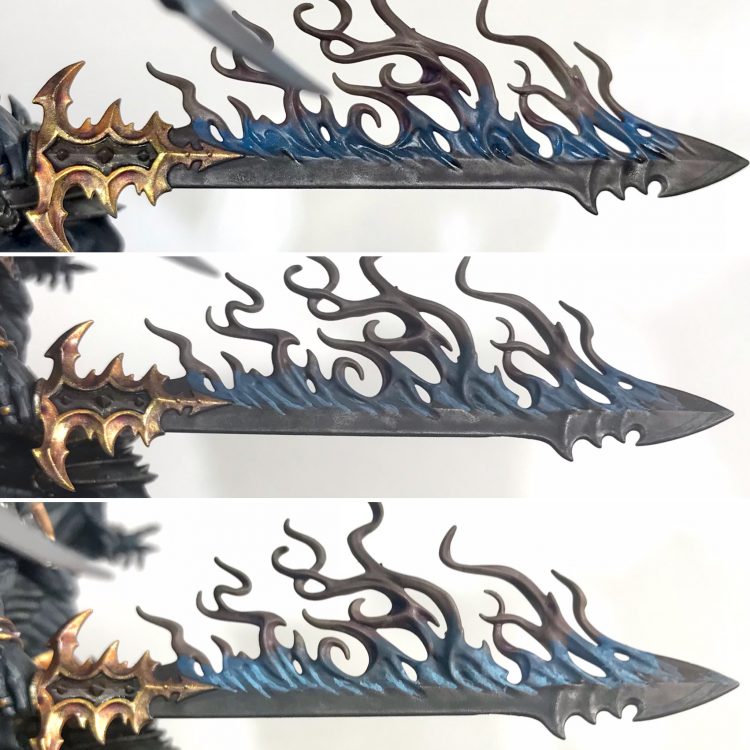
- All over wash of Druchii Violet.
Coal Black on bottom half of sword.
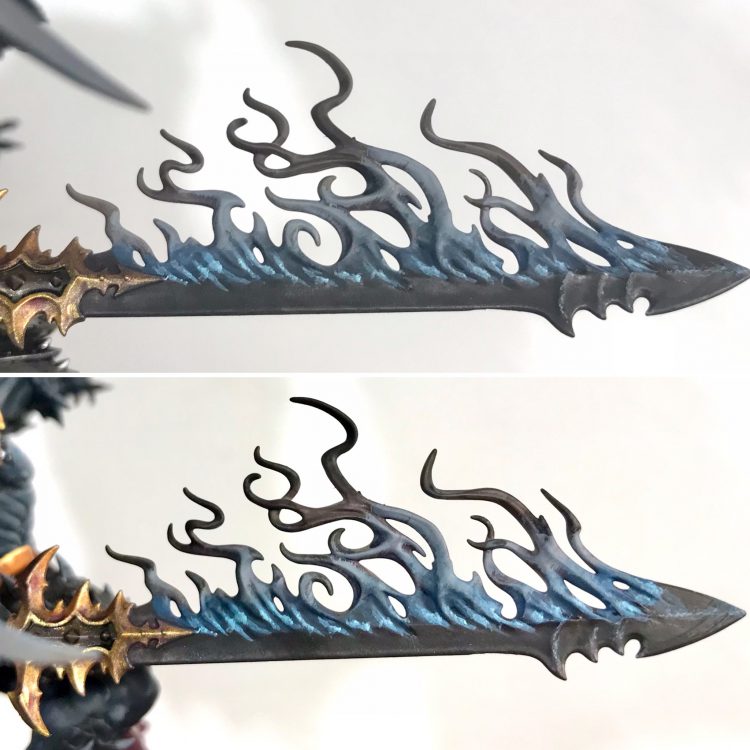
The bottom of the flames were painted with Pro Acryl Dark Blue Grey. (top) - A mix of Dark Blue Grey and Pro Acryl Turquoise was painted into the recesses.
- Straight Turquoise in the deepest part of recesses.
- Basalt Grey, Stonewall Grey mix brushed over flame to smoke transition.
- Coal Black on the top ends of smoke.
A mix of Dark Blue Grey and Turquoise was used to highlight the edges and raised areas on the end of the sword.
Tabard
- Base coat of Citadel Screamer Pink. (left)
- All over wash of Druchii Violet. (center)
- Screamer Pink layered on upward facing surfaces. (right)
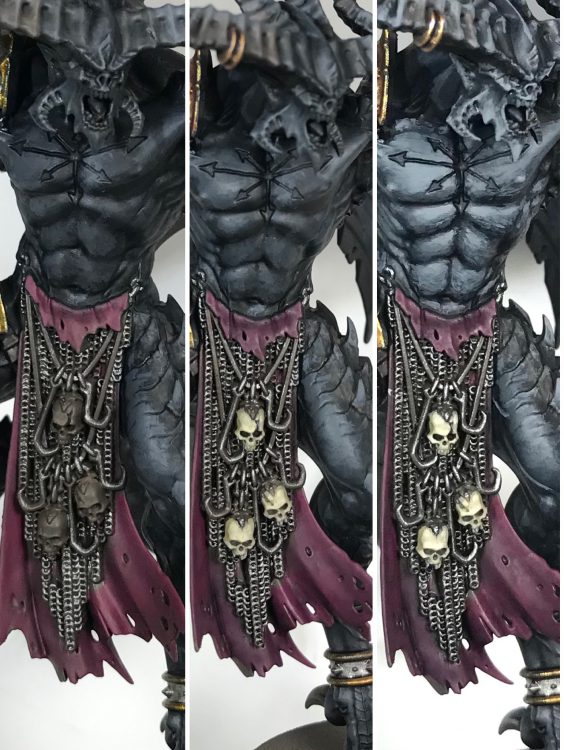
4.Screamer Pink mixed 1:1 with Citadel Pink Horror layered toward edges. (left)
5. Edge highlight of Pink Horror.
6. Small spot highlights and extreme edges with Citadel Pallid Wych Flesh mixed with a small amount of Pink Horror.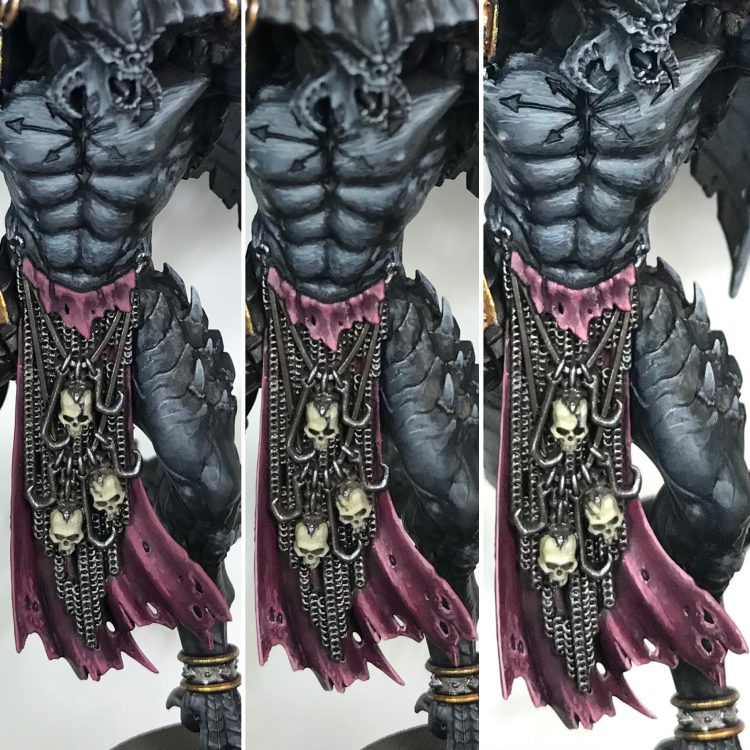
Spines
Most of surface painted with Basalt Grey. 1:1 mix of Basalt and Stonewall Grey on upper half. Top edge Stonewall Grey.
Skulls
Base coat of Zandri Dust, layer of Ushabti Bone over most, leaving Zandri in recesses. Smaller layer of Screaming Skull on upward facing surfaces. Spot highlight of Scale 75 Hyek Yellow (yellowish off white). For my step by step on bone and some other great methods check out our How to Paint Everything: Skeletons (and Bone) article.
Base
The first step on the base was a thick wash of Nuln Oil over the brown primer. Over that went a dry brush/over brush (more paint than a typical dry brush layer but applied in a similar way, broadly hitting the edges) of Basalt Grey mixed with Vallejo Game Color Leather Brown and a bit of Hyek Yellow. German Grey was painted into the shadows and downward facing angles on the rock face. The ground was also painted with German Grey. Next was a drench of Nuln Oil. Dry brushing and over brushing of the lighter end of this color range were continued till it got to a place I liked. A bit of Stonewall Grey was also added into the highlight areas. From here Druchii Violet and Citadel Incubi Darkness were kind of randomly blotched into different shadow areas. These little splashes of color add some depth to the rock. The blood streams were painted with Vallejo Game Color Bloody Red and highlighted with Citadel Wild Rider Red.
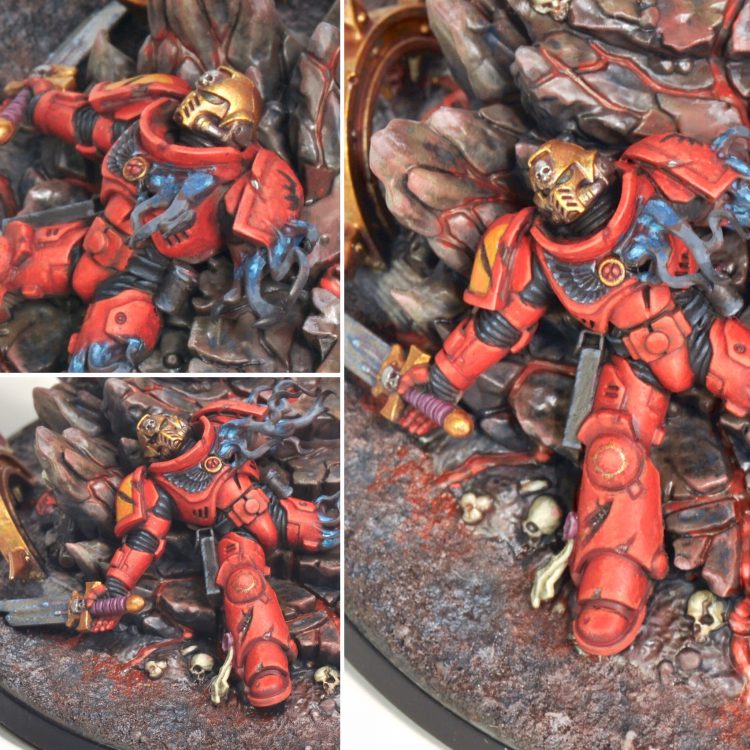
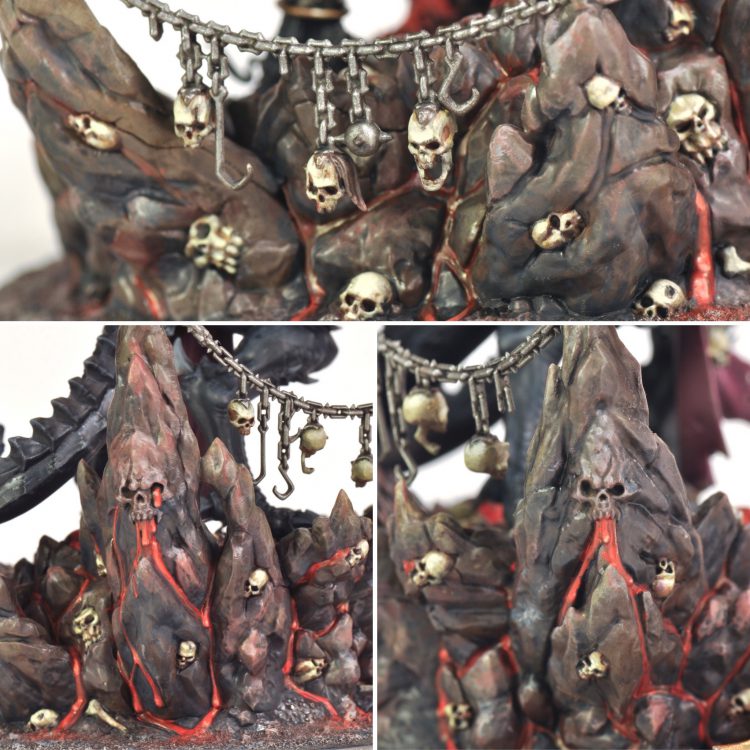
Finished Piece
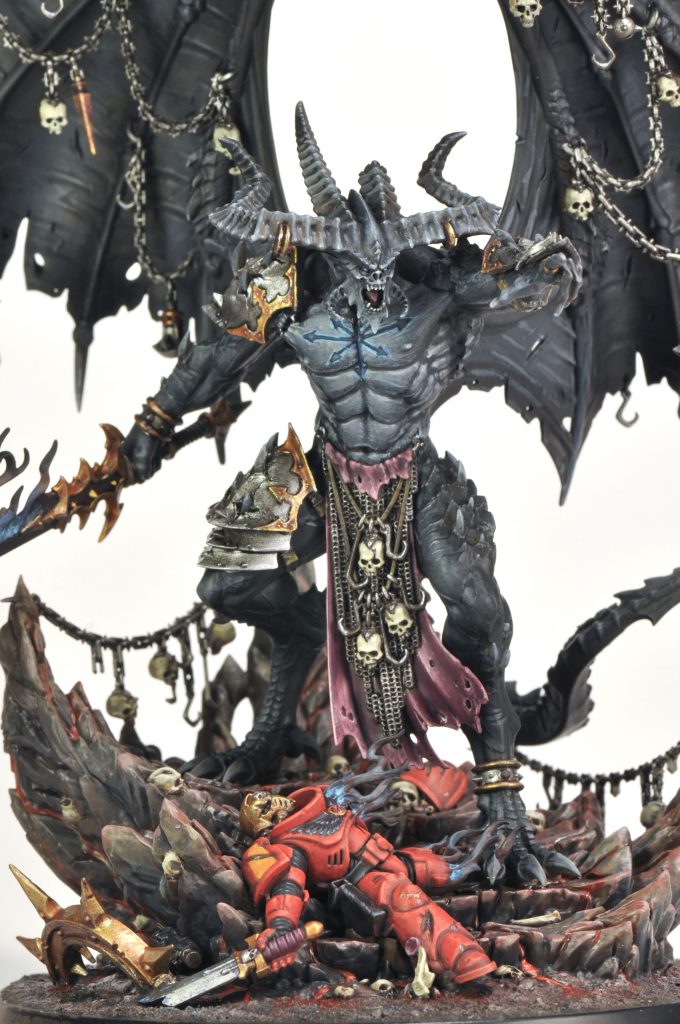
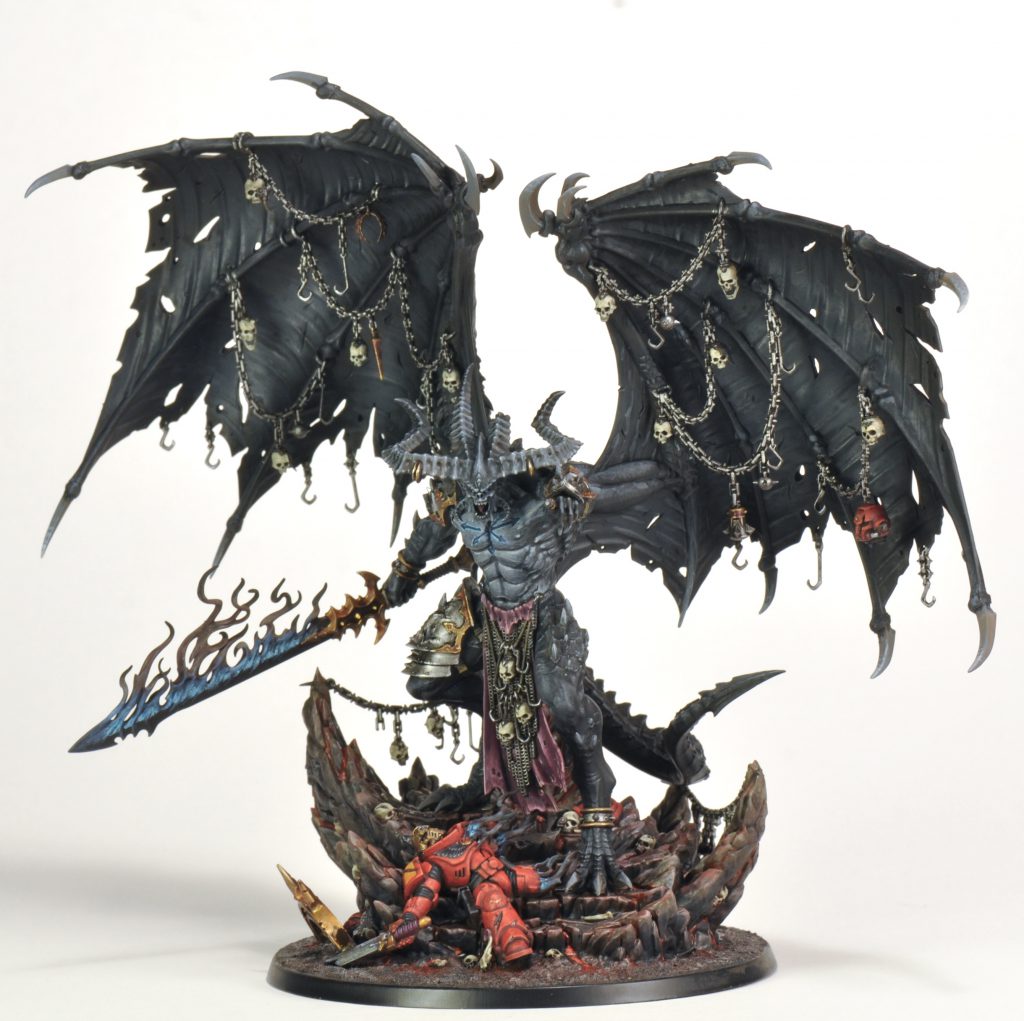
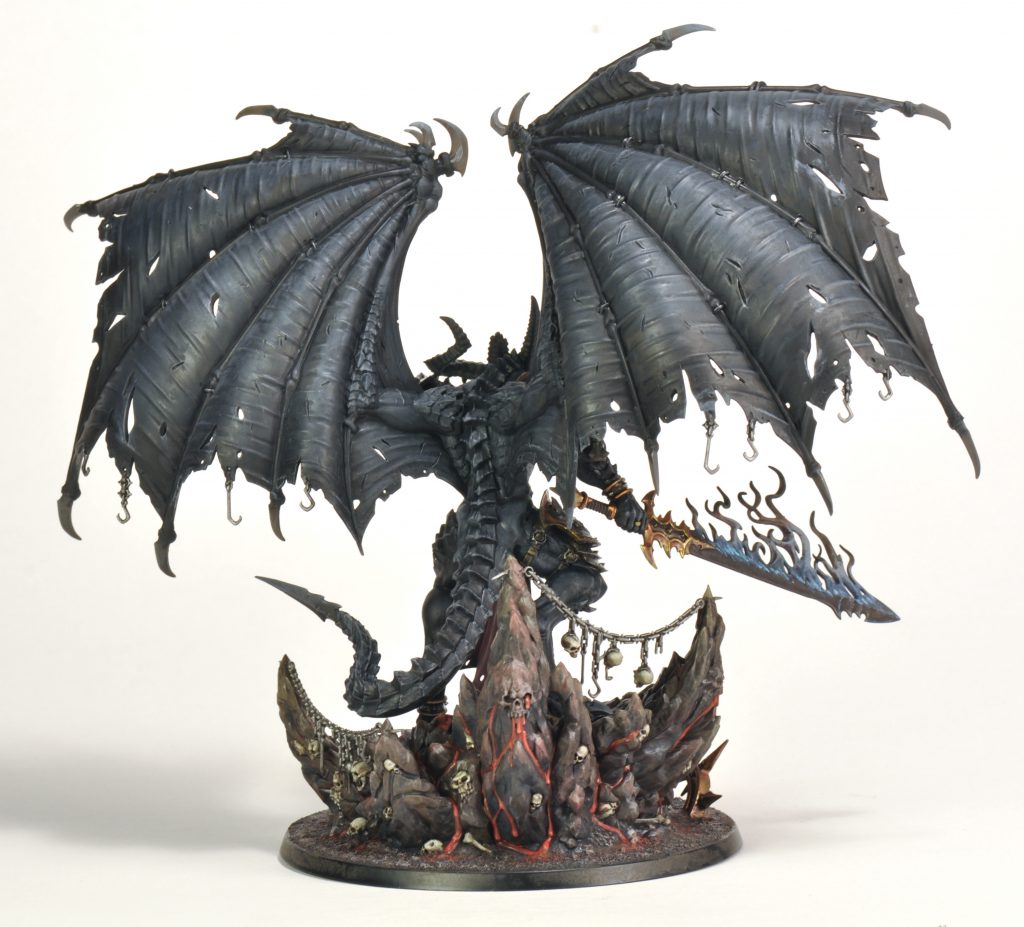
Have any questions or feedback? Drop us a note in the comments below or email us at contact@goonhammer.com.


You must be logged in to post a comment.