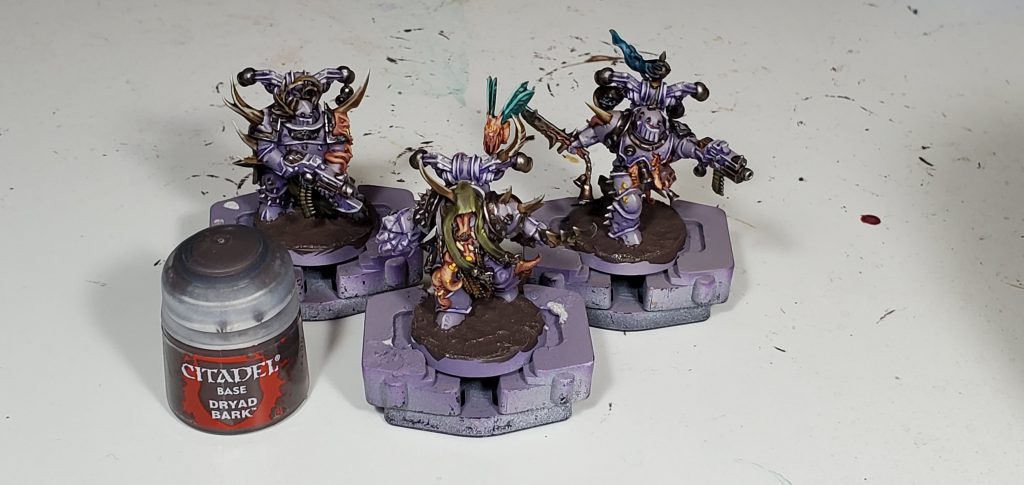
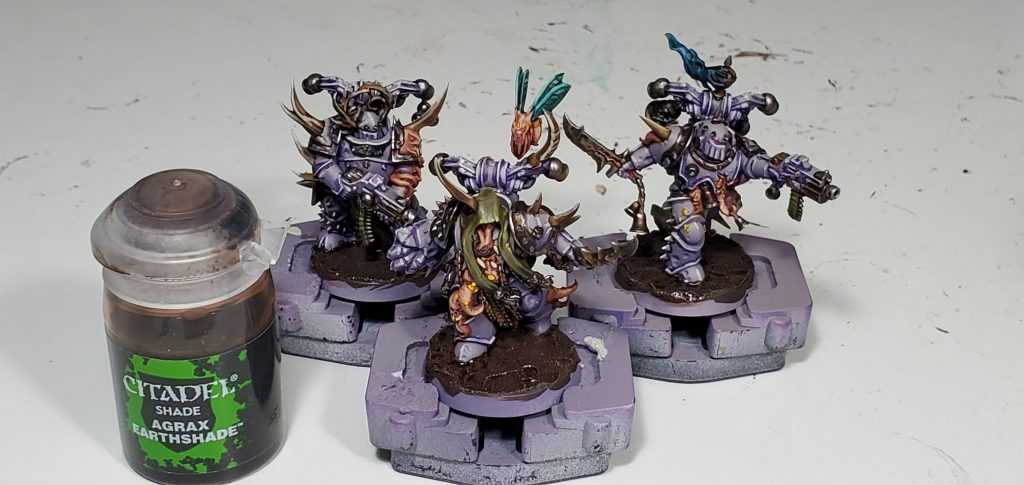
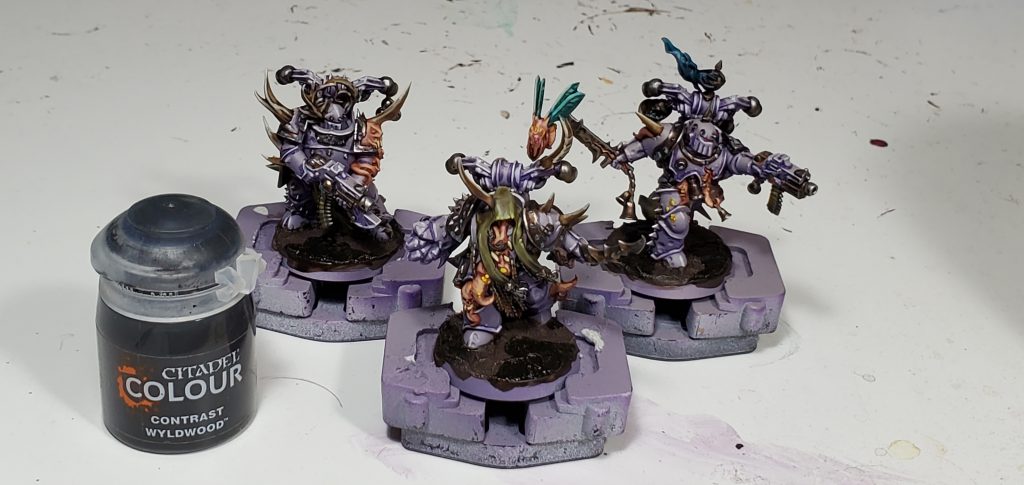
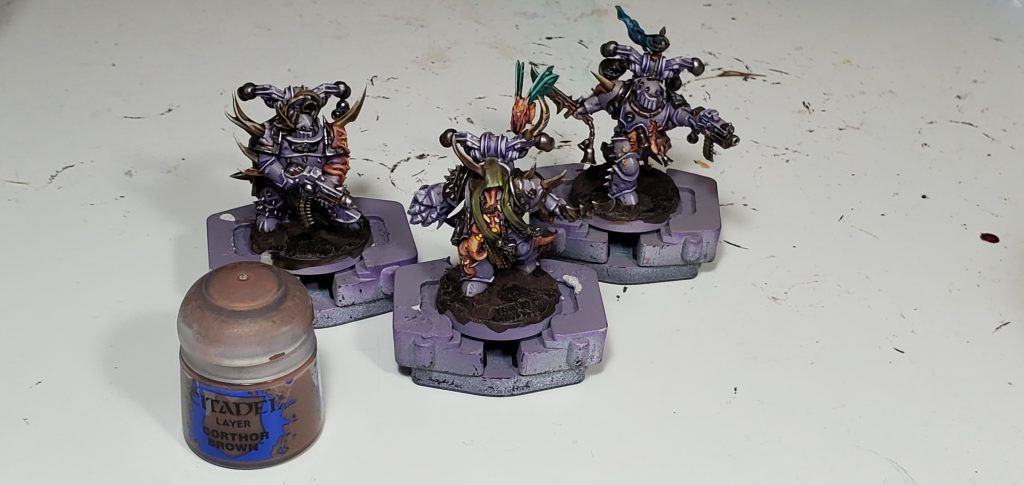
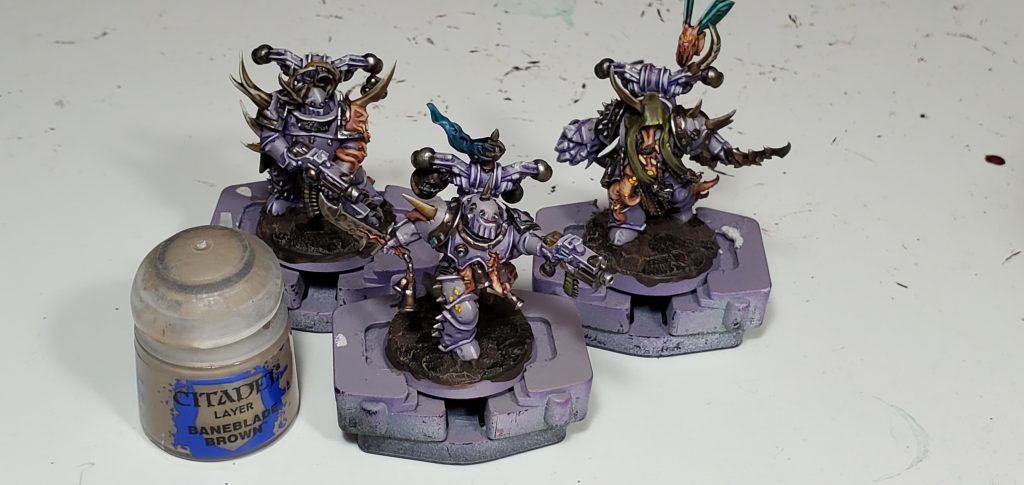
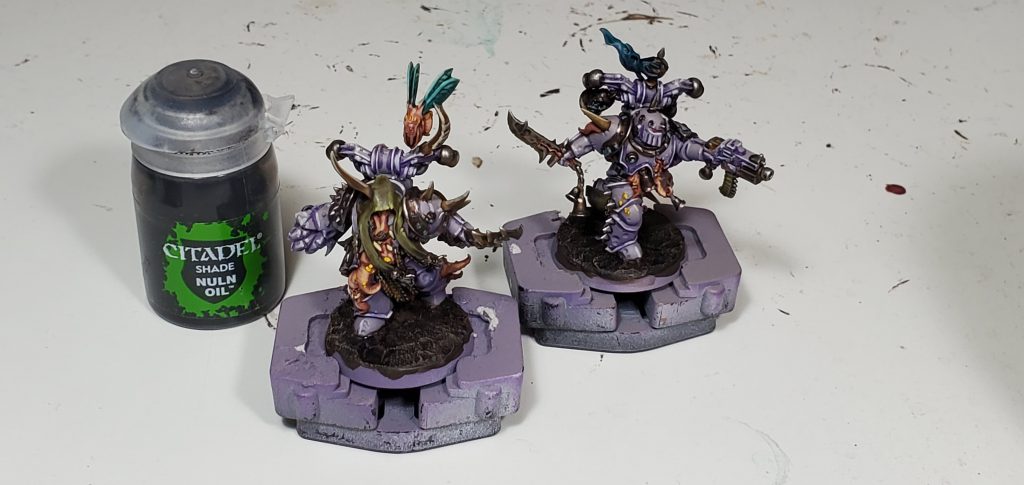
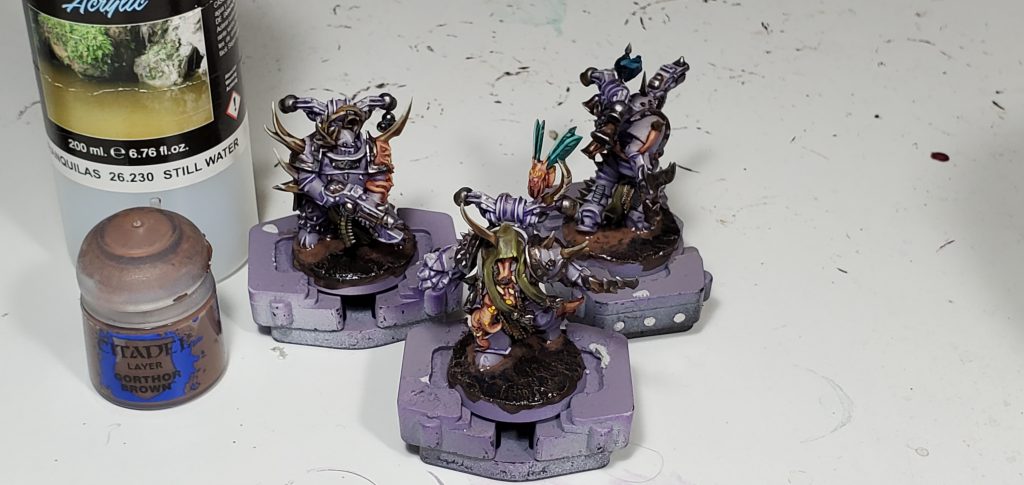
This article is part of a larger series on how to paint the Death Guard. To return to the parent article, click this link.
As my backlog was steadily being emptied by the pandemic, it was finally time to take on the other half of my Dark Imperium box set, which has always been a bit intimidating to me with the abundance of details that chaos armies tend towards. Regardless of your style preferences, that overload of features can produce really striking results in the hands of both beginners and highly experienced painters. I would consider these fellas a solid upper tabletop ready scheme as opposed to a competition targeted one.
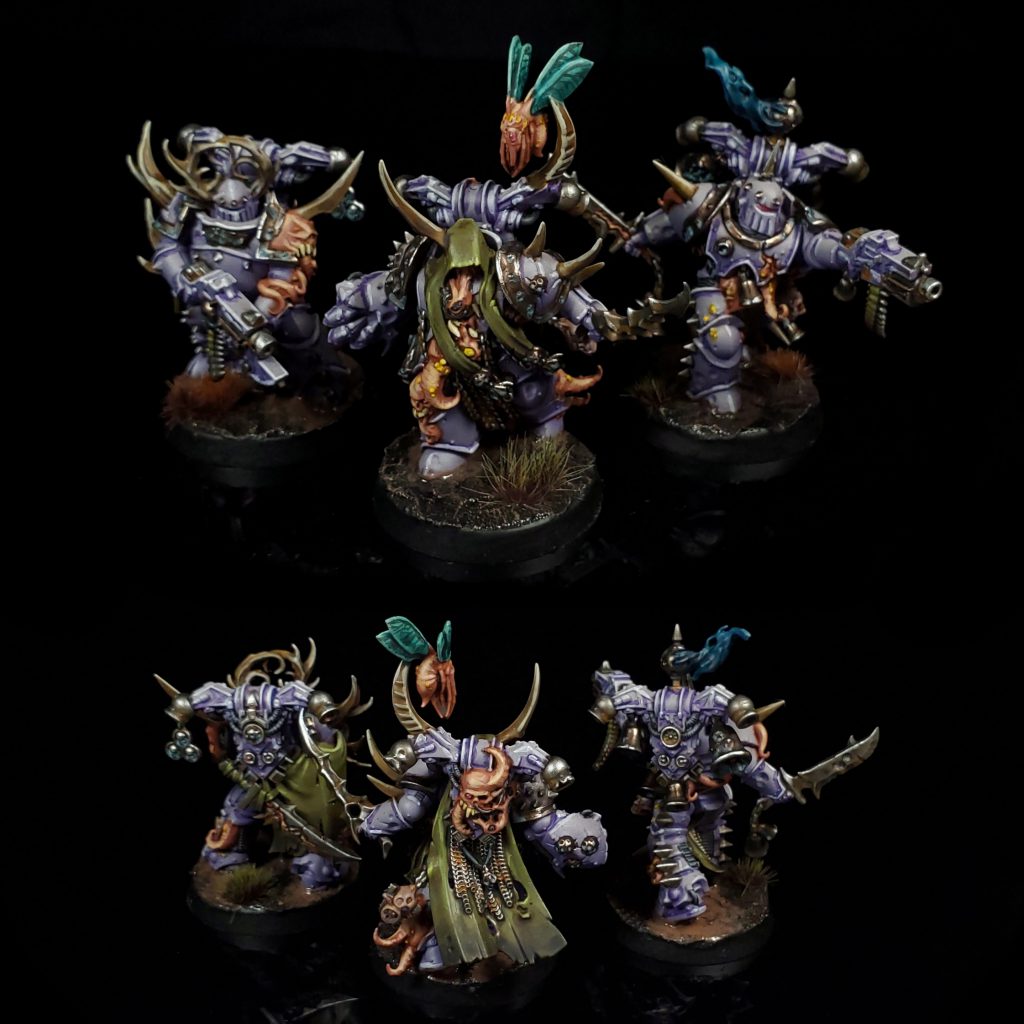
This might not read like a traditional sequential tutorial simply because I tend to bounce all over the place while waiting for coats to dry, and as a result this will mostly be chronological rather than logical order. I also won’t list every paint in the text as they are visible in the pictures, instead I will try to focus on confusing or unclear parts along with mentioning areas that could be improved in retrospect.
Priming and Basecoating
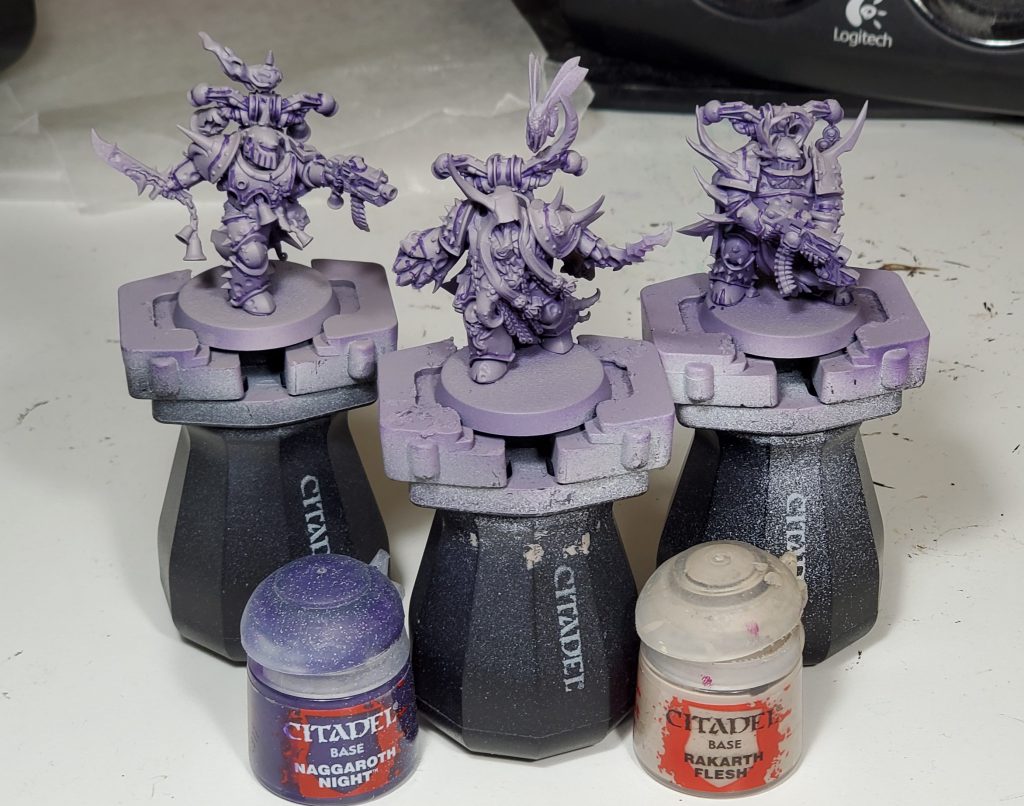
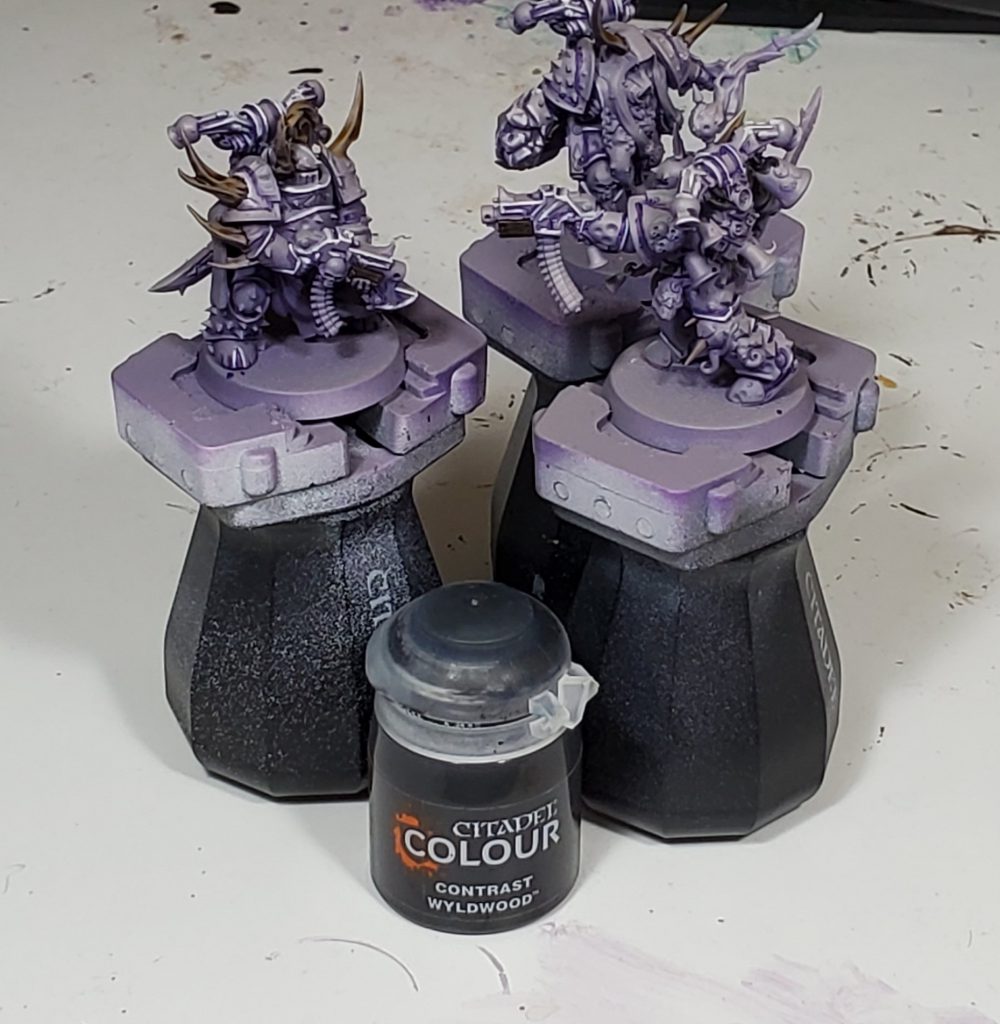
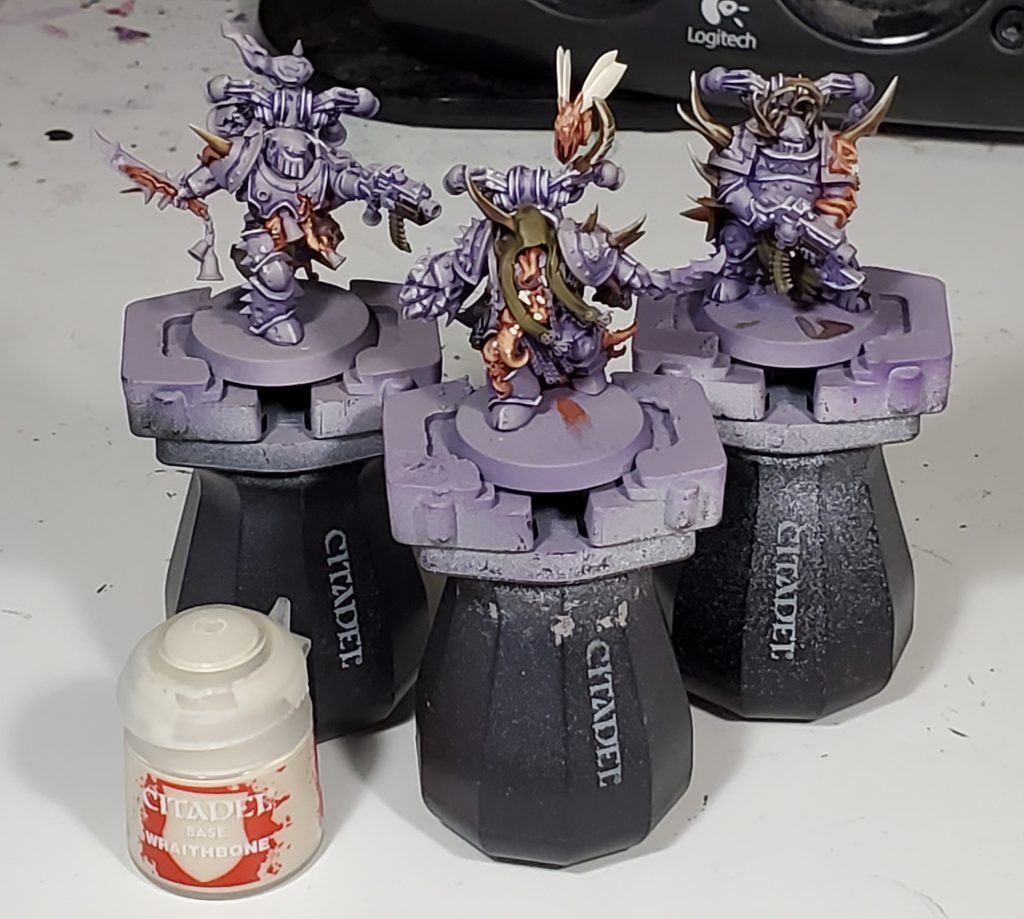
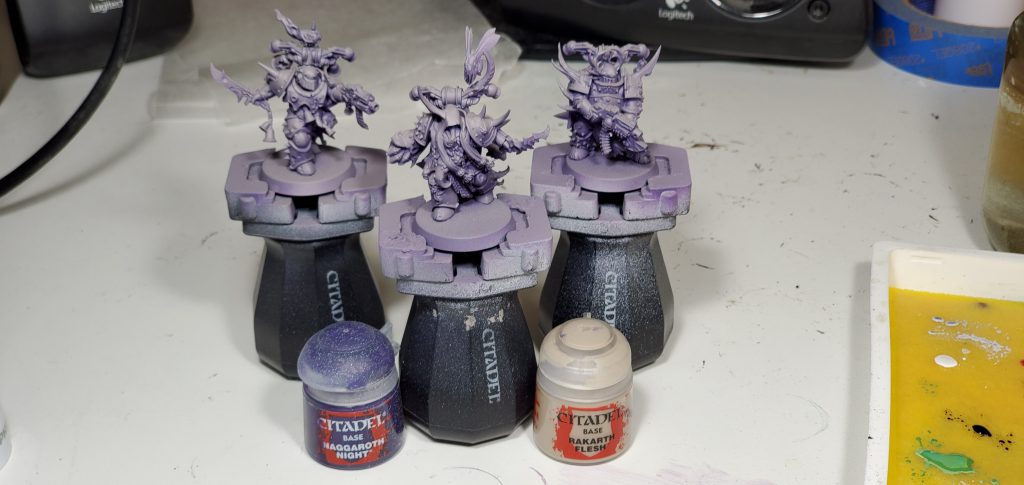
I started by laying down the zenithal base coat with an airbrush, I don’t have pictures for this since my setup is not the sort of thing that the internet should see, but the process is not too complex. I start by putting a mixture of Naggaroth Night and Rakarth Flesh at a ratio somewhere between 3:2 and 2:1. I suggest trying to remember approximately how much rakarth you add in this initial step, for each further coat I add that much again which results in a slightly off from rakarth final colour.

The second coat is applied from about 45 degrees off top dead center up, followed by the final coat that is applied from about 10 degrees off top to vertical.
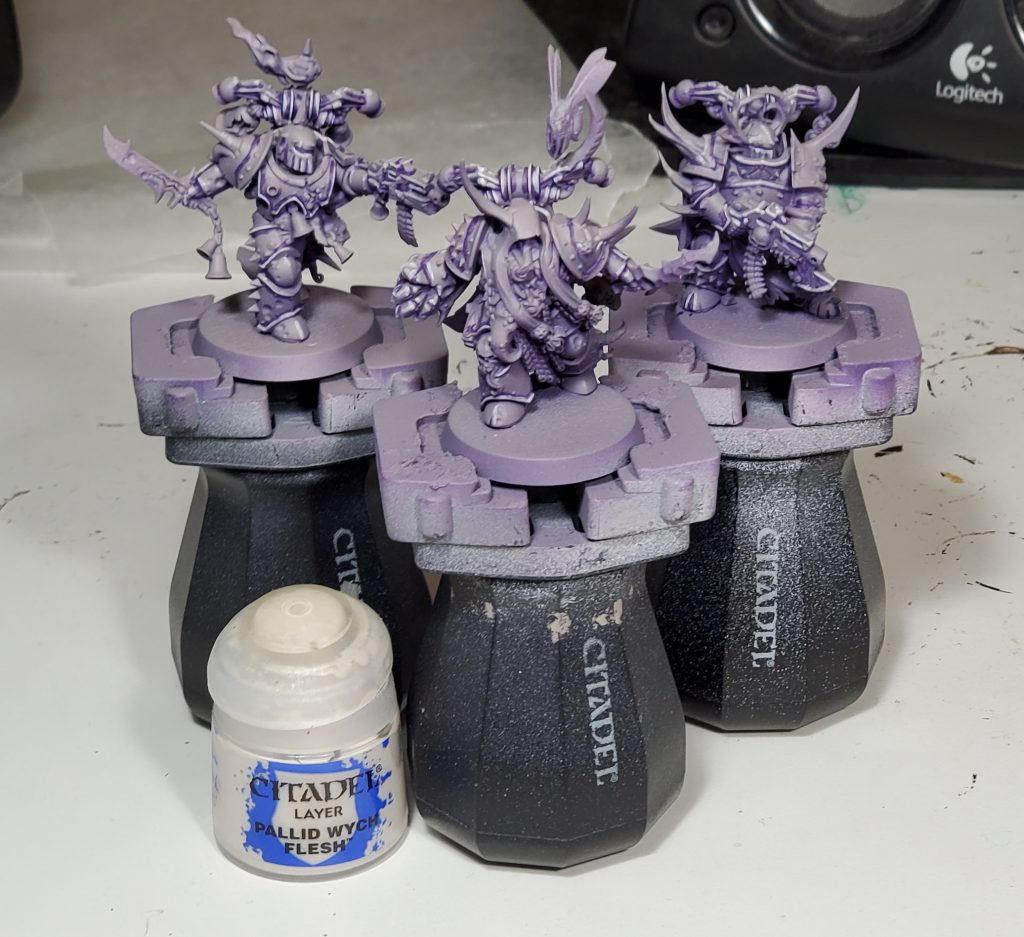
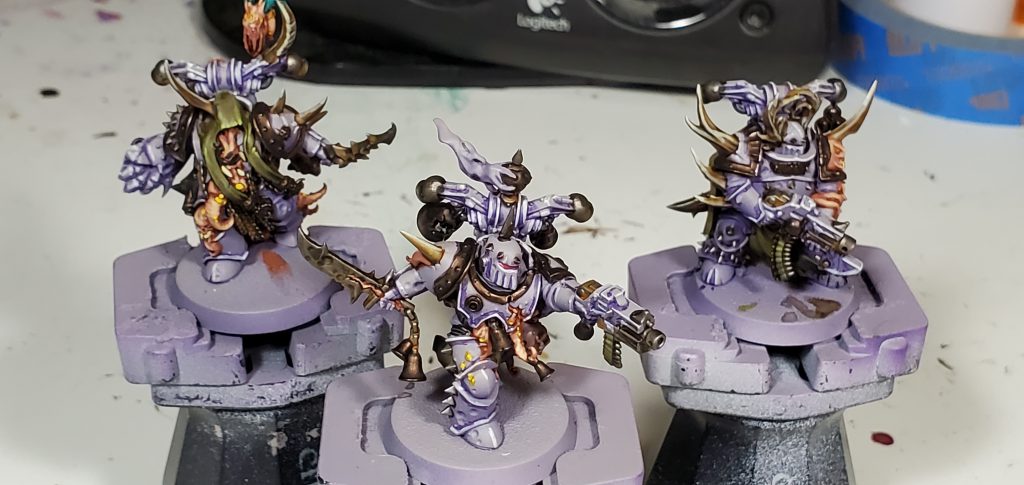
Even with the zenithal base coat, I like to get some recess shades in place to help with differentiate features at a distance, you might be able to get away without doing this if you instead blend on some panel highlights but that’s a bit more than I want to do on these fellows. For highlights, like the Pallid Wych here, I mostly tend to target the upper edges of stuff and spend the most time in the upper third of the model which can help to keep your eyes away from the boring stuff.
Painting Details
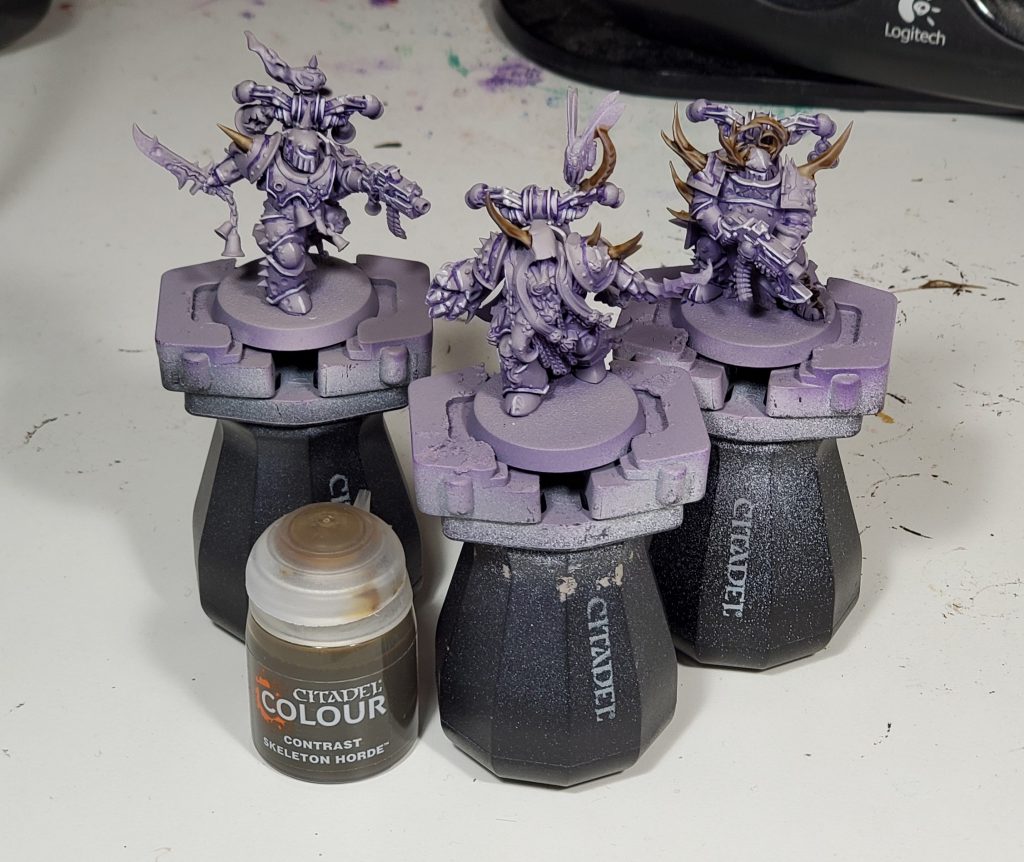
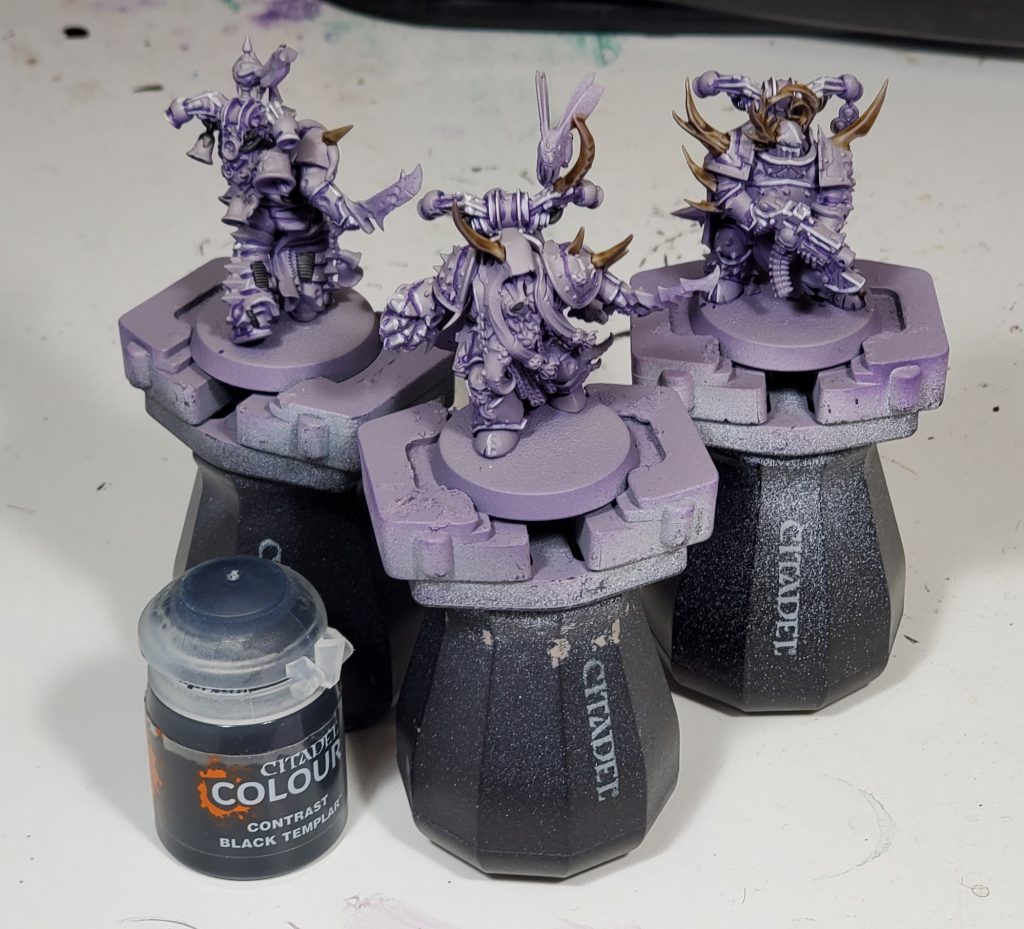
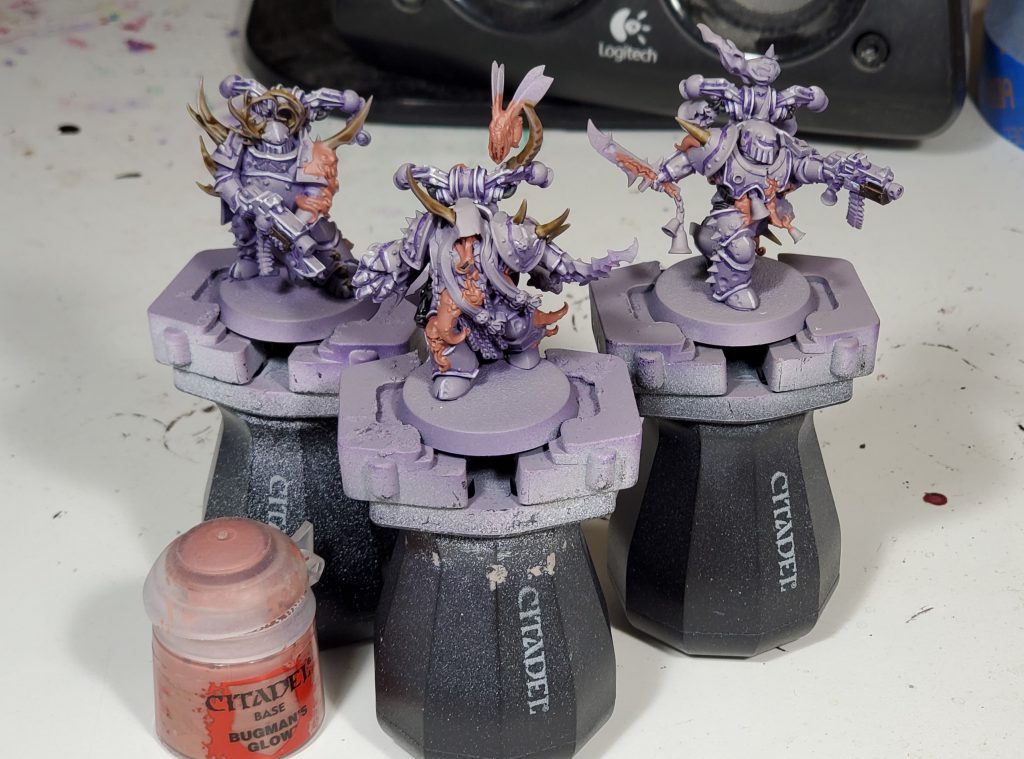
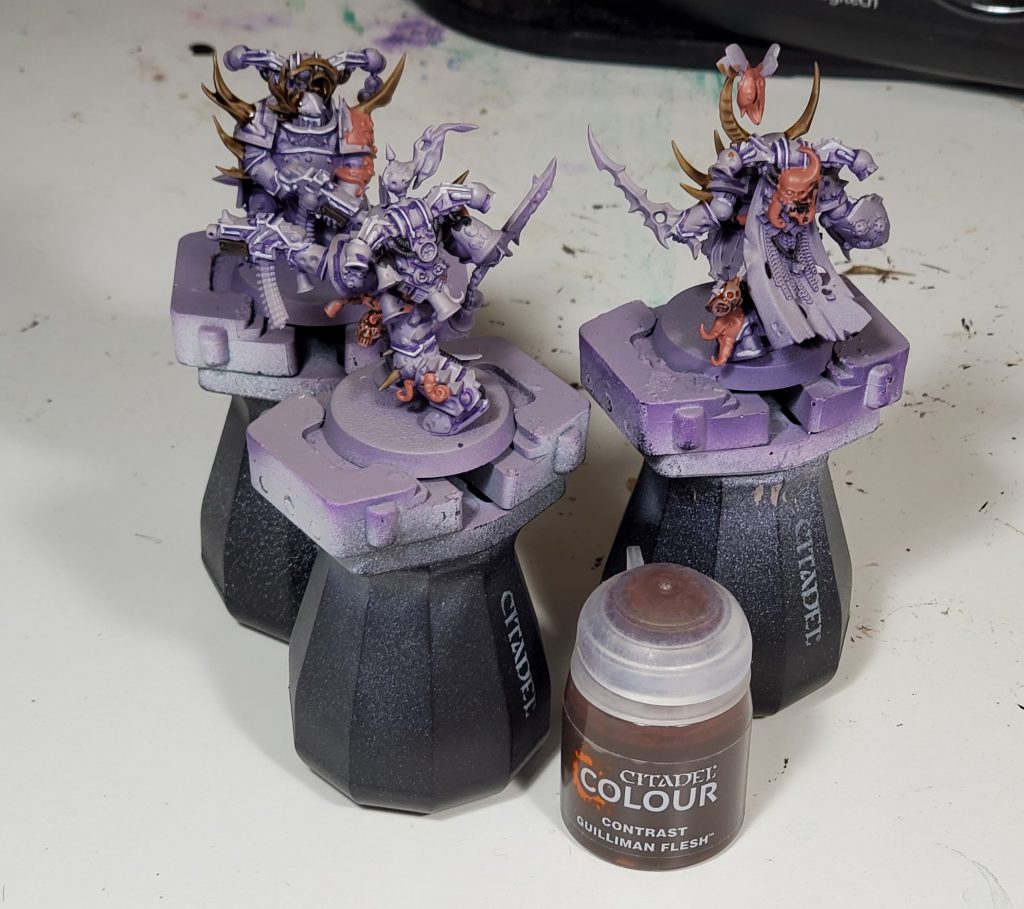
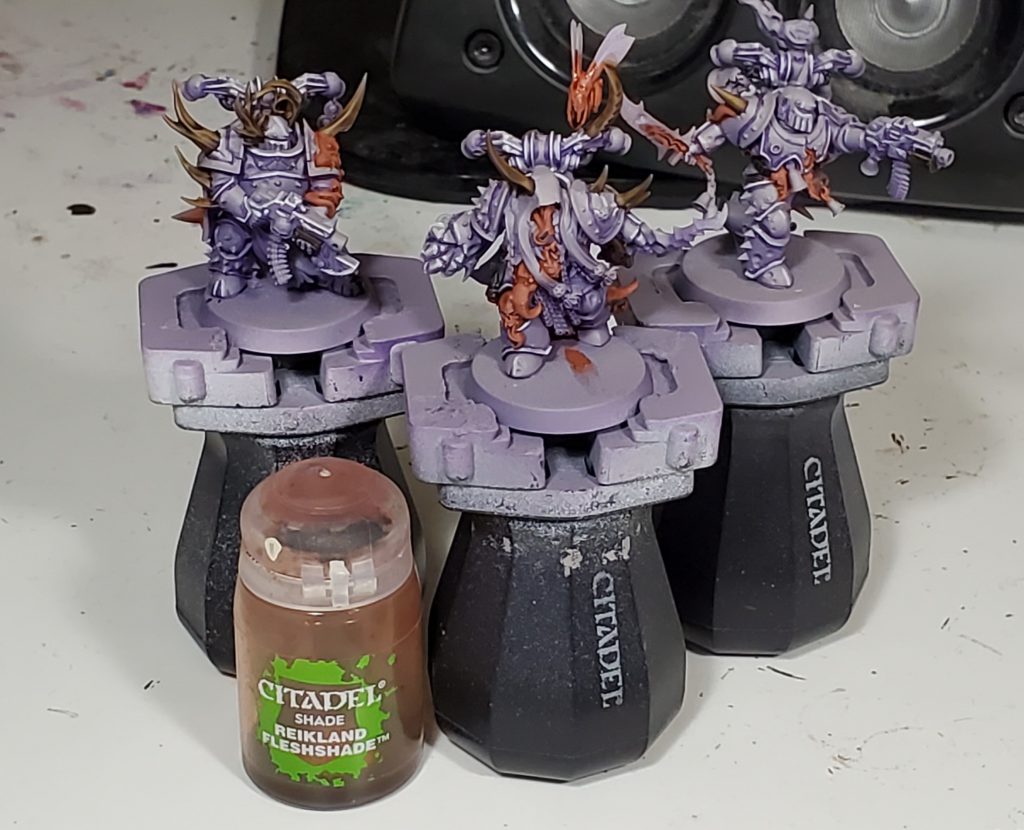
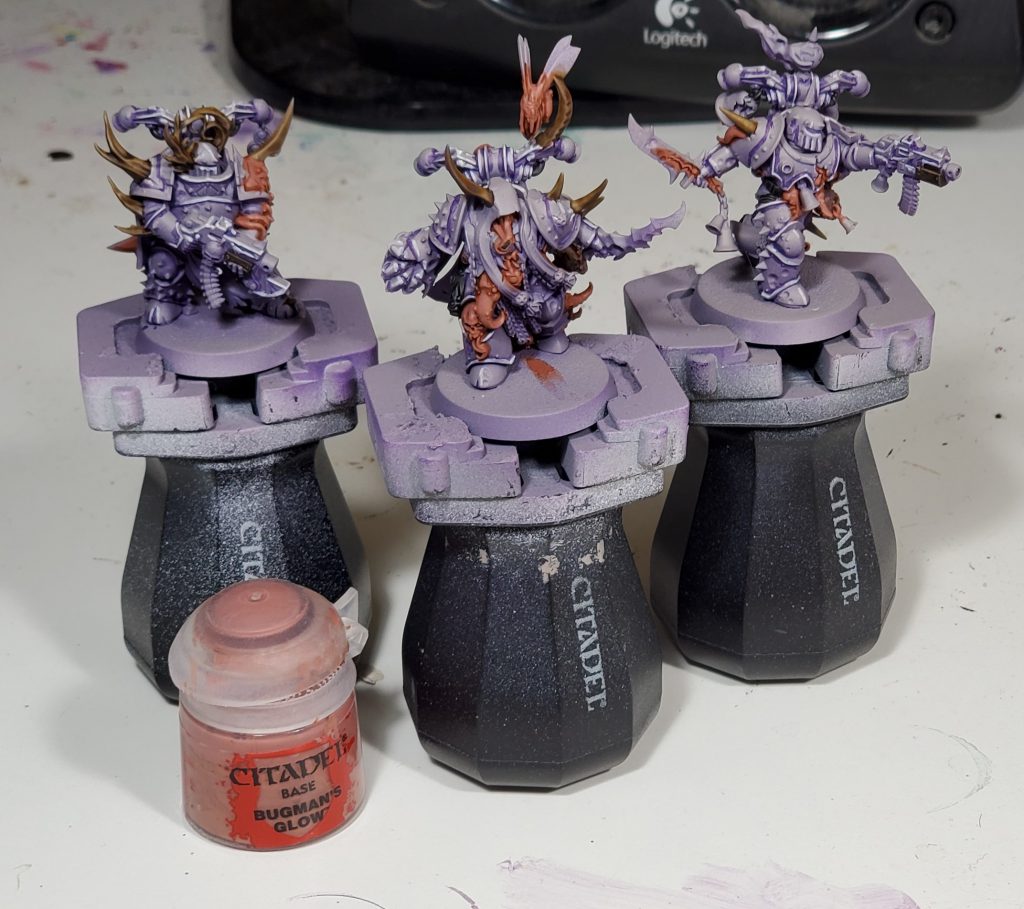
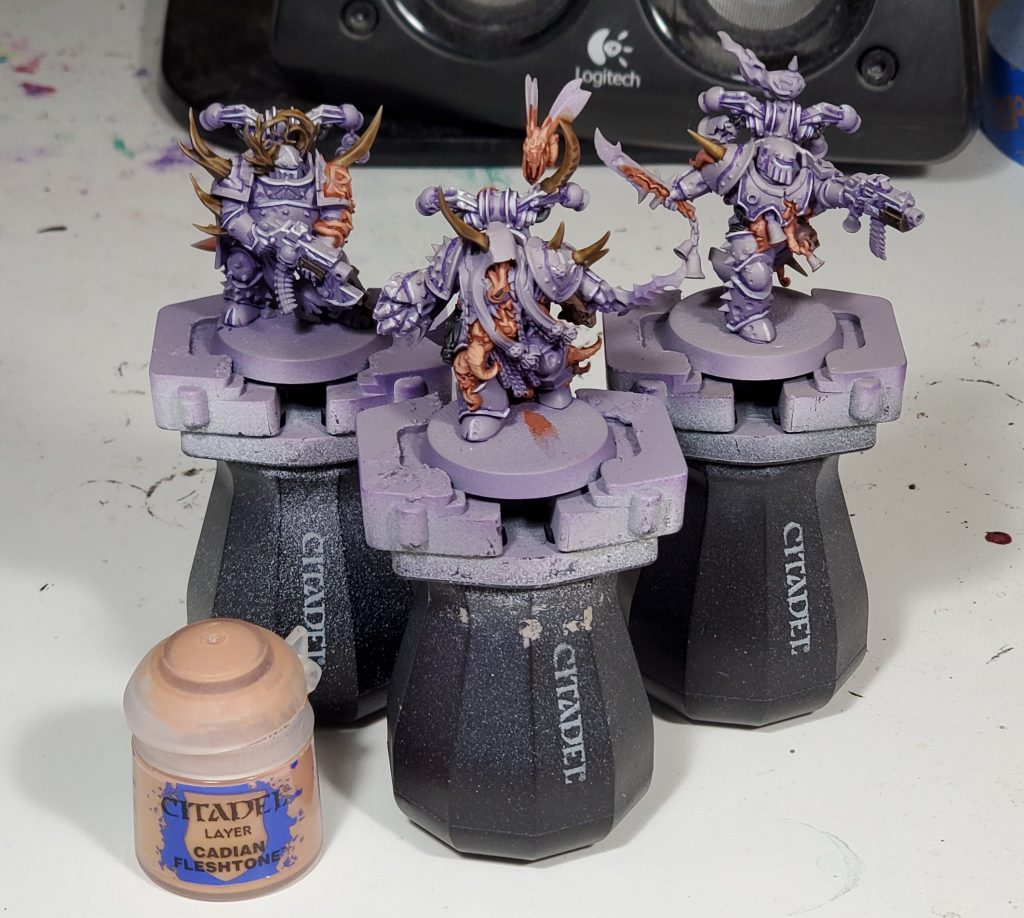
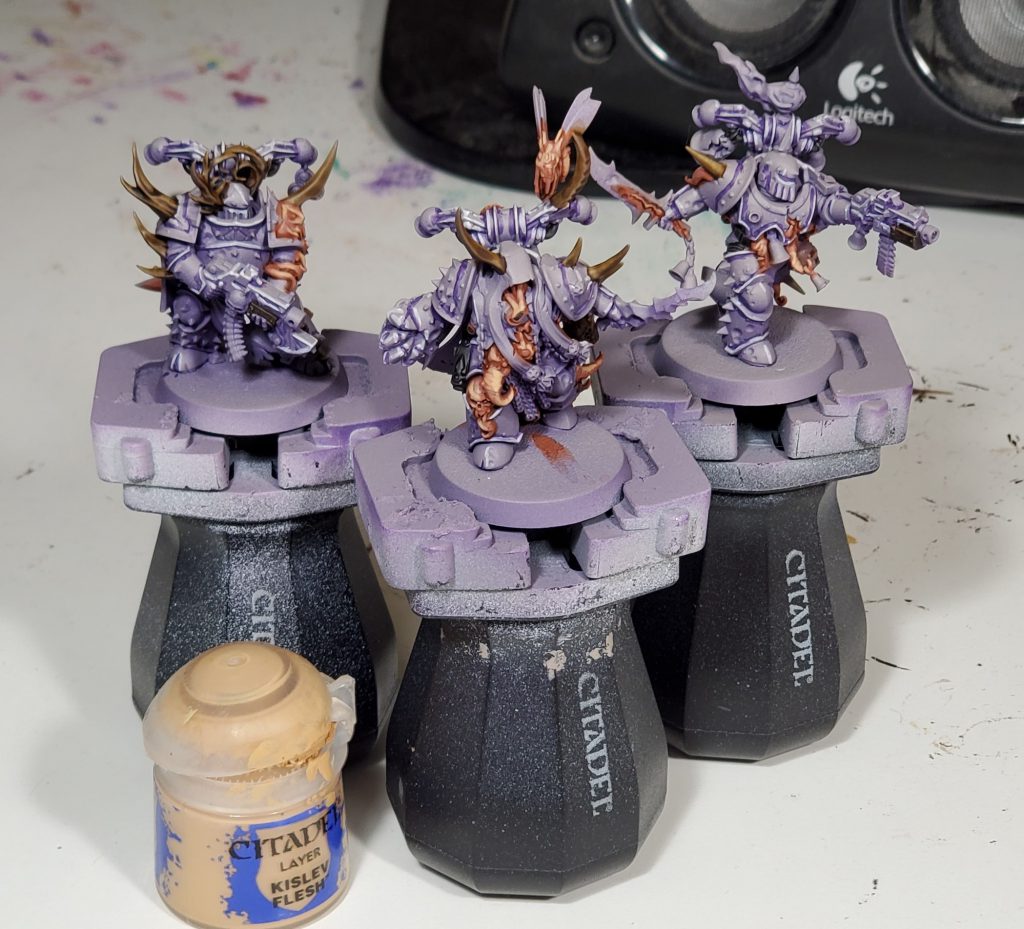
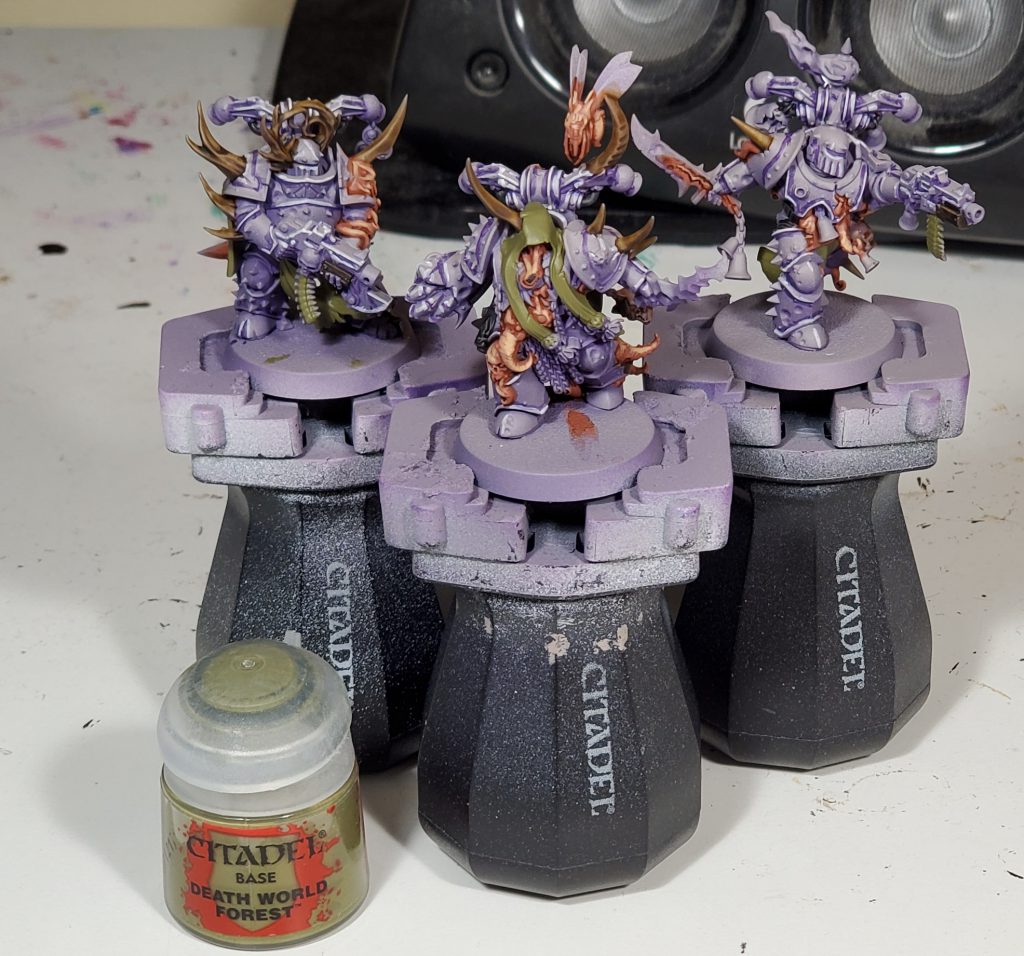
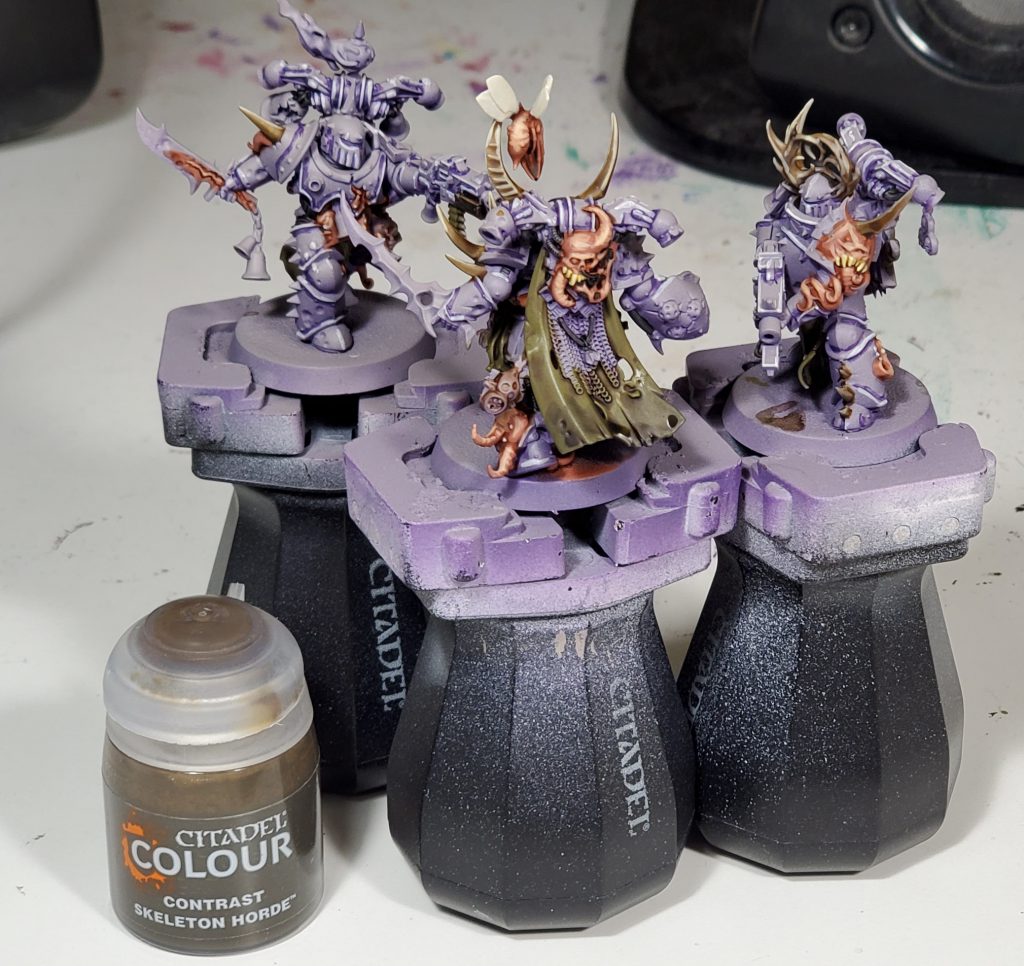
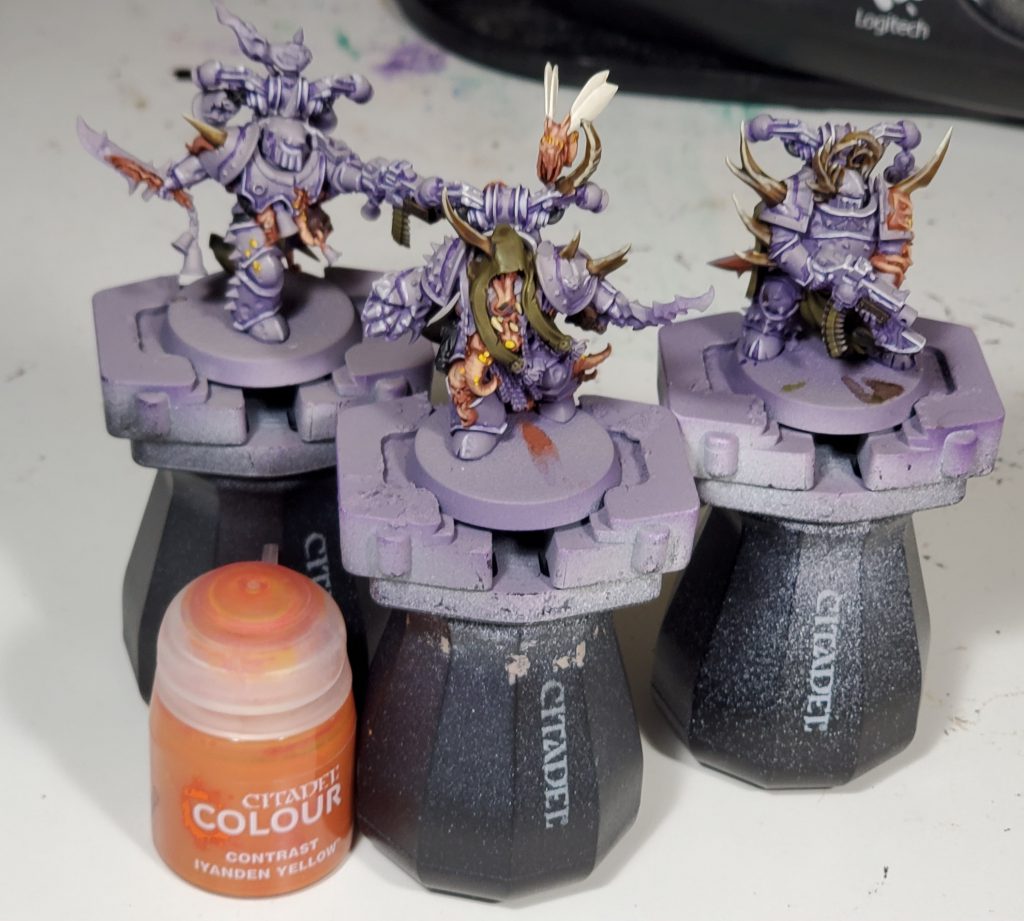
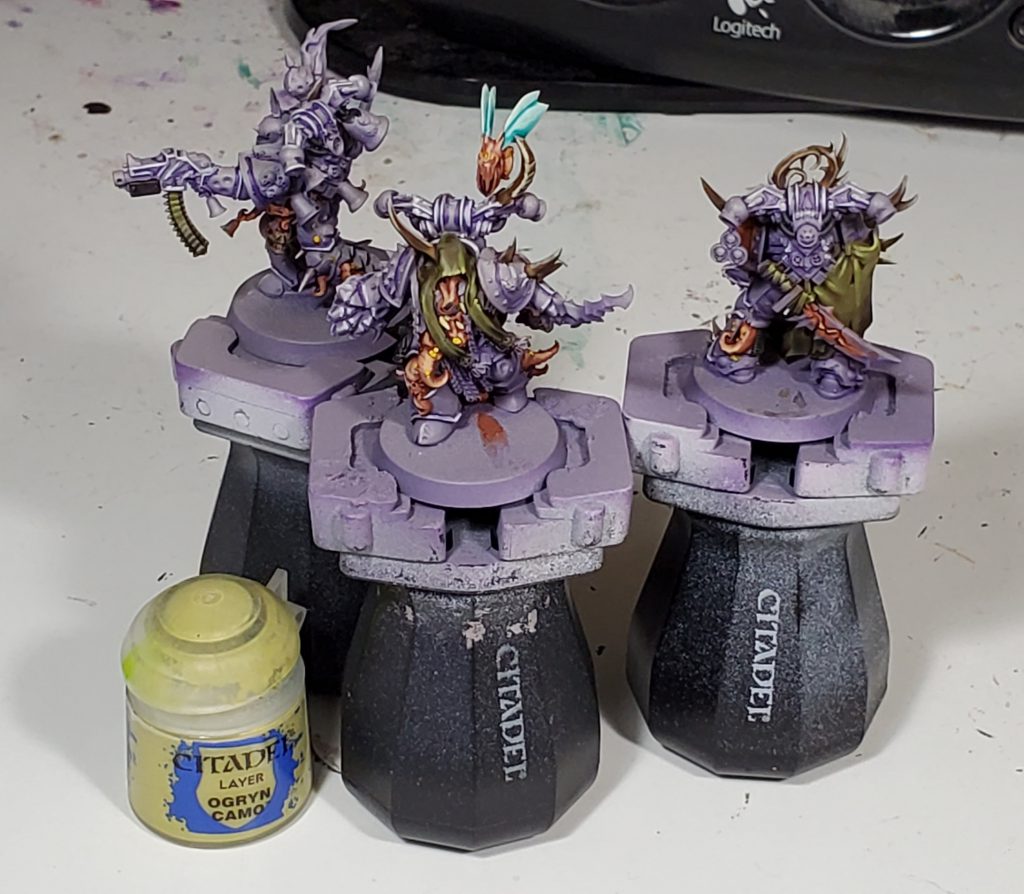
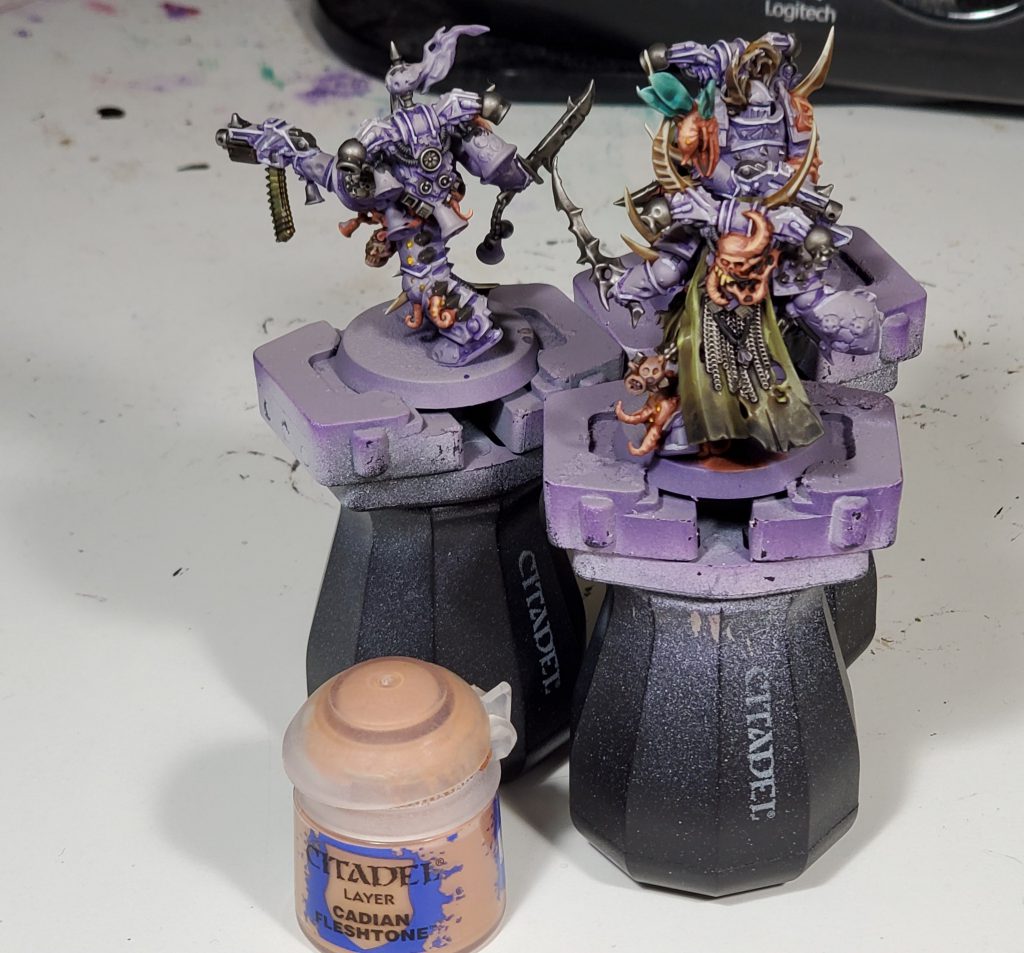
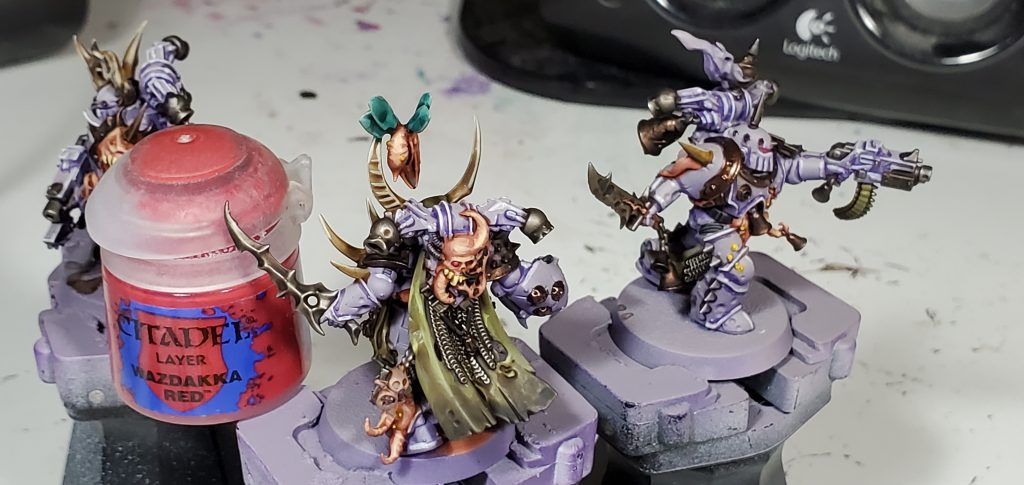
After the purple armour is complete I started with some base coats trying to leverage contrast paints as much as possible mainly because I dislike doing basecoats to be honest. It might not be super obvious but the Guilliman Flesh is used on the severed heads, it will look a bit off till you highlight it in my experience, so be patent if you find it looks bad for a while.
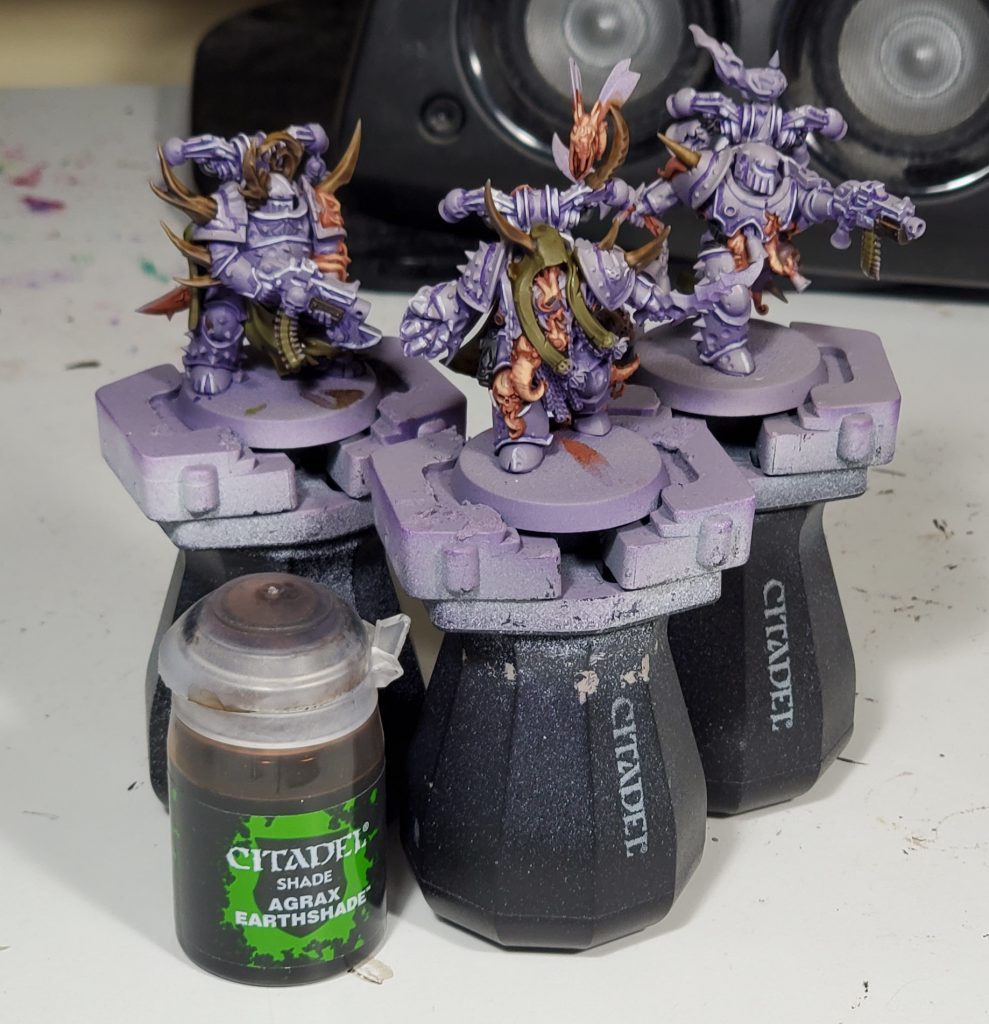
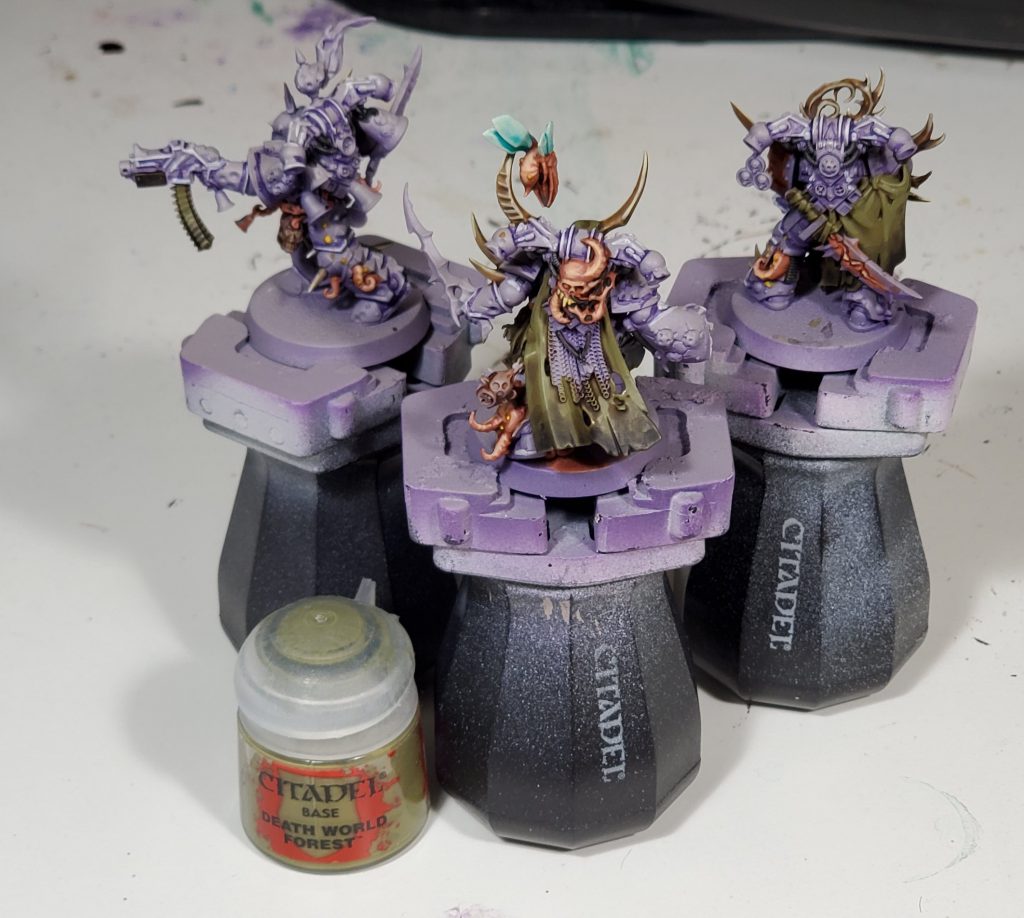
The skin is nothing special but I like the contrast it has with the rest of the scheme, I would suggest adding some more variation to the skin colours if you want each marine a bit more individual. I laid down the base coat and wash for the cloak now as we will need to do a sequence of washes to get my desired effect, I tend to leave some areas that need highlights to work if I know that the scheme can have these segments with long drying times.
Shading and Washes
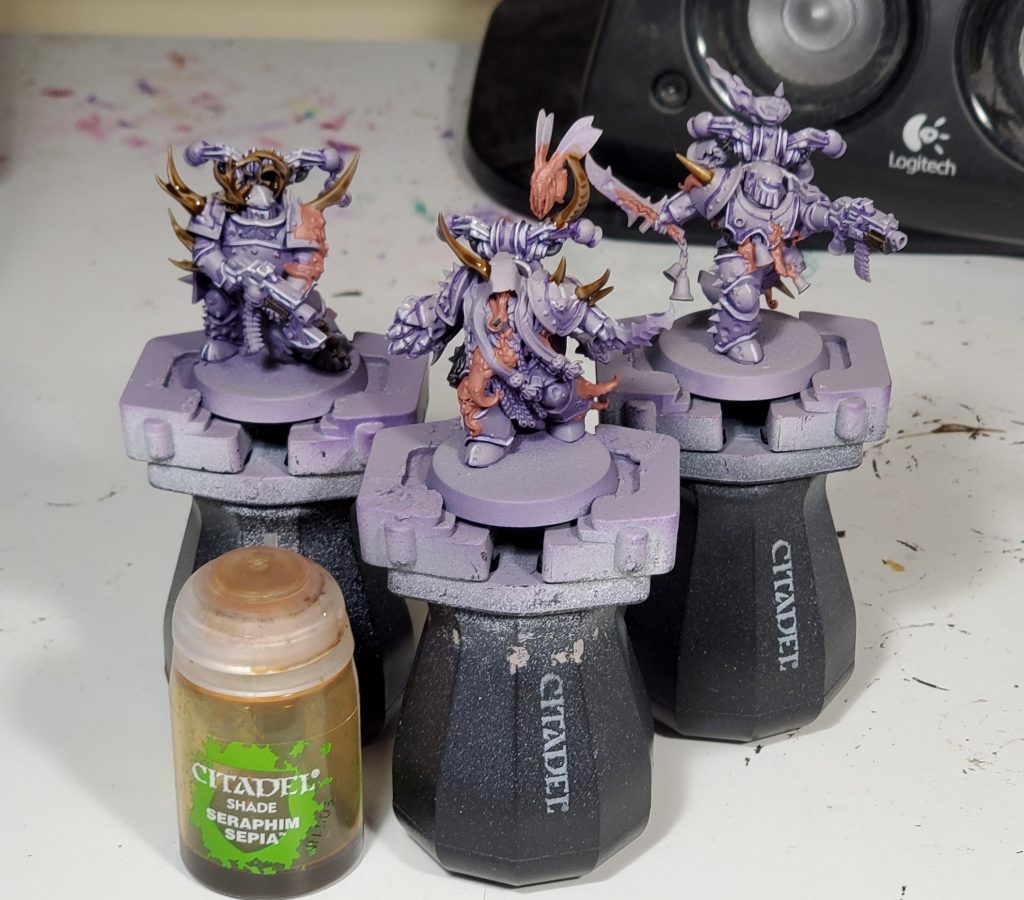
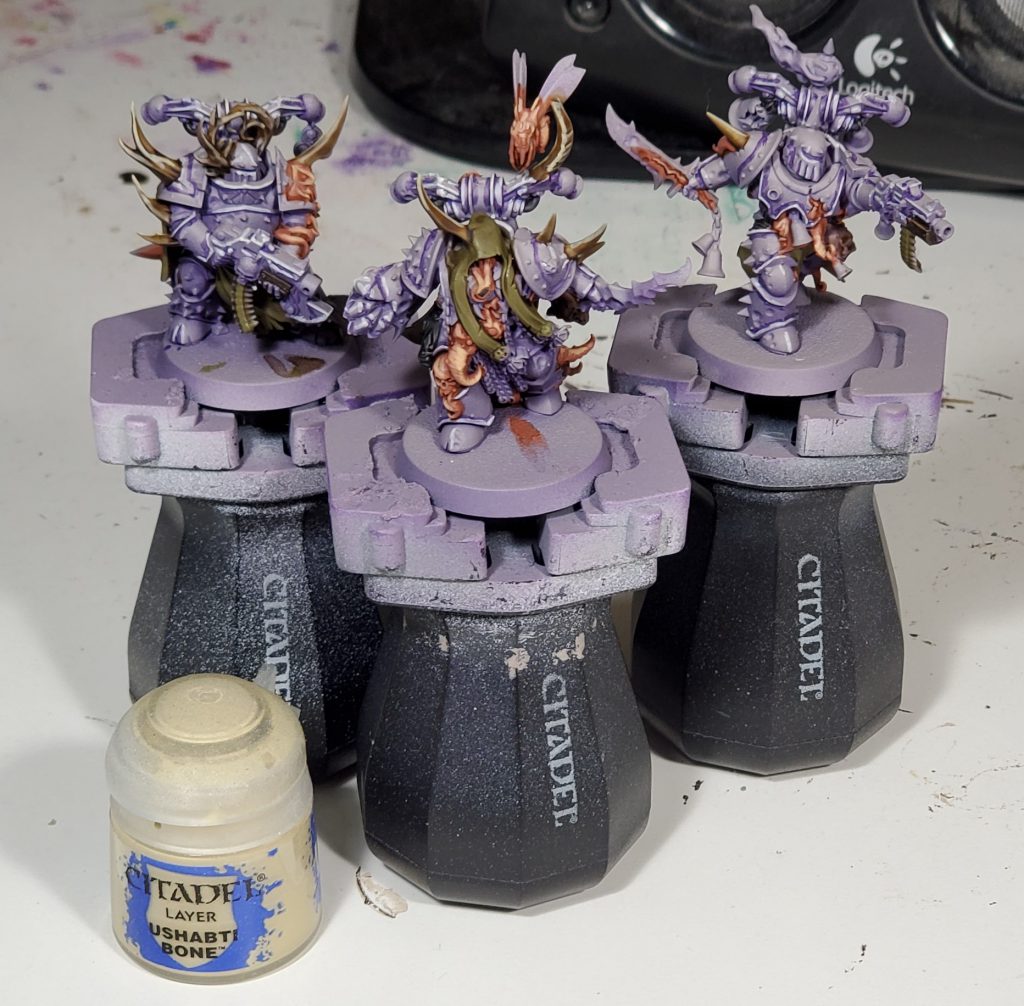
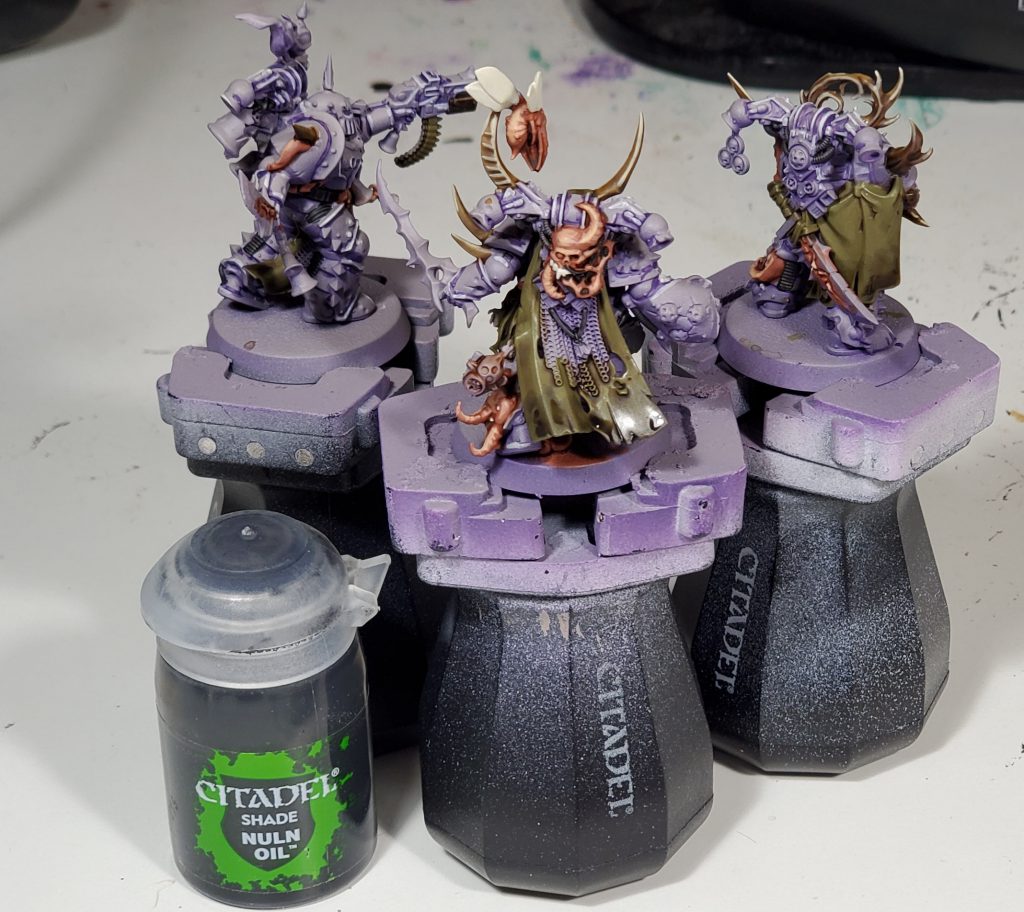
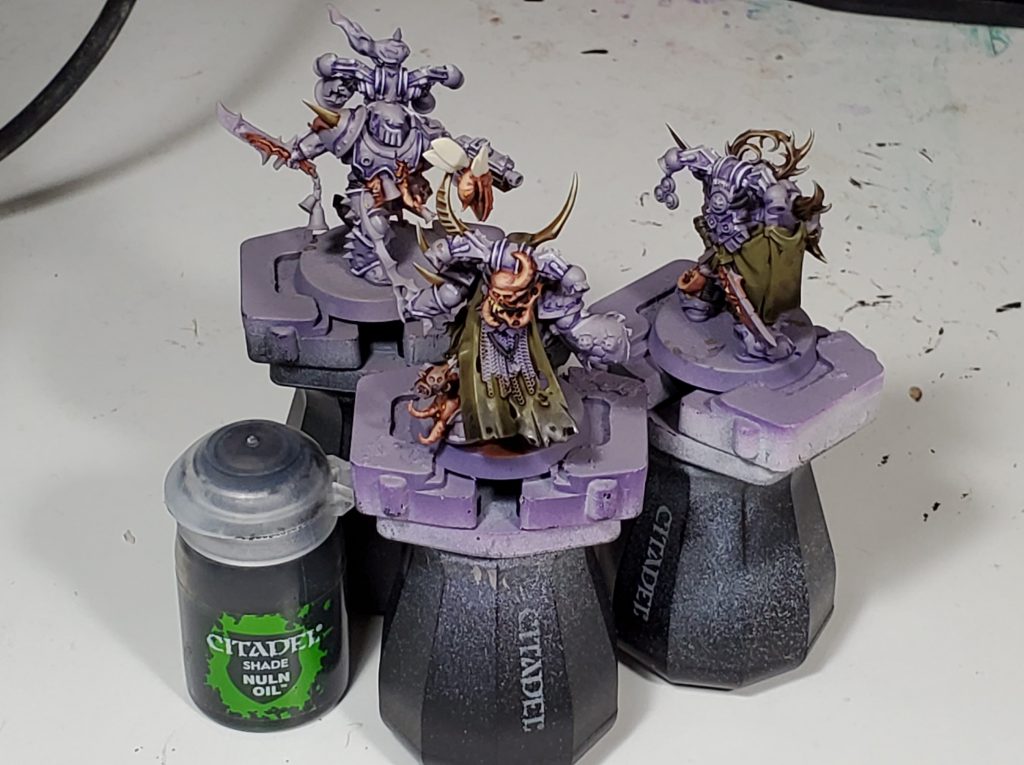
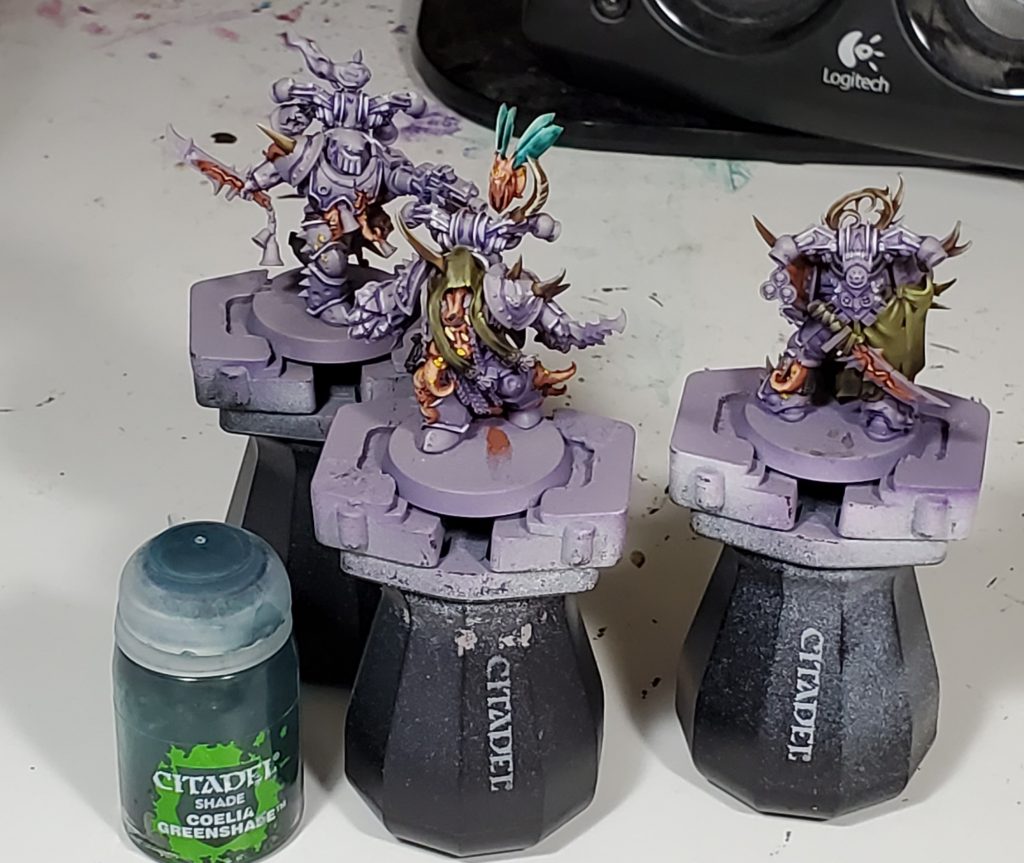
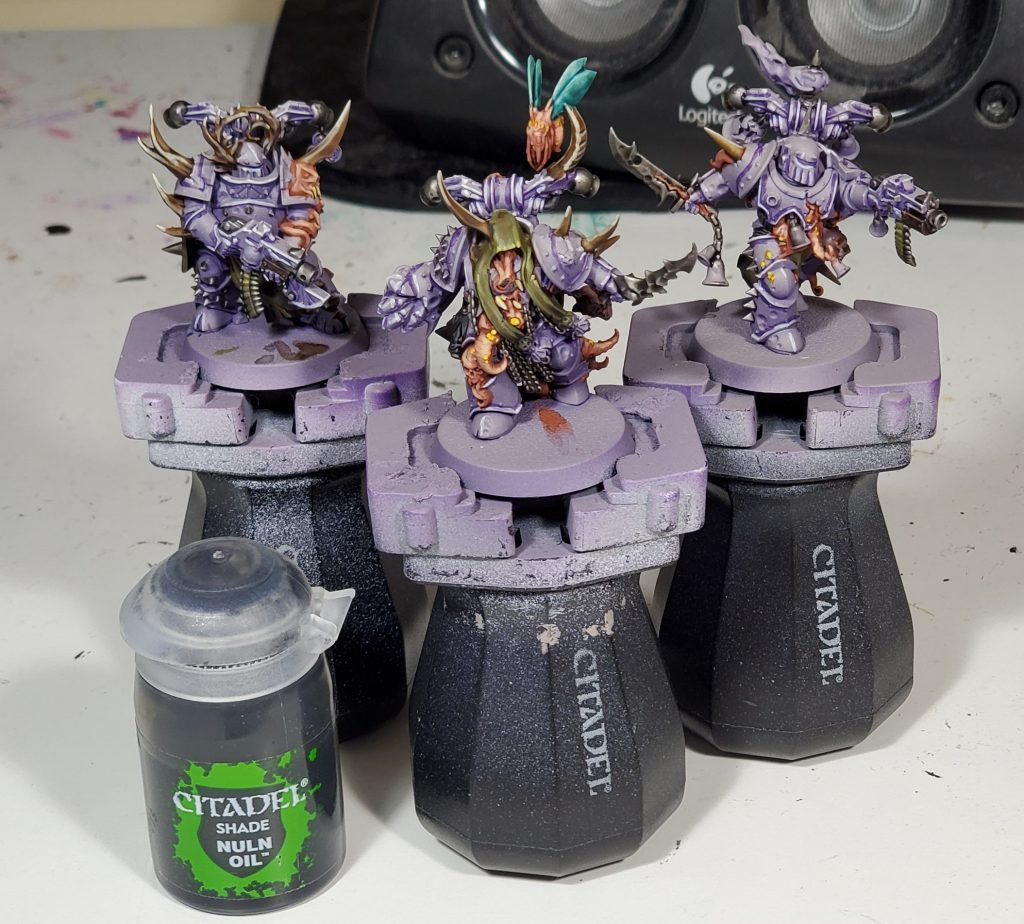
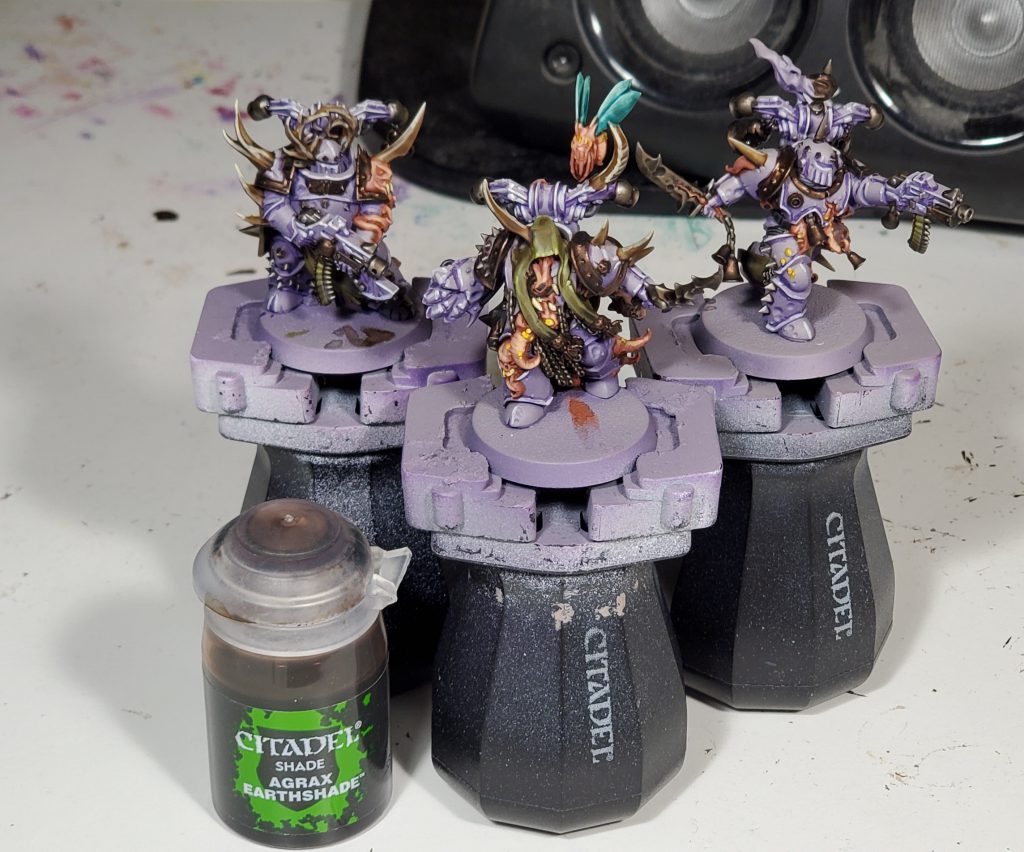
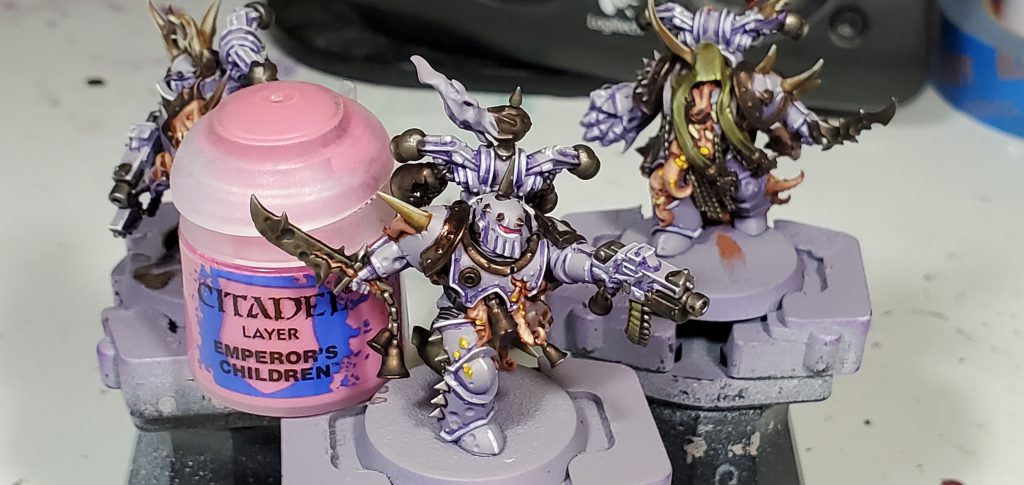
I continued to build up the dirty end, this time in Nuln Oil instead of Agrax to provide a colour separate from the general dirt on the cloak. The gross pustules are also a simple contrast detail, I missed about a hundred of those things and you could consider going back for a quick highlight on them possibly with something like Ushabti.
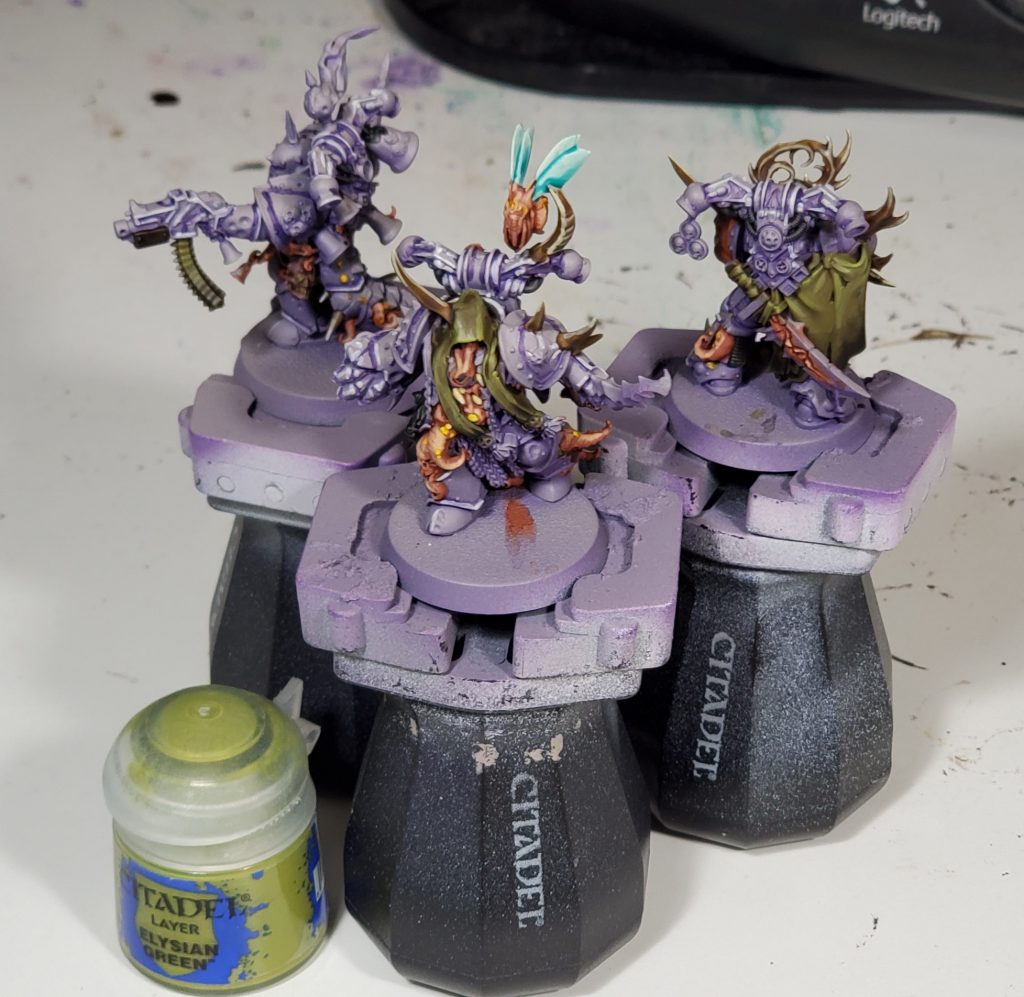
Here I finished up the cloak with the final wash and some simple highlights. I cheat a bit on the wings as the contrast plus wash produces a nice if dirty gradient, you could consider a highlight of near white if wanted to push it a bit further.
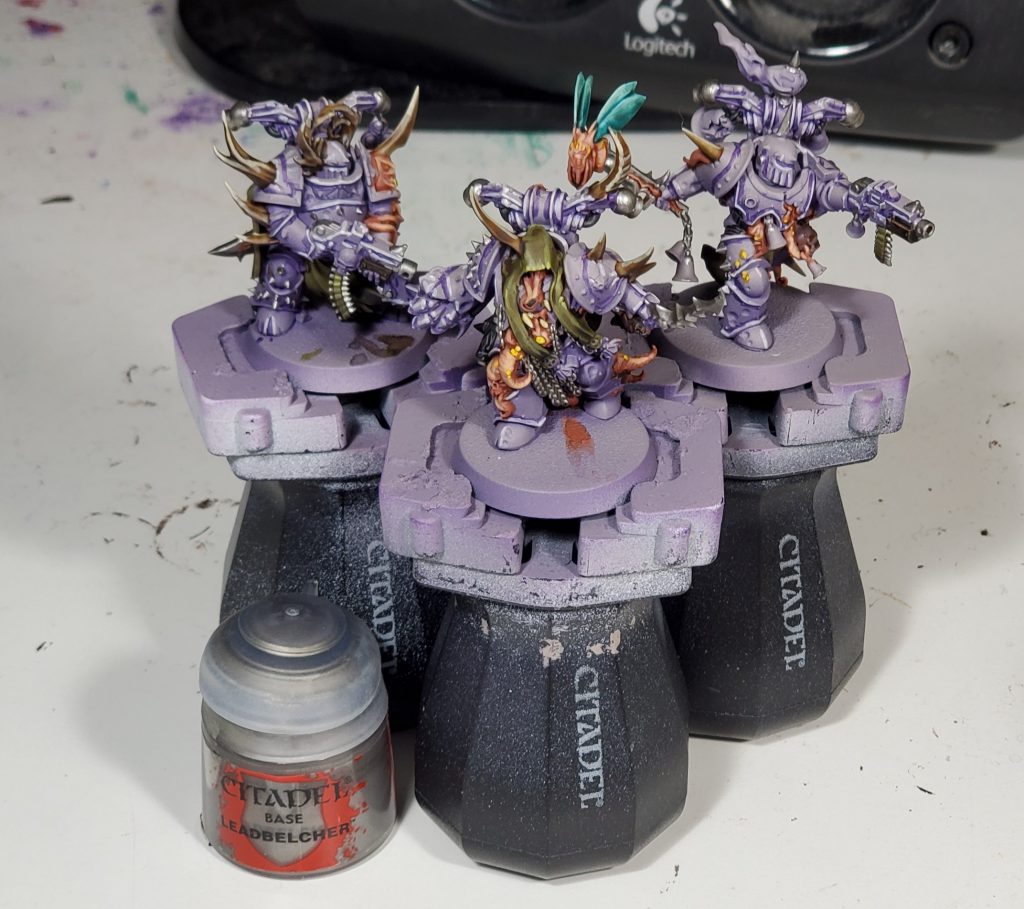
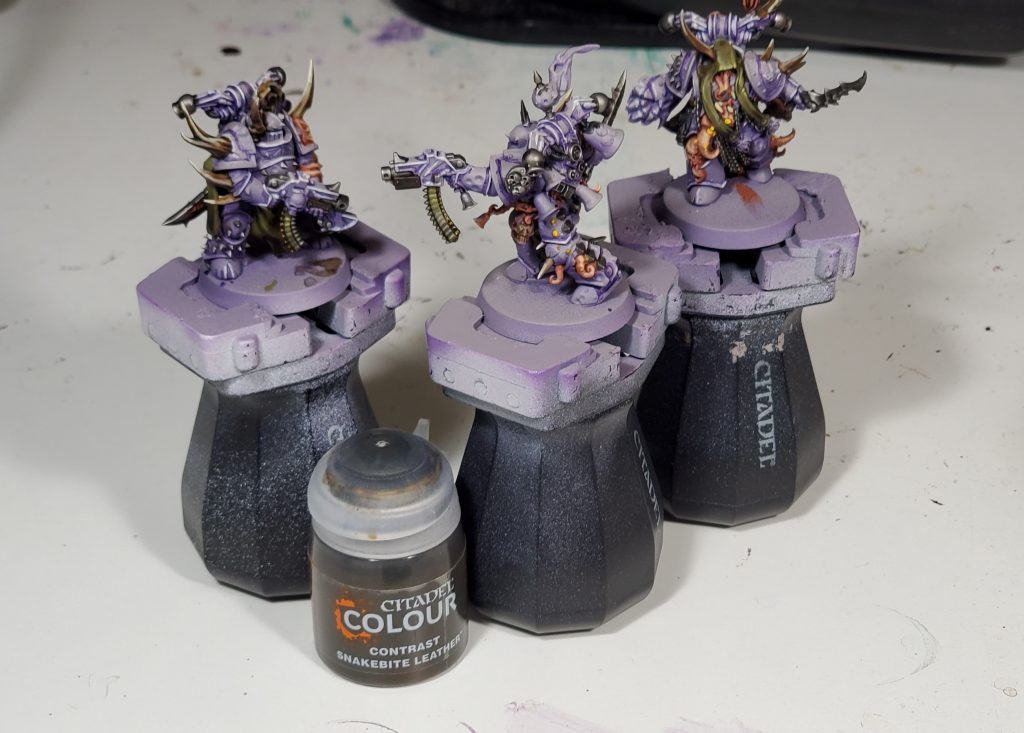
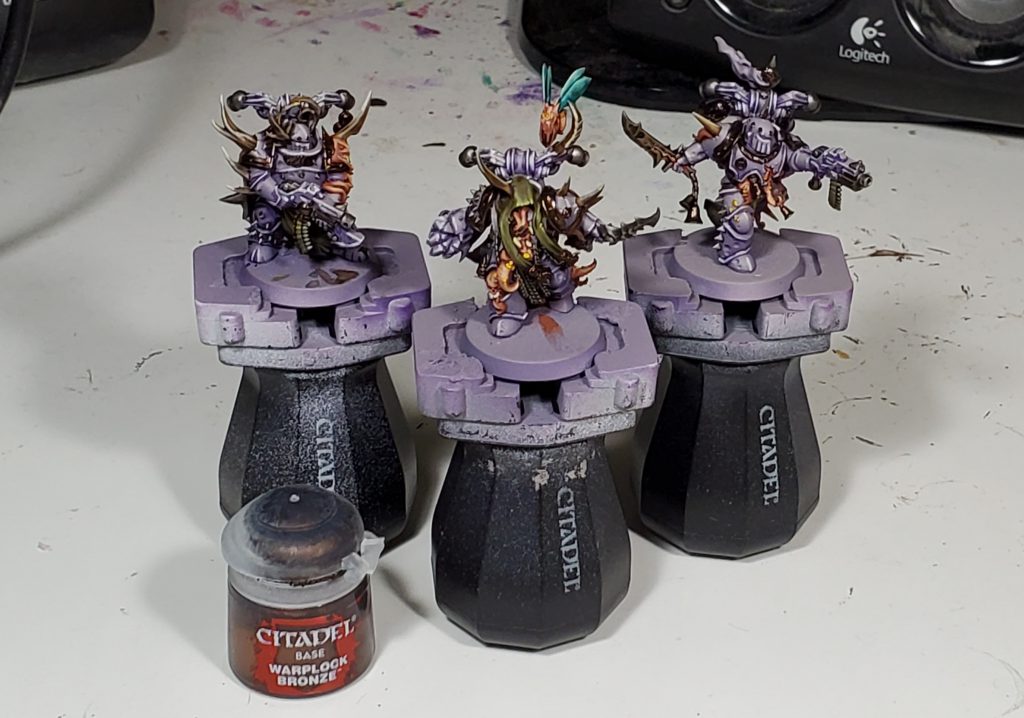
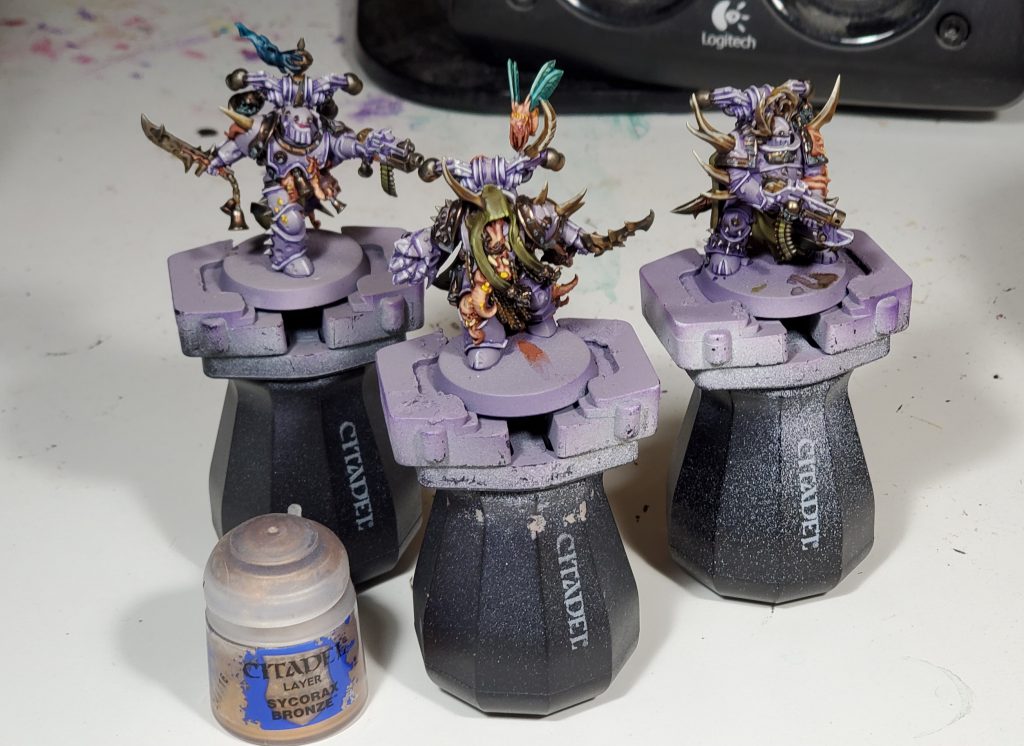
The main thing to mention here is how much I love Snakebite over washed leadbelcher, it makes great low effort weathered brass.
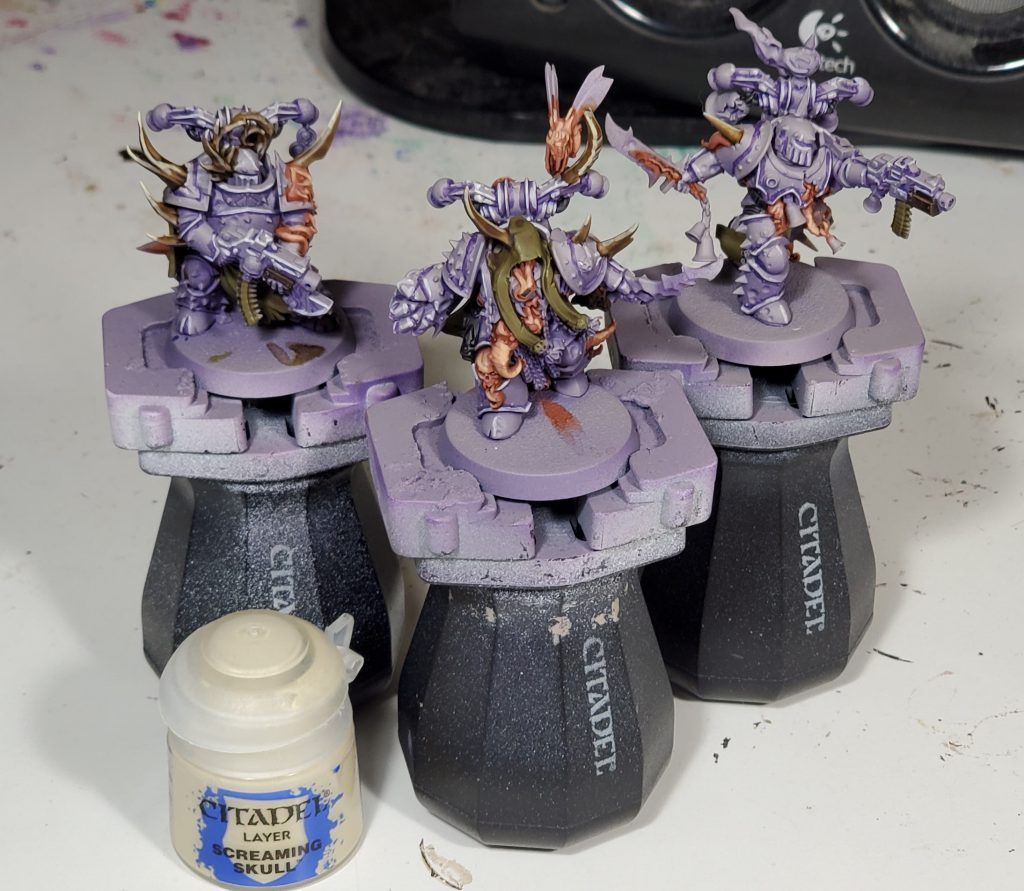
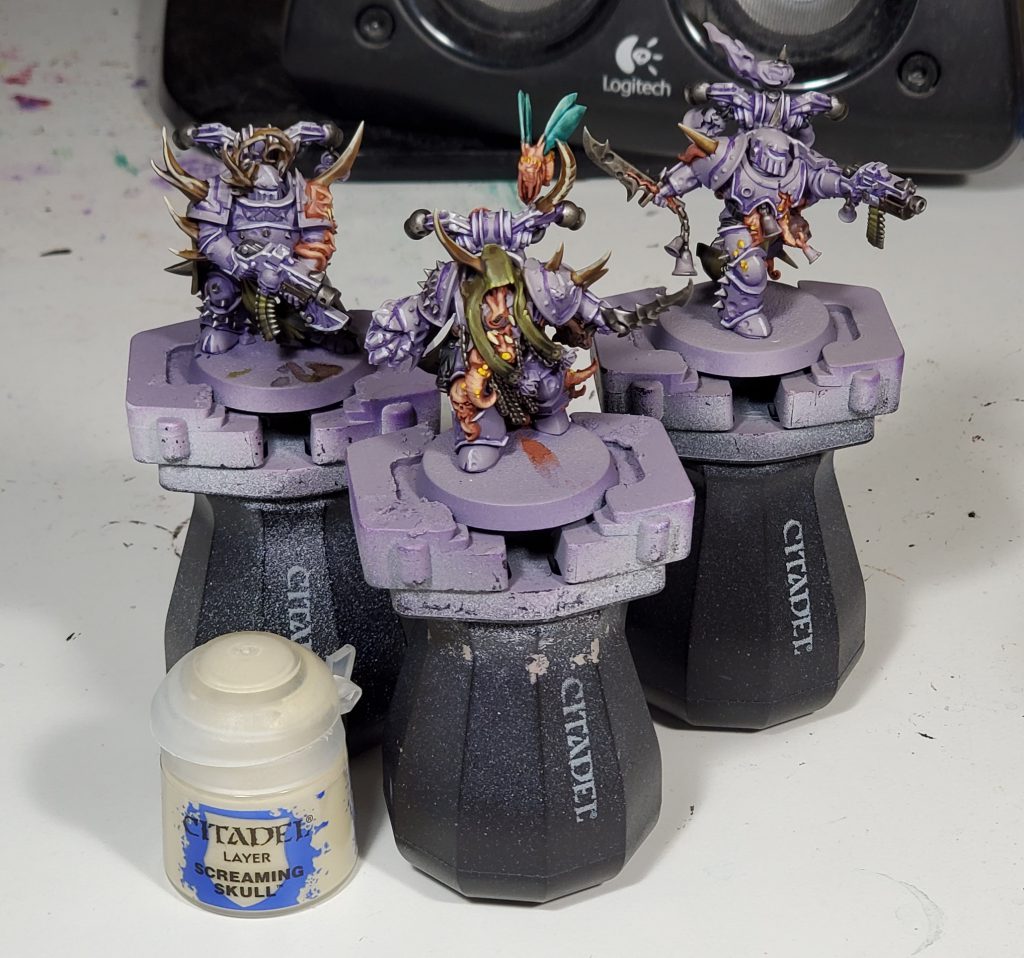
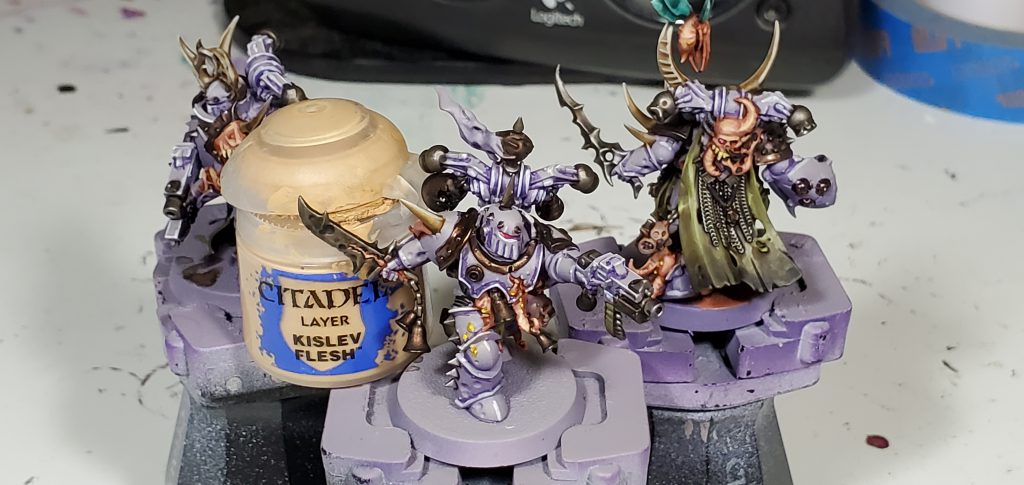
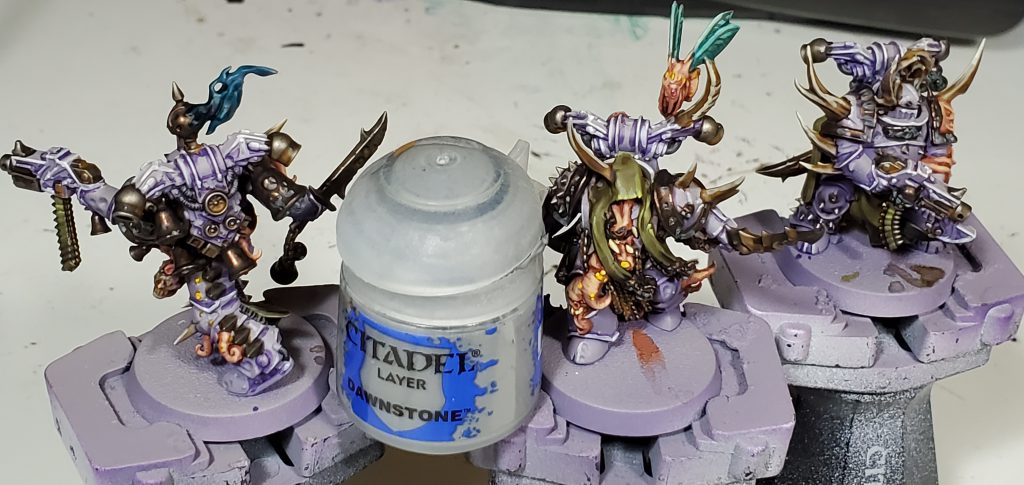
I did not have a the exact colour I wanted to highlight the severed heads with so I made a quick mix that looks about right, the proportions are not too important on small stuff like this so long as it fits the model.
Finishing Touches
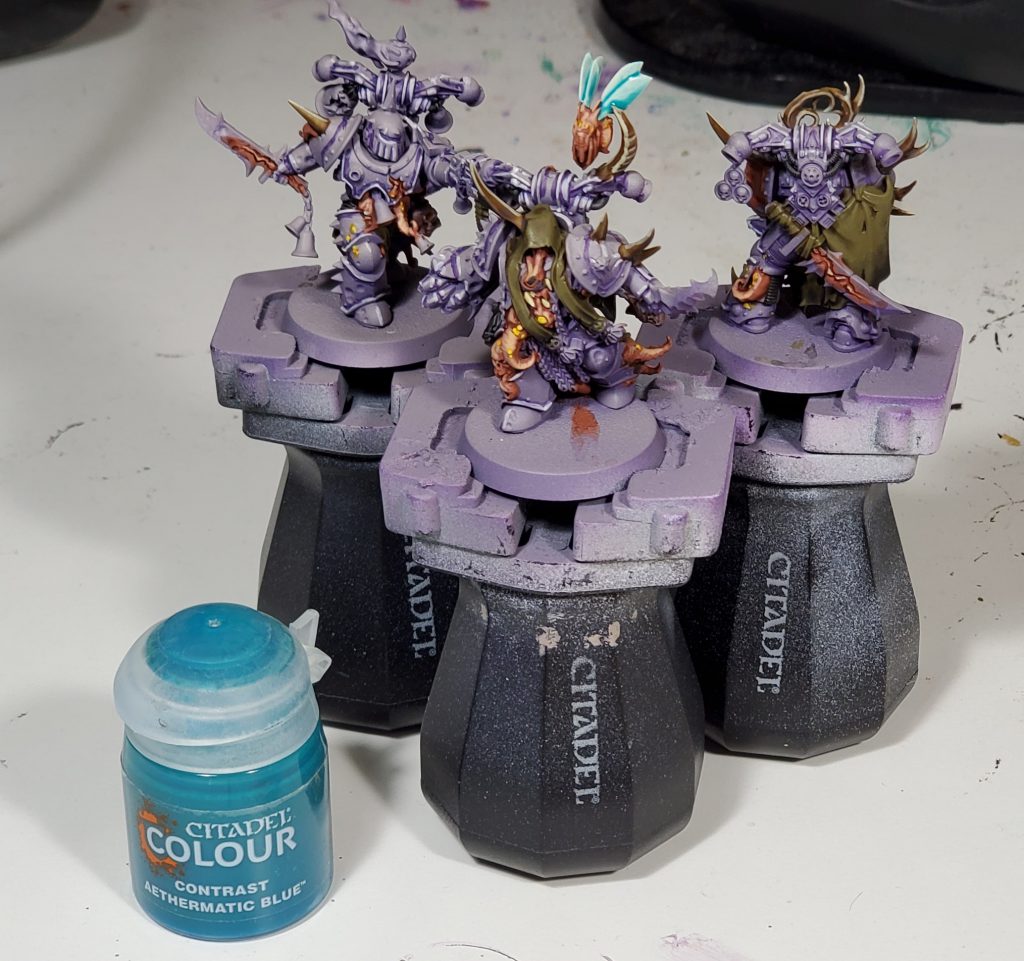
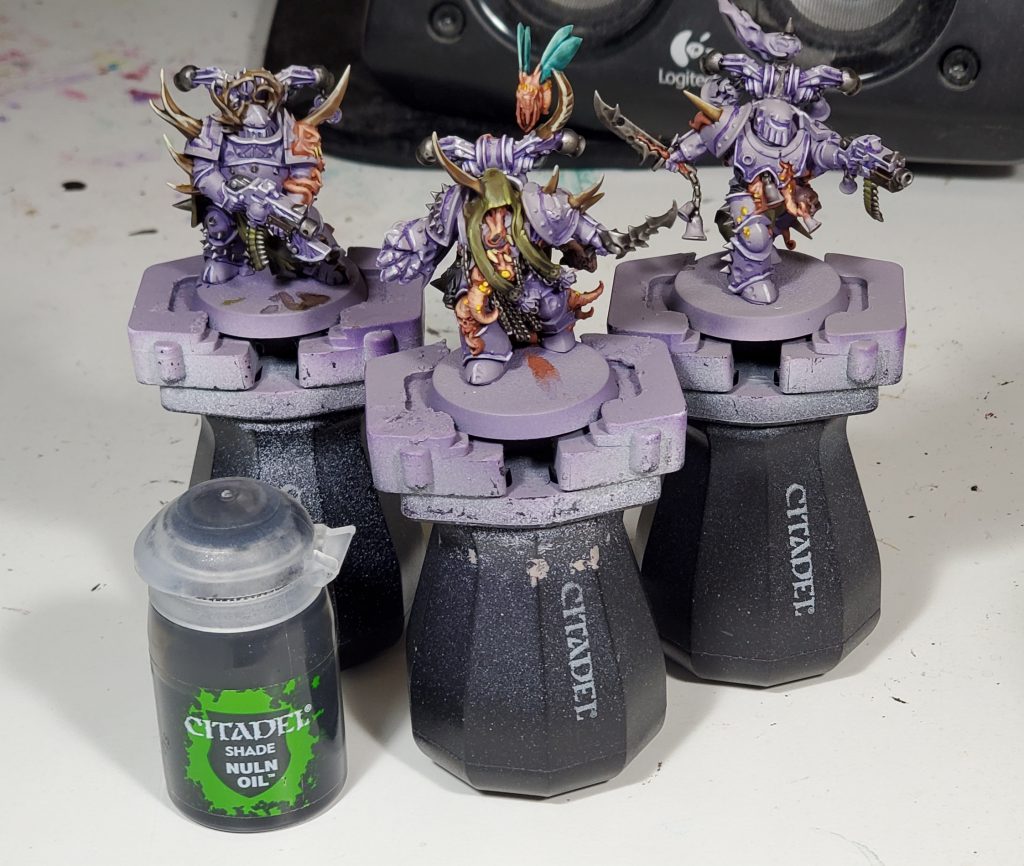
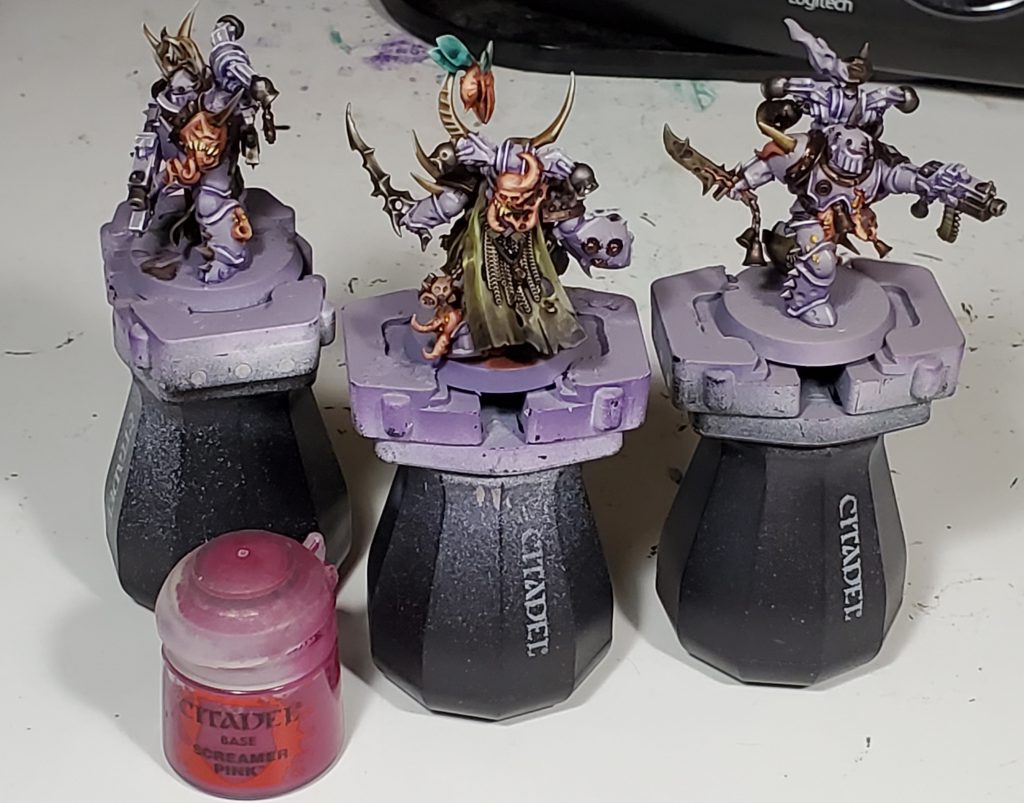
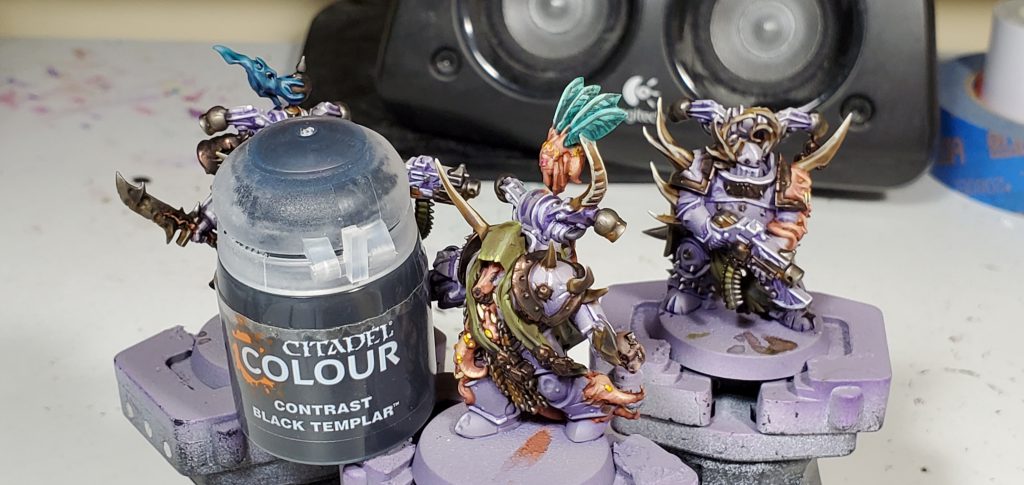
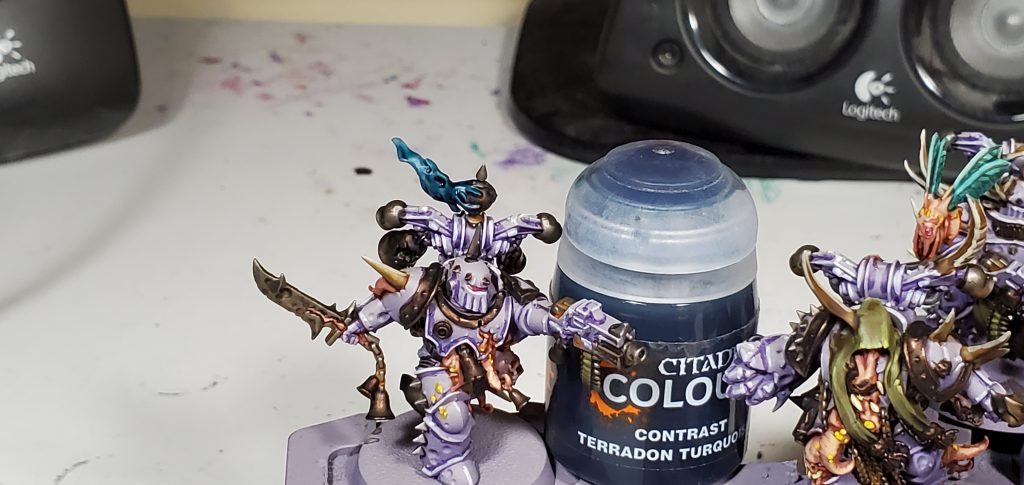
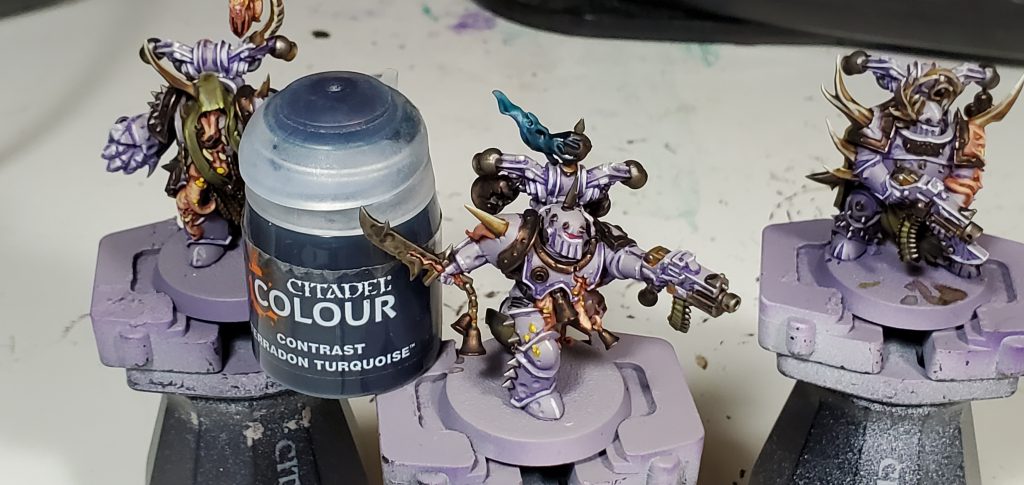
I tried to go for a sickly cataract/infected eye effect for the lenses, I am fairly happy with it but the contrast might not be strong enough, you could consider adding a bit of black to the screamer for an initial basecoat.
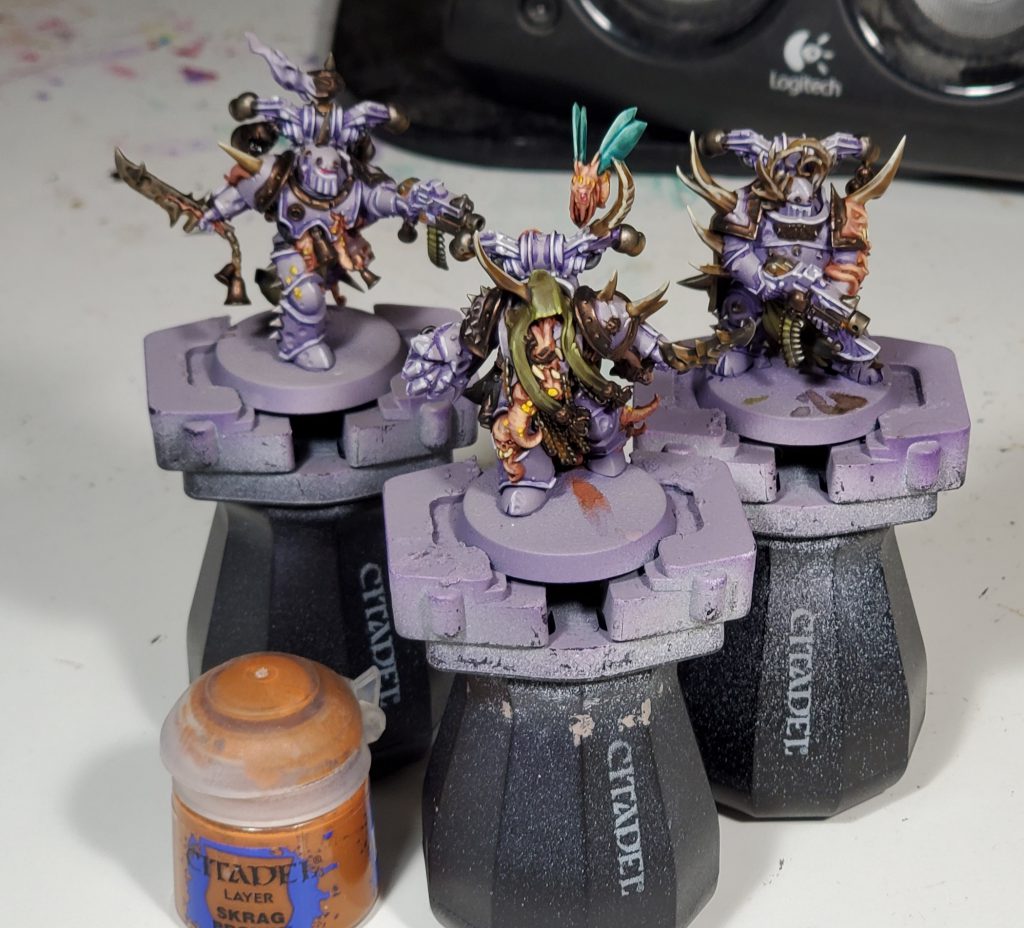
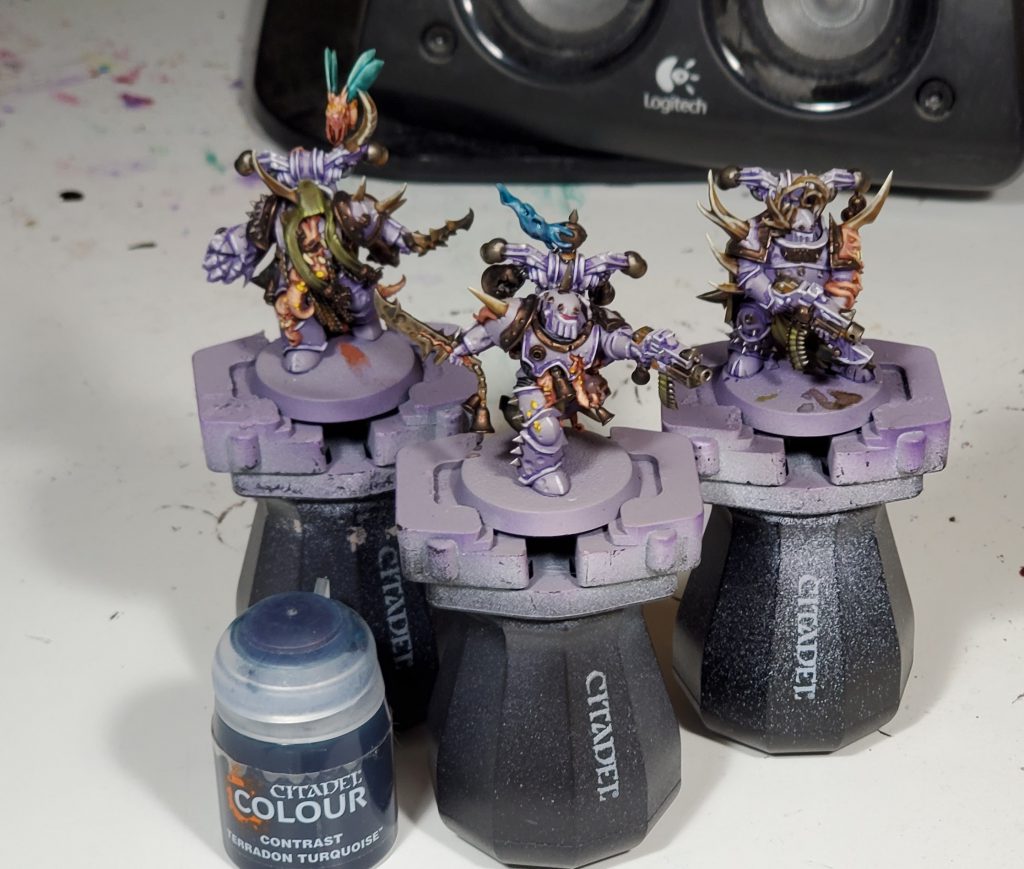
I use Skrag Brown to make a rust wash just by watering it down heavily and applying to the rough underside and pockmarks in the steel. The last picture here is where I roughly restored the zenithal base coat on the smoke emerging from the censer on the power pack, you probably don’t need to do anything more fancy than a quick mix of rakarth and naggaroth.
I built the smoke up in a sequence of Terradon Turquoise coats, the first of which is heavily thinned with water. In between coats I did a rough freehand of the wing structure for the weird fly creature, I like using contrast paints for free hand as they have a high pigment density allowing you to avoid multiple coats on small details.
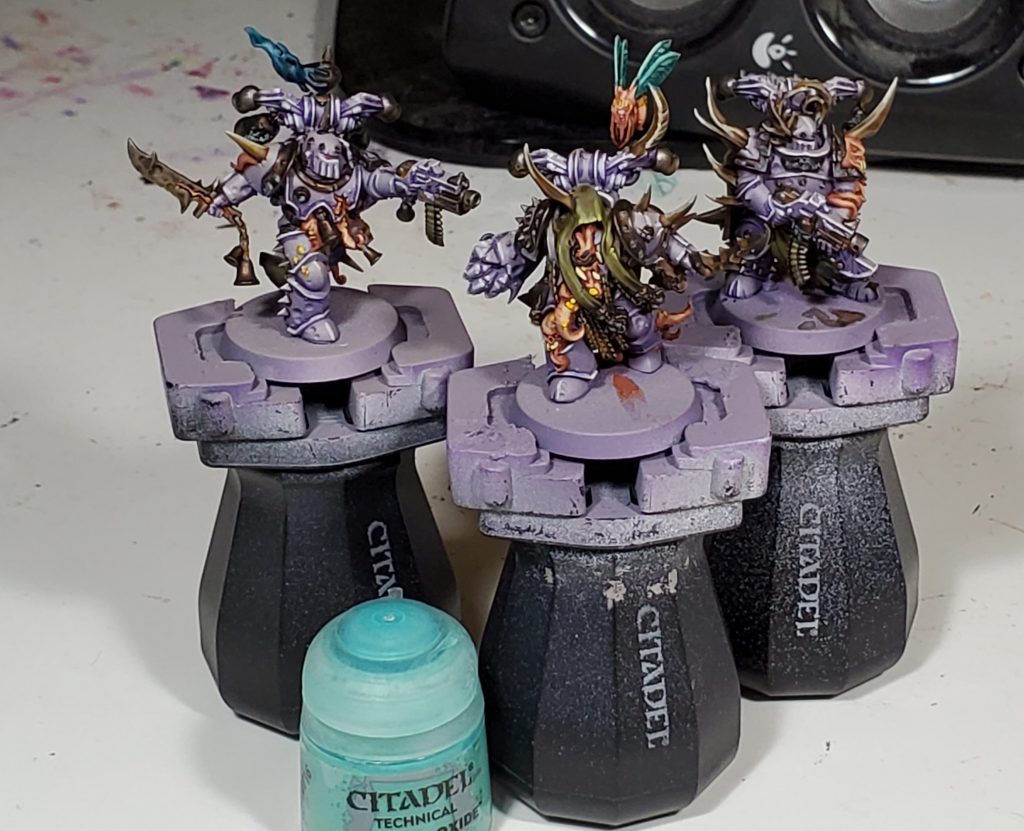
With technical paints like Nihilakh Oxide, I try target areas where corrosion from sitting water would form, primarily recesses and corners, to avoid the bronze being overwhelmed.
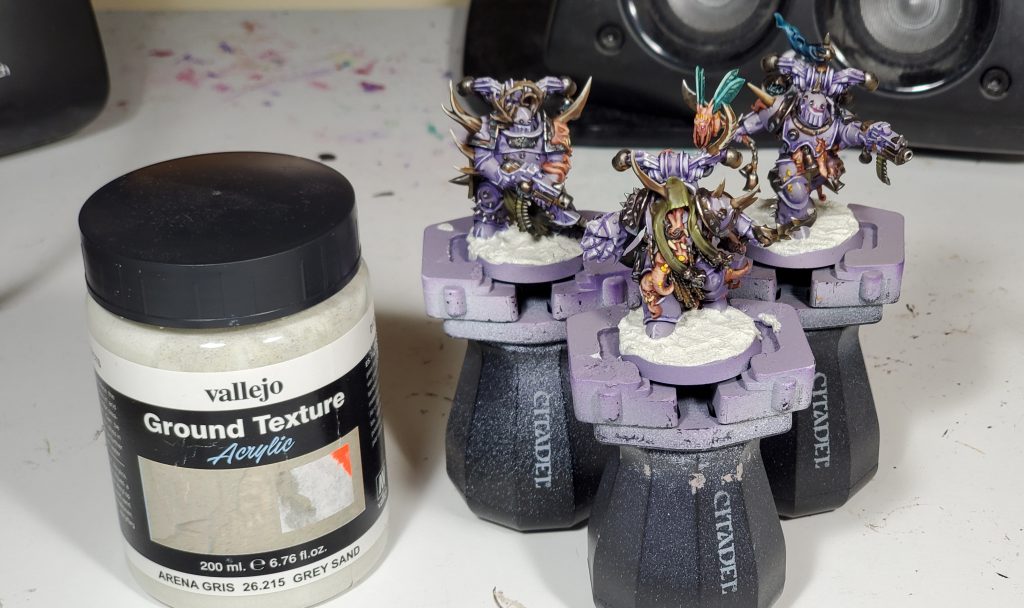
You can see when I get to the Wyldwood I sort of blotched it on without trying to cover the full base instead just making regions of distinct colours, now this is where I somehow forgot to coat the other areas with Nuln (don’t ask me how I have no excuse), the idea is to create a subtle variation within the swamp.
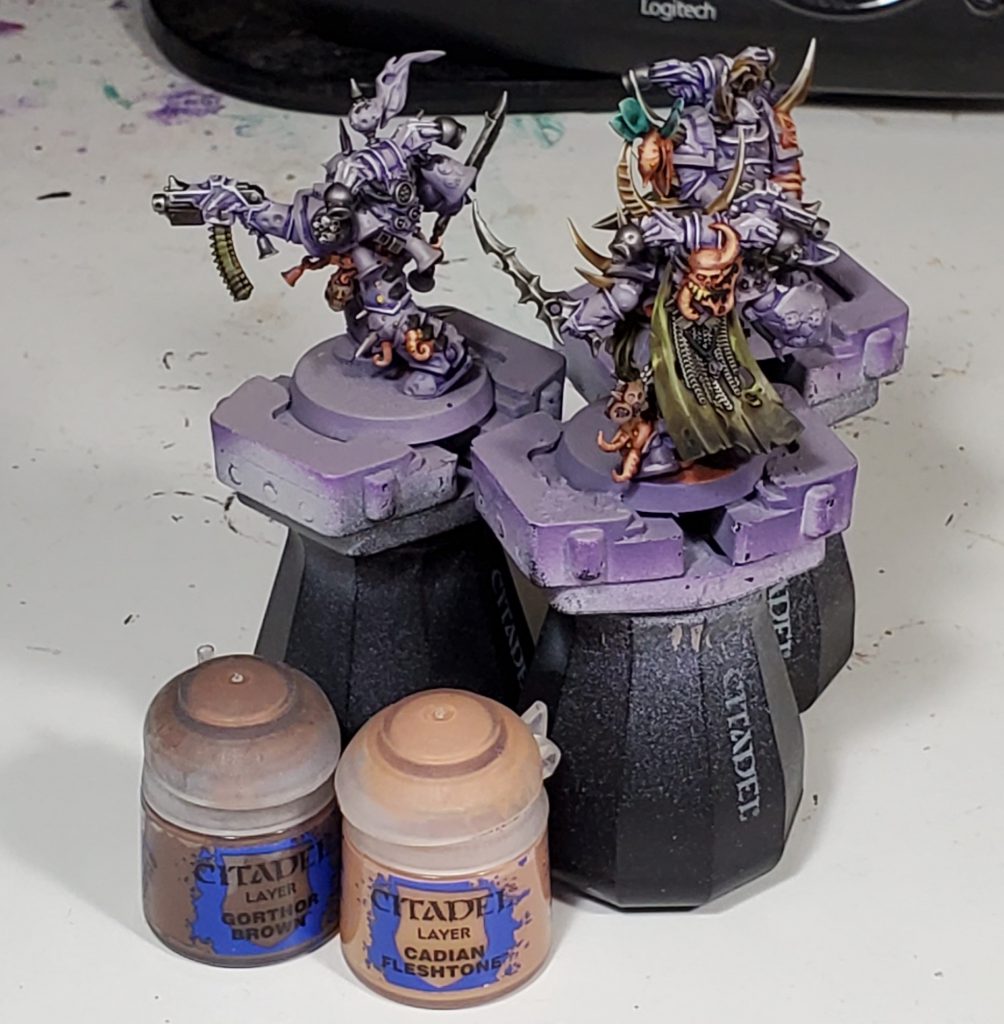
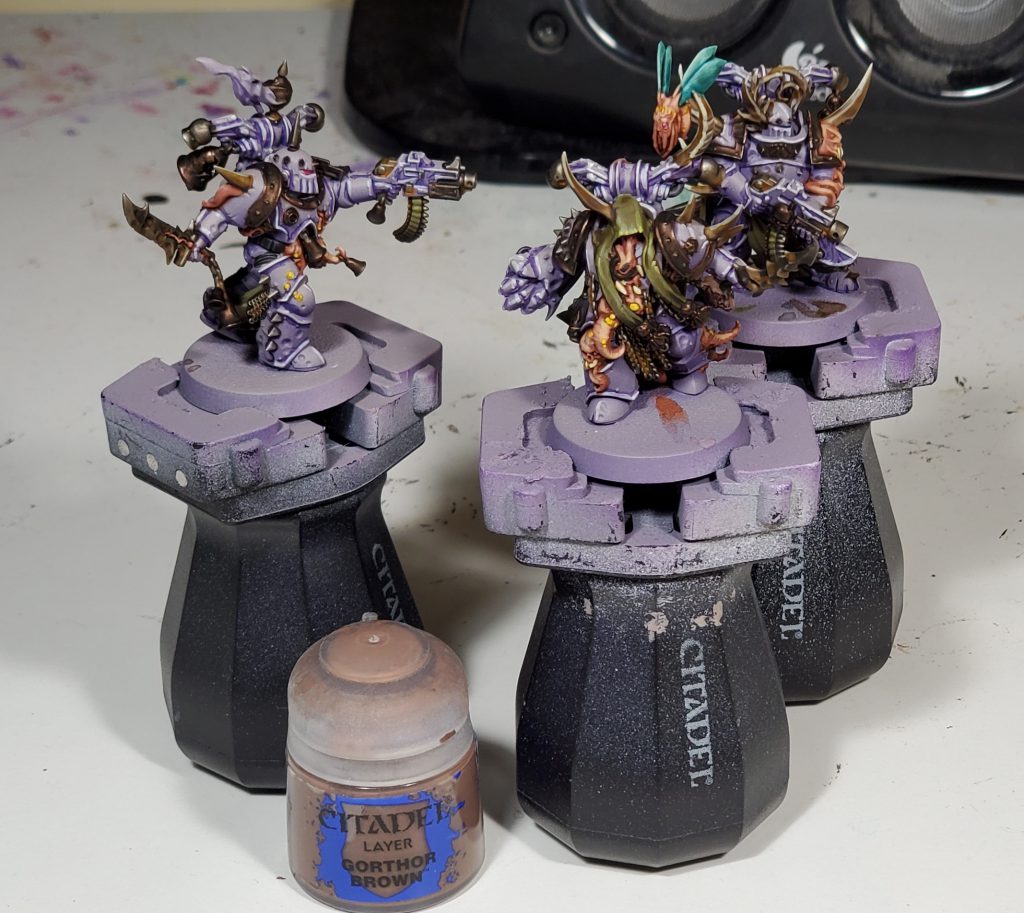
The water effect is applied from an intermediate palette, trying to pour it straight on small bases is doable but potentially messy. The Gorthor Brown is streaked into the water effects approximately where the model would have been walking to create a nice disturbed mud effect.

I do this with the thin end of a GW spatula, lightly stabbing it into the open pot to get a tiny bead of paint that I then dab right behind their feet and streak back to the rim. Note that you don’t need to get all the paint into the water, just sticking it in should leave enough.
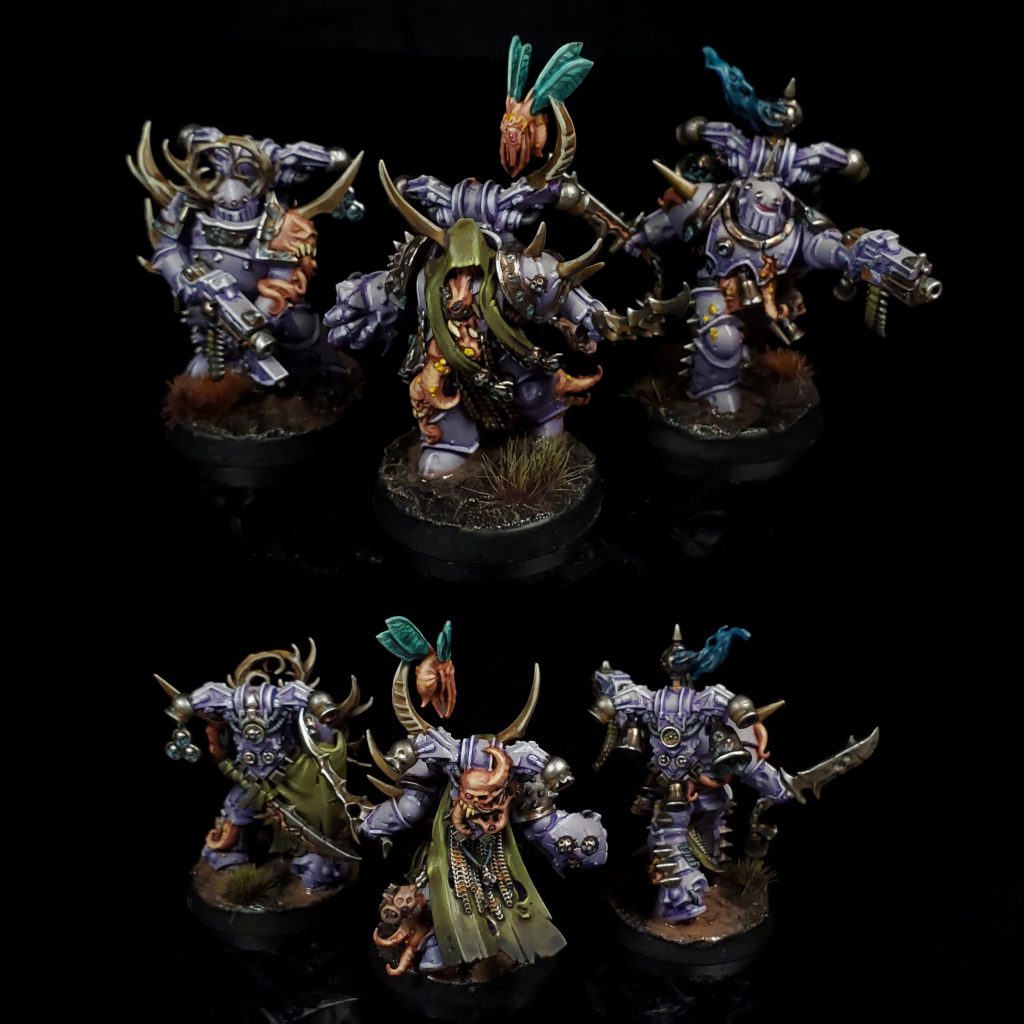
Clean up the rims with your choice of black, throw on some swampy looking tufts and you are done!
This article is part of a larger series on how to paint the Death Guard. To return to the parent article, click this link.

