
Hi Blood Bowl fans! The humble cage is one of the most common sights on the field, and we looked briefly at how you should go about forming one in our recent article. As I said back then, advancing your cage is a whole other problem and worthy of an article of its own, and so here we are! In this guide we’re going to look at all the tricks, tips, and nuances to the art of moving your cage toward the end zone.
Firstly, a quick reminder. For purposes of effective Game Management, this guide assumes that our goal is to receive the ball on our drive and then take the full eight turns to score. We’ll talk a little bit about other scenarios and options as we go.
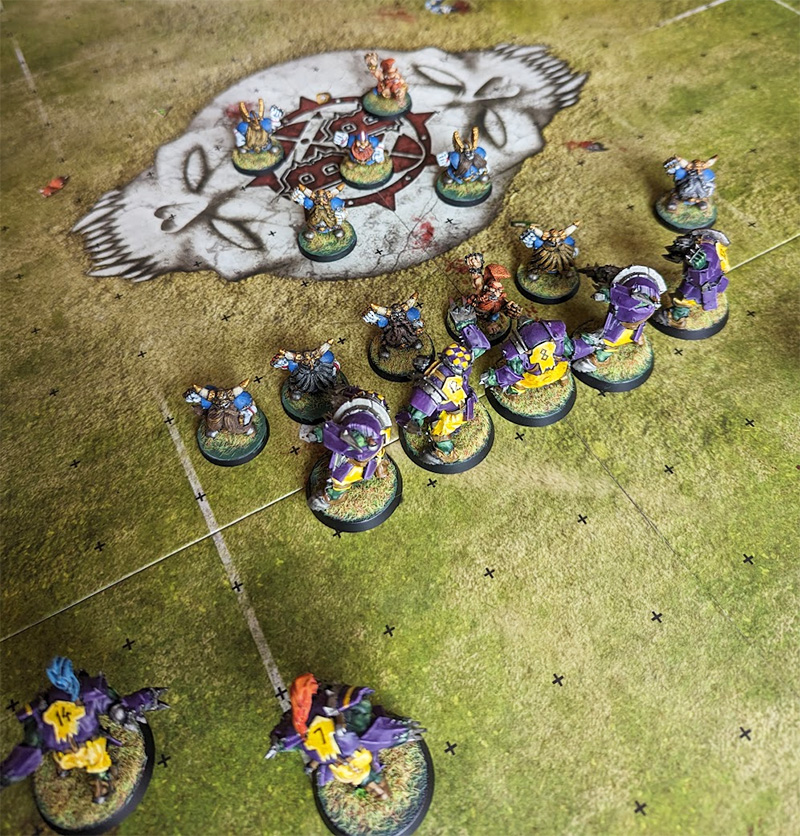
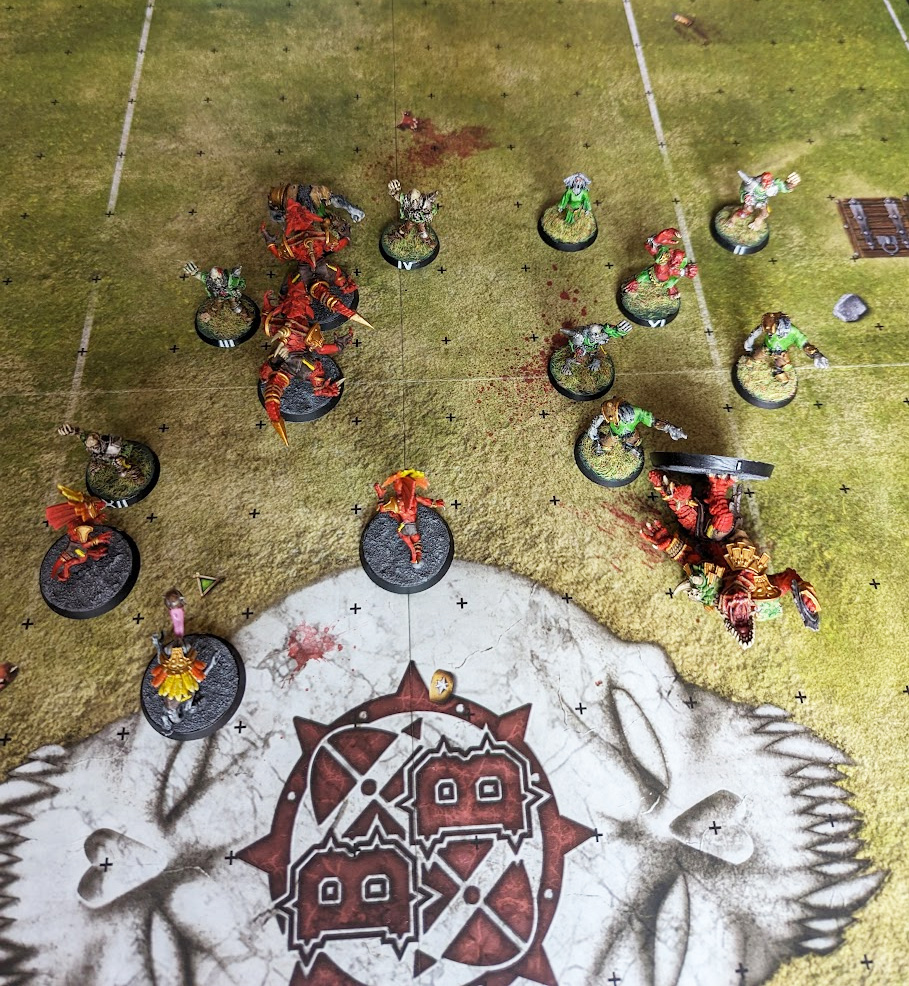
Receiving The Ball And Forming The Cage
We covered this a little in an earlier article, but it’s important to reiterate here because it is one of the most dangerous times for many teams. Any combination of unexpected kick location and Kick-off Table result (especially Blitz) can potentially put a huge hole in your well-crafted plans to control the ball and the drive.
You should have have enough free players to form some kind of initial cage around your ball carrier, and ideally enough to also ensure that your opponent cannot drive a wedge between your front line and the cage on their first turn. You can make the call on exactly how many players this will require, and where, when you have seen your opponent’s defensive set-up, and taking into account the team race. Against Agility teams, deep kicks give them the greatest opportunity to create a wedge, while short kicks and a Blitz can instantly give them the ball. Against Bash teams, a deep kick is not much threat, but a short kick can mean having to create your cage uncomfortably close to your opponent’s front lines, or not being able to adequately create one at all.
Not every eventuality can be guarded against, but you should at least be aware of the greatest and most likely dangers when setting up. The fewer players you have committed to blocking on the LOS, the more you have available to reposition and get your drive off to the best start.
Field Positioning
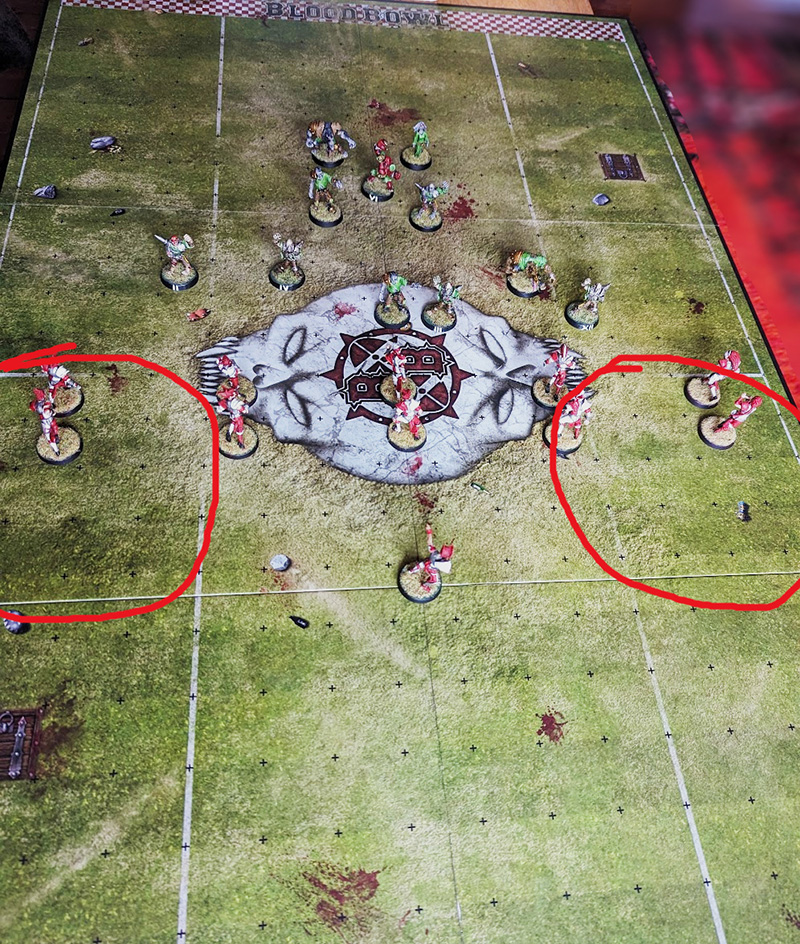
Early in your drive, you should be looking to avoid the sidelines. For most caging teams with low mobility, any hard push toward a side will be a no-turning-back decision. The longer you can keep your cage in the middle of the field, the longer the defense has to respect the possibility that you will move toward one sideline or another, and thus have to continue to assign players to guard it. If you do chose a sideline at a later point in your drive, you will have the advantage in numbers, and the later you delay the decision the less time they have to react and respond.
A good rule of thumb is not to commit your main strength into these areas in the first four turns of the half:
Clearing The Path
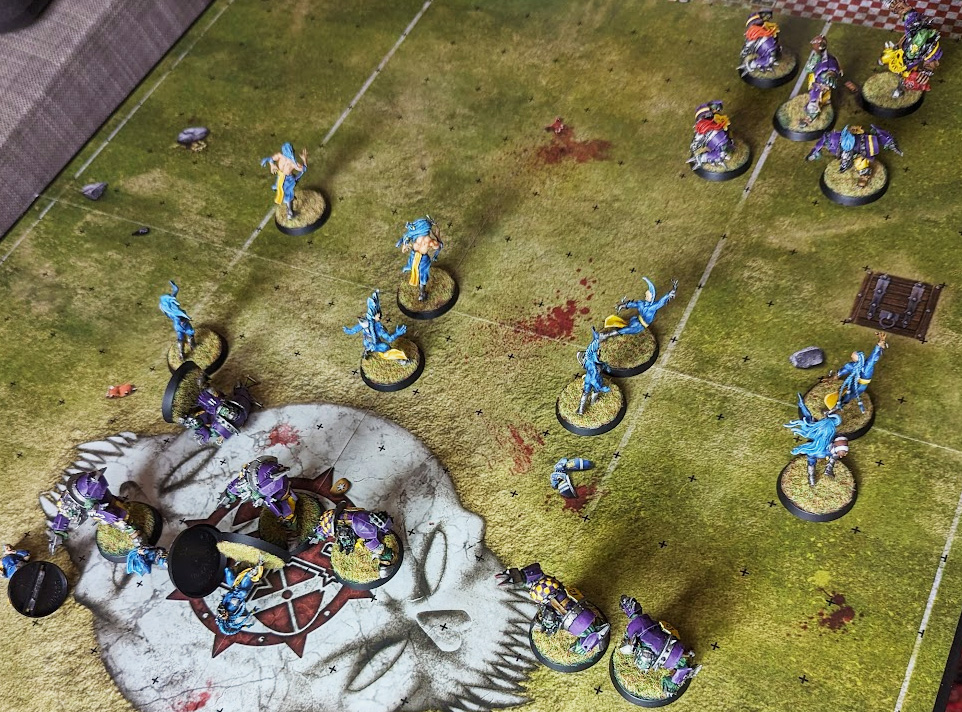
One of the key principles of successfully advancing a cage is that it is generally not the cage that clears its own path. In fact, avoiding all contact is your main goal. That means it is the other six players on the team who have to be the ones to play in front of the cage and remove opposition defenders. That doesn’t seem like a lot, and one of the natural consequences of running a cage is that you have a good amount of your team tied up in protecting the ball. But as you push forward, you will generally find that players rotate in and out of the cage as it moves. A player who has started on the front lines making blocks may end up becoming one of the cage corners as the rest of the team move into the space they have created. A player might start the turn as a cage corner, but end up making a Blitz or moving to add an assist to allow the cage to progress. You will need to consider how each of your pieces can play their role in advancing and re-forming the cage each turn.
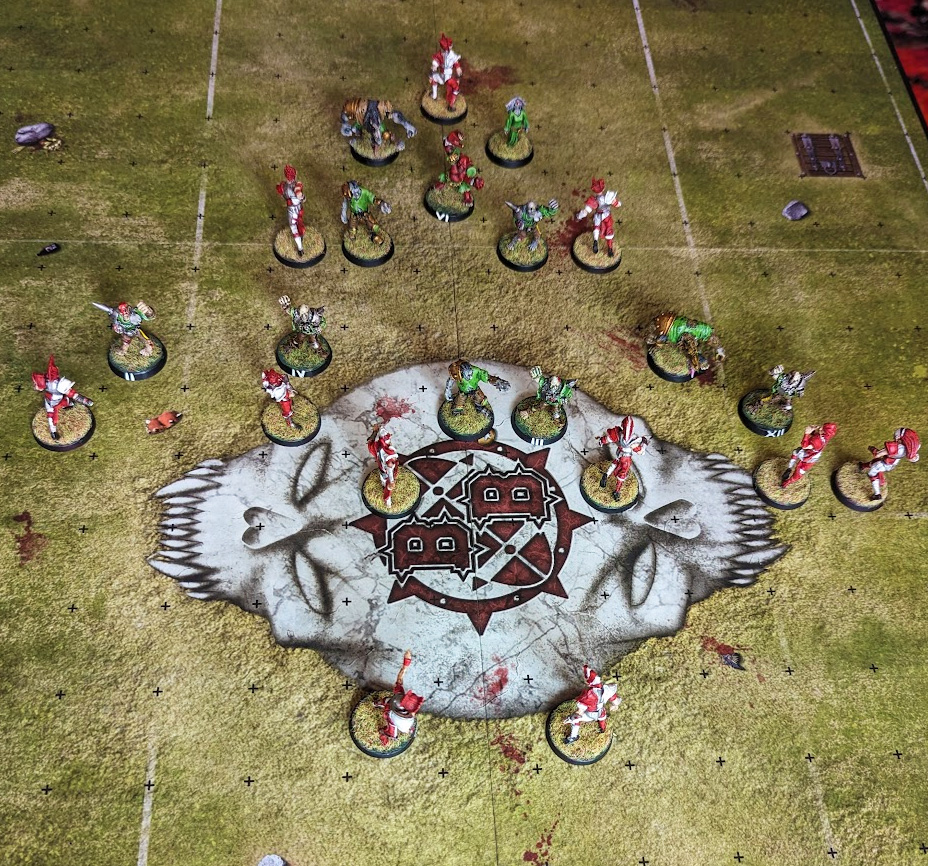
Breaking Through Screens
When the opponent is trying to use screens to defend, it is generally because they are trying to kill time or because they are a weaker team who cannot match your blocking power. In both cases, you need to attack the screen aggressively to thwart their goals. The general principle is that you will use your Blitz action to attack the first layer of the screen and move a player out of position. You then push your own players into the available spaces, as well as tagging opposition players for future blocks and making it more difficult for them to dodge away and reset their screens. Any holes you can create and players you can insert into the places where they want to play their screens can completely undermine their whole tactic.
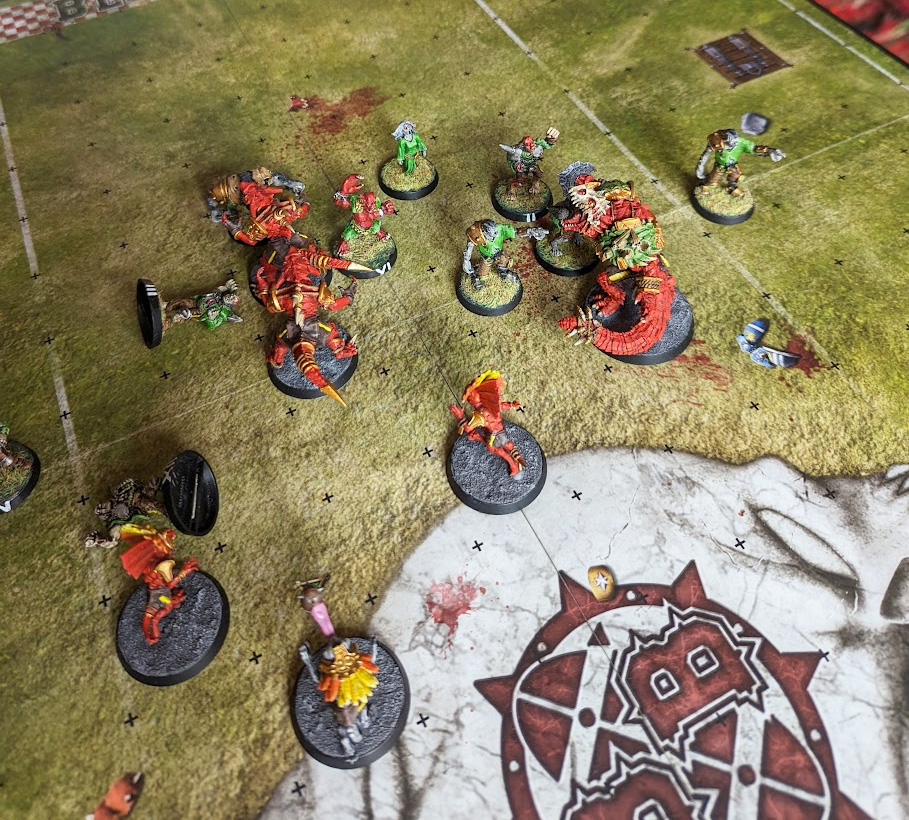
Breaking Through Walls
Strong opponents can simply challenge you to bash your way through walls of players. In this scenario you will need to pick your blocking matchups carefully, and find whatever advantages you can depending on the matchup you are playing.
Often defensive walls are broken down by targeting the players at the edges, leading to a domino effect where assists along the line suddenly appear and allowing you to block everything away.
Sticking to the middle of the field for as long as possible will be even more advantageous in this scenario, as stronger opponents tend to be less mobile, and thus marking the width of the pitch and having a strong blocking wall will be difficult for them. You can act out the contest of strength in the middle of the field and make a decision based on how that is going as to whether you want to make a dive for the sideline later in your drive.
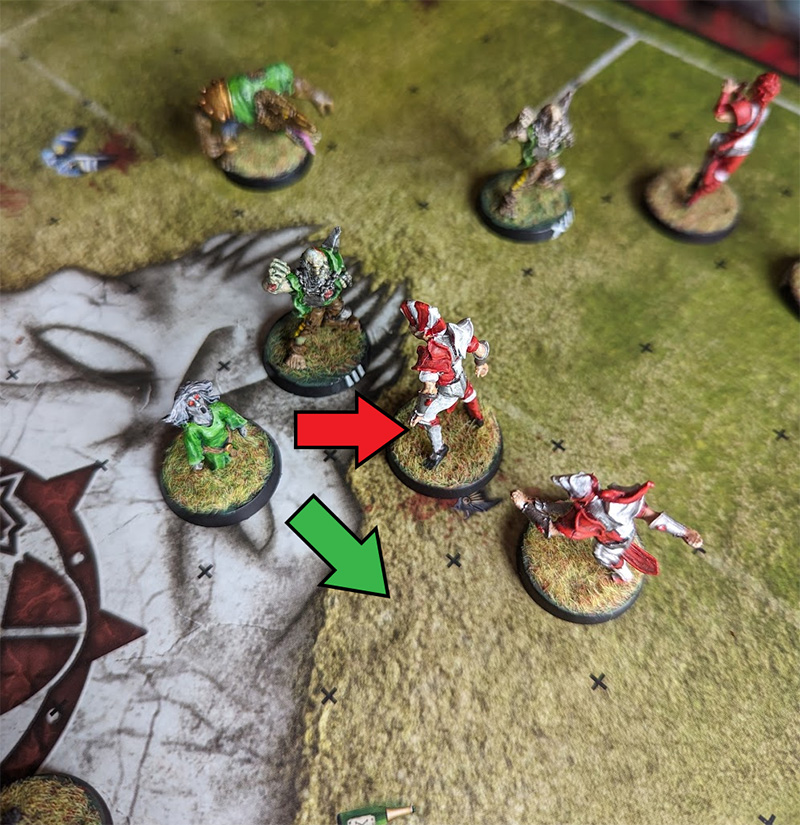
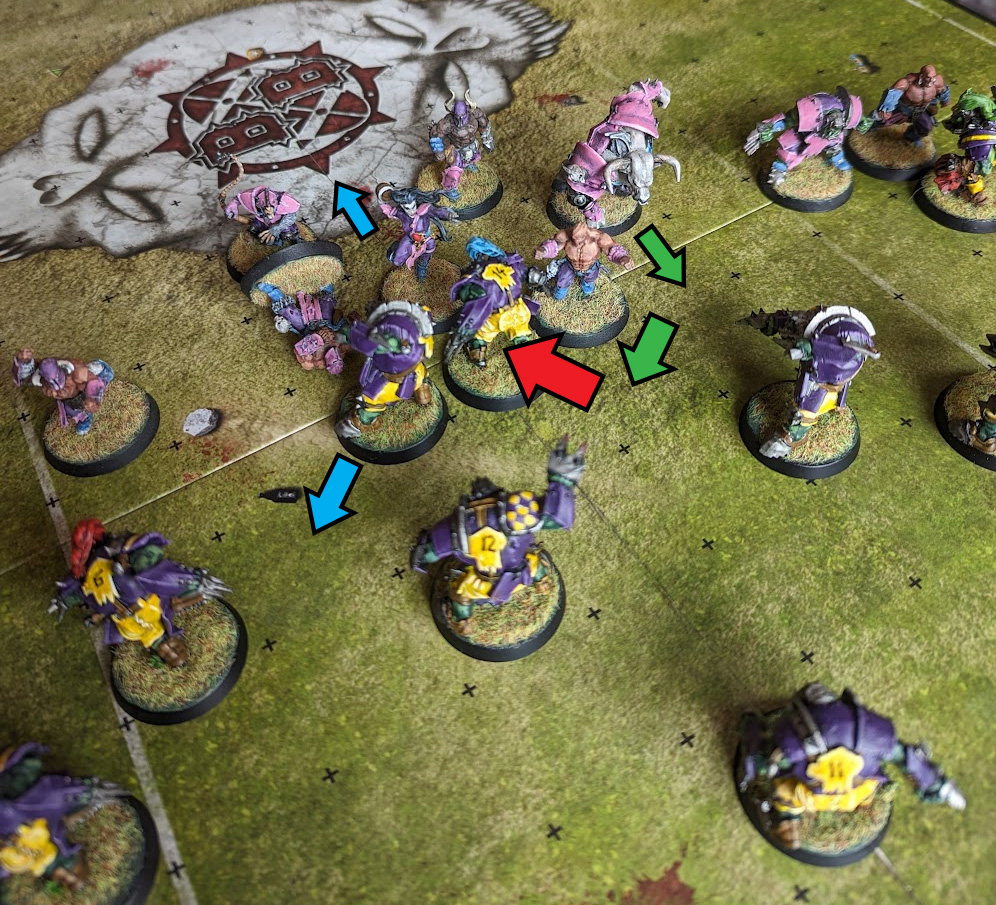
Removing Basers
One of the more annoying problems to deal with is opponents who base up parts of your cage. These force you to make a decision: to sacrifice your cage’s mobility and spend actions blocking them away, or to move your ball-carrier and unbased players away but leave the others behind.
A persistent opponent who bases up and stubbornly refuses to get killed can bog your drive down into a huge melee that denies you progress down the field and burns clock. But theoretically at least, giving you free blocks on their players is not a viable approach, and if your opponent leans into this tactic early, you should not be afraid to let a little clock burn while you simply block their players away and hope for removals. As the drive progresses, you will need to keep a closer eye on the clock and lean more into moving away from basers. At this point you may need to lean into some of the tactics below.
Escaping A Broken Cage
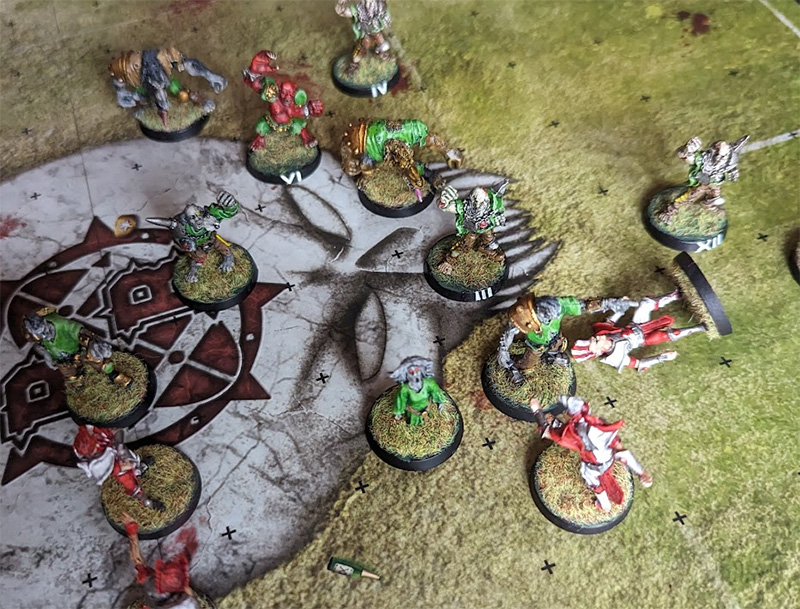
The most dangerous scenario for your drive is an opponent taking out a cage corner and then following that up by marking your ball-carrier with another player. If that marker has very high Strength, or skills like Stand Firm or Sidestep then it can get even tougher.
So what you can do to get yourself out of trouble? Your two major tools here are your Blitz action and the potential for chain-pushing. At its simplest, you can blitz the player marking the ball off your ball-carrier and then re-position to create a new cage, or make the blitz with the ball carrier themselves and then move to safety.
Chain pushes are also often possible because of the number of bodies in a small space, and can be used to achieve the same goals.
Ultimately, a time may come when you have to bite the bullet and dodge away. For most teams that will be a 3+ roll, and if you have a Team Re-Roll handy that’s a roughly 88% chance of success. So don’t be afraid to take the option when things look dire.
Ideally, when you dodge away it will be to a newly-formed cage outside of opposition contact. Your Blitz action can be a powerful tool in this scenario to block a team-mate free and allow both to become part of the new cage.
Ramming It Home
So to summarise:
- Set up at kick-off to give yourself the best chance to safeguard the ball, form your cage, and prevent opponents from isolating it.
- Position your cage in the center of the field, and try and remain there for as long as possible as you drive forward
- Use your other players to clear space in front of the cage and keep it free of contact
- Learn how to break down and penetrate opponent screens
- Learn how to match up and win the battle against opponent walls
- Make good decisions about when to block basers, or move away from them
- When your cage is broken, re-form it or get the hell away
Hopefully this helps all you grinders out there. If you have questions or feedback on this or any of our other Blood Bowl articles, you can leave a comment below, or you can mail us with any thoughts and ideas at contact@goonhammer.com.
