This article is part of a larger series on How to Paint Tyranids. To return to that series, click here.

For Hive Fleet Leviathan, we’re using just about every technique in the acrylic paints toolbox: airbrush, drybrush, contrast, and traditional. But despite that, this scheme is both fast and versatile, which will be handy when you’re painting your ten thousandth space bug.
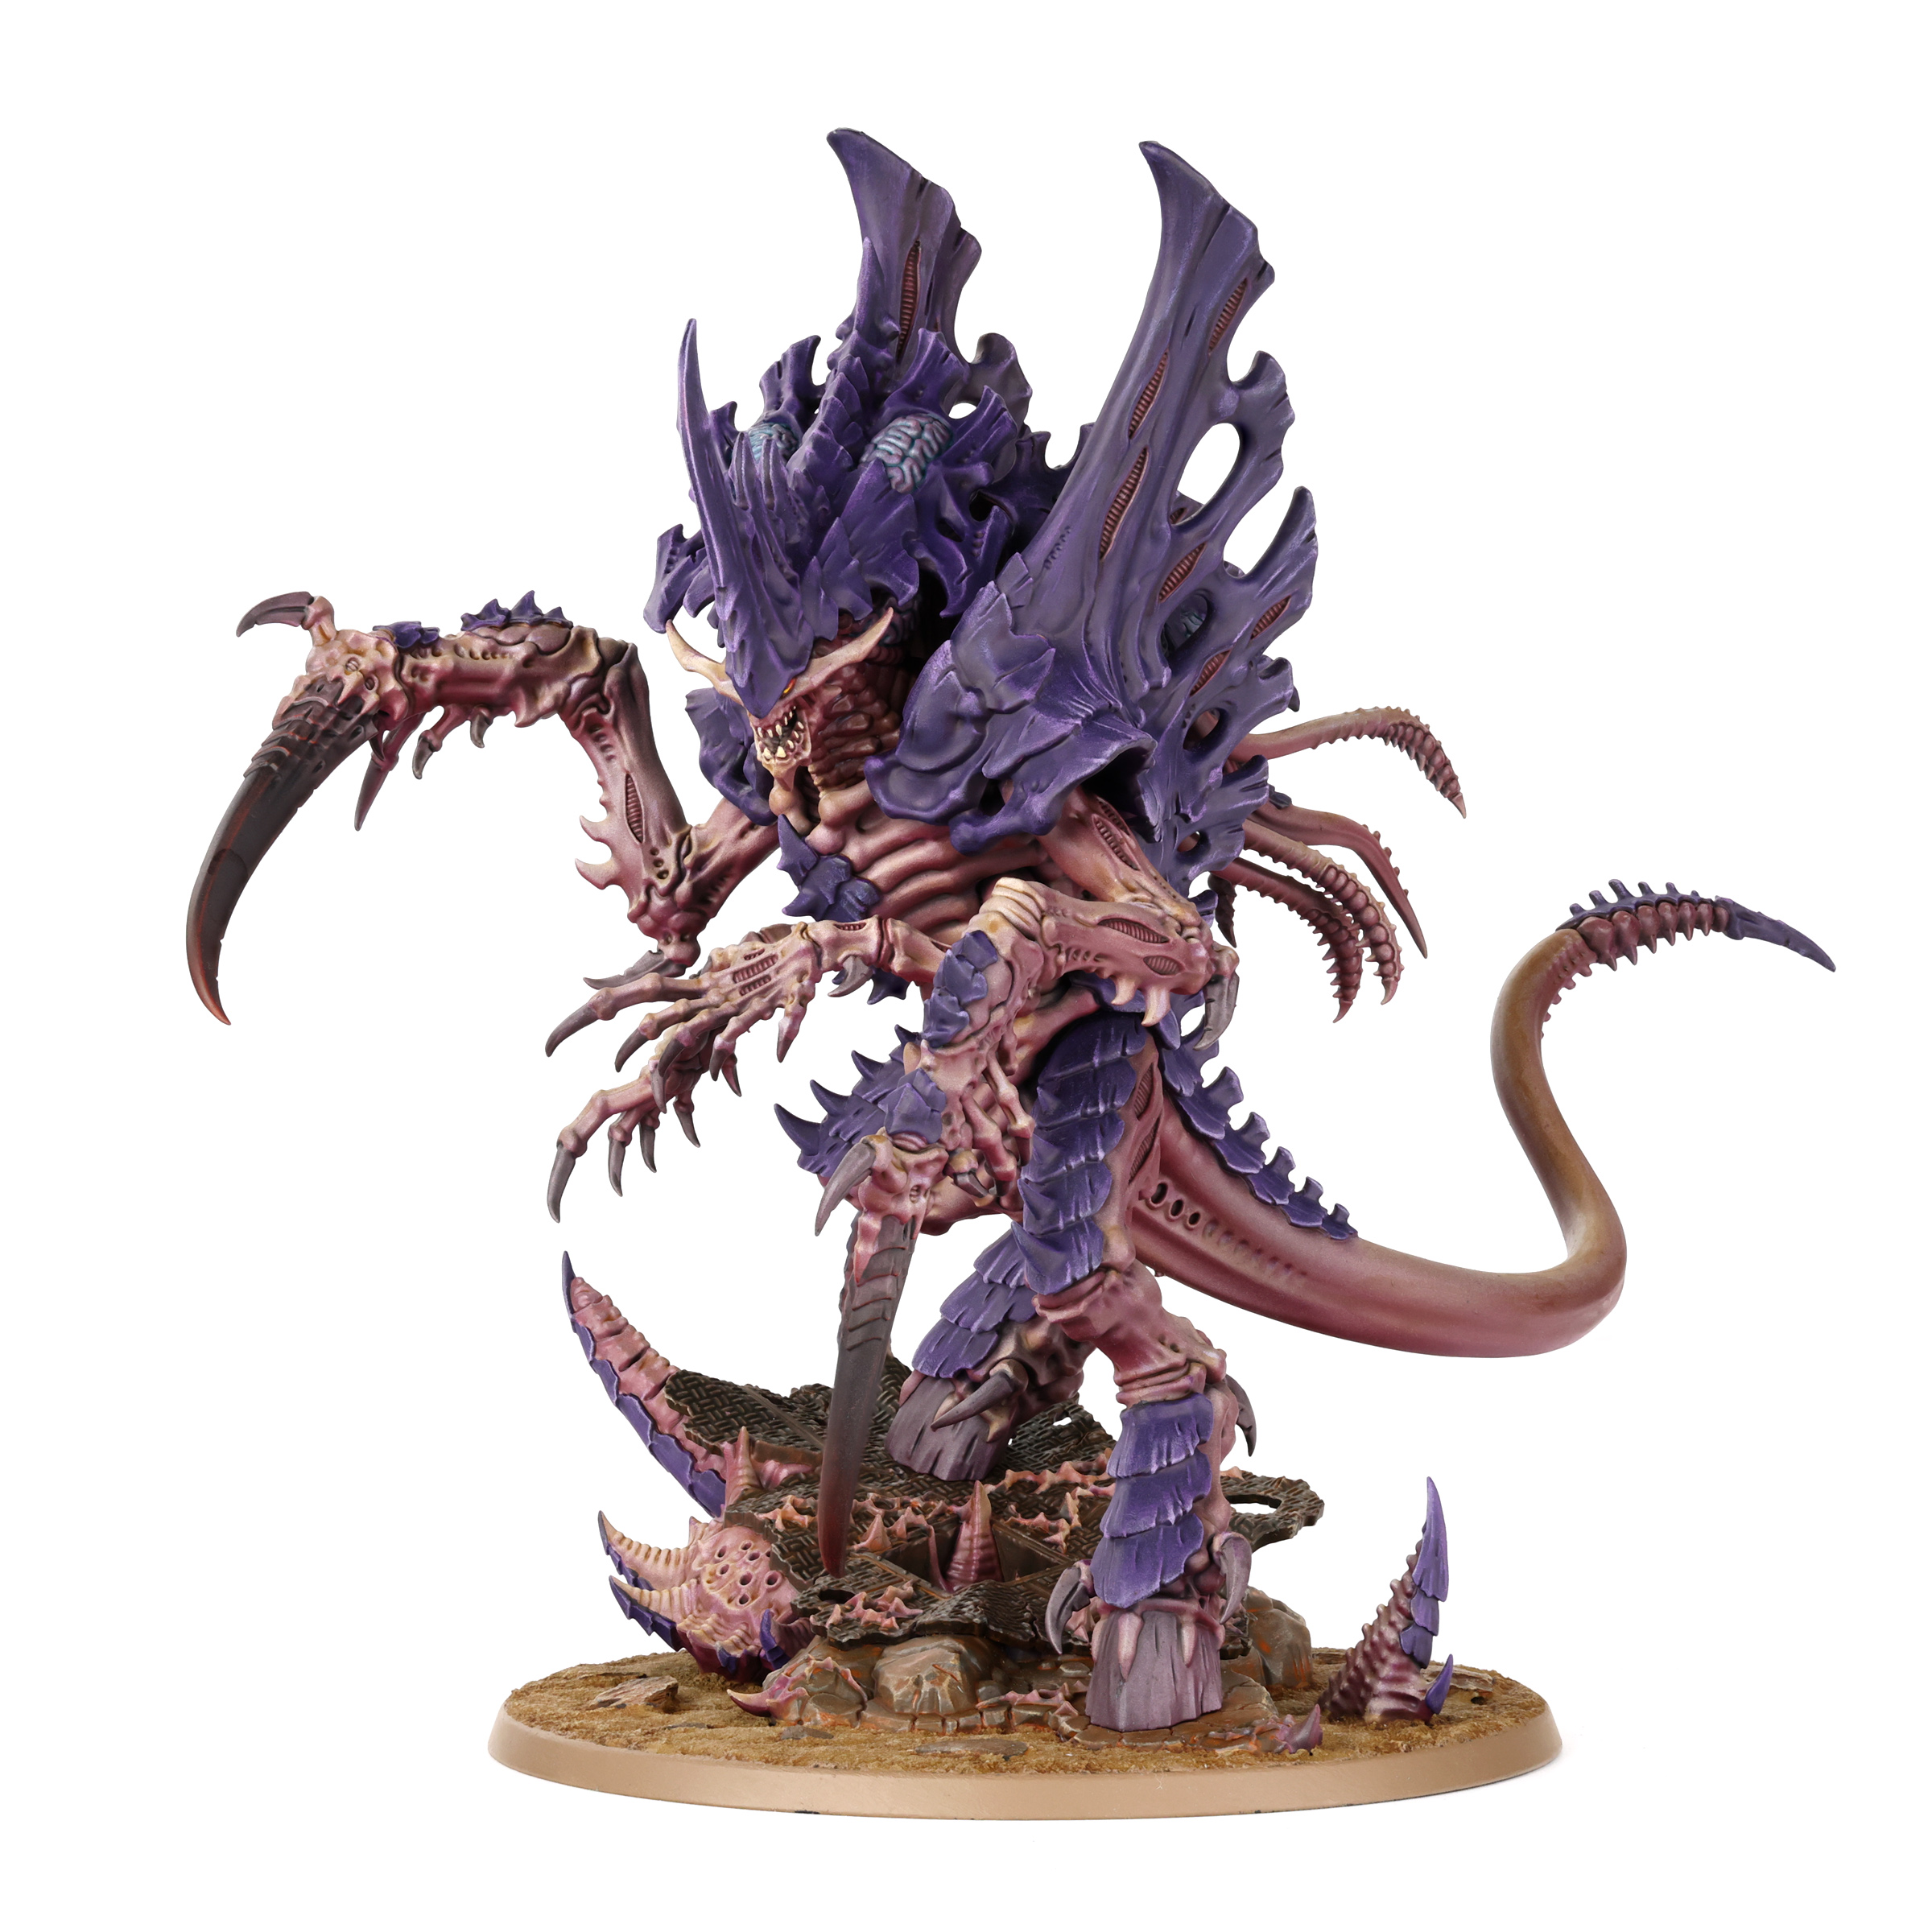
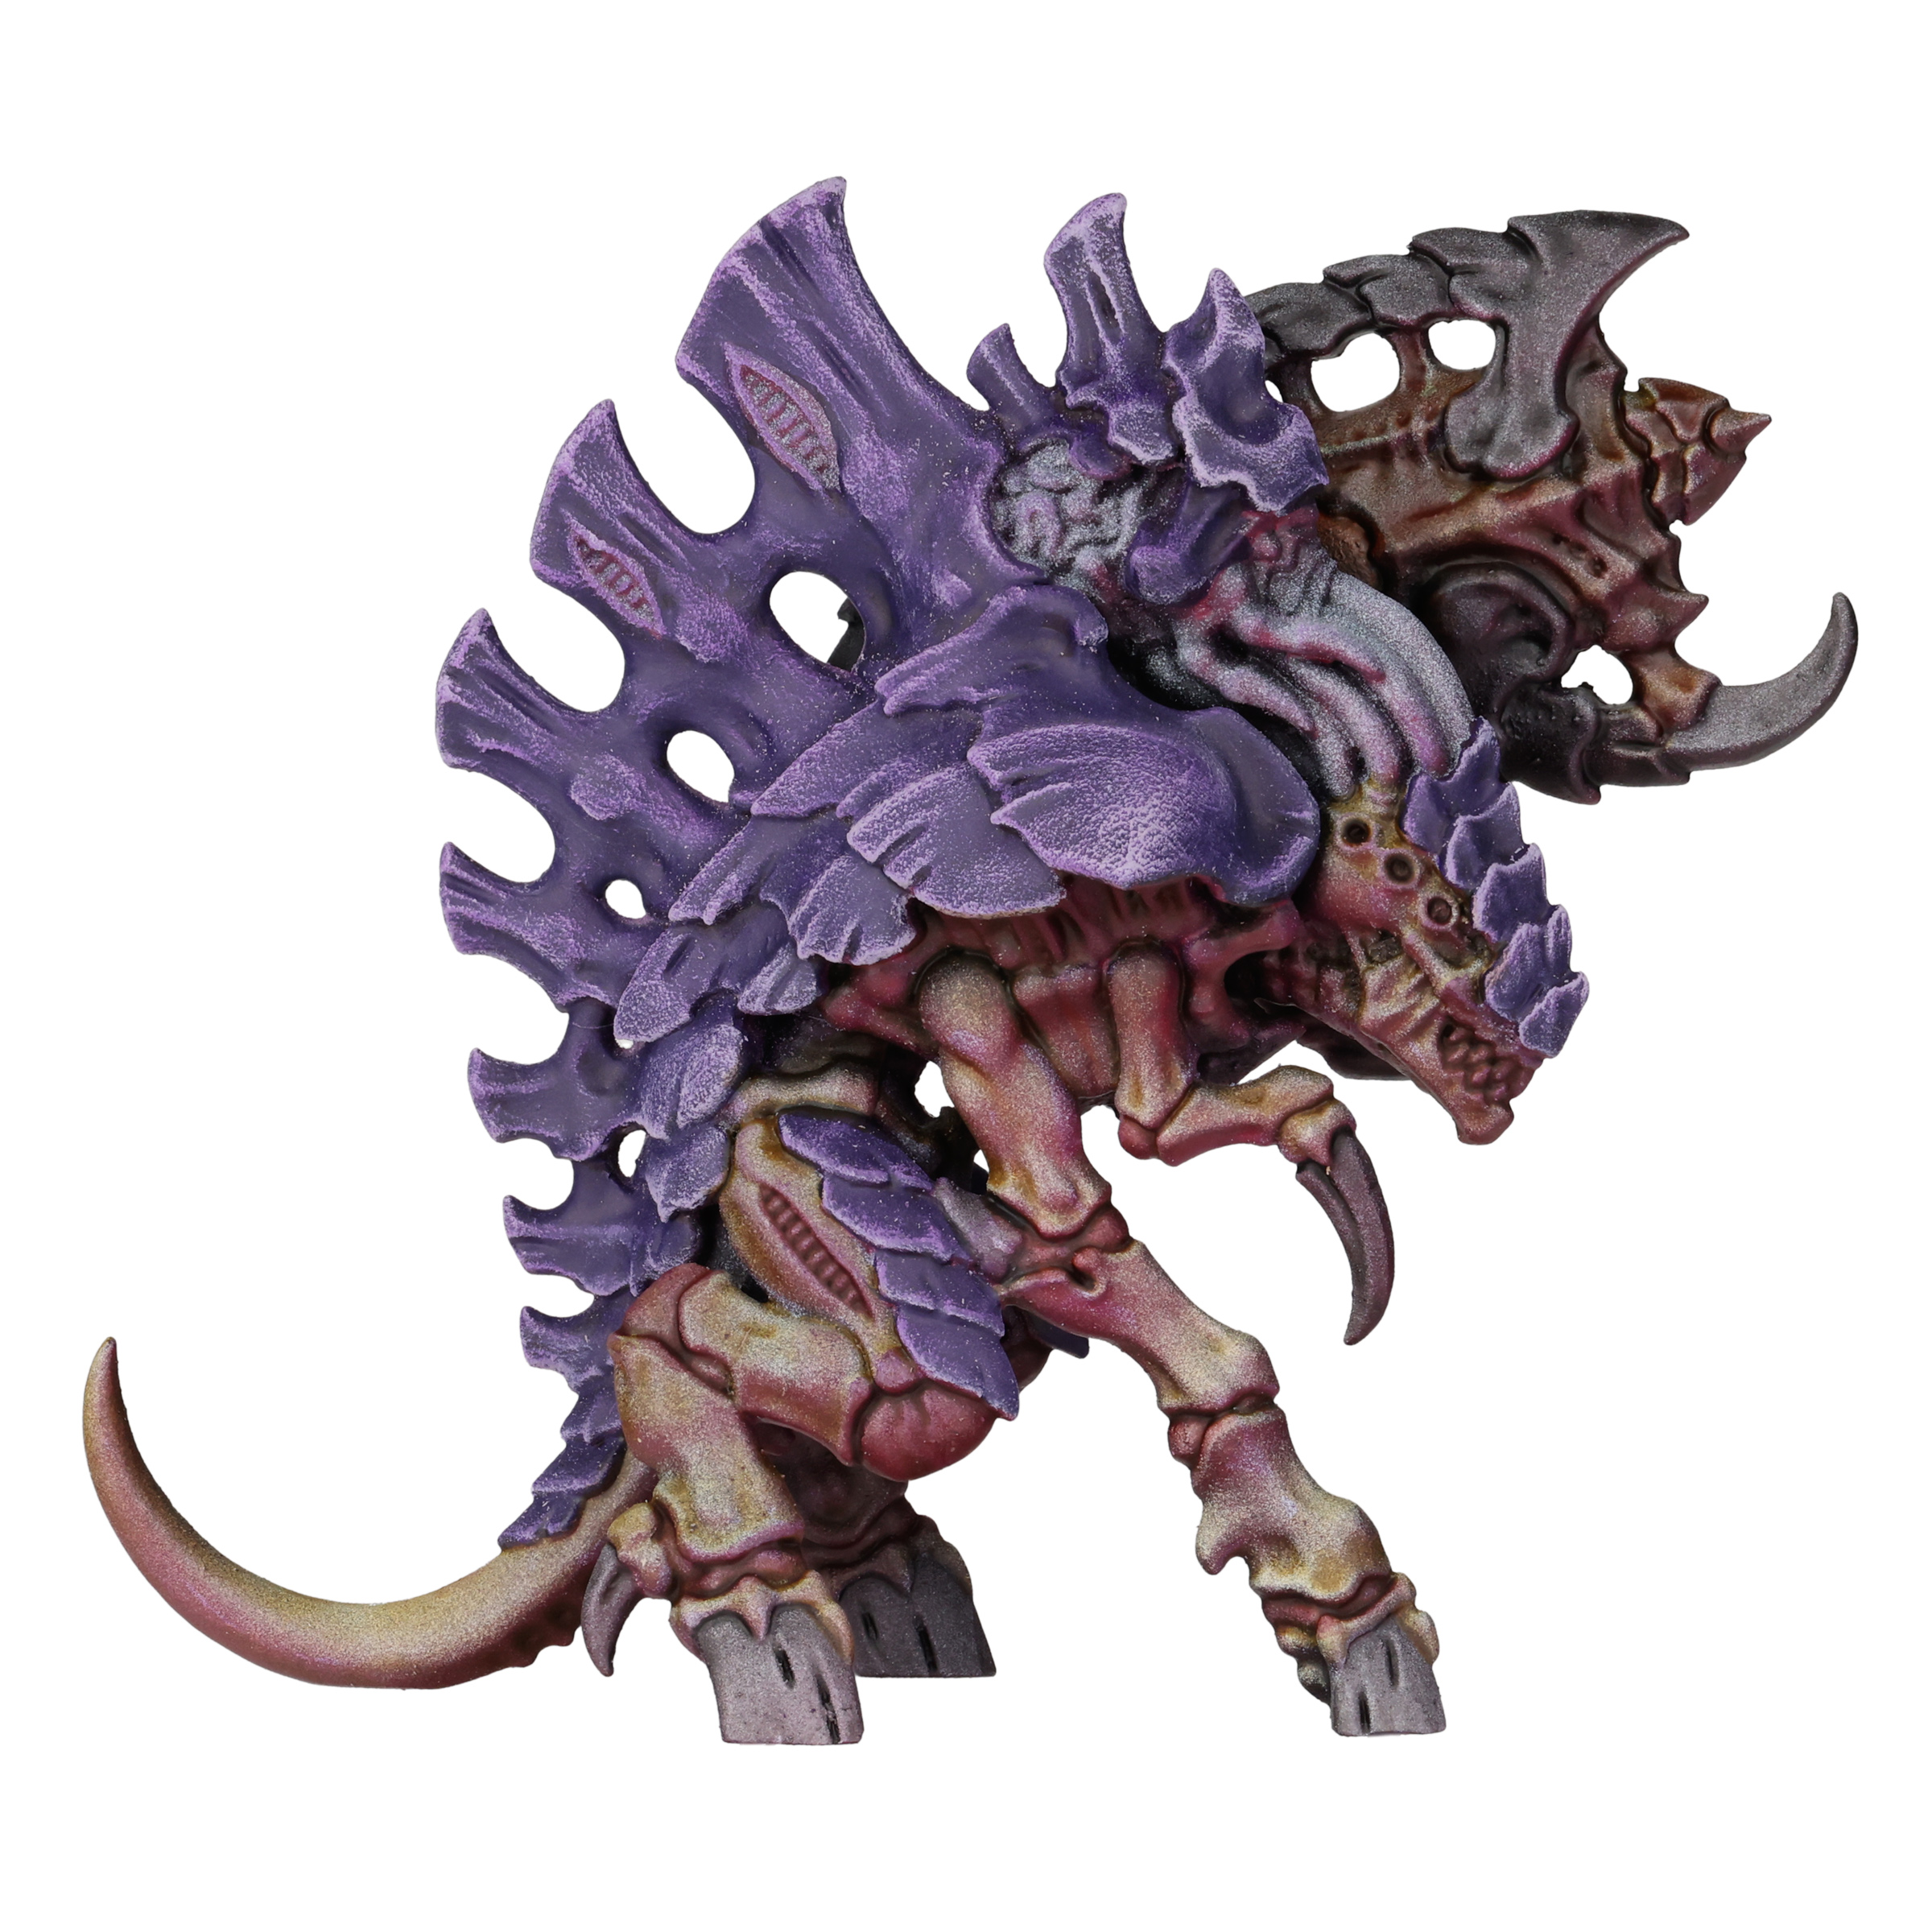
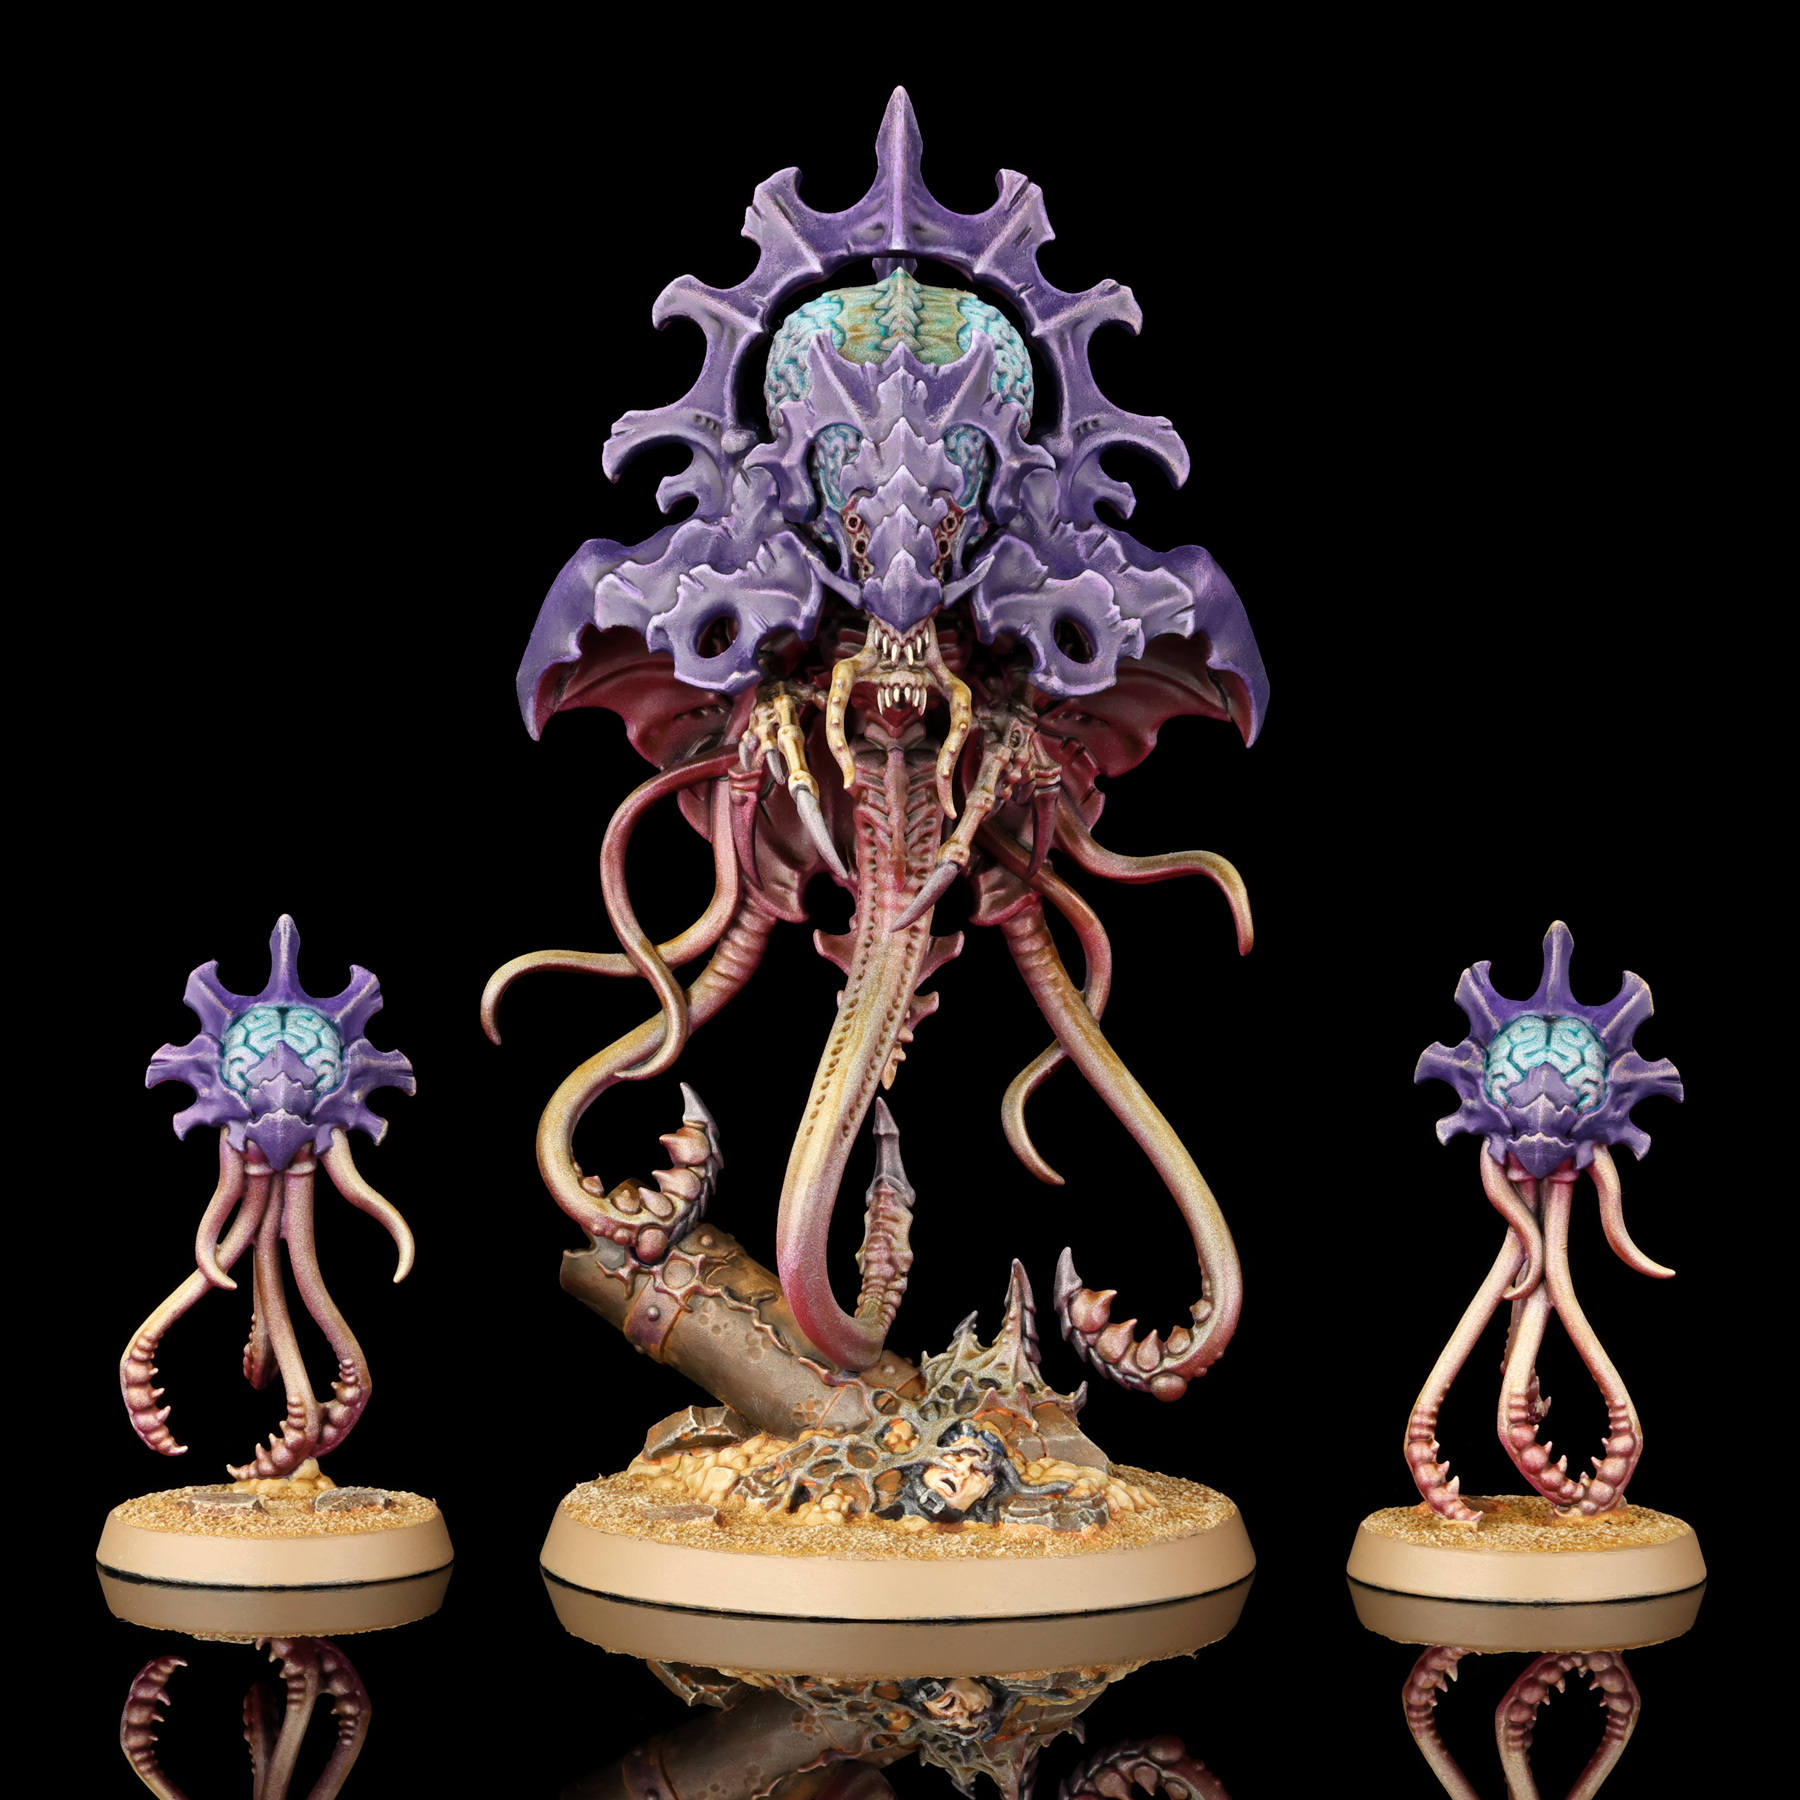
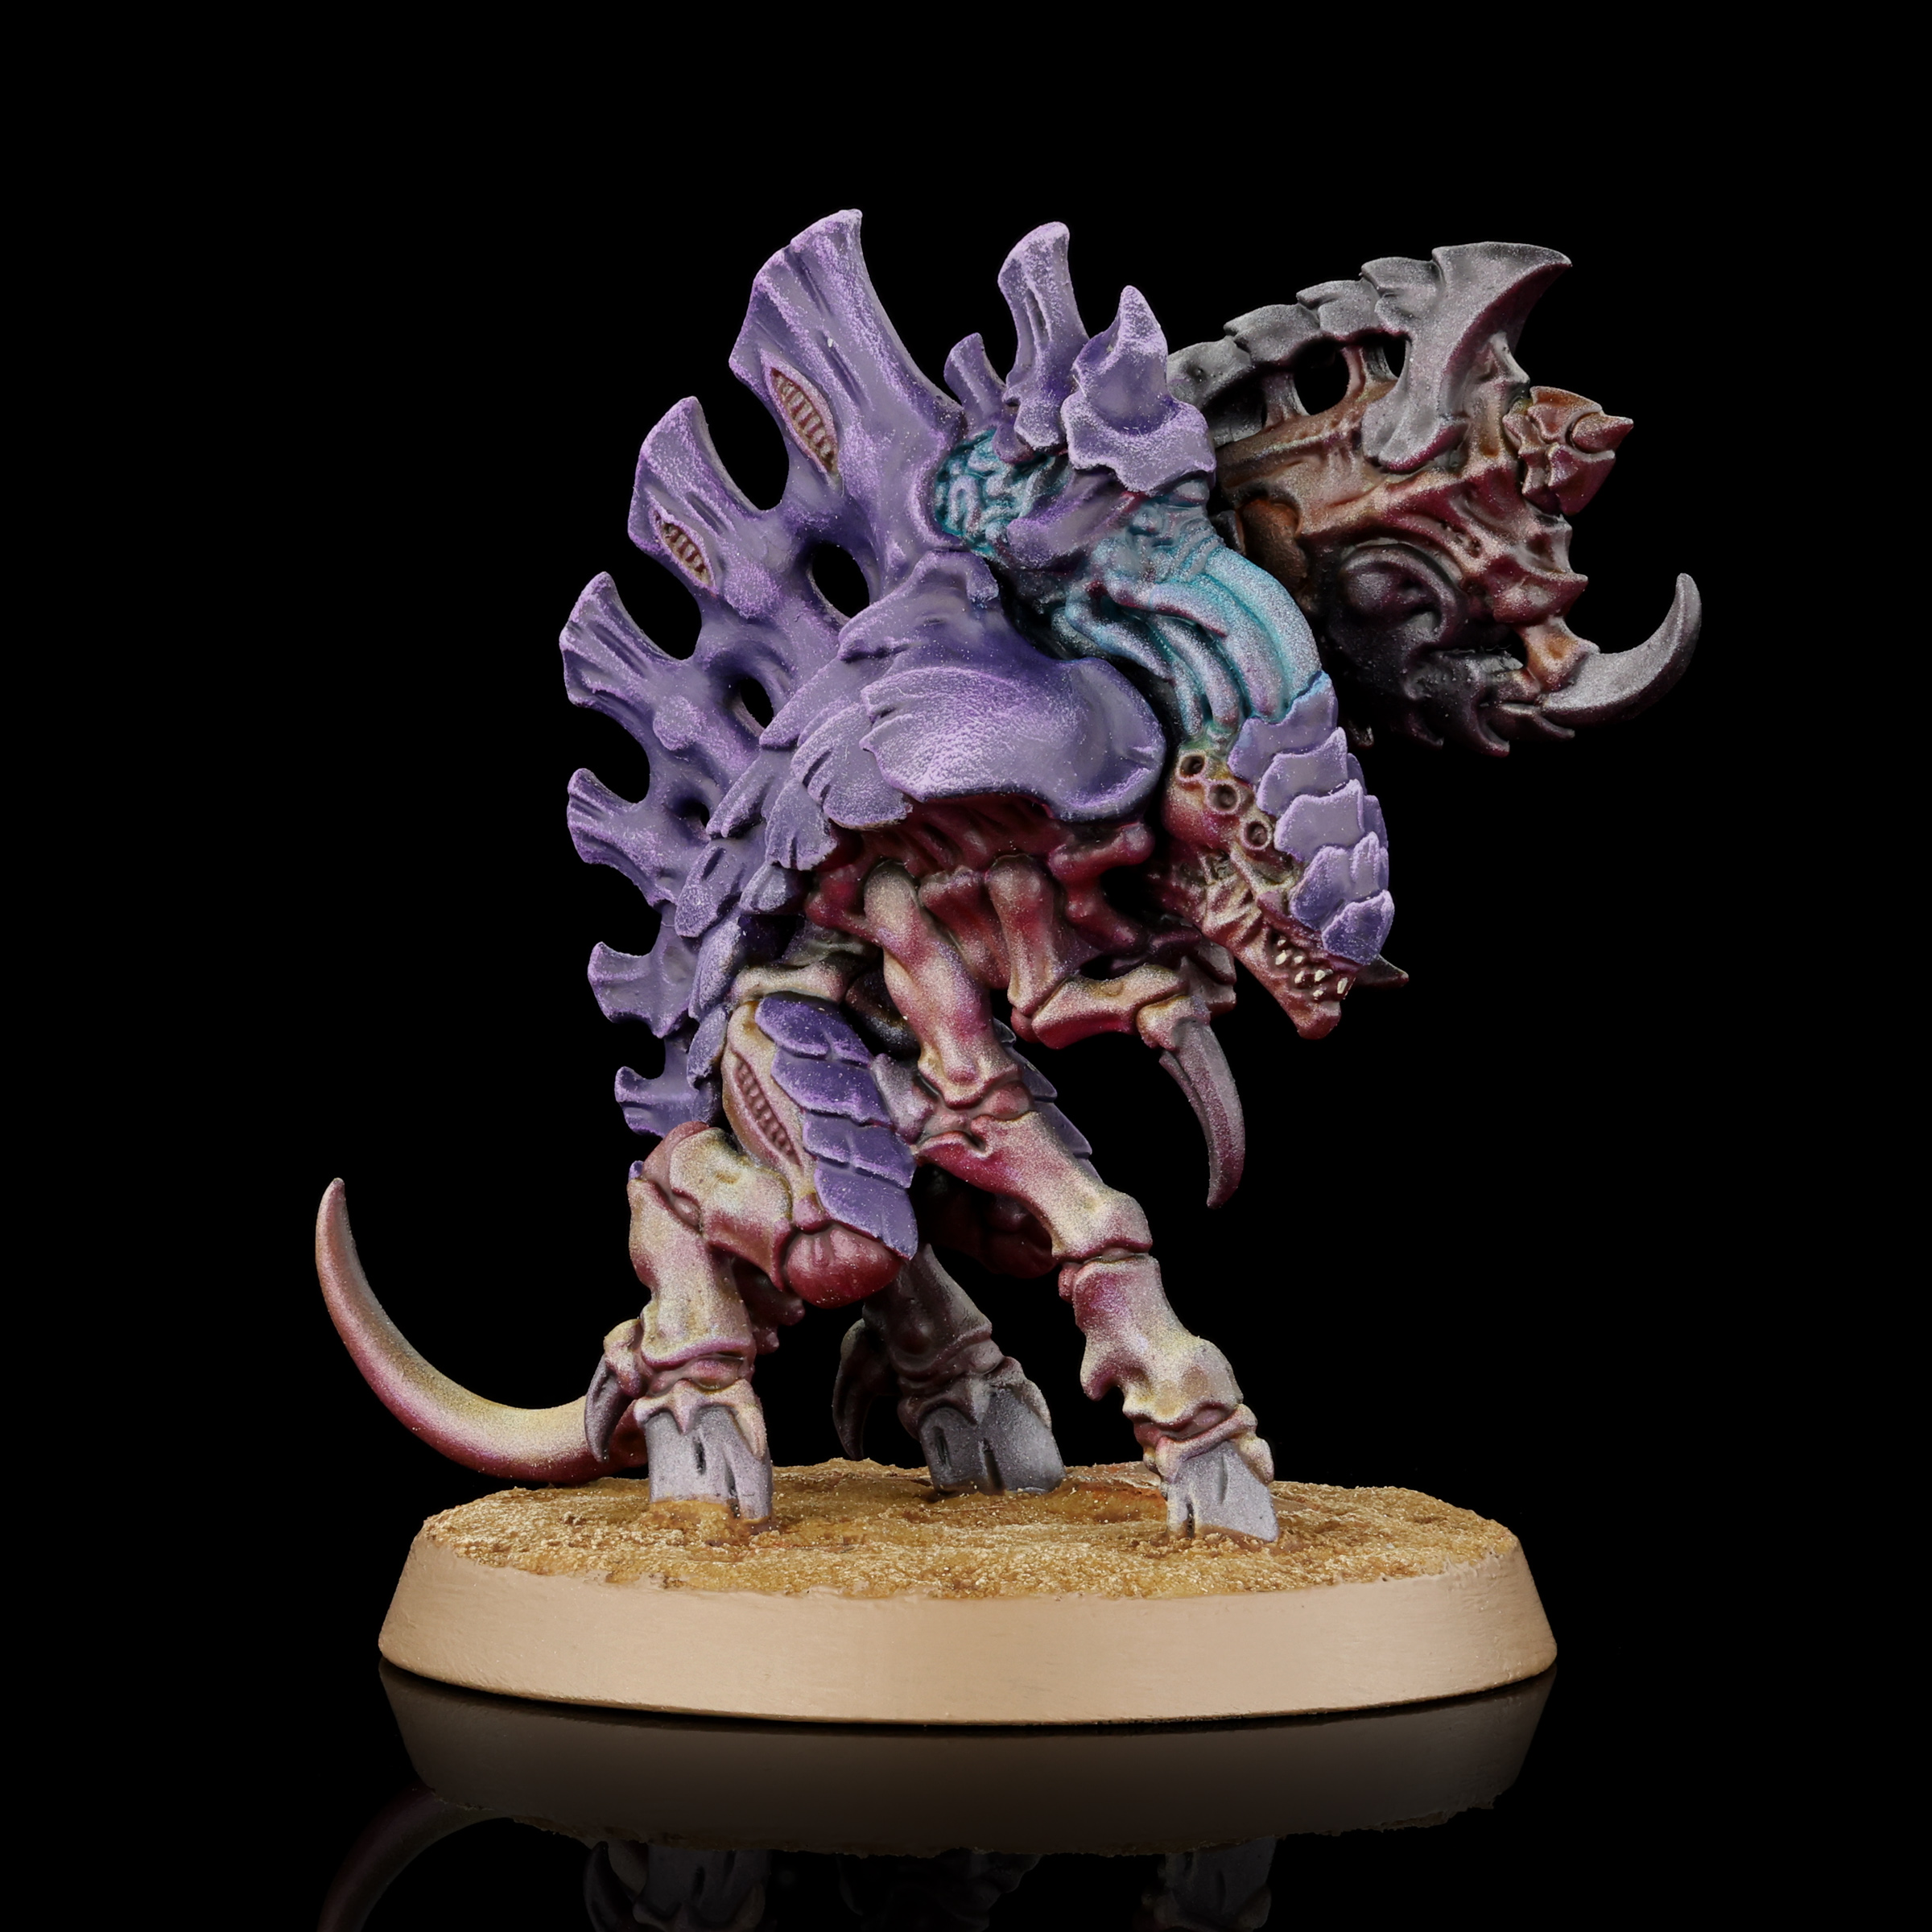
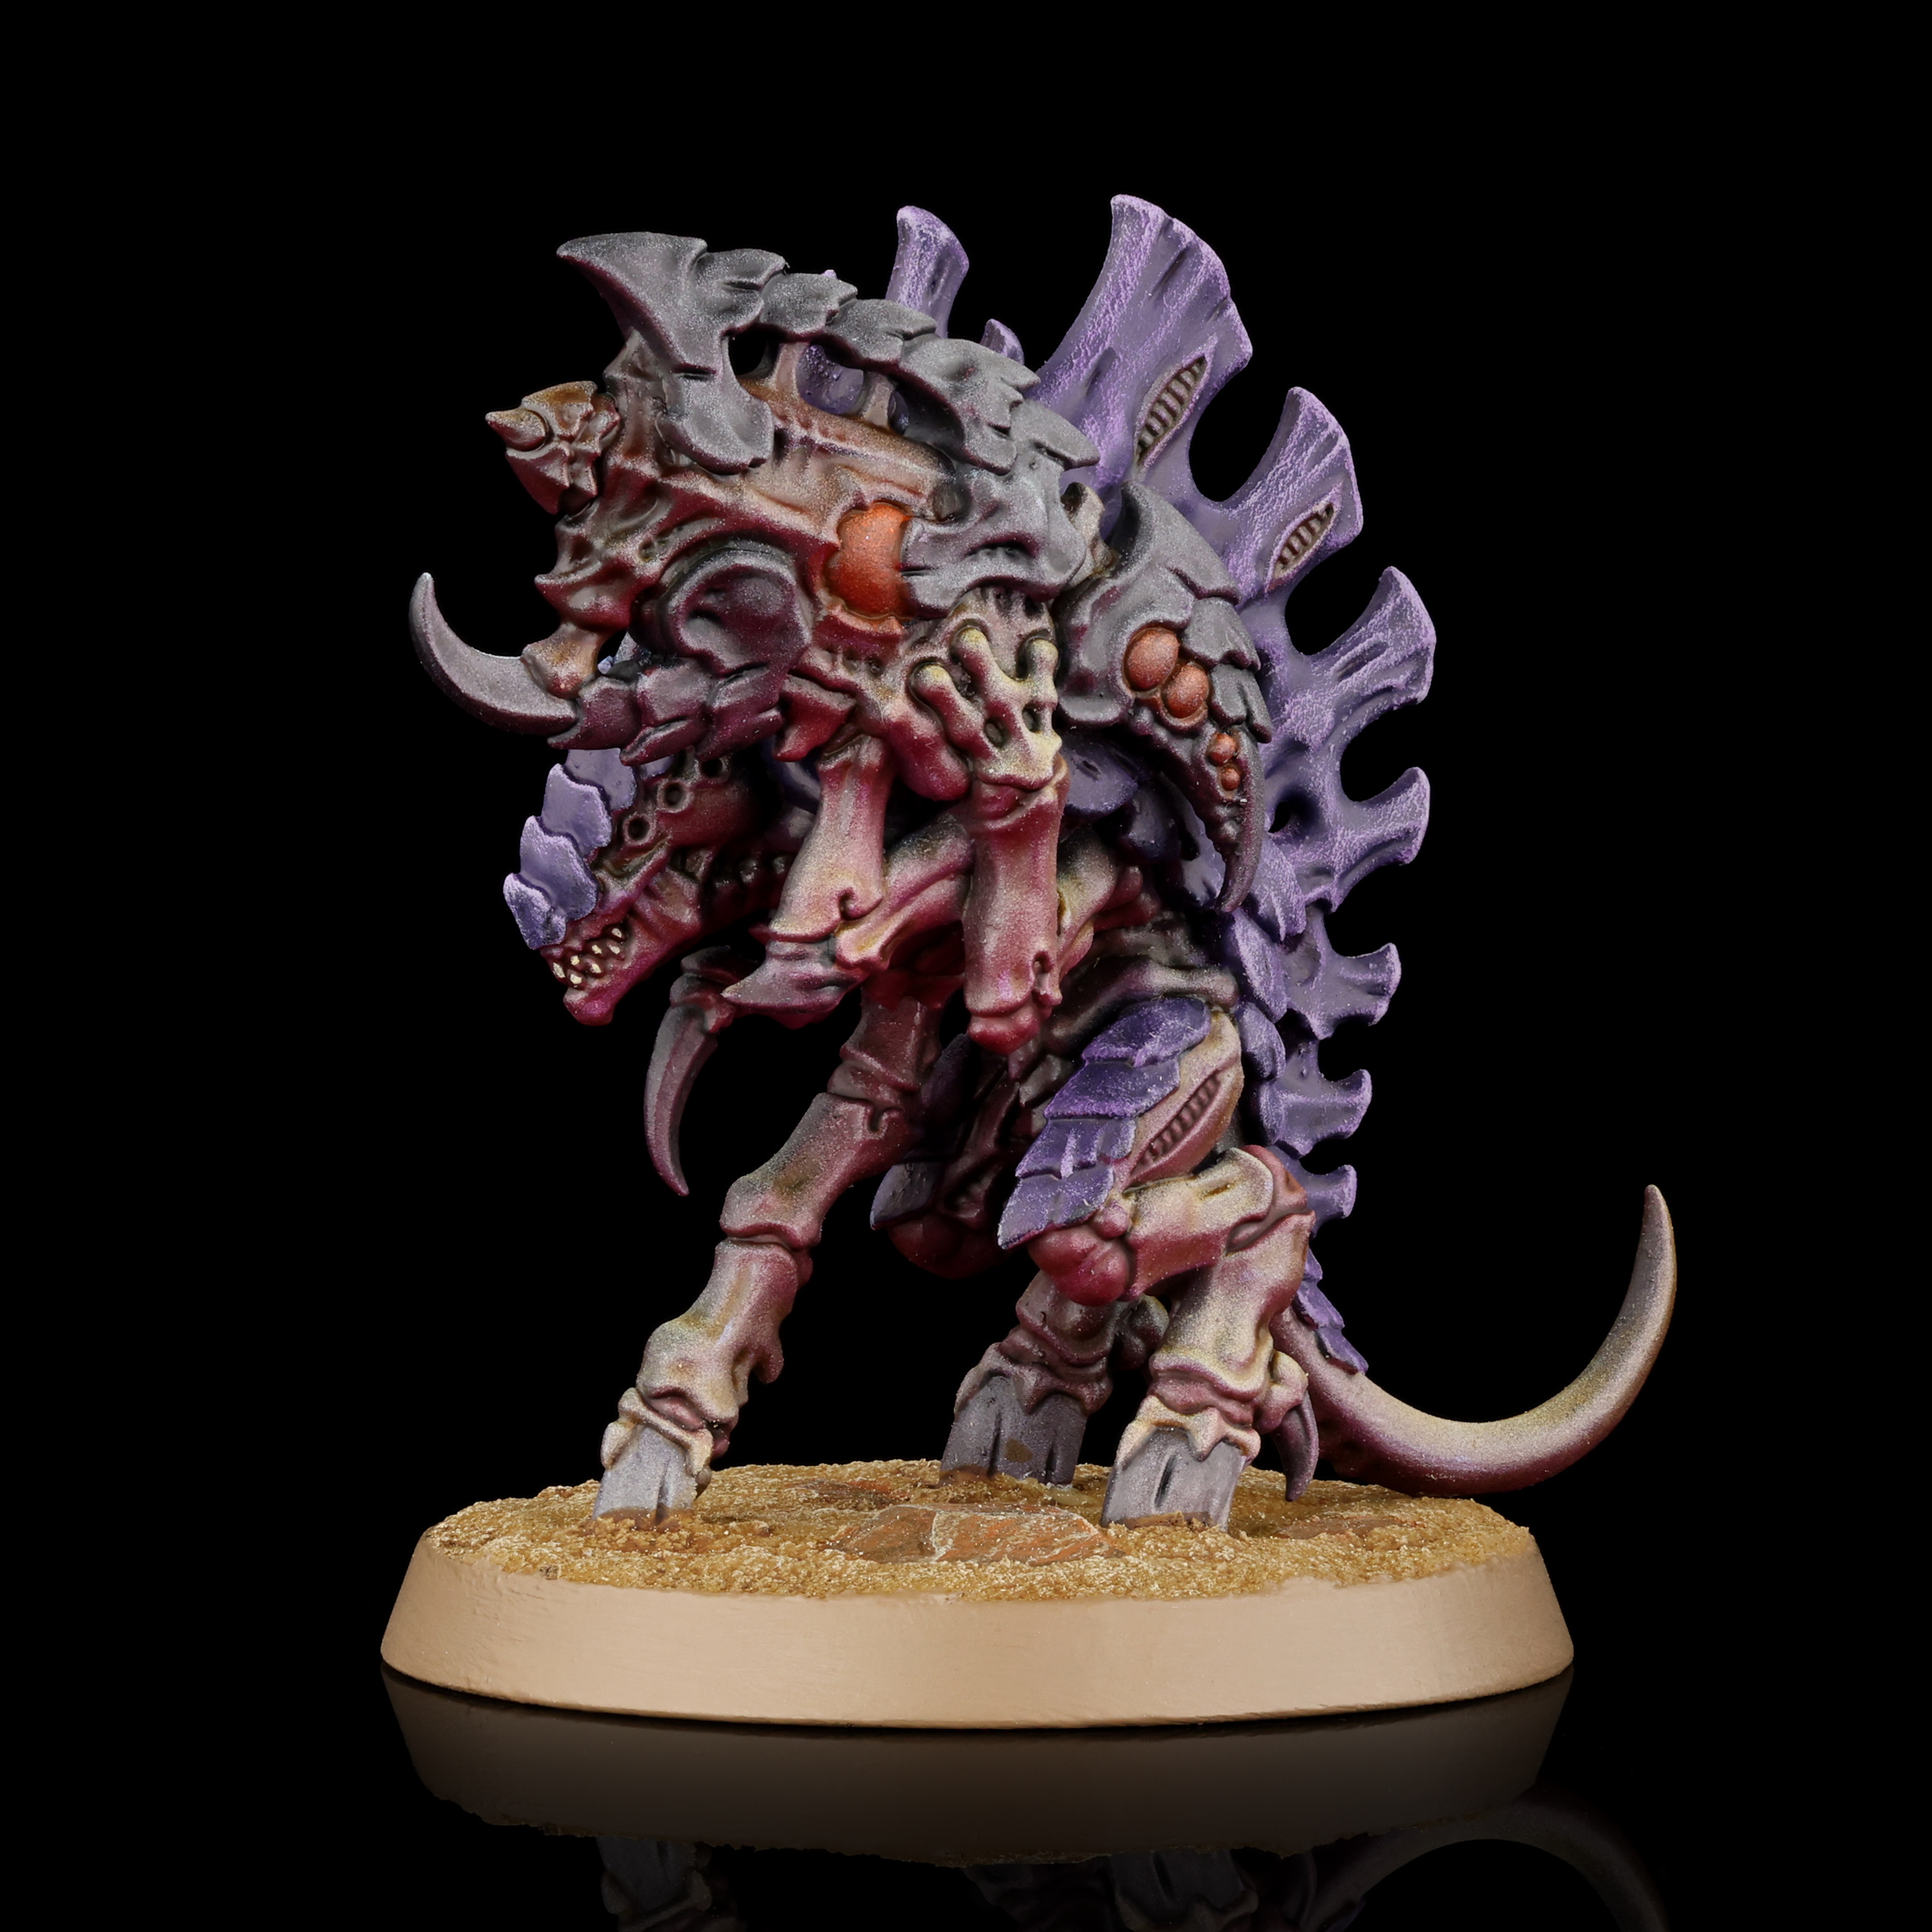
It’s a little bit more pink than the stark, cold bone-white of the traditional Leviathan scheme. But I feel like that gives it a fleshy organic tint that would be missing otherwise. The great thing about this scheme is that you can pretty easily adjust how “warm” you want the model while airbrushing. All the way from the warm Norn Emissary above, to the relatively cool Psychophage below.
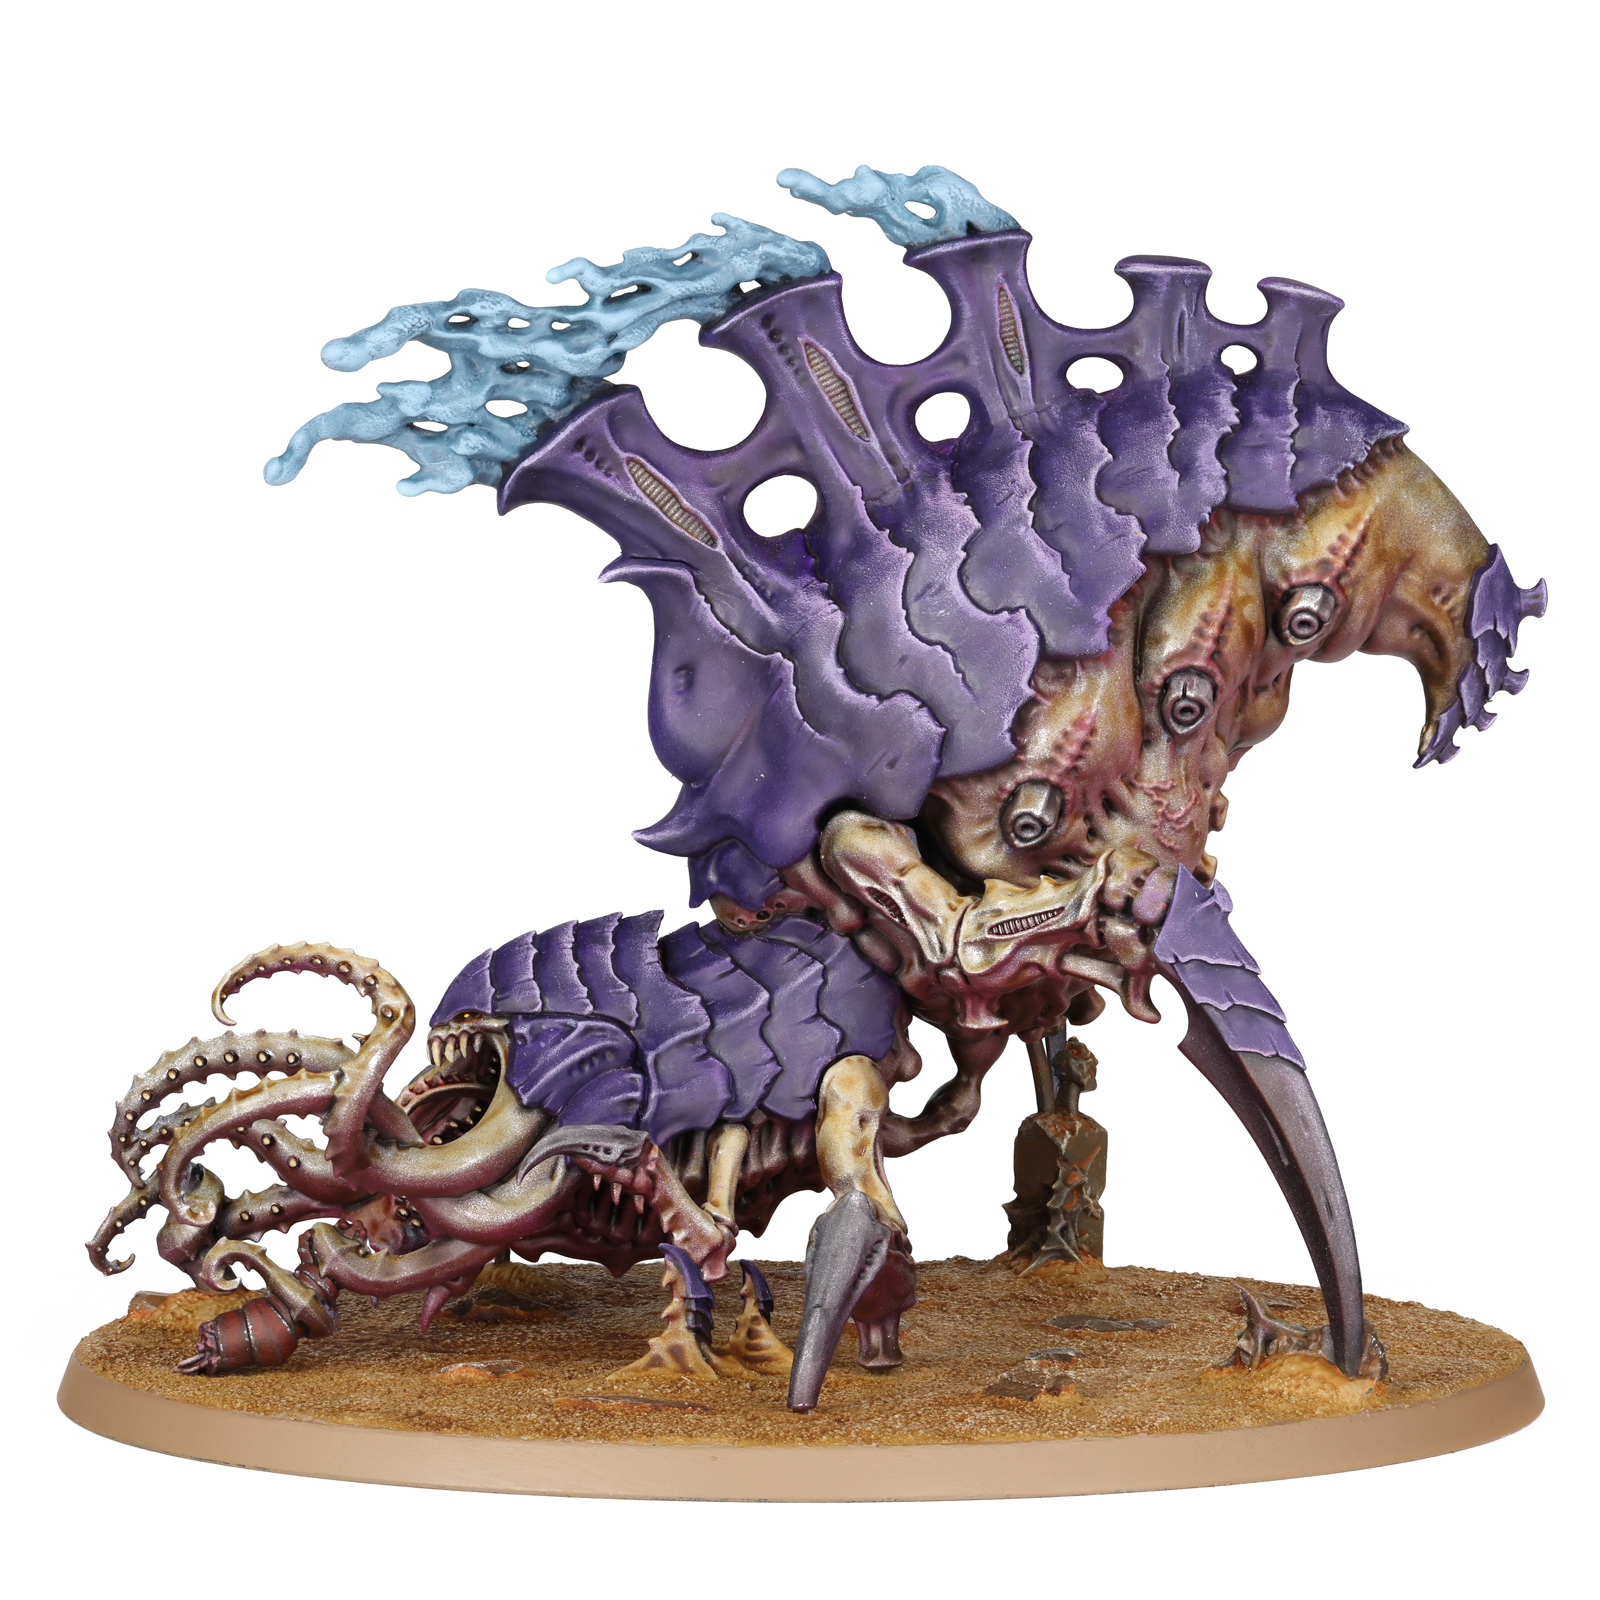
So how do you get this scheme? Just read on, dear reader, and get ready for bug time.
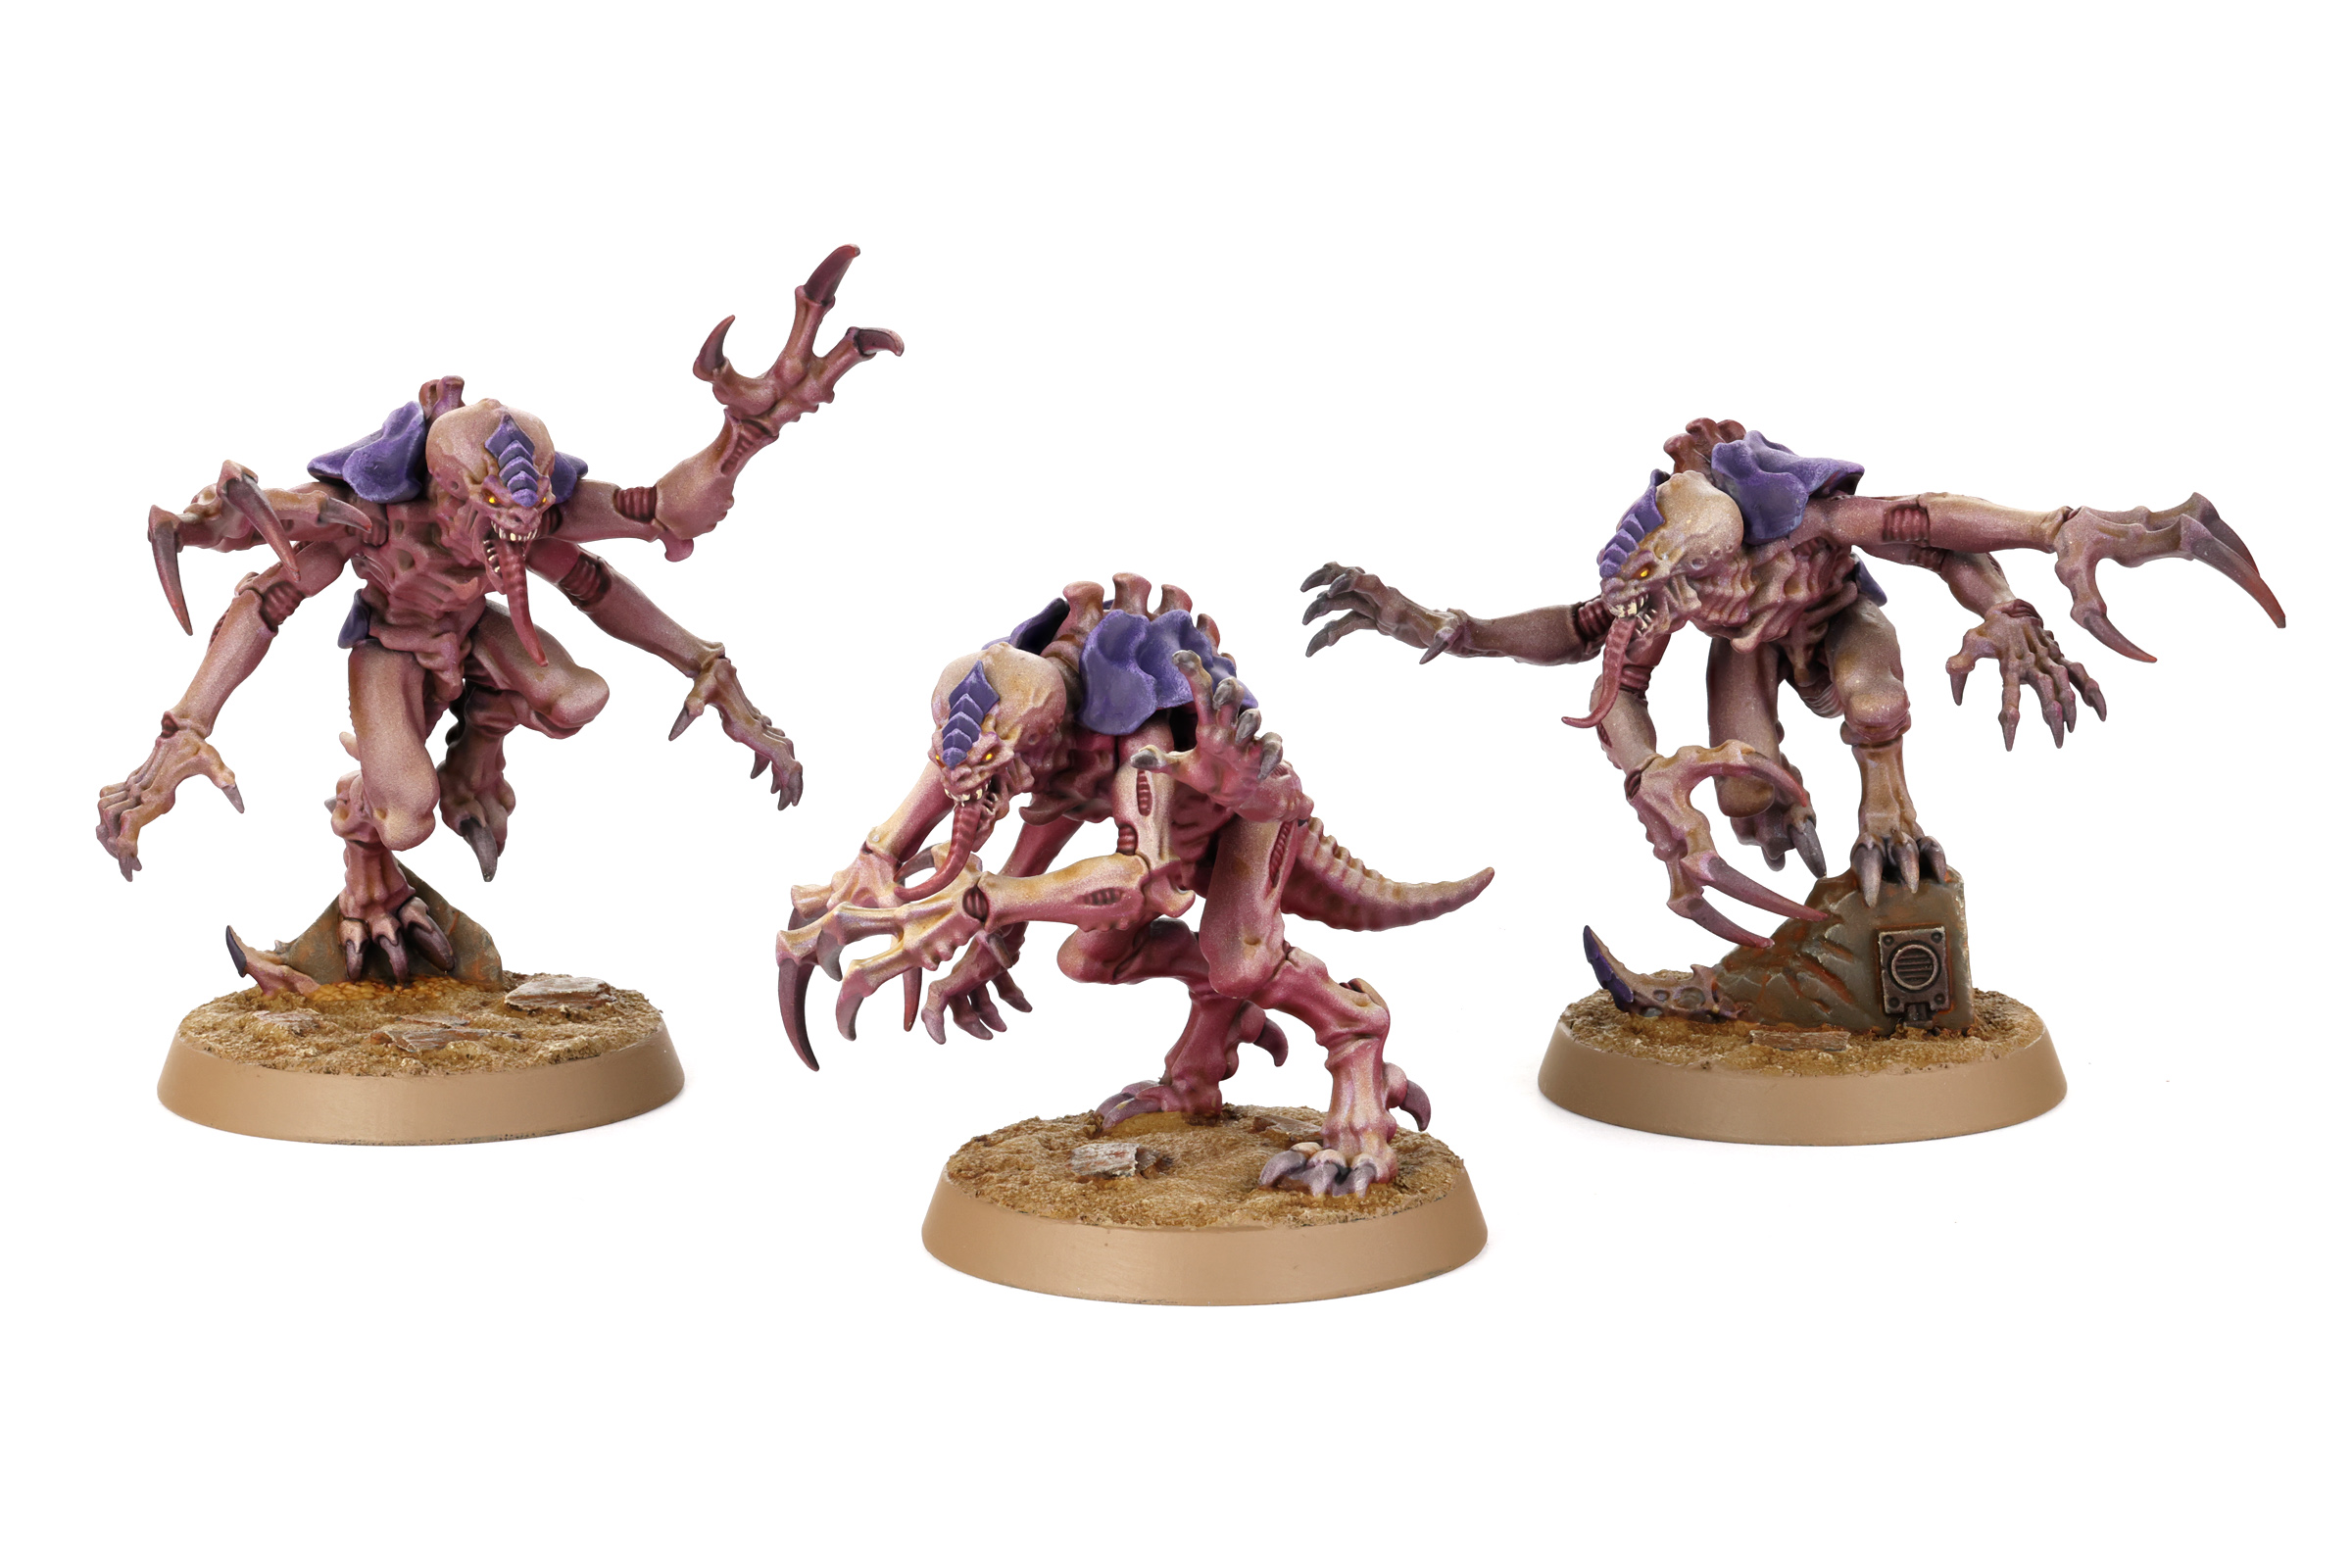
Note that in-progress shots are, well, they’re in-progress. I’m currently painting a batch of bugs, and shooting in-progress shots as I progress. I’ll be updating this article with pictures as I take them!
Step 1 – Prime Black
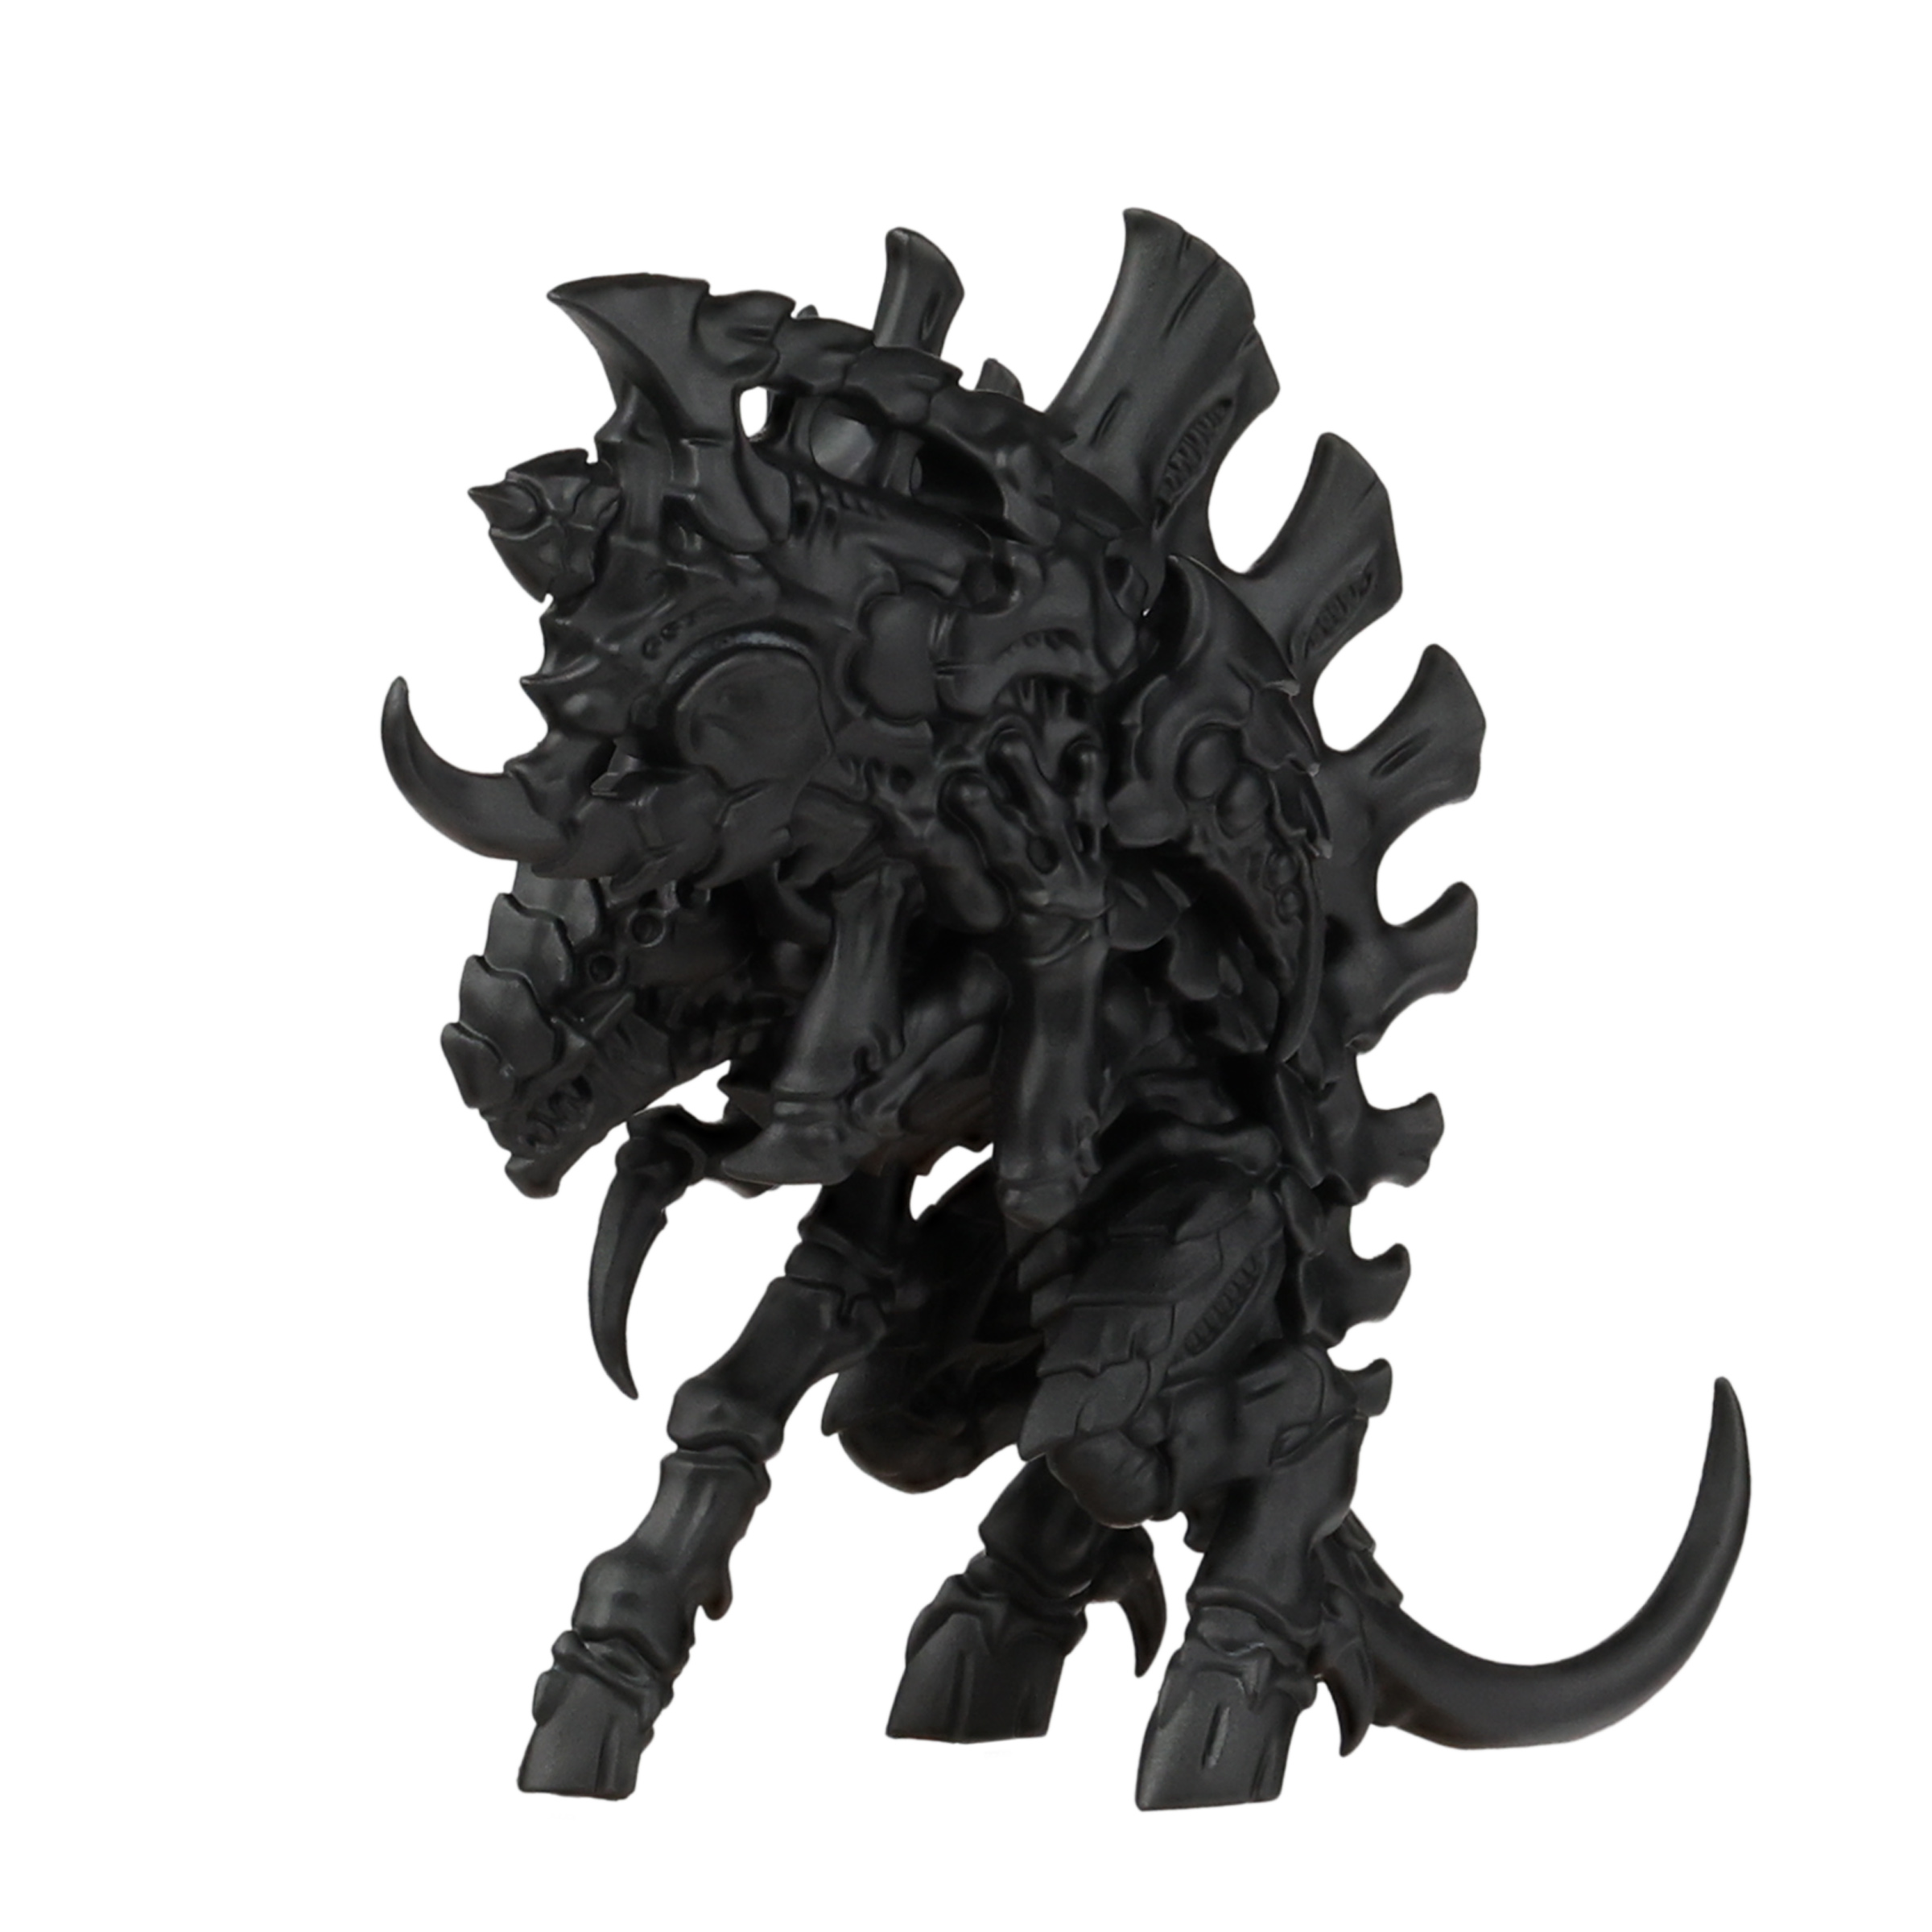
Nothing fancy here, simply prime the model black. I’m personally using some black Vallejo Surface Primer, with a couple drops of flow improver, through my airbrush at like 20 PSI. But specifics here don’t matter. Use rattlecan black primer if you want to, anything here works.
Step 2 – Screamer Pink Reverse Zenithal
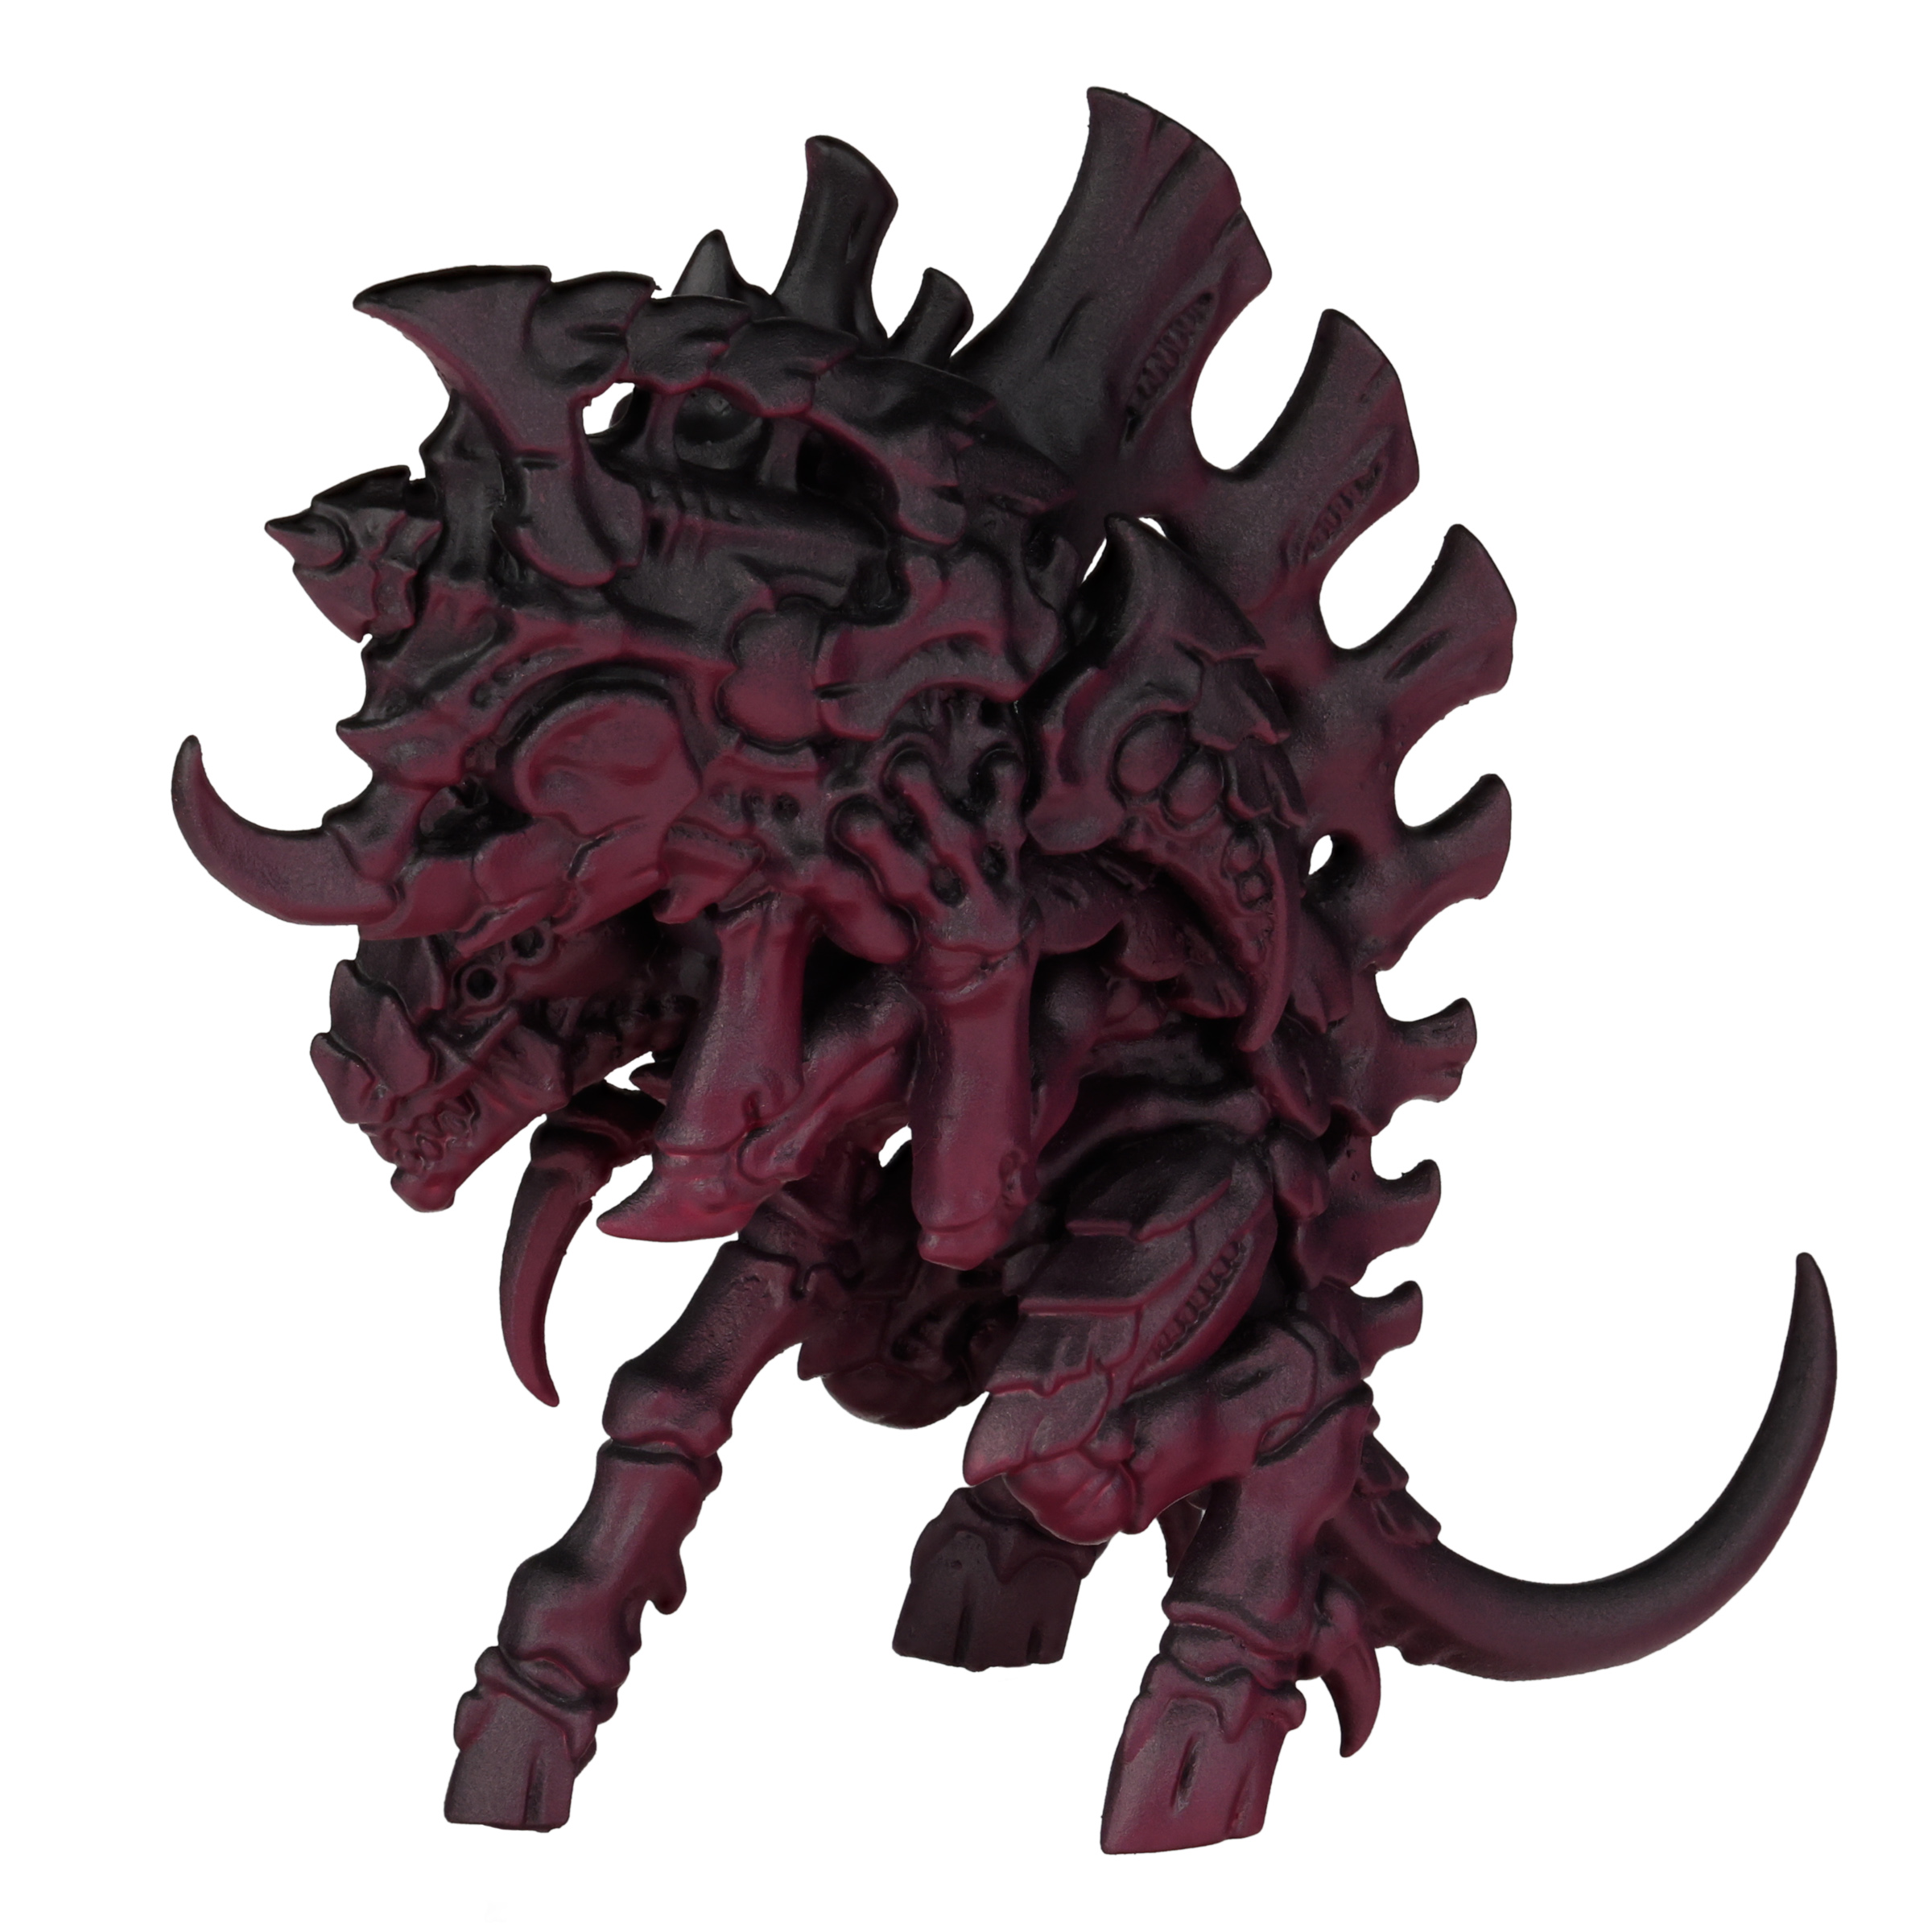
That right there is a ten dollar word for a two buck technique, so hold your horses if I startled you. It’s easier than you think.
If you’ve read up on painting techniques, you might be familiar with the term “zenithal”. It’s where you use an airbrush or rattlecan to paint the top, or “zenith”, of the model. You do this to simulate where daylight would be hitting it, by focusing on areas of the model that are visible from the top.
Reverse zenithal is the same thing but, well, in reverse. Flip the model upside-down and use the same “paint what’s on the top” approach with an airbrush, and apply a reverse zenithal of Screamer Pink.
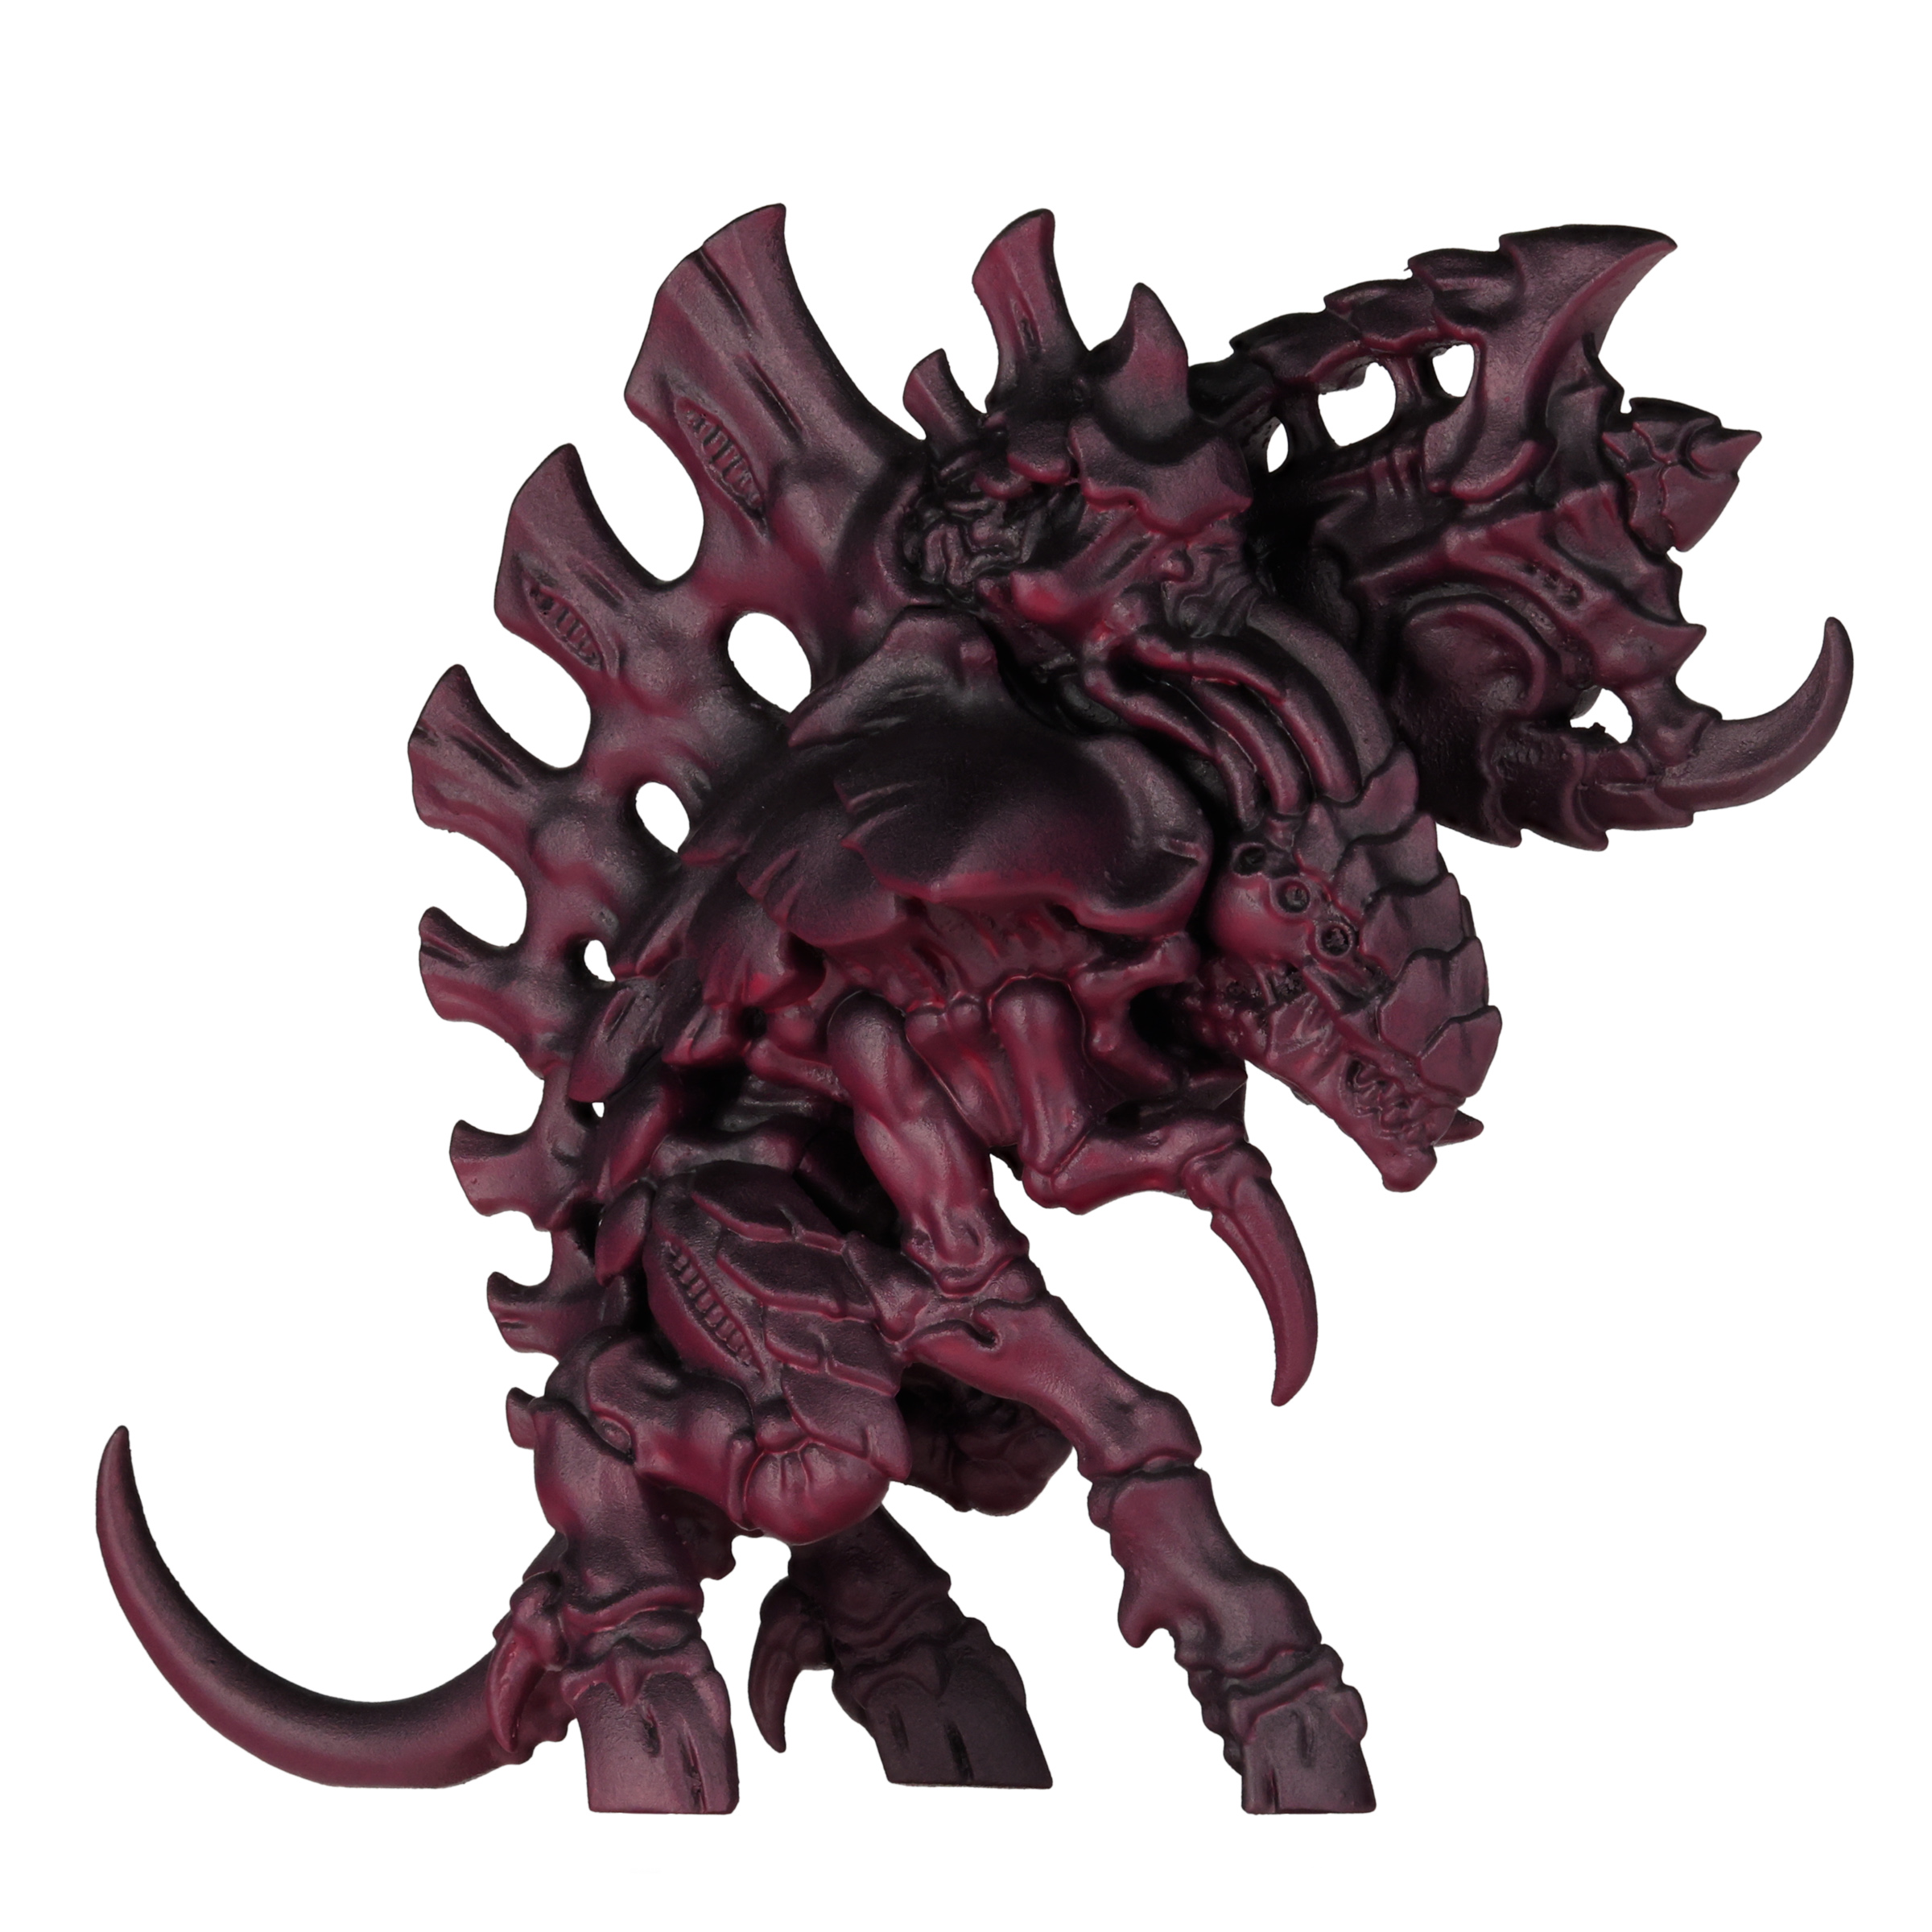
The hardest part here is actually physically airbrushing Screamer Pink, as its not sold in a dropper bottle or in an airbrush-ready consistency. I personally load a dropper bottle with about 50% Screamer Pink, 50% airbrush medium, and toss in about a dozen drops of flow improver. Give it a mighty mixing with my vortex mixer, and it’s good to go.
If you want the model “cooler”, then focus on areas that are only pointing straight down and go easy with the pink, hitting maybe 25% of the model.
If you want a “warmer” model, then go buck wild. I’ve found that I like the warmer bugs myself, so I hit probably 50-75% of the model with Screamer Pink, leaving only the top 25% untouched.
We’ll be following this up with an airbrush of white, so don’t worry about it looking too garish.
Step 3 – Wraithbone Zenithal
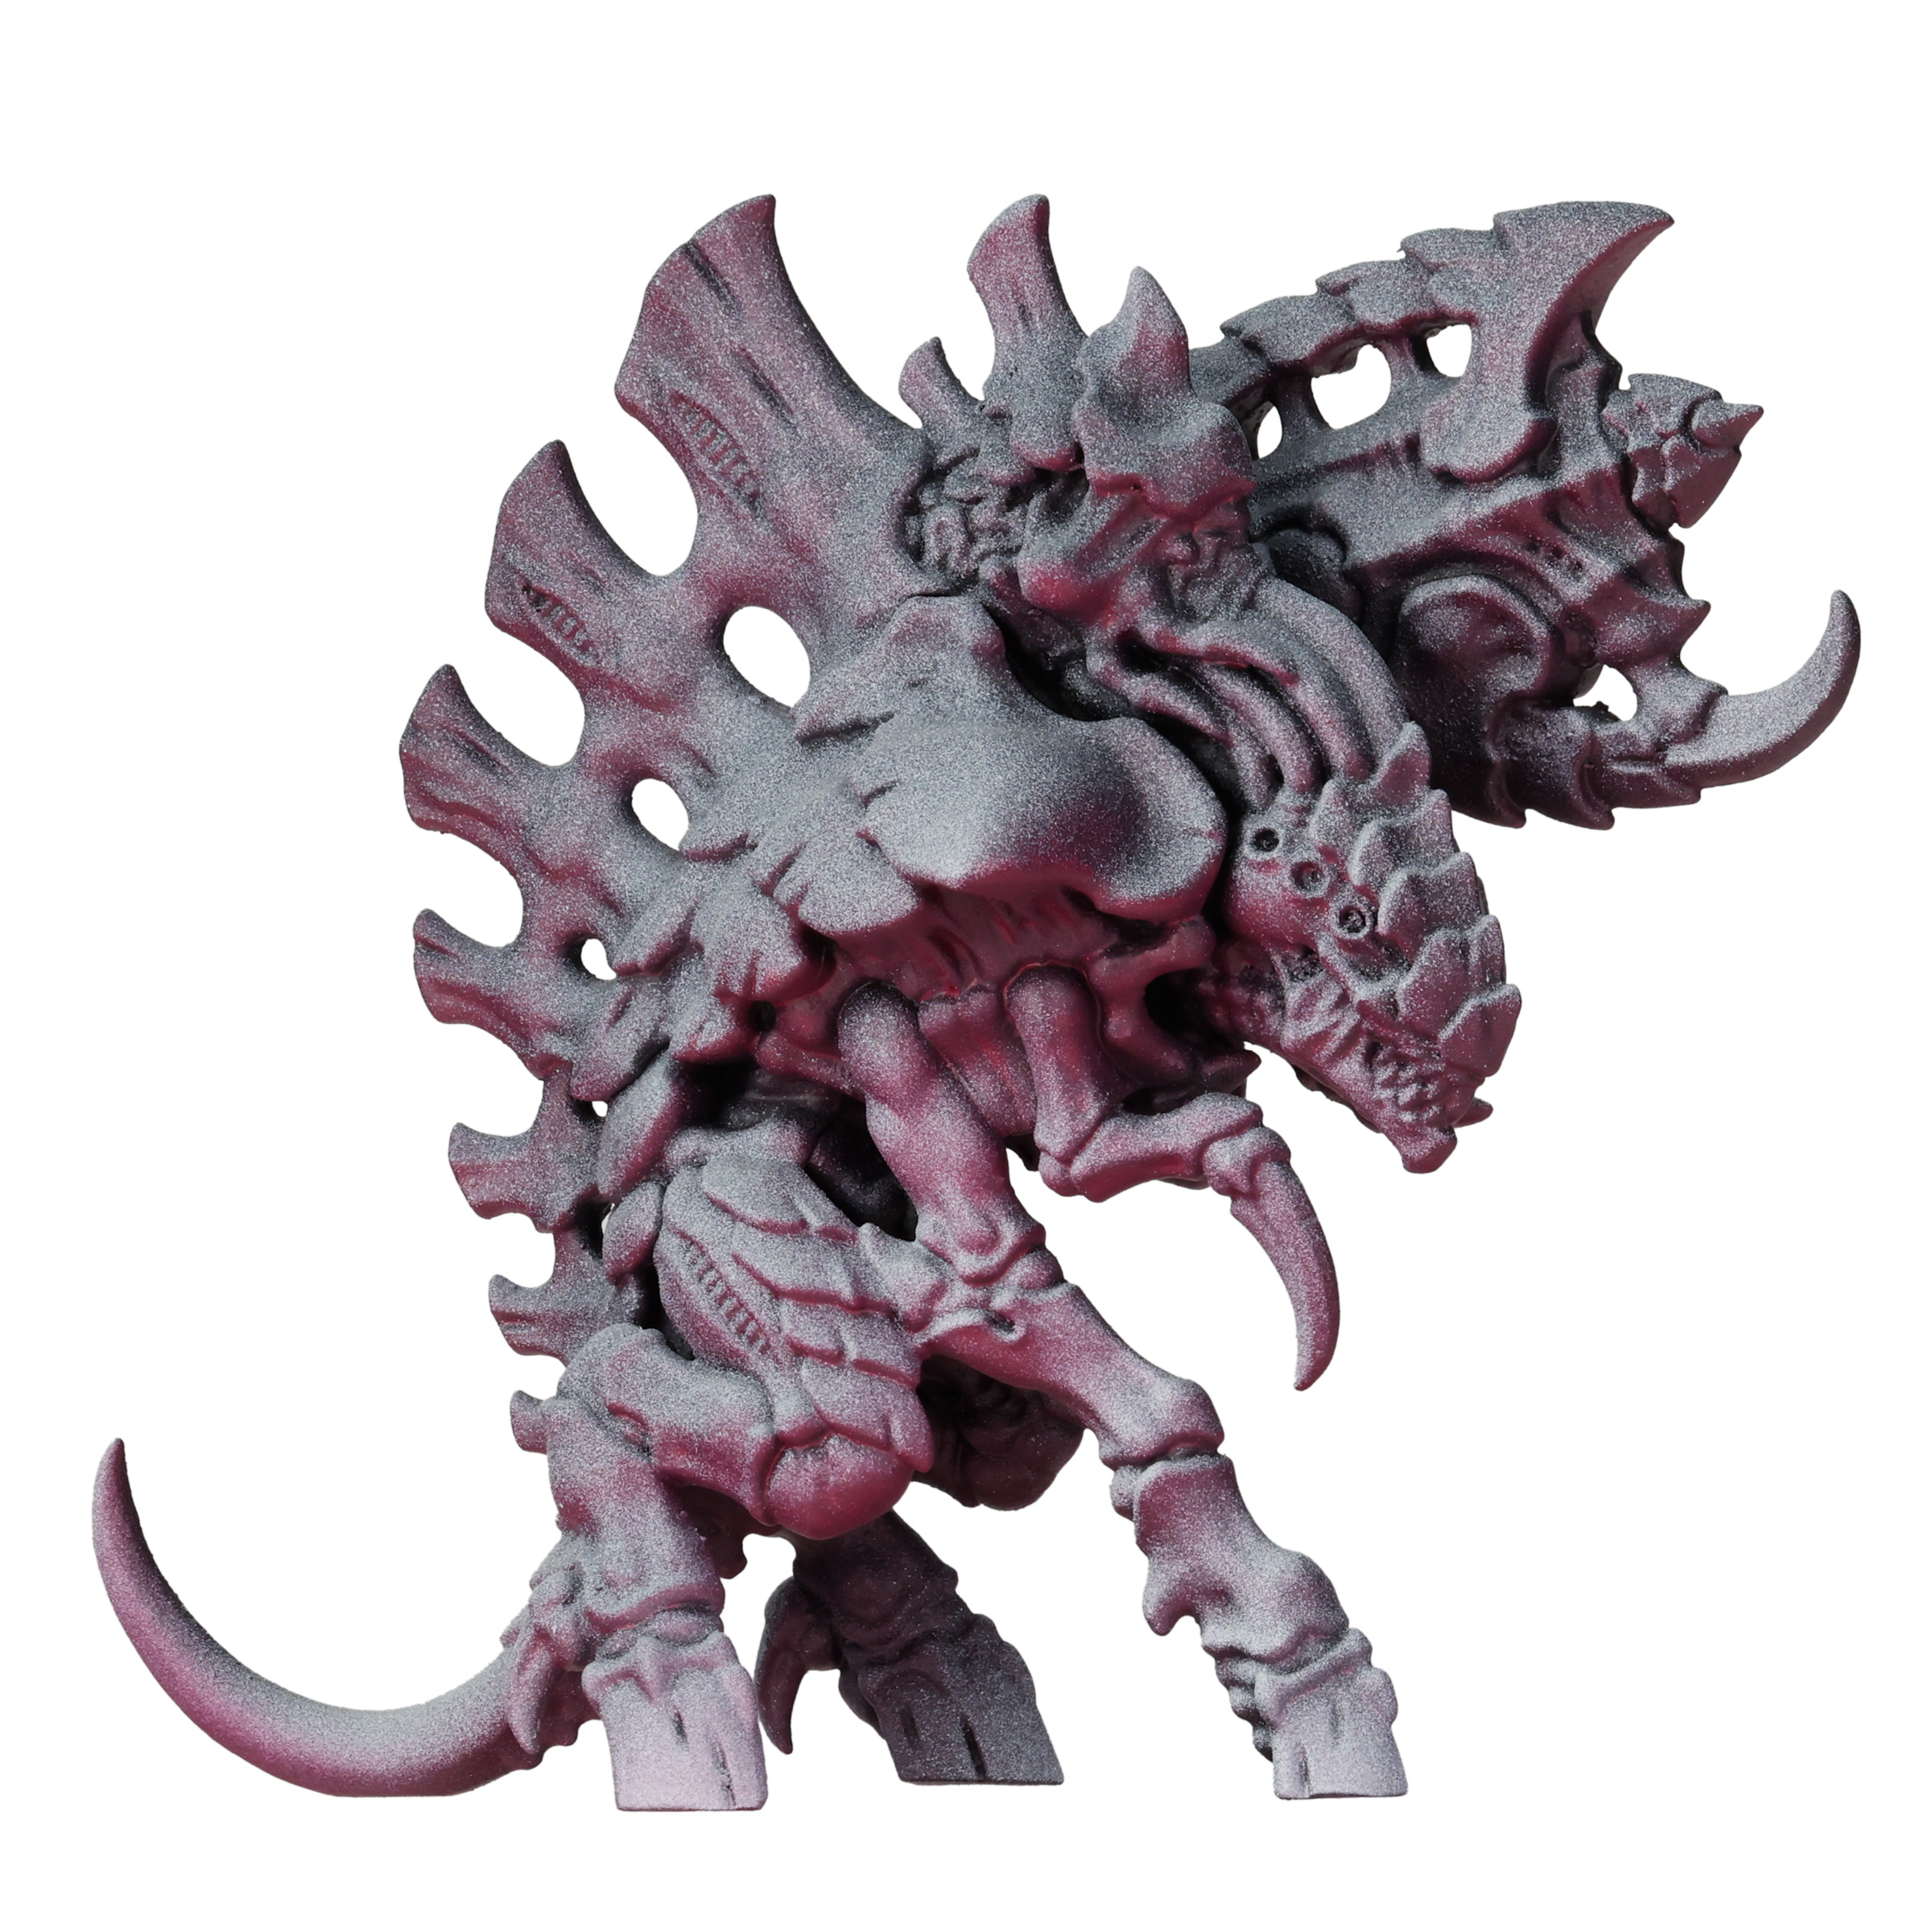
Flipping the model right-side-up, use a traditional zenithal of Wraithbone to brighten up the top of the model, specifically the skin, claws, and hooves. I say “Wraithbone” because it’s the right hue, but I actually used ProAcryl Ivory in the above. You’ll be covering it with a Contrast paint anyway, so you don’t need to be terribly accurate with matching the hue. I again mixed it with equal parts airbrush medium and a couple drops of flow improver, and it airbrushes great.
Focus on areas where they would be at their brightest in daylight as, from here on out, the model will only get darker and darker.
While this step focuses on the skin, claws, and hooves, don’t worry about accidentally airbrushing the carapace. We’ll be covering all that up entirely in the next step anyway. The important thing here is a nice bright zenithal of eggshell white on the top of the model, with an emphasis on where it would be in direct contact with daylight.
Step 4 – Carapace
To get that nice purple carapace, the first step is “resetting” the carapace with some Leviathan Purple contrast paint.
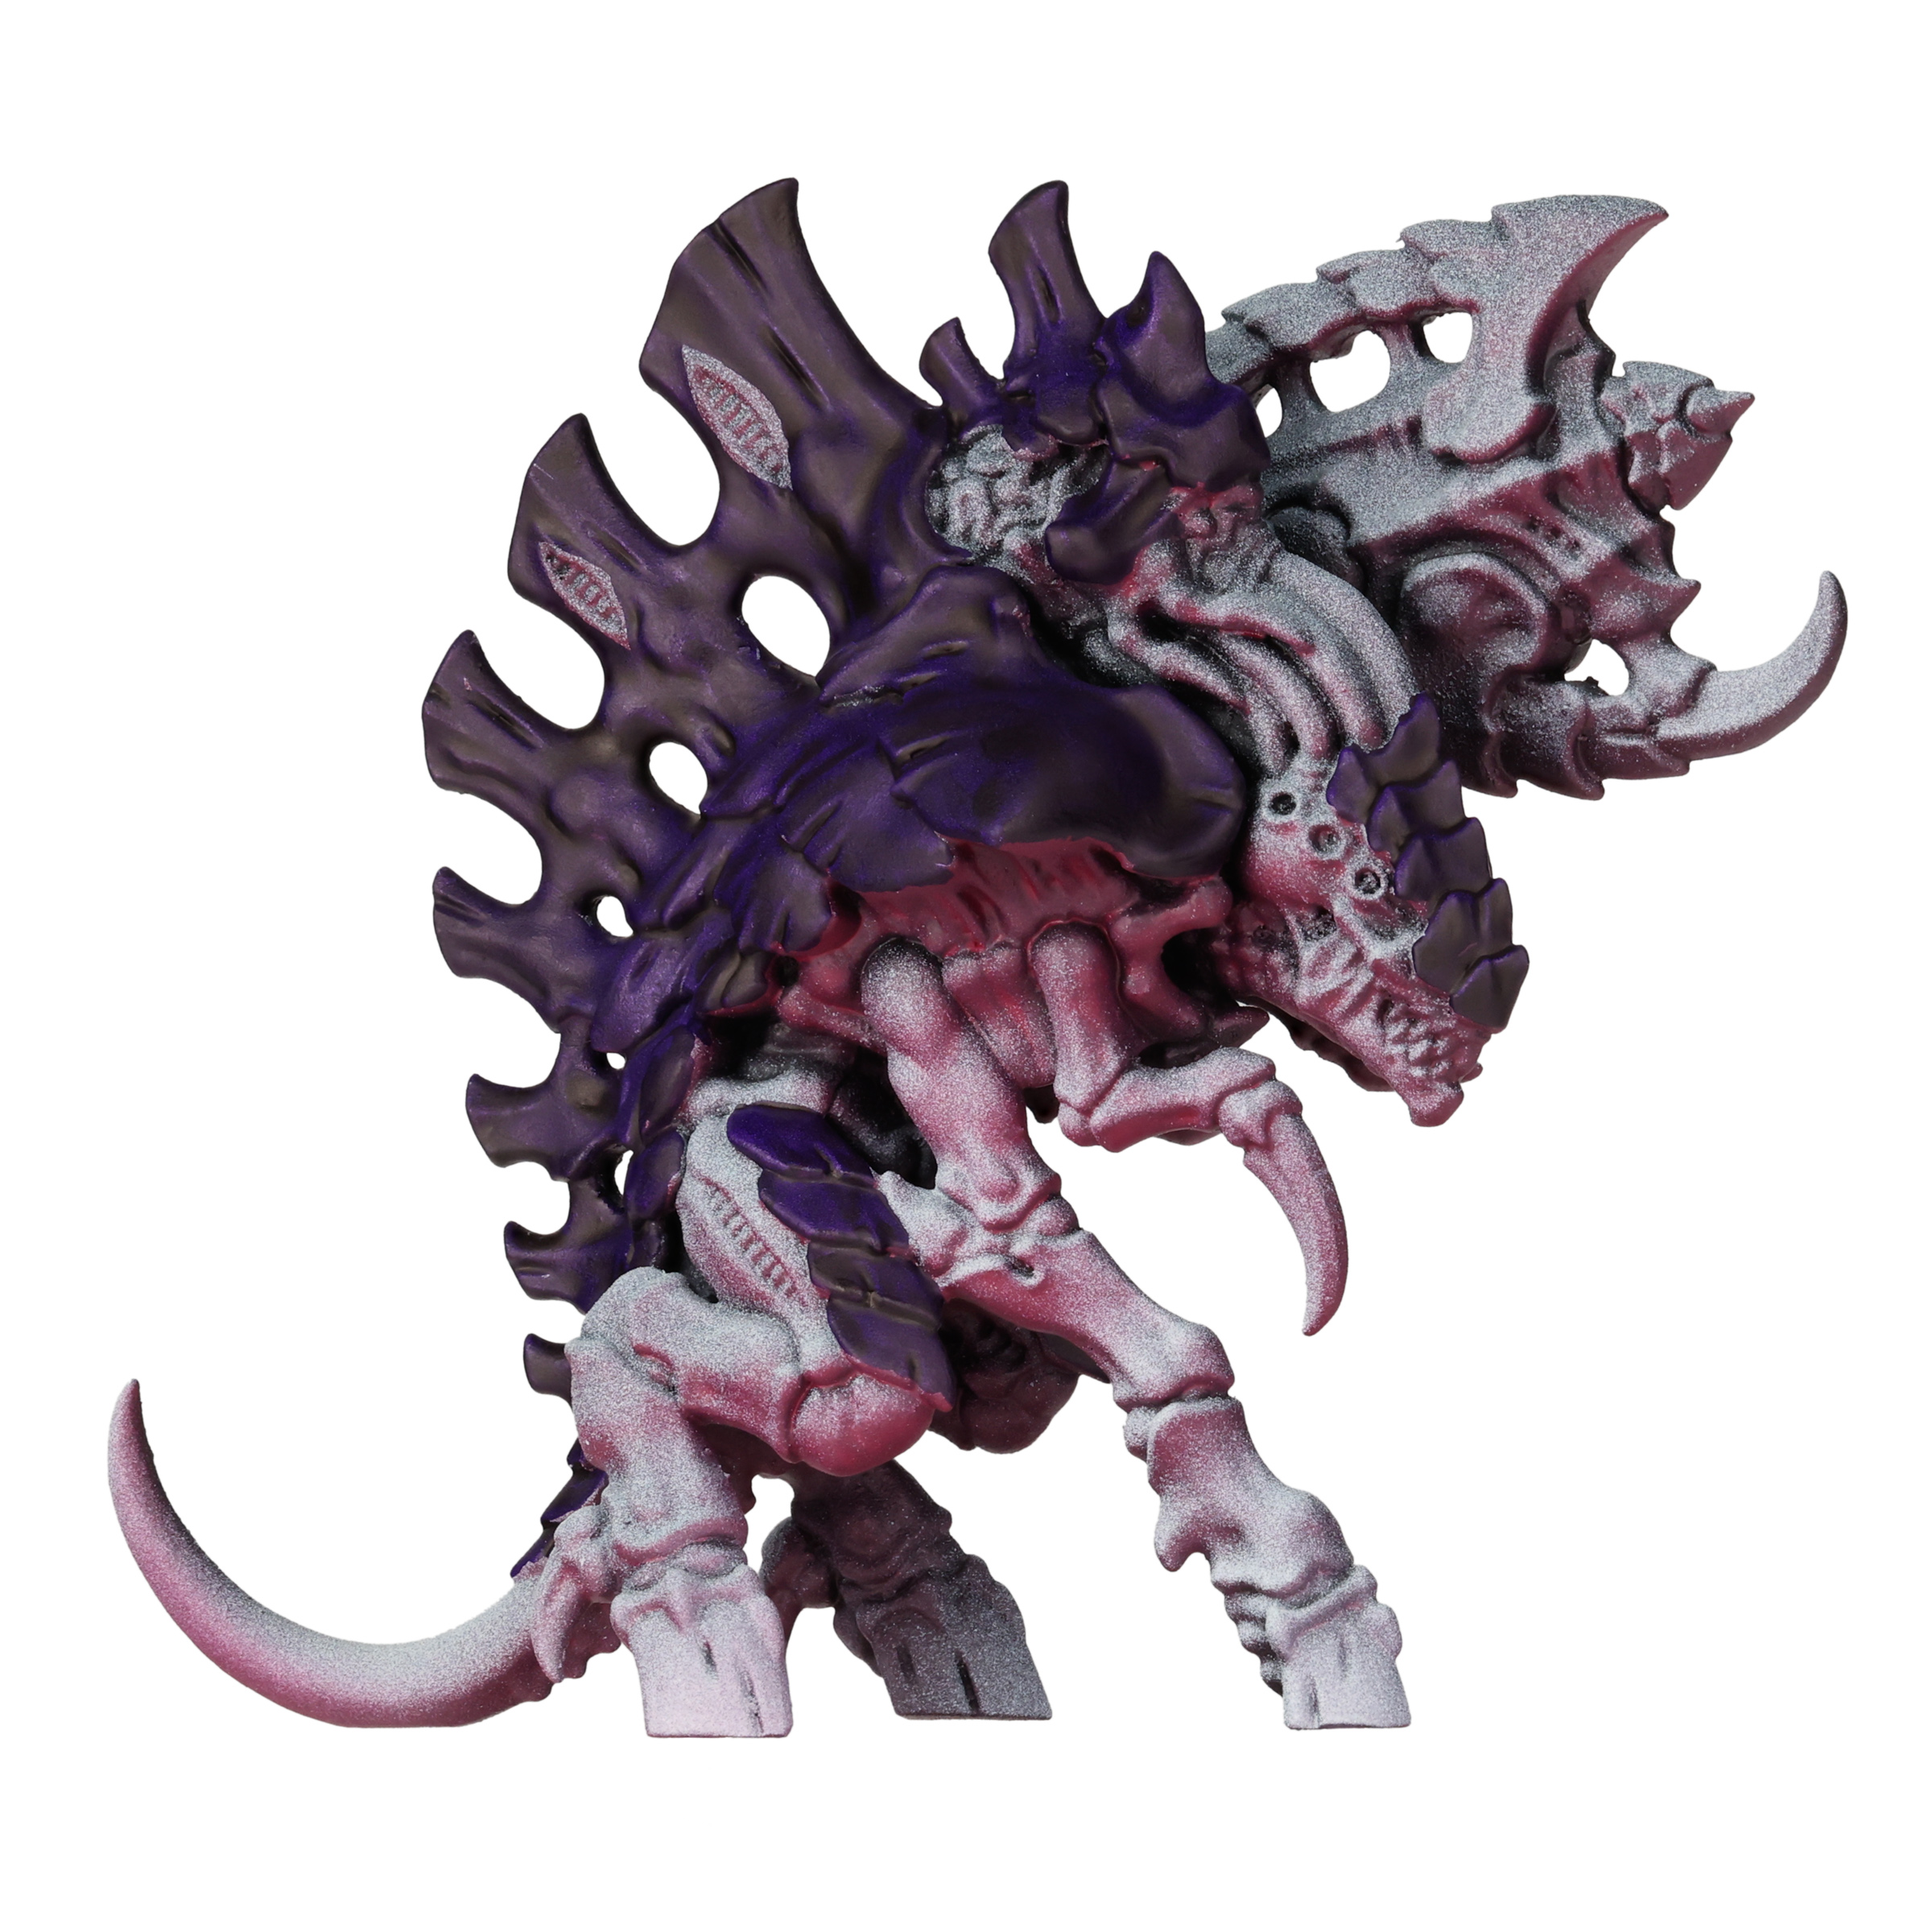
Only put this on the carapace of the model, and avoid the skin as much as possible. If you don’t feel comfortable with Contrast paints, or don’t have Leviathan Purple handy, you can honestly skip this step. This step is only here because Leviathan Purple gets us to around 75% of the color we want, with only 10% of the effort.
Next up is a couple thin coats of Naggaroth Night.
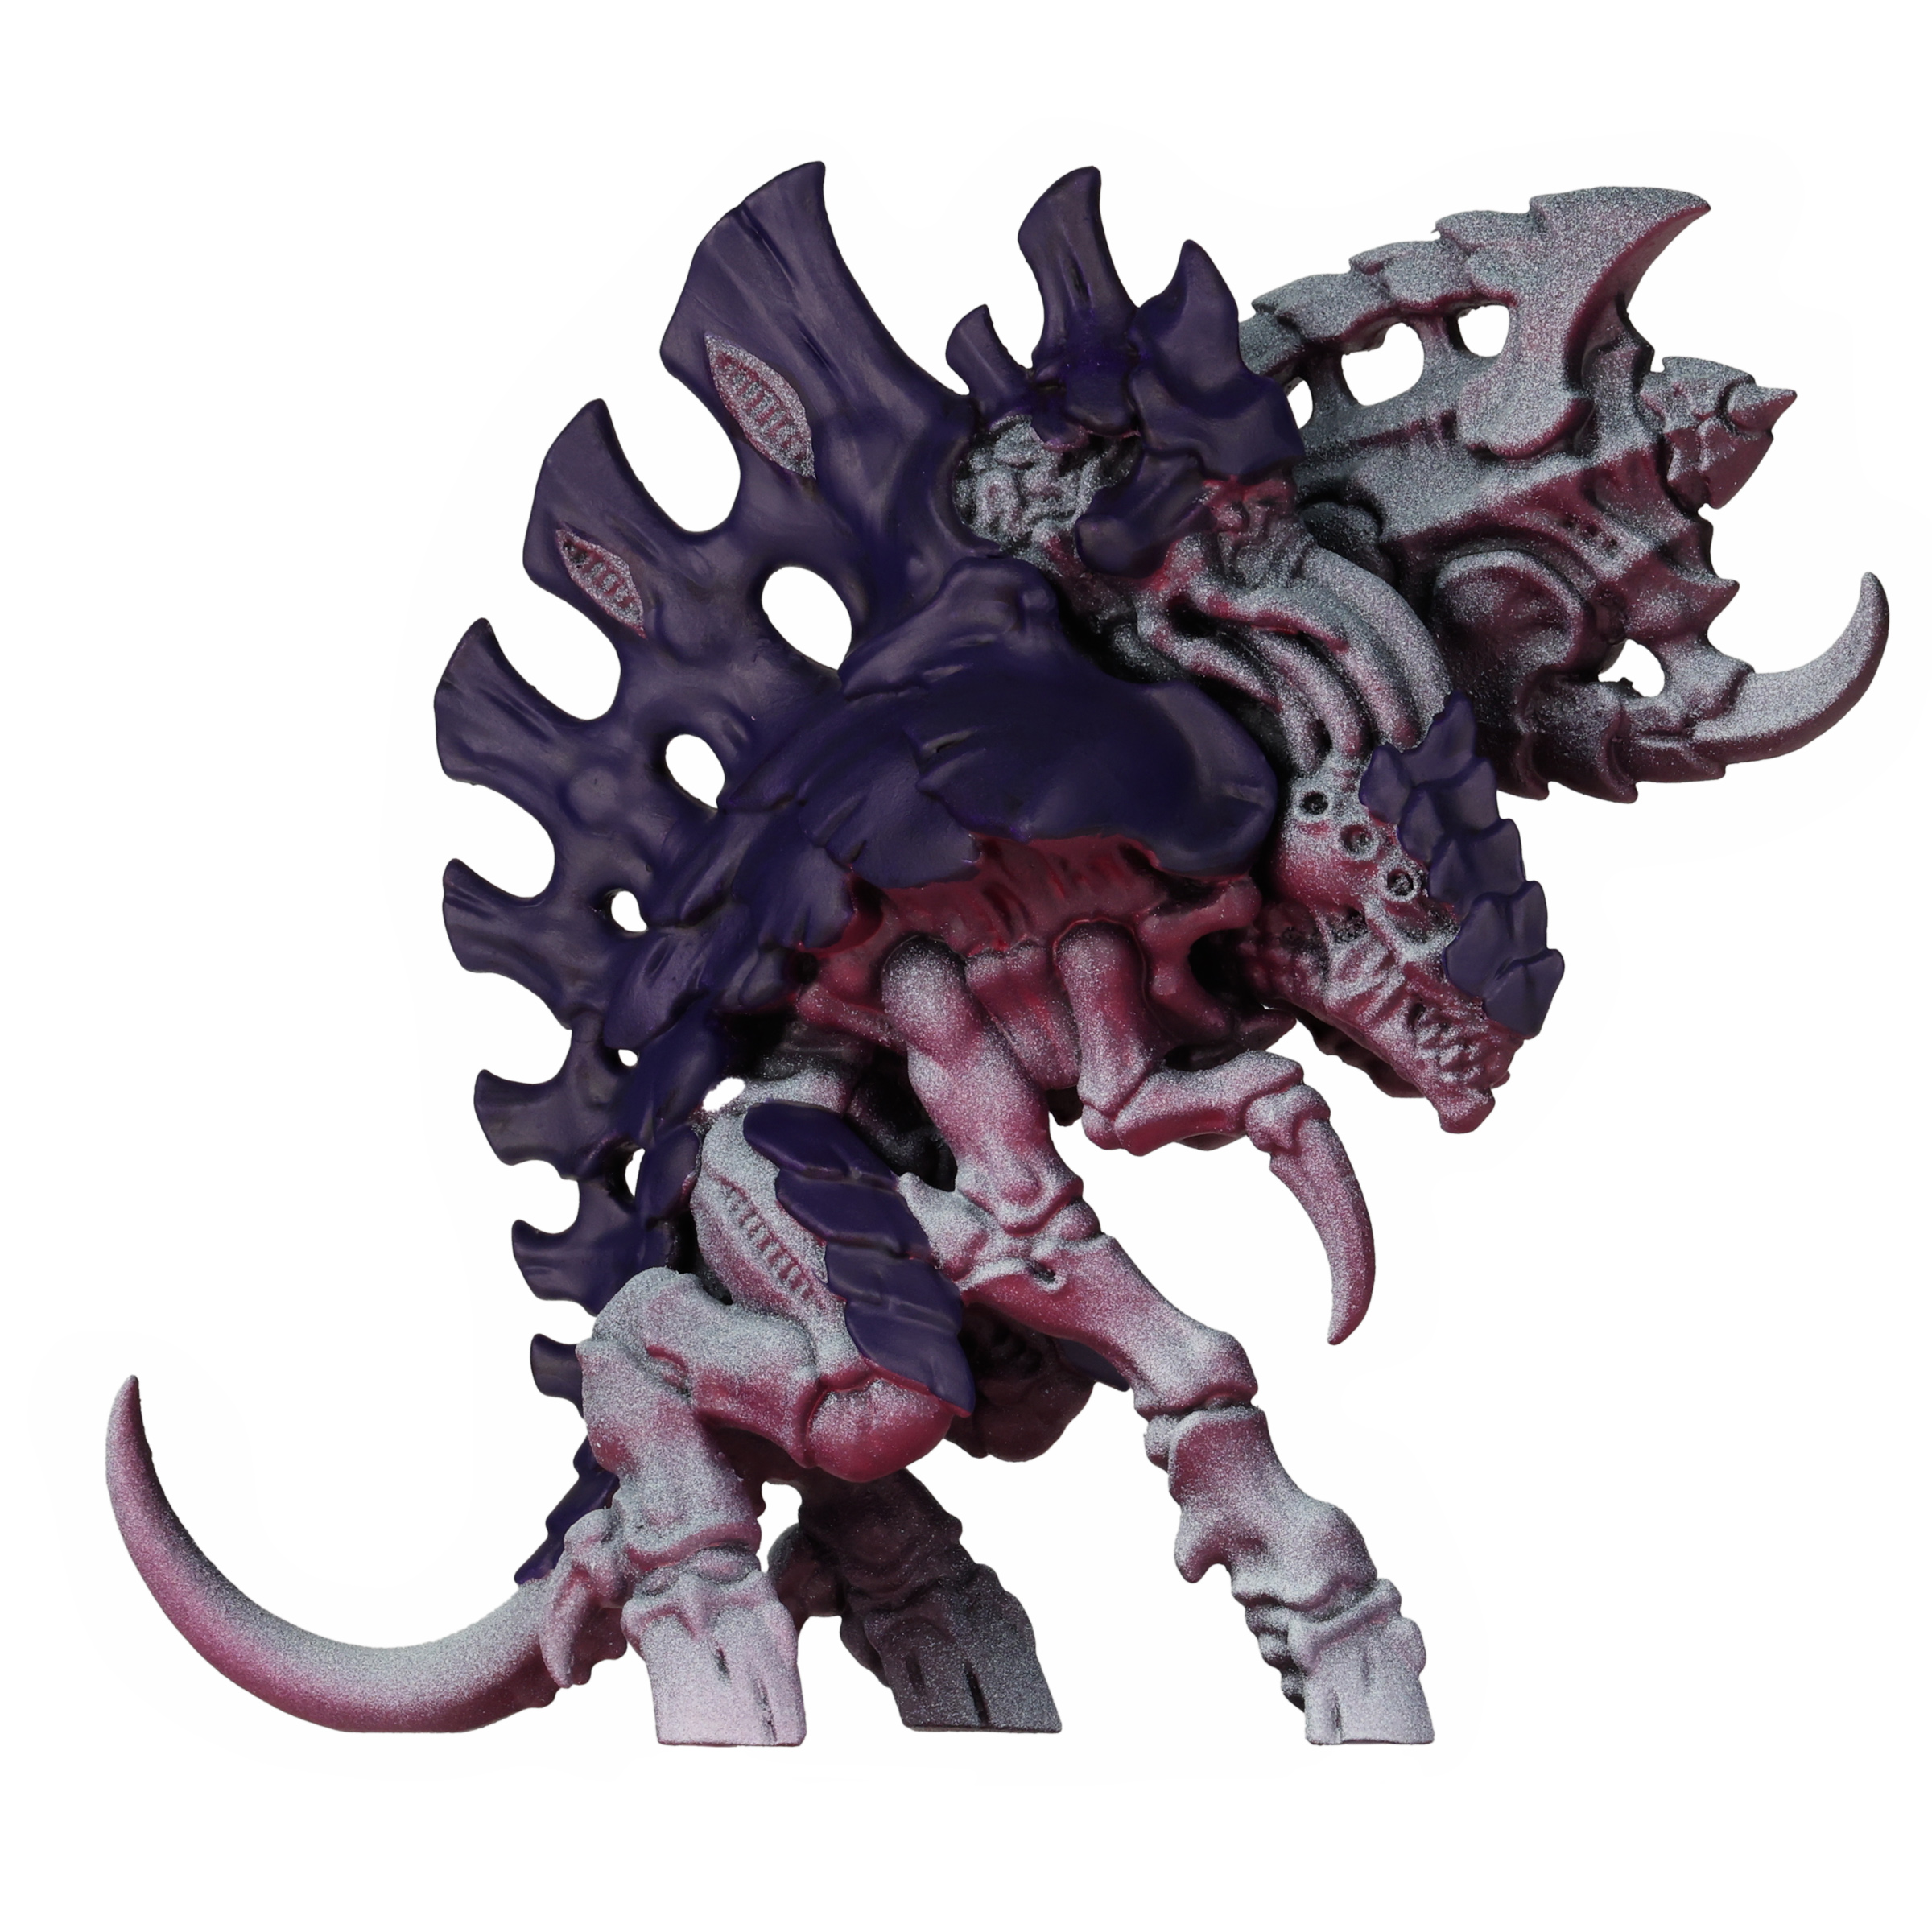
This is the actual base color we want for the carapace. If you skipped Leviathan Purple above, then you’ll need to apply several additional thin coats of Naggaroth Night to get the color even. If you used Leviathan Purple to “reset” the model, then you should only need one or two layers to get a nice even Naggaroth.
Follow this up with a drybrush of Xereus Purple.
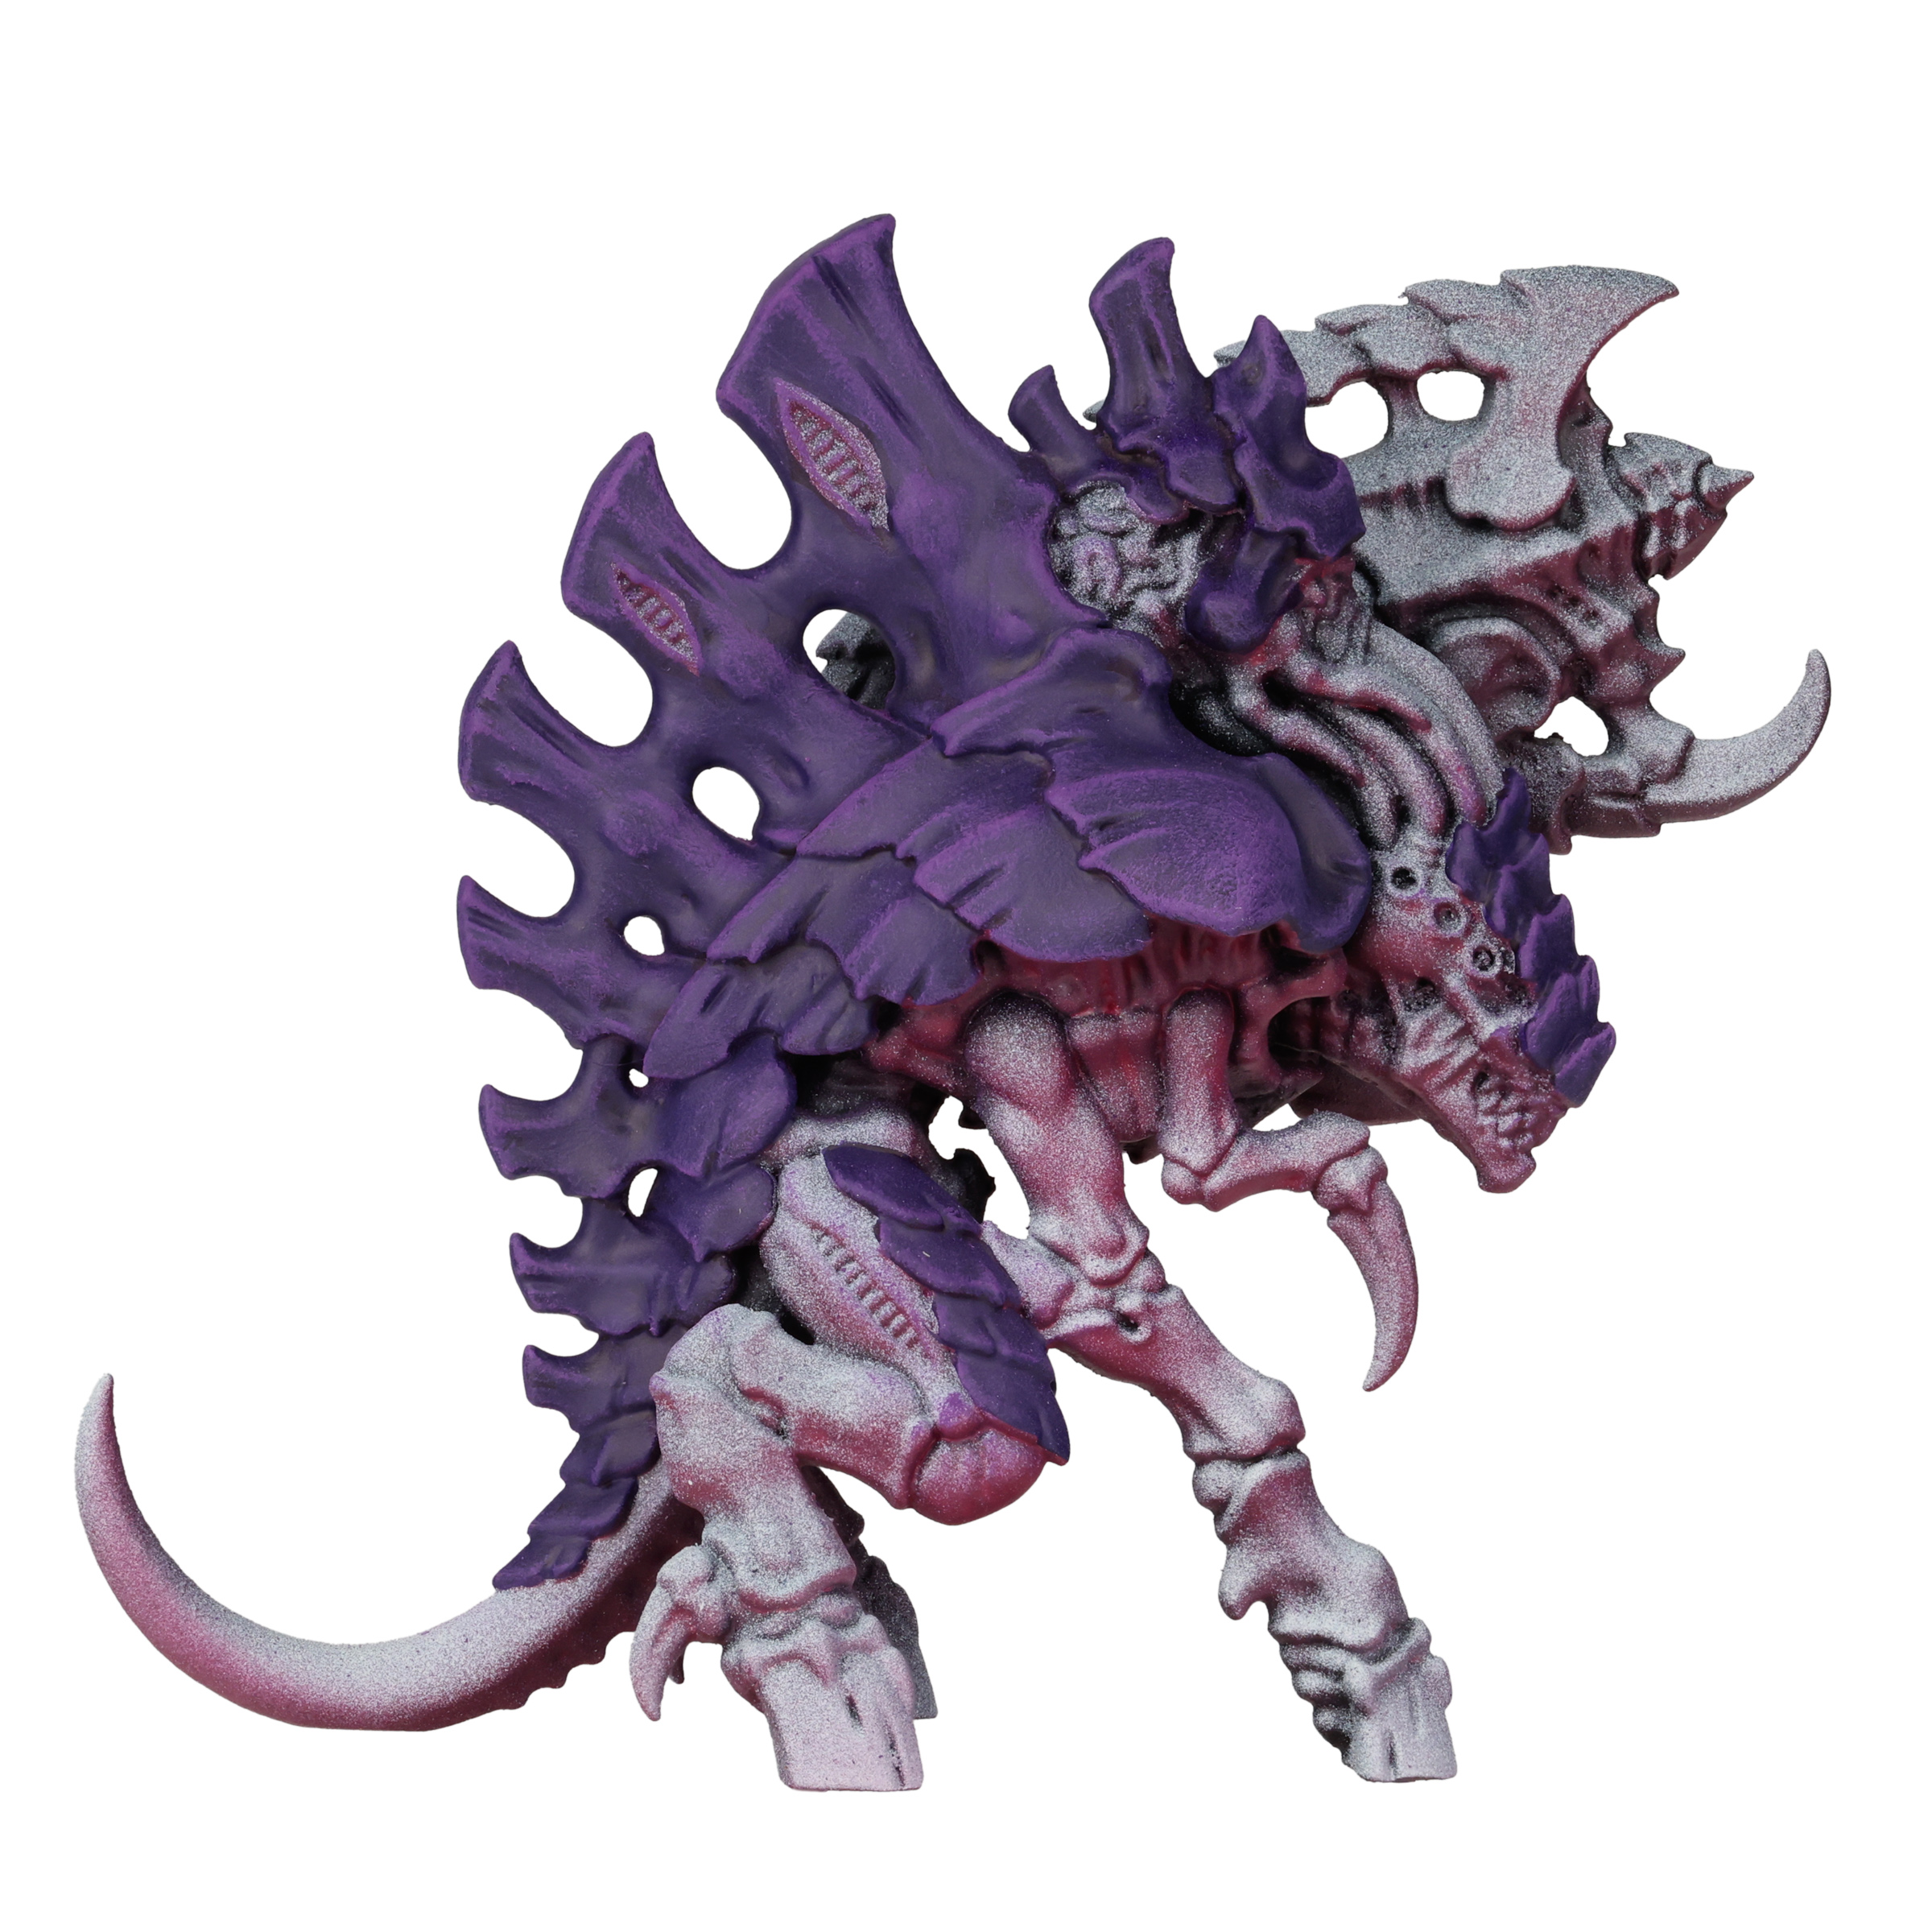
Go relatively heavy with this, as it will be the primary way of creating midtones on the carapace.
Once that’s done, continue with a drybrush of Genestealer Purple.
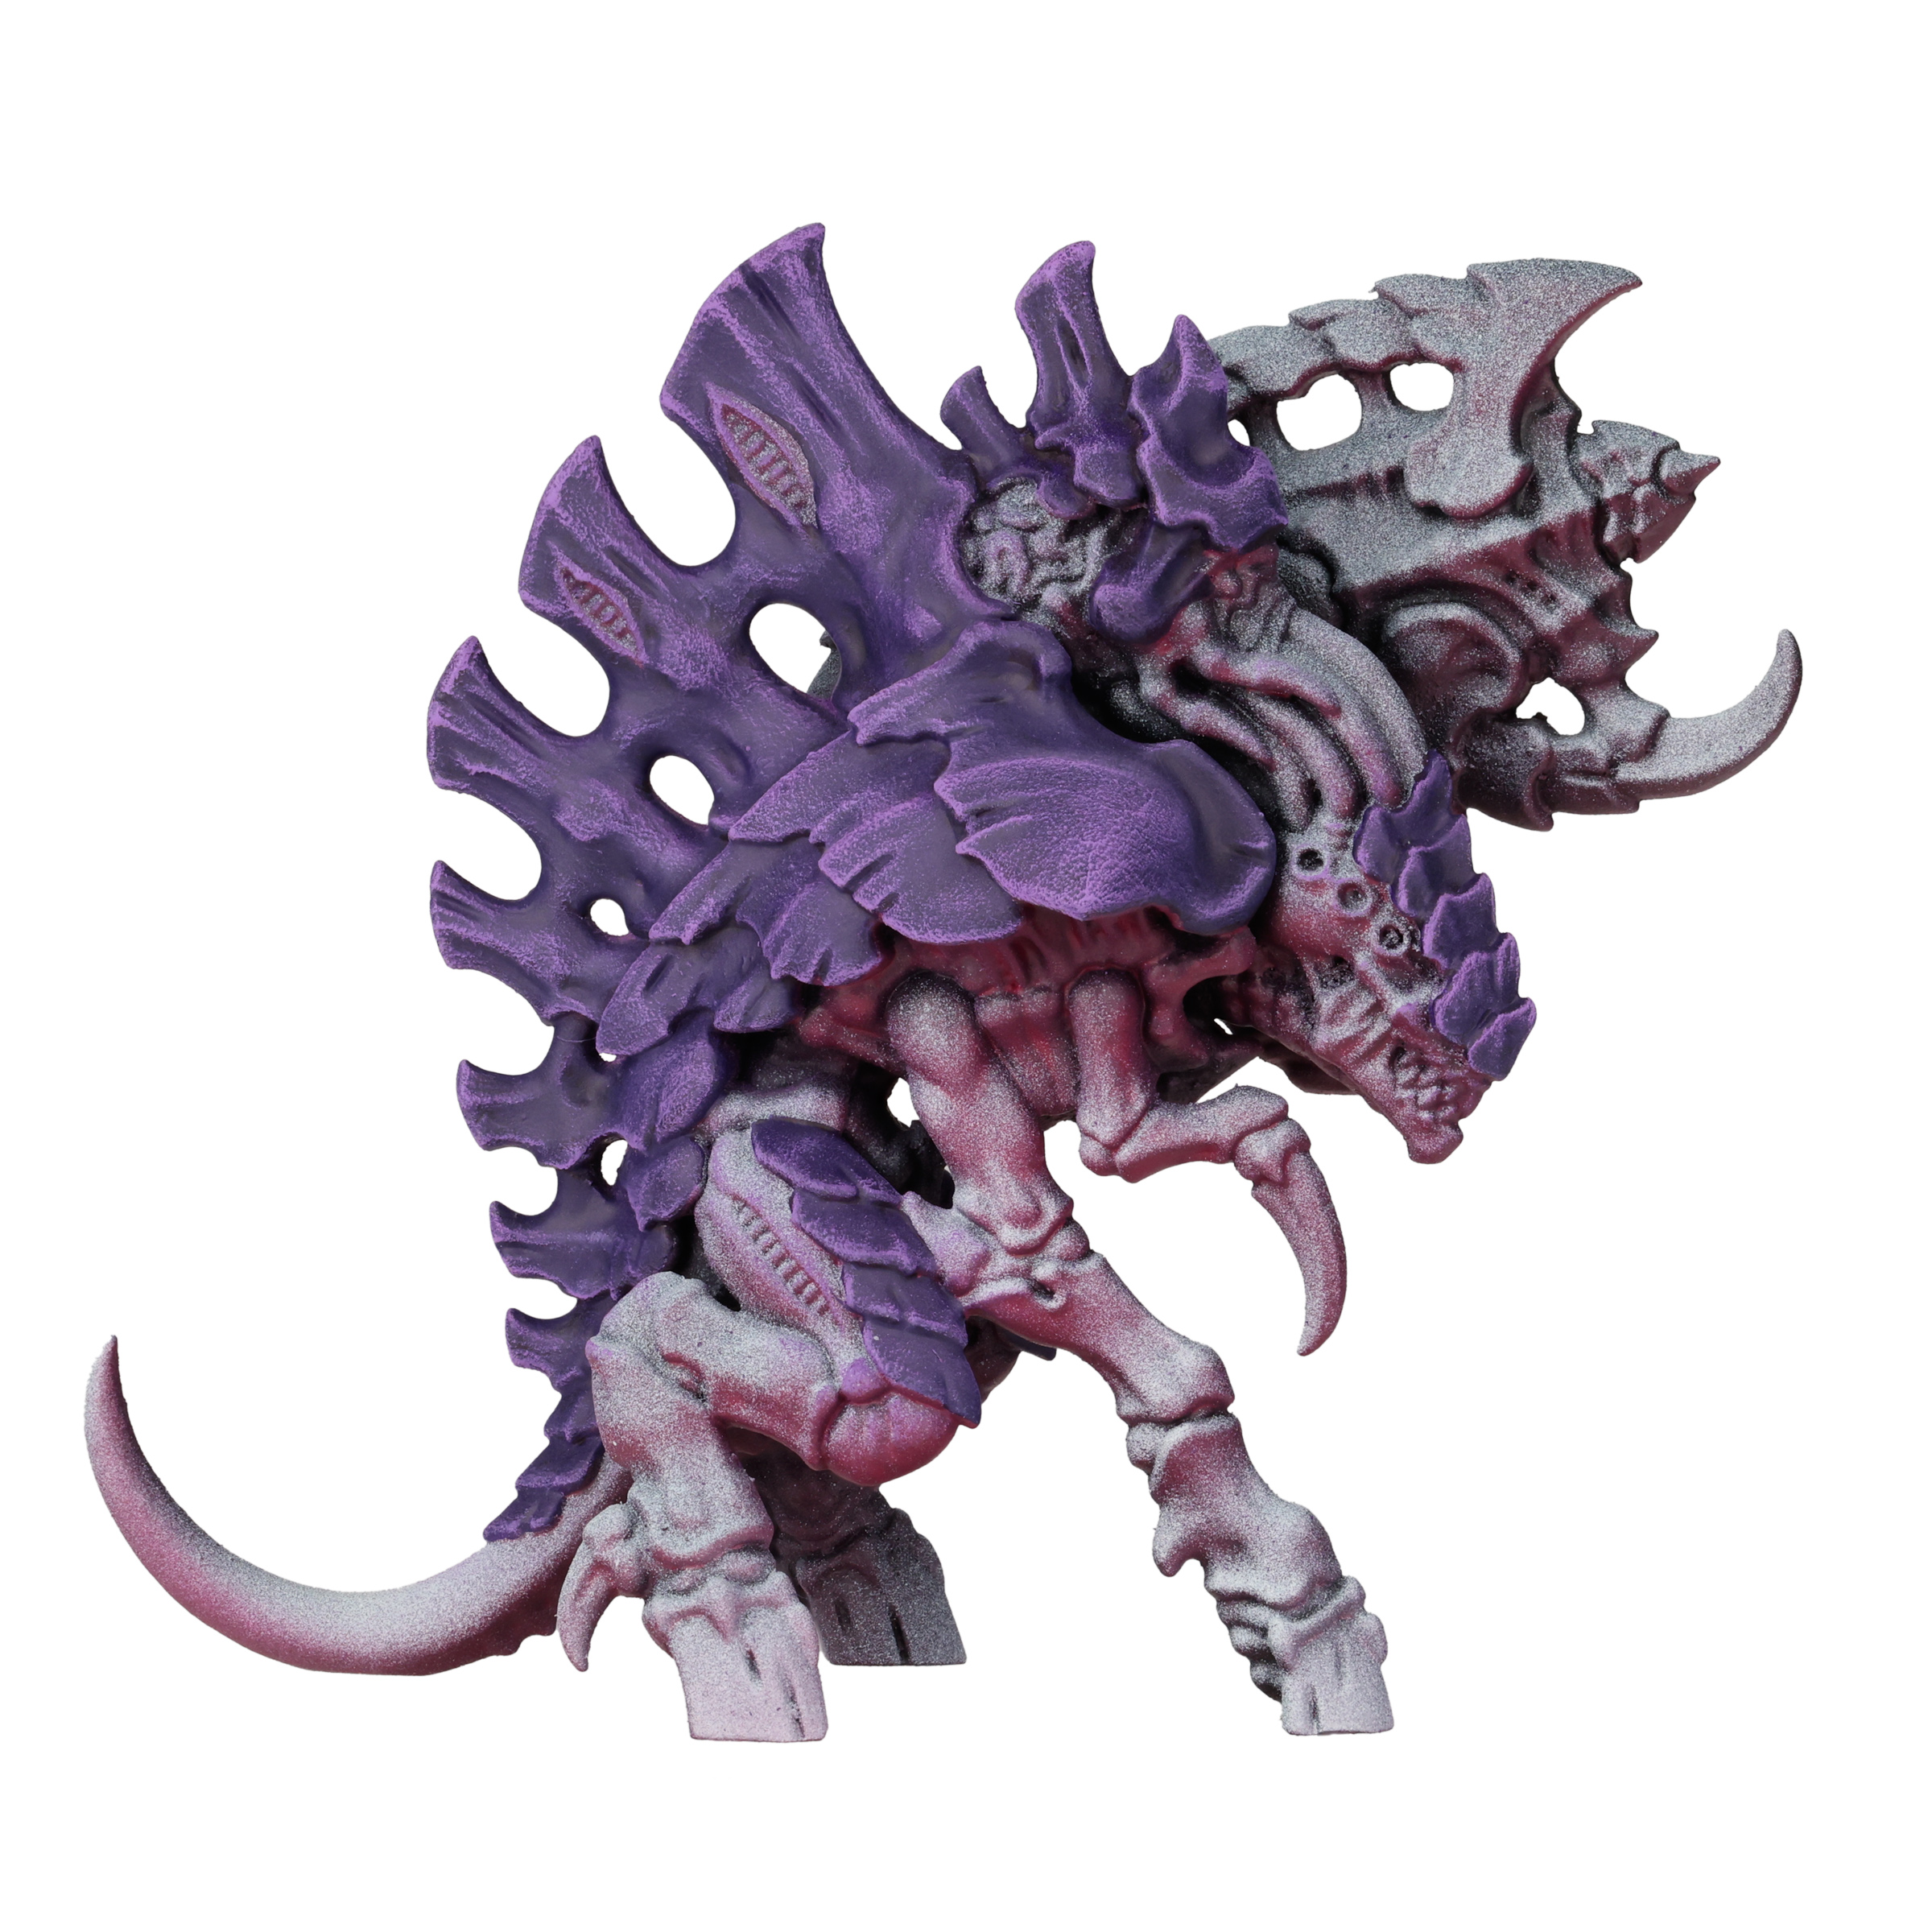
Go a bit lighter with this, but don’t be afraid of it. As the name implies, this is that iconic Genestealer purple, so it’s great to have this be readily visible on the model.
Finish off the drybrushing with a drybrush/edge highlight of Slaneesh Grey.
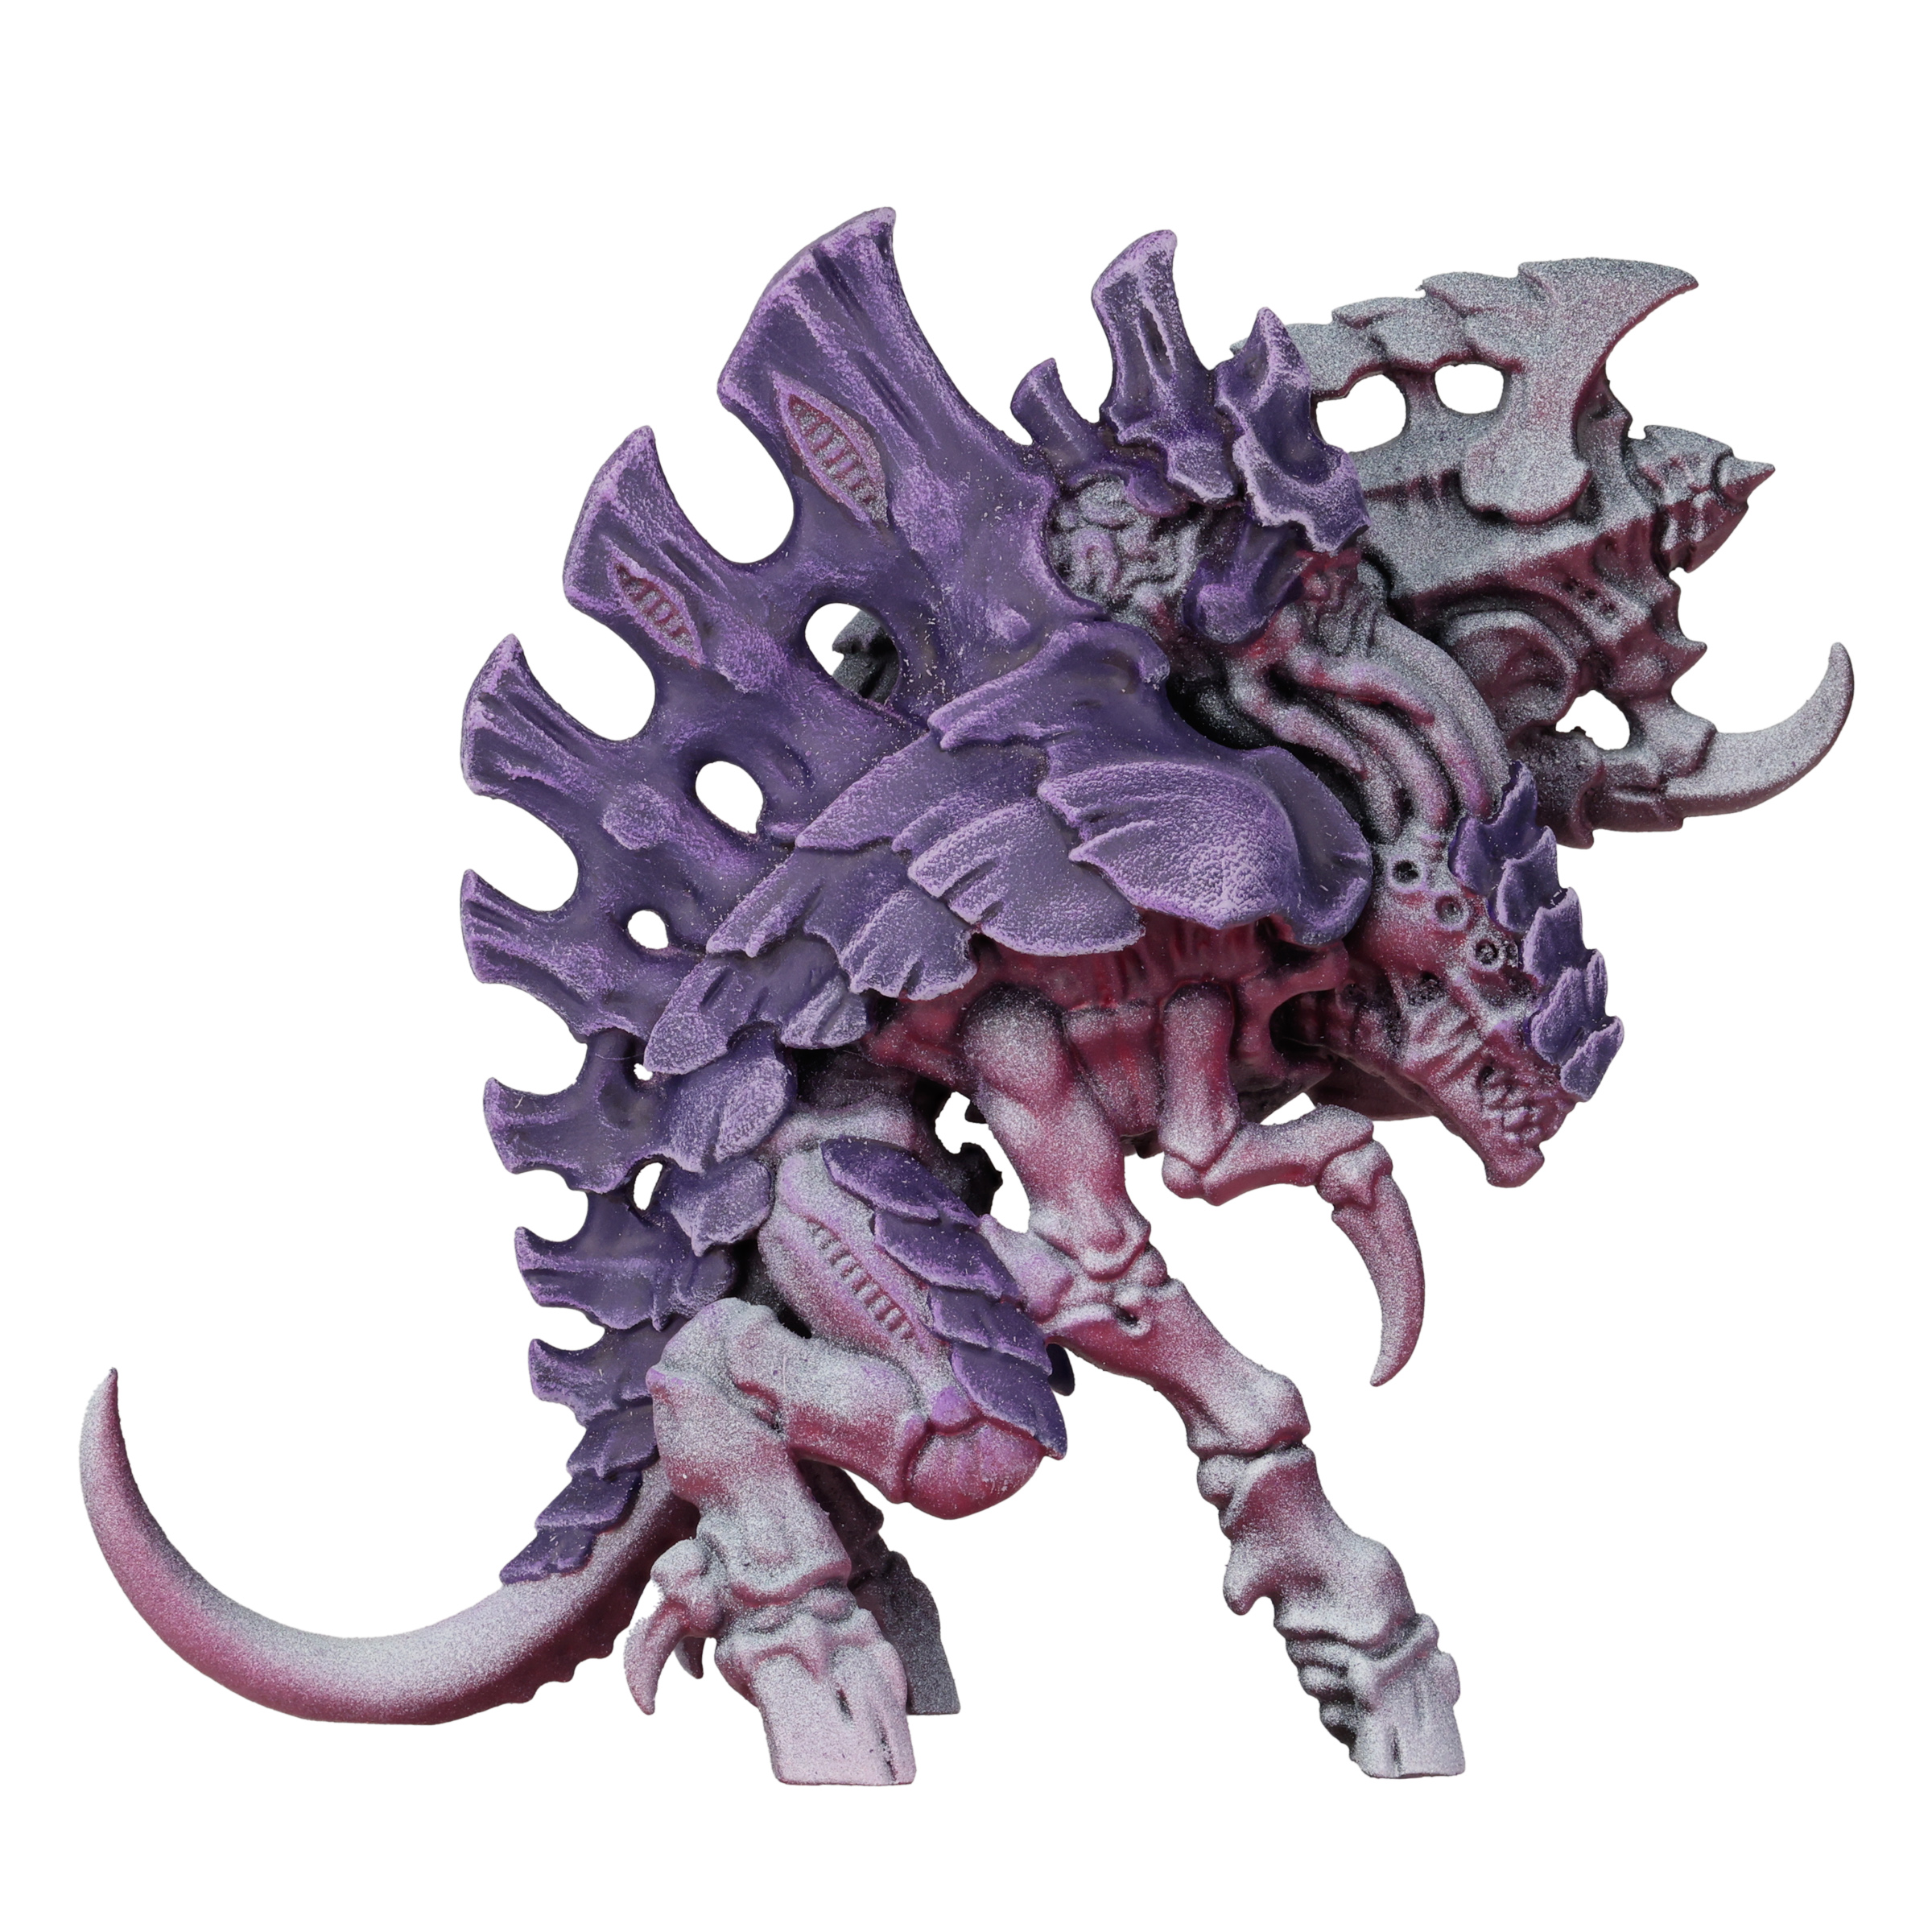
This is the carapace’s proper highlight color, so use this relatively sparingly. Use a drybrush to catch edges and sharp corners, and use a traditional brush to draw lines anywhere you feel is appropriate.
Bonus Tip For Our Awesome Patrons – If you’re not a Patron DO NOT LOOK – IT WOULD BE ILLEGAL.
If you’re happy with how this looks, great! But want just a touch more definition in the shadows of the carapace, get a brush nice and damp, and feather Druchii Violet into the shadows. Go easy with this, as it could easily blow away the drybrushing you’ve worked on. But done right, it’ll make the shadows sink in, and create an excellent contrast to neighboring highlights.
Step 5 – Skin
I almost feel bad with how simple this step is. Let’s pretend it’s a lot more complicated than it is, just so I can feel like it’s a right-proper step instead of a the simple one-trick-pony that it is. To paint the skin, evenly brush on thinned Skeleton Horde contrast.
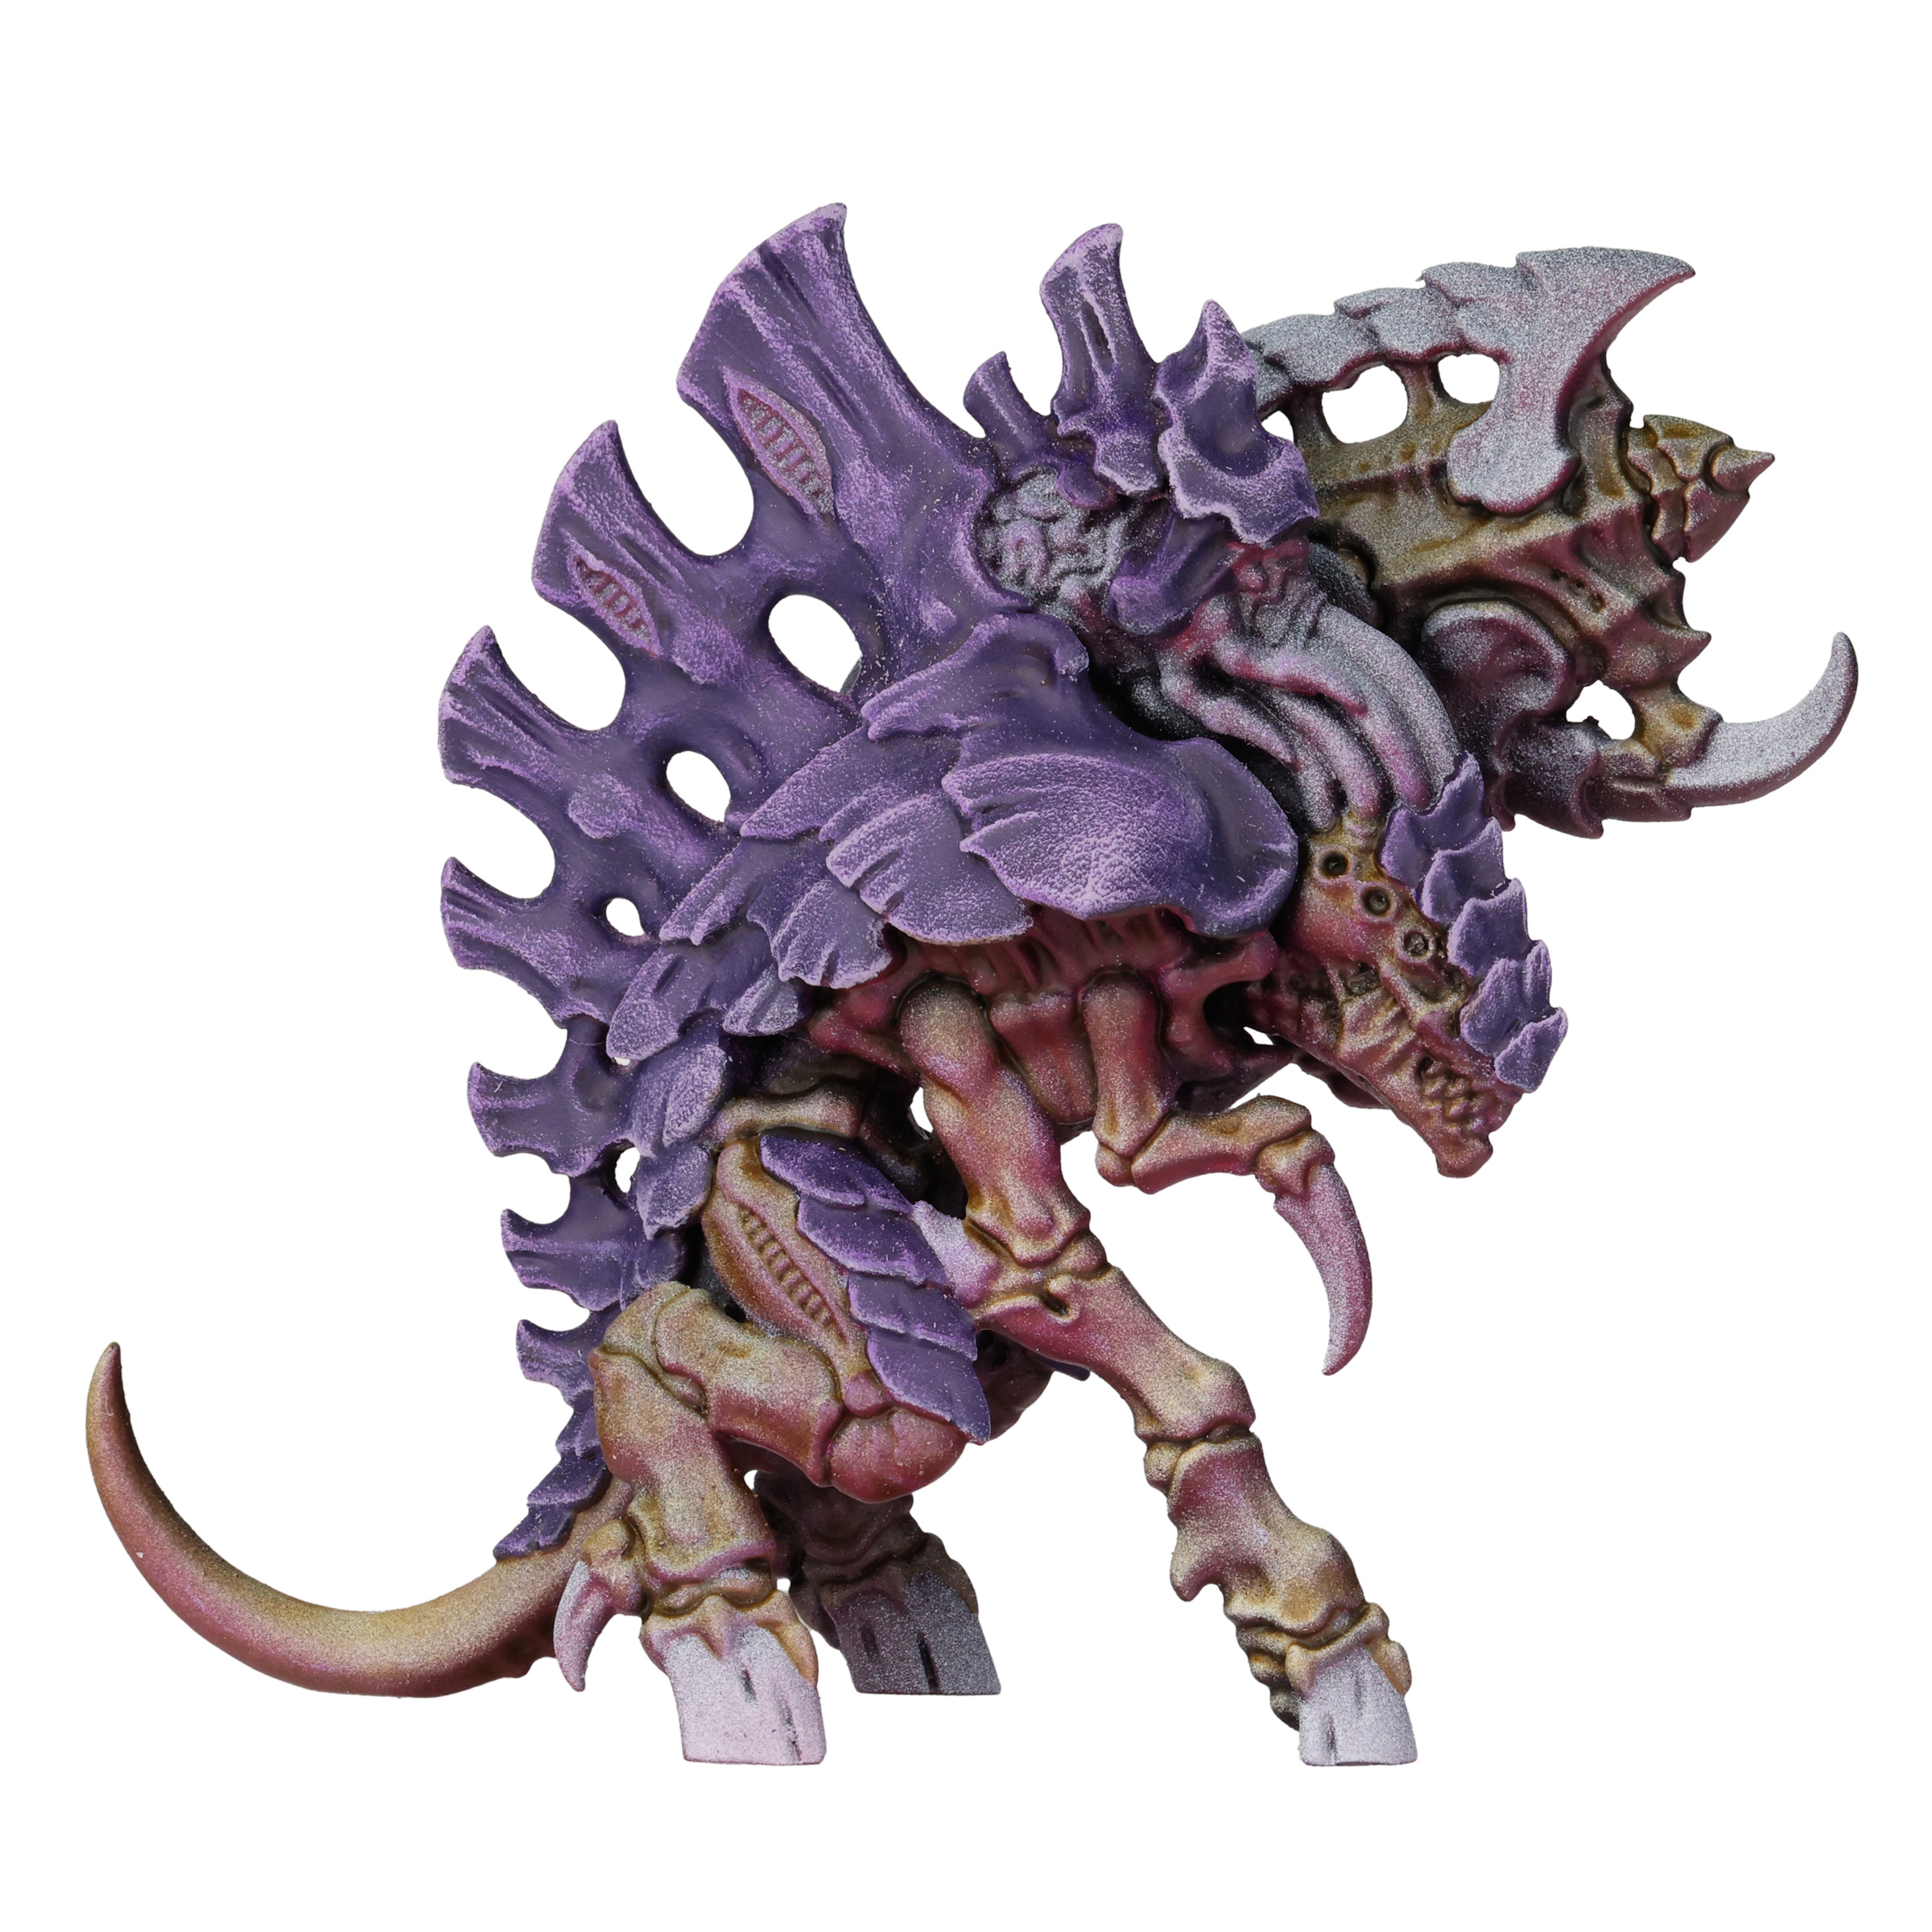
That’s it. One step, easy and done.
Okay, I’ll elaborate. When I say “thinned Skeleton Horde”, I don’t mean for you to actually thin the paint with a medium. At least, a medium other than water. Get your brush to be a little damp when you dip it in the Skeleton Horde pot, and then wick away some of the paint across the top of the bottle. Follow it up by barely tapping the brush to a surface of your water cup to thin it just a touch more, and you’ll have a brush loaded with a thinned Skeleton Horde.
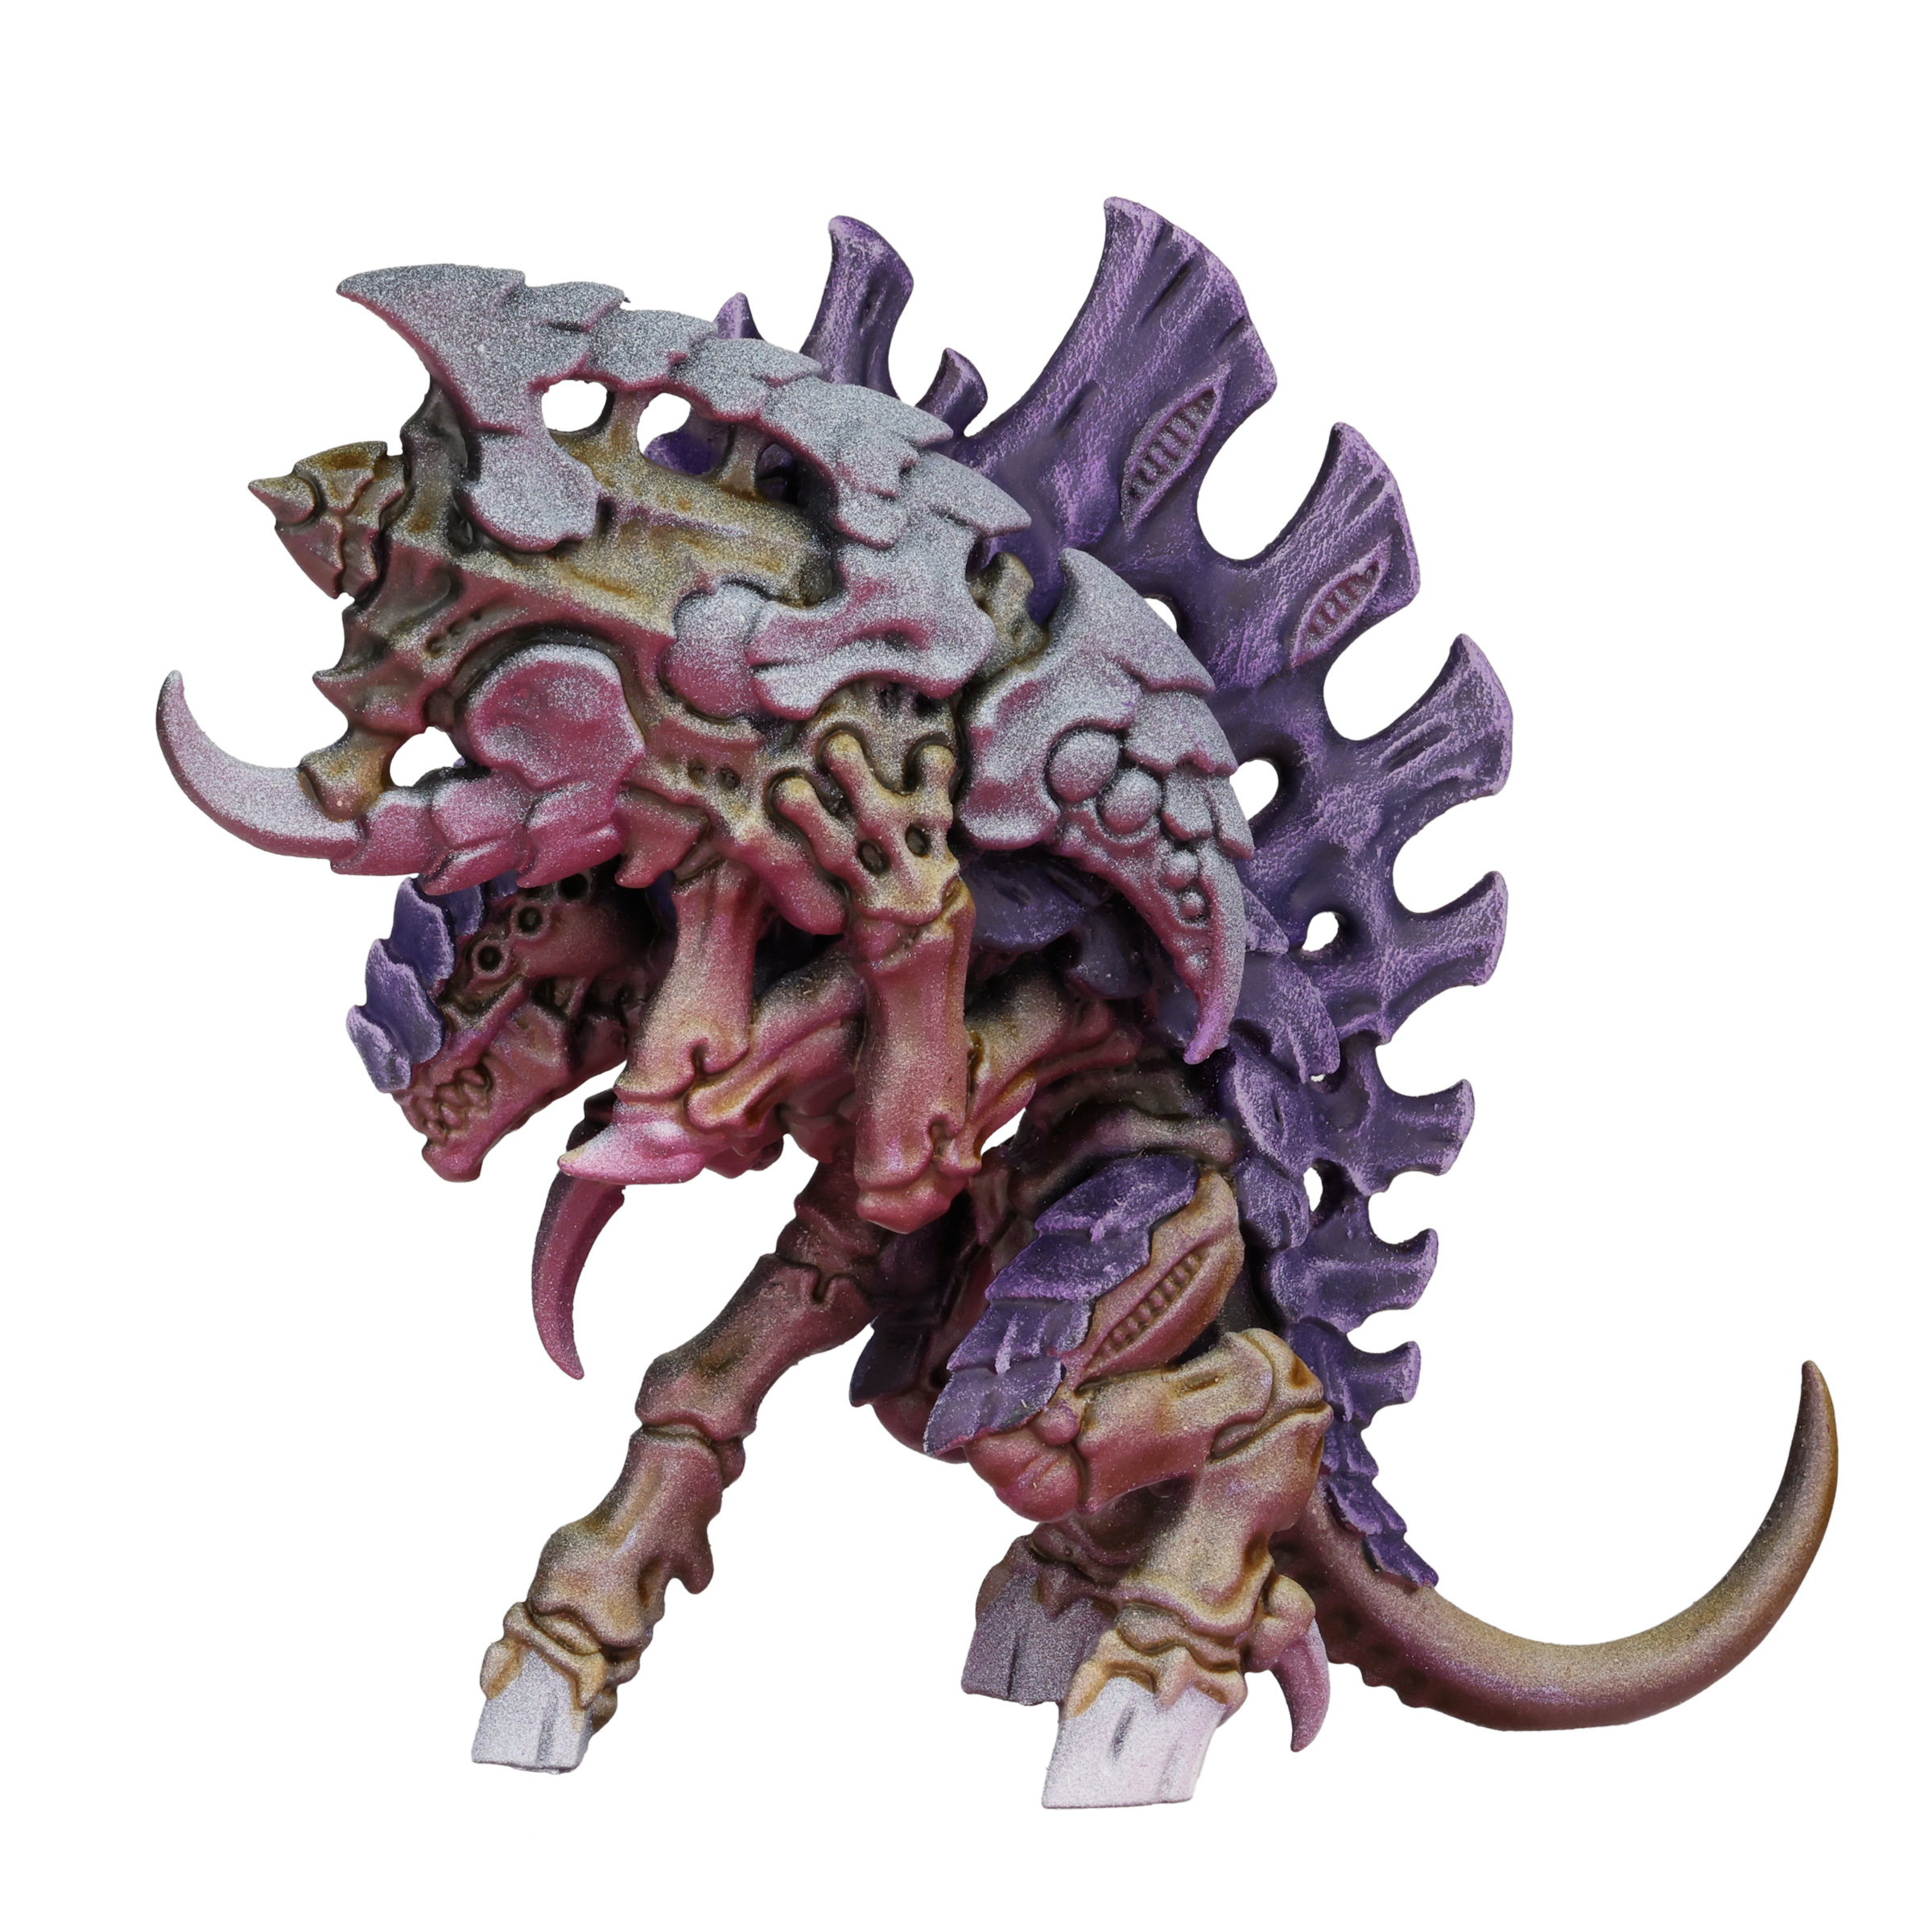
Evenly, and I mean evenly paint this across the skin of your model. Work fast, and do not let your brush touch the same area twice. The only time you should is if you notice an areas where the paint is “pooling”. You can have your brush soak up some of the pool by gentle touching it. But that’s the most you’ll want to “double-dip” in this step. The more you fuss with Contrast paints, the worse they look. So apply your one even layer, and apply it quickly.
Step 6 – Split Skin, Joints, and Mouth
Tyranids have all sorts of cracks and crevices in their skin and armor. Those are great areas to hit with a bit of pinkish red to break up the skin tones. Get a nice thin, pointy brush and shade the cracks and crevices of the skin, joints, and mouth with Carroburg Crimson.
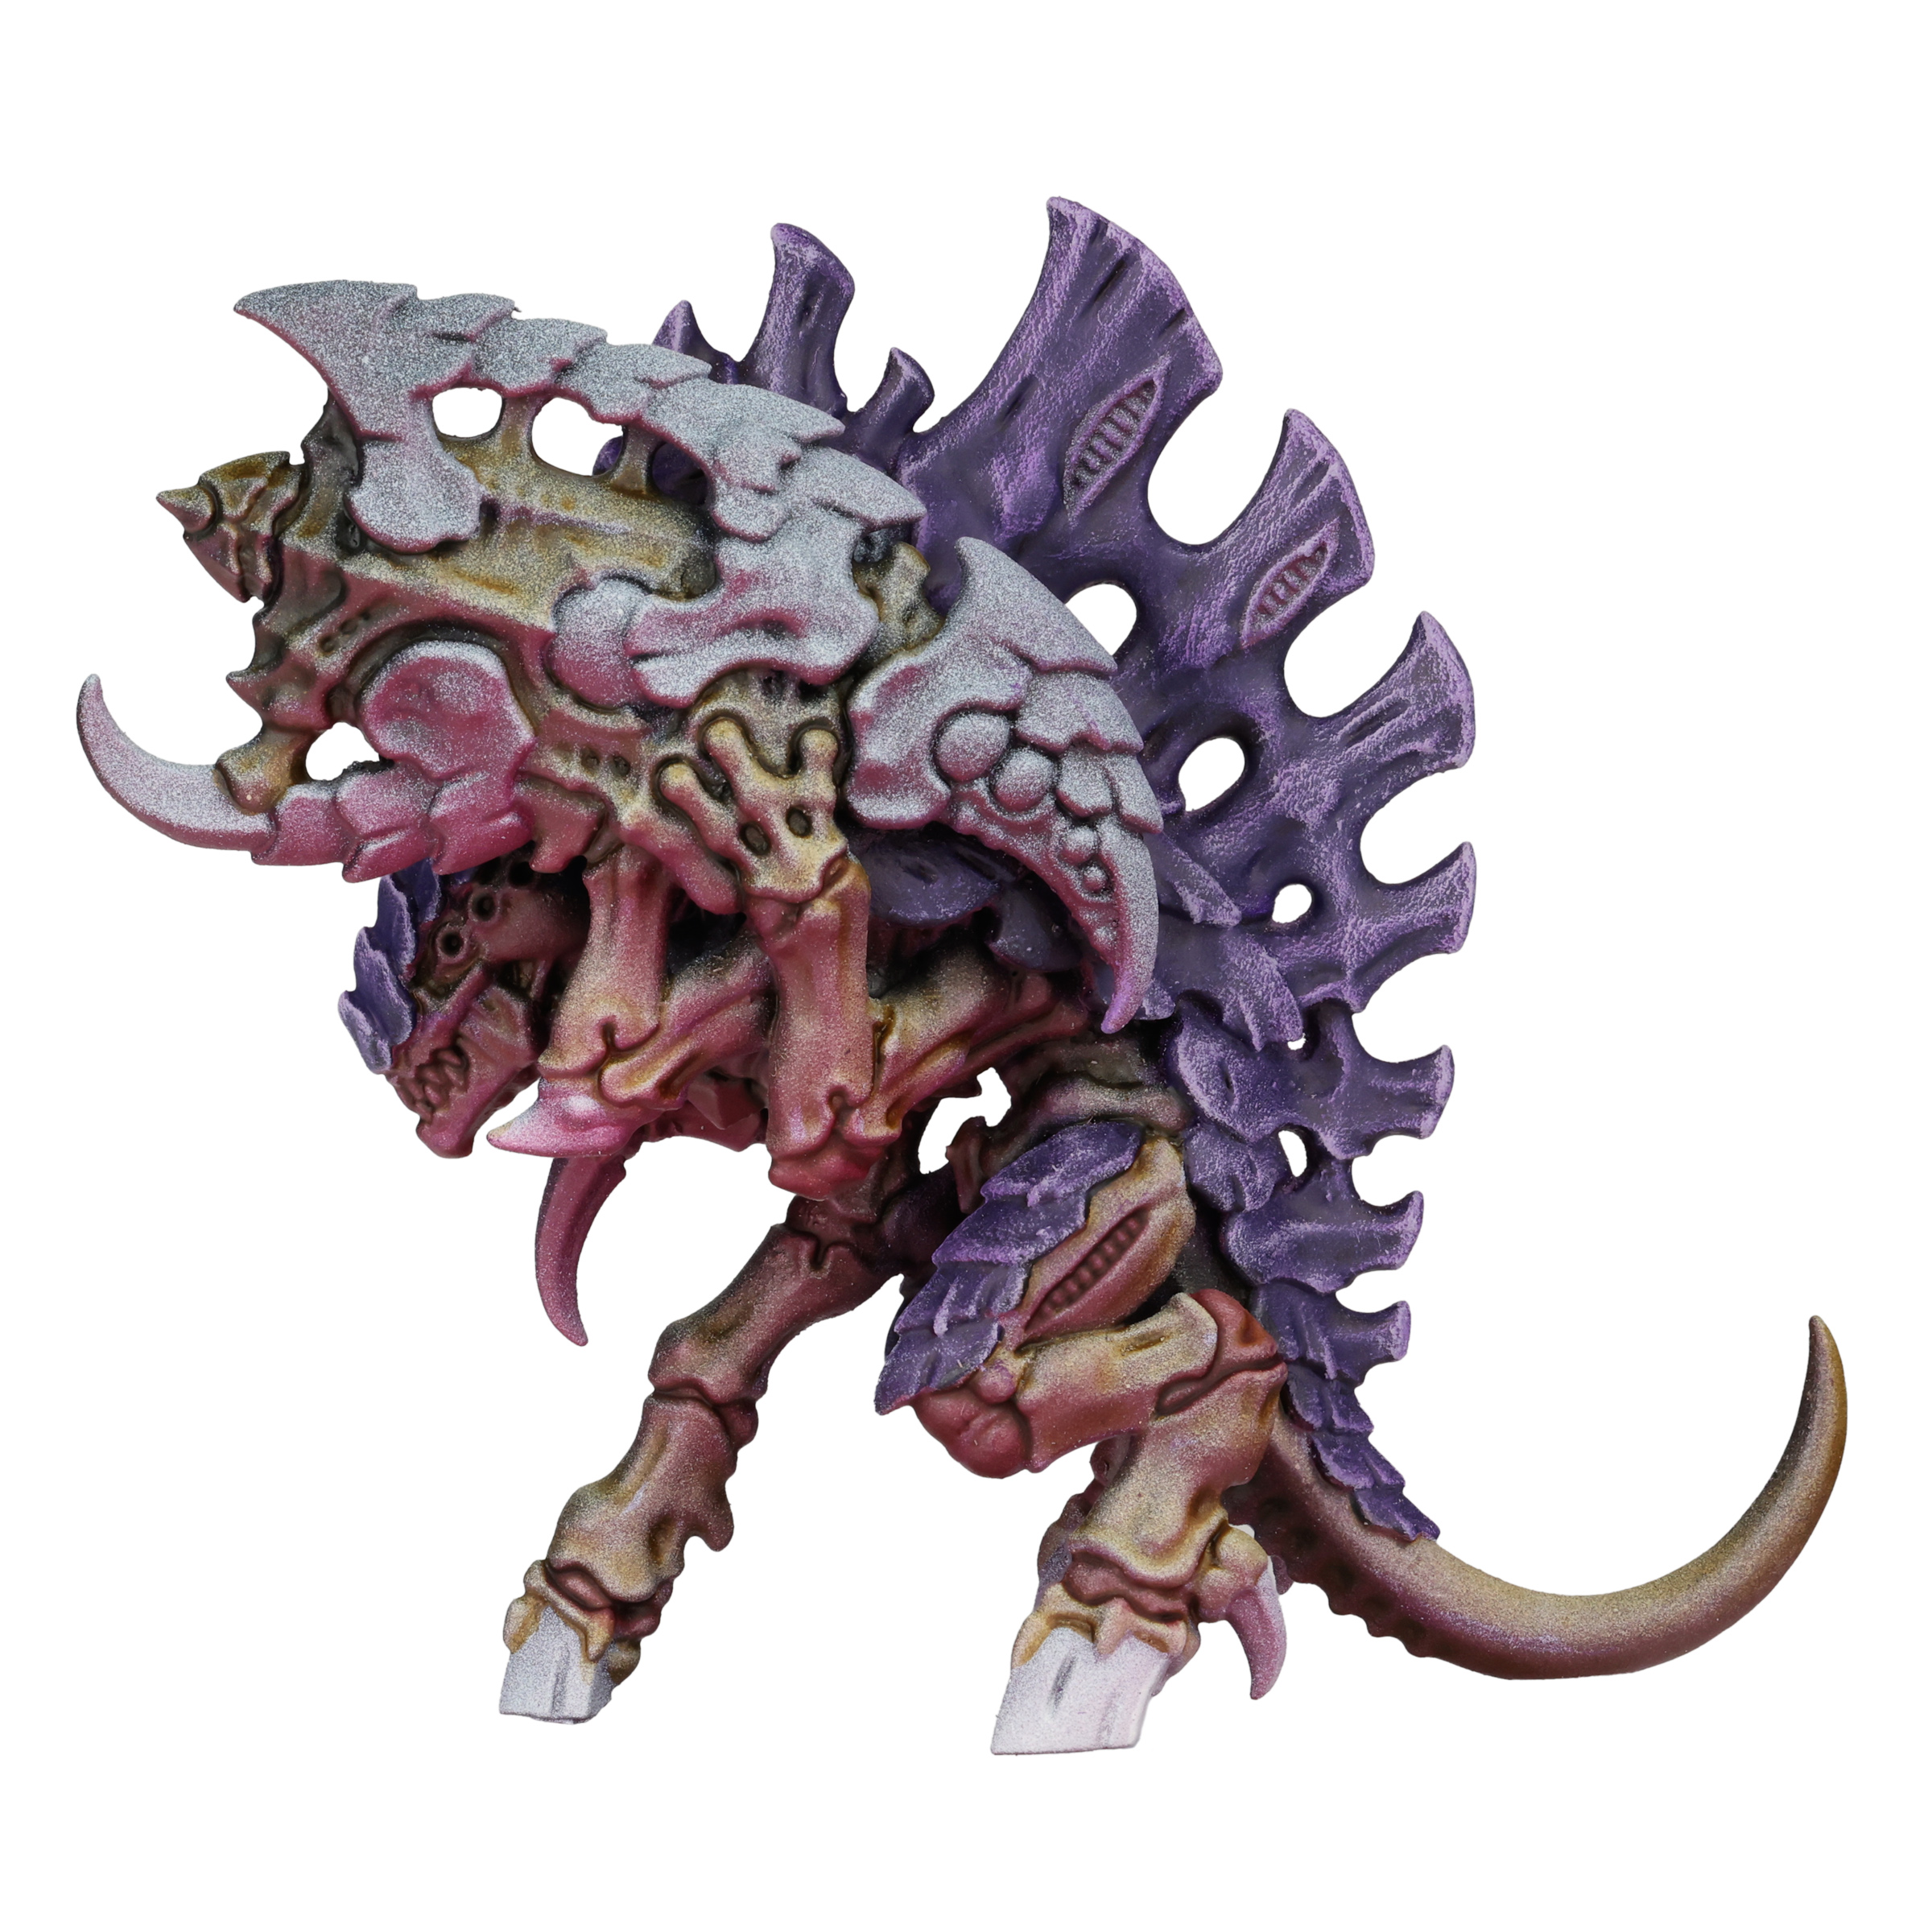
As a bare minimum, hit the large joints like the elbows and knees, and also get the areas where the skin “splits” to show the muscle underneath. Beyond that, there’s not really an upper-limit to how much you can do this. If you want, you can gently feather this into every single joint in the skin, but you’ll likely hit diminishing returns as you work your way towards shading smaller and fainter cracks.
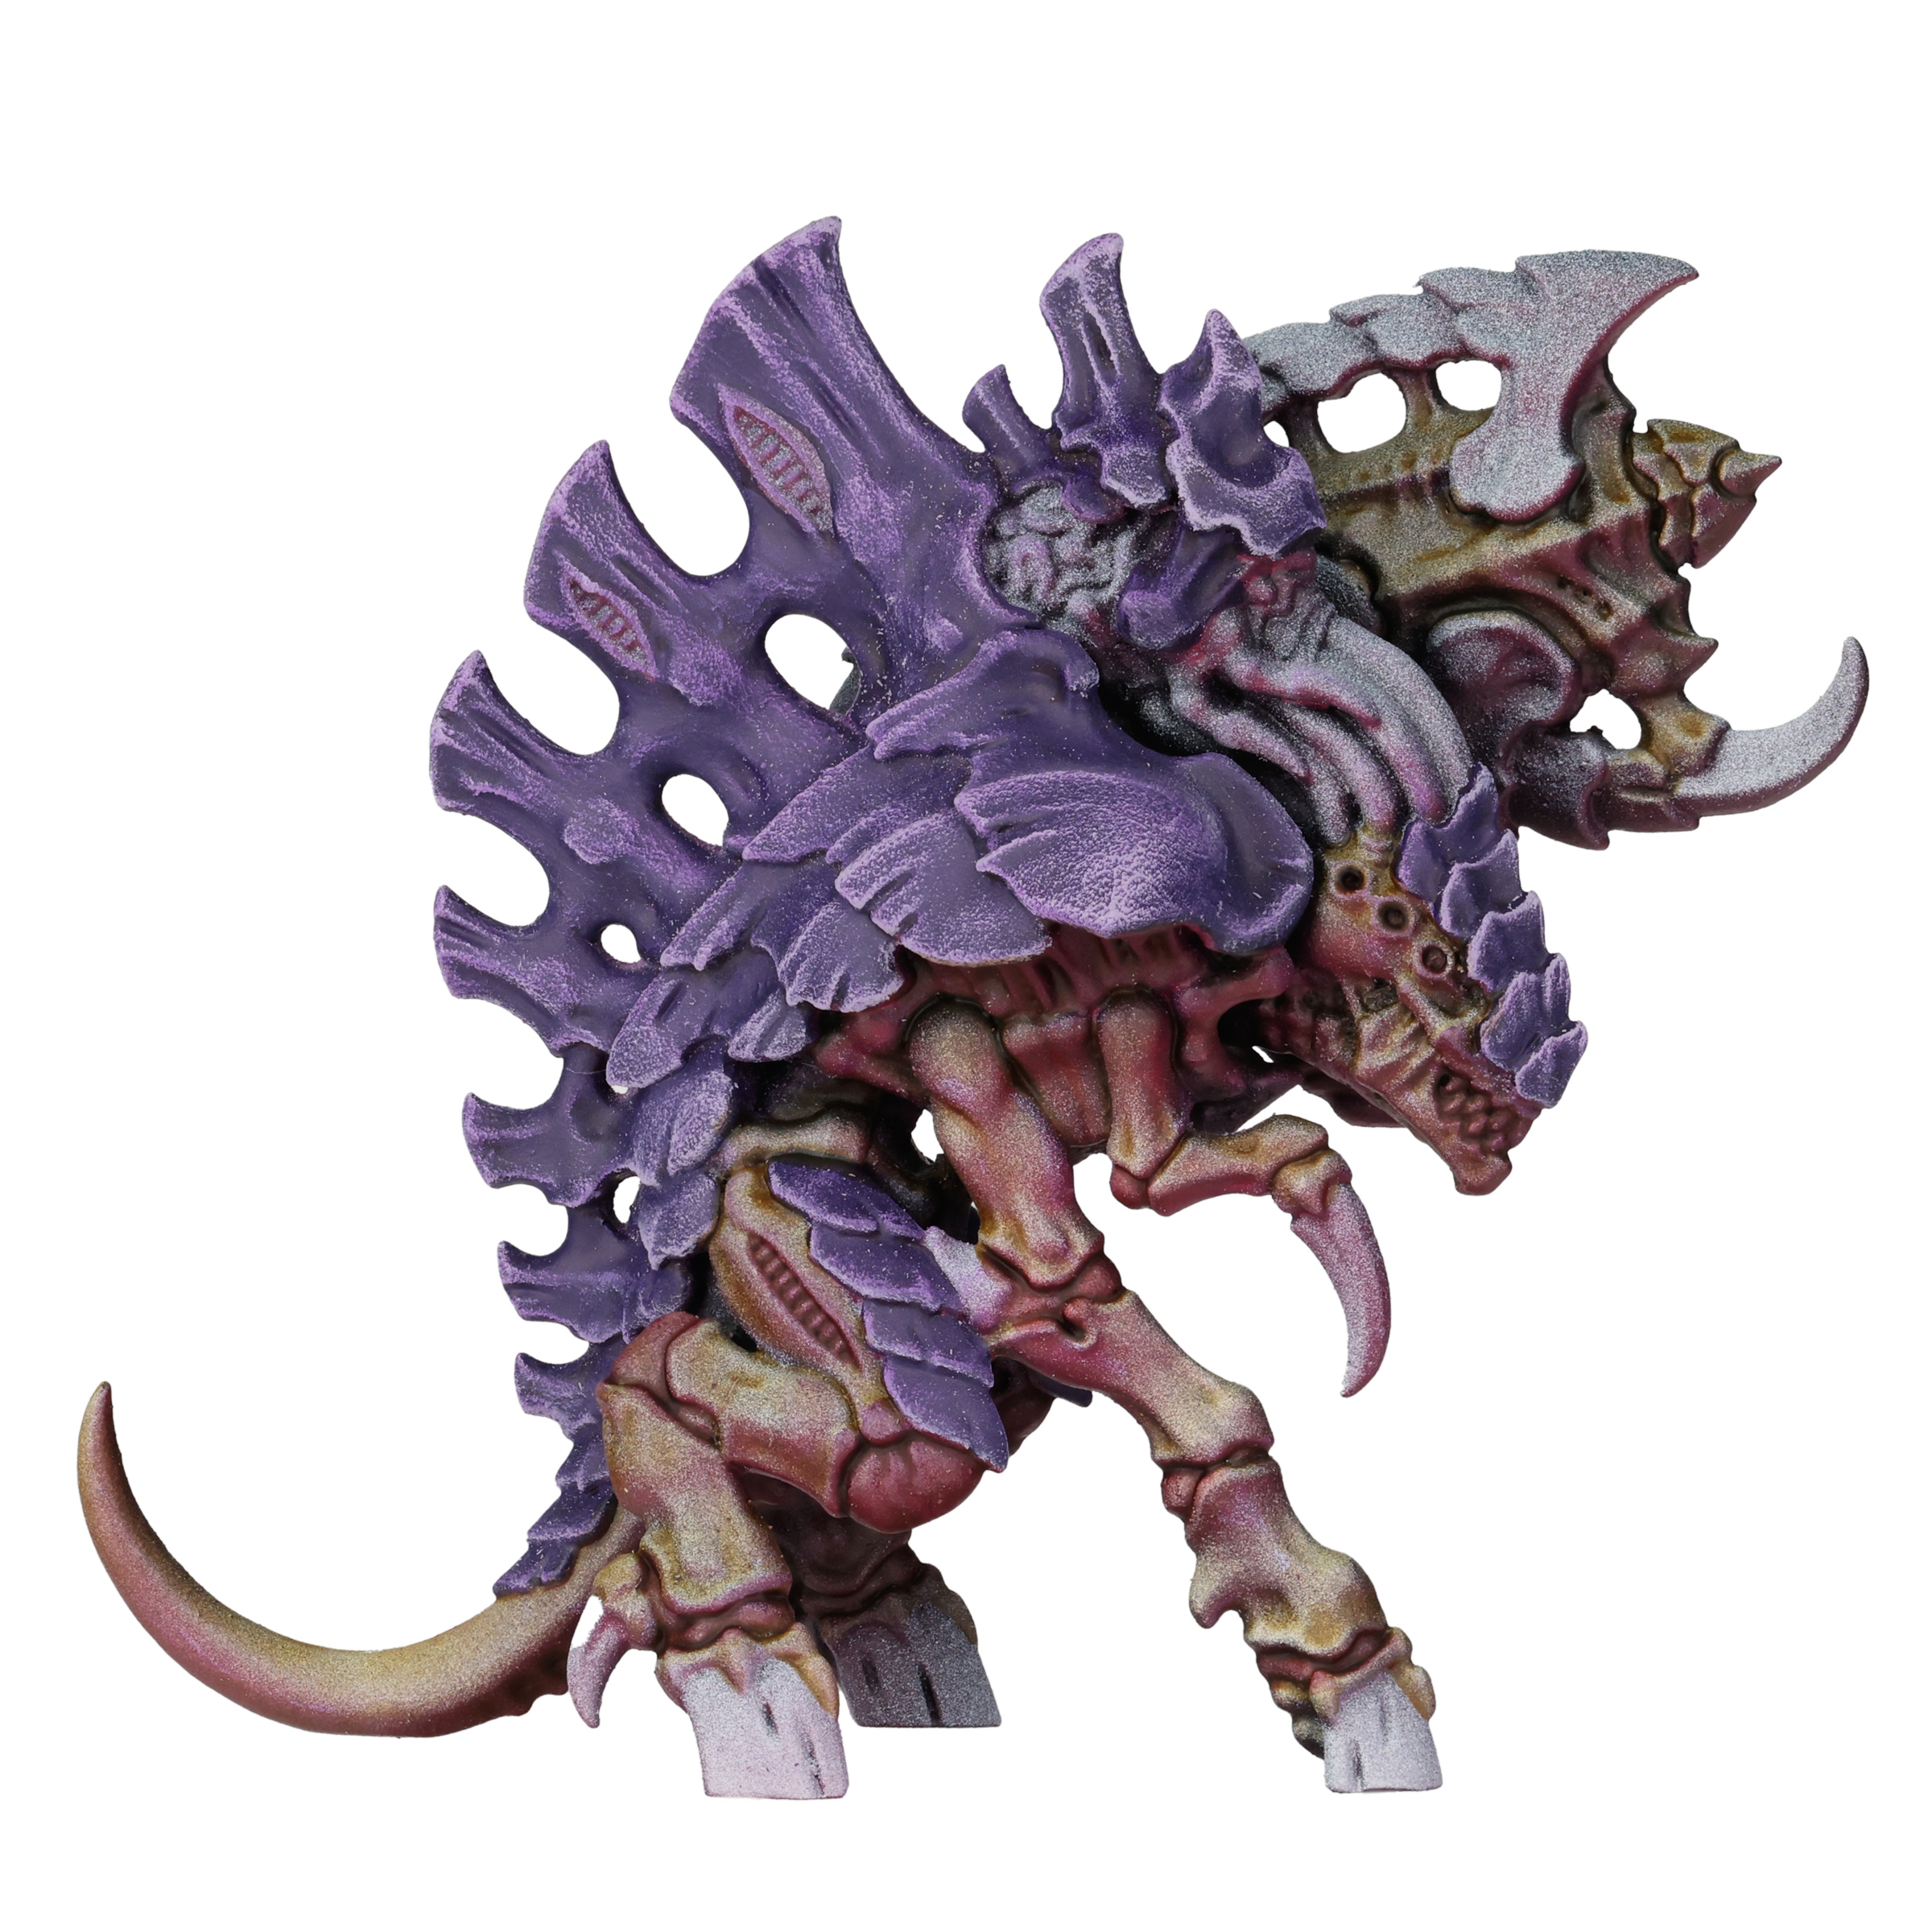
If the model’s tongue is out, hit it with a layer or two of Carraoburg Crimson to give it that nice reddish pink look.
Step 7 – Hooves and Claws
Easy step here, brush the hooves and claws with Basilicanum Grey contrast paint. Nothing fancy, just a nice even coat and and you’re ready to move on.
If you want the claws to pop just a bit more, then you can hit them with a light drybrush of Mephiston Red.
Step 8 – Teeth
The teeth and mouth should be looking mighty red at this point. We want to keep that red for the mouth, but let’s brighten up those chompers. Brush Ushabti Bone onto the teeth.
For smaller models, this is a simple single-paint step. For larger model (i.e. larger teeth) you might want a bit more detail. For larger models, follow this up with a little bit of Skeleton Horde contrast paint, and a second, even thinner layer of Ushabti Bone. This will break up the monotone of Ushabti Bone and give the teeth a more realistic appearance.
Step 9 – Eyes
Lots of ways you can do eyes, depending on what color your want. I wanted an orange/yellow look, so I painted the eye and eye socket with Gyrph-hound Orange contrast and then a small highlight of Yriel Yellow.
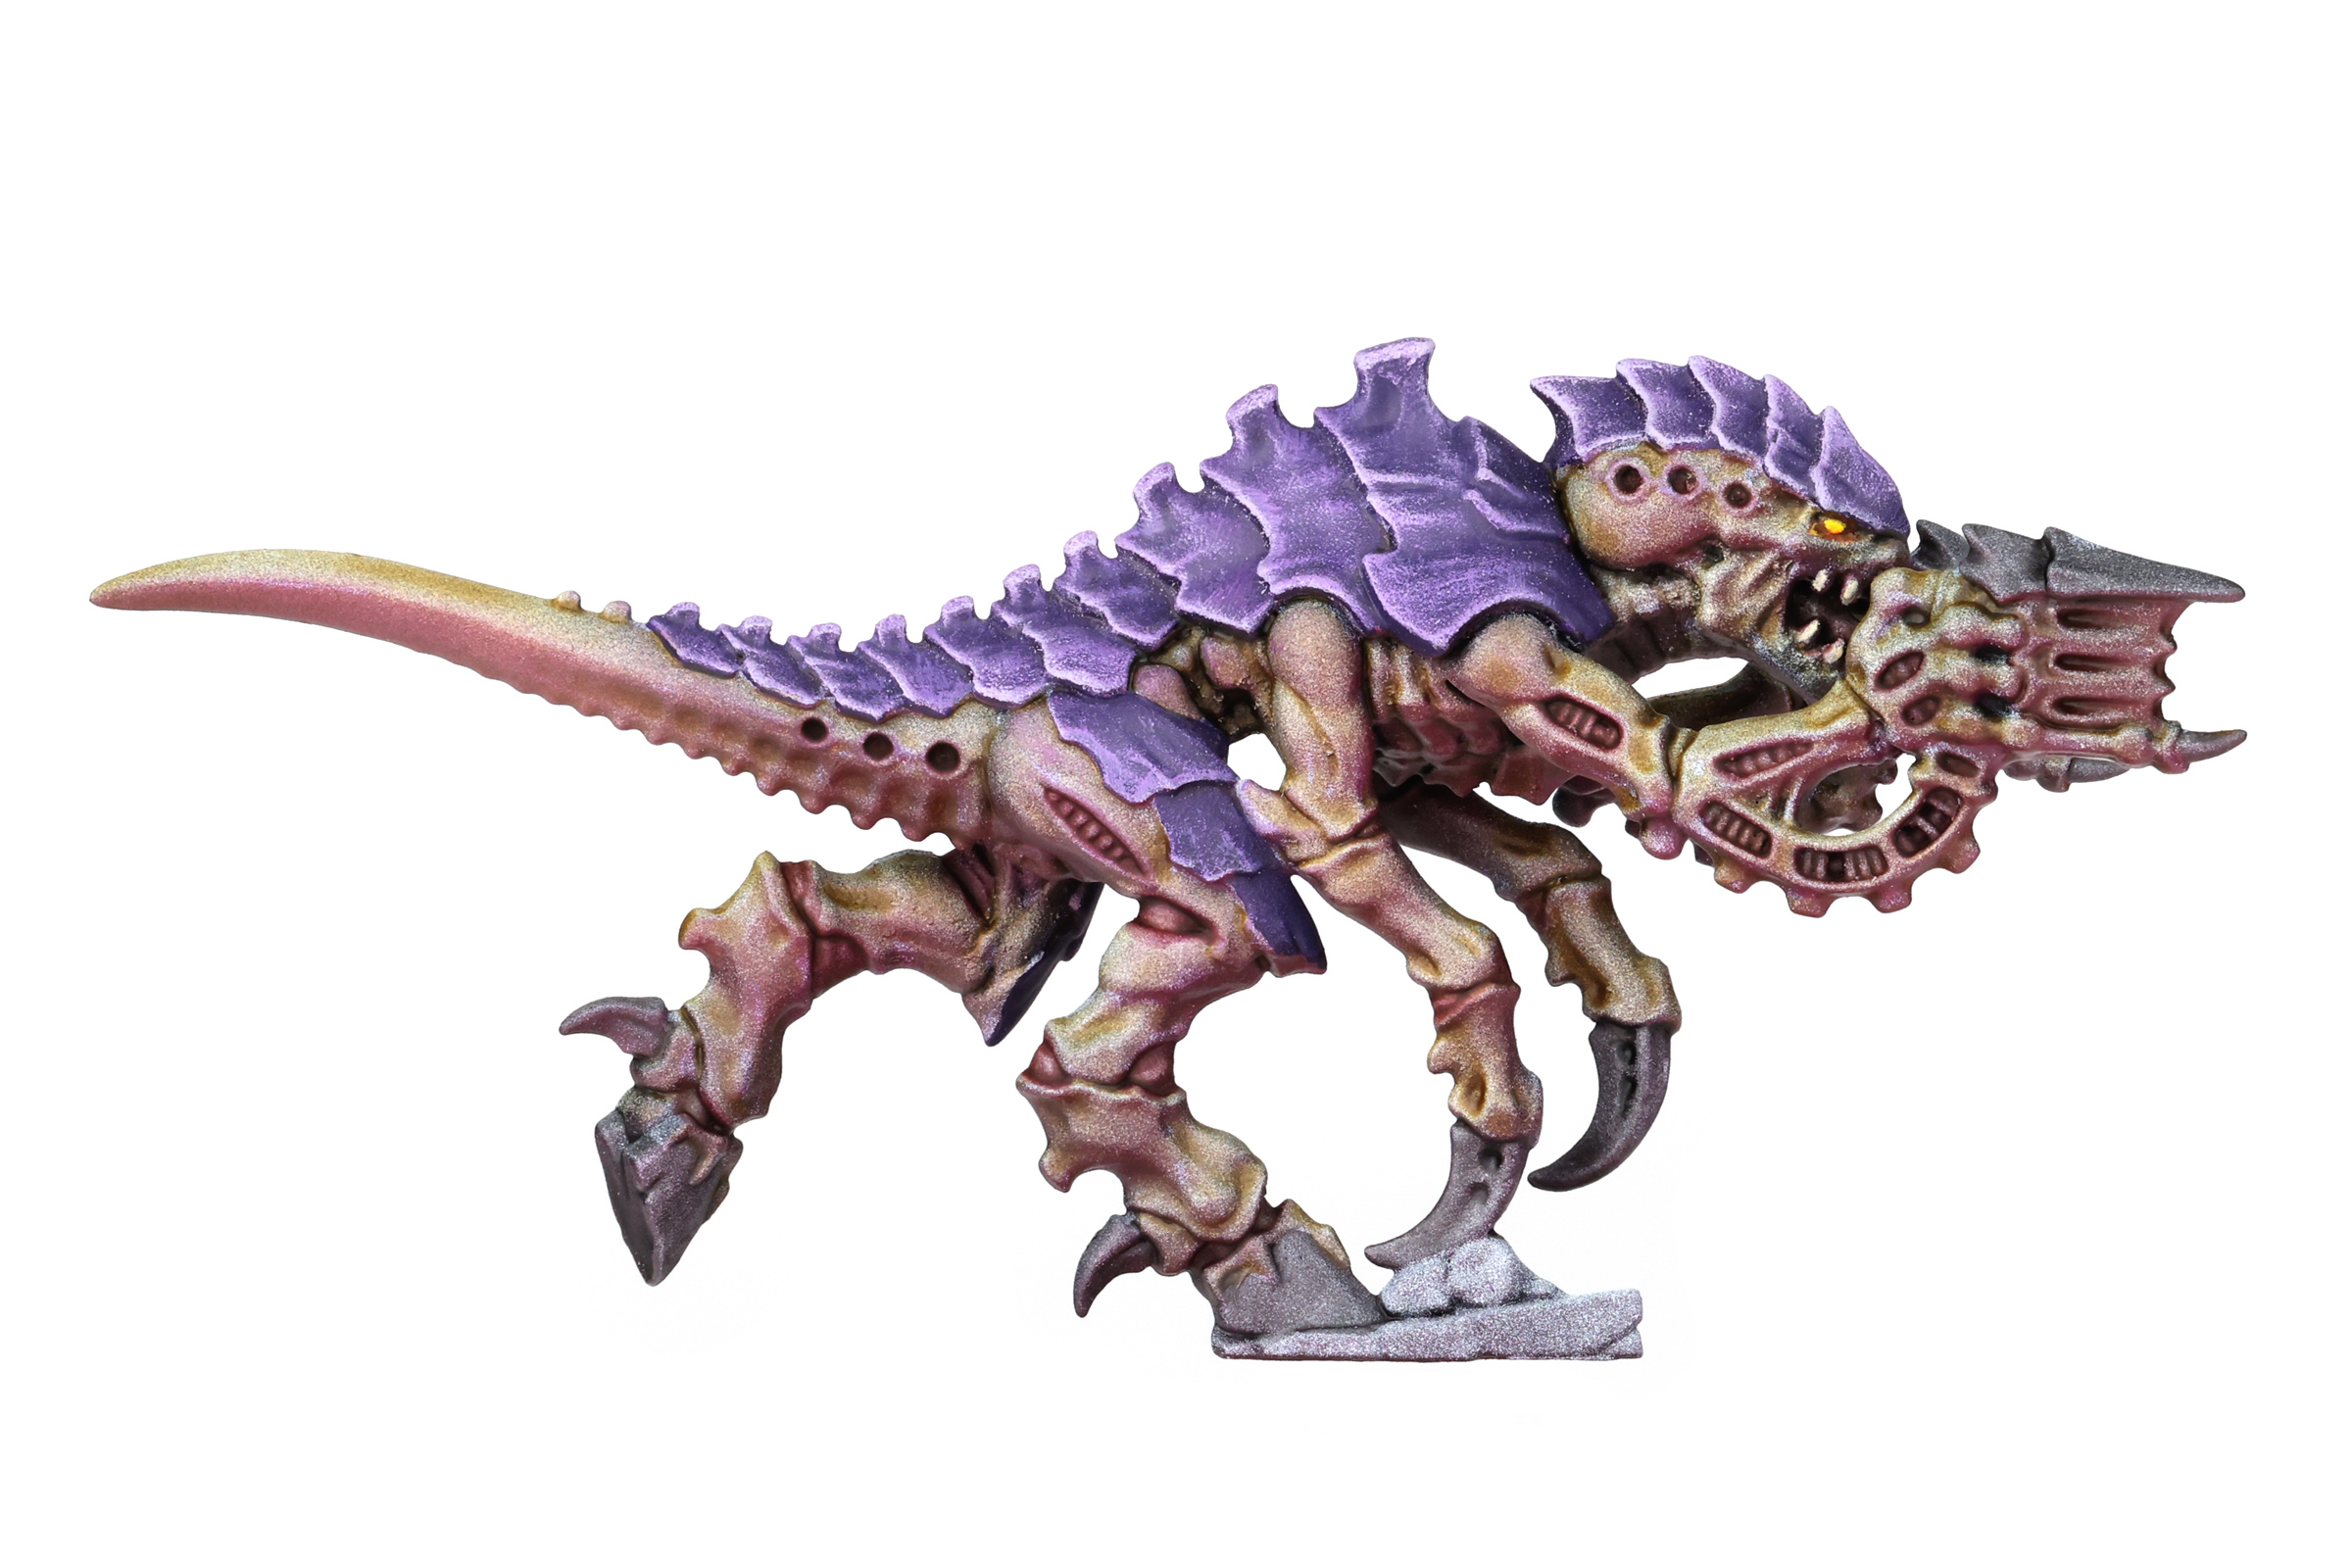
Step 10 – Odds ‘n Ends
There are a handful of random bits that, depending on the model, might take an extra little something. Here are a few bits I’ve noticed that are worth calling out specifically:
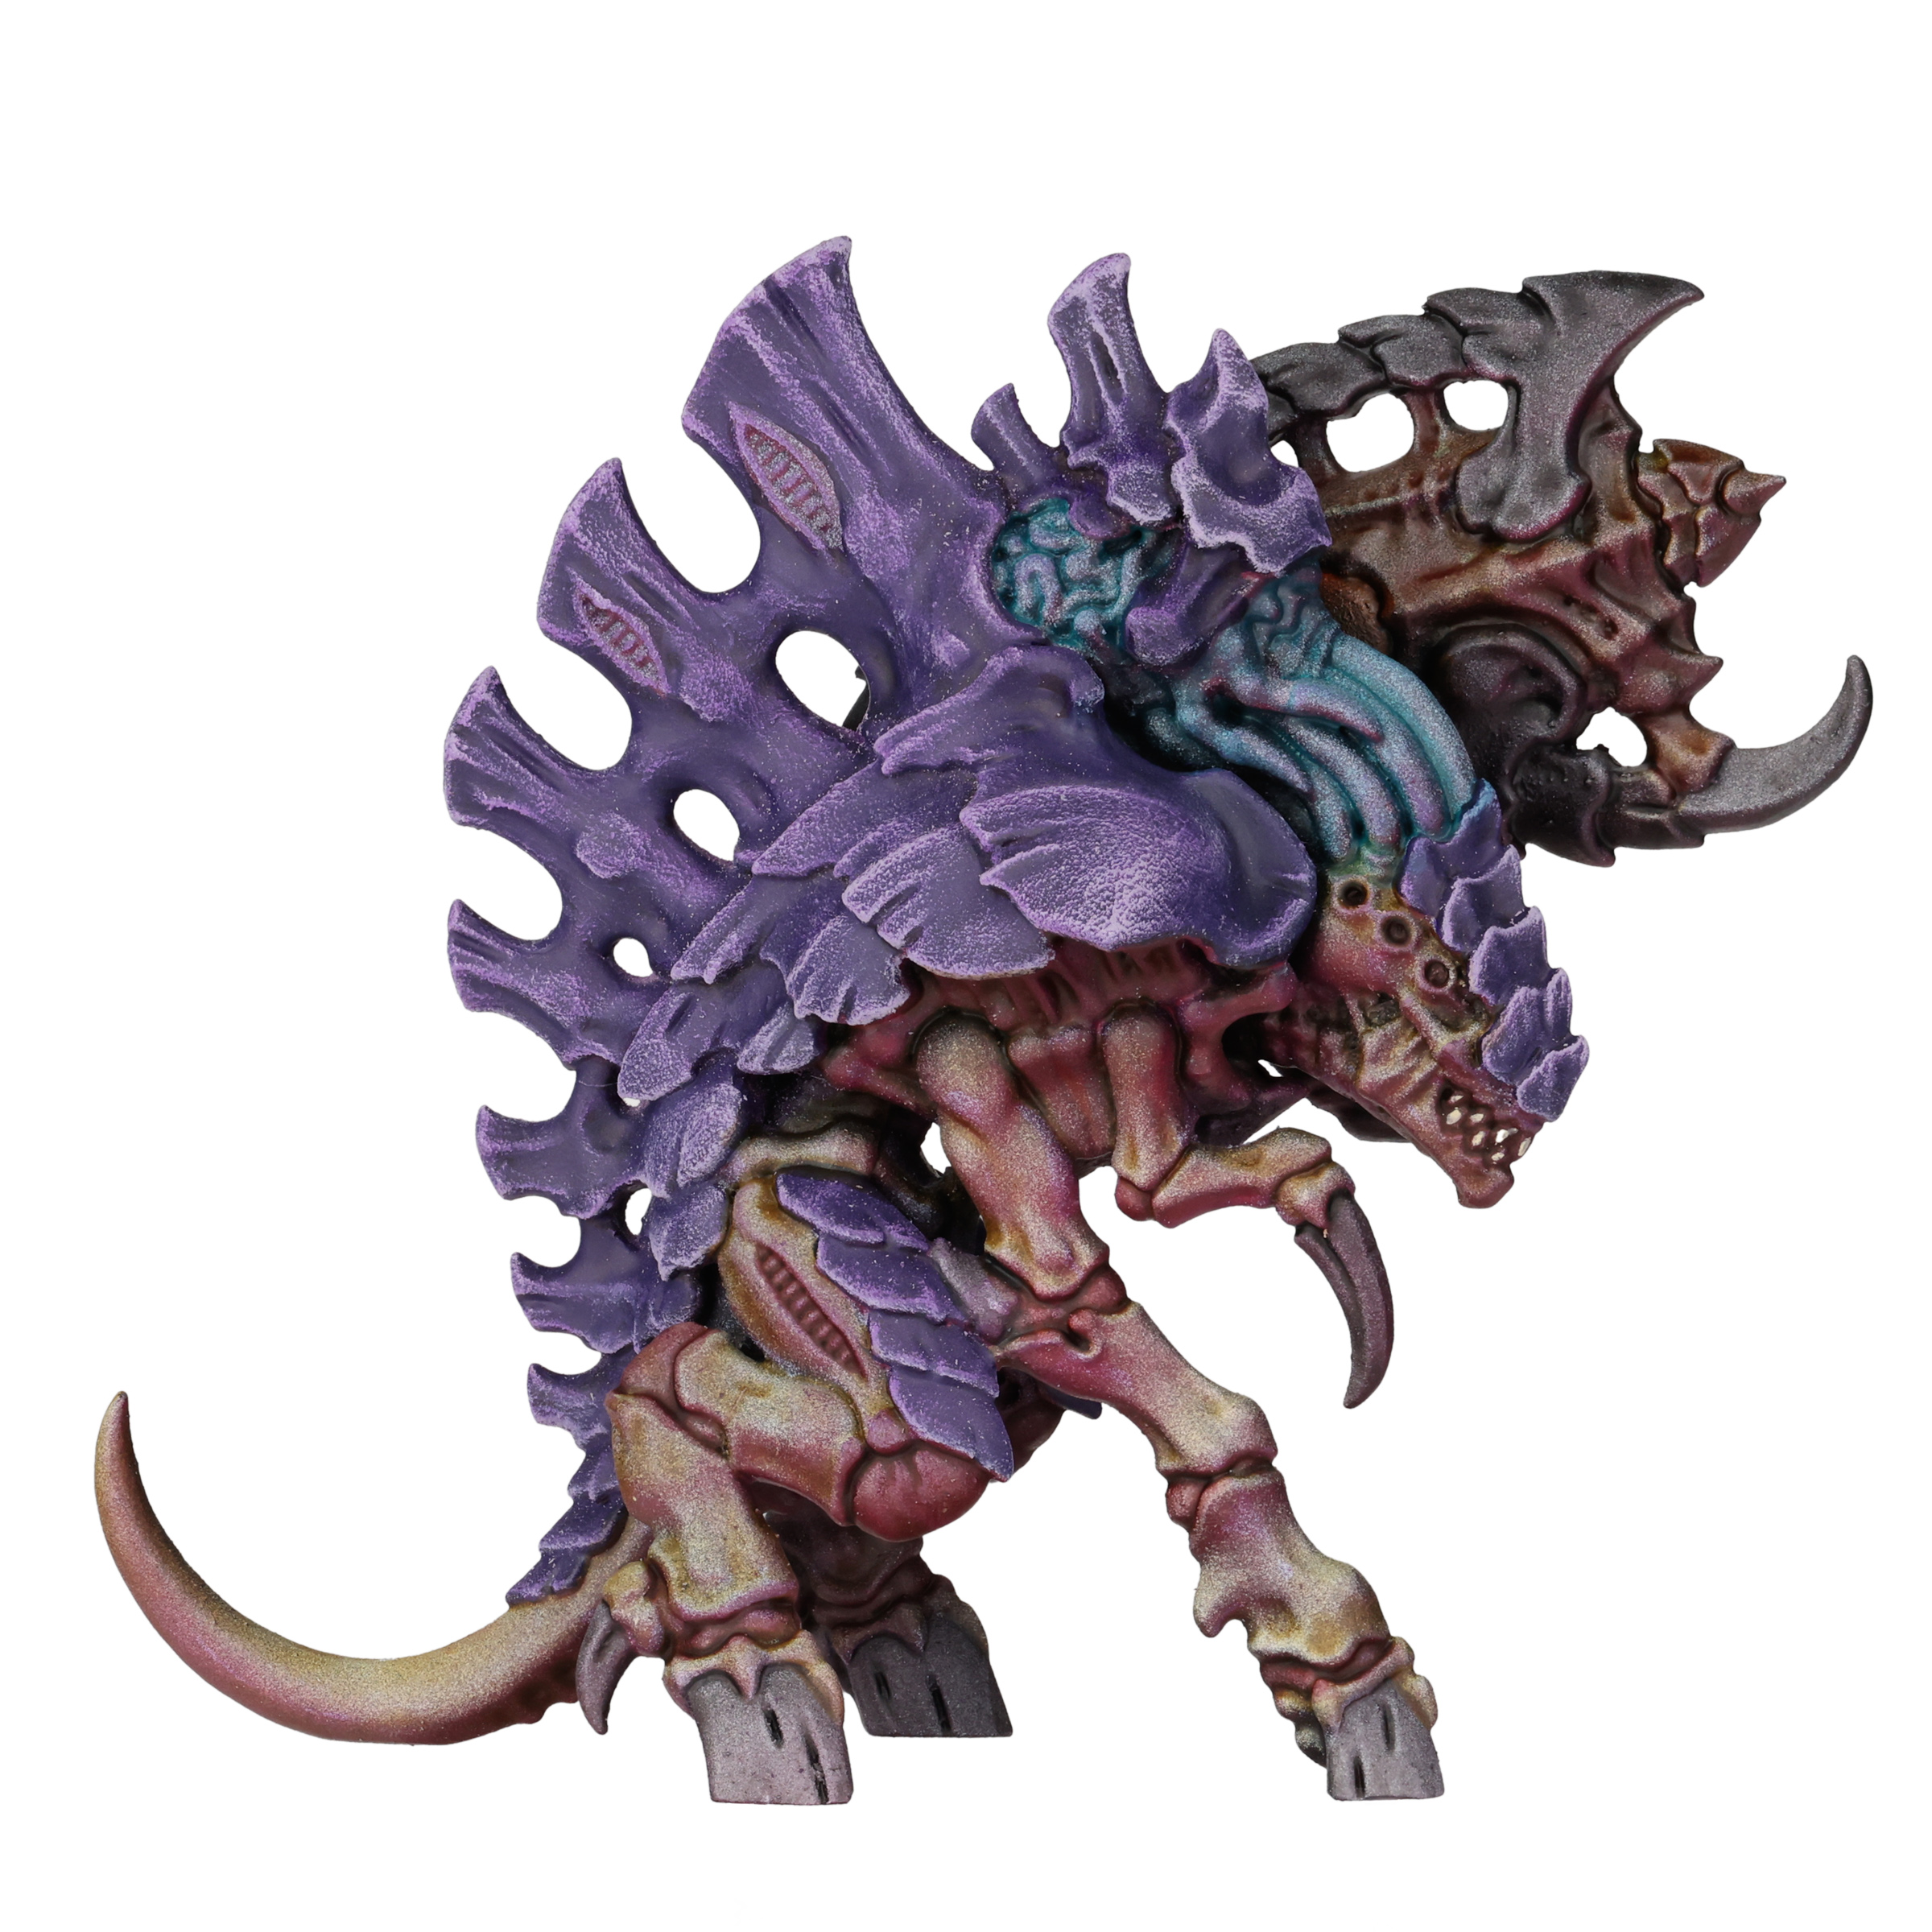
Brains: After the Wraithbone Zenithal, do not paint then with Skeleton Horde. Instead, once everything else on the model is painted, go back and hit the brains with some Aethermatic Blue contrast.
Guns: While the guns are as organic and fleshy as the rest of the bug, I’ve found it’s good to hit them with a little extra Berserker Bloodshade to redden them up a bit. It helps them stand out against the surrounding skin.
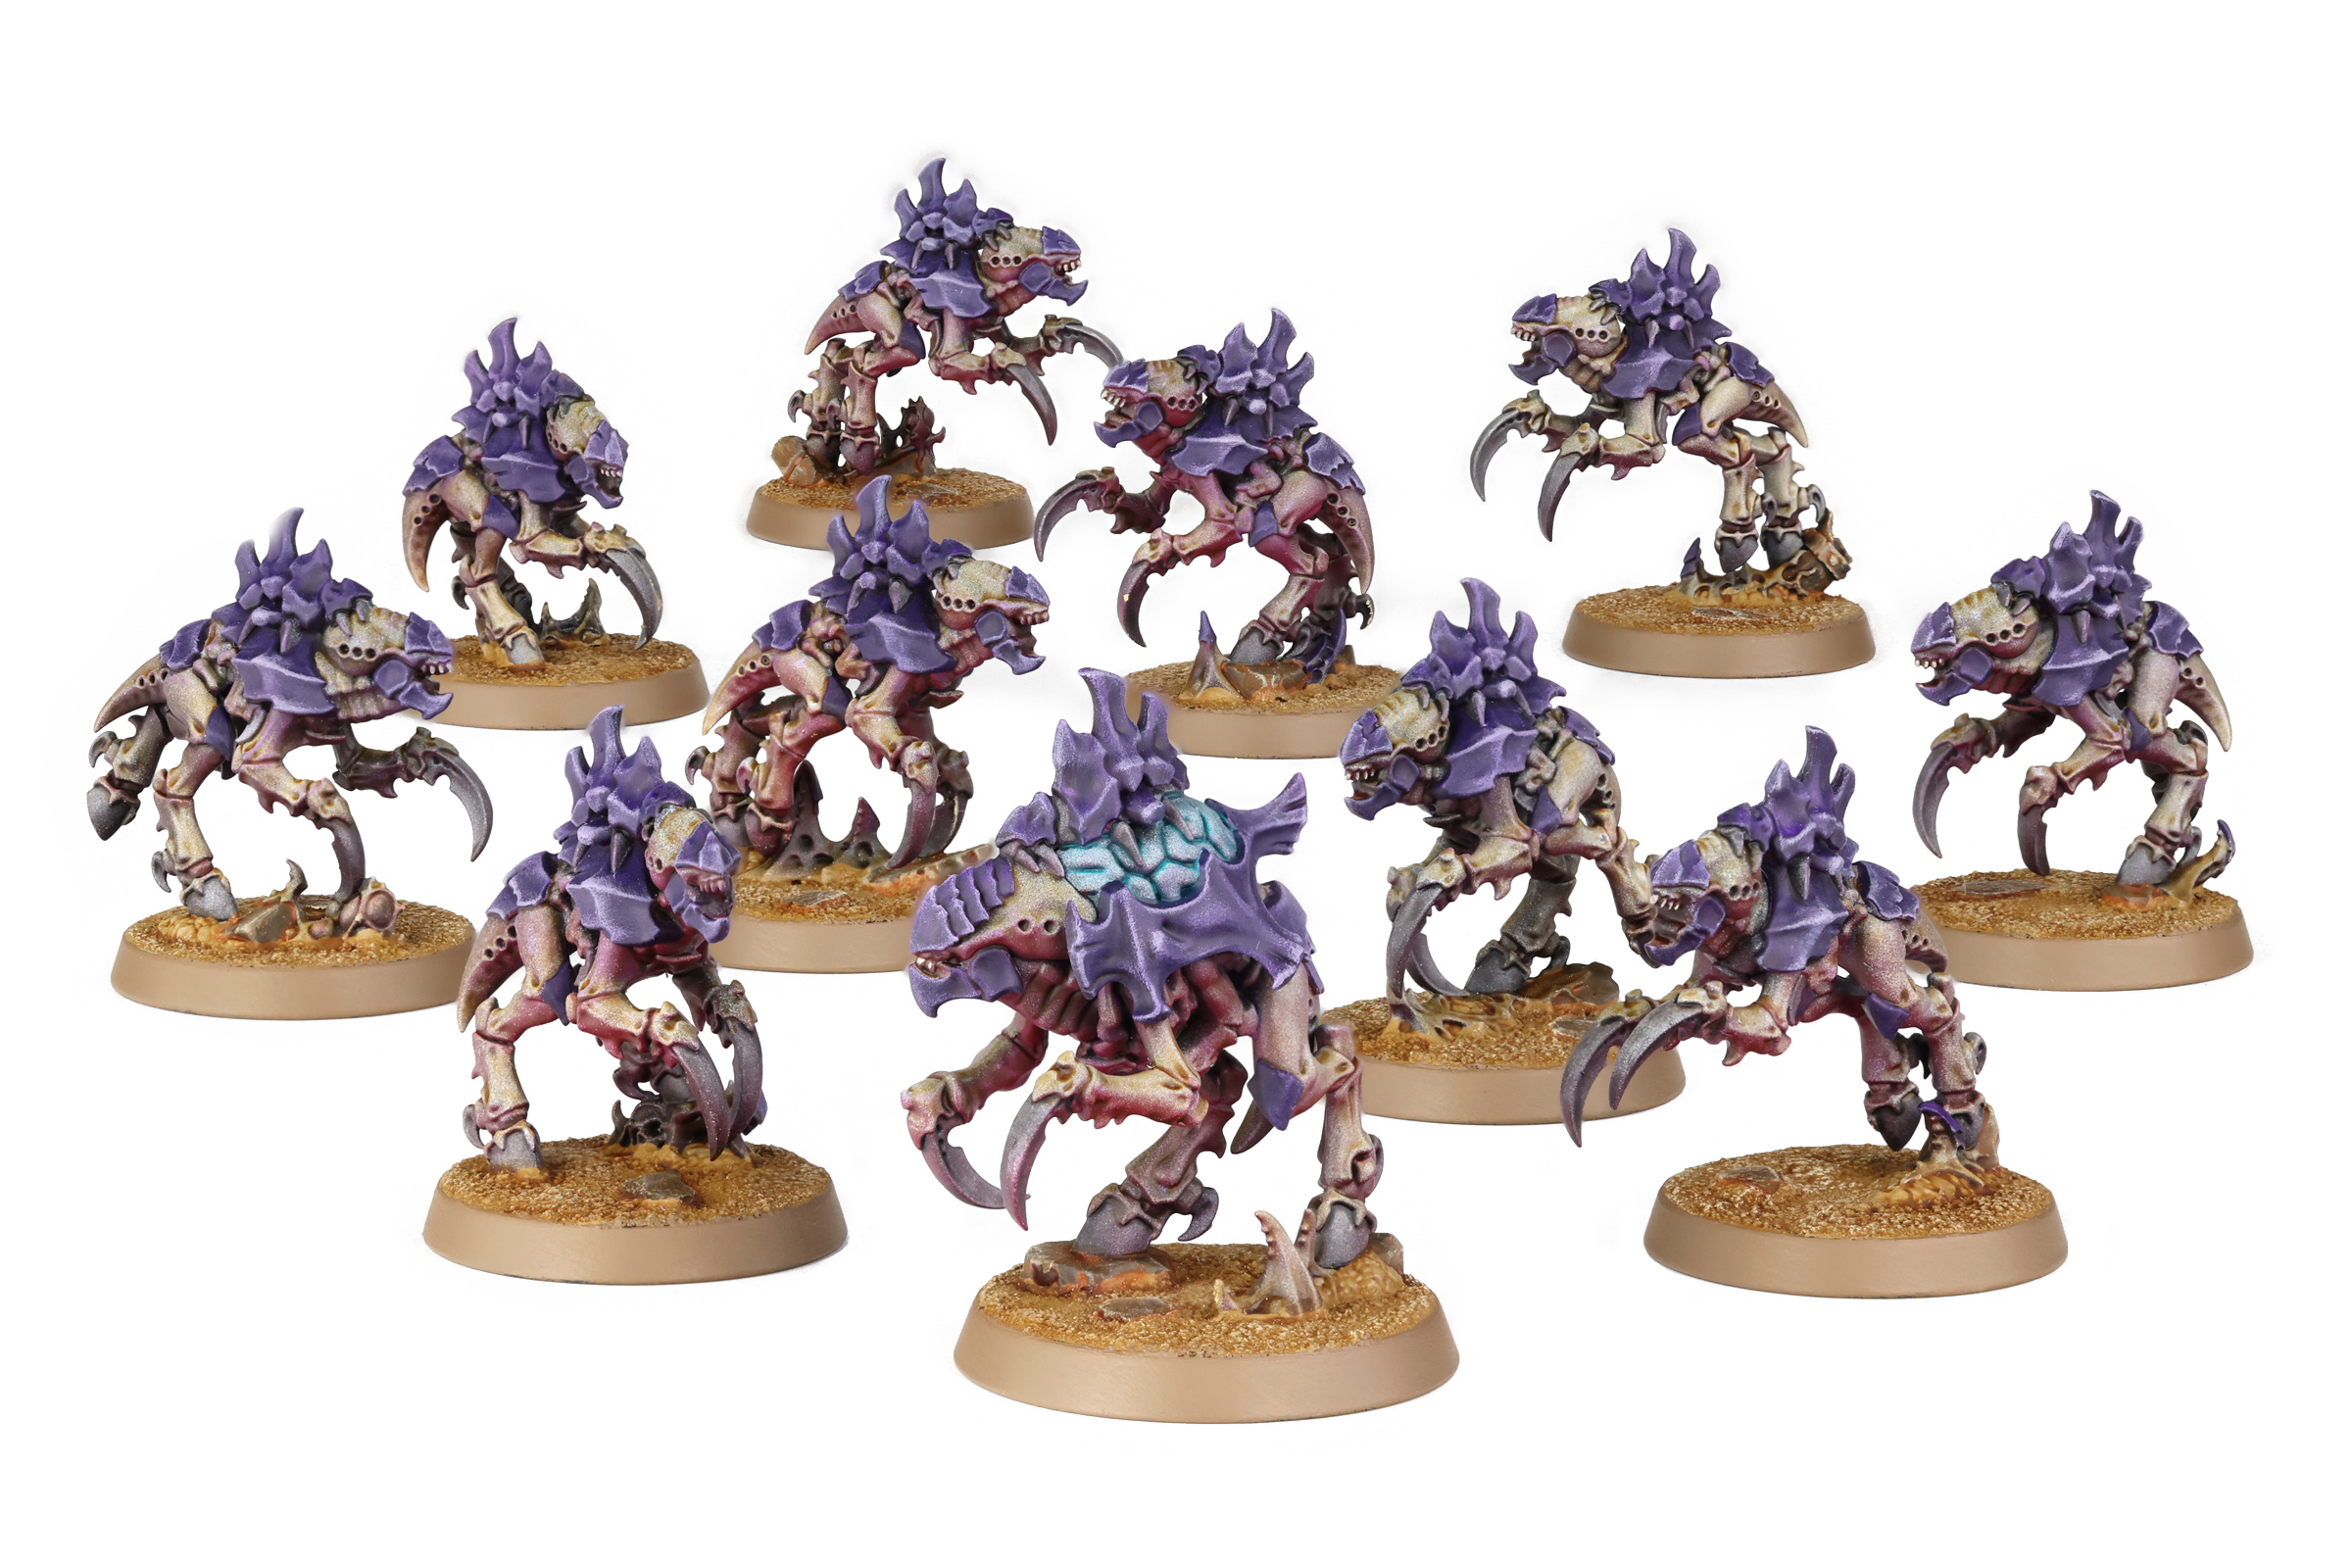
And with that, all that’s left to do it base them to your liking, and you’ve got yourself some great looking bugs! These steps work on bugs of all sizes, from teeny tiny to bigly wiggly, so get painting!
This article is part of a larger series on How to Paint Tyranids. To return to that series, click here.


