
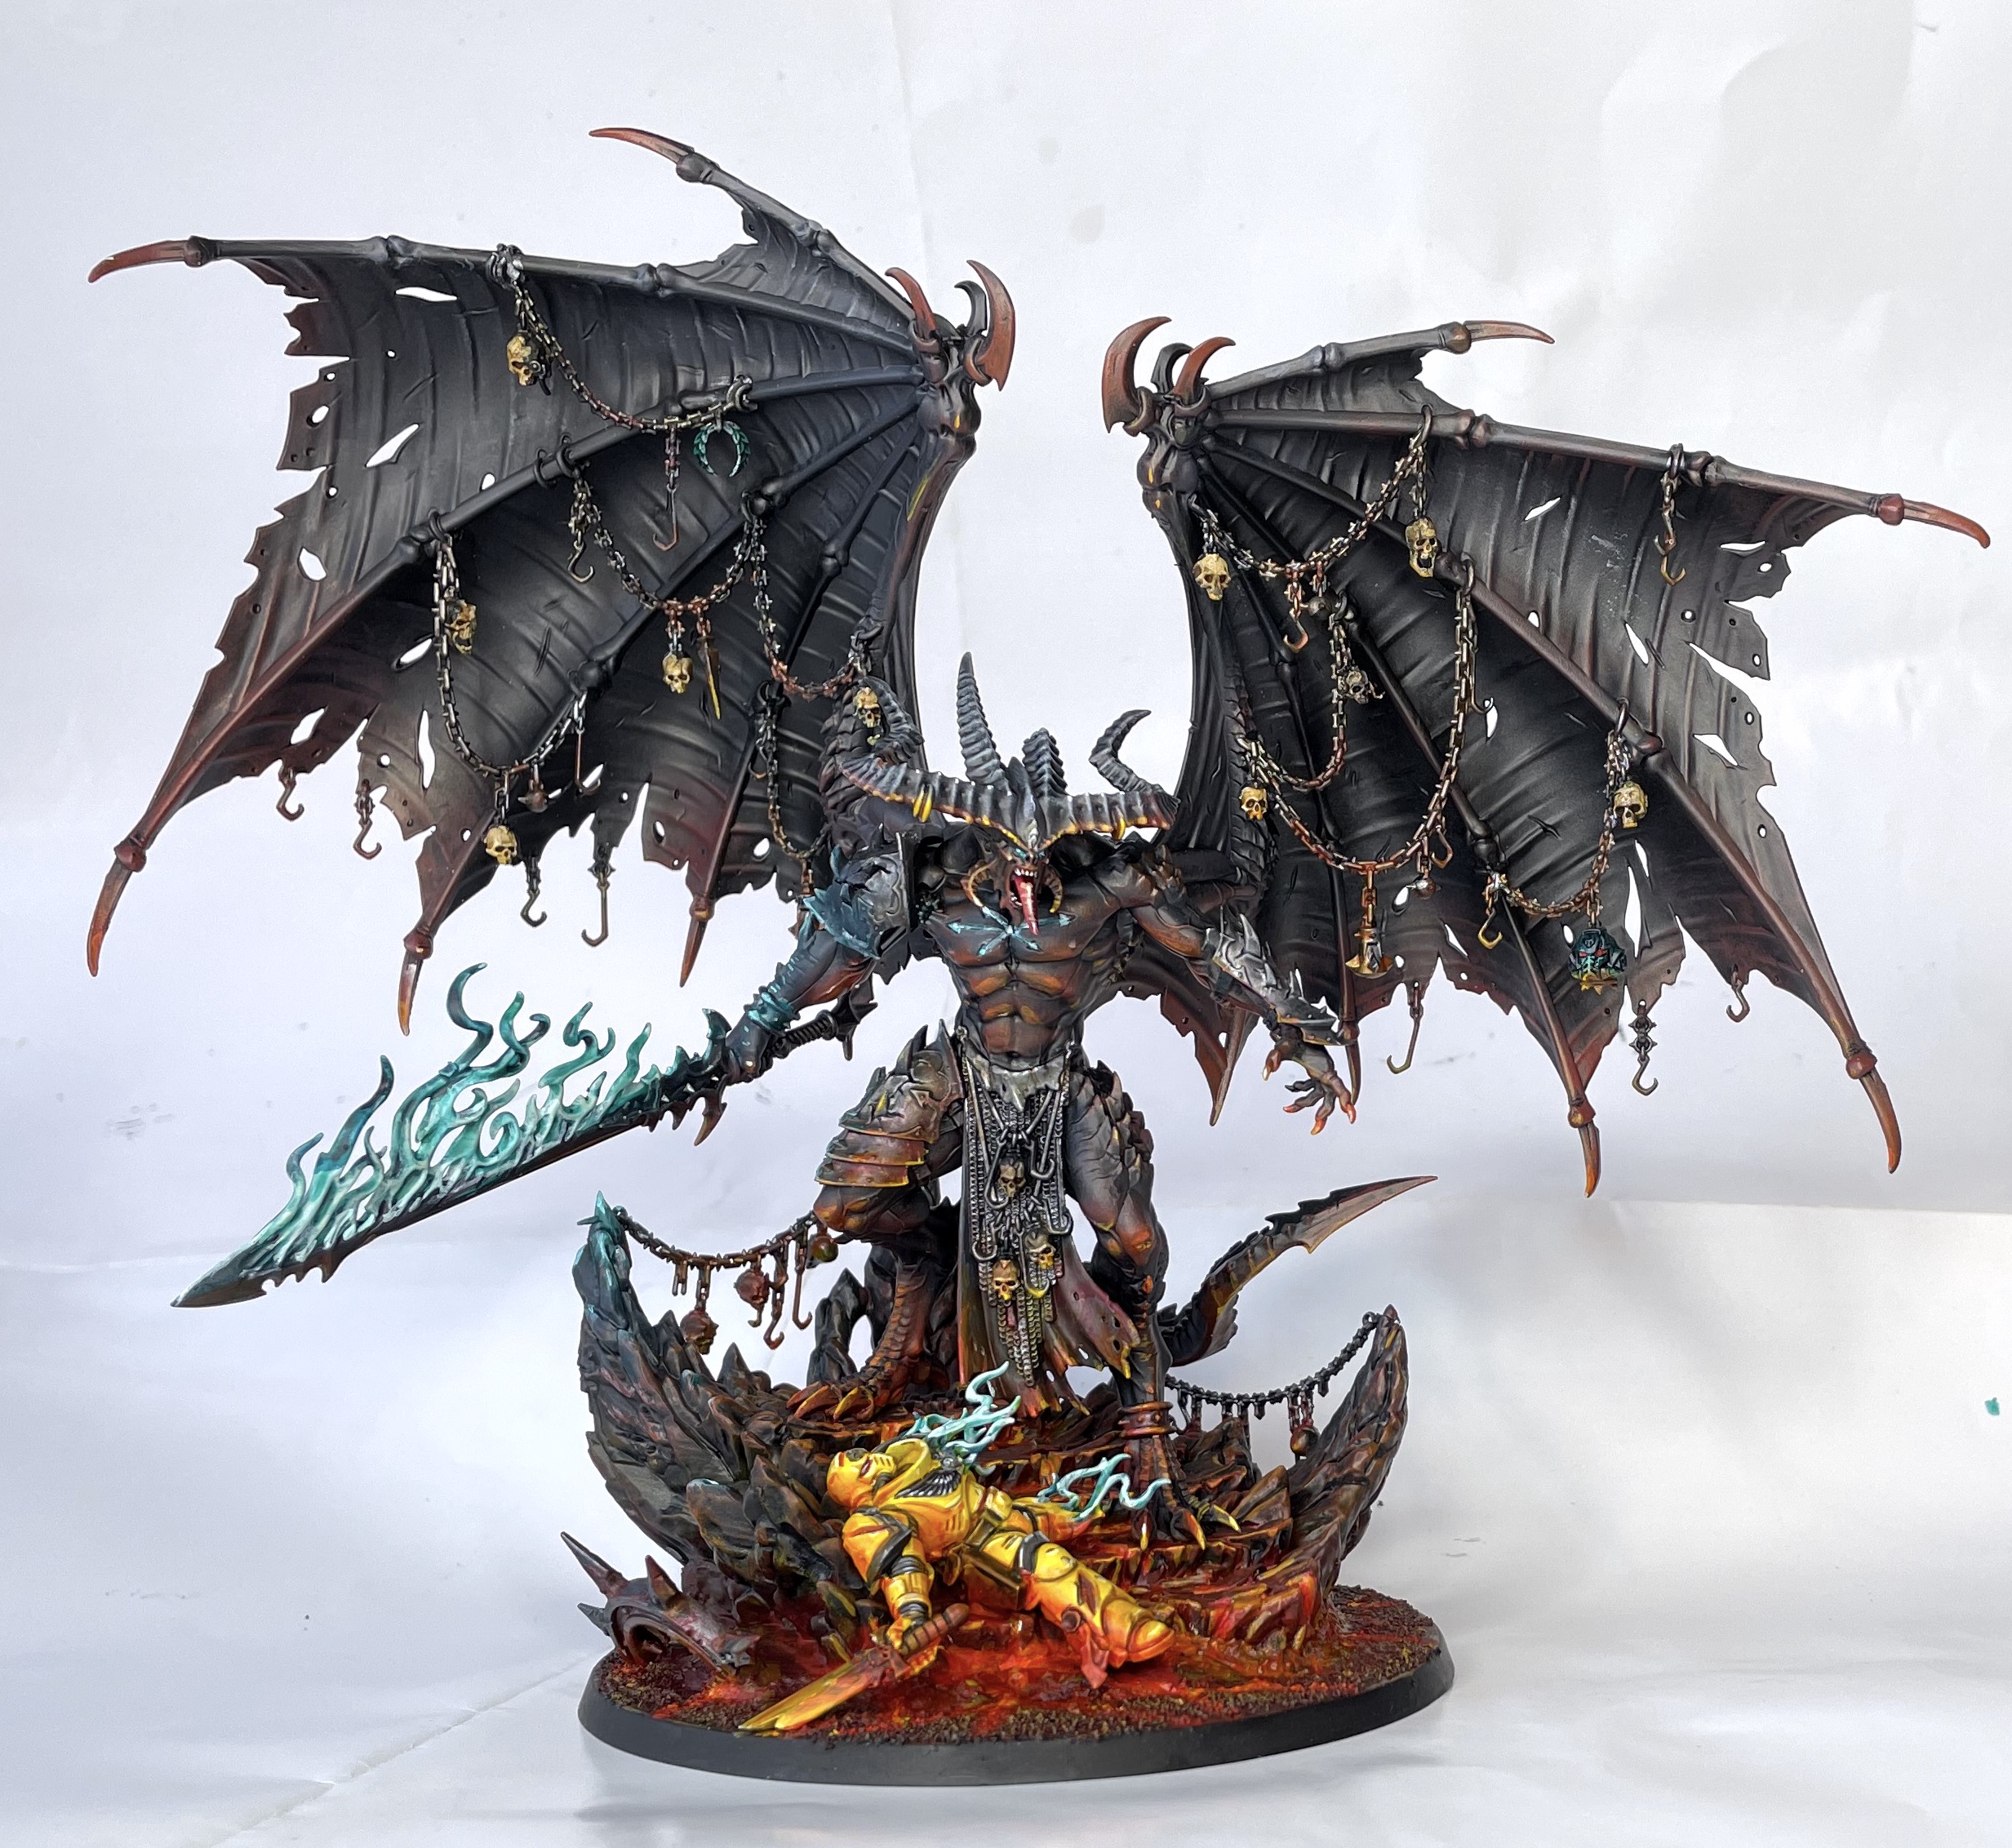
Hello Ladies, Gentlemen, and readers of all ages. Gather ‘round the campfire as I tell you the tale of Chaos. You see my children, with this latest Codex: Chaos Daemons our gracious rules writers at Games Workshop have blessed us with not just one book, but in fact five books, all within the confines of a single tome. These books lend themselves to some very – some might even say obviously – powerful monster mash builds. And while there’s nothing wrong with enjoying a Big Bad Bloodthirster or two standing next to Fateweaver, there is also another way… maybe even a more consistent way.
The old ones say “the bigger they are, the harder they fall,” and the same holds true for daemons. The big monsters have some big vulnerabilities, such as the good old-fashioned Rail Gun (and soon, the Magna-Rail), basic screens, and dare I even say it—bad dice!? Over at Art of War we teach players not to blame dice for losses, and that can start as early as the list construction step. While big monsters may give you more value per wound than smaller units, they also introduce more variance: When your army is centered around three or four models all performing at critical moments on repeat, over a six round major event, well… let’s just say that ones happen, and will do so at the worst of times. You can either live with this and the “4-2 at best” Life that comes with it, or you can ascend, reaching your greatest potential, and stop stat checking people.
I’ve been working on a mixed Daemons list centered around flexibility and mission play over raw power and durability. Today I’m going to share with you my initial list for competitive play, its evolution, and my approach to 40k with respect to this army in the hope of providing a different perspective on how to compete and enjoy Warhammer.
The Philosophy
I like to keep things simple: Just focus on the mission. That mantra has won me more tournaments than I can count and I see no reason why a new shiny bullet magnet Bloodthirster should change that. Focusing on the mission with Daemons means building with secondaries in mind — both what you give up to your opponent and what you yourself can score independently — and coming up with a real plan for primary control. As far as flexibility goes, that’s always been one of the features of Daemons which attracted me to the faction. I really enjoy going into the game with a very loose game plan with the ability to adapt turn by turn, decision by decision, and beat my opponent on the table rather than in homework before the game. I find there are many elements of Daemons which can really facilitate this style such as the Warp Storm, mid-game teleportation, and Manifestation mechanics.
With all that in mind as my guiding principles allow me to show you my first iteration:
The List
+++ Chaos Daemons Battalion Detachment (5 CP, 2,000 points) +++
+HQ+
Be’lakor- wreathed in shades, shrouded step (WL) 420
Fateskimmer- retinue of horrors, staff of change, bolt of tzeentch, infernal flames 150
Fateskimmer- retinue of horrors, staff of change, bolt of tzeentch, infernal flames 150
+Troops+
10 Blue Horrors 70
10 Demonettes 120
10 Demonettes 120
10 Bloodletters 130
+Elites+
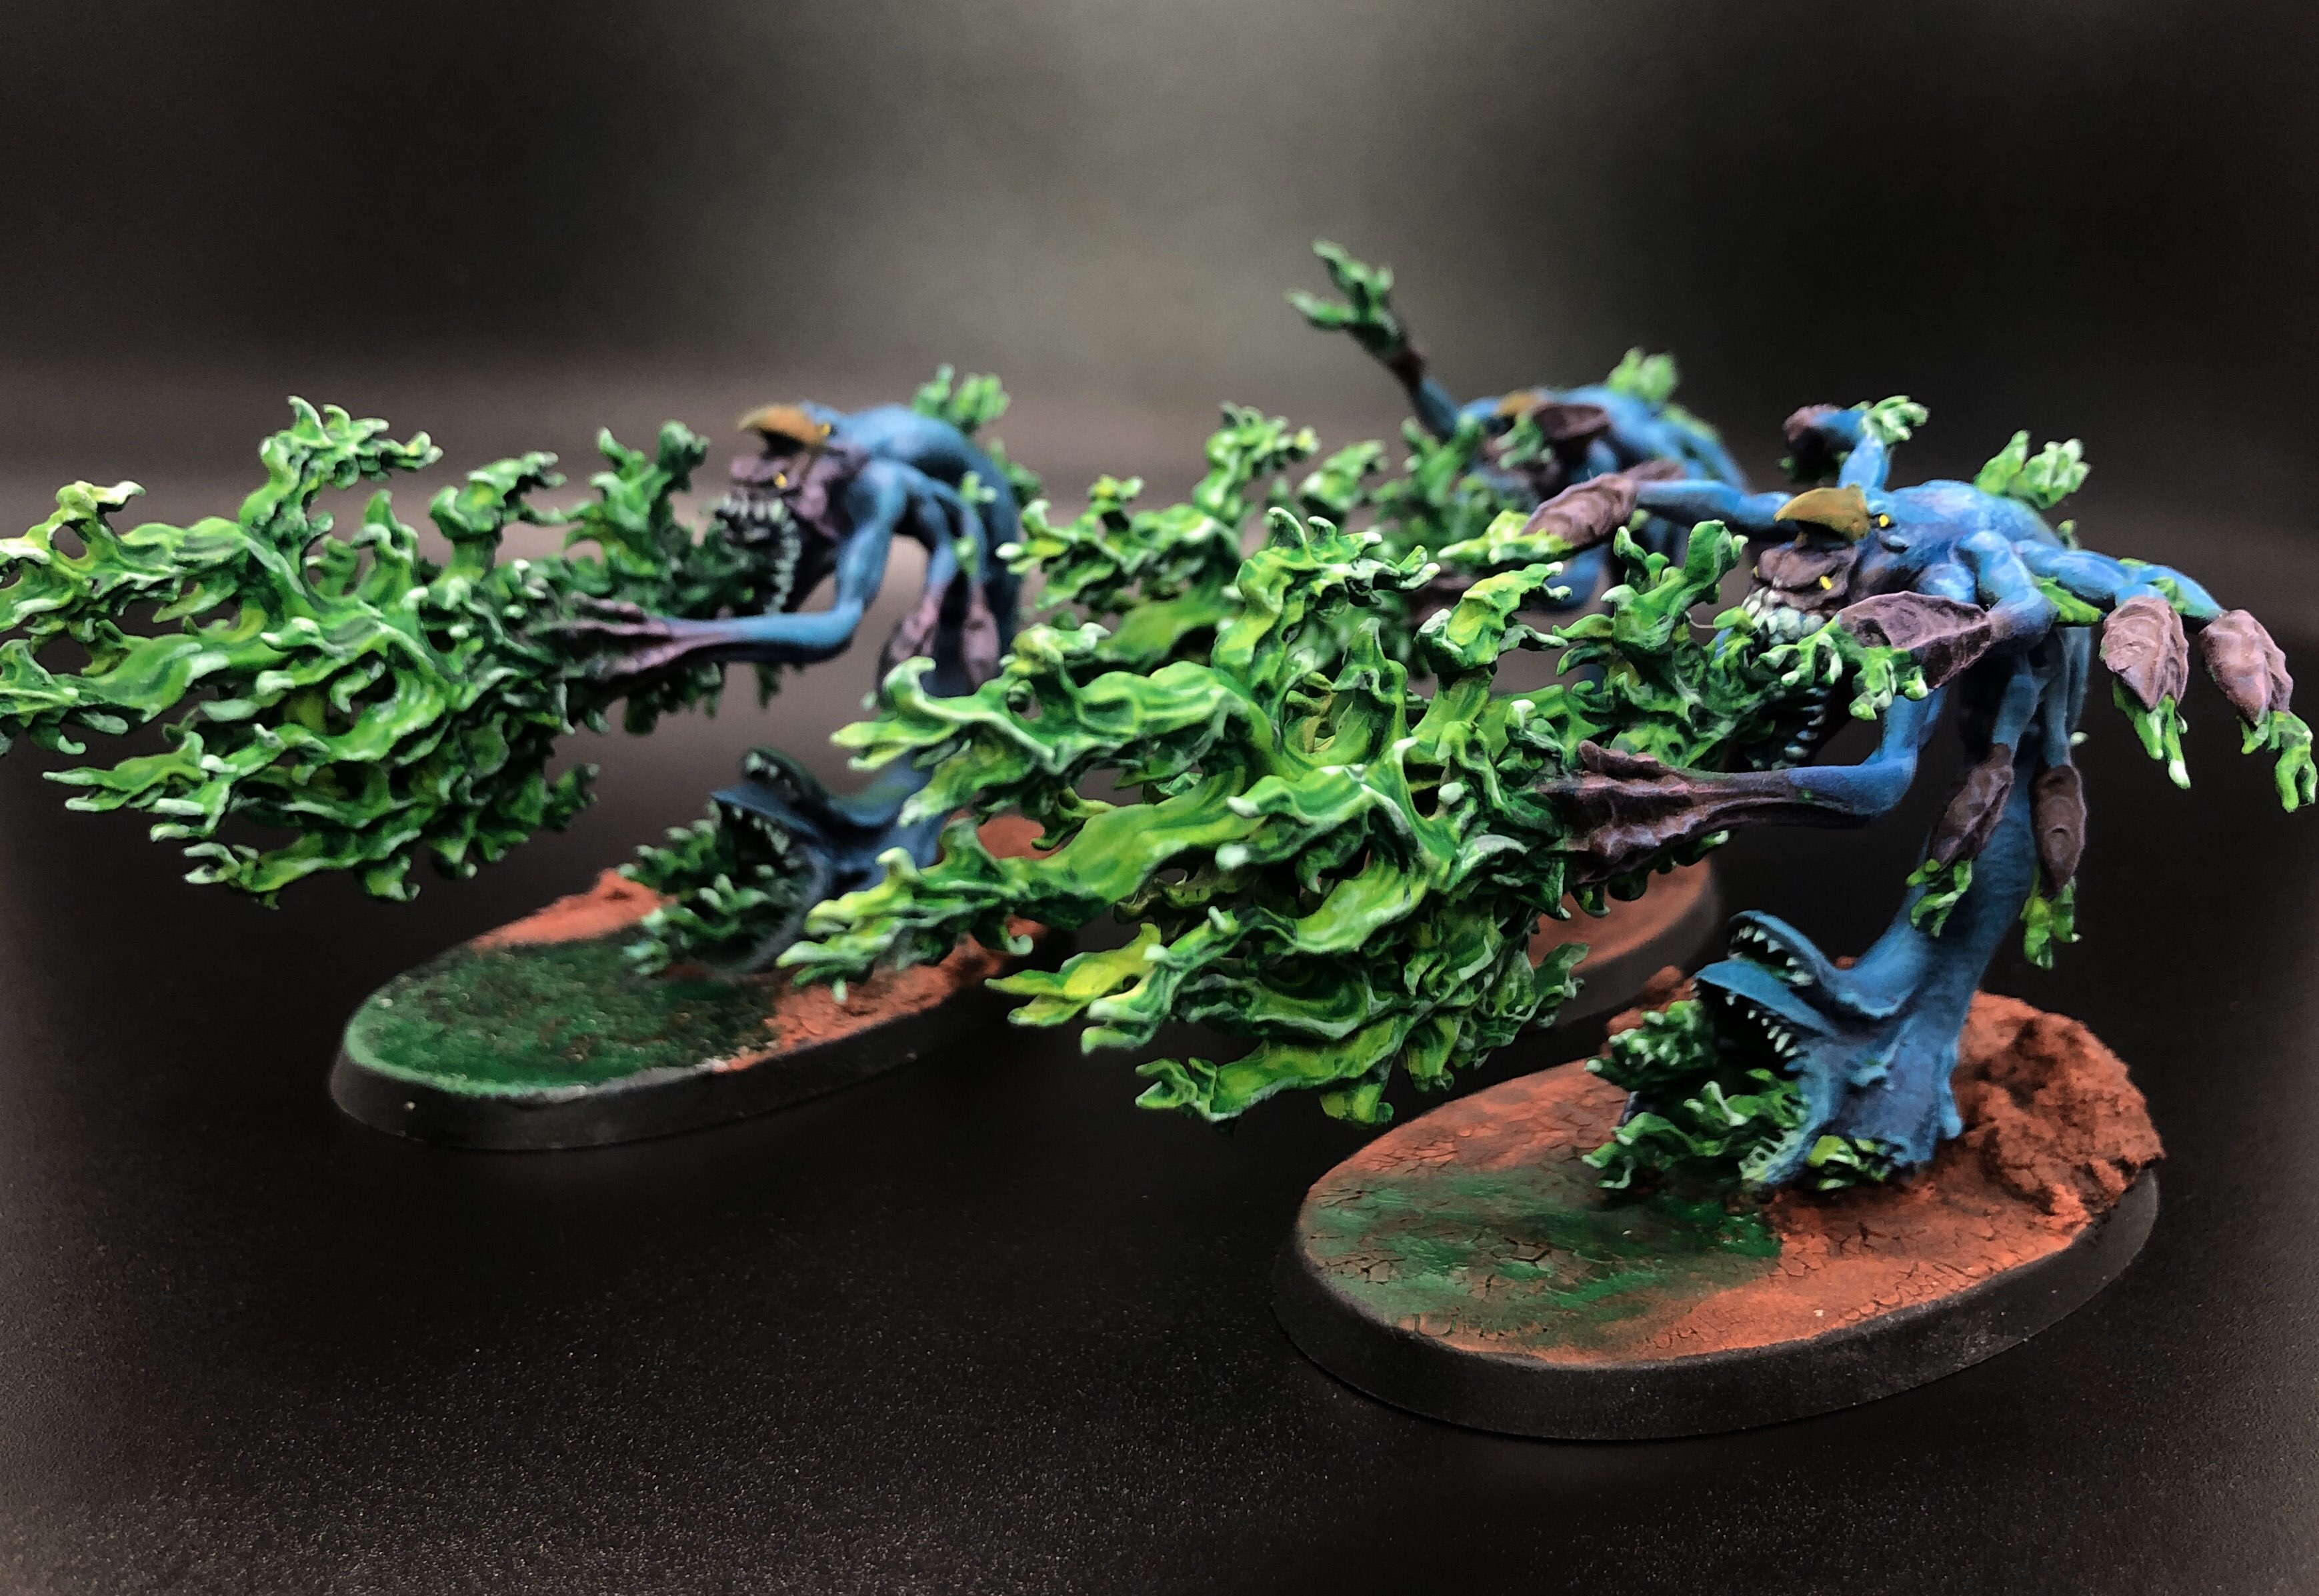
5 Flamers 125
5 Flamers 125
5 Flamers 125
Exalted Flamer 75
Exalted Flamer 75
Exalted Flamer 75
+Heavy Support+
Burning Chariot 120
Burning Chariot 120
+++ 2,000 Points +++
On paper, the idea here is to be very tactically flexible, giving the army excellent delivery methods while being fully capable of scoring points on the mission. What this army lacks in substance it makes up for in trickery and subtlety.
The Plan
From a mission perspective this list can score the Reality Rebels secondary basically every game for a minimum score of 10 for my two table quarters and upwards of 15 once you start playing the game. The army is fully capable of scoring Warp Ritual or Psychic Interrogation against all but the most psychic defensive armies, and it has great potential for Raise Banners or Retrieve Nephilim Data with all of the deep strikers and infantry characters.
For primary objectives, this army can hold backfield objectives effortlessly in the open with chariot characters using their enormous bases along with the Look Out, Sir rule. At midfield I have quite the firing squad decimating anything that comes near in the form of Exalted flamers, flamers, and burning chariots. I’ll typically deploy the Bloodletters behind a wall and threaten a Frenetic Bloodlust move at the end of my opponent’s charge phase to deter combat units from stationing up out of line of sight in midfield. On top of all that, Be’lakor acts as a Warp Locus for the Daemonettes when the come out of reserves. As the game progresses, I’ll use Shrouded Step and Manifestation to launch strikes onto my opponents’ objectives and block them from scoring primary.
Well, that’s one of the plans, anyways. Like a good servant of Fatweaver we have two game plans – one for each head of course! If I need to shift to a more aggressive (but calculated) approach, I can deep strike most of the flamers, exalted flamers, and burning chariots. Bringing that all in on turn two gives me the firepower to cripple the enemy by getting the first shot off, especially if they don’t have much in the way of screens and tried to take a bit of a stat check-style approach themselves. I’m looking at you, knights. We can always use Warp Storm + Be’lakor to make all 15 of those blue fire shots hit on 2+, re-rolling 1s while move-blocking with Daemonettes and using Flamers to zone clear.
Test and Learn
It’s a fine plan, but as is often the case even the best-laid plans rarely survive contact with the enemy, and tend to go out the window once you actually start playing. Well, sort of. My first game you can catch on stream as a War Room member where I played against Richard’s Ad Mech. This game posed some very unique problems, specifically:
- Be’lakor could just be shot off the table.
- Many of Richard’s units were immune to Ap 1 and 2, which is most of my damage output.
I’m all for stress testing a list and making sure plan B is sound, but a first game with a new army concept going into Richard Siegler on his ITC winning faction might be a bit much. Oh well. If you want more details on how the game went, you can find it on the War Room.
After the game I asked myself some tough, but key, questions about the list and my game, hoping to find ways to improve.
Is Deep Striking Be’lakor a viable option?
During the game I opted to Deep Strike Be’lakor and held Warp Storm points to have more to spend on turn 2, when I could reduce enemy Leadership and give Slaanesh units +1 to charge. I didn’t even miss having a Warp Locus to start on the table. So yes, deep striking Be’lakor against heavy shooting is viable for my list.
Why do I need Be’lakor if I don’t need a Warp Locus?
My army is vulnerable to getting touched in combat, so having Shrouded Step is a big help.
What about the rest?
It’s worth taking a look at the rest of the units I’ve selected.
- Bloodletters – I do need to actually hit stuff hard… so it feels like I REALLY want a second bloodletter unit in the list.
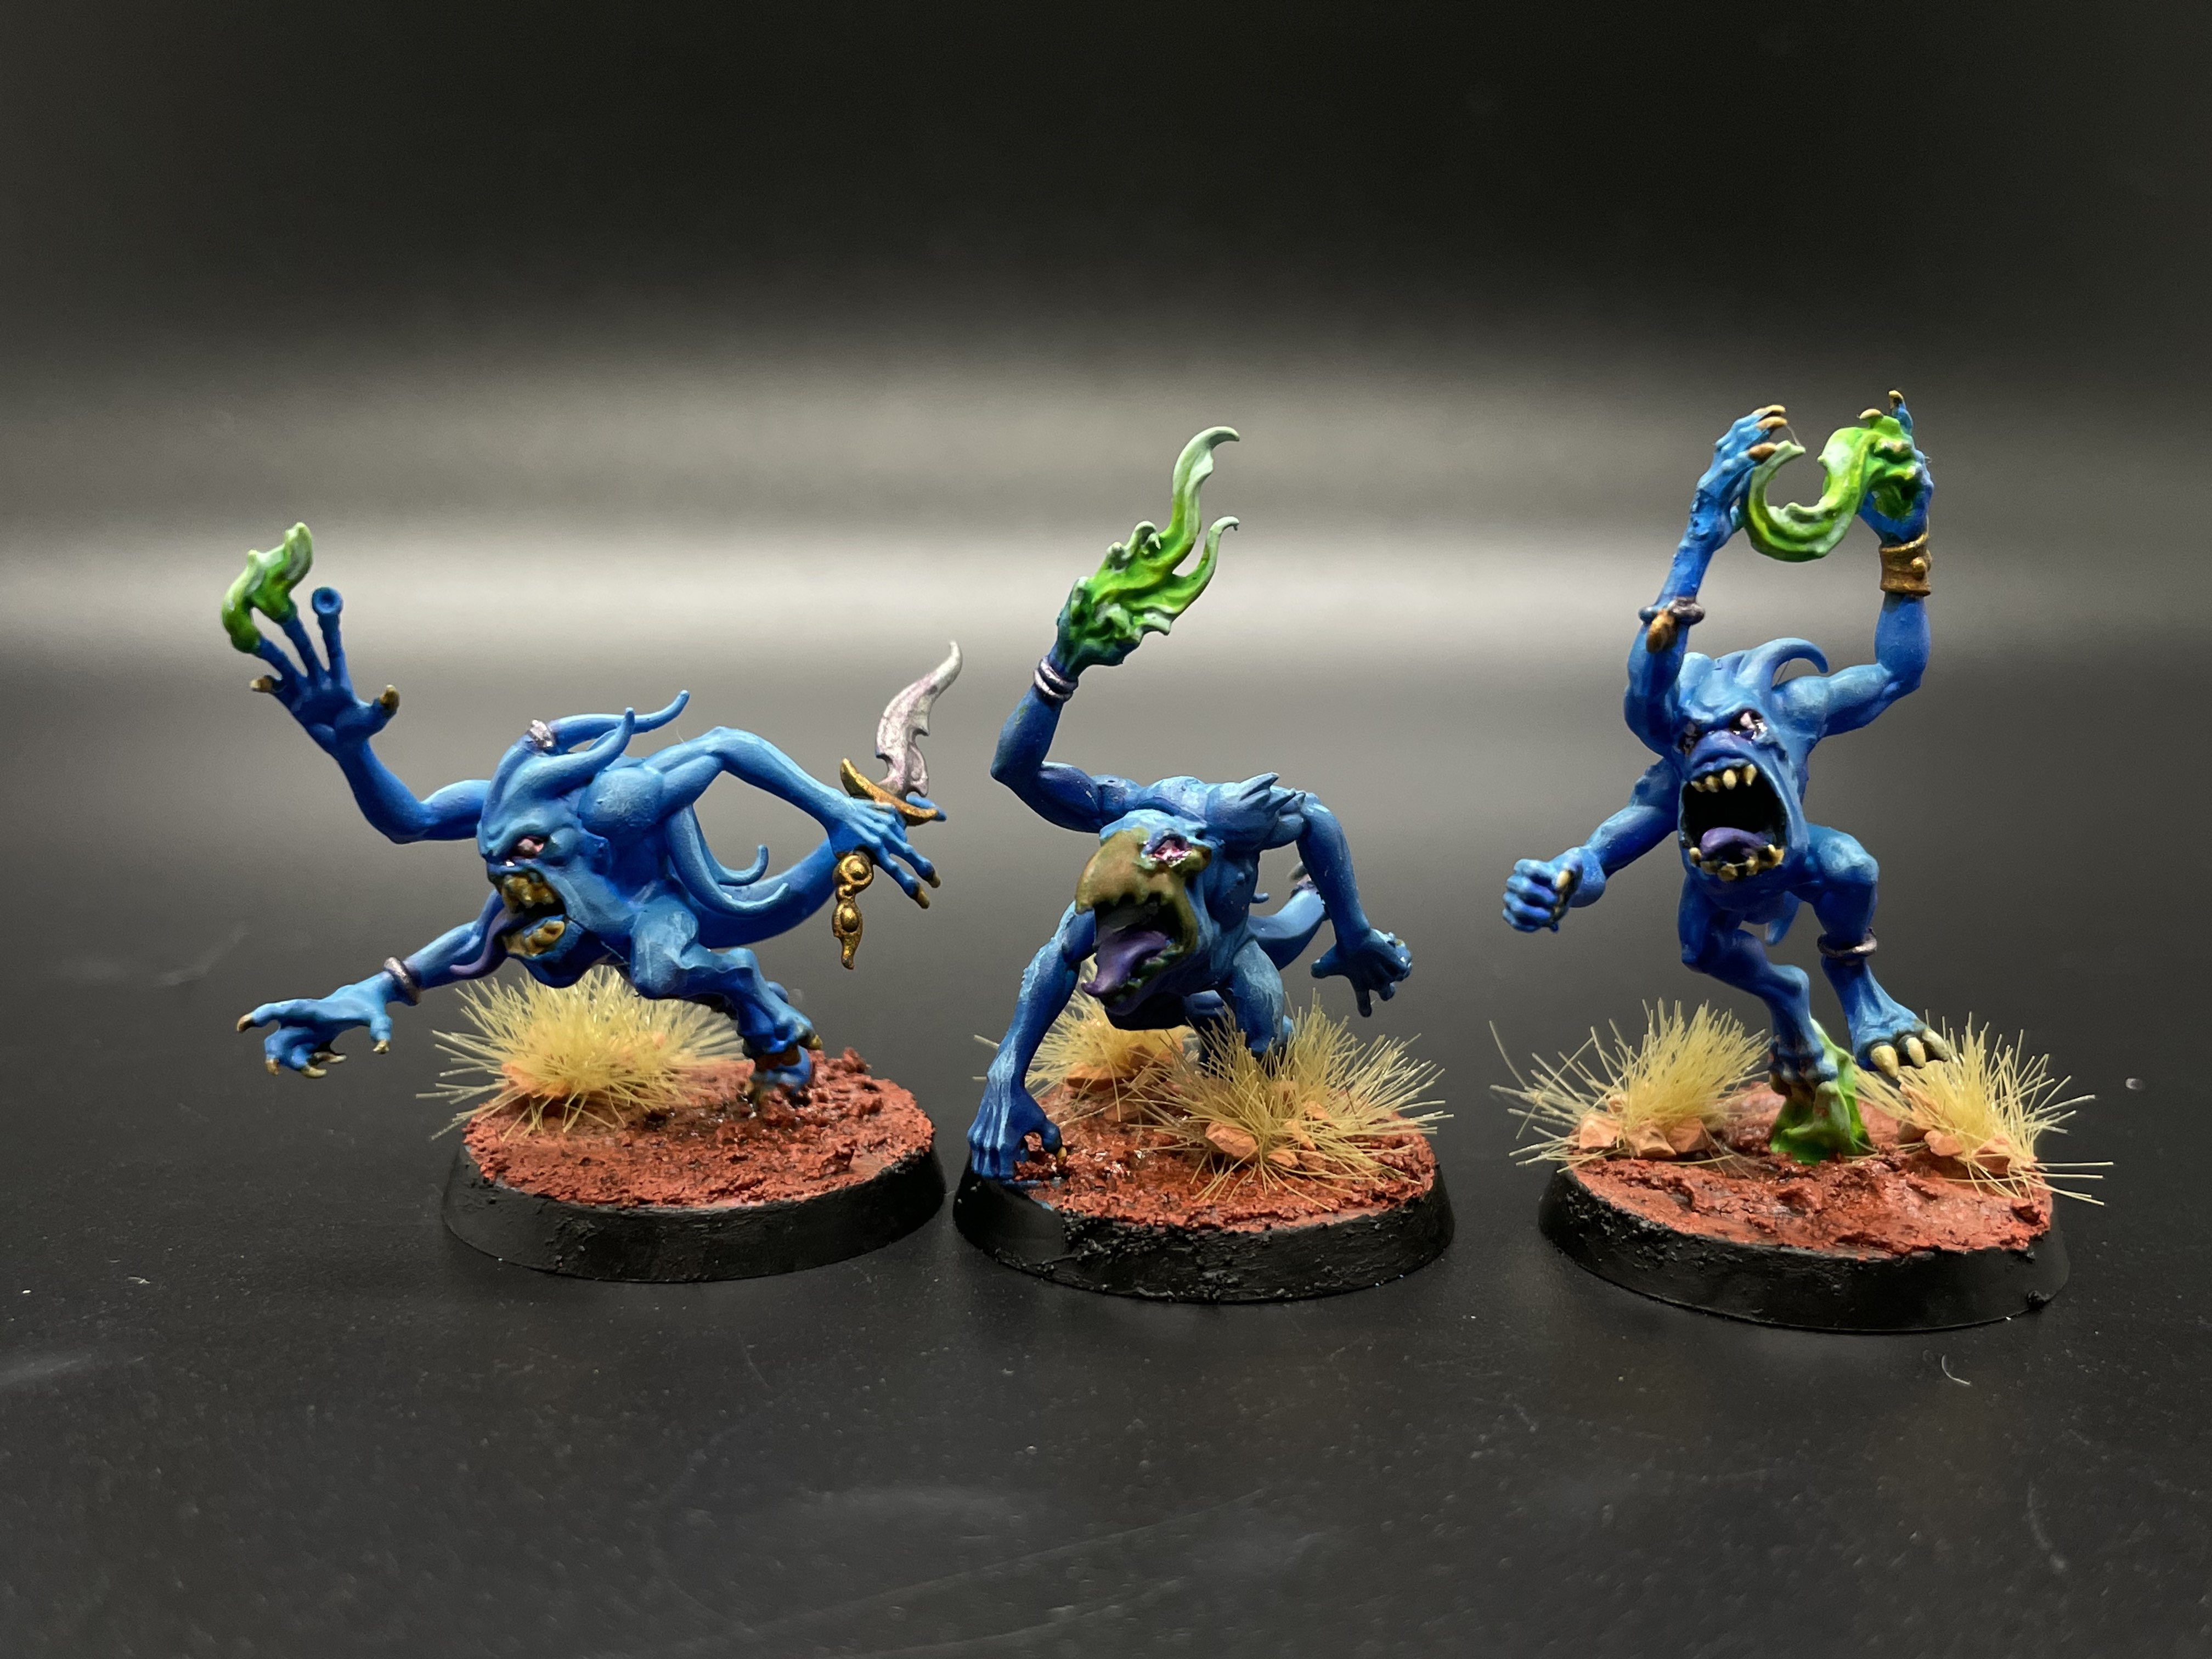
- Blue Horrors – These are trash, but there is value to having cheap bodies
- Flamers – These are just busted (good)
- The Herald Chariots – are worth it
- Exalted flamers – were very useful for clean-up shooting so I didn’t have to stress out the flamers, as well as for raising banners and scoring Reality Rebels. Maybe I don’t need 3
- The burning Chariots – didn’t do anything nor did much of the shooting from the exalted flamers. They overkill what’s in front of them and they don’t meaningfully shoot anything else. Perhaps I have too many, but how many is too few?
Test Game 2
Overall this was a good success for a first attempt, but I’d like to play the army a bit more to see how it feels. Based on the test game and my postgame questions, I can make a few adjustments and then get another practice game in. This second game was against John Lennon’s Imperial Knights, featuring ten Armigers and a Knight Paladin. The ideal second test game. /eyeroll
+++ Chaos Daemons Battalion Detachment (4 CP, 2,000 Points) +++
+HQ+
Be’lakor- wreathed in shades, shrouded step (WL) 420
Fateskimmer- retinue of horrors, Relic: The Endless Grimoire, bolt of tzeentch, infernal flames 145
Fateskimmer- retinue of horrors,bolt of tzeentch, infernal flames 145
+Troops+
10 Blue Horrors 70
10 Demonettes 120
10 Demonettes 120
10 Bloodletters 130
10 Bloodletters 130
+Elites+
5 Flamers 125
5 Flamers 125
5 Flamers 125
Exalted Flamer 75
Exalted Flamer 75
Exalted Flamer 75
+Heavy Support+
Burning Chariot 120
This variation basically cut one burning chariot and the staves off the fate skimmers to afford another bloodletter unit. Other than KNOWING I needed another bloodletter unit, I was not committed to any other changes.
This game also posed a number of unique challenges. Feeling more comfortable with deep striking Be’lakor, I opted for that again, because those big guns are pretty scary. I also put one unit of flamers in Deep Strike Reserves, along with one exalted flamer, both daemonette units, and the burning chariot (nearly 1000 points). John took this opportunity to blitz my deployed 20 bloodletters, 10 blue horrors, 4 characters, and 10 flamers that were all hiding behind walls or using the protection of Look Out, Sir. This was a potential scenario I was afraid of (getting blitzed after reserving half my army). I’m glad I had the experience as I discovered I could in fact stall until turn 2 successfully until the rest of my army could show up, and once they arrived they were able to do a large amount of damage in a sustainable fashion on the rebuke.
Test and Learn
With a second game under my belt it was time to re-evaluate the units in the list. Here were some of my takeaways from game 2:
- Exalted flamers were good but I think I could lose one
- The Burning chariot was very meh
- The army is better than you’d think at fighting while on the back foot
- Banners can be a trap when you’re concerned with getting blitzed
- Blue horrors are very useful; pinks are also very useful. I want both, but I want to be very mindful of my No Prisoners count – It’s already on the cusp of being too high as it sits
- Spending Warp Storm points for army wide +1 to hit with the entire tzeentch gunline is still less effective than just flaming away your problems
Revising the List
After that game I tweaked my list a bit more, but am now even more unsure of how to finish it:
+++ Chaos Daemons Battalion Detachment (4 CP, 1,885 Points) +++
+HQ+
Be’lakor – wreathed in shades, shrouded step (WL) 420
Fateskimmer- retinue of horrors, Relic: The Endless Grimoire, bolt of tzeentch, infernal flames 145
Fateskimmer- retinue of horrors,bolt of tzeentch, infernal flames 145
+Troops+
10 Pink Horrors 150
10 Demonettes 120
10 Demonettes 120
10 Bloodletters 130
10 Bloodletters 130
+Elites+
5 Flamers 125
5 Flamers 125
5 Flamers 125
Exalted Flamer 75
Exalted Flamer 75
+++ 1,885 Points +++
As you can see we have 115 points left and I’m unsure how to finish it. Here are the ideas up for consideration:
- Drop 1 flamer, add 4 fiends (less flamers = bad, more NP wounds = bad, but real combat unit with volume of attacks, psychic disruption sort of)
- Add 2 Flamers and 3 Nurglings (more flamers good, more units good, more NP wounds bad)
- Cut 1 flamer, add burning chariot back (ew)
- Cut 1 flamer, add 1 more troop unit (fine and in line with mission play, bad for NP, more of the same)
- Sloppity bilepiper (hear me out… ObSec control, anti-action, and with entropic knell even more jank. Let me have it…)
- Add 1 flamer and a unit of 3 screamers (good mission play, more flamers = better, still doesn’t do damage)
At this point it’s really about finding the right units that gel for me. The core of the list is set and it’s performing well in atypical scenarios. The process from this point is to keep playing, refining, and learning to make sure I’m making the most of this wacky toolbox I’ve created. When you’re building a toolbox-style list you need to be very open-minded about adding weird, offbeat units because one odd unit can be just what you need. You also need to be very self critical, because chances are if something isn’t working out for you, it may be that you just didn’t use it correctly rather than the unit itself not being good enough. That said, this style of “figure it out on the fly” Daemons list is one that I find to be very rewarding to play and I’m happy to have had the chance to share both the list and my process with you.
What’s Next
Chaos isn’t a puzzle to be solved – it’s more like a constantly shifting Rubix Cube. Keep on learning and testing and you’ll likely find many rewards on your journeys through the warp.
Likewise, my journey isn’t over yet either. If you want to see some of the test games I mentioned above, or you’re interested in learning more about my process for building and refining lists, head over to our site. Become a part of our awesome community and enjoy your hobby even more!

Have any questions or feedback? Drop us a note in the comments below or email us at contact@goonhammer.com.
