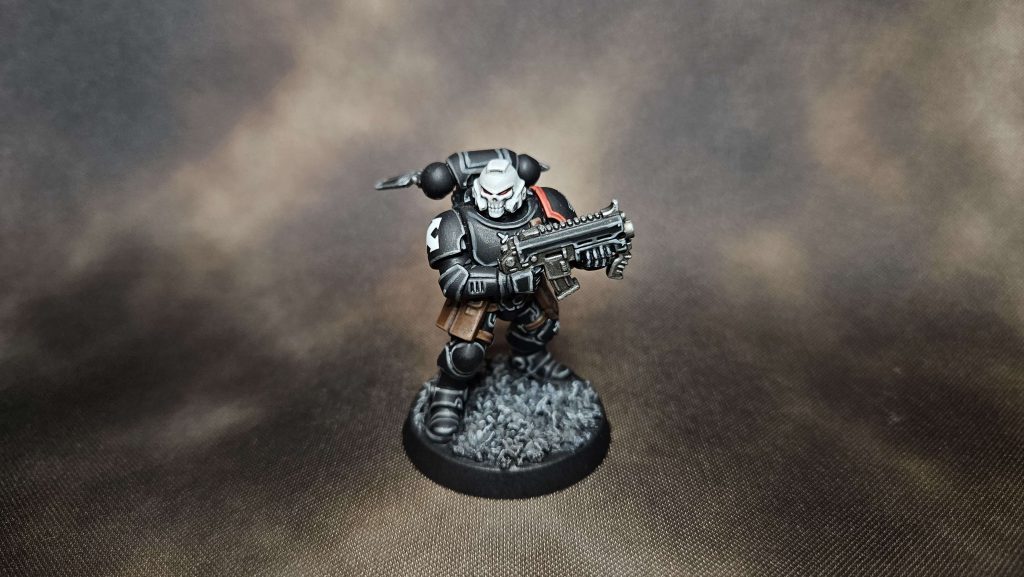
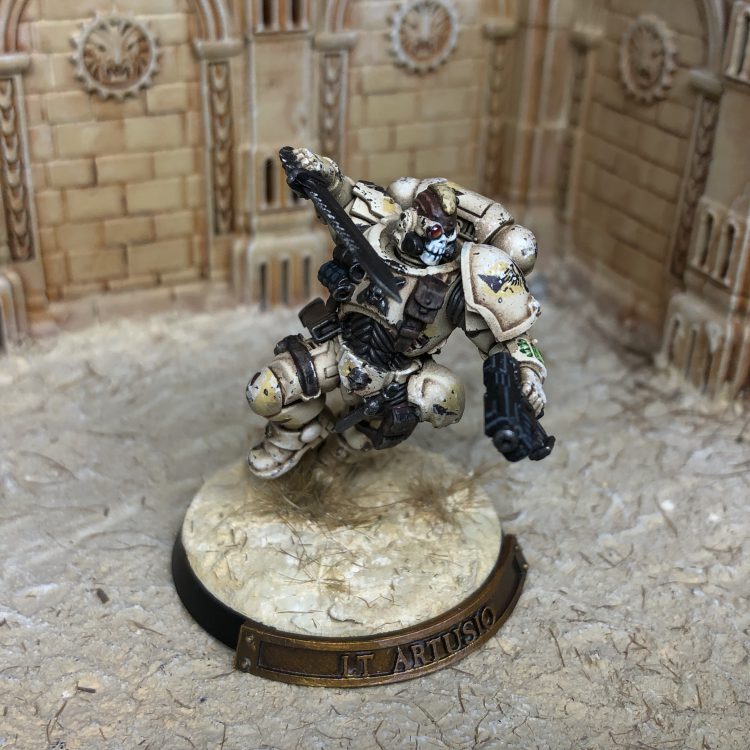
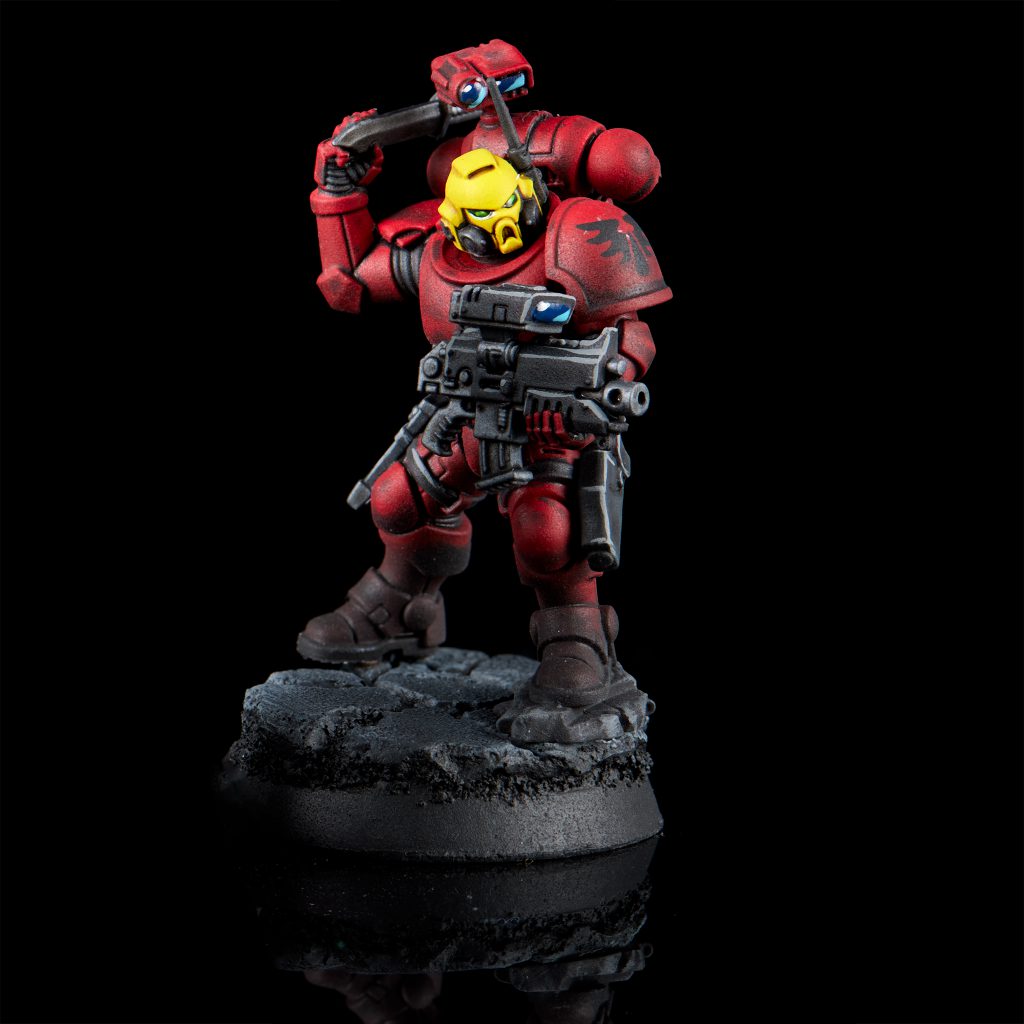
Do you really want to play Space Marines in Kill Team, but still want your friends to like you? Do you really wish you could find a use for your Reiver models? Do you like playing the game on hard mode? Then the Phobos Strike Team may be for you! In this article we’ll dive into how the teams are constructed, how they play, and how you can make the most of them.
Phobos Strike Teams
Archetypes: Infiltration / Recon / Seek and Destroy
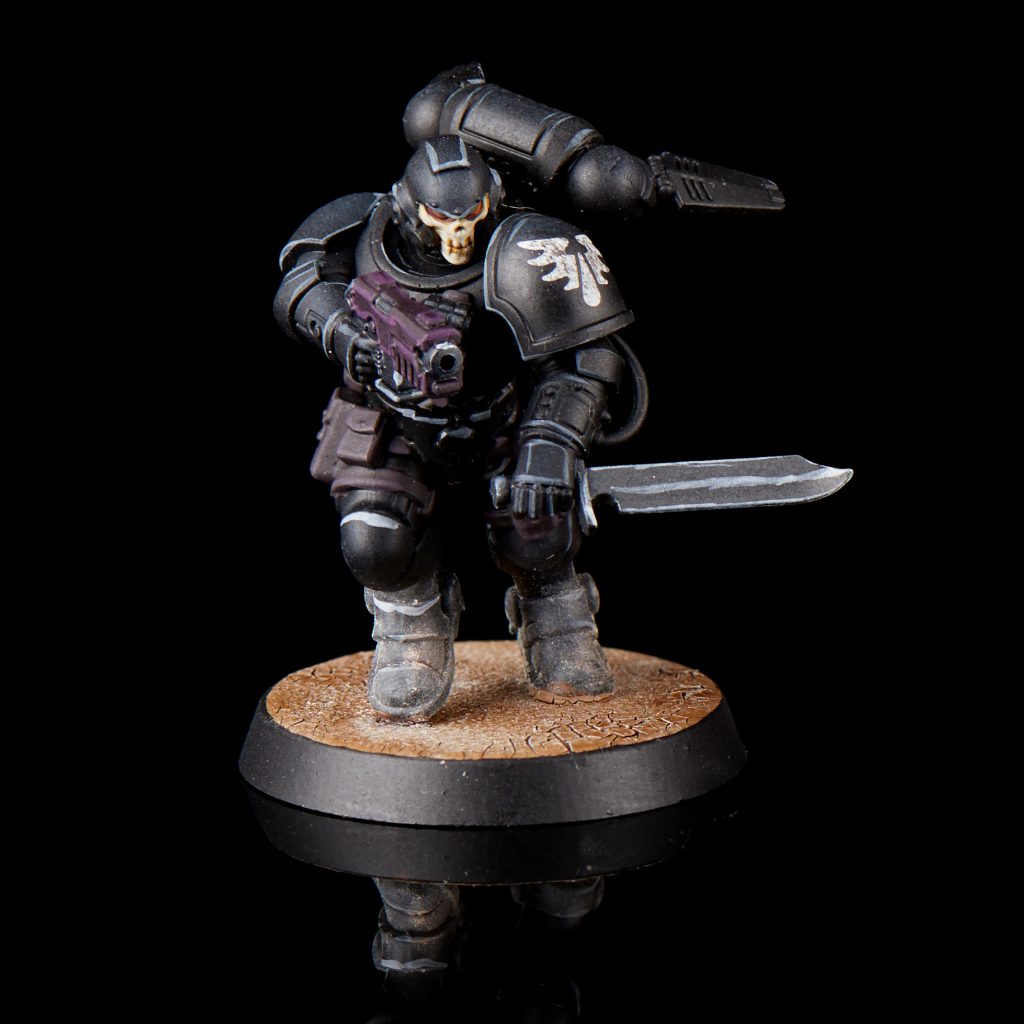
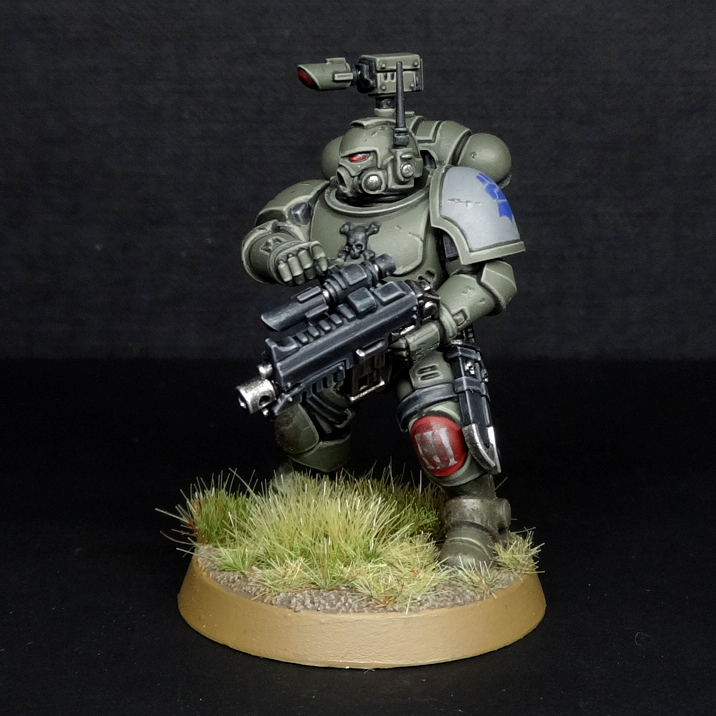
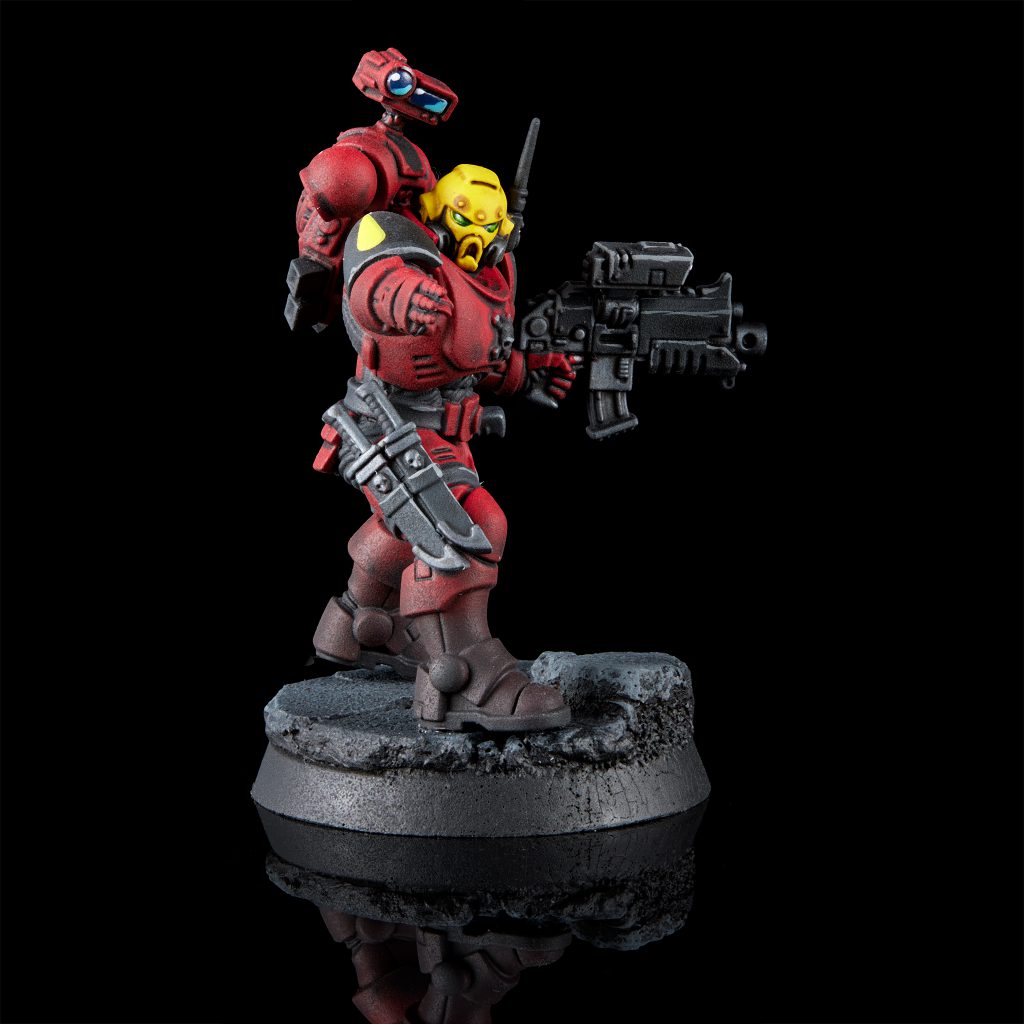
First introduced in Kill Team Moroch, the Phobos Strike Team is a team of space marine operatives clad in phobos armor – that is, Infiltrators, Incursors, and Reivers, specifically. And while they had a promising debut, they were quickly overshadowed by the free rules released for Intercession squads, which offered a much more powerful marine-based alternative for competitive play. That said, there’s a lot more versatility with Phobos teams and more options to pick from, which can make them a rewarding team to play with.
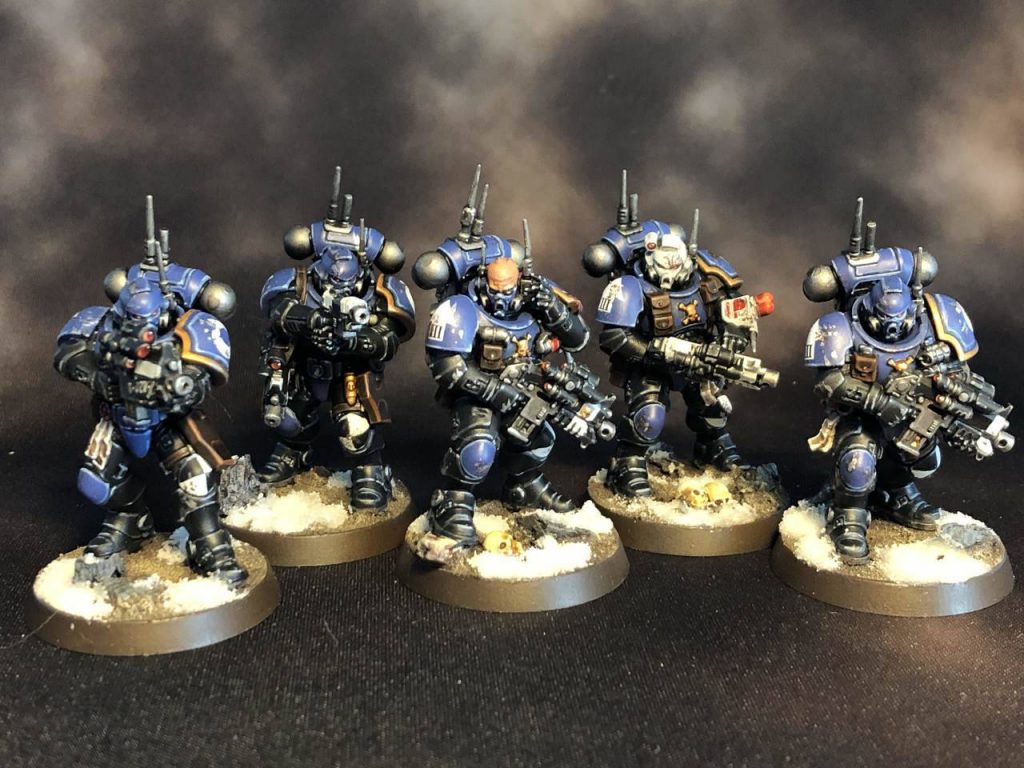
Team Composition
Phobos Strike Teams are Astartes kill teams that consist of 6 Operatives, all chosen from the three main Phobos units – Infiltrators, Incursors, and Reivers. Specifically, Phobos Strike Team Kill Teams Consist of:
- 1 Sergeant, who will either be an Infiltrator Sergeant, Incursor Sergeant, or Reiver Sergeant (who can take either a pistol and knife or bolt carbine), for competitive players the Reiver overshadow the others.
- 5 Phobos Strike Team Operatives, chosen from this list:
- Infiltrator Commsman
- Infiltrator Helix Adept
- Infiltrator Saboteur
- Infiltrator Veteran
- Infiltrator Voxbreaker
- Infiltrator Warrior
- Incursor Marksman
- Incursor Minelayer
- Incursor Warrior
- Reiver Warrior (with the option for pistol + knife or bolt carbine)
You can only include each non-warrior operative once.
Actions and Abilities
One of the unique things about the Phobos teams is that their operatives share a number of actions and abilities they can do every turn. Some of these are specific to a squad type, i.e. Terror only shows up on Reivers, while others may show up on multiple operative types. Note that these received changes in the dataslates, and we’ve updated this list to reflect those.
- Guerrilla Warfare (1 AP) shows up on everyone and allows you to change the operative’s order. You can’t do this during the first Turning Point or while within ■ of an enemy operative. This gives your team a lot of versatility when you want to stay hidden, since you can order your operatives into Engage, have them move and shoot, then drop them back into Conceal. Learning to use this is one of the keys to success in being a good Phobos player, specifically knowing when to shoot and go back to conceal again and when to risk using two shots.
- Omni-Scrambler shows up on the Infiltrators. Once in each Strategy phase, when it’s your turn to use a ploy, if you have a model with this ability on the table, then you can use this ability instead. Pick an enemy operative visible to any friendly operative with this ability and in the following Firefight phase it’s treated as having a Group Activation characteristic of 1 and it can’t perform actions until basically every operative with Omni-Scrambler has activated (or at least a number of enemy operatives equal to the number of scrambler operatives on your team have activated). This can be an incredibly nasty gut-punch for catching a key operative out of position, piling damage on them before they can hide or hit back.
- Multi-Spectrum Array is on the Incursors. When determining if an intended target is within this operative’s Line of Sight, the intended target cannot be Obscured and Areas of Smoke have no effect.
- Terror (0 AP) is a special action for Reivers, giving you a 3” radius where enemy operatives trying to pick up have to spend an additional AP, or total enemy APL for holding an objective is 1 less. Now that this costs 0AP it’s an awesome ability to have, and one of the key reasons to field more than one Reiver.
- Saboteurs for 1 AP you can remove a Saboteur token. This is a mission action confusingly placed nowhere near the Tactical Op that uses it. I had to re-read it and the operative datasheets half a dozen times to figure out who it was supposed to go on.
- Strategise (1 AP) isn’t listed in the Abilities section but it shows up on each of the Leader operatives. You can use this as long as you aren’t within ■ of an enemy operative and you gain 1 CP. This is an incredibly good ability with a ton of utility.
Operatives
With a limited number of operatives, and the choice between the very good sub-faction ability for Incursors vs. some very good operatives for Infiltrators, you need to make tough choices about what is going on the table. My advice would be to play a few games to get the feel of the team, and where you want to draw the line for Infiltrators vs Incursors.
Following the most recent round of buffs, my advice is to take this as your starting point and work from here:
- Reiver Sergeant
- Marksman
- Infiltrator Helix-Adept
- Incursor Mine-layer
- Infiltrator Veteran
- Reiver Warrior
You can sometimes flex the Mine-layer for the infiltrator Saboteur, but other than that you probably won’t make many other substitutions. Comms was a must-take pre-Vanguard dataslate but now he’s just not that good so you’ll often find you end up cutting him.
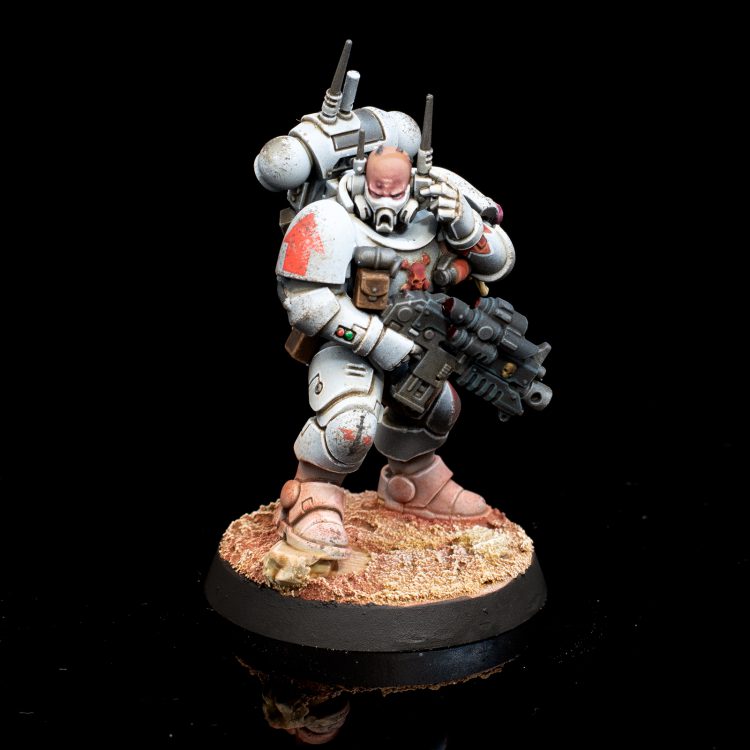
Infiltrator Commsman
An Infiltrator Warrior with the Comms Array special action, a 1AP action that lets you select another model Visible to this operative, and they can perform a free 1AP action, but it cannot be an action they have already performed, they can’t move, and they can’t perform the action again during the Turning Point. Even with these restrictions in mind it means you can do quite a few things – You can do a mission action, to leave the model free for a normal activation, you could take a model that did a Shoot twice and charged an enemy to pin them in place and avoid being shot (or to contest an objective) and make them Fight, or plenty of other scenarios.
Unfortunately this is not as good as the normal Signal type model action, but is still pretty solid to perform an out-of-sequence Fight (potentially freeing up a model to Overwatch) or to squeeze in a mission action on a model that’s had to spend its AP elsewhere. A must-take before the Dataslate buff added the Vanguard ploy but a bit “meh” right now. Field him if you can’t use your explosive/mine operatives.
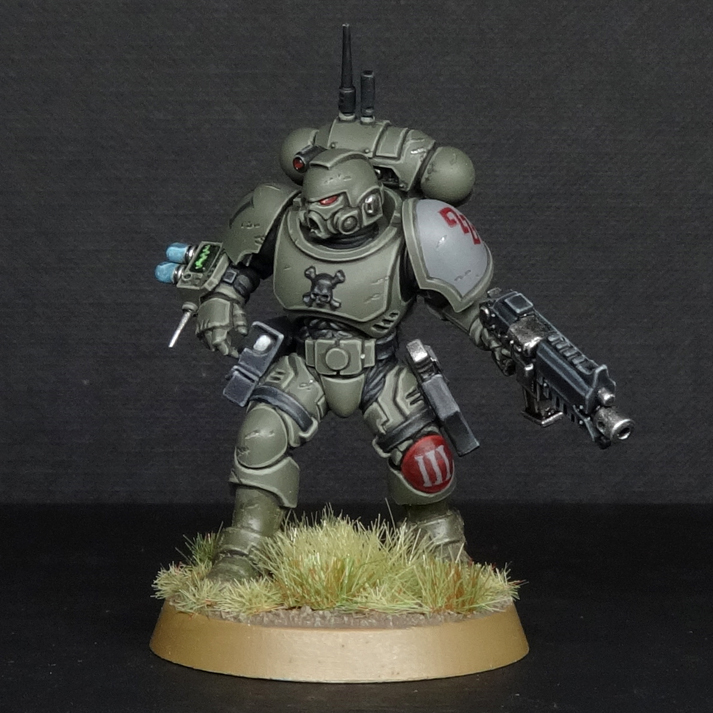
Infiltrator Helix Adept
Medics are incredibly useful. Being able to ‘save’ a model or heal 2d3 wounds is so useful on a low model count team that this is basically a compulsory choice for the team, and these abilities are in addition to the standard Infiltrator equipment, so there is no trade off to get them. With no Only in Death Does Duty End, you want to be able to save your guys if you can. Probably one of the best medics out there, specially since you’d have And They Shall Know No Fear ploy, so your revived marine will be at full capacity and being able to do a lot of stuff even at 3W.
Infiltrator Saboteur
This is where things get complicated. The Saboteur has one-shot remote explosives, and these are a plant-and-run explosive where you place a marker within an inch, and when they go off and hit everything within 3 inches. This can be fairly devastating, but you’ve got to get your operative in there, plant the explosives, get them out of there, and then detonate before the enemy moves away. You can’t detonate as an Overwatch action, so this is where you Move, plant, dash and then the Commsman gets you to detonate as the 1AP action using their Comms Array action, or you do plant as the last activation of your turn next to a juicy already-activated target, and then use Omni-Scrambler to prevent the target activating and moving away before you can detonate.
All of this means you need to think and plan how you are going to use the Remote Explosives, as you also can’t plant them while you’re within engagement range of an opponent. You could use them to deter enemies from claiming a key objective, create a bottleneck on the board, or whatever your devious imagination can come up with, but remember the restrictions on using them. Normally you will use him as an infiltrator to shoot with his lethal bolter and when he has little life left he will immolate himself with the mine, if possible taking several operatives with him. Special combo! Put your medic near this marine’s explosion and revive him after he explodes having killed other operatives. 40% of the time works every time, an other good use is as an area denial, place your mine before the end of the TP (Near a heavy center building maybe) and hope for the best on the TP2 initiative.
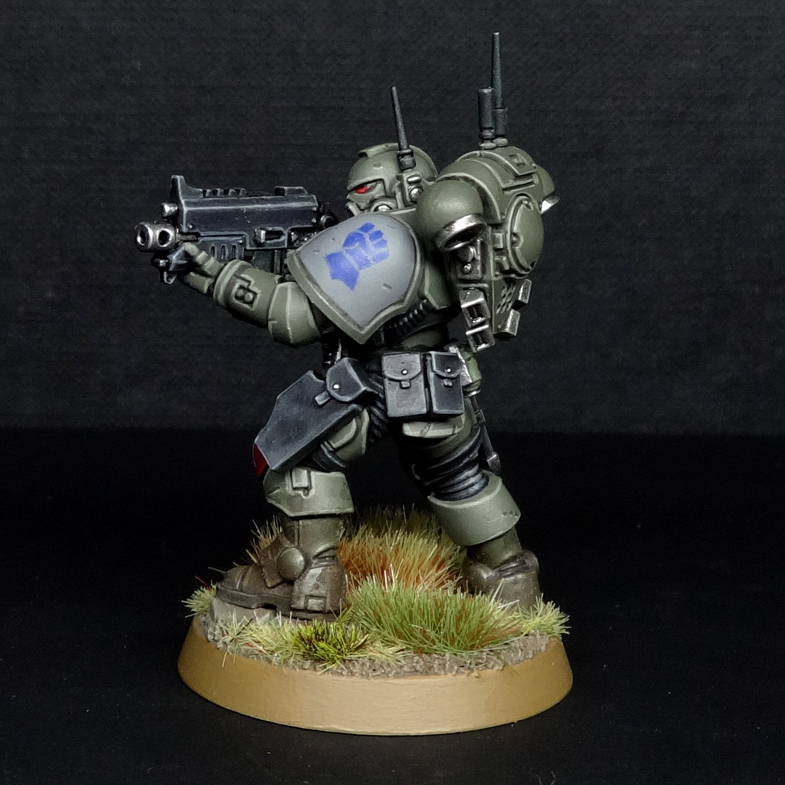
Infiltrator Veteran
This is another highly recommended operative. Combat Blade gives you 3/5 in melee, which is as good as it gets in the Phobos Strike Team, and Custom lets you choose two of the following for your bolter – No Cover, Lethal 5+, MW1, Balanced, P1, Rending. Being able to customize your weapon to the enemy you are facing (so not P1 against Harlequins for example) is great, and there are some good combos to use (Lethal 5+ and Rending, Lethal 5+ and P1, Lethal 5+ and MW1, as examples). If you are basing your strike team around Infiltrators, the Veteran is a great model to include. Most of the time you’ll be taking lethal 5+ and Balanced, since you can get P1 via Deadly Shots. Rending should be considered against something like harlequins
Infiltrator Voxbreaker
With two special actions both designed to screw over opponents, this is an interesting Operative. Voxbreaker gives you a 6” aura in which enemy models can’t reroll dice in combat or shooting, which really messes up any factions relying on Relentless to generate hits to overwhelm defence dice or parries. Auspex Scan lets one friendly model within 3″ of the Voxbreaker treat one enemy model within 6″ of the Voxbreaker as if it has the Engage order.
Auspex Scan is much more situational than a 6″ radius debuff but can be great for winkling Concealed enemies out, and you can of course use the effect on the Voxbreaker. Unfortunately even with these abilities the Voxbreaker is pretty limited and just isn’t very good.
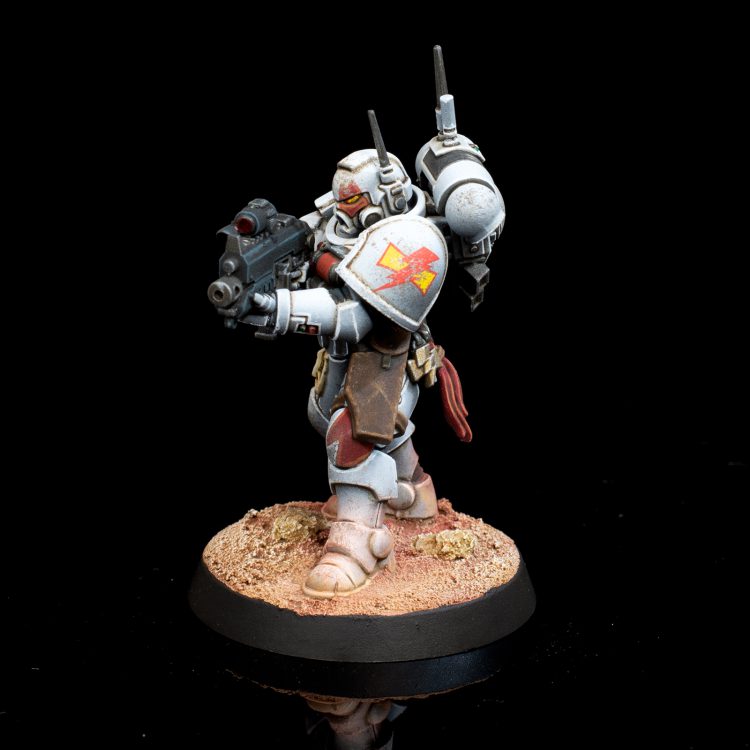
Infiltrator Warrior
The standard infiltrator warrior brings a Lethal 5+ bolter to the table, which is actually pretty good for nailing 7/8 wound models. Guerilla Warfare and Omni-Scramblers are the abilities baked in, and this allows you, in combination with Bolter Discipline, to have activations where you change to Engage, Shoot twice and then Guerilla Warfare to go back to Conceal.
However you are unlikely to have this model in your kill team, as you have the option of more than five specialists, and Infiltrator specialists start with these stats as a baseline, and add additional abilities on top.
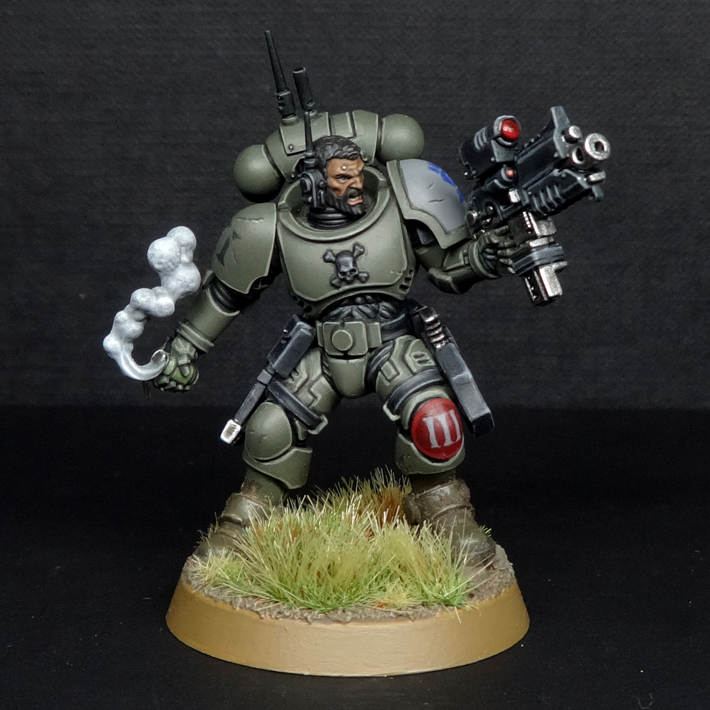
Infiltrator Sergeant
The Sergeant is basically just the same as your standard Infiltrator Warrior with +1 to hit in melee and +1 wound, but with the Strategise command ability, which lets you buy a CP for 1AP. That’s a useful add-on but it’s an ability you can get from any of your Sergeant options.
Incursor Marksman
This operative is basically a compulsory choice. The sole long range AP in the team, Multi-Spectrum Array pairing nicely with 2+ to hit and Lethal 5+, and Bolter Discipline giving you two shots to make it fairly likely you can nail a couple of guardsman equivalents a turn. Track Target lets you take a shot in response to an enemy models activation for 1AP. This is probably going to end up getting FAQ’d/Designers Notes’d to make it clear that this is something you can’t do if you’ve already activated. It does make it clear that it counts as a Shoot action for your later activation. I can see some arguments regarding this. One of your best models out there. Shooting on 2+/Ap1, nice.
Incursor Minelayer
The Minelayer can lay a Haywire mine once during the game, which will then go off using the Proximity rule the first time an enemy model moves within 3″. This creates a huge choke point creating an enormous threat. You are telling your opponent to not go there unless they want to be stunned out of cover. Really, really useful, place it near an objective and enjoy.
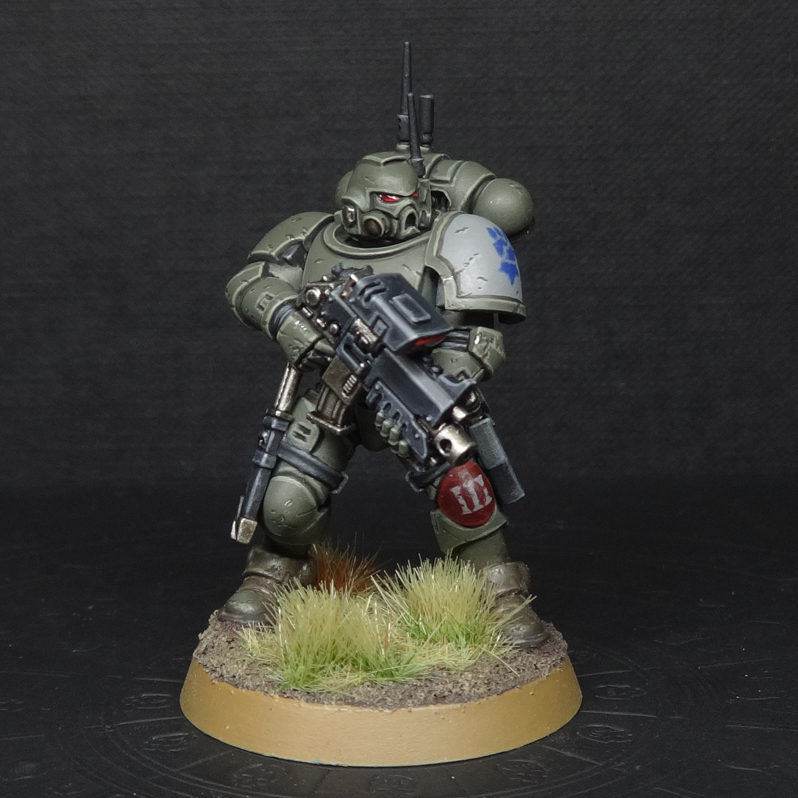
Incursor Warrior
The standard Incursor, due to the small team size and pressure to take specialists you are not that likely to see him, but he’s a solid soldier. Combat Blades being 3/5 makes him decent in combat, while a No Cover bolter is great against enemies with low saves who rely on cover to give them successes on defence. Multi-Spectrum Array is a great sub faction ability which makes a good model better.
Incursor Sergeant
The Incursor warrior with +1 wound, +1 to hit in combat, and Strategise. Due to Multi-Spectrum Array he’s a good choice to get more models that can see through Smoke on the table.
That said, he’s also just not as good an option as the Reiver Sergeant, and so it’s hard to make a case for taking him over the better, melee-capable Reiver option.
Reiver Warrior
Reiver Warriors give you a standard model with AP if you take the Special Issue Bolt Pistol, but if you are going with pistol and knife you are likely doing it for the 5 dice 4/5 melee attack option, which is the best melee in the team. If you are getting close in you have the opportunity to use Terror, and now that it’s free that’s pretty damn good. These guys are at their best with AP1 pistol and the 4/5 knives. Combine that with Terror and 3APL and you have a really, really awesome operative to give a smoke bomb and stall the points/tie up parts of the board.
Reiver Sergeant
As with your other Sergeant options, this guy is a Reiver Warrior with +1 wound, +1 to hit in melee and shooting and Strategise. The Reiver Sergeant is hands-down the best melee model available to the faction, shooting on 2+ and hitting on 2+. This makes him easily the best leader of your three options and he’s one of the better leaders out there generally.
Ploys
Phobos Strike Team ploys are very much a game of two halves. The Strategic Ploys range from good to great, and are the reason you need Strategise so much to give you more CP. The Tactical Ploys have two ploys that are very situational. If there had been an additional Tactical Ploy that would have made that a little less of a bitter taste.
Strategic Ploys
- Bolter Discipline (1 CP) is the Shoot twice with bolters ploy common to most marine teams, and more efficient in this team because everyone has bolters, including the sniper. As normal, you cannot double Shoot and Fight.
- Shock Assault (1 CP) is the Fight-twice-if-you-don’t-shoot ploy also common to marine teams. You’re less likely to use this as you lack power weapons and strong melee on a lot of models, but if you are facing wound 7 models then marines can still very effectively bully them with just fists.
- Vanguard (1 CP) – Until the end of the Turning Point, each time a friendly Phobos operative is activated, during the activation you ignore the first distance of ● it travels for a climb, drop or traverse, it automatically passes jump tests, and you add ▲ to its Movement characteristic, also you do mission action for -1APL. Useful for getting models around, onto objectives, and onto Vantage points. Note that, per the Designer’s Commentary, you apply a Grapnel Launcher to halve distance before applying the Vanguard bonus to ignore distances when moving. Really good right now for accomplishing Recon missions or primary objectives and a tool that you are going to use quite a lot to give yourself virtual 4APL models. It’s also really awesome on ITD/Gallowdark boards.
- And They Shall Know No Fear (1 CP) lets you ignore negatives to APL and friendly operatives are not treated as injured until the end of the Turning Point. This is great against teams that have a lot of debuffs to drop on you, or if you’ve got a lot of injured models on the table. That said, you should try to aim to not to use it on TP2 as this faction is really CP hungry.
- Deadly shots (1 CP) – Added in the Balance Dataslate, this Strategic Ploy gives your bolt weapons the P1 critical hit rule until the end of the Turning Point (but only if they didn’t already have the APx or Px critical hit rules). This is a great way to help shore up the team’s lack of anti-armor shooting and a big boost to their ranged damage output. Ap1 on bolters is always good, specially if paired with lethal 5+. A really awesome tactical ploy.
Tactical Ploys
- Stealth Assault (1 CP) is used when you activate an Operative currently on Conceal and not in engagement range of an enemy operative. That operative can’t shoot, but when they Fight for the first time they can resolve two hits. This lets you punch out a 8/9-wound operative with no strikes back with your reivers, and is ideally combined with a multicharge into two enemies that you double fight using Shock Assault.
- Transhuman Physiology (1 CP) lets you convert a single normal save success into a critical success. Nowhere near as good as Only in Death, but useful for keeping models in the game if your opponent has racked up critical successes.
- One Step Ahead (1 CP) is used at the end of the Select a Kill Team step of the mission sequence after you reveal your teams. You can remove one of your operatives and swap them out for a different one on your Kill Team. This sounds great, but then think about what the alternative selections you have actually are and you aren’t likely to use it often.
- Elite Reconnaissance (1 CP) lets you redeploy two operatives and resolve an additional scouting choice (you can’t duplicate these). This lets you refuse flanks, and see your opponent’s deployment before changing how you want to set up. Not a really good option and you’ll need CP to spend elsewhere.
Equipment
There are two Reiver-specific pieces of equipment that help Reivers get around and ideally to within 6″ of enemies where they can shoot them with AP1 pistols or stab them with big knives.
- Grapnel Launcher [3EP] lets you get around the board quicker. Ascending or descending up to 6″ only counts as 2″, you can drop any distance (and it counts as half for movement purposes) and you don’t need to be within 1″ of a climbable piece of terrain in order to climb it. Basically it means going up and down terrain is much easier and you have more movement left after doing it.
- Grav-Chute [2EP] lets you do a free Grav-Chute Insertion in the Scouting Step, which is a 4″ move with FLY. Every time the operative steps off a Vantage Point it moves as if it can FLY. This is great for jumping from building to building.
- Smoke Grenade [3EP] is a grenade that gives a 2″ radius through which if a cover line is drawn to a target line of sight is blocked. This has been very strong in Kommandos and will be even stronger here where you have Incursors who can see and shoot through it. It’s a must have against any shooting team. For extra Spice use a model to throw the nade, and then get in with a reiver into the smoke, on the next TP charge, fight and toss an other smoke grenade. After that take a sip of a good whiskey and enjoy the Phobos life.
- Shock Grenade [2EP] is a grenade that has a 2″ area of effect from a target point you choose, and any model under it subtracts 1 from there APL on a 4+ (5+ if you can’t see them). This is good for screwing over enemy models on objectives and could pair nicely with Terror.
- Frag and Krak Grenades [2 / 3 EP] are the same as always, and Krak grenades give you availability of some much needed AP.
- Throwing Knife [2EP] gives you a Silent weapon so you can run round while in Conceal throwing knives at people.
- Purity Seal [3EP] gives you the ability to re-roll a dice. Not too bad on your not-leader Reiver.
Tac Ops
- Shock and Awe scores a VP if you hold one or more objectives that the enemy held at the start of the turn. Score another if you do it again. Suits aggressive play. Really good and one to always consider.
- Saboteurs involves the Saboteurs mission action. 3 Saboteur counters are placed in the Killzone, two by your opponent, one by you, and if you perform the Saboteur mission action to remove two counters you get 1 VP, and if you remove all three you get an additional VP. Meh, don’t pick this.
- Guerilla Tactics is a straightforward kill more enemy operatives than you lose in a turn for 1VP, and any subsequent turn for another VP while having more operatives in conceal than in engage. This is a good one to pick if you are up against a horde team, when you’re likely to be doing this anyway.
Playing Phobos on Gallowdark/Into the Dark Terrain
Phobos need to be able to hit and disappear in order to operate effectively – and that’s something they can do now that they have the new Vanguard ploy from the dataslate. In the Gallowdark they can be super flexible, able to open and close doors in the opponent’s face. The ability to do things like move, shoot (kill), close the door, and stand guard gives these superhumans some great flexbility during their activations. Additionally, the proximity mine becomes even more interesting option in the Gallowdark, and can be used to block a room completely.
Overall your ability to win in these tight quarters will come down to your ability to place smoke in key locations, take points, and take as few risks as possible. But make no mistake – the Phobos Strike Team has a lot of play options when they go into the dark.
Final Thoughts
Right now after the March Data-Slate, the Phobos are an incredibly mobile team with a lot of tricks up their sleeves.
Using Vanguard you can have pseudo 4APL which gives you the feeling of true marines more focused on speed and mobility than brute force. On the other hand thanks to Deadly Shoots they are able to fight even against heavily armored equipment. My advice is to play as cagey as you can in the first turns avoiding losing operatives and at some point use a lot of CP’s to become real killing and scoring machines. You have to dictate the flow of the game and be able to hit and disappear, it is a complicated team to manage but it rewards the good player enormously. The phobos are waiting for you, will you be able to flow with them?
Have any questions or feedback? Drop us a note in the comments below or email us at contact@goonhammer.com.
