
Static Grass, you may have heard the term before and wondered to yourself “Why’s it called Static Grass? Is there such a thing as moving grass?” Well, hold your horses there Mr Dictionary, the name of this hobby material refers to a different meaning of Static, namely Static Electricity. For you see, Static Grass is thin fibres of grass-coloured plastic that respond to a static electrical field, like when you touch a Van der Graaf Generator and your hair stands up on end, or if you’re in a terrifying TikTok where two people don’t seem to realise they’re about to be struck by lightning (which is, itself, static electricity!). Much like the hair on your head, this static causes the grass to stand on its end in PVA glue, making it look like real, growing grass instead of a matt of green fibres.
Devices to generate this field and dispense the grass are available from many hobby retailers, but they’re quite expensive. Now, if you’re a wealthy individual, you can treat the rest of this article like an interesting intellectual exercise, but for us povvos, being thrifty and saving money is always nice. So, let’s build our own static grass applicator on the cheap using stuff you might have laying around, or can acquire inexpensively from a DIY shop. This article presumes that you already have the tools required, so I don’t include them in the monetary cost of the project!
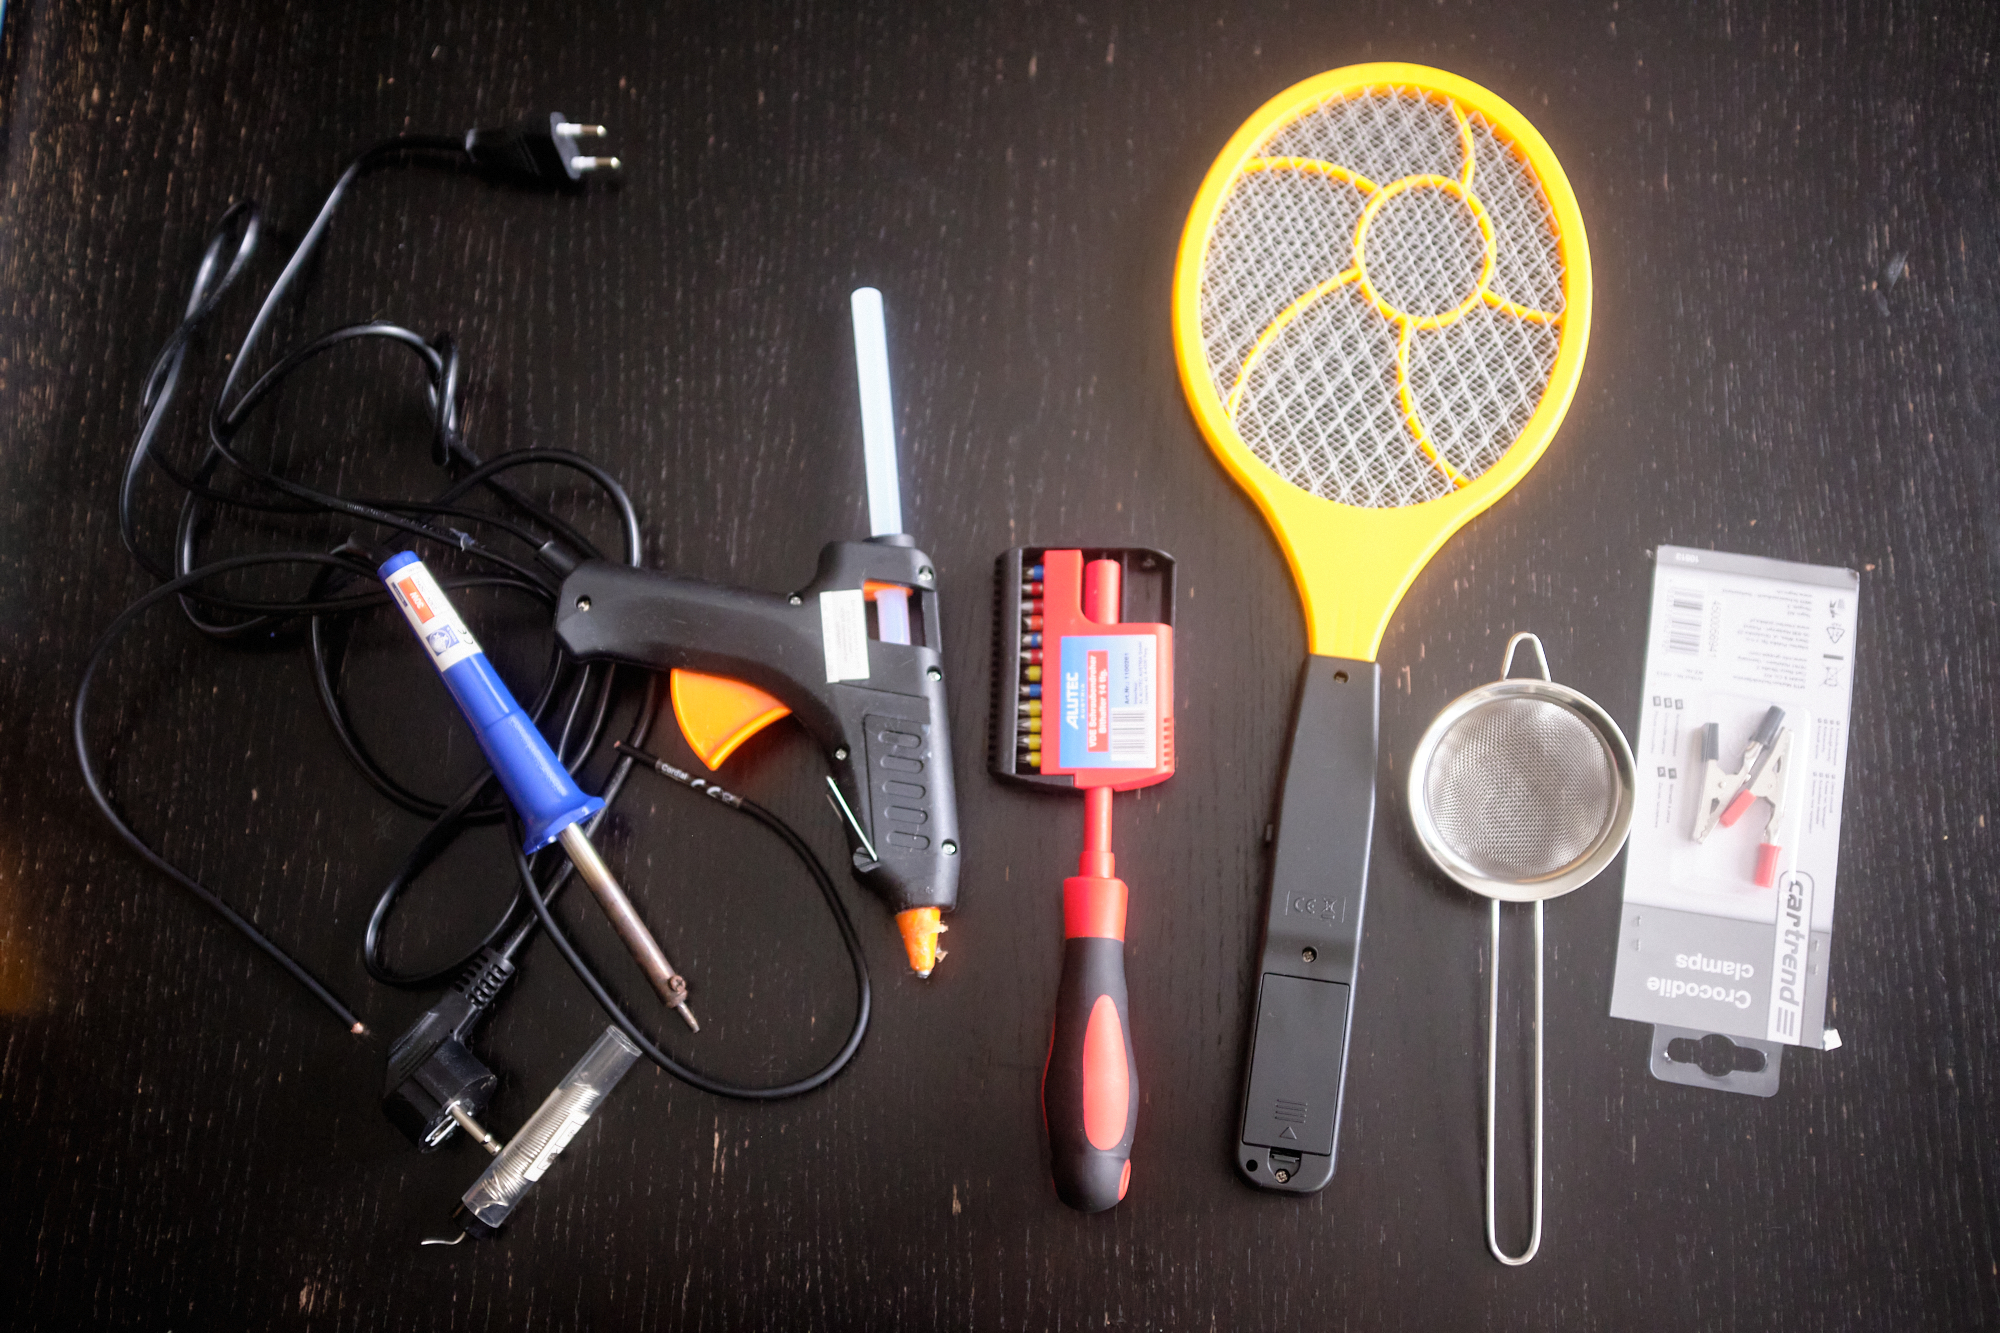
You will need:
- An electric fly-swatter
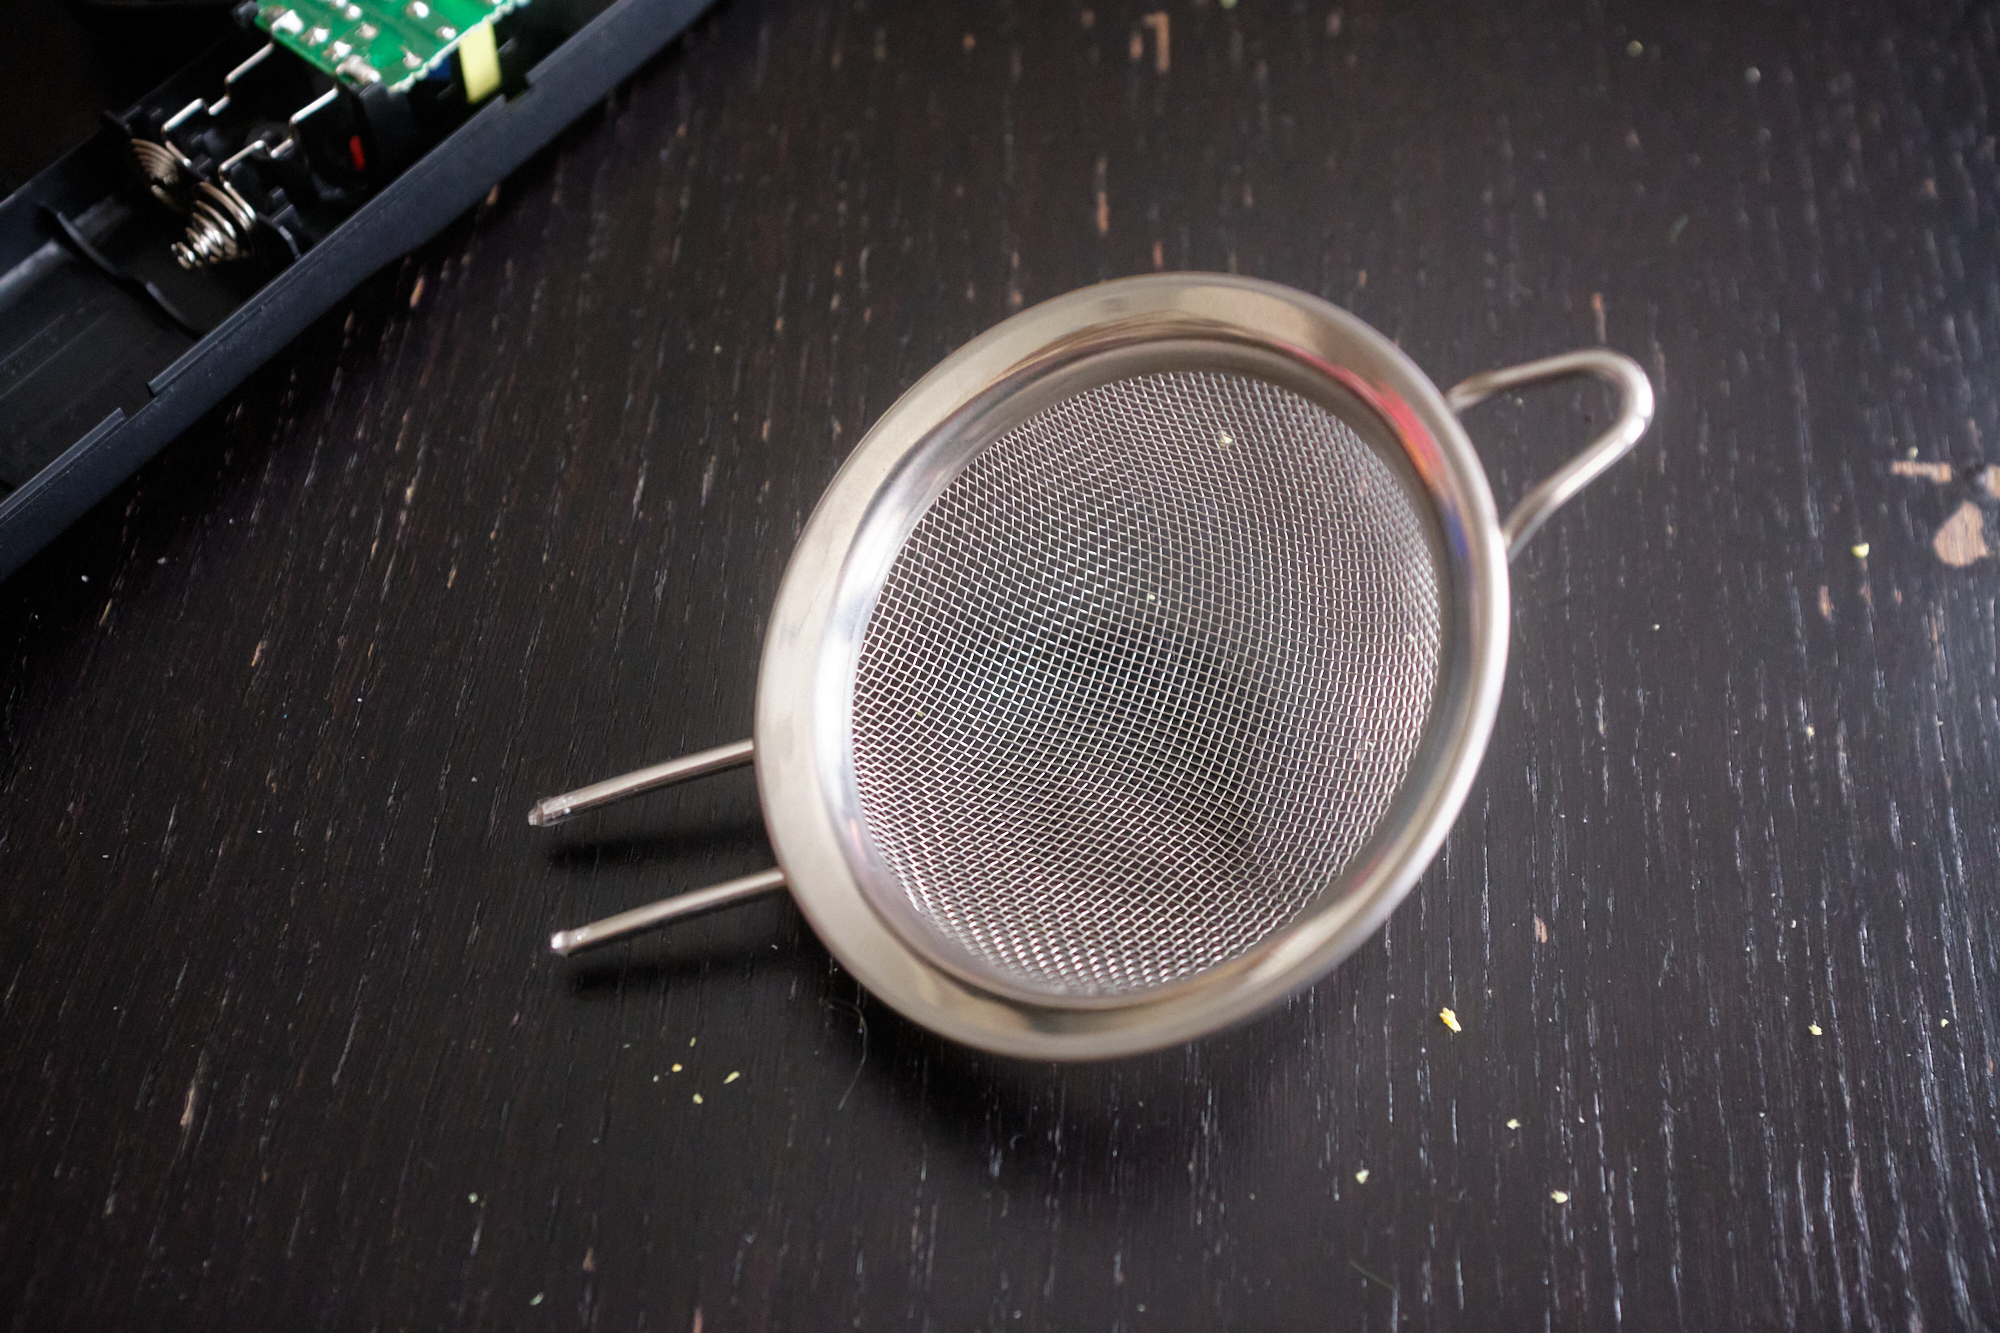
- A tea strainer
- A glue gun
- A soldering iron
- A screwdriver
- Some crocodile clips
- Some wire

First things first, take the batteries out of the electric fly swatter so you don’t get zapped by accident.
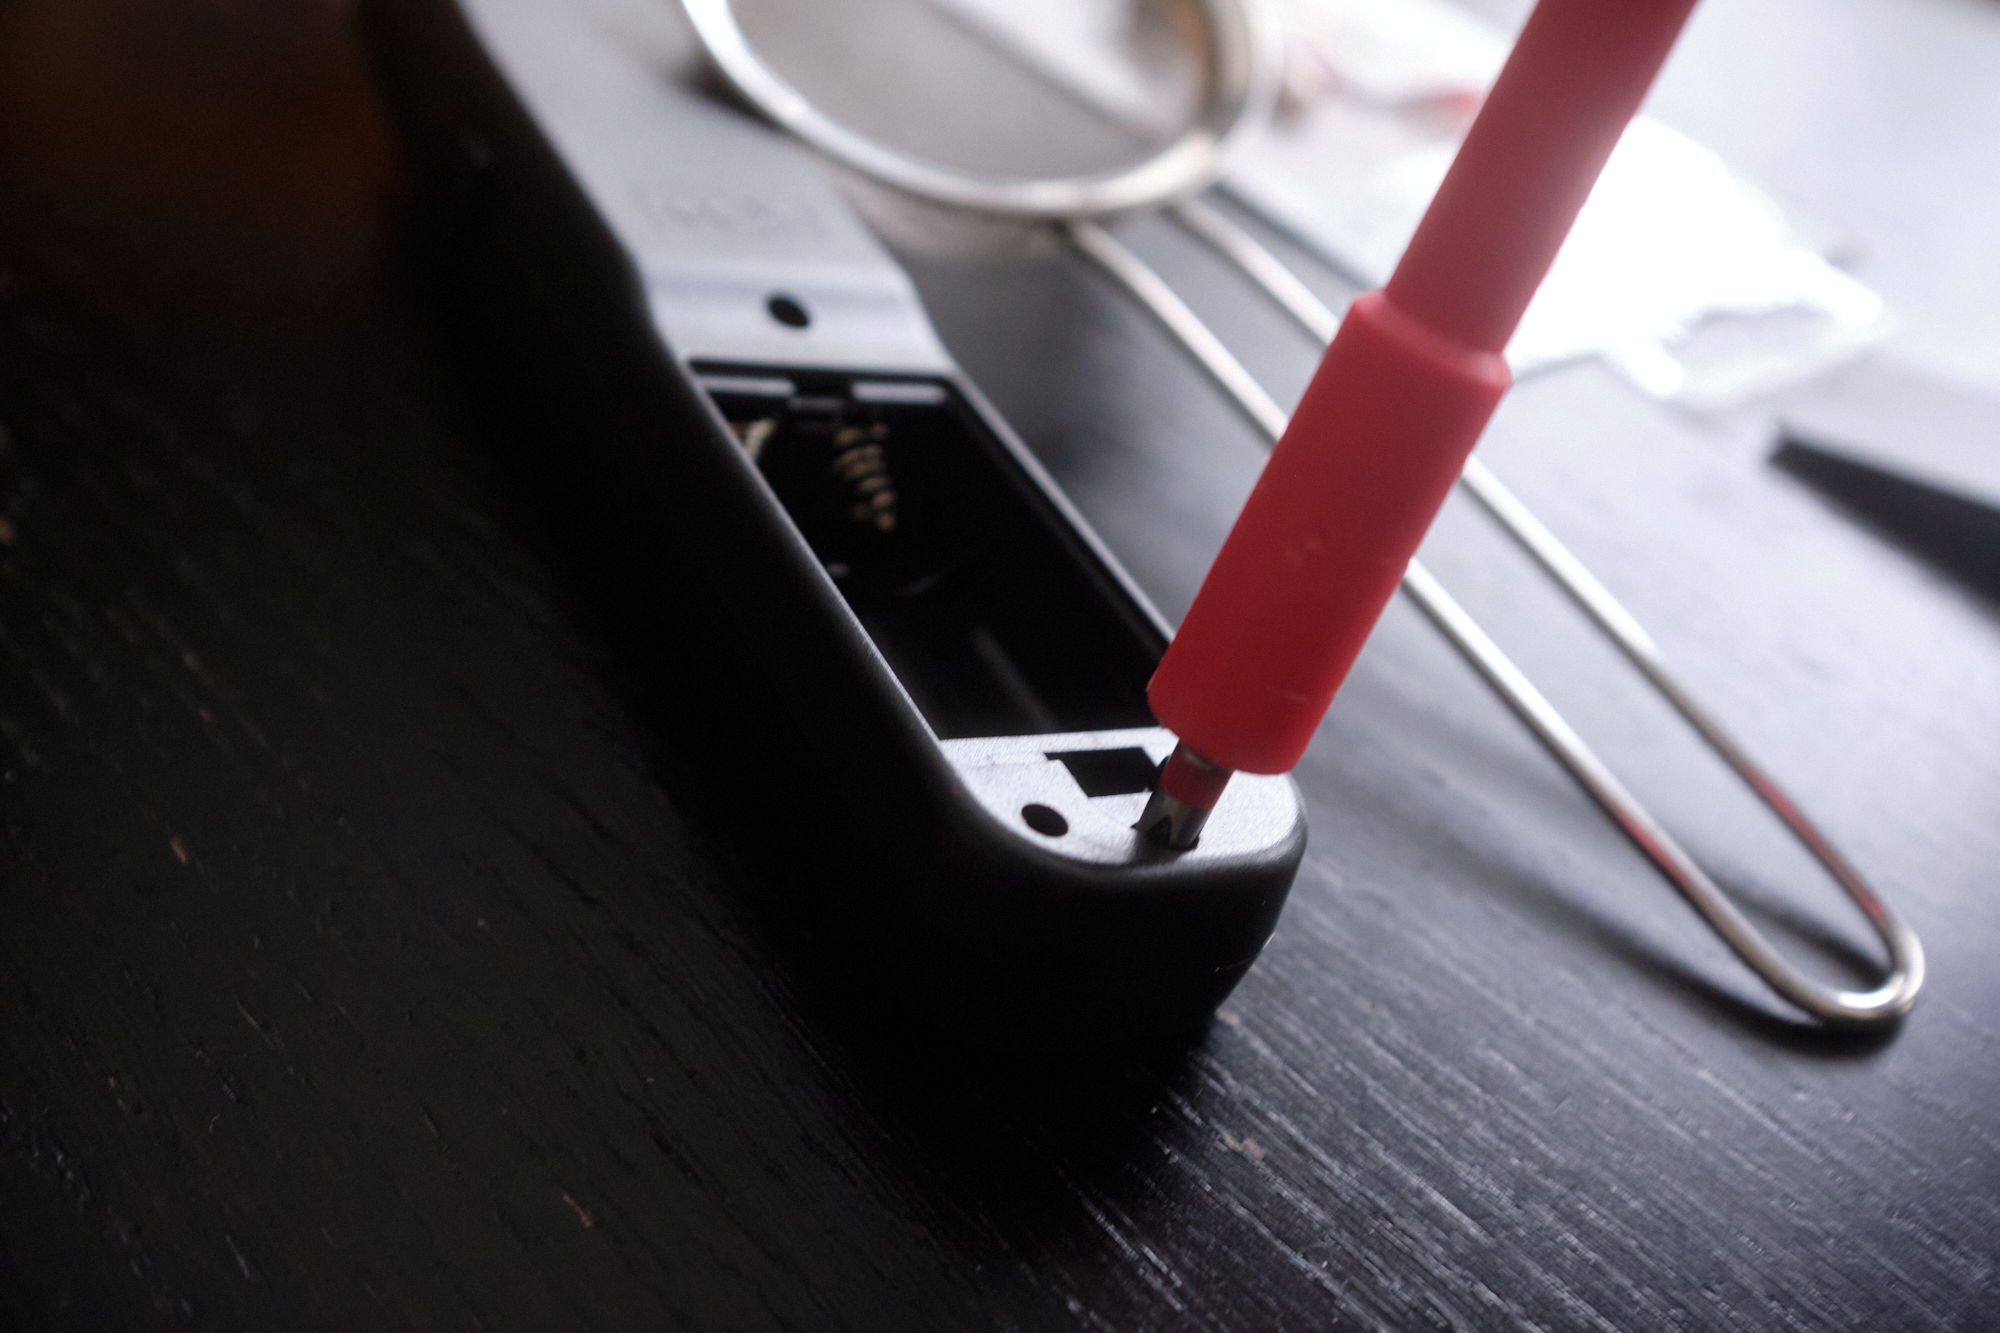
Next, dismantle the fly-swatter using a screwdriver.
You might need to jimmy open the tennis-racket bit with a knife or a flat-headed screwdriver.
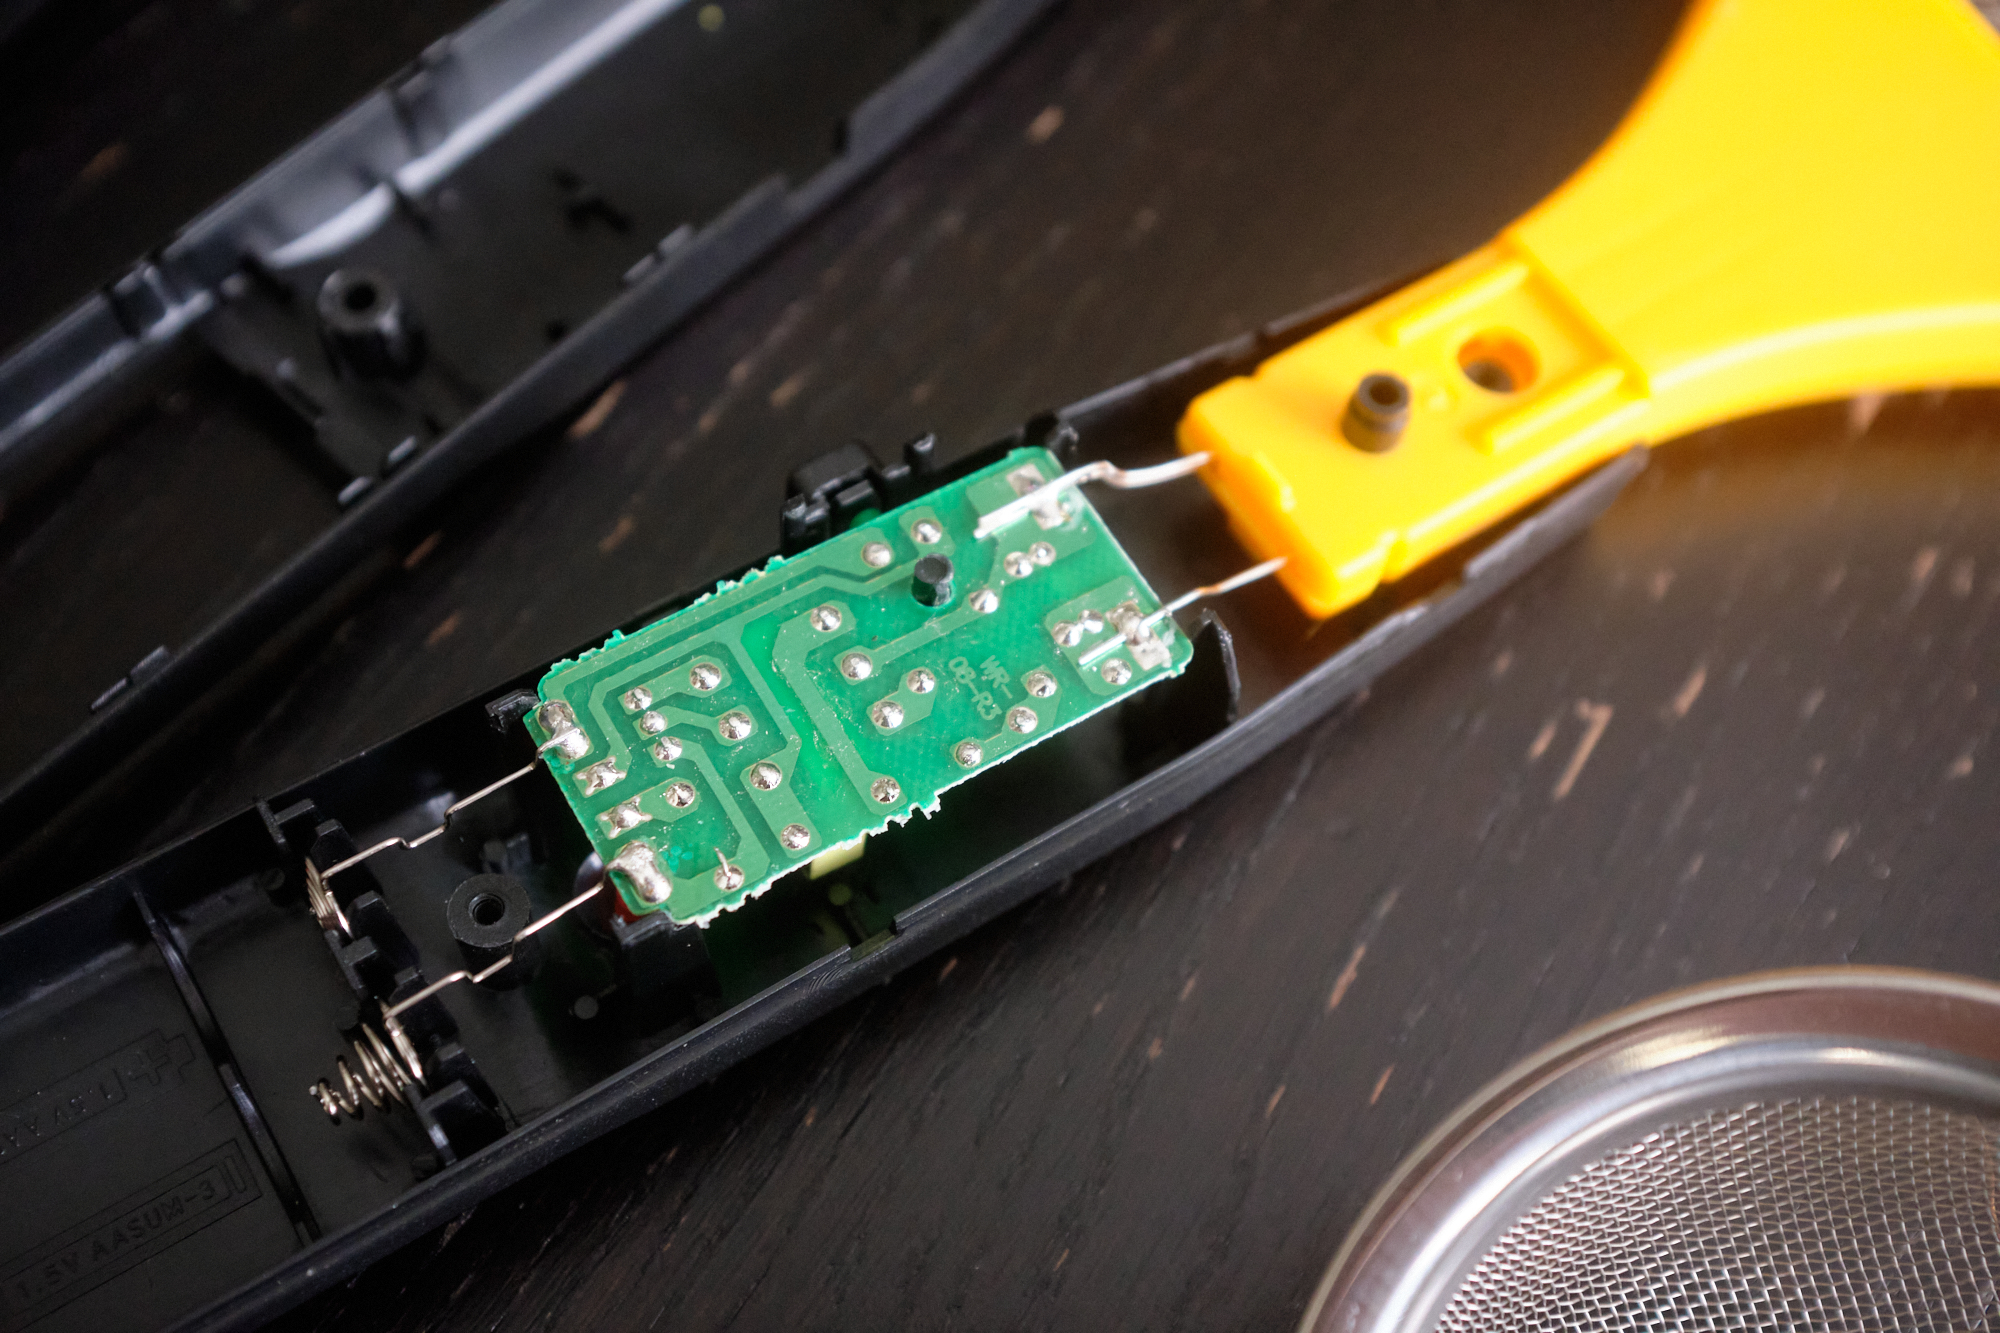
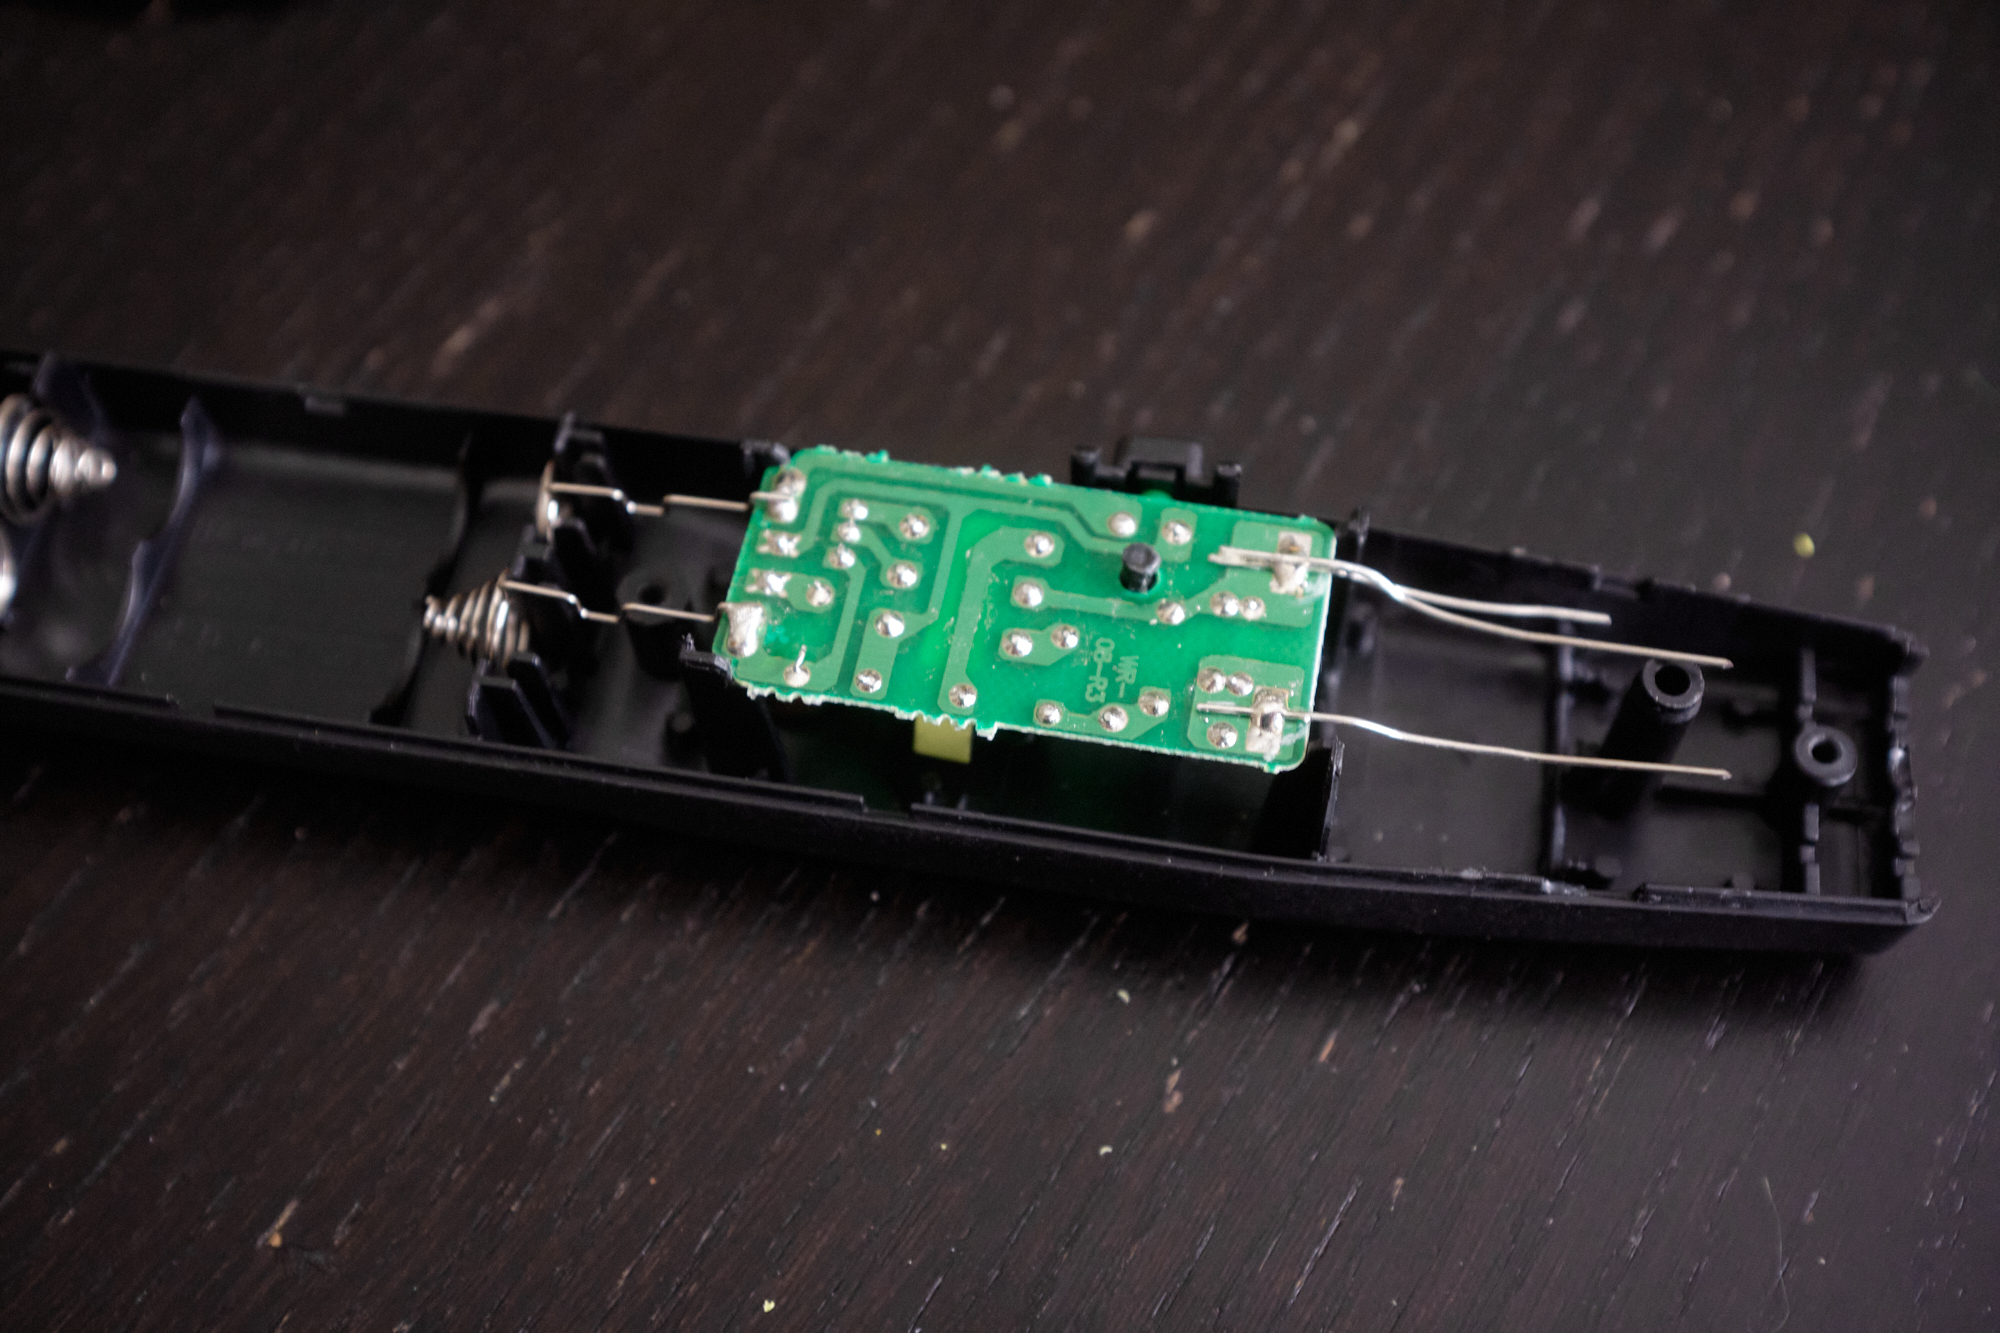
Once the racket is dismantled, remove the plastic part from the wires, measure out a decent length, and clip them. The rest of the racket can be discarded now, you won’t need it. You can maybe save the grating for future terrain projects, though!
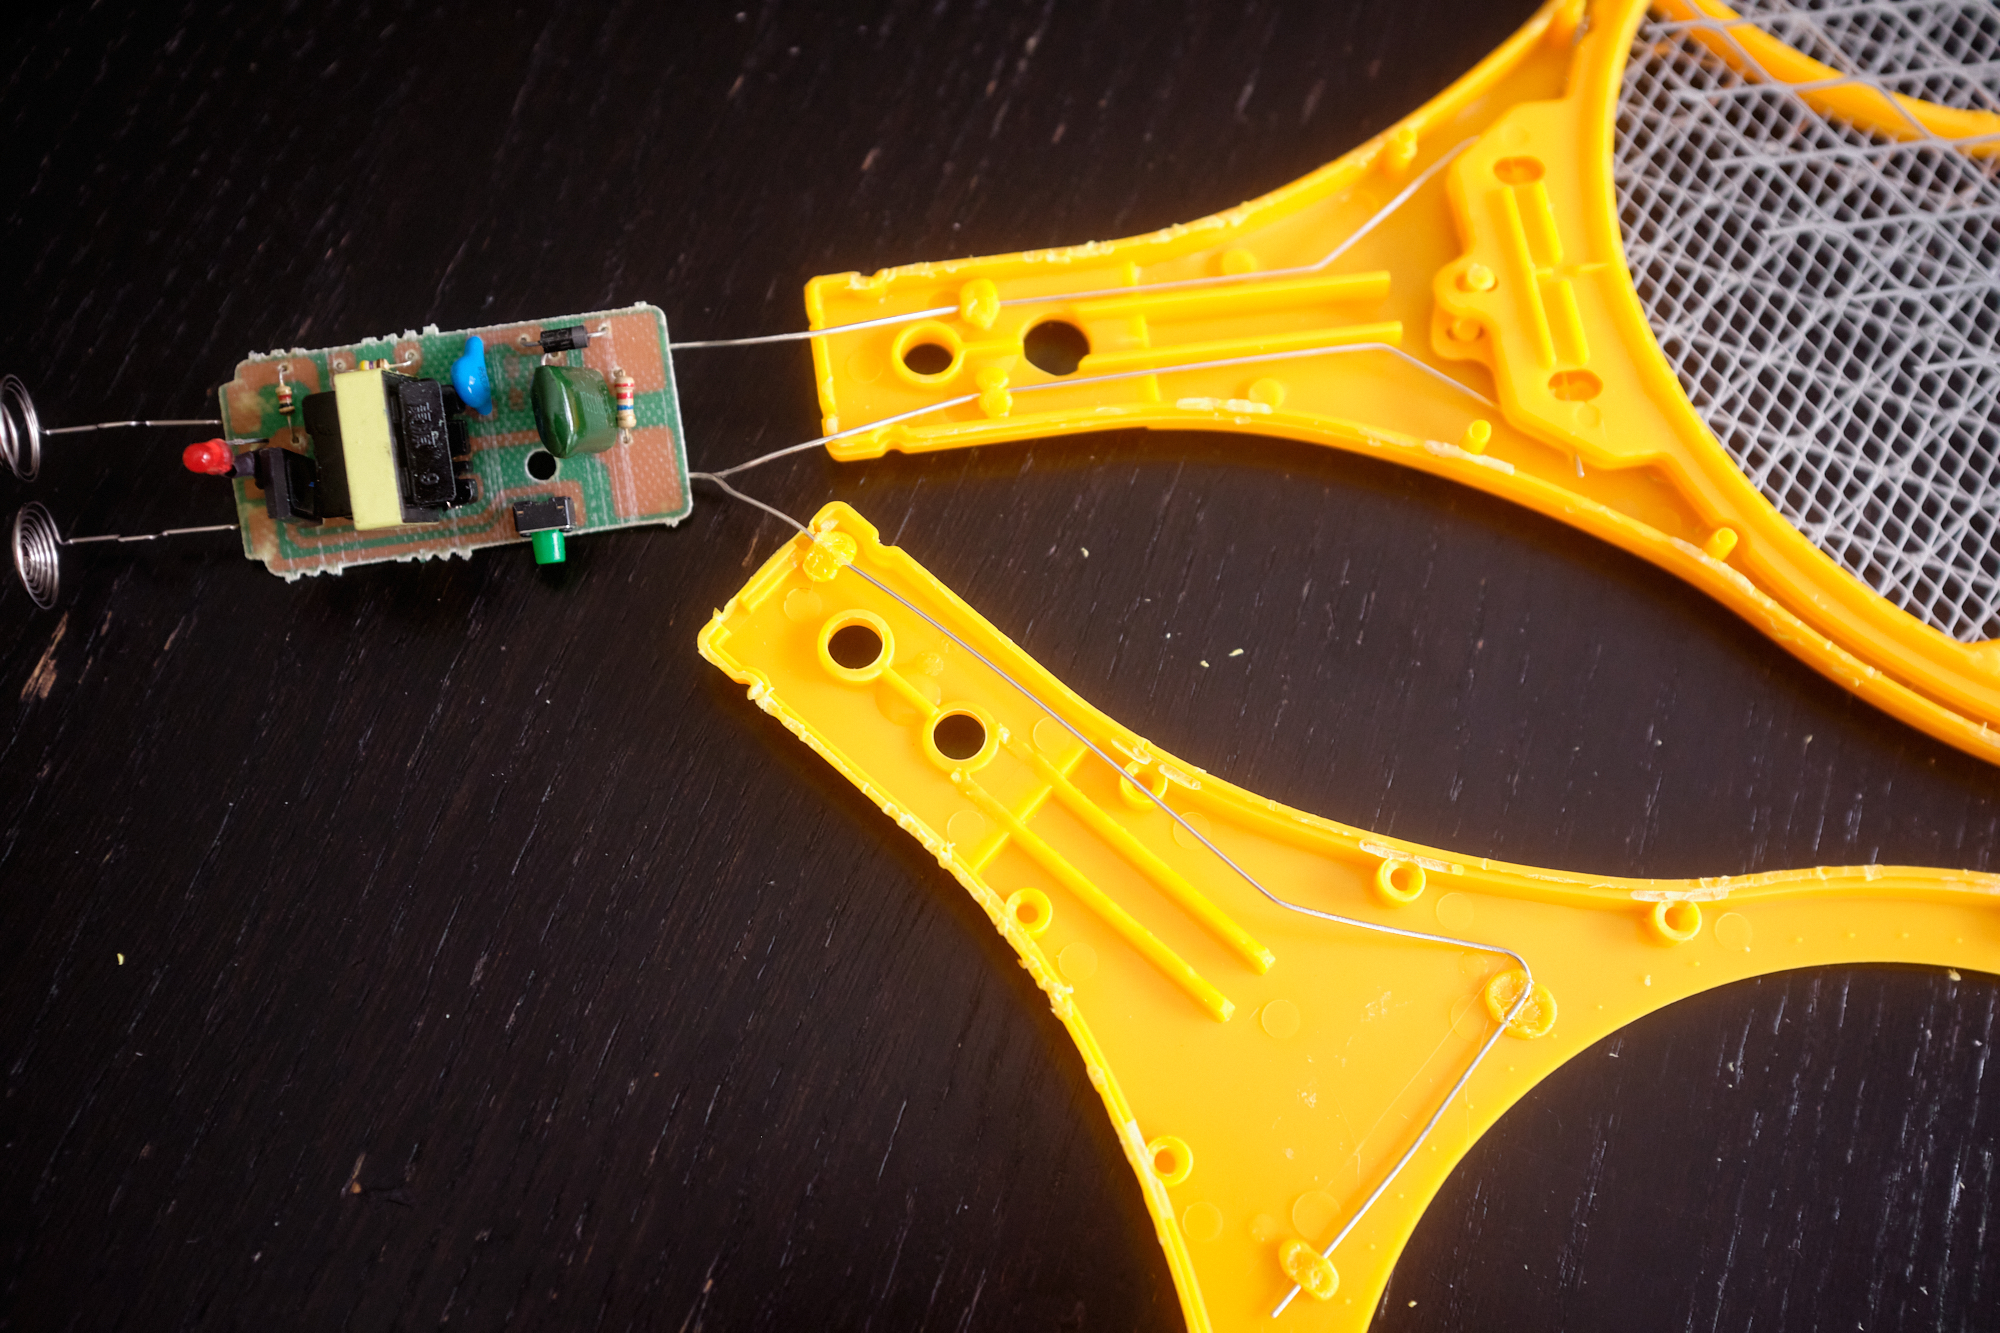
Your resulting circuit should look like this:
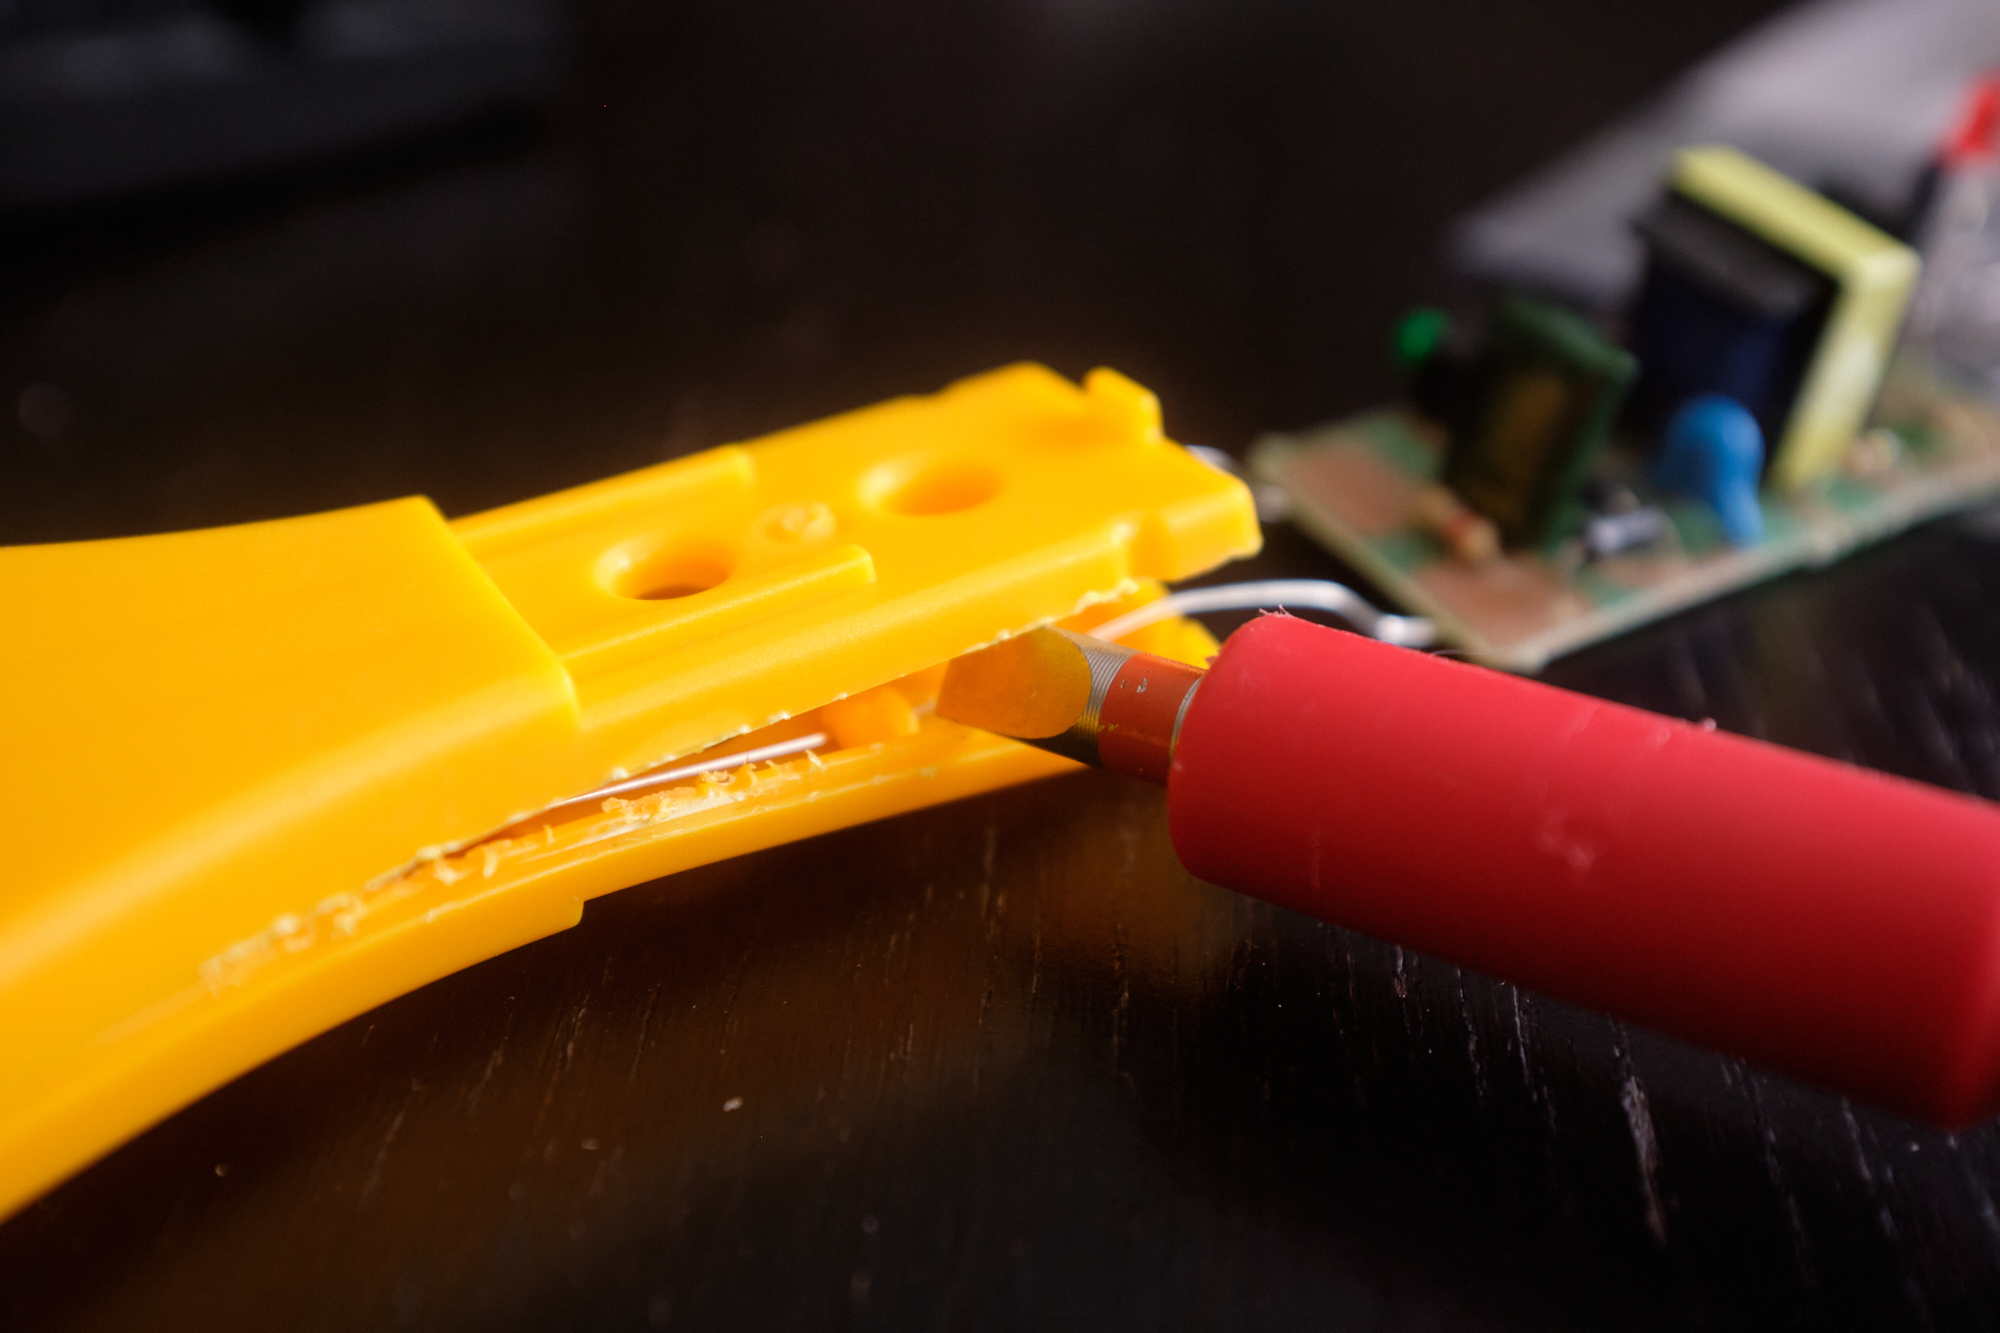
Clip off the handle of the strainer with a cutting tool. If you’re well equipped, you might use a Dremel or other rotary tool. I don’t have one, though, so I cut through the handle with a file and some elbow-grease.
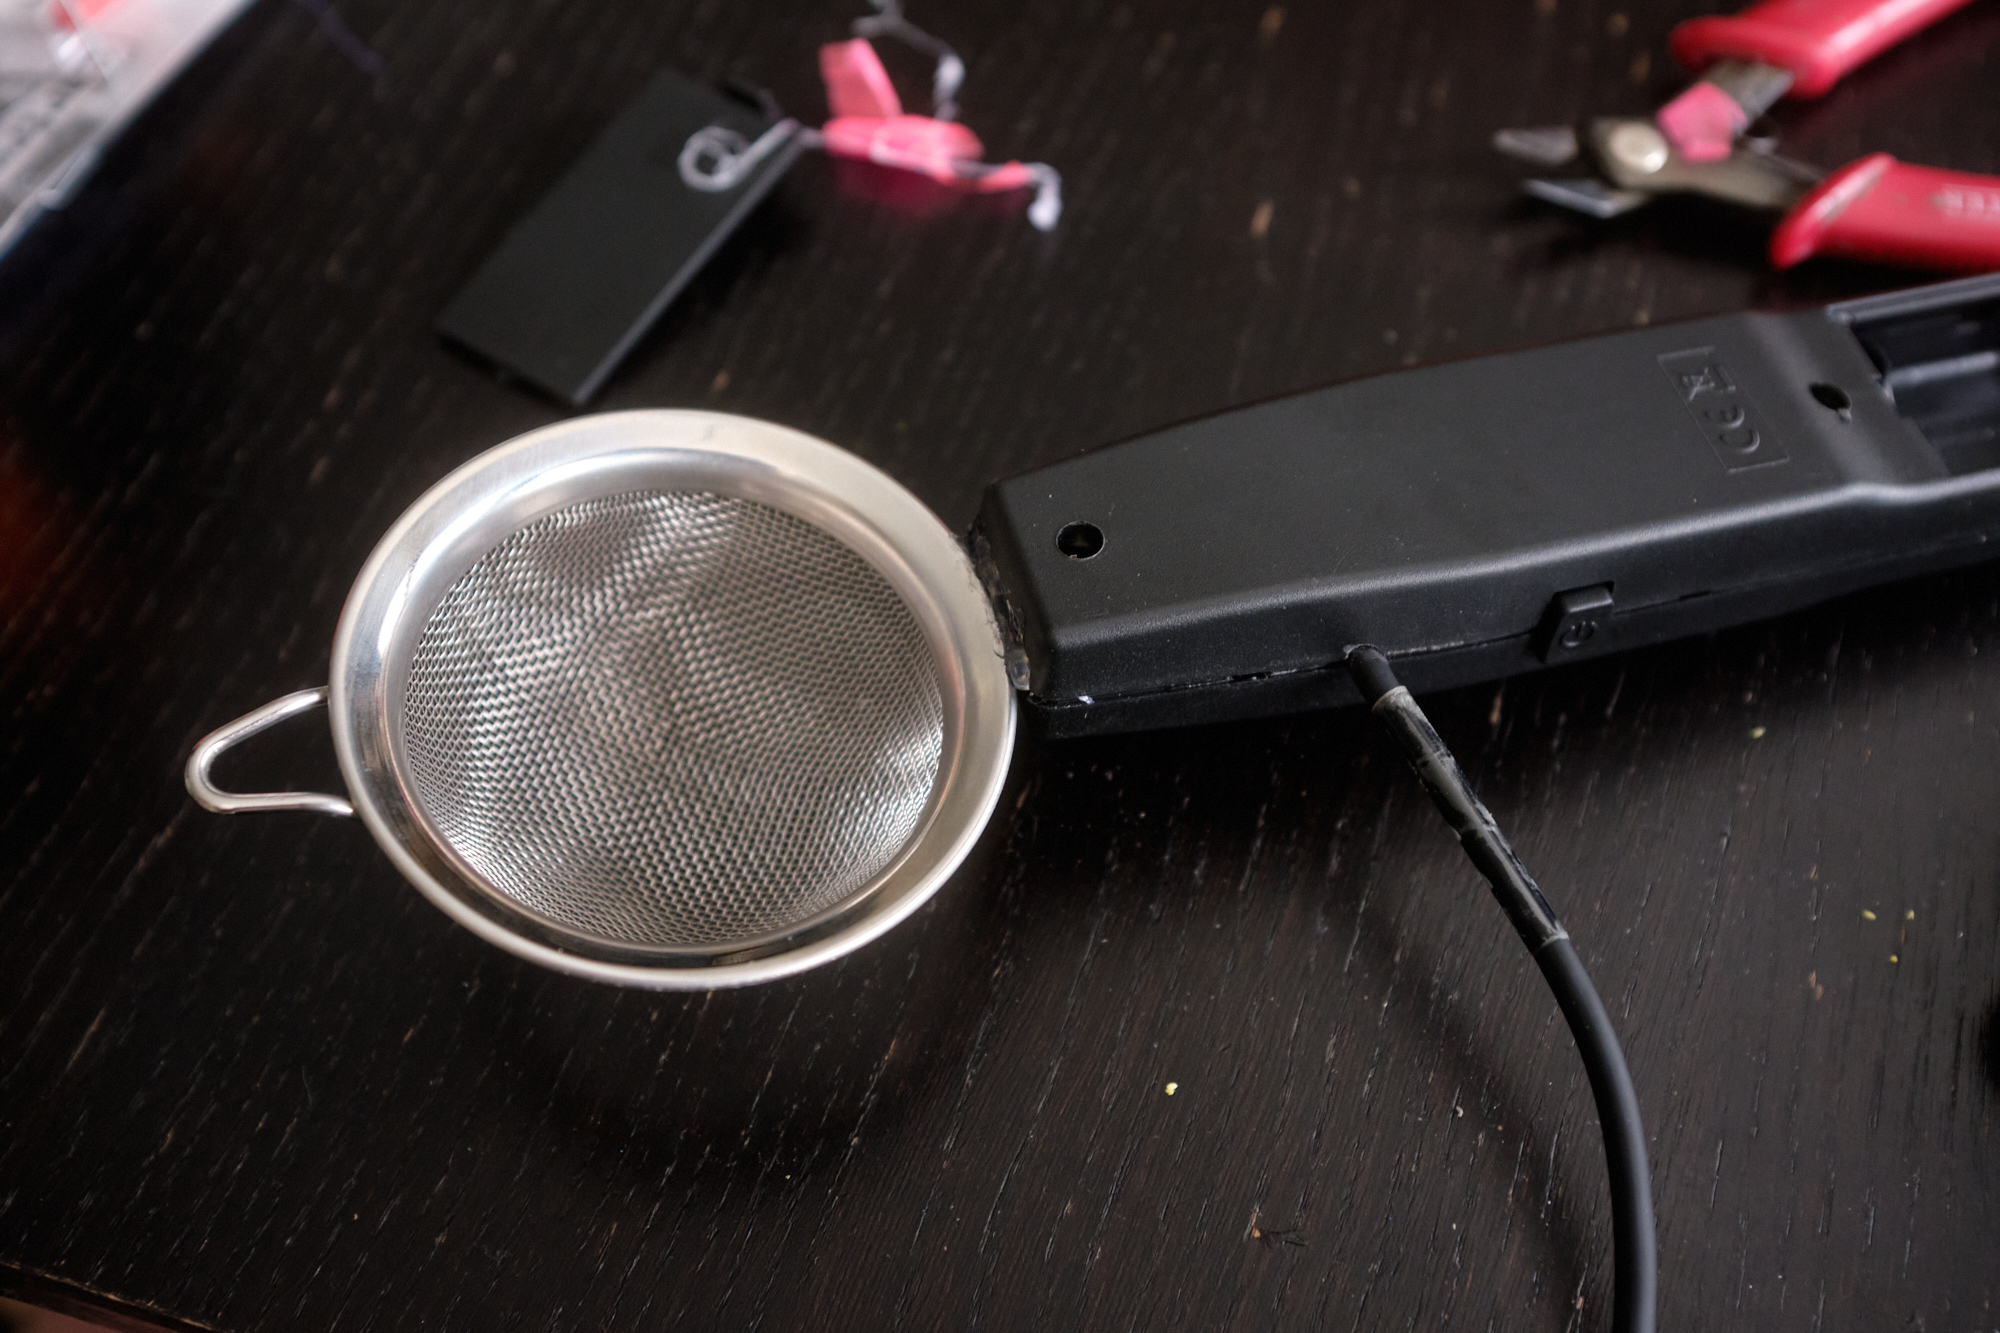
Stick the strainer into the handle with a bit of hot-glue to hold it steady.
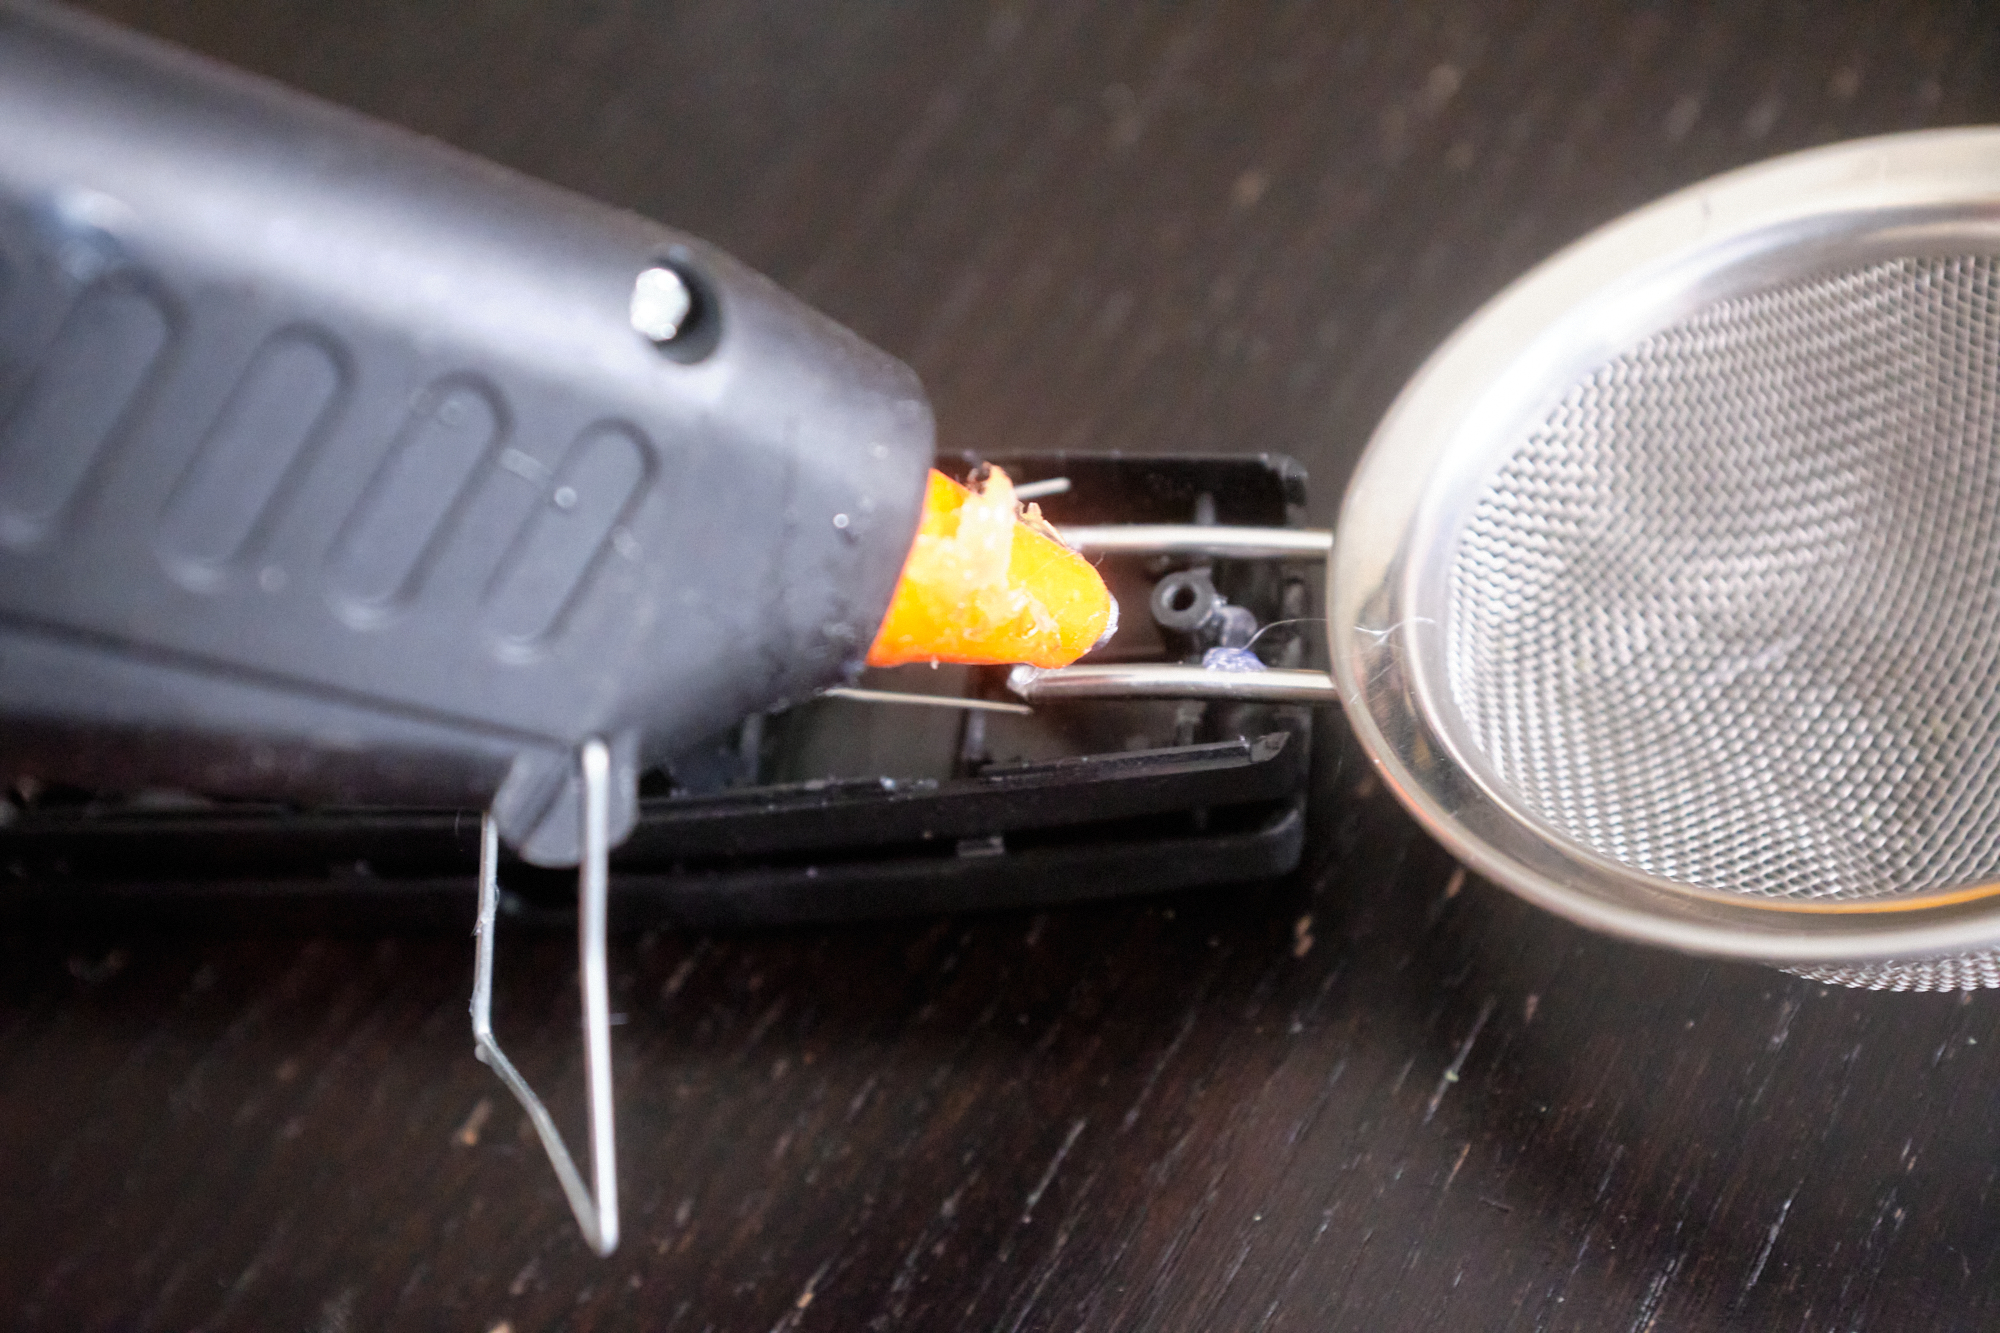
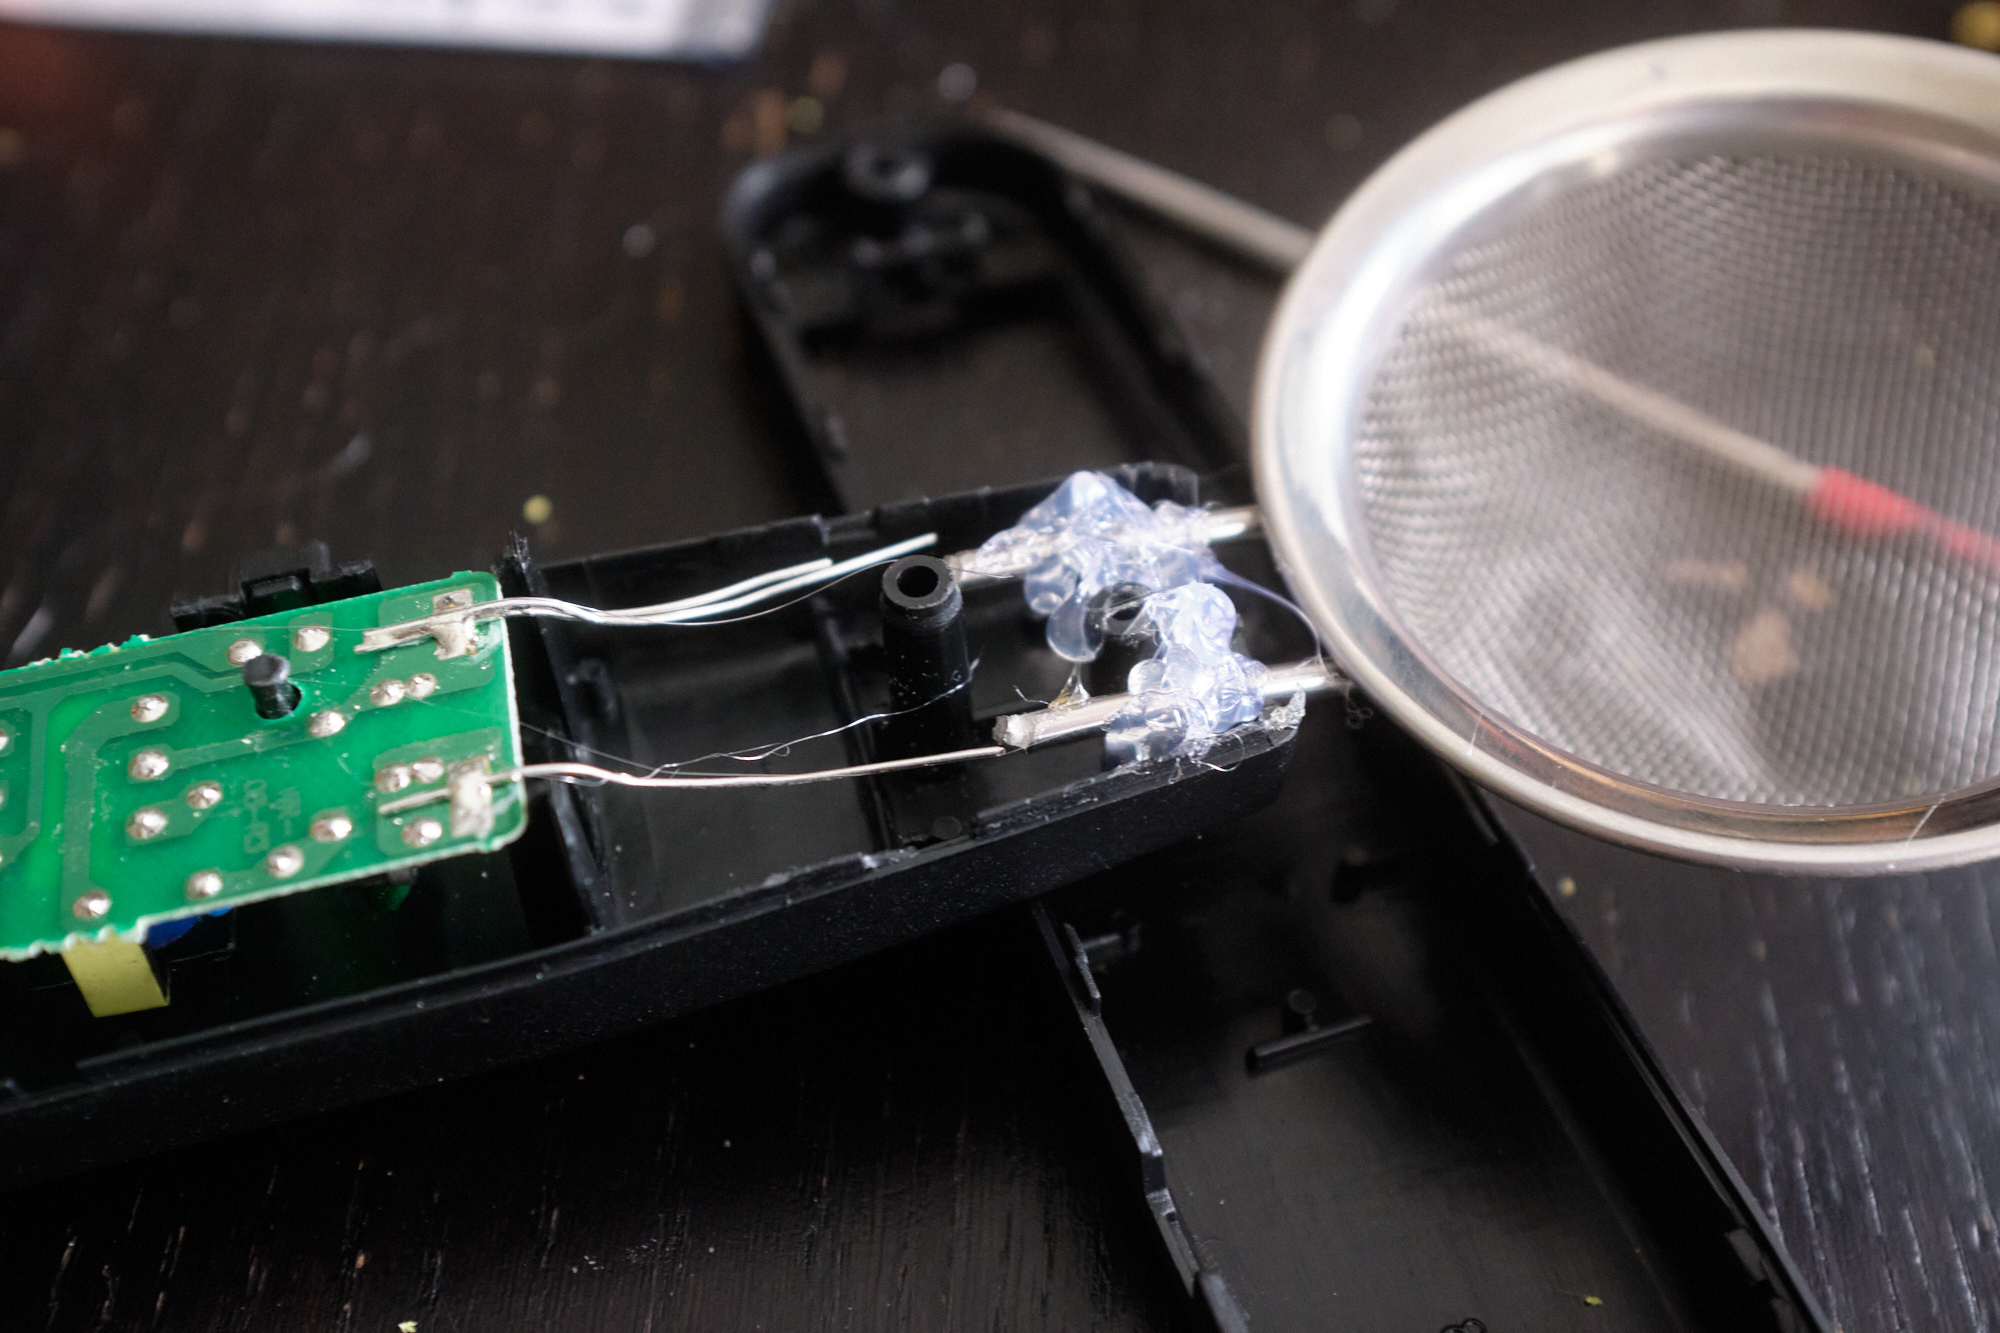
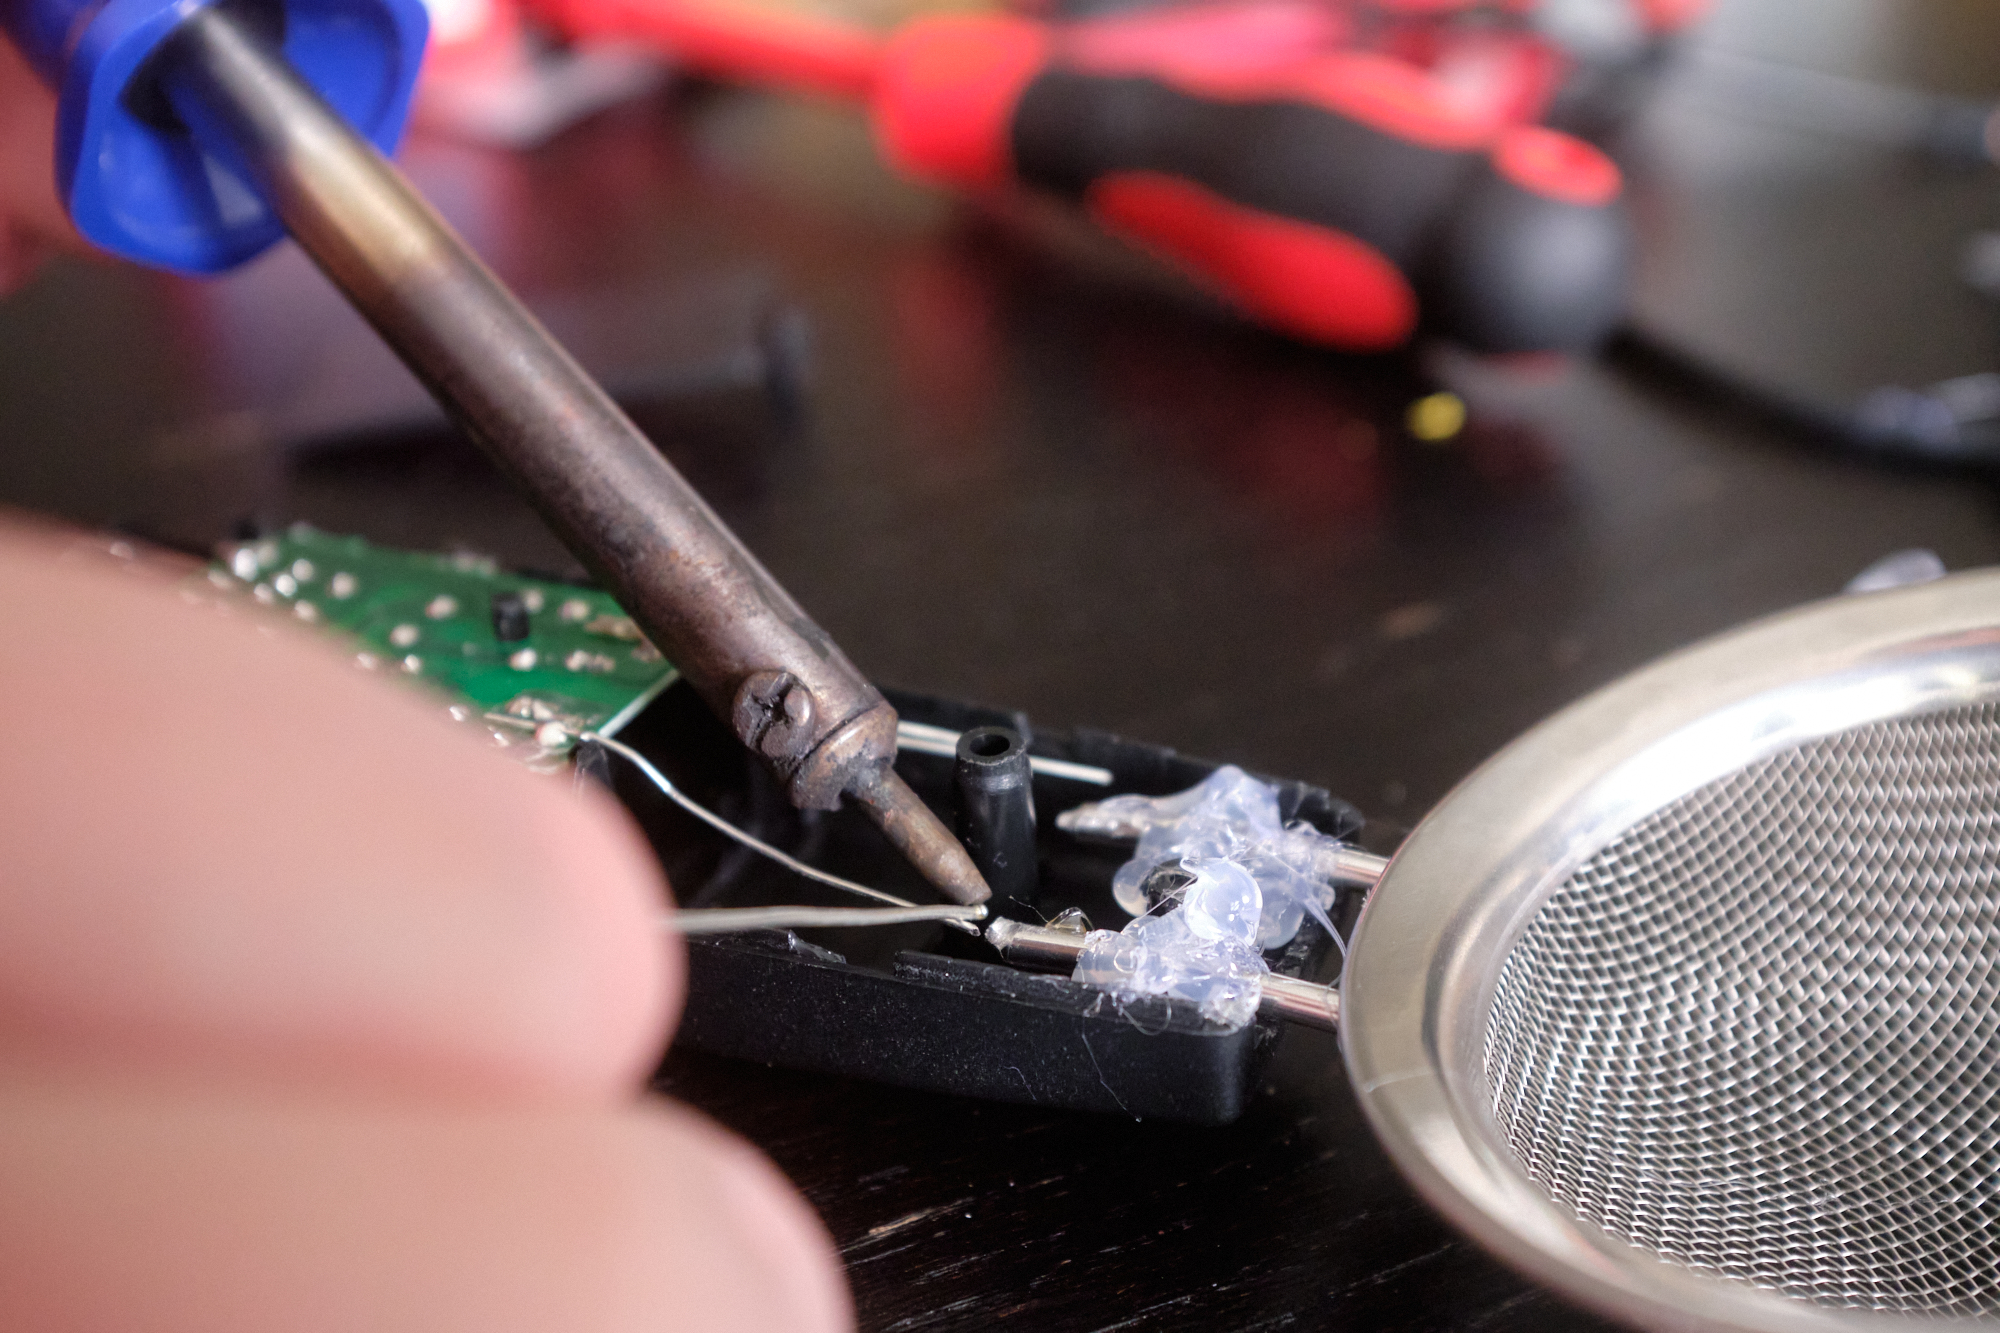
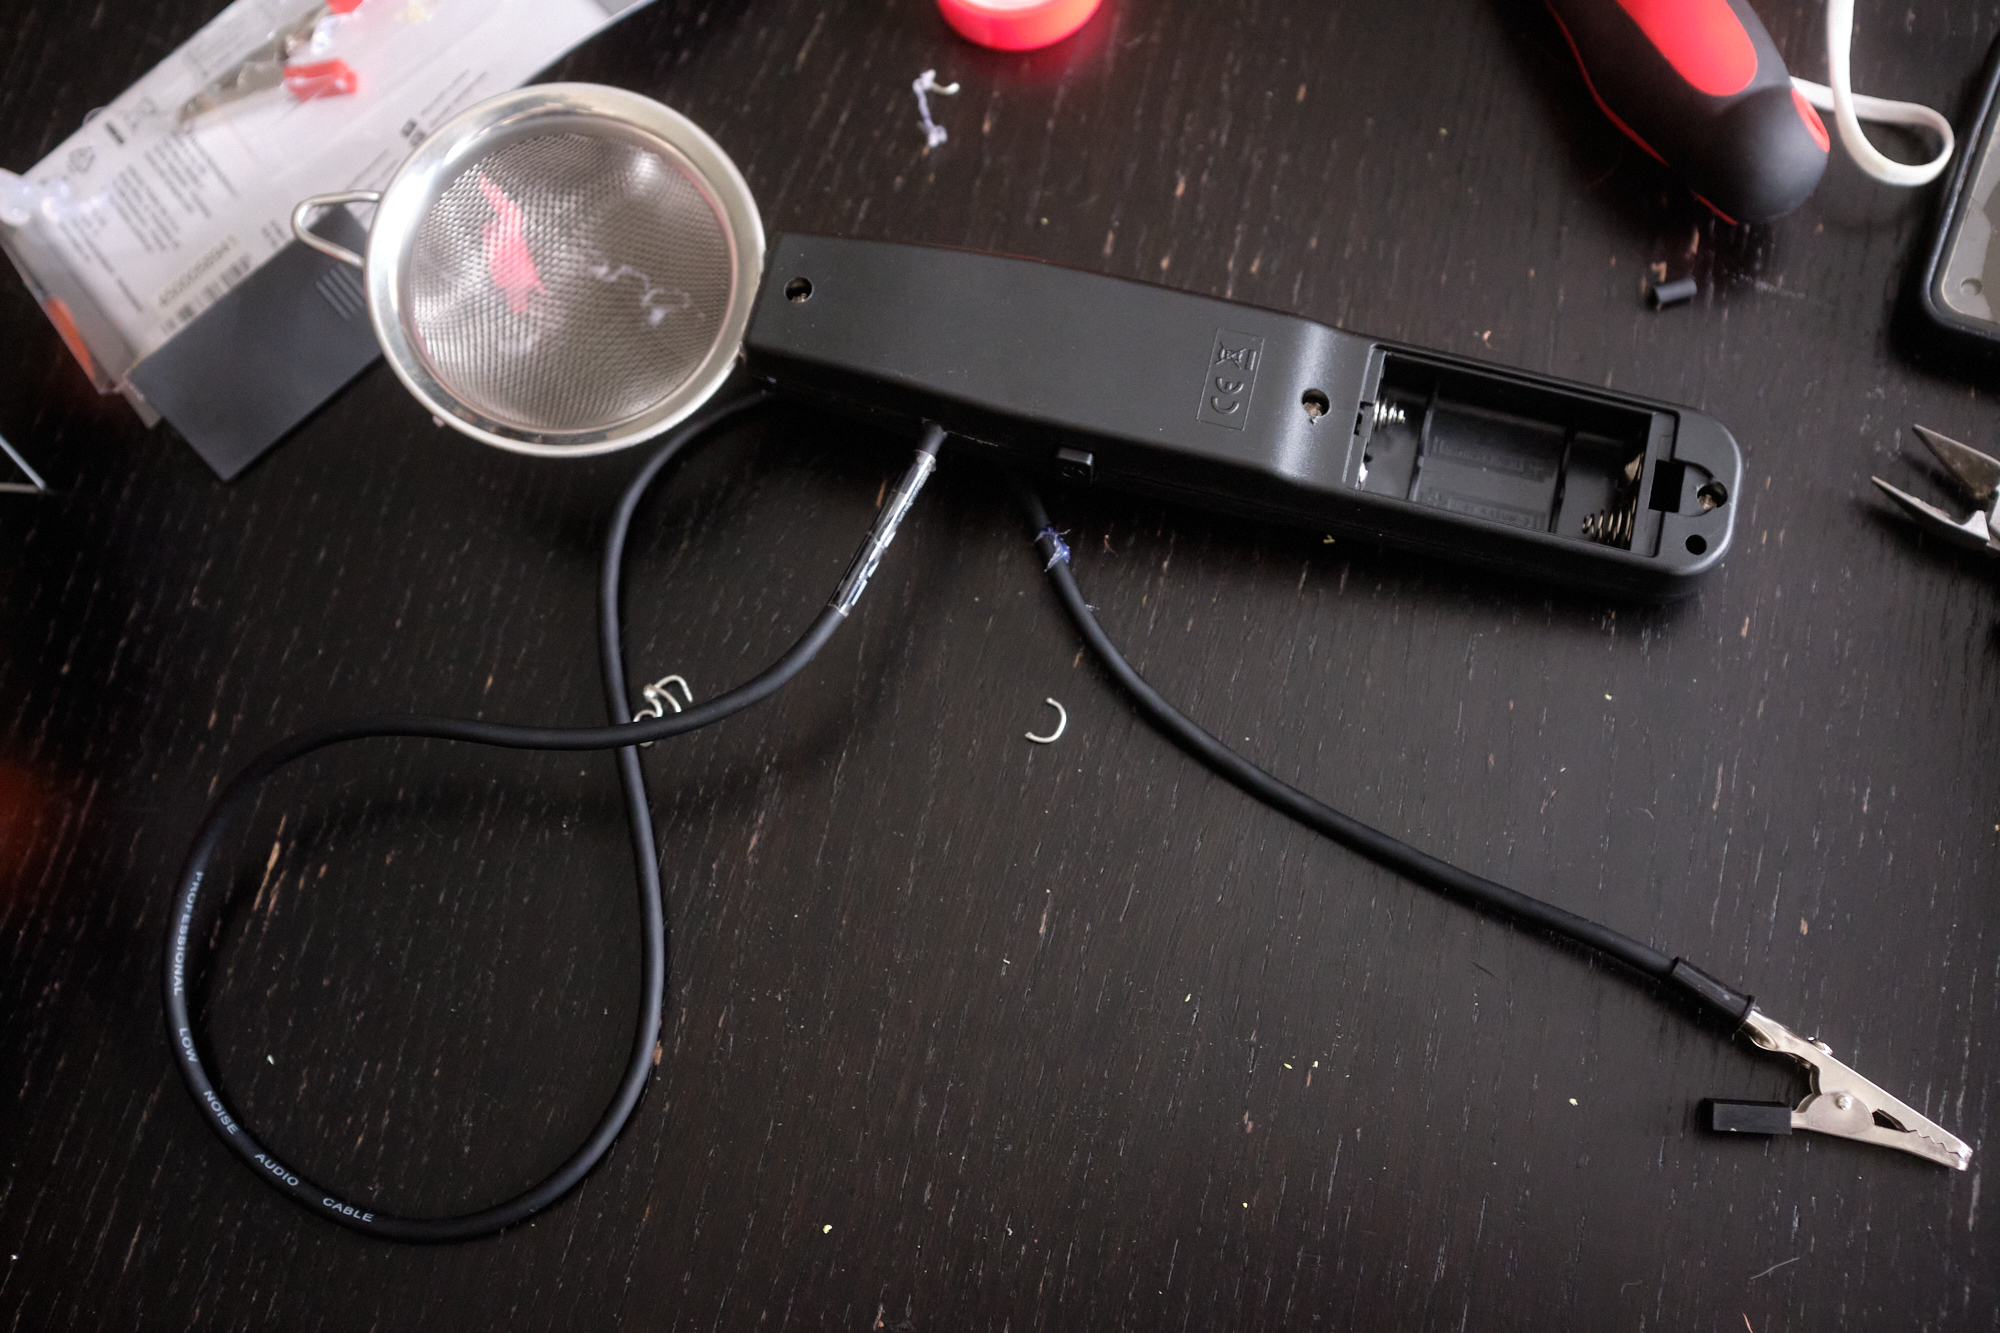
Using the soldering iron, connect one of the wires from the circuit board to the strainer
attach the long wire to the other wire on the circuit-board and isolate it with some superglue, we don’t want the two wires to come into contact with each other, or they’ll short the whole thing out! As a bonus, this lump of hot glue will stop the wire from snagging and getting pulled out of the device.
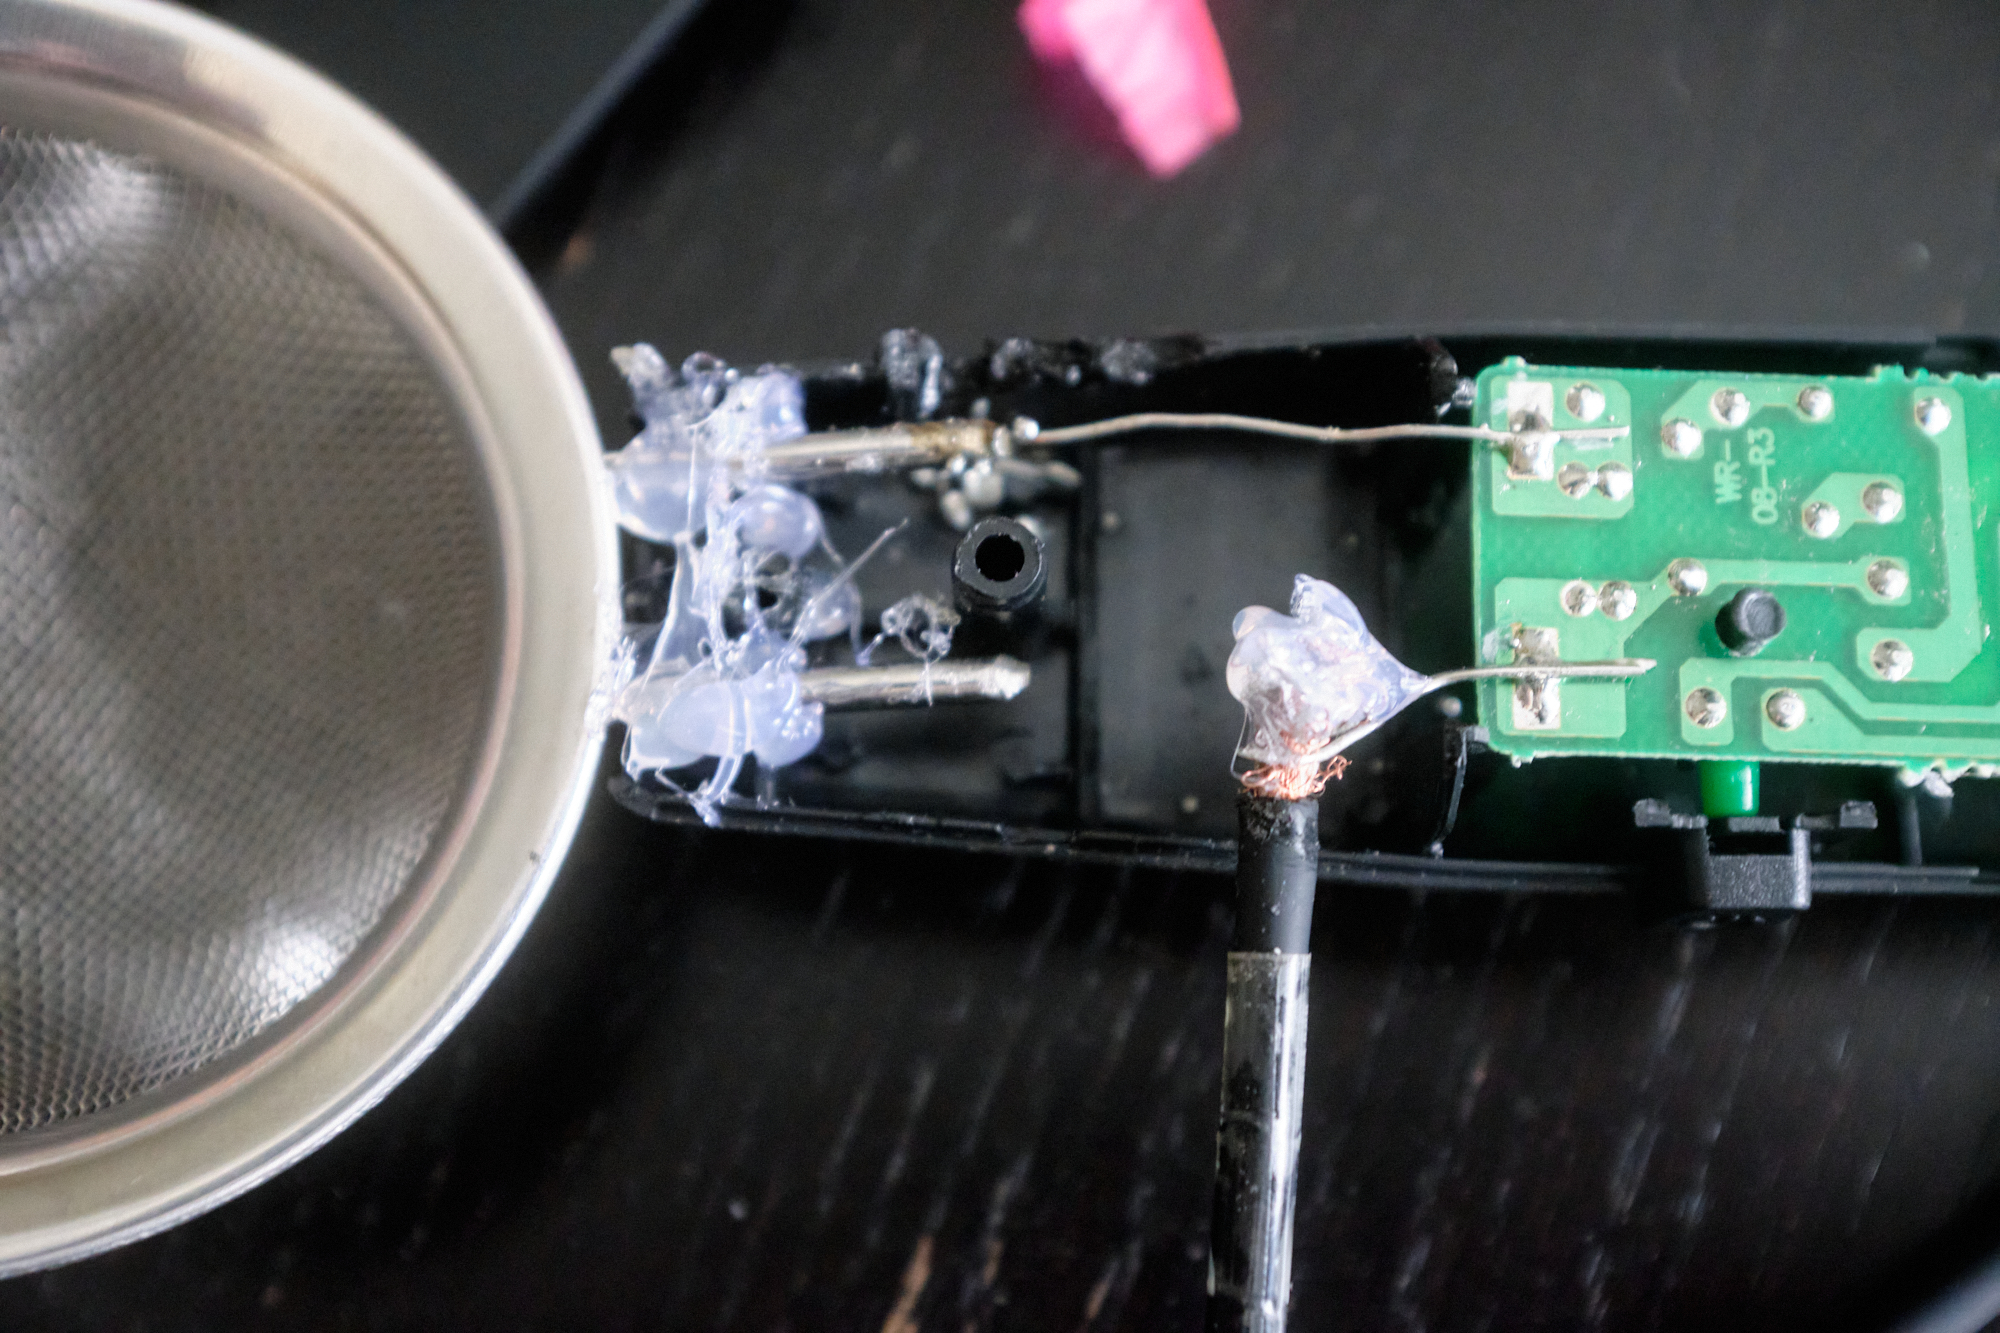
Make a hole in the side of your handle wide enough for the wire to poke through, this will be our grounding cable. Then put it all back together with the screwdriver.
Put a crocodile clip on the end of the grounding cable and crimp with some pliers.
And there you have it! A static grass applicator for very little money and a bit of electrical fiddling around. To plant the grass, put whatever you want to be grassy onto a metal tray and clip the grounding wire to it. Spread PVA glue on the surface, feed the grass into the strainer, turn on the applicator, and give it a little jiggle from about an inch-or-so away. Voila! Grass! By blobbing glue onto some parchment paper and sprinkling with grass, you can also make an enormous amount of cheap, good-looking tufts.
If the grass fibres you’re using are a little heavier than normal, or you want your device to have a little more oomph, you can easily alter it to take a more powerful 9v battery instead of 2 AA cells.
Have any questions or feedback? Drop us a note in the comments below or email us at contact@goonhammer.com.
