
This week we’re taking Kill Team Tactics in a slightly different direction. Instead of focusing on a single faction (which we’ll get back to in the future, I promise), today I’m focusing on the three generic “Decisive” Tactics – that is, Decisive Move, Decisive Shot, and Decisive Strike.
Sometimes overlooked, these tactics are available to be used by any and all teams and can be very powerful when used in a game. The Decisive Tactics allow a player to activate one model before the initiative order would begin. As a form of counter play, the opposing player can also use this tactic, to force a Roll off. The winner of the roll off acts first, then the loser, then initiative order is followed.
Decisive Move (1 CP)
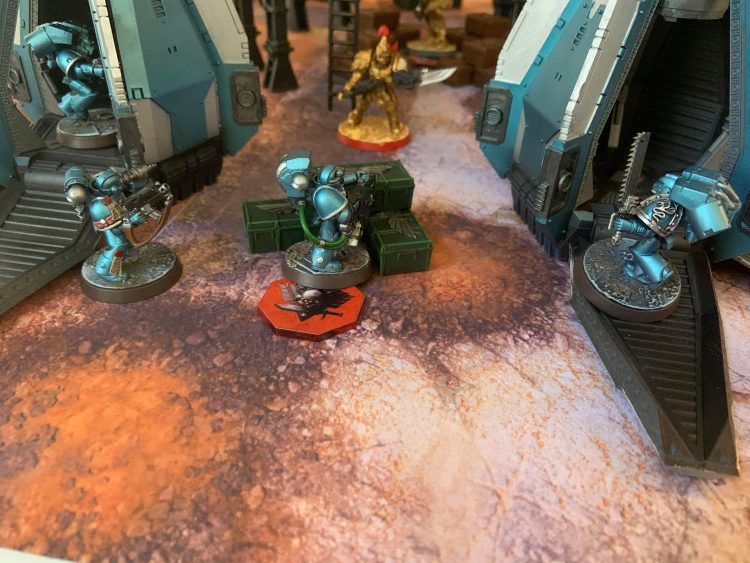
Ever lose the initative roll when your opponent had a punchy model ready to crash into your line? Decisive Move is here for you! How does this work? Well after you declare that you’ll be using the Tactic, your opponent can either try and counter with their own or let it go. Ideally they’ll want to use their CP for something else later and they let it go. At this point, your best move is to pick your least valuable model near said enemy punchy model, and charge it right into the punchy model. “But Shane,” you ask, “Won’t this model more than likely die?” Yes, but it is preventing the enemy punchy model from getting to your more important models, and doing so more definitively than just moving backward might.
Let’s look at the other scenario, where your opponent decides to counter your Tactic by using their own Decisive Move. if you win the roll off, you can continue like above. If you lose the roll off, this forces your opponent to either declare the charge immediately or concede the benefit of their own Decisive Move. At this point, you’ll need to figure out the best counter play for that, and you might not have an ideal move ready, so think about what your counter move will be beforehand if your opponent is in a position to block you.
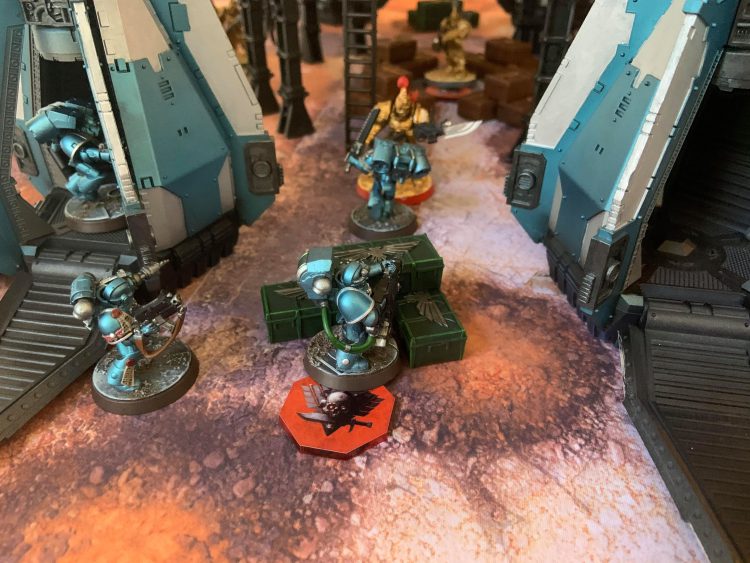
Now lets look at this in the opposite scenario, where you are the player with the punchy model ready to crash into your opponent’s line, but you’ve lost the Initiative roll. This one is a no brainer – Decisive Move will allow you to declare your charge before your opponent can move away.
Ok, one last thing to talk about Decisive Move before we move on: Move blocking. This is going to be most widely applicable in Arena where choke points are everywhere, but also works in open board scenarios. Say your opponent needs to move out onto an objective, or needs to move in order to use a firing lane. You can use decisive move and block off an area, preventing your opponent from moving unless they charge your model, and potentially stopping them from moving past even then.

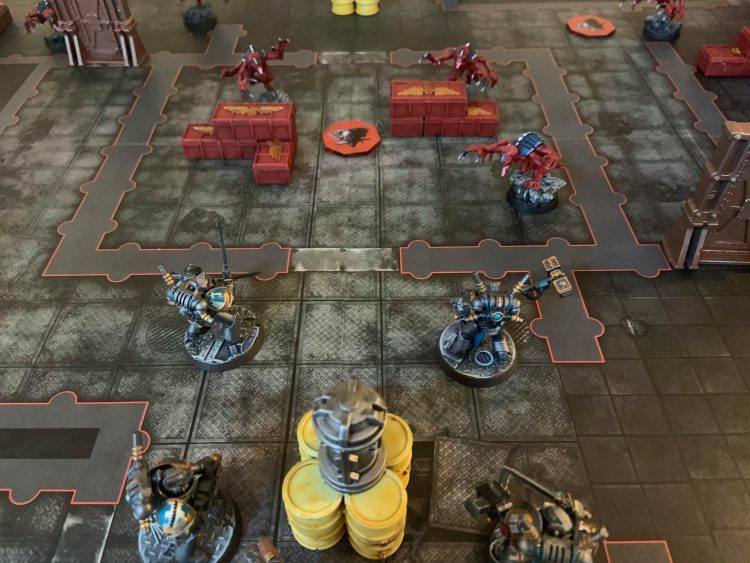
Decisive Shot (2 CP)
Does your opponent have a readied model staring down their barrel at somewhere you really need to be, like say an objective? With Decisive Shot, your shooty model could have a chance at greatness! Assuming that you have a shooty model that is reasonably capable of taking out said readied enemy model, you move out onto the objective, and when the shooting phase rolls around, pop the Decisive Shot Tactic, allowing you to take the first shot and prevent harm to your team. As we discussed with the Decisive Move tactic earlier your opponent can attempt to counter you here by using their own Decisive Shot tactic, but with the Tactic costing 2CP your opponent is much less likely to attempt to counter – it’s a lot to spend on a 50/50 chance to shoot first and again, they’ll likely want to use other Tactics that they have access to.

Let’s play this scenario out to look at the outcomes: Depending on the models and guns involved in this shoot-out you’ve created you could:
- Take out the enemy readied model, removing them as a threat and protecting your Kill Team,
- Injure them without killing them, giving them a flesh wound (making it harder for them to take you out in return, unless their Transhuman Physiology allows them to ignore the effects of a flesh wound), or
- Totally whiff and die for your efforts.
This naturally makes using Decisive Shot as a way to overcome high-risk positioning a much more risky play than Decisive Move, but this will depend heavily on the models involved. And while the CP cost is higher than Decisive Move, the upside to getting off a first shot is much higher. One of the keys will be to choose shooters and targets where your chances of achieving 1 or 2 are much higher than 3.
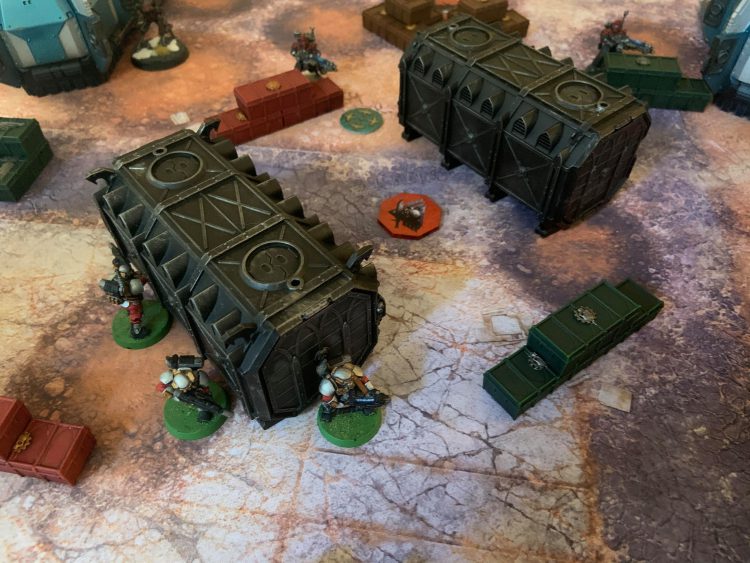
Decisive Strike (2 CP)
You lost the initative roll and your opponents punchy model has just charged your punchy model; you have to just take it on the chin and hope you live to swing back right? Wrong. Fire off Decisive Strike for 2 CP and knock your opponent’s model into the next century. By the time you make it to the Fight phase, your opponent has more than likely already used a Tactic or two in the previous phases, so there is a good chance that your opponent doesn’t have the 2CP required to counter your Decisive Strike with one of their own and since this phase is so deep in the turn order it makes it easier to predict if your opponent will have the CP remaining to do so.
There’s not really a ton of nuance here – use Decisive Strike when your chances of taking out an enemy and reducing the incoming damage is highest.
Wrapping Up
Using these Tactics can greatly influence the outcome of your games, so use them wisely. They’re a powerful tool in your arsenal, but you can only use them effectively if you’re actively thinking about them and looking for opportunities when it makes sense to use them. Hopefully we’ve given you a good idea of how to do that, and as always if you have any questions or feedback, drop us a note in the comments below or email us at contact@goonhammer.com.
