
Welcome once again elf fans – a relatively quick one this week because last week was a bit wild and so far my Warhammer time this week has been taken up dealing with an FAQ immediately breaking my article and getting the base coats onto a new model for next week. However, the weekend just past I went to a very successfully organised first time major, Beachhead Brawl in Bournemouth, and while the city itself seems to hate me on a deeply personal level, the event organisers did a great job and it seems only fair to write about it.
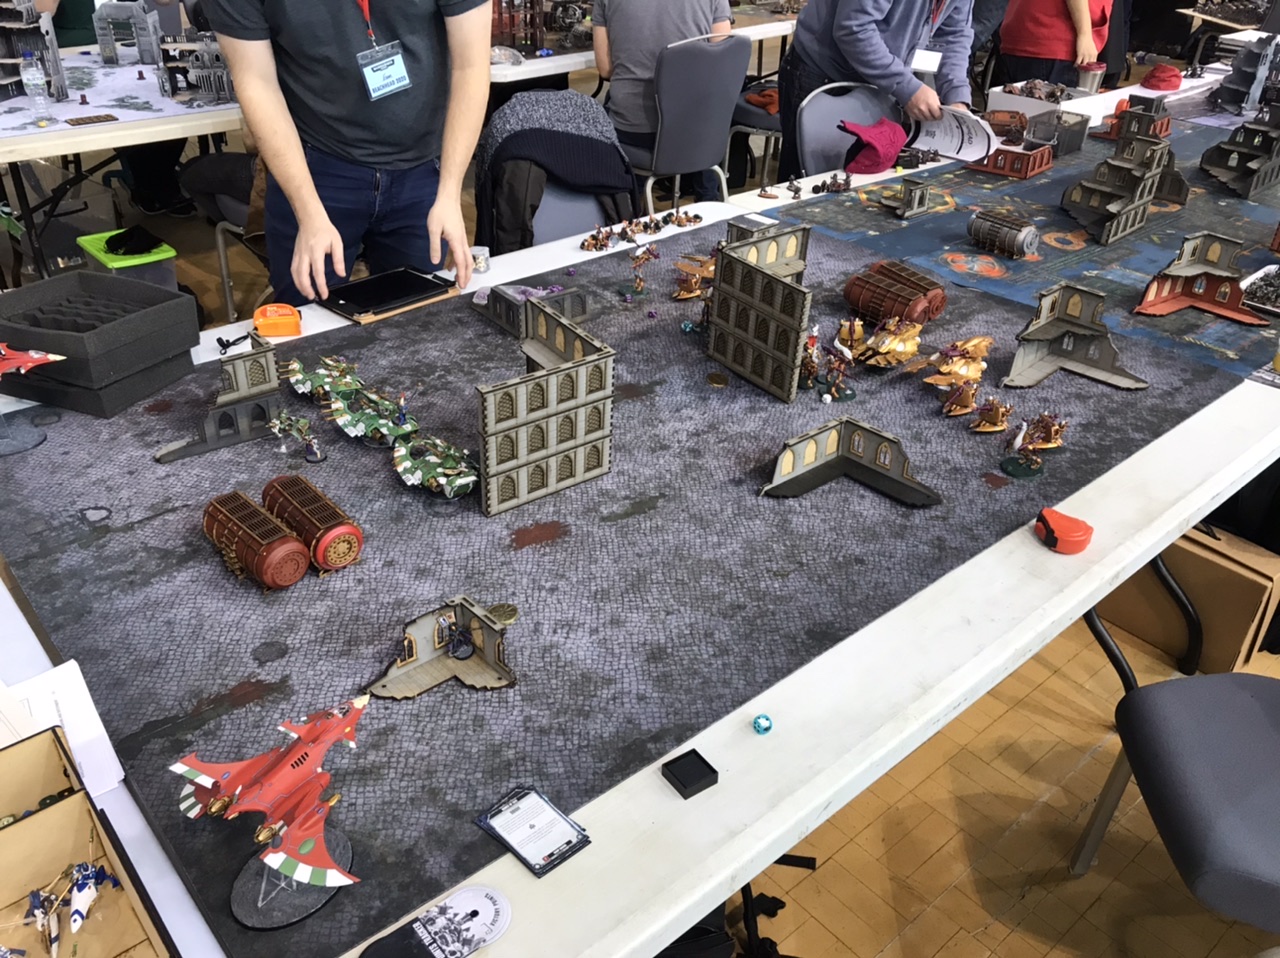
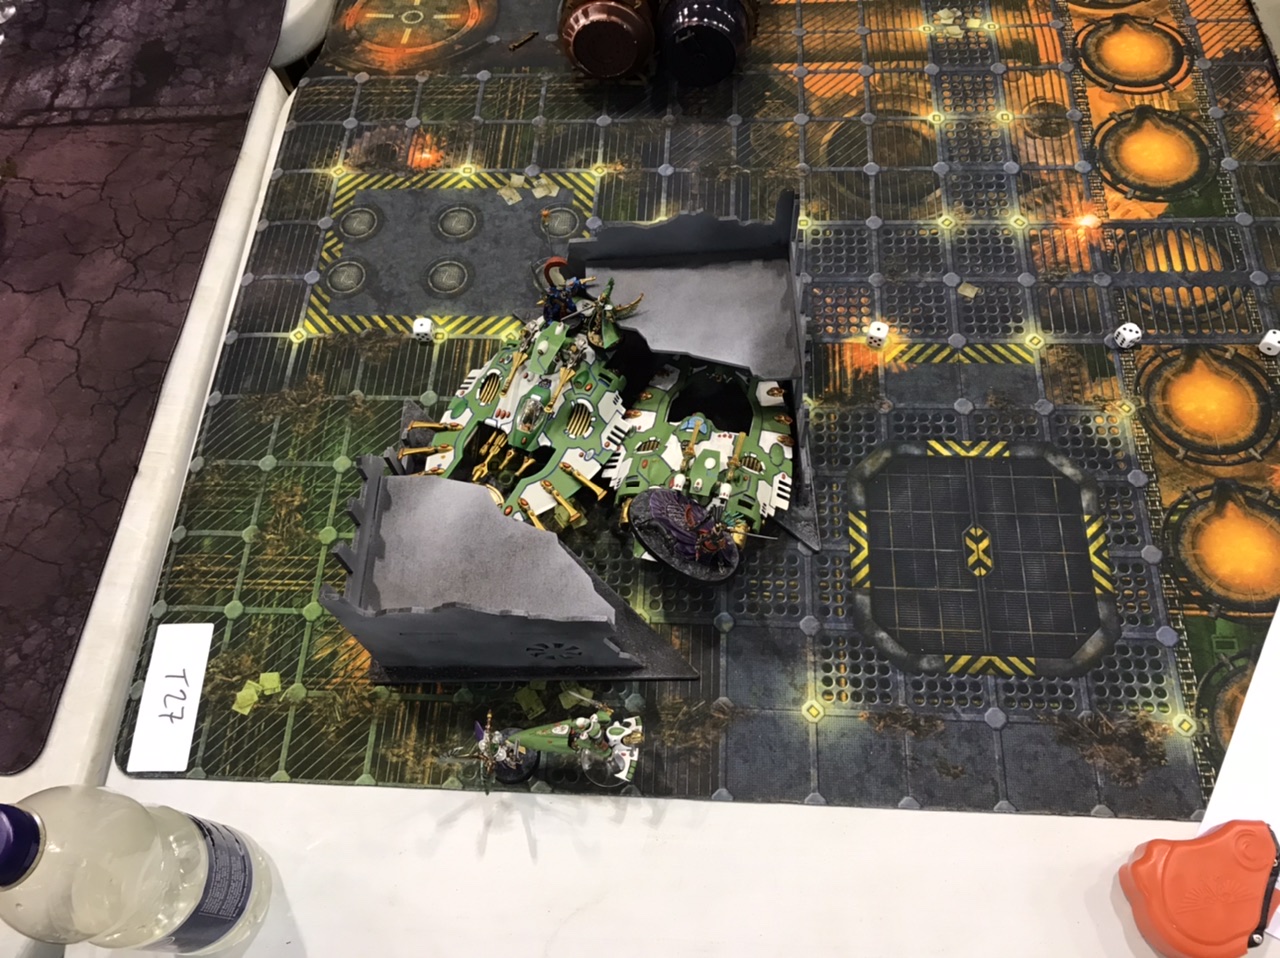
First up – flat pack L blocks!
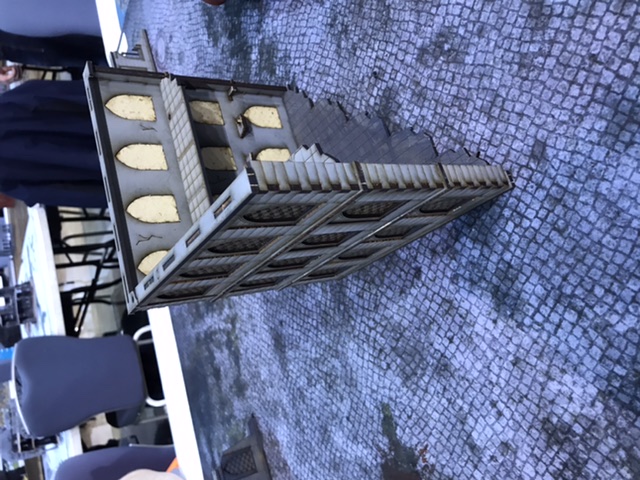
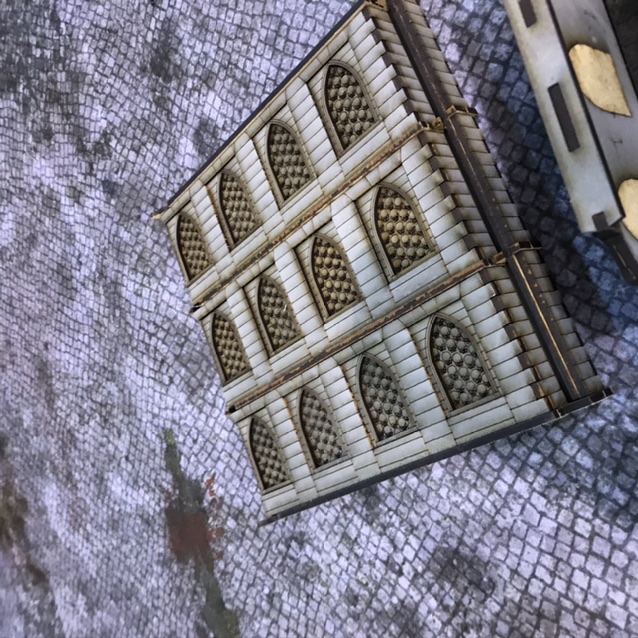
So those are pretty cool and all (apparently made by https://www.madbobminiatures.co.uk/) and so was the event – 100 players, smoothly organised and well judged. Always great to see and, given the success, hopefully good to have another regular major locked into the UK calendar.
Smooth logistics are one thing though – how did the games play out. Let’s find out!
List & Tactics
Army List - Click to expand+++++++++++++++++++++++++++++++++++++++++++++++++++++++++++++++++++++++++
+ PLAYER: James Grover
+ REPORTED ARMY FACTION: Aeldari
+ TOTAL COMMAND POINTS: 14
+ TOTAL ARMY POINTS: 2000
+ POWER LEVEL: 115
+ ARMY FACTIONS USED: Aeldari, Asuryani, Drukhari, Alaitoc, Kabal of the Black Heart
+ TOTAL REINFORCEMENT POINTS: 0
+++++++++++++++++++++++++++++++++++++++++++++++++++++++++++++++++++++++++
== Battalion Detachment == Asuryani, Alaitoc [ 83PL, 1445pts] 5 CP
HQ: Farseer (110), Witchblade (0) [6PL] [110pts]
HQ: Asurmen (150) [9PL] [150pts]
TR: 5 Dire Avengers (40), Exarch (0), 5 Avenger Shuriken catapults (15), Exarch Additional Avenger Shuriken Catapult (3), Exarch Power Bladestorm [3PL] [58pts]
TR: 5 Dire Avengers (40), Exarch (0), 5 Avenger Shuriken catapults (15), Exarch Additional Avenger Shuriken Catapult (3), Exarch Power Bladestorm [3PL] [58pts]
TR: 5 Dire Avengers (40), Exarch (0), 5 Avenger Shuriken catapults (15), Exarch Additional Avenger Shuriken Catapult (3), Exarch Power Bladestorm [3PL] [58pts]
FA: 8 Shining Spears (160), 8 Twin Shuriken Catapults (16), 7 Laser Lances (56), Star lance (10), Exarch Power Skilled Rider [14PL] [242pts]
DT: Wave Serpent (120), Twin Shuriken Cannon (17), Twin Shuriken Catapult (2) [9PL] [139pts]
DT: Wave Serpent (120), Twin Shuriken Cannon (17), Twin Shuriken Catapult (2) [9PL] [139pts]
DT: Wave Serpent (120), Twin Shuriken Cannon (17), Twin Shuriken Catapult (2) [9PL] [139pts]
FL: Crimson Hunter Exarch (150), 2 Starcannons (26), Exarch Power Hawkeye [9PL] [176pts]
FL: Crimson Hunter Exarch (150), 2 Starcannons (26), Exarch Power Hawkeye [9PL] [176pts]
== Battalion Detachment == Asuryani, Alaitoc [ 18PL, 326pts] 5 CP
HQ: Warlock Skyrunner (60), Twin Shuriken Catapult (2), Witchblade (0) [4PL] [62pts]
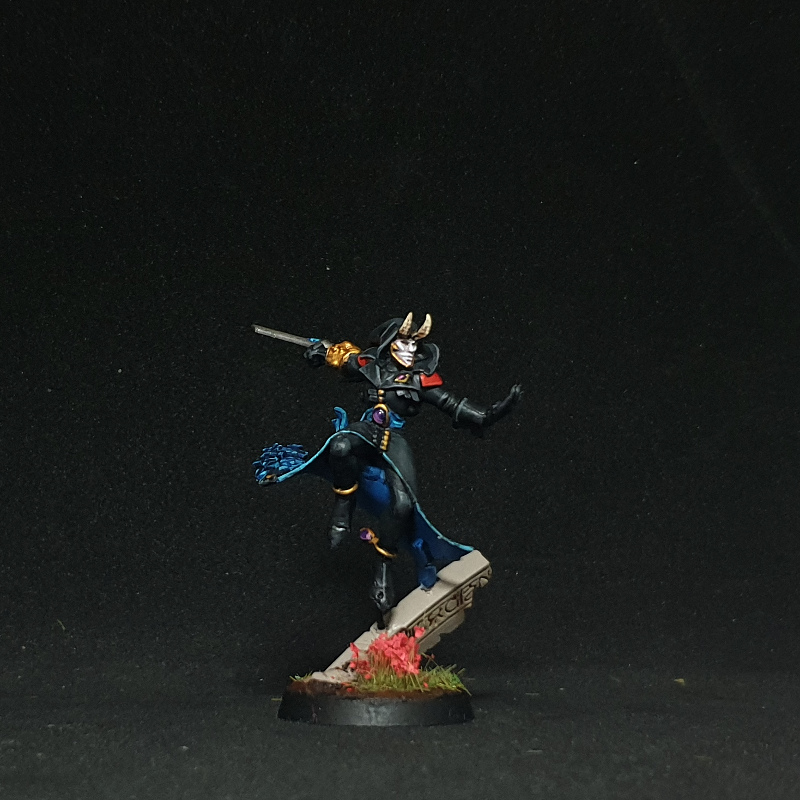
HQ: Autarch with Swooping Hawk Wings (80), Power Sword (4), Fusion Pistol (7), Forceshield (2), Warlord [5PL] [93pts]
TR: 5 Dire Avengers (40), Exarch (0), 5 Avenger Shuriken catapults (15), Exarch Additional Avenger Shuriken Catapult (3), Exarch Power Bladestorm [3PL] [58pts]
TR: 5 Dire Avengers (40), Exarch (0), 5 Avenger Shuriken catapults (15), Exarch Additional Avenger Shuriken Catapult (3), Exarch Power Bladestorm [3PL] [58pts]
TR: 5 Dire Avengers (40), Exarch (0), 5 Avenger Shuriken catapults (15), Exarch Power Bladestorm [3PL] [55pts]
== Supreme Command Detachment == Drukhari, Kabal of the Black Heart [ 14PL, 229pts] 1 CP
HQ: Archon (55), Venom Blade (2), Splinter Pistol (0) [4PL] [57pts]
HQ: Archon (55), Venom Blade (2), Splinter Pistol (0) [4PL] [57pts]
HQ: Yvraine (115) [6PL] [115pts]
My Vegas list didn’t do quite as well as I’d hoped, and while I got some good use out of the Harlequins it felt like they weren’t quite pulling their weight. This list was an attempt to take some of what felt like it could work out of that, while bringing in some elements that I’ve had success with in the past in the planes and access to Vect (the judges ruled “yes” on the oft contentious question of whether a Black Heart detachment with Yvraine keeps it). The Archons fill the role the Death Jesters were playing in the LVO list of sitting on backline objectives, while the Crimson Hunters shore up the ability to actually get a kill turn one. In theory, they can also hover near Asurmen to get a 5++ if you’re going second, which can be very relevant against highly accurate AP-4 lascannons.
Effectively it should play similarly to how the LVO list was envisioned, but is a little heavier on the firepower and a little harder to clear out with anti-infantry firepower alone.
Round 1 – Craftworlds
The Competition
Army List - Click to expand Expert Crafters/Masterful Shots with: Battalion Farseer 2×5 Dire Avengers 5 Striking Scorpions 1 D-Cannon Wave Serpent Spearhead Wraithseer w/d-Cannon 3x Wraithlord w/Bright Lance/Missile Launcher Spearhead Spiritseer 2x Night Spinner
Warlock
5 Rangers
10 Wraithblades w/axes
5 Vibro Cannons
3x Vibro Cannon
Pre-Game Thoughts
Potentially a tough game here, but some elements of his list should help me compared to other versions of this. He’s a bit lower on firepower, and if I can line up a good turn of Doom shooting against the Wraithblades I can make a big hole in them, maxing Gangbusters on the way. The Crimson Hunters also immediately look pretty good – being able to go to -3 to hit actually matters a lot against this list even with all the re-rolls it has, and also makes a plane completely unhittable by a moving Wraithlord that’s out of range.
My plan here, assuming I got to go first, (which I did) was to push out an initial bubble and use Runes of Witnessing plus the Autarch bubble to hopefully let the planes pick up a couple of support weapons each. That dips his ability to kill the planes down substantially, as they’re the biggest threat to them – they’re long ranged, and aren’t going to need to move. Then I want to pick up the Wraithblades as soon as possible, and push the Spears through into his ranks to cause merry mayhem. If I can avoid getting them murdered in melee they’ll be extremely tough for him to deal with.
My Secondaries
- Gangbusters
- Big Game Hunter
- Old School
Their Secondaries
- Big Game Hunter
- Engineers (Dire Avengers/Wave Serpent)
- Headhunter
The Mission
We played ITC mission 1 with Hammer and Anvil deployment.

The Game
Early on I thought I had this locked up for sure – I started out strong by picking up some support weapons as planned (though he used Celestial Shield to save one) and his turn was absolutely abysmal, failing a bunch of power casts and missing the charge on his Wraithblades (with me Vecting the re-roll).
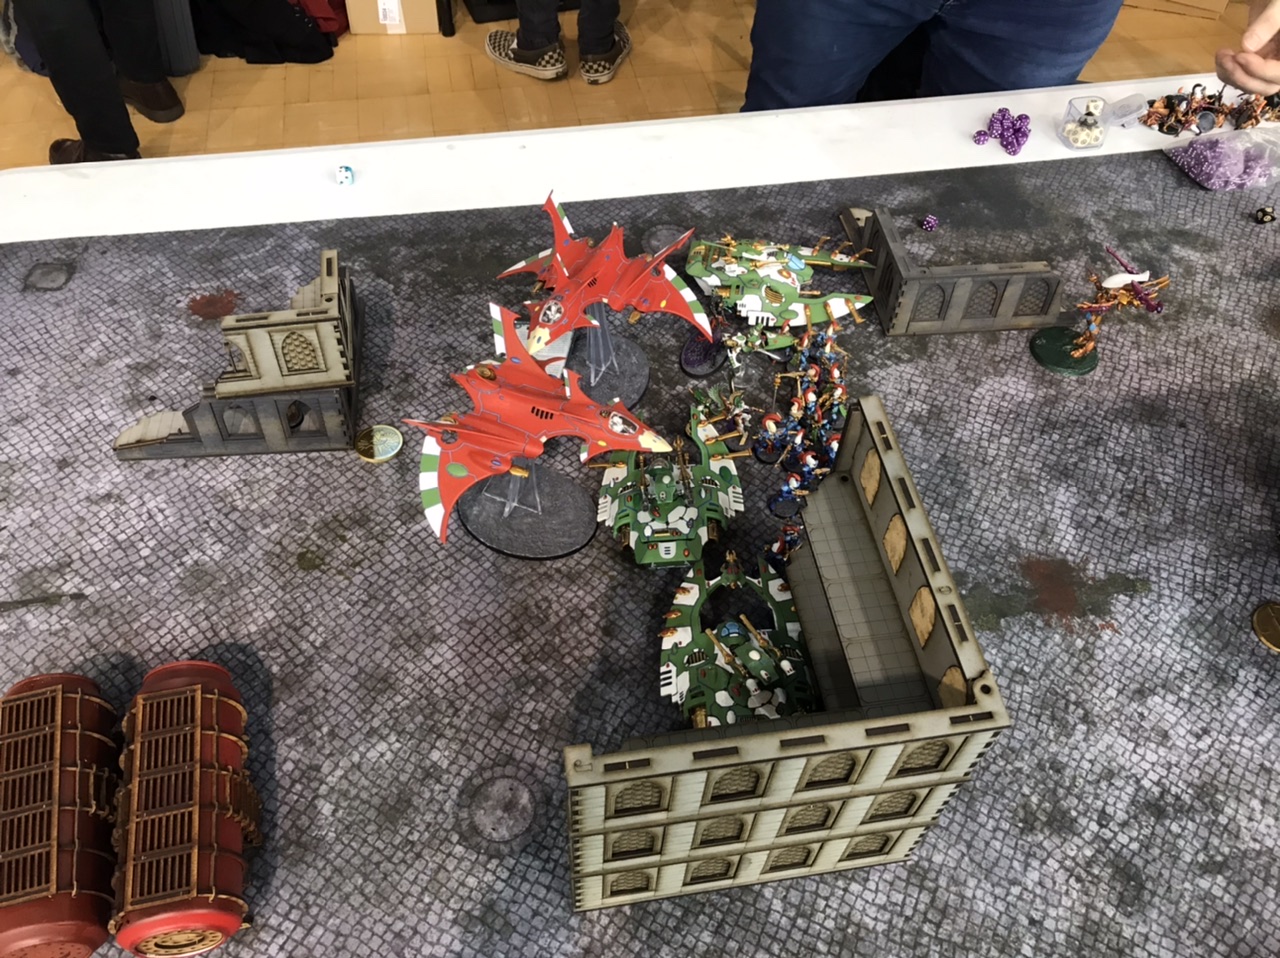
However, the pendulum quickly swung the other way and for the rest of this game I just couldn’t quite catch a break. He’d managed to wedge a Wraithlord into a position that made bringing my Spears in to engage the Wraithblades awkward, and while I landed doom on them I didn’t quite kill as many as I needed, forcing me to pop some serpent shields to stop them overwhelming me.
That kept me decently on the front foot, but the rest of the game was something of a litany of things going just wrong enough to screw me over. First up, I brought my spears in, put all the buffs up and he tagged Executioner on them. He rolled 3 wounds, so I put them onto the Exarch hoping that Fortune would stop one and sadly it didn’t, and with some other good mortal roles the squad took a big hit. I also missed some crucial Doom casts, my Crimson Hunters failed to pick up trivial targets, and to cap it all off towards the end, having cunningly put a single Dire Avenger back into a Wave Serpent to ensure I could take a turn of bonus, he killed the tank with his last available shot and I rolled a 1 for the passenger. Overall, having started extremely strong I just ran out of steam, and ended up losing.
Results
25-30
0-1
Not an ideal start.
Round 2 – Orks
The Competition
Army List - Click to expand Evil Sunz Battalion Warboss 4×30 boyz Bad Moons Battalion Weirdboy 2×10 Grots 15 Lootas Deathskulls Battalion (Dread Waagh) 3x Big Mek w/ Shokk Attack Gun 3x 10 Grots Mad Dok Grotsnik
Big Mek w/ KFF
Big Mek w/ KFF
Weirdboy
15 Grots
Pre-Game Thoughts
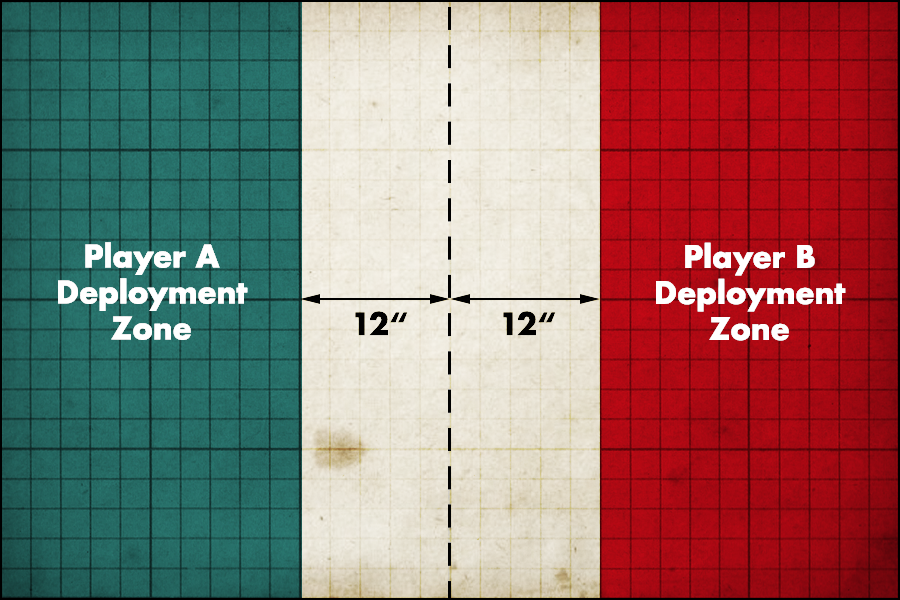
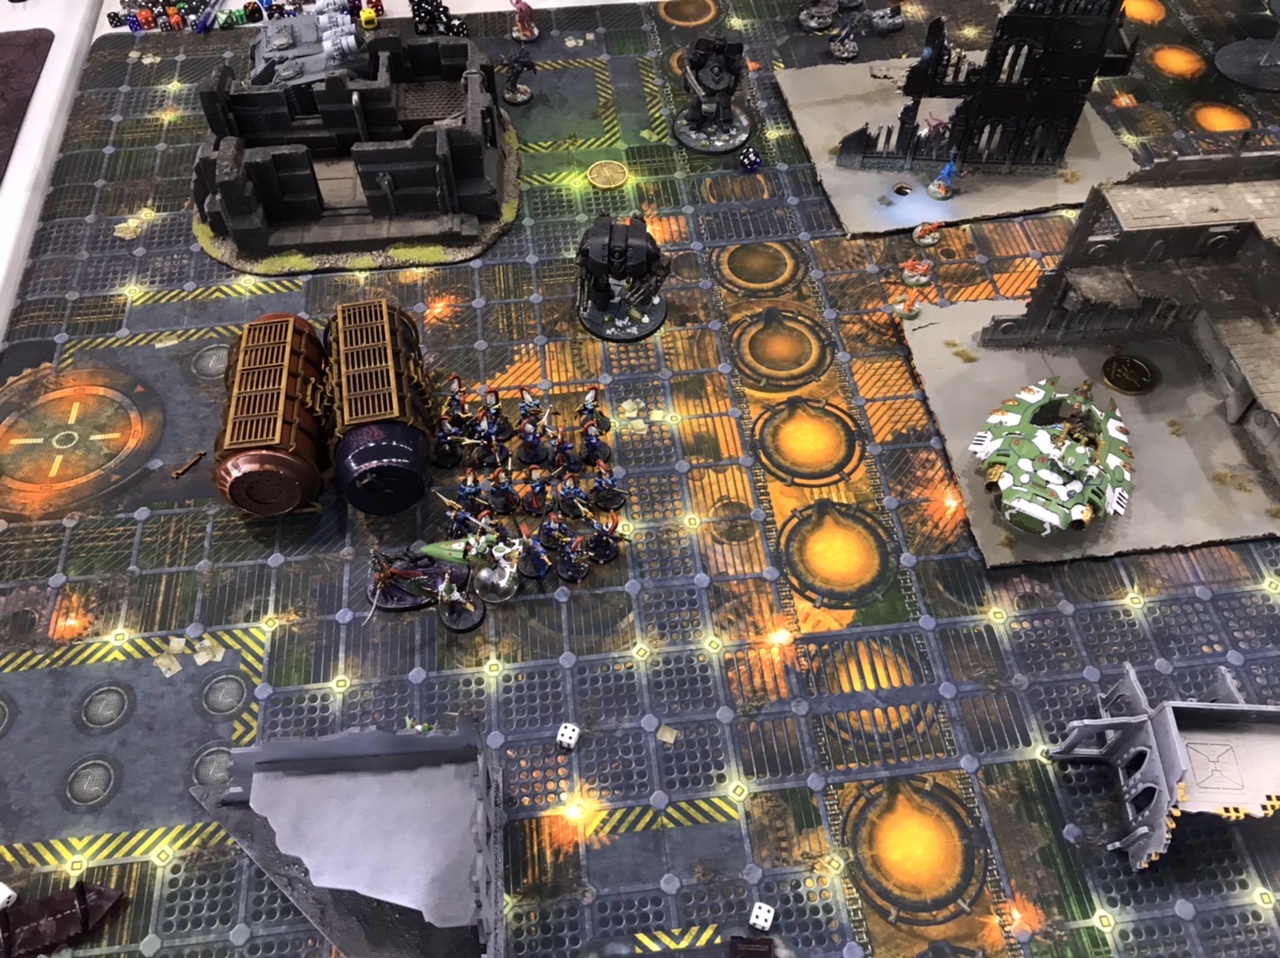
This is a pretty horrendous matchup once you factor in the mission (Cut to the Heart) and deployment we rolled (Vanguard Strike). While I do have the shurikens to carve through 120 Boyz, and the emergency stop button of Vect for Green Tide if I mess up, the maths is badly against me here because his shooting is so good. We were on a board which wasn’t a standard L-block setup, and the more interesting ruins on it gave his SAG Big Meks tall things to stand on, making it near impossible to hide from them.
That leaves me with an issue – if I go first, then there’s a good chance I miss an early kill, and it’ll be difficult for me to contest hold more until the late game as he has so many Troops to flood the board. However, if I go second I near definitely lose both planes and maybe a Wave Serpent, leaving me in no fit state to really contest the game at all numerically.
After some consideration, I did decide to go first – the plan being:
- Buff up the spears and send them forward. They’ll be effectively unshootable, and buffed up to a 2+ base save they actually have a reasonable chance of tanking a turn of being attacked, as there’s only so many Boyz that will get in.
- Vect Grot Shields and try to deplete the Lootas enough to keep the planes for a bit.
If he doesn’t backline enough then I might be able to pick up a unit of Boyz turn one, but even if he doesn’t, I decided taking the initiative like this is the best option.
My Secondaries
- Reaper
- Headhunter
- Recon
Their Secondaries
- Big Game Hunter
- Ground Control
- Old School (I think, I don’t have the scoresheet to hand)
The Mission
We played ITC mission 2 on Vanguard Strike

The Game
I think basically all my instincts pre-game were correct – going first was the correct option but boy was this game always going to be tough. He back-lined enough that I couldn’t really bring any shooting to bear on his Boyz turn one other than the Spears, and I also missed Doom so the impact of their shooting was minimal. The Crimsons cleared out five Lootas, but that wasn’t really enough – sadly the extra defence of the KFF let them tank a few hits.

His shooting was predictably pretty nasty, leaving me without planes, but my plan for the mid board actually came off – the Spears tanked like champs and kept five of them alive. This allowed them to fall out of combat and assasinate his warboss, nearly (but sadly not quite) getting Grotsnik as well. My Dire Avengers also picked up the Boyz in front of them and quite a bit of a second unit as well.
Through the course of the game, I did go through all 120 boyz, and even got several turns of hold more, but it also didn’t really matter – missing out on turn one points and getting blown apart by shooting I could do nothing about (the Meks were on the second floor of a tower, the entire first floor of which was carpetted with Grots). I put up a valiant fight, but was left with only an Archon and a lone hero Dire Avenger left on the board.
Results
21-30
0-2
Oof. Starting an event 0-2 always sucks, and I was so exhausted from the week that I was seriously considering dropping, but decided to stick it out for one more and only drop if I lost that.
Round 3 – Drukari
The Competition
Army List - Click to expand (from memory, as it’s missing from BCP) Black Heart Battalion Drahzar 10x Incubi 3×5 Kabalites w/blaster 3x Venom 3x Ravager Black Heart Battalion Visarch 3×5 Kabalites w/blaster 3x Venom Black Heart Air Wing 3x Razorwings
Archon
Archon
Pre-Game Thoughts
This should lean in my favour, though I was extremely on tilt and semi-delirious by this point and worried I could mess it up. All his long-ranged stuff is D2, making the Wave Serpents a huge nuisance for him, and we rolled up Spearhead Assault, so backlining the planes was very practical. The Spears should also be crazy good here – if I can get them in and buffed he has basically nothing that deals with them as long as I don’t let the Incubi or Drahzar rip them up. They can basically solo his army from there.
My Secondaries
- Butcher’s Bill
- Big Game
- Old School
Their Secondaries
- Headhunter
- Butcher’s Bill
- Recon
The Mission
We played ITC mission 3 on Spearhead Assault

The Game
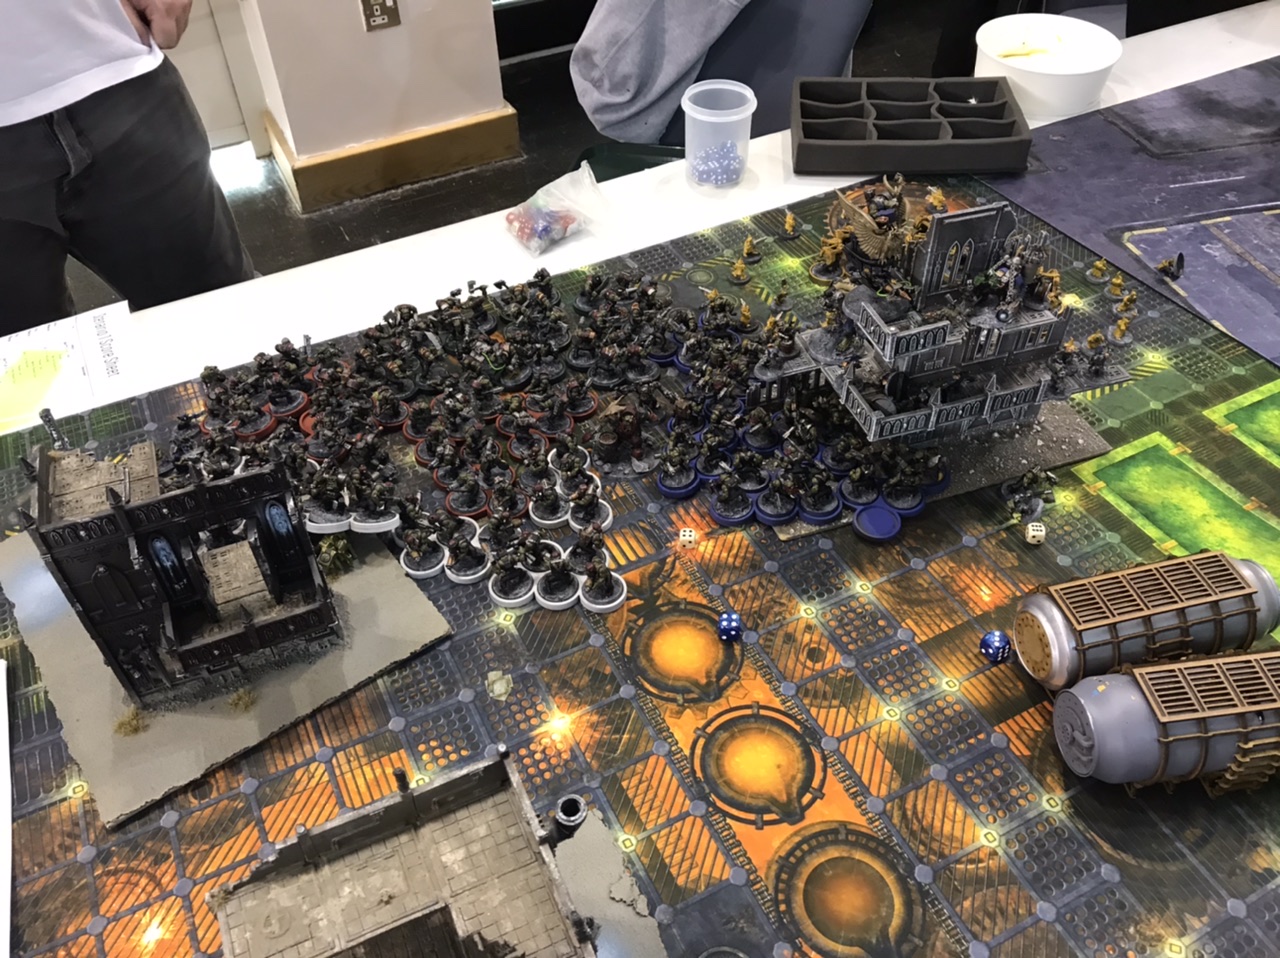
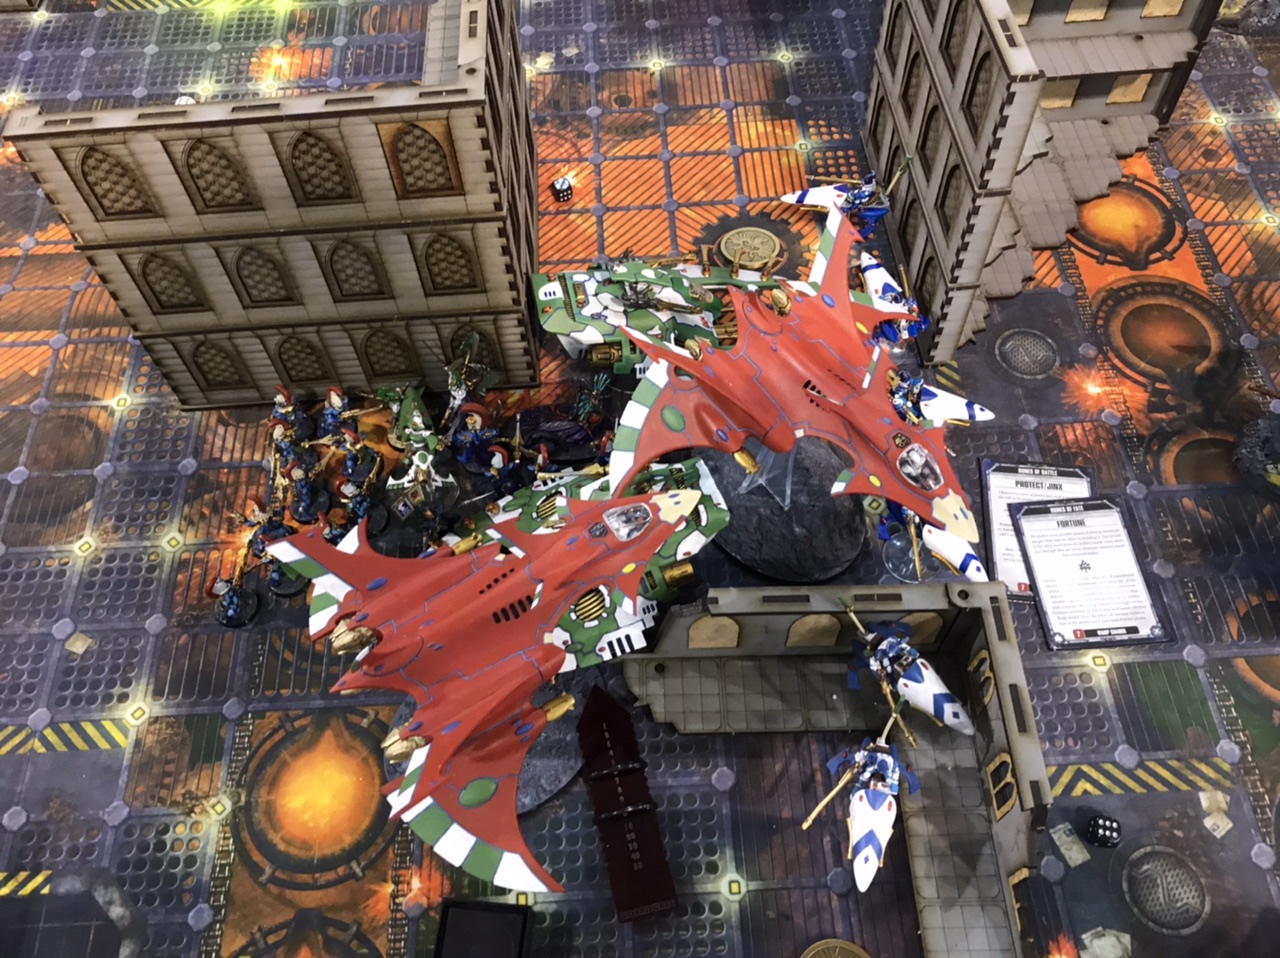
I am afraid I completely failed to take photos of this game.
With a mild wobble on turn 2, this went largely to plan. He went first, moved up, and proceeded to do very little to my army thanks to how weak his long-ranged solutions were against my stuff (I also used Prepared Positions). In return, I blew a plane out of the sky and killed a couple of Venoms.
The mild wobble came because I’d underestimated just how perfect his Venom units were for going through my Dire Avengers. I should probably not have deployed the full bubble on turn 1 here, as while getting shots off on his stuff was good, it probably didn’t need to happen and his second turn would likely have been very weak if I hadn’t. As it was, I lost a lot of Dire Avengers to splinter fire, and Drahzar got into Asurmen, though luckily for me failed to kill him. While I was now down quite a lot of infantry I still had a decent number, and with his characters up front and only screened by Kabalites I was able to take out Drahzar and hit a good counterattack into them. The Spears also came in, buffed up and started doing real damage, as predicted.
His Incubi stayed off the board for turn 2 and when they did land on turn 3 they failed their charge, which locked the game up for me. I’d had a few mishaps along the way (losing an Archon because he got hit by a Blaster on overwatch and failed his save sure was something) but I’d been able to get back on top after the inital blow of losing Dire Avengers, establish air superiority and then take him out fo the game with a rampage from my spears.
Results
35-20
1-2
Guess I wasn’t going home then. Honestly at this point, with another game to play (it was four rounds on saturday) part of me had been hoping to lose the previous game just so I could call it, but the dice had decided it was not to be.
Round 4 – Chaos
The Competition
Army List - Click to expand Thousand Sons Supreme Command – Cult of Magic 2x Exalted Sorceror on Disk Chaos Daemon Battalion Herald of Slaanesh 10 Horrors (8 Brimstone, 1 Blue, 1 Pink) Iron Warrior Spearhead Chaos Lord Hellforged Leviathan w/Butchers
Ahriman
Changecaster
3×3 Nurglings
2x Hellforged Deredeos
2x Hellforged Scorpius
Pre-Game Thoughts
Once again Forge World comes to torment me. I keep telling it it isn’t real.
The actual serious talk here is that this should be fine, as my army lines up very well against it as long as I don’t let him blow me out with the Cult of Magic power. He once again has all the D2 shooting in the world, which means chewing up my serpents will be a slog, and is short on screening, allowing me to go hard with my Spears, potentially ram dreadnoughts and easily bring Doom/Jinx to bear on one at a time, and letting planes menace his characters if they’re alive. The mission also helps – we’re playing Precious Cargo on Dawn of War, and he just doesn’t have the bodies to contest both ends of a long edge, letting me lock up the hold more easily.
The plan is simple therefore – divert enough forces to ensure I get hold more, kill a dread a turn, close out the game.
My Secondaries
- Big Game Hunter
- Headhunter
- Recon
Their Secondaries
- Headhunter
- Big Game Hunter
- Engineers
The Mission
We played ITC mission 4 on Dawn of War
The Game
This went more or less exactly to plan. He deployed his Nurglings as Engineers on one objective and castled up on the other, so I set up a single serpent to drop off enough Dire Avengers to deal with the Nurglines then come back in, while putting the rest of my forces straight opposite his.
On his first turn he popped a Serpent, but I responded by using Doom and Jinx to take down a Deredeo, while the flanking Avengers picked up the first Nurgling squad (with help from a Serpent) and the planes hurt another Deredeo. He then proceeded to low-roll his turn 2, with my Dire Avengers surviving some Leviathan shooting mostly unscathed, and planes limping through his attempts to kill them on a few wounds remaining. I was then able to quickly put down the Leviathan and Ahriman too, and while various comedy mishaps occurred over the rest of the game such as a total of five Shining Spears being eaten by hellforged Scorpius melee as they desperately waited for me to successfully land doom, and my Dire Avengers taking an entire five turns to wipe six more Nurgling bases it didn’t matter – the Dire Avengers still outnumbered the Nurglings for Obsec, cutting him out of Engineers and handing me hold more and I took the bonus most turns all the way through.
I would like to call out that this was a lovely game – we’d all had long days and I was not in a good way by this point, and my opponent’ excellent humour throughout made this a real good time.
Results
40-16
2-2
After this I drove in circles for 20 minutes to end up roughly where I started thanks to an exciting comedy of misleading technology and road signs.. See previous re: Bournemouth hating me on a fundamental, personal level.
Round 5 – Tyranids
The Competition
Army List - Click to expand Kronos Battalion Malanthrope Maleceptor 2×30 Termagants Kronos Battalion Neurothrope 3×3 Rippers Biovore
Neurothrope
6 Hive Guard
6 Zoanthropes
1×28 Termagants
Neurothrope
30 Hormagaunts
2x Exocrine w/5++ Adaptiove Physiology
Pre-Game Thoughts
An interesting list indeed. This is another one like the previous two where a lot of the shooting is bad against Wave Serpents, but he has the big advantage that anything I put near him is getting melted to hell by Mortals.
We rolled Hammer and Anvil. My basic plan was as follows:
- Put him on first turn if possible and backline
- Use planes to kill the biovore turn 1 to guarantee a decent turn.
- Smash whichever flank is looking weakest all the way back to his deployment zone, and try and pick up a few turns of hold more.
I’m a bit wary that I might run out of firepower here – his shooting is horrendous and losing whichever one or two units get close to him to mortals is gonna suck. I need to really focus on maximising my points and denying them where possible.
My Secondaries
- Reaper
- Gangbusters
- Recon
Their Secondaries
- Big Game Hunter
- Recon
- Old School
The Mission
We played ITC mission 5 on Hammer and Anvil

The Game
I’m very pleased with how this game went because I followed my plan religiously and it took me through to a win despite him doing overwhelmingly more damage to my army than I did to his. I put him on first, and a tendril of gaunts advanced up each flank, trailing all the way back to ensure they were within the Maleceptor/Malanthrope bubbles. As planned on turn one, I picked off the Biovore and picked the flank I thought looked weaker (which conveniently had the bonus objective on it) and moved two of my serpents that way, while sending one to run interference on the other flank. I also kept back a unit of Dire Avengers to accompany each Archon on the home objectives to stop the Rippers coming in and taking them.
I lost both planes to various murderous firepower (I could probably have got away with committing just one, I’d overestimated the toughness of a Biovore), and on turn 2 didn’t do as much – I missed Doom on the Gaunts I was trying to smash hardest, and thus while my Spears were able to drop in between L-blocks (and out of sight of his stuff) I didn’t get a kill, leaving two Hormagaunts alive. Bizarrely that might have worked in my favour, as on turn three he brought his rippers in and after he did some decent damage to my army, I was able to pick all of those up, and bring all my firepower to bear on taking out his termagaunts on the bonus objective with my spears, allowing me to match him for kills for the turn and take hold more and the bonus.
From here, though my army was gradually ripped to pieces I was able to take a full five point turn on four (I’d left single stragglind models from multiple squads and he only killed one thing). That was the last thing I killed all game, but I’d removed all his troops from the relevant flank, and thanks to bringing some Dire Avengers zooming up from the back in my remaining Serpent I was able to cycle stuff onto the bonus objective for the rest of the game, locking in a low-scoring win.

I don’t think I’ve ever picked Gangbusters and not gotten a single point for it before. Yikes.
Results
27-22
3-2
Round 6 – Aeldari
The Competition
Army List - Click to expand Harlequin Vanguard Shadowseer Solitaire Craftworld Spearhead (Expert/Masterful) Farseer Hornet w/ Aeldari Missile Launchers 9 Vibro Cannons Craftworld Spearhead (Expert/Masterful) Wraithseer w/ Missile Launcher Wraithlord w/ 2x Missile Launcher, Flamers, Sword
Death Jester
Death Jester
Yvraine
Hornet w/ Aeldari Missile Launchers
War Walker w/ Missile Launchers
War Walker w/ Missile Launchers
War Walker w/ Missile Launchers
Wraithseer w/ Missile Launcher
Wraithlord w/ 2x Missile Launcher, Flamers, Sword
Wraithlord w/ 2x Missile Launcher, Flamers, Sword
Pre-Game Thoughts
I think this is a softer version of Crafters for me – I get a save against all the d6 damage stuff here, and not having to worry about getting randomly blown up by a d-cannon is nice. The second Wraithseer is also a weaker push threat than a full Wraithblade squad.
Equally, the Harlequin characters are a pain that will force me to be very careful, and the deep strike threats of the War Walkers combine with that to force me to be cautious. My final trump card, however, is that this mission is very favourable for me against an opponent with literally no troops – I have a lot of characters to score the objectives with and his rate of fire isn’t fantastic.
My Secondaries
- Big Game Hunter
- Pick Your Poison (Wraithseer, Wraithlord, Hornet, War Walker)
- Recon
Their Secondaries
- Headhunter
- Big Game Hunter
- Recon
The Mission
We played ITC Mission 6 on Hammer and Anvil
The Game

My opponent seized on me, which initially felt like a classic way to end an accursed weekend, but actually quite quickly turned out to help. My planes were out of range and I’d hidden my spears well enough that once I lightning fasted them he switched targets, but once again ran into my resilience to D2 firepower (and, admittedly, his chronic inability to roll higher than a 2 on his d6 damage shots that did go through). He killed nothing turn one and I smashed back to kill some vibro cannons and pick up a Wraithlord with Doom/Shurikens. I moved the Spears out front and Fire and Faded them to screen the rest of my army – they’d lost a few turn one, and I felt selling themselves dearly was probably their best use. This also helped because he’d used hero’s path to sneak on to a second objective, and with careful positioning their Fire and Fade got me onto three.
His second turn was mixed, as he low rolled with his Solitaire’s blitz, leaving him without much to do, but did at least get some wraiths into my army and kill a few things. However, learning from my own experience at LVO I vected the Harlequins trying to path back out and picked up the Solitaire with Mortals while repelling some of the other stuff that was in my face. A missed doom made that less effective than I’d hoped, but on the flip side a squad of Dire Avengers had been able to burst into his lines and mow down Yvraine with a round of shooting, massively reducing his mortal output. I’d also been picking up more support weapons and some Hornets with my planes.
While this game felt relatively back and forth on the table, going first and picking up early dominance of the board let me pick up a massive lead, and he was very unlucky with a few things (notably losing a key objective holding Death Jester to a combination of my randomly yeeting a few shurikens at him one turn because I could see the tip of his gun, and then a plane blowing up on him the next turn). I was able to neutralise all of his push elements and take out all my pick targets, and while both armies looked extremely beaten up by the time the game was over, I had complete control of the board and still had a plane up, picking up a big win.
Results
39-21
4-2
12th place
Not going to lie – I would not have believed you if you’d told me I’d recover to 12th when I was down in the dumps after round 2. High-ish scoring losses and two massive wins put me comfortably at the top of the 4-2 bracket for a respectable-sounding finish.
Wrap Up
Having been miserable at points on saturday, I did at least recover to have a great time on Sunday, and I’d once again like to thank the organisers for putting on a good show, to which I will almost certainly return next year despite Bournemouth’s extremely hostile energy. Seriously. Electronic signs started lying to me. This isn’t OK.
Ultimately, while fun to play and perfectly decent this list still didn’t feel like it had the X-factor I was looking for to give me the tools to break through. In this metagame the kind of Eldar lists I like just feel very, very brittle and hard to consistently win with, and I need huge numbers of new units painted to try different ones out, something I don’t really have the time to do.
That theoretically presents a problem, as I’ve got another major this weekend. Join me next week to review the consequences of my mature and sensible response to this.
Until then we can, as ever, be reached at contact@goonhammer.com.
