In our How to Paint Everything Series we cover how to paint well, everything, with a look at different methods and techniques from different painters and with an eye for different skill levels. In this article, we’re covering how to paint Chaos Space Marines, the traitor forces of the Adeptus Astartes who worship the dark gods in Warhammer 40k.

The Chaos Space Marines act as a dark mirror to their loyalist cousins in the 41st millennium, a living, hateful reminder of the Emperor’s hubris and the fallibility of man. Traitor and renegade marines have been around since the earliest days of Rogue Trader, though their backstory and details wouldn’t get fleshed out until the Realms of Chaos books were released a year into the game’s first edition. As evil space marines, the chaos space marines are the game’s second most popular faction, now split across several codexes to cover some of the legions dedicated to a single chaos god.
Unlike loyalist space marines, who are split into chapters of a thousand warriors, the Chaos legions have been fractured into a number of smaller warbands, each led by a mighty champion of chaos. These may vary in size from a few dozen men to thousands, from the remains of renegade chapters who defected later (such as the Crimson Slaughter) to the massive combined forces of Abaddon’s Black Legion, which attracts traitors from across the galaxy and the original traitor legions.
This gives Chaos players a ton of flexibility on the tabletop, as Chaos forces are visually tremendously varied based on their background and their beliefs around the Dark Gods. There are multiple ways to paint each of the original nine traitor legions, plus the heraldry and color schemes they adopted during the Heresy, and schemes for noteworthy renegade chapters such as the Red Corsairs. It’s a lot, but in this series we’re going to cover all of it.
Covered in This Article Series
- The basic elements of Chaos Space Marines models and how to paint them – from gold trim to power weapons to cloth and lenses.
- Links to the How to Paint article for each of the original nine traitor legions, from the Alpha Legion to the World Eaters.
- Links to the How to Paint articles for the most famous renegade chapters in 40k lore, from Huron Blackheart’s Red Corsairs to the proud warriors of the Flawless Host.
Common Visual Elements of Chaos Space Marines
While each legion and warband of chaos space marines has its own unique color scheme and heraldry, there are a number of common and shared visual elements between them. Rather than repeat these in each article, we’re including a number of the most common elements here. Note that more specific elements will still be included in the relevant article.

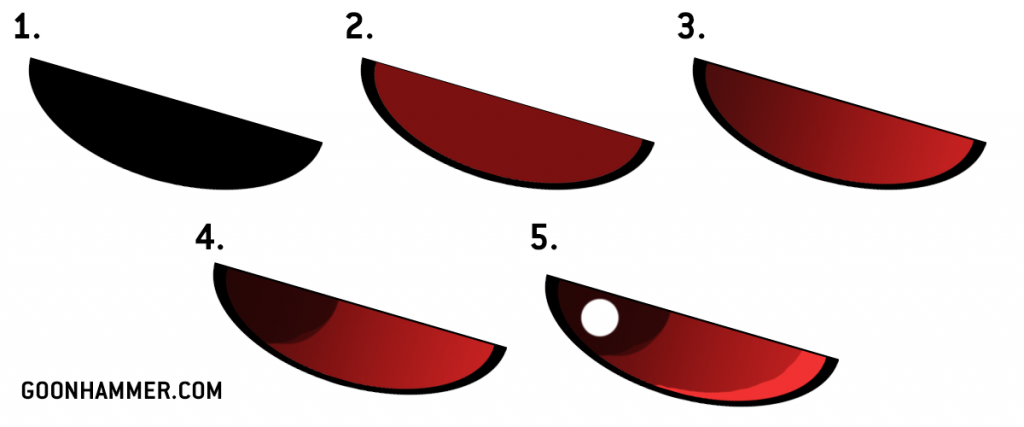
Gemstones and Lenses - Click to Expand If you’re painting Chaos Space Marines, you’re going to have to paint some lenses on the marines and likely some gemstones as well. The process for painting these is pretty similar – you can find everything you need for this in our guide to painting gemstones, lenses, and vials, but if you need something faster for painting eye lenses on Space Marines, you can find a quick tutorial here. The process for painting lenses is the same as painting gemstones. You generally want to start with a black area (or darkened), which you’ll work inside, leaving a small line of black around the edge as you go. Start by painting your base color. If you’re painting red lenses, this will be Mephiston Red or Khorne Red most of the time. Once that’s down, you want to shade the lens, with a brighter color toward the front corner and a darker tint toward the back corner of the helmet. I do this by shading the eye with Carroburg Crimson and then Nuln Oil. Finally it’s time to do the extreme highlights. Put a dot of black paint in the back corner of the lens, and put another, smaller dot of white inside that. Highlight the opposite corner of the lens using a bright shade of your color. For red lenses this will often be Evil Sunz Scarlet.

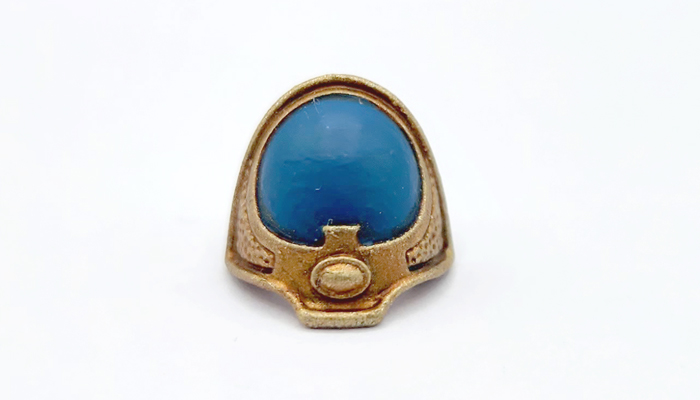
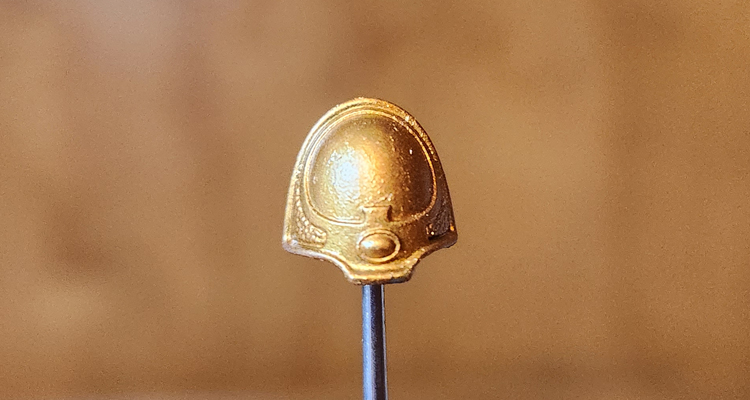
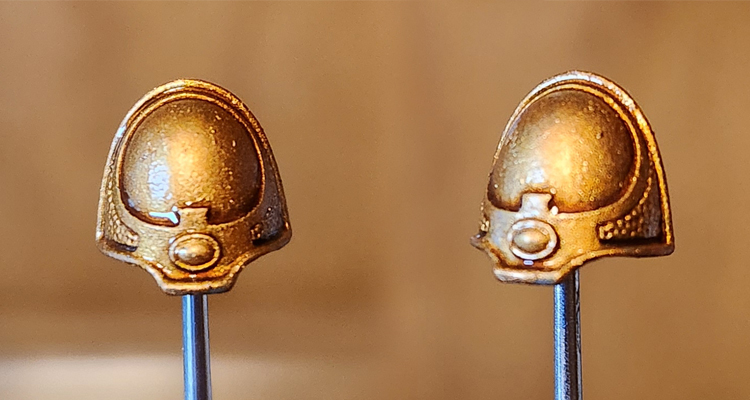
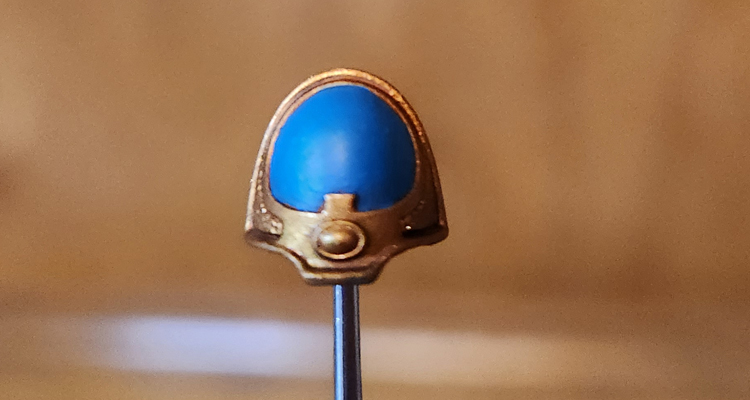
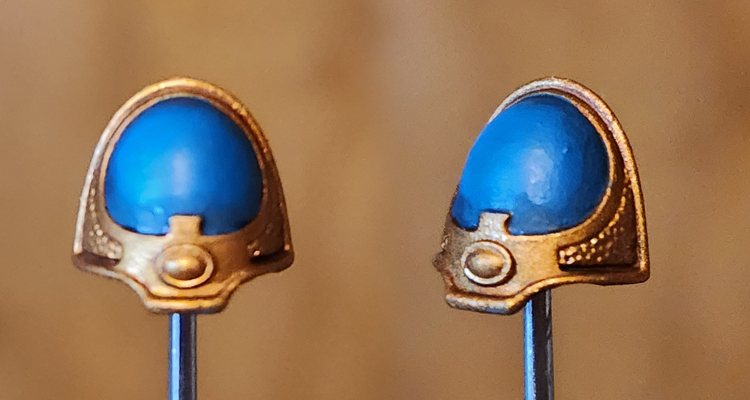
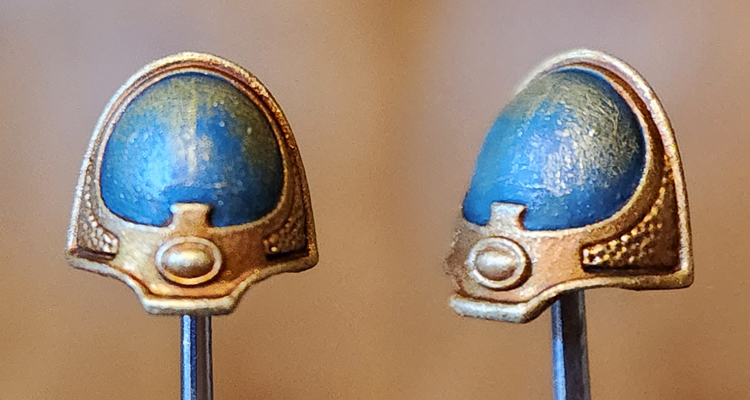
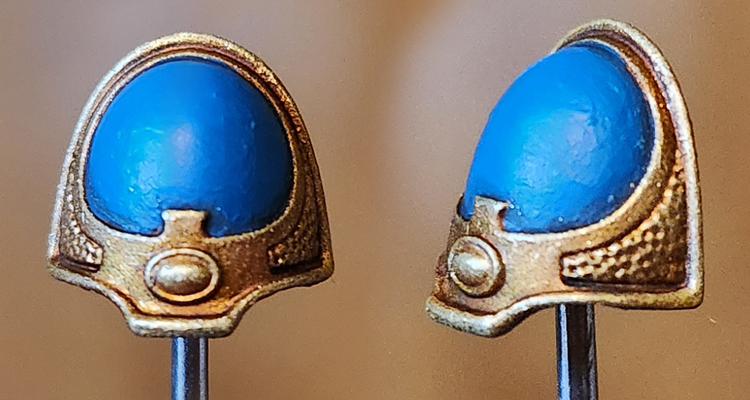
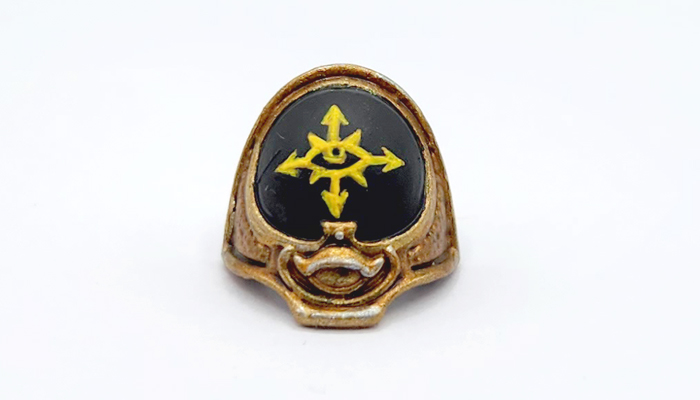
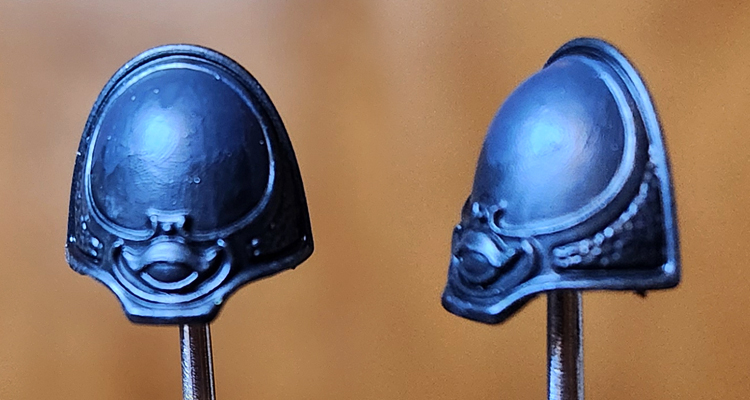
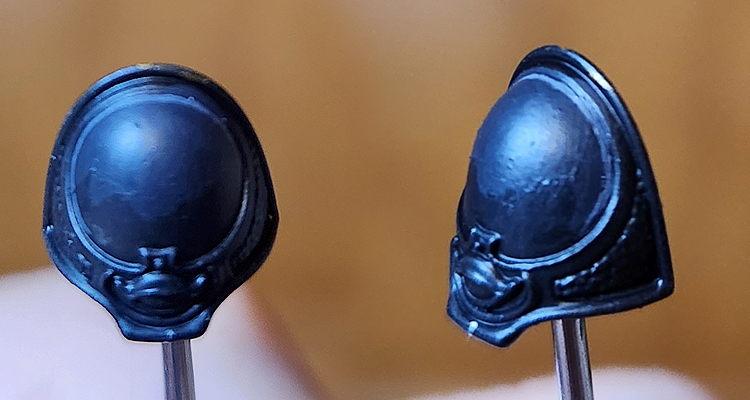
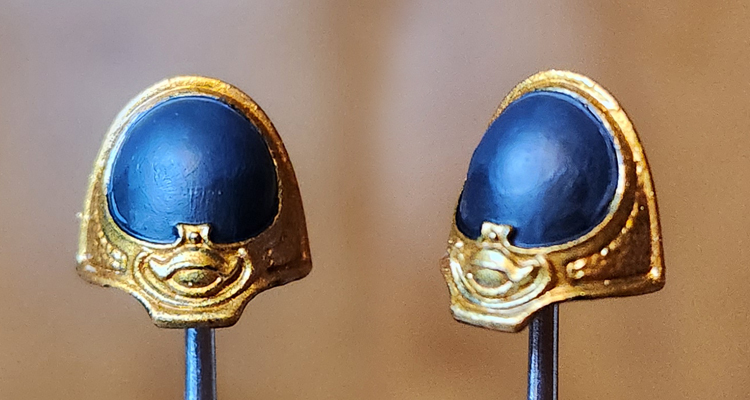
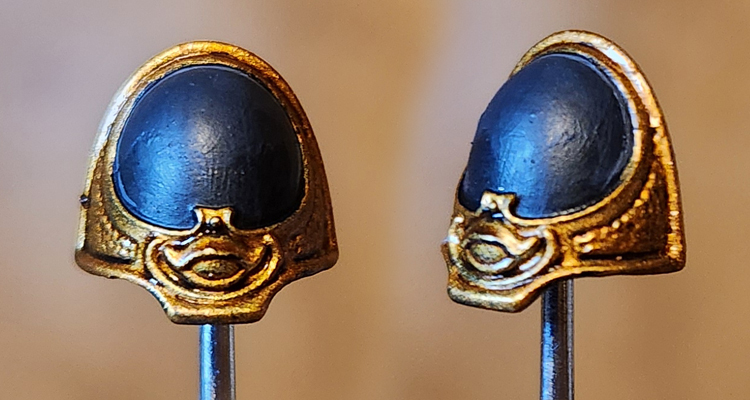
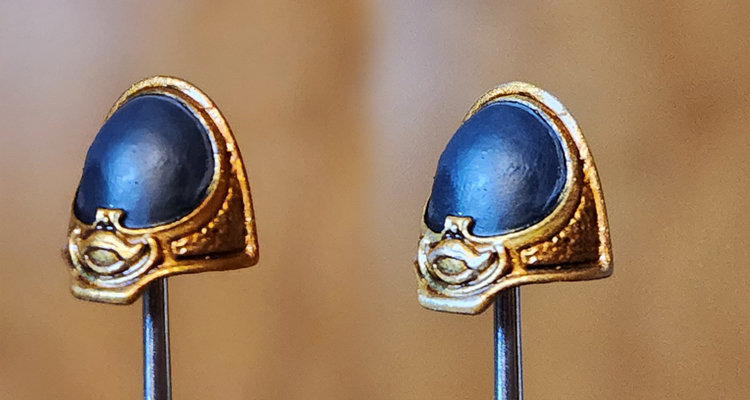
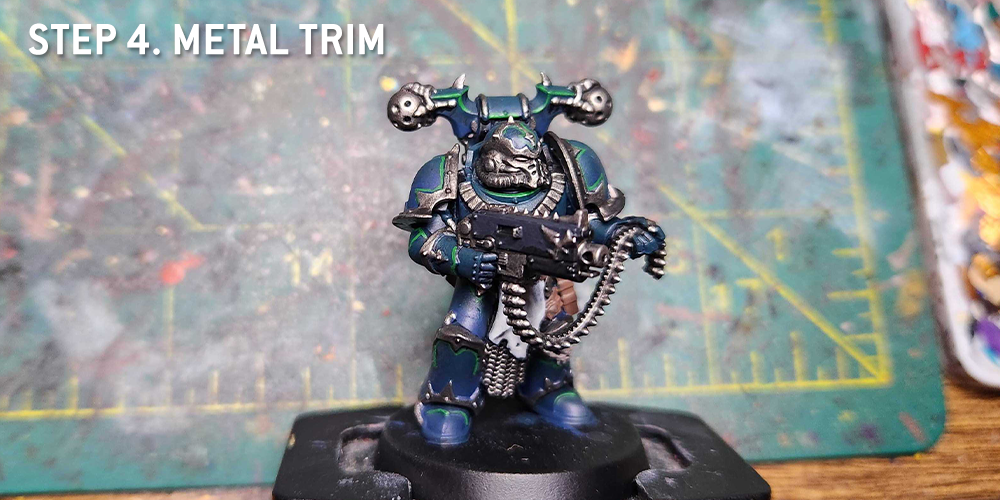
Gold and Silver Trim - Click to Expand Anyone painting Chaos Space Marines knows there’s a lot of metal trim on those models. If you’re doing a scheme with gold or silver trim, there are basically two ways to do it – either by painting the full model with the trim color, or painting the trim after the armor. We’ll cover both here but if you’re looking for a guide on painting Gold Trim, I’d highly suggest you head over to our full guide here, with a variety of techniques and examples. These tend to start with Retributor Armour, which works great for most legions, but if you want to start with a darker shade you can begin with Balthasar Gold for more of a brass look. If you’re in more of a hurry, here are two quick examples based on how you want to undercoat and prime the model. There’s a certain train of thought that it’s easier to paint models like Thousand Sons and Chaos Space Marines with lots of trim if you prime them the color of the trim, then fill in the armor colors later. This idea has particular weight if you’re going to be painting the armor a flat color, and aren’t liable to hit the trim and require a lot of clean-up. The easiest part of this. Prime the model whatever gold you’re looking to use. In this case I used GW’s Retributor Armour. Clean up any spots that need a bit of extra gold. The next step is applying a wash to the gold. This will shade the gold, but also tone down some of the shininess, giving it a more burnished look. We can bring that back up later, but for now we want to create dark recesses in the gold parts of the model. For the GW’s Thousand Sons studio scheme they use Reikland Fleshshade here, though I tend to use Agrax Earthshade, as you’ll see in the example below. Reikland gives the gold a redder, warmer appearance. Next comes blocking in the panel color. You don’t have to be super-precise here but make sure you don’t hit your trim – you can leave some small gaps between the panel and trim if you want, as we’re going to color those in during the next step. For the GW scheme, the color to use here is Thousand Sons Blue. Now it’s time to wash the panels. We want to use a black shade for this – the GW method uses Nuln Oil – to create dark, black recesses between the armor panels and the gold trim. You can go over a bit here, but the important thing is that your wash pools in the edge between trim and armor panel. In this next step we’re going to drybrush the trim with a lighter gold. The GW method uses Sigmarite but I used Liberator Gold here, and those are basically the same color, just with different consistencies. The goal here is to catch the raised edges – you can go over the panel color as you do this, just make sure you’re avoiding the dark recesses we just painted. After that’s done, go back and recolor the armor panels, making sure to leave your dark lines between the panels and the trim. After this you’ll want to add details like transfers or painting the gemstone, and if you’re careful, you can add some highlights to the armor panels. Though if you’re planning to do more gradient work with the armor panels, I’d suggest painting the trim second. If you’re looking to do more involved work with the armor panels, like giving them a gradient, then you’ll want to paint the armor first and do the trim later. In that case, prime the model whatever color works best for your basecoat. In this example I’m painting a Rubric Marine shoulder pad for the Black Legion. I tend to do some subtle gradients here, mixing up from Abaddon Black to Corvus Black, which is a more like a cool dark gray. If I do this for the whole model, it’ll be done quickly with a larger brush, and I won’t worry about the trim at that stage, making it ideal to come back and paint the trim later. In this case I usually do four mixes/shades: Pure Abaddon Black, 2:1 Abaddon:Corvus, 1:2 Abaddon:Corvus, and pure Corvus. I tend to do panel lining highlights before I do my gold trim. This gives me room to clean things up before the trim goes down. For black armor I do a thin line of Mechanicus Standard Grey. If you’re going to wash your trim around the edges or paint the recesses, you’d do it here as well. Time to paint the trim. For this trim I’m using GW’s Retributor Armour. If you want a darker gold there are ways to get there with shades and washes, or you can start with something more brassy, like Screaming Bell. This is also where you want a steady hand – you want to paint the trim without touching your armor panels. Take your time here and use multiple thin coats. Next we need to wash the trim. This will give it a deeper, burnished look and darken the recesses. This both gives the trim definition and also will make the highlights pop that much more. For this example I’ve used Agrax Earthshade. The final step is three stages of highlights: First I hit raised areas that are larger spots with the base trim color, in this case Retributor Gold. You can most easily tell where I did this on the upper eyelid on the lefthand side shoulder pad – I don’t want a blotch of Agrax wash sitting there so I came back and painted the whole lid. Stage 2 is edge highlighting> First I hit the edges with Liberator Gold and then I hit the very tops and corners with a silver, in this case Runefang Steel. This gives the gold a very shiny look and really makes the edges pop. Of course you may be painting a legion that uses silver trim, such as the Alpha Legion or Word Bearers. The process here is exactly the same, except your base color (or spray) is Leadbelcher instead of Retributor Armour or Balthasar Gold. Likewise, your sahdw will be done with Nuln Oil and your edge highlights can be done with Runefang Steel. Silver trim largely feels easier to paint than gold trim, though I couldn’t actually tell you why.Method 1: Priming the Model Gold
Step 1: Prime the model gold
Step 2: Wash the gold
Step 3: Block in the Panel Color
Step 4: Wash the Panels
Step 5: Drybrush the Trim
Step 6: Finish the panels
Method 2: Priming the Model Any Other Color
Step 1: Gradients
Step 2: Panel Lining
Step 3: Trim Basecoat
Step 4: Wash the Trim
Step 5: Highlights
Steel and Silver Trim

Accursed Weapons - Click to Expand If you’re painting Chaos Space Marines of any variety, you’re going to eventually have to paint some power weapons, daemonic blades, or other accursed weapons. For more on how to paint power swords and glowing weapons, check out our guide on painting power weapons here.

Lighting Effects - Click to Expand Sorcery is pretty common among the Chaos Space Marine legions, and beyond sorcerous effects like eldritch flame they’re also no stranger to plasma weapons and ectoplasma cannons. That means lots of opportunities to paint lighting effects and OSL. There’s a little too much to cover quickly here so if you’re looking for tips and tricks on painting flame and OSL (Object Source Lighting), you can find our handy guide on the subject here.
Painting Chaos Space Marines
The Chaos Space Marines attacking the Imperium fall into two groups: Members of the original nine traitor legions who joined Horus in his rebellion, and renegade chapters of Space Marines who fell to Chaos long after the Heresy.
First Founding Legions
Six of the nine traitor legions are covered in Codex: Chaos Space Marines.
The remaining three legions have their own Codexes, and as such have their own articles, going into more detail on how to paint the heraldry and units of their factions. You can find links to these in the articles below.
Renegade Chapters
Special Models
Finally, there are some special models associated with the Chaos Space Marines who show up in their codex, but aren’t part of any specific Legion or Renegade Chapter. We’ve included links to their articles below – click on the banner to head over to the relevant article.
Final Thoughts
The Chaos Space Marines offer a ton of variety when it comes to both color schemes and the types of models you can paint – from helforged daemon engines to bloodthirsty legionaries to mutants and cultists, there’s a lot to work with and consider. Whatever scheme you end up choosing, we’ve hopefully provided you some instruction and inspiration for how to paint it.
Have any questions or feedback? Drop us a note in the comments below or email us at contact@goonhammer.com. And if you want regular updates in your inbox, subscribe to our newsletter.
