How to Paint Everything: Dark Angels

In our How to Paint Everything series, we take a look at different armies of the Warhammer universe, examine their history and heraldry, and look at several different methods for painting them. Dark Angels are the first legion and are very, very loyal. Today we will look at how to paint them and their specialists, Deathwing and Ravenwing.

Look guys. Here at Goonhammer dot com, Dark Angels get a bit of a bad rap. Most of it can probably be directly traced back to the fact that Dark Angels are the army of Greg “ANAmal.net” Chiasson but still, they endure and deserve our mockery.

I’m here today to tell you that these people that have disparaged the most loyal of loyal boys are wrong. Extra wrong even. In fact, Dark Angels are actually the best loyal legion. No, don’t laugh I’m serious. I’ll prove it in this article.


Who Are The Dark Angels?

Dark Angels are haughty, proud, and hide a heck of a secret. One that they protect at all costs from the Imperium at large, with no act being beneath them in their quest to seek redemption. As we all know, keeping secrets is a cool and good crime.

See once upon a time, back in the Great Crusade, the Dark Angels were loyal and stalwart defenders of humanity, fighting to expand the Imperium and reclaim lost planets. Then the Horus Heresy hit and while the Dark Angels fought on the side of the Emperor across the galaxy, back home, half the legion, led by Lion’el Johnson’s closest brother, Luthor, defected. They swore allegiance to Horus and fell in with the powers of Chaos. When the Dark Angels returned to Caliban, they had to fight a whole civil war that ended in Lion’el Johnson getting murdered and the planet being destroyed. They kept the secret of their legion’s defection from everyone, and now relentlessly hunt the remaining Fallen Angels who escaped and made their way to the Eye of Terror. So we can all agree that keeping this a secret was cool and good.

So cool and good that the Dark Angels have dedicated two entire companies towards it.

The 1st company goes by the name “Deathwing” and always fight entirely in Terminator armor – which is rad – that’s bone-colored because a single squad survived a literal planet of Genestealer cultists, which is even radder. Clad in black is the 2nd company, the Ravenwing, who take up the fight on bikes and in speeders or flyers. The two companies work in tandem: the Ravenwing finds secrets (enemy targets) for the Deathwing to keep (kill, capture). Backing those boys up is a fairly normal chapter, that people on the internet call Greenwing for some silly reason.

The Dark Angels are also the First Legion and therefore can dunk on all the others by pulling the classic older brother move of “I did that before you did”. They also have the best toys because of this, literally hiding away weapons and tools from the Dark Age of Technology while other legions got their hand-me-downs. None of these toys really get used in 40k, because the rules writers seem to love disappointing us, but it’s nice that, at least in the fluff, we can Big Time every other chapter by laying down the classic line of “If you’re not first, your last”.

As you can see, all of this makes the Dark Angels the most loyal legion. In fact, we would even say that they’re twice as loyal as the Space Wolves, a chapter that:

  • Attacked a loyal son of the Emperor for no reason no less than 3 times. Seriously, Leman Russ is out of control, someone should stop him! Think of the children!
  • Harbors mutants in their ranks.
  • Has no green power armor, the shame.
  • Has too many wolf-named items.
  • No cool robes.

Compare this to the noble (and loyal) Dark Angels:

  • Only attacked in self-defense.
  • Zero mutants! (please ignore the Watchers in the Dark for the sake of this)
  • Mostly green power armour.
  • ZERO WOLVES.
  • As many cool robes as you want, friend.

Damn. 5/5 for the Dark Angels on loyalty, versus the obviously treacherous Space Wolves.


Playing With Dark Angels:

Last time we published this I had to talk about how sorry the Dark Angels and their rules were and at times it was honestly tough to play them in the brave new world of Marine Dex 2.0. Since then, they’ve gotten a huge makeover with Psychic Awakening 4: Ritual of the Damned, which brings them into the “Space Marines Supplement” level, giving them access to the Angels of Death special rule, Combat Doctrines, and a host of cool new stratagems that make them pretty good! You can check out our review of Ritual of the Damned here, and if you want our take on how Dark Angels used to play, our Start/Stop Competing on them is here, but note that we are going to update it soon.


Coda’s Take On How To Paint A Dark Angel, One Of The Green Ones:

Ok, so I grew up with the 3rd edition ‘dex, so this picture is peak DA for me:

Yes. It took them 2 goes to make 1 3rd Ed Dex. I seriously chewed out Andy Chambers at an Australia Games Day about the 1st attempt, at the tender age of 11 or 12. Credit: Games Workshop

As you can see here, gold and green looks kickin’ rad. So let’s paint our boys like them. Below, I’ll tell you how to do it, by traditional and contrast methods:


Here’s how I do it:


Traditional paints:

You will need:

Paint List - Click to Expand

Green bit:
One Dark Green Paint of your choice. This can be Caliban Green from Citadel, IV-15 from Instar, Dark Green from Vallejo. I’ve reviewed them all here if you want to figure out the best green.
Citadel Warboss Green
Citadel Skarskik Green

Red bits:
Vallejo Model Colour [VMC] Carmine Red
VMC Dark Vermillion
VMC Vermillion

Metal:
Citadel Iron Warriors

Black:
Citadel Black Templar Contrast

Gold:
Citadel Liberator Gold
Citadel Stormhost Sliver

Pouches:
Citadel Wyldwood Contrast

Wash:
Army Painter Dark Tone
Army Painter Soft Tone

Misc:
Citadel Grey Seer
Citadel Guilliman Flesh Contrast

I couldn’t pick between Instar Matte or Vallejo for the example. so I flipped a coin. It has deemed that we will step though the Vallejo Game Colour Dark Green example.

Step 0:

Undercoat it Matte Black, preferably out of a spray so it’s nice and smooth. This could be citadel or a good hardware brand.

Step 1:

Slap on a thin coat of Angel Green, avoiding the creases/little lines in the armour and give the bit near the shoulder pad trim a wide berth. This is because we want to exploit the tech called ‘blacklining” and save us a ton of work.

If you did it right your dude will now look like this:


Dark Angel Intercessor
Dark Angel Intercessor by Tyler “Coda” Moore

Step 3:

Do a second thin coat. I want to stress that you want to be a smmooooooth operator on this green, so do make sure it’s thin. Go a bit deeper than you did the last time on the bits you want to stay black. This creates a gradient. If you did it right it will look like this:

Dark Angel Intercessor
Dark Angel Intercessor by Tyler “Coda” Moore

Step 4:

Paint in the base coat on the rest of the details. Here is what I did:

Reds: Vallejo Model Colour [VMC] Carmine Red. You will need 2~3 layers of this for some things like the knee pad marking. Make the coats thin.
Purity Seal: Wraithbone, Black Templar for text.
Undersuit: Layer Grey Seer, Wash Black Templar
Pouches: Layer Grey Seer, Wash Contrast Wyldwoods
Boltguns: Black – Layer Grey Seer, Heavy as hell wash with Black Templar.
Metals: Citadel Iron Warriors
Boltgun Lens: Citadel Stormhost silver, Spritstone Red.
Gold: Liberator Gold.

Step 5:

Now that’s done drown all the green bits of model in Army Painter Dark Tone (Alt: Citadel Nuln Oil), you really want this to pool heavily, then relayer the base colour green to cover up any splotch-y-ness, this time retreating further back than your 1st layer. You could target this wash but honestly I’ve found this to be A: Funner B: less time consuming.

The gold bits and purity seals, shade ’em with Army Painter Soft Tone (Alt: Citadel Seraphim Sepia). Relayer the 1st wave of details as you feel fit. You should have a space man that looks like this:

Dark Angel Intercessor
Dark Angel Intercessor by Tyler “Coda” Moore

Step 6:

Now to highlight.

Green: Thicc Warboss Green -> Fine highlight Skarsnik Green.
Gold: Thicc – Liberator Gold mixed with Stormhost Sliver. Fine – Same as previous, add more silver.
Red: VMC Dark Vermillion -> VMC  Vermillion

And with that done boom:


Dark Angel Intercessor
Dark Angel Intercessor by Tyler “Coda” Moore


One very Dark Green Dark Angel. Here’s a full squad of boys, 4 of them painted with the above method, just with various manufactures of dark green paint:

Dark Angels Intercessors
Dark Angels Intercessors by Tyler “Coda” Moore

The last guy? He was a contrast job. Here are the deets:

Contrast Method

Dark Angel Intercessor
Dark Angel Intercessor by Tyler “Coda” Moore

Fairly similar to the above, here are the condensed steps:

Grey Seer Undercoat
Wash Dark Angels Green -> Tiny Warboss Green highlight
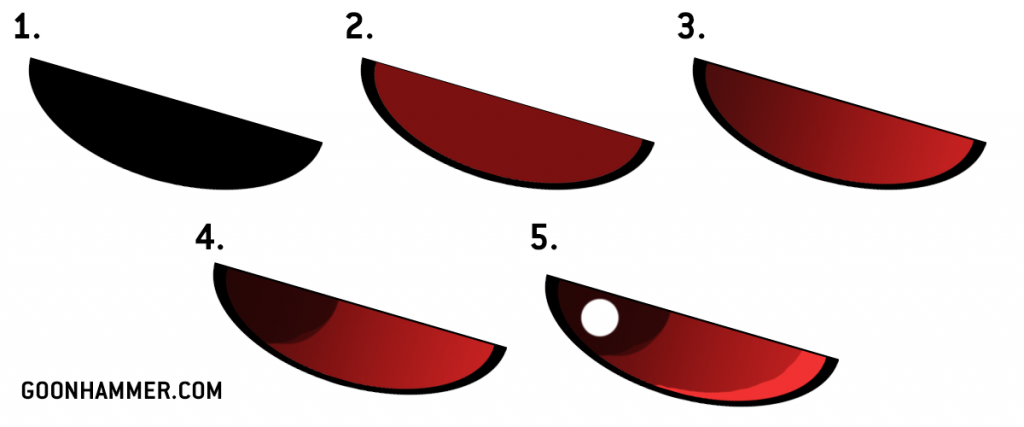
Eye lenses: Blood Angels Red
Marking: VMC Dark Vermillion
Purity Seal: Wraithbone, Black Templar for text, wash Army Painter Soft Tone
Undersuit: Layer Grey Seer, Wash Black Templar
Pouches: Layer Grey Seer, Wash Wyldwood
Boltgun: Black – Layer Grey Seer, Heavy as hell wash with Black Templar.
Metals: Iron Warriors washed with Dark Tone.
Boltgun Lens: Stormhost sliver, Spritstone Red.
Gold: Liberator Gold -> Wash Army Painter Soft Tone (sepia) -> Mix in more and more Stormhost silver as desired. Aim for 2 highlights.

If I had my time over I would have cut the Dark Angels Green 50:50 with Contrast Medium and done two washes instead of one to combat the blotchy effect.


Here Is How Other People Do It, Also With Deathwing And Ravenwing

Greg’s Dark Angels

The Three Wings
Examples of the three wings. Credit: Greg Chiasson

I’ve been in love with Dark Angels since 4th Edition, though that love clearly doesn’t come across in most of my posts because it’s funnier when I focus on how bad they suck, which they very much did until very recently.

Initially, I started with a pure Deathwing army, which we’ll cover in a bit, but I did end up with most of a battle company worth of green ones, and a deecnt Ravenwing detachment eventually. I have two methods of painting them, with some overlap. The first is all using Vallejo Game Color paints, and the second, which doesn’t look as good but is much faster, uses GW Contrast paints for the armor and weapons.

Greg’s Traditional Method

  1. Prime black, always black.
  2. Basecoat the armor in VGC Dark Green, the gun casing and eyes in VGC Scarlet Red, and the metals (mechanical bits on the gun, swords, etc) and golds (chest eagles, sword hilts, etc) in whatever gets you there, it’s not really something I care about a lot. The joints in the armor, like the insides of elbows or the backs of knees, I like to basecoat in VGC Sombre Grey – previously I’d done these in metal, but I think I like the black-grey look better.
  3. Washes. I use two, mainly: Nuln Oil on the metal, grey, and green, and Agrax Earthshade on the gold and red. At this point the greys are done – the two-step of Sombre Grey and a heavy black wash gives a nice rubberized kind of look and I’m honestly not aiming for Golden Daemons here, so it’s Good Enough.
  4. Go back over the basecoats on the greens and reds, to bring those back up a bit. The green I use the same VCG Dark Green, which I don’t think is quite dark enough without the wash on it, but on the red i switch to VGC Bloody Red. Leave a bit of shade in the recesses, but cover over most of the raised or flat bits.
  5. Highlights! Your call what you use on the golds and metals, but typically one shade brighter than whatever you did for the basecoats. Highlight the armor with VGC Scurvy Green, and a second highlight in VGC Scorpy Green if you’re a more ambitious painter than I am.
  6. Last step, which is more washes, which I usually do after the highlights because I tend to over-apply them, and this helps pull everything together – Carroburg Crimson on the gun, and Athonian Camoshade on the armor.

Painting Dark Angels with Contrast – Also Greg

This is really a hybrid approach, because I didn’t want to buy too many types of Contrast until I had a chance to try it out. The metals, golds, and armor joints are actually exactly the same as above, and I don’t usually highlight the Contrast armor, though I really should and I think it would help a lot.

The fact is, I’ve never been happy with my highlights, and I’m not confident in my ability to get them right, so a lot of times I just don’t do them, because it seems like a dicey proposition to put in more work to make my models look worse.

  1. Prime white, always white. Technically you’re supposed to use the Contrast primers for this, but it turns out Corax White works basically fine.
  2. Paint the armor Dark Angels Green Contrast. I like to do one thick coat, with a second thinner one in spots to even things out – two coats tends to clobber all the variations out and look like just straight Caliban Green again, and one seems to have thin spots and pooling.
  3. Paint the gun in Flesh Tearers Red Contrast.
  4. Paint the metal/gold, wash it black/brown, then highlight with a slightly-brighter metal/gold. Paint the joints in the armor grey, then wash them black.

Painting Ravenwing – Greg’s Method

I’ll be honest, I’m extremely lazy with this:

Ravenwing Dark Talon
The prettier of the uglier two DA flyer models.

  1. Prime black
  2. Edge highlight VGC Cold Grey
  3. Do a smaller edge highlight just on the edges of sharp corners, of VGC Stonewall Grey.
  4. On the Ravenwing logos and wing motifs I like to paint them white, and then hit with Basilicanum Grey Contrast. I’ve since changed my stock white recipe to be VGC Ghost Grey, washed black, and highlit with VGC White.
  5. Paint all the details – gun casings, chest eagles, gold and metallic details, etc – the same way you would above. That consistency across the different wings is really important, to tie them all together and keep an army with a mix of green/white/black units actually looking cohesive.
  6. On flyers, I paint the bottom of the model using the Deathwing armor recipe (below). I like the variation this gives, so the flyer isn’t just solid black. It’s worth spraying the basecoat on here, if you can – I like to spray prime the entire model bone, let it dry, then mask off the bottom and the design on top of the wings and spray black back over the top and sides. The time spent tediously masking is a pain, but I promise it’ll pay off when you compare it to having to cover white with black, or vice versa. Except for on bikes and Landspeeders, where don’t paint the bottom at all. No one ever sees it, so who cares.

I panel-lined this with a brown pen.

More Examples of Painting Black

We only have one example of Ravenwing here, but we’ve covered black power armor several times. You can check those out here:


Painting Deathwing – Greg’s Method

Ah man these dudes suck.

Deathwing Knights
Deathwing Knights and a Cataphractii Master. Credit: Greg Chiasson

  1. Spray Army Painter Bone. You can do white too, and layer VGC Bonewhite instead, if you don’t have the bone spray, but it’s a huge shortcut to be able to spray your basecoats, I think.
  2. Wash Agrax Earthshade.
  3. Layer VGC Bonewhite, everywhere except in the recesses. This will take a few coats, but it builds up a really nice color.
  4. Highlight VGC White.
  5. See above in relation to matching the details up with any 2nd-10th company models you have, with the difference here that the chest eagles and tabards are in green – I use the armor recipe in that section for the robes, but the bone details and red weapons are identical. Along the same lines, for the tabards and robes on the “Greenwing”, I use the same bone recipe as the Deathwing armor. Like I said, consistency.


Jack “BenBooley” Hunter’s Method for Deathwing Bone Armor

Deathwing Terminator Praetor
Deathwing Terminator Praetor. Credit: Jack Hunter

I was incredibly excited when updating this article came up as FW have released two Dark Angel Praetors, one in power armor and one in terminator armor. We’ve pretty well covered painting green up above, so this gave me a perfect excuse to try out painting bone. This isn’t quite a perfectly traditional Deathwing – I’ve painted the inside of cloth bits, and some of the smaller cloth areas in red rather than pure green, and did the chest eagle in black, and instead of gold trim I went with a dark silver for contrast.

  1. Prime with Vallejo Desert Tan (73.813)
  2. Do a first pass in the shadowed areas with Vallejo Model Air Bud Brown (71.037)
  3. Do a second smaller pass inside the previous with Vallejo Model Air Rust (71.080)
  4. Hit upper surfaces with a highlight of Vallejo Model Air Insignia White (71.279)
  5. Spray a few thin passes with Citadel Air Terminator Stone to tie it all together and lighten the shadows a bit
  6. Gloss varnish the entire thing
  7. Use AK Paneliner Sand and Desert (AK 2073) to wash into all the recesses
  8. Matte varnish, then use a torn up piece of foam and Citadel Rhinox Hide to add some chipping
  9. Start painting in all the details. I typically block in any large areas of color (so on this model the chest eagle, silver areas, and robes) so I can see what it’ll look like, then start on the details. I used Vallejo Model Color Dark Grey (70.994) as the base for all my metals.

    Red Cloth: Follow my BA painting method
    Other Reds: Mephiston Red, Carroburg Crimson, Wild Rider Red, Troll Slayer Orange
    Greens: Caliban Green, Nuln Oil Gloss, Warpstone Glow, Moot Green
    Undersuit: VMC 70.994 Dark Grey, Black Templar Contrast
    Blacks: VMC 70.994 Dark Grey, Nuln Oil Gloss, VMC 70.867 Dark Blue Grey, Scale75 SC-03 Graphite
    Golds: Scale75 SC-87 Decayed Metal, Druchii Violet, Scale75 SC-72 Viking Gold, 50/50 Viking Gold + SC-75 Citrine Alchemy
    Sword: Scale75 SC-63 Black Metal, Nuln Oil Gloss, Scale75 SC-66 Speed Metal
    Deathwing Praetor Sword
    Armor Trim: Iron Hands Steel, Nuln Oil Gloss, Speed Metal
    Other Silvers: Vallejo Mecha Color 69.058 Gunmetal, Nuln Oil Gloss, Speed Metal
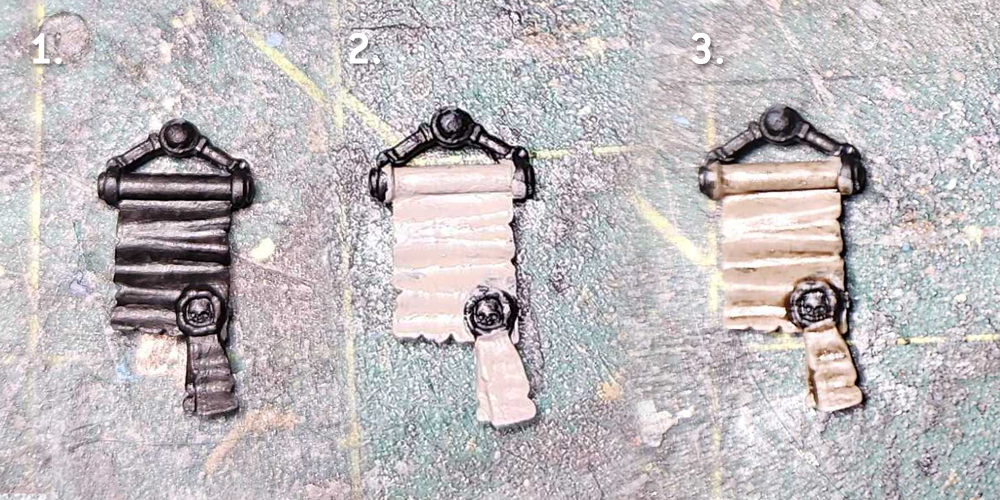
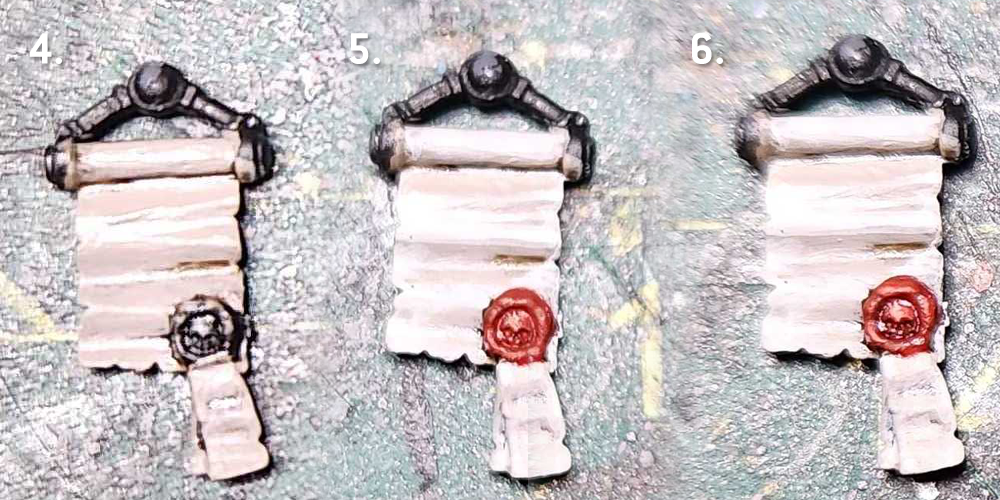
    Parchment: Skeleton Horde Contrast over the bone basecoat
  10. Glue on the sub-assemblies, matte varnish the whole thing, and gloss varnish the eyes.
  11. I painted the base with Mournfang Brown before coating it in Agrellan Earth, which got washed with Seraphim Sepia and drybrushed with Terminatus Stone, but you should base him to match the rest of your army.

    Deathwing Terminator Praetor
    Deathwing Terminator Praetor, from behind. Credit: Jack Hunter

Fallen

Or another, more different, type of black power armor. I have to say, I am not super thrilled to be following that Deathwing model. I’m just going to have to hope you stopped reading after Booley’s part of the post, and get on as best I can here.

Anyway, Fallen are the Dark Angels that aren’t Dark Angels, which I think makes them the darkest of all possible angels. No official models exist, unless you count the obviously photoshopped Veterans kit on Games Workshop’s web store, but it’s easy enough to kitbash any non-Primaris marine kits from either the Space Marines or Chaos Space Marines range. In my case, it was a mix of MK3, MK4, the MK7 Dark Angels Veterans I linked above, some random Primaris bits I had, and a box of Chaos Space Marines, assembled entirely at random with no attention to whether any of it matched (this hilariously led to one model that was, entirely by accident, in a full matched suit of MK3).

Fallen
A small unit of Fallen. Image Credit: Greg Chiasson

Given that these are 11-point bolter jabronis in a joke army that has almost no rules support, the goal was not to spend too much time on them, but I still wanted to try something different from my usual Ravenwing black armor. I wanted something that looked appropriately grimey and banged-up, because lord knows these goobers have Been Through Some Stuff. In contrast to my normal Dark Angels, where I leave off the pouches and decoration in order to keep the silhouette clean, I also loaded them up with extra gear to reflect the fact that they’re always on the move and probably have to haul their entire kit across the galaxy.

Most of the layers are in the armor:

  1. Prime white. Corax White, specifically
  2. Black Templars Contrast on the armor.
  3. Flesh Tearers Red contrast on the gun, and the Dark Angels shoulder logo. Edge highlight of VGC Bloody Red
  4. Wide highlight with VGC Cold Grey
  5. Finer highlight with VGC Wolf Grey
  6. Wash the entire thing with Agrax Earthshade.

Everything else is literally two or three layers. Leather is VGC Dark Fleshtone, highlit with VGC Beasty Brown, and washed with Agrax. Metals are just VGC Chainmail Silver washed black, and golds are VGC Glorious Gold washed brown. Most of these colors were picked entirely at random, but they kind of work, so that was nice.

guff

Wrap-up

That’s it for the Dark Angels. They’re certainly one of the more visually interesting Space Marine Chapters, with multiple different armor schemes for their units, but rewarding to paint and hopefully, rewarding to play now that they have new rules. As always, if you have any questions or feedback, feel free to drop a note in the comments below or shoot us an email at contact@goonhammer.com.