This article is part of a larger series on How to Paint Tyranids. To return to that series, click here.
When I first took up the hobby somewhere around 2004, one of the first things I did after identifying what faction spoke to me most was what colors I was going to use. Flipping through the Tyranids 3rd edition I landed on Hive Fleet Kraken as the most “natural”-looking of the main fleets. While I’ve certainly expanded my collection in the almost two decades of playing with these space Barbies, Tyranids remain my primary faction.
I take a pretty traditional approach to my bug-painting, using mostly layered Citadel acrylic paints and a wash, which is why you’ll find my instructions for both areas are fairly similar. All models begin with a coat of black primer.

The Skin
The skin starts with a basecoat of Balor Brown, after which I raise most areas with a mix of 50/50 Balor Brown/Ushabti Bone, further raising larger areas with 25/75 BB/UB.
Using heavily watered-down Evil Sunz Scarlet, I then line the “vents” and connective tissues between segments, staining them red (careful not to let this run or get too dark). Hit the entire thing with a wash of Agrax Earthshade and allow to dry after ensuring no pooling.
I then go back over raised areas with slightly watered-down Ushabti Bone, gently applying some layers of brighter skintone but being careful not to over do it. I repeat this process a few times, reducing the area each time bring out bulges such as at the thighs and arm muscles/sockets. Highlight the edges/small bulges (like the “finger” joints) with a 50/50 mix of Ushabti Bone and Wraithbone.
Finally, I give any prominent edges one last go-over with a slightly watered down highlight of Wraithbone.

The Chitin
This starts with a Basecoat of Wazdakka Red, after which I raise most areas with a mix of 50/50 Wazdakka Red and Evil Sunz Scarlet, then I further raise larger areas with 25/75 WR/ESS. Next I hit the entire thing with a wash of Agrax Earthshade and allow that to dry after ensuring there’s no pooling. Then I go back over raised areas with Evil Sunz Scarlet, repeating a few times in smaller, higher areas to raise up the color. I edge highlight the plates with a 50/50 mix of ESS/Fire Dragon Bright, possibly going over larger plates in raised areas a few times to make them pop. Finally, I go over the recesses in the plates with your wash very delicately with a fine brush, ensuring I’ll have a nice solid line delineating the two. While you’re at it, this is a good time to go spot-check the model and see if there’s any other places where a detailed application of wash might fix errors/deepen the look.
For eyes/toxin sacs, etc., I use a basecoat of Warpstone Glow and a dot or two of 50/50 WG/Wraithbone. There’s usually very little to these spots. Wash the edges around the eyes if you can, but the area is tiny so take care not to swamp it. Here’s a quick example of the layering process. While I described the skin and chitin separately above, you’ll see that I do both at once which allows me to clean up errors more quickly.
This mini was probably done a little quicker than usual, just to take the photos in one go, but you’ll get the idea.
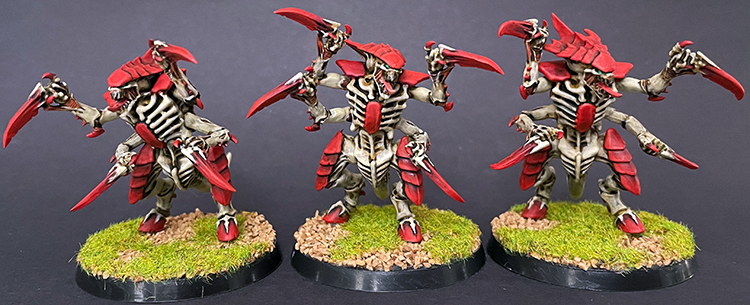
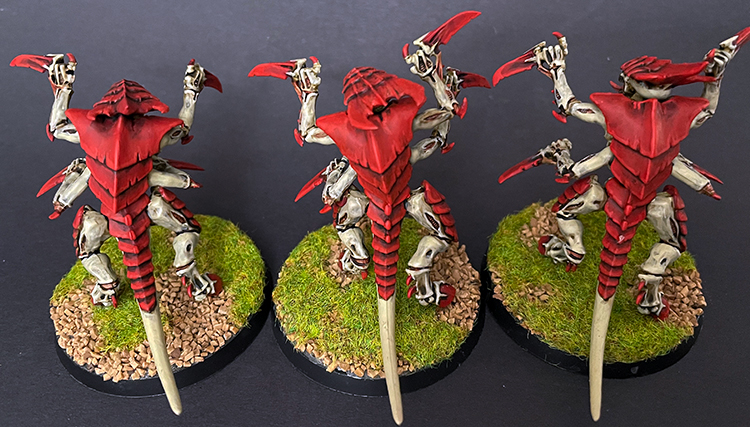
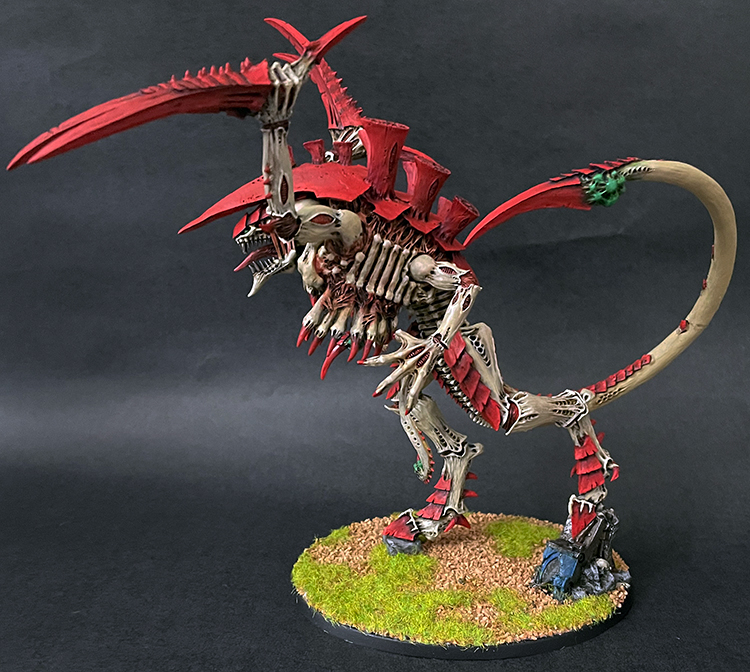
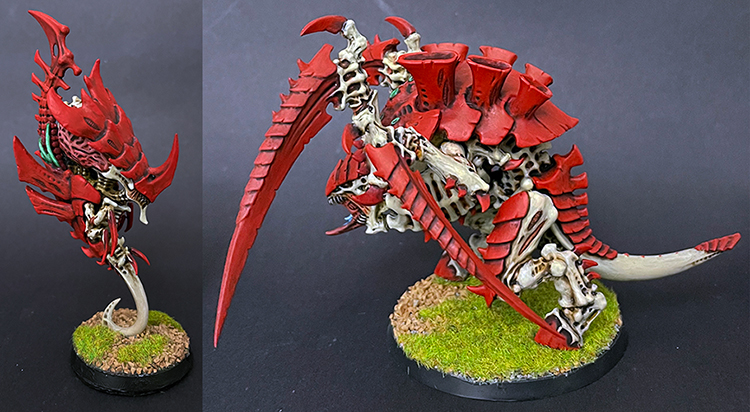
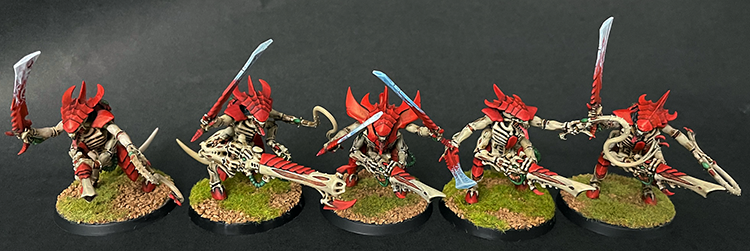
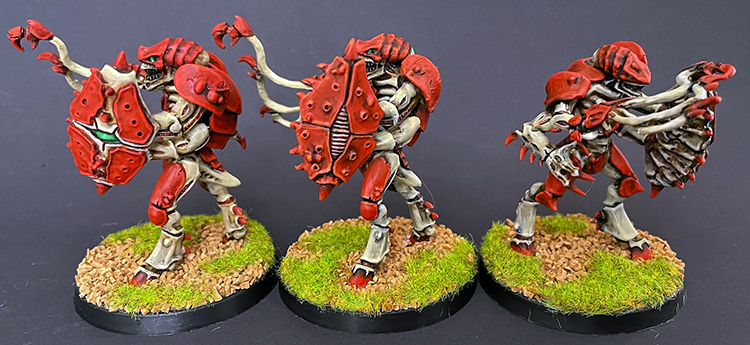
Here’s a few more examples of the same process on different Tyranid models:
This article is part of a larger series on How to Paint Tyranids. To return to that series, click here.


