
This month’s White Dwarf features new missions and a set of new rules for Kill Team, called Dispositions. Dispositions basically function as a subfaction on top of the already existing subfactions and give you a set of 3 Tactics to play with. Most of them are really good, and add a level of flavorful customization to teams that we wish was in the core rulebook, since they’re a much better way of customizing your non-specialists than the level-based boosts in the book’s Campaigns section. The broad downside is that the bonuses are all Tactic-based, and so that means these will be competing for already scarce CP resources. Still, they go a long way toward supporting a particular strategy and team flavor, and can help make non-specialist team members more useful.
In this article, we’ll go over what the Dispositions are, what they do, and what Kill Teams they might work best with. There are six narrative missions in this month’s White Dwarf and each one showcases a specific disposition, and we’ll be going over those and how they feel as well. For each Disposition, our Kill Team group will be weighing in to rate its rules and feel.
Note: These rules are only for Narrative Play, so depending on your play environment, this either means you’re completely out of luck with regard to these rules, or you will be waist-deep in them immediately. As we go through them, we’ll be evaluating their strength and also identifying where we think certain rules might cause some balance issues with casual playgroups.
Note note: All of the Tactics here cost 1 CP. Yes, even the really good ones.
Let’s get started.
Dispositions
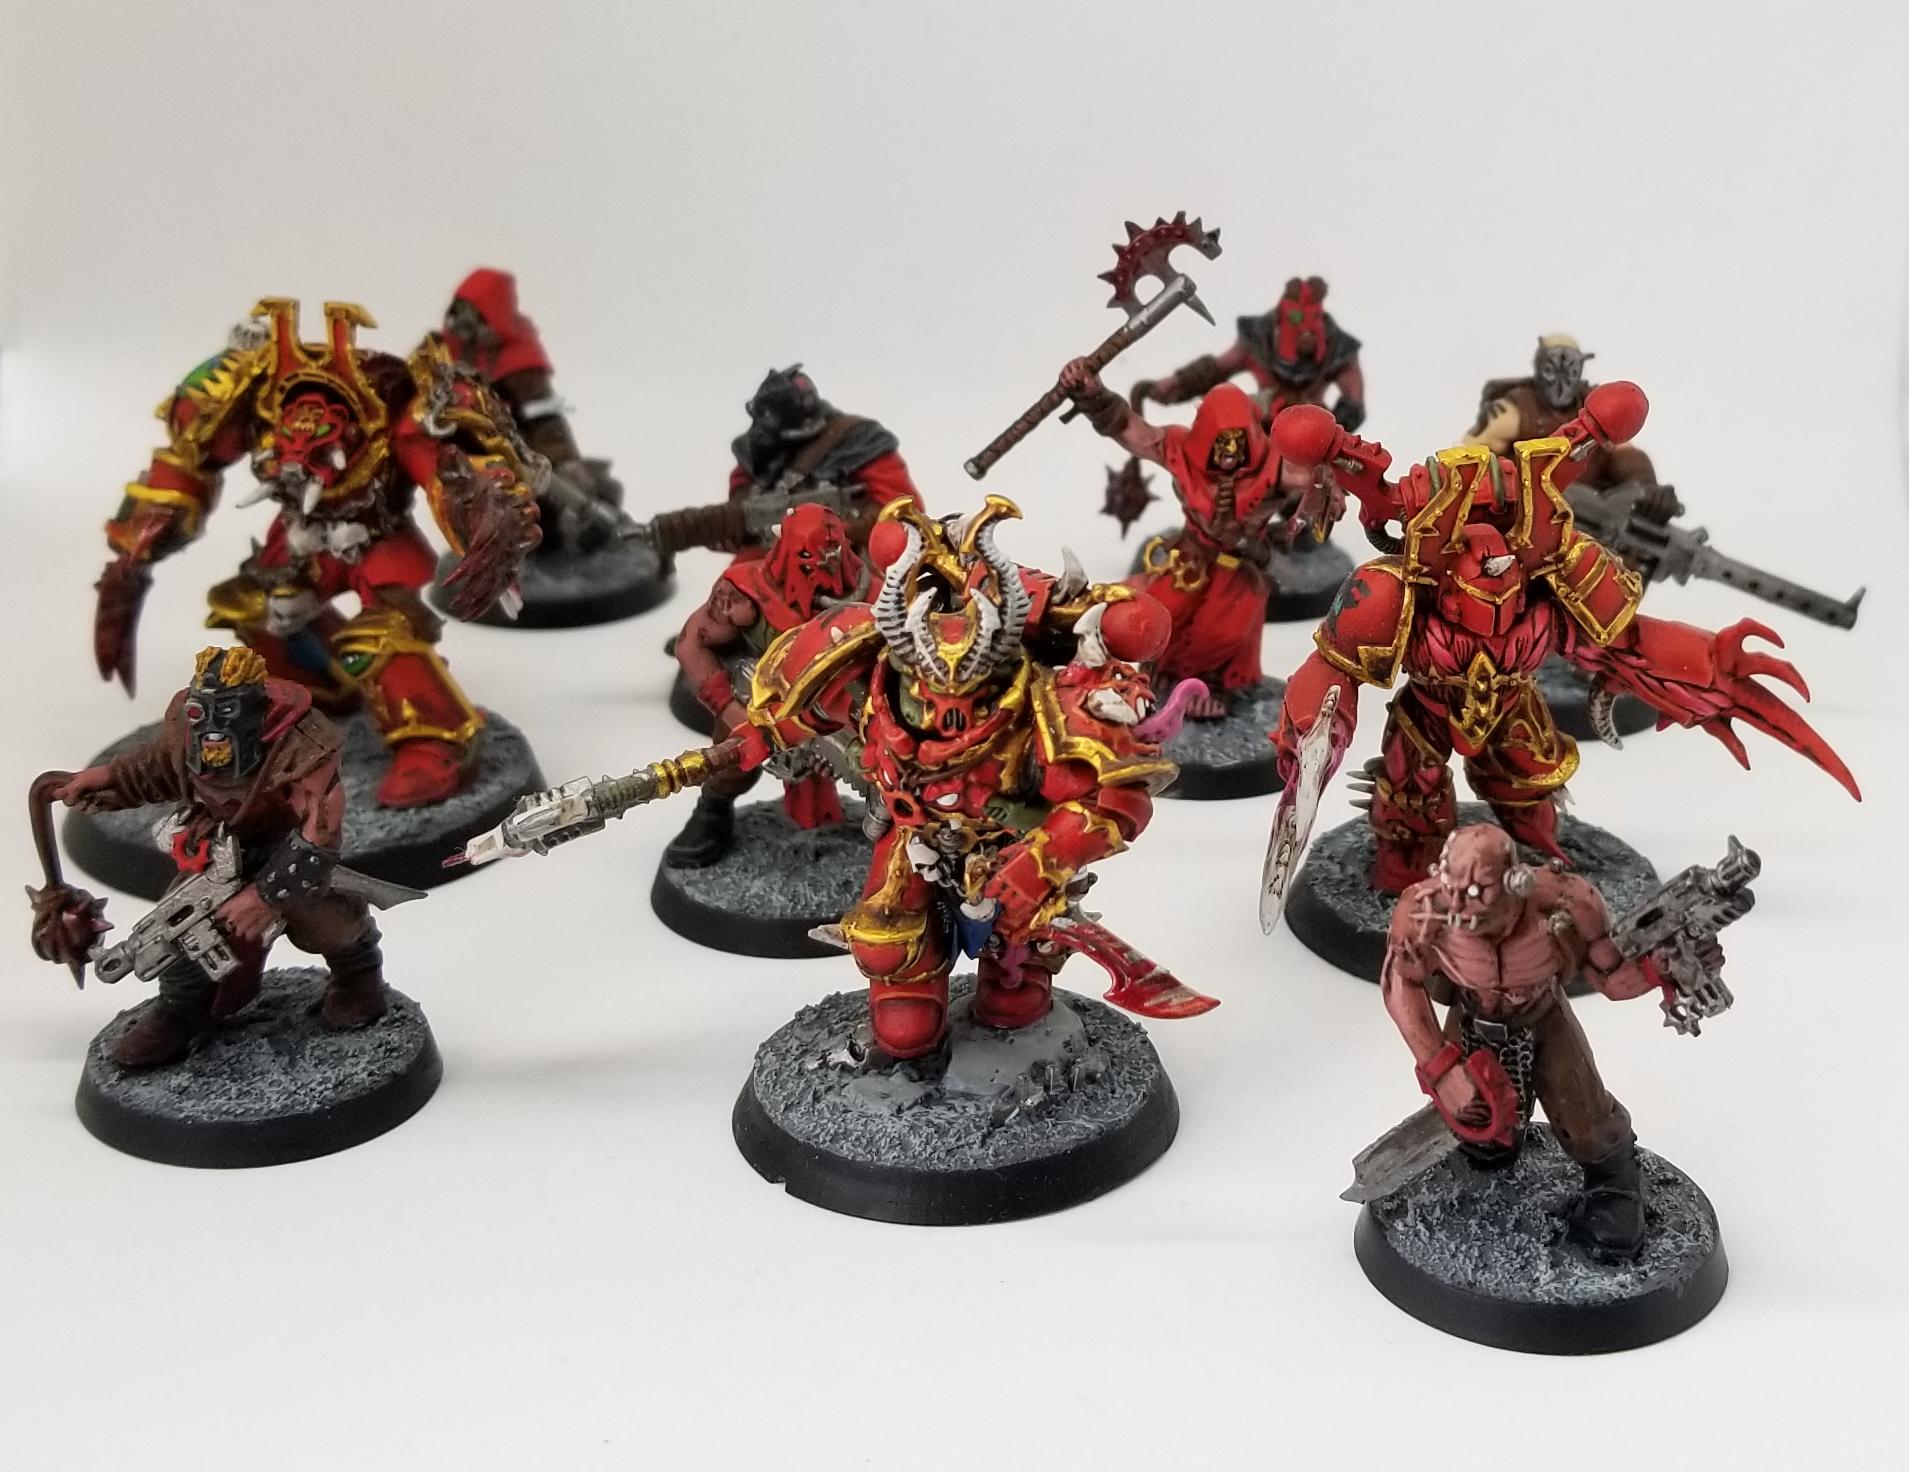
Ferocious
For when you want to let people know that your Kill Team of World Eaters/Carcharodons/Goffs are every bit as bloodthirsty as the lore makes them out to be. This disposition is entirely suited to close combat, which puts it in direct competition with a few other dispositions. Let’s see how it stacks up.
Tactics
Bloodlust – When consolidating, this model can move up to 6” instead of 3”. Being able to consolidate further lets you engage even more units in melee, which is generally good for just gumming them up and forcing them to fall back. It also gives you more scope to get somewhere safer with that extra distance. Just a completely solid tactic. B+
Heavy Blow – When picking a model to fight with in the Fight phase, increase the AP of their melee weapons by 1. This is probably the worst tactic out of the 15 in the article; your native tactics are likely to be better than this. But well, you can get some mileage out of making your decent melee weapons AP-2, to just make teams with a 5+ save really miserable. C
Mania – Use at the end of a fight phase in which a model from your kill team took an enemy model out of action. If this model is within 1” of an enemy, it can fight again. Kill a model, consolidate really far, and then pop this to kill another model. If you’re somehow able to get 3CP and haven’t used any yet, but you’re in a moshpit against 3 or 4 models with your one, then use this in conjunction with Fury of Khorne to have the same model fight 3 times in a single turn. Like Bloodlust, it’s another really solid tactic for a model that can take advantage of it. A-
The Verdict:
Chucat: None of these tend to directly enhance your killing power, which is a bad thing. However, they do function very, very well as force multipliers (except for Heavy Blow, but we don’t care about Heavy Blow). The synergy between Bloodlust and Mania is extremely obvious: Smear a target in combat, use Bloodlust to consolidate towards another target and then use Mania to…smear another target. Consider it if you have high damage melee units, like Custodes, Lictors or the Exarch squad. B
NovemberMike: None of these make a mediocre melee model good, but they’ll take something that’s already scary and let them crush the enemy. I’m picturing a Custodes killing two guys and then using the 6” consolidate to get into another set of enemies and fight again. Terminators, Bullgryns, Lictors and more will all love this disposition. I’ll give it a B because it’s situational but good.
Pendulin: The highlight here is Mania, as 1CP to get a second round of melee attacks is pretty strong, especially for an elite melee army. However, if your opponent’s models are more than 5″ (plus your model’s base diameter) away from each other, you won’t be able to use Mania. However, Bloodlust gets around that by forcing your opponent to space their models apart by at least 8″ (plus your model’s base diameter) to prevent the larger consolidate from getting your model in range. Given that Kill Team is on a fairly small board, they’ll be unlikely to space out their team that way, so you’ll probably get some extra attacks from this disposition.
If your army depends on a large number of melee models, like a Tyranid Hormagaunt swarm, 1CP for a model attacking a second time might not be worth it, as it’s only increasing the total number of melee attacks you perform on a turn by a small percent. On the other hand, if you’re running an elite melee team, like Custodes or Grey Knights, then that that 1CP is increasing the total number of melee attacks you perform by a much larger percent. So overall I’m gonna give this a B, works for elite melee teams.
Condit: For many Kill Teams, the highlight might actually be Bloodlust. With decent positioning, a 6” consolidate will let you rob your opponent of a model’s shooting next turn without having to risk overwatch. Playing around this will force your opponent to keep their models more spread out, which means they’re probably not making as effective use of cover as they might like to. In a game where many Kill Teams don’t have access to serious melee threats, being able to squeeze that extra maneuverability out of the models they have that do want to be in close will go a long way. It also opens up options to consolidate around targets to ensure they won’t be able to fall back in a direction you don’t want them to. B
Consider this disposition if:
You have a really, really potent melee core – Tyranids, Aeldari, Custodes, Chaos
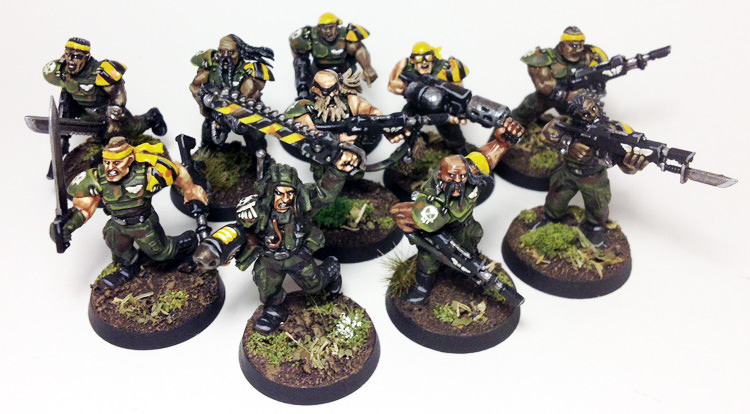
Guerrilla
This Disposition is generally focused around weird movement tricks, and the ability to paint an enemy target to get some cool re-rolls on it.
Tactics
Feigned Retreat – Use when a model from your kill team falls back. That model can shoot later in the battle round. Craftworlds get a tactic like this with exactly the same name. I have no idea if you can use both in the same turn, but I’d assume you can. This is always useful to have in your back pocket, especially for things like flamers, or your potent long-ranged units that somehow got charged the turn before (but somehow lived). If you pick Guerilla, keep this in mind. B
Coordinated Attack – Use after a model from your kill team has resolved all of its attacks against one enemy model in the shooting phase. For the rest of that phase, you can re-roll hit rolls of 1 against that model. Basically what Markerlights should have been. Keep in mind quite a few factions and specialists get a native source of re-roll 1s to hit anyway. So consider that before you choose to run Guerrilla for this tactic. If you don’t have one, great, if you do, consider Headhunters or Covert. C- (if you already have re-roll 1s) or B+ (if you don’t)
Raider – Use this when picking a model to fight with. That model can pile in and consolidate in any direction, rather than only closer to the nearest enemy model. This is cute and neat. Being able to move anywhere for your fight phase moves pretty much opens up your options, and allows you to hide safely after a fight, or inch closer to another target you plan to gum up for the next turn. If you’re running Guerilla, this is one of the two things you’re gonna want to build around. B
The Verdict:
Chucat: I want to like this, it has a bunch of things that are pretty neat. But compared to what some of the other dispositions offer, ‘neat’ doesn’t quite cut it. Most specialists and factions, especially in Narrative Play, will have the ability to re-roll 1s anyway, so Coordinated Attack isn’t especially groundbreaking. Feigned Retreat and Raider can be interesting, but that’s pretty much it, just interesting. C+
Novembermike: This has less raw power than some of the other dispositions, but everything here is strong in the right situation. Feigned Retreat makes it harder to tie up one of your important shooters and Coordinated Attack makes it safer to take damaging effects like plasma. Raider might be the most interesting, since consolidating in any direction lets you charge and then consolidate out of melee, making it possible to dance around a hard hitting opponent or sneak onto an objective. This is probably another B, it’s strong but you need to build around it a bit to make it worth it.
Pendulin: This disposition leaves me underwhelmed. Falling back and still shooting with Feigned Retreat is good, but it means your model had to survive a round of melee attacks from an enemy model that probably charged you. In my experience, it’s unlikely to see melee engagements until turn 2, meaning turn 3 is the first time you could use tactic. However, being able to pop a sniper out of melee and get a clutch shot off is entirely possible.
Coordinated attack only comes into play after a model on your team attacks shoots an enemy model, doesn’t take that enemy model out of action, and you have other friendly models with ranged weapons and line of sight on that enemy model. A bit niche, but in a horde ranged army like Genestealer Cult with a bunch of shotguns, I could see being decent. Raider lets you play some games with pile in and consolidate, which can be situationally amazing, or never come up in a game. C, works for horde ranged teams, though you have better options
Condit: Feigned Retreat is just a faction-neutral version of the Eldar Tactic, also called…Feigned Retreat, which is a great tactic to have up your sleeve in its own right, and Coordinated Attack lets you turn a random squaddie into a vector to pass out re-roll 1s to the rest of your team. Raider is a cool trick that fills a similar niche to Feigned Retreat while simultaneously letting you ensure you’re piling your attacks onto the target you want and not just the one your opponent fed you. All in all, this is probably a B- overall: flavorful and fun, but probably not amazing.
Consider this disposition if:
You have a high volume of ranged firepower (especially plasma) but can’t re-roll 1s anyway.
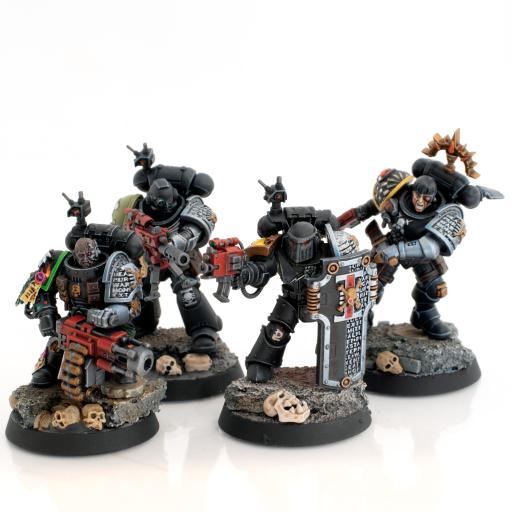
Headhunters
This disposition is based around doing a lot of damage, as well as getting some nice free CP from getting high-value frags.
Tactics
Critical Hit – Use this after a saving throw is failed as the result of an attack made by a model from your Kill Team. Increase the damage inflicted by that attack by 1. So this is almost the best tactic out of the 15 introduced in the article, because two things combine to make it extremely disgusting: Firstly, you’re doing an additional wound, so you’re suddenly giving 2-wound models a very, very bad day indeed. Then secondly, you’re modifying the Injury Roll, and rolling 2 dice for an injury roll is much, much better than rolling 1 for getting stuff of action. It’s great. A+
The Hidden Blade – Use when a model is chosen to fight with. That model can only make a single attack with one weapon, but on a wound roll of 4+, that attack deals a mortal wound in addition to any other damage. This is situational. You can get some use out of it if a crummy model of yours gets charged and somehow lives, and you want to force a couple of coin flips to maybe get the enemy out of action. In all honesty though, it’s not really great, and mortal wounds don’t tend to interact well when combined with ‘additional damage’. C-
Target Eliminated – Use after a Leader or Commander is taken out of action as the result of an attack or psychic power from your kill team. Gain D3 command points. For those following along at home, this is pretty much the Tyranid Tactic Feeder Tendrils, and my thoughts for that pretty much apply here as well. Besides the situational factor, there’s pretty much no drawback at all the ability, the worst case is you just don’t lose any command points, and you have 2/3rds chance to gain at least 1. B+
The Verdict:
Chucat: Critical Hit and Hidden Hunter are basically in a cage match for the best tactic in Kill Team. You want to kill things, Critical Hit is always going to help with that. The tactic is just so obviously good, unless you’re fighting Tau or something. Target Eliminated is also really nice to have. This works really well for pretty much any Kill Team, but definitely consider it if you have a lot of high-volume, single wound weaponry. A+
Novembermike: Critical Hit is the one Tactic in this list that makes me discount the entire list for competitive play. You activate it after an attack has gone through the saving throw so the CP is never wasted and it plays a bit too well with injury rolls. The other two abilities are fine but this just seems too good for 1 CP.
Pendulin: Pick this one. Using Critical Hit to increase the damage (and thereby drastically increasing your odds of taking a model out of action with the injury roll), is extremely powerful for 1CP. Even ignoring the other two tactics, that’s enough reason to take this disposition. The Hidden Blade is interesting, but I think it’s likely an overall poor tactic. Dropping a model to 0 wounds with a mortal wound means you are only rolling a single dice for the injury roll, which makes mortal wounds weaker than any sort of multi-damage attack. Target Eliminated is just reward for taking the enemy Leader out of action, nothing wrong with that. A, works for any team
Condit: Critical Hit. A+
Consider this disposition if:
You like to murder things in ranged or melee with high volume, low damage firepower
You have a Smart Missile System and want to do 2 damage to a leader and then get them out of action then use Target Eliminated
Dread
This disposition likes to make a mess of the enemy’s pots and pans, and then just kill them, for fun. Very cool flavor-wise for a Night Lords or Drukhari Kill Team.
Tactics
Fear – Use this at the start of the take Nerve tests step of the morale phase. Choose a model from your kill team. All enemy models within 6” have to roll 2 dice and pick the highest when taking nerve tests. This is a solid tool, especially for armies that have access to Ld bomb abilities. It nearly doubles your opponent’s chances of rolling a 6 and gives them about a 56% chance of rolling a 5+ on the nerve check. Add in a -1 or -2 to the Ld check, and you’re looking at a decent chance of shaking Ld 7 with a single casualty. And if you’re playing a mission where you continue playing if your opponent’s Kill Team is broken, this could let you turn one failed Nerve test into a cascade of catastrophic rolls, all but removing your opponent’s ability to fight back. Situational, but good when it’s in play. B
No Escape – Choose a model within 1” of an enemy who is attempting to fall back. Models within 1” of that model can only fall back on D6 roll of a 5+. Abilities like this are always good. Having an enemy fall back from you is one of the lamest feelings in all of Kill Team. Then it gets even worse when everything shoots the hell out of you. Fun fact: This would also stack with the ability that Drukhari Wyches get, also called…No Escape. Both of these would combine to make it so that an opponent only has a 14% chance to fall back. Naturally this also works better the more models are surrounding one of your models. B+
Reaper – If a model that is either shaken or flesh wounded is reduced to 0 wounds as the result of an attack made or a psychic power manifested by one of your models, that model is instantly taken out of action. This tactic looks completely and utterly horrifying the first time you read it, and then it gets less scary the more you think about it, but it still ends up pretty disturbing. This works with psychic powers, so Grey Knights can just double dip their Smites on the same model and definitely kill it. High volume fire also becomes terrifying because every other shot that gets through will also definitely kill a target (even the most obscured target ever), and it obviously works in melee as well. Keep in mind, since it’s a tactic, you can use it in every phase, so if you’re able to get enough, you can use it 3 times per turn… A-
The Verdict:
Chucat: Reaper is definitely the thing that jumps out here, and if you have the CP to burn, then it stays really, really scary. No Escape is excellent at disruption though, and Fear is really, really good at disruption, especially when combined with Leadership maluses such as Vox Ghost, Phantasm Grenades and Tyrant. It does suffer from the Kill Teams that want it the most (fast, single damage melee heavy kill teams) also being very, very interested in Headhunters as well. B-
Novembermike: Reaper is the most striking tactic, but Fear is solid against teams that have morale issues and No Escape is powerful since it can let you lock down Tau or AdMech models that don’t want to stay in melee. This disposition only seems worth it with a melee or short ranged team but with those it’s solid. C
Pendulin: Skipping the injury roll with Reaper is pretty powerful. However, limiting it to only models with flesh wounds means you were already more likely than not to take that model out of action with the injury roll. Sure, it also affects shaken models, but if your opponent has models getting shaken, they’re probably already in a bad spot. Fear would be strongest when there are a bunch of Nerve tests your opponent has to take, which again, means they are already in a bad spot. No Escape locking your opponent in melee is fine I guess, plus has a 33% chance of just doing nothing entirely. Verdict: C, works for melee teams
Condit: If you’ve got the tools to make use of a Ld bomb, this disposition will let you crank that into overdrive and squeeze every last bit of value out of it. If you don’t, I guess it’s got some neat tricks? Fear helps you remove models from play by forcing unfavorable Nerve tests, No Escape keeps your targets right where you want them so you can take them out, and Reaper will help you secure crucial kills when you need it most, or let you finish off models from a broken Kill Team. You’ll need to build around it to make it work, but lists like Harlequins or Drukhari could get some serious mileage out of it with a little forethought. B-
Consider this disposition if:
You have a lot of -LD bonuses – Drukhari, Night Lords
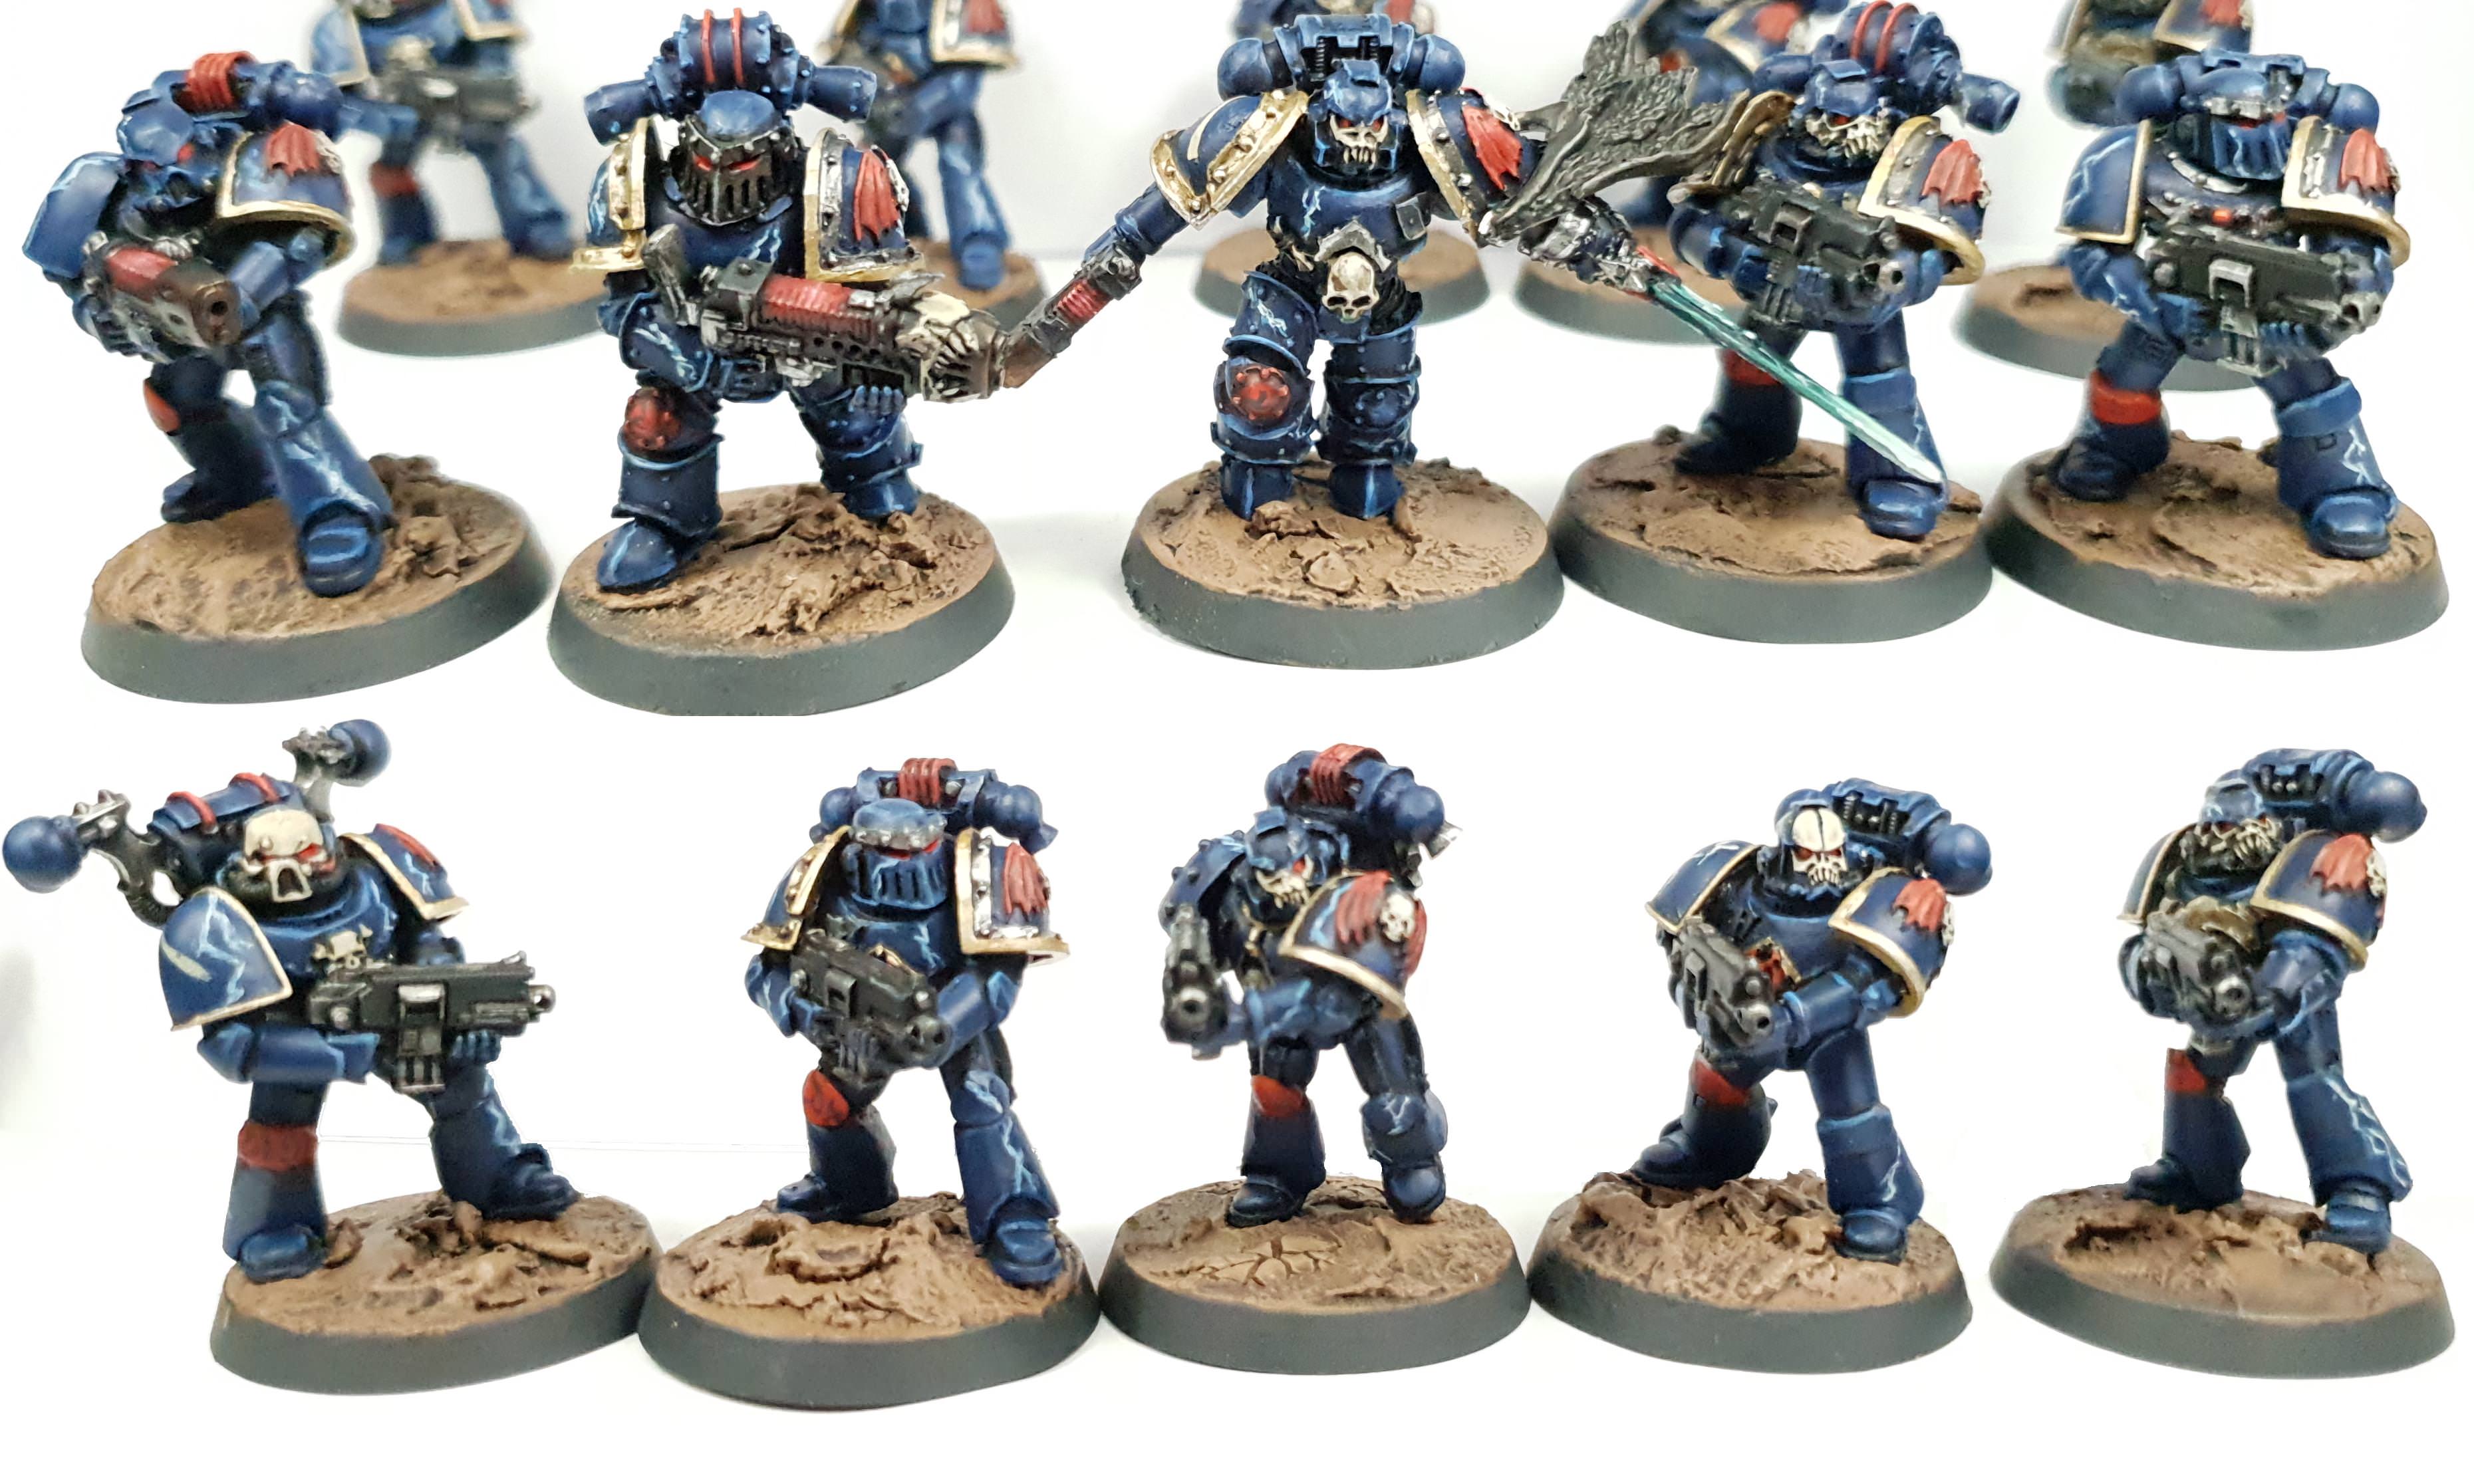
Covert
This Disposition is all based around making your shooter the best shooter ever, making your charges the best charges ever, and being harder to hit sometimes, because why not. It fits very well thematically on sneaky teams, so feel free to pair it with Rangers, Raven Guard, and Alpha Legion.
Tactics
Hidden Hunter – Use when picking a modelmodel from your Kill Team to shoot with in the shooting phase. Until the end of the phase, if the firing model is obscured FROM THE TARGET, ignore all negative modifiers to hit and injury rolls made against that target. So, based on how this is written, this also includes the negative modifiers for: “Long Range”, “Moving and shooting a weapon” and “Suffering from flesh wounds”, as well as several other things. I’m just going to go over the two ranged specialists who massively benefit from this and bring up how completely broken this makes them.
- Demolitons – You’re not suffering any negative modifiers to hit, which means you can go ham on shooting obscured targets. If you have a Comms nearby, enjoy hitting on a 2+. You can add 1 to wound and re-roll your 1s, so have fun with that. Siegemaster then means you’re getting anything out of action on a 3+, so once again, have fun.
- Sniper – Reading this tactic really carefully, you’ll note it specifies you use it when you pick a model to shoot with. This doesn’t prevent you from splitting fire, which becomes extremely relevant when you use Quick Shot. This doubles the number of shots you can make, but gives you a -1 to hit on your rolls, except Hidden Hunter makes that not exist, so you just get to double your shots, for free. If you’re Readied, then you’re going to be hitting on 2s, re-rolling 1s. I mean, you’re “on your own” for Injury Rolls, but you’re probably shooting them with 2-4 shots of Rapid Fire Plasma, so I’m sure you’ll be fine.
In conclusion, this tactic is rated S Tier Gold Ultra Plus
Conceal – Pick a model more than 8” from any enemy models at the start of the shooting phase. That model cannot shoot, but it counts as obscured, if it would already count as being obscured, it counts as being at long range as well. 1 CP to get -1 to hit, completely and utterly fine. Less good than in 40k since 6s always hit anyway, but don’t forget this will also modify injury rolls (unless you’re already obscured). Nowhere near as good as the other two tactics, but they’re completely busted. B
Ambush – Use this when picking an enemy model as the target of a charge. If your model is obscured from the enemy model, they cannot React to that charge. The enemy can’t retreat, and they can’t overwatch you. You can just go and mess up the day of someone with a flamer, or just gib someone who would normally just retreat from you and ruin your day. You can’t go wrong with this. A+
The Verdict:
Chucat: Hidden Hunter is so completely broken that if this wasn’t a Narrative Play ‘expansion’, it would have been completely and utterly nerfed into the ground already. I’m rating this tactic so highly that I keep ignoring the fact that they can REMOVE OVERWATCH OR RETREATING with their other tactic. A+
Novembermike: This is your ranged disposition. The modifiers to hit with ranged attacks can make you ⅓ as accurate or worse, and Hidden Hunter cancels all of those out. That helps you make a critical plasma or missile shot against a hidden target. Conceal and Ambush also help with efficiency, Conceal can protect a model on an objective and Ambush can help you make a charge into a flamer. A
Pendulin: Ignore all negative modifiers to hit and injury rolls? Yes, please. Gaining obscured or count-as long ranges, but losing the ability to shoot? Meh. Completely denying overwatch or retreating? Very yes. A, works for teams with both ranged and melee elements
Condit: Hidden Hunter and Ambush are both incredible. Conceal is good too, I guess. Outside of maybe Headhunters, I’m honestly struggling to understand how the other dispositions are supposed to compete from a raw efficiency perspective, especially since these effects aren’t the sort of things most factions have access to natively. A+
Consider this disposition if:
You like to win.
You aren’t so worried about potentially being seen as “That Guy” in your casual Kill Team gaming group.
The Missions
Bloodbath (Ferocious)
Don’t bring Tau to this. There’s a rule where every time a model moves they have a 1 in 6 chance of going crazy and being forced to charge, and you score points every turn by successfully charging and not falling back, being in the enemy’s deployment zone and killing enemies in melee. This looks like a fun Thunderdome mission with a little bit of randomness.
Raid (Guerilla)
If only one player has a Guerilla Kill Team they are the attacker, otherwise you roll off. Attackers have a big deployment zone and defenders have a little one, and the attackers have to get in and destroy an objective. If the attacker did this they get 2 VP, otherwise the defender gets the 2 VP. There are also up to 4 points for killing enemy models, so you can complete the objective but lose the mission.
Elimination (Headhunter)
If there’s only one team with the Headhunter disposition then they must be the attacker, otherwise figure it out. The defender deploys centrally and chooses one of their models to be The Mark. The attacker can deploy on three board edges around the defender and they win if they kill The Mark. The mission gives a few tools for the mark to better defend himself but he’s generally vulnerable in melee. This differs from traditional Assassinate missions because the mark ends up being pretty hard to kill at range.
Raze Their Idols (Dread)
As with other missions if there’s only one Dread player then they are the Attacker. The Defender has three objectives in their deployment zone, and the Attacker can destroy them by killing or shaking all defenders on the objective, controlling the objective and rolling a 2+ on a d6 at the end of the turn. If the Attacker destroys two objectives then they win. I haven’t played this but I feel like there will be issues with certain matchups making this unwinnable for one of the sides. That said, the objectives are cooler
Infiltrate (Covert)
This mission looks really cool. It’s basically a Metal Gear Solid mission and uses rules similar to the old Sentry rules in Necromunda/Shadow War: Armageddon. The defender starts off unaware of the attacker, and while they’re unaware they always have the initiative (so they move first) and can only move D6 inches if they roll a 5+. This ends if they ever move within 6” of an enemy model, or within 9” of an unobscured model, or if the attacker attacks, or inevitably at the end of round 2. The actual objective is pretty boring, the attacker just has to control an objective in the middle of the defender’s territory, but the whole stealth thing looks like it should create a neat minigame that’s ideal for making this part of a campaign or a combined narrative experience with a game of 40k.
Regroup
All of your models get spread out across the board and each turn you get a VP if you have the largest “group” (models within 6” of the same model and not in combat). Gain 3 VP for breaking the enemy team. This could easily be broken by some high-mobility teams but if everyone’s playing a reasonable force it looks like a lot of fun.
Wrapping Up
Overall, Dispositions have a few balance issues (that probably could have been mostly solved with a CP cost increase or two), but they’re otherwise a fun and interesting new wrinkle to add to kill teams that can really add flavor to a team. The missions also add a lot of variety to the Kill Team mission set, and are for the most part, the kind of missions we wanted to see in Narrative play from the start. If you haven’t already picked up this month’s White Dwarf and you play a lot of Narrative Kill Team, it’s worth your time to scoop up a copy, if only for the missions.
As always, if you have any questions or feedback, drop us a note in the comments below, or shoot us an email at contact@goonhammer.com.
