Dan “dittka” Boyd: Hello friends! Back in 2019 we published a HTPE for Raven Guard. Well, we’re back again 4 years later with an updated article: this time with WIPs! My methods haven’t really changed in the intervening years, but I’ll explain the process once again!
Dan’s Method
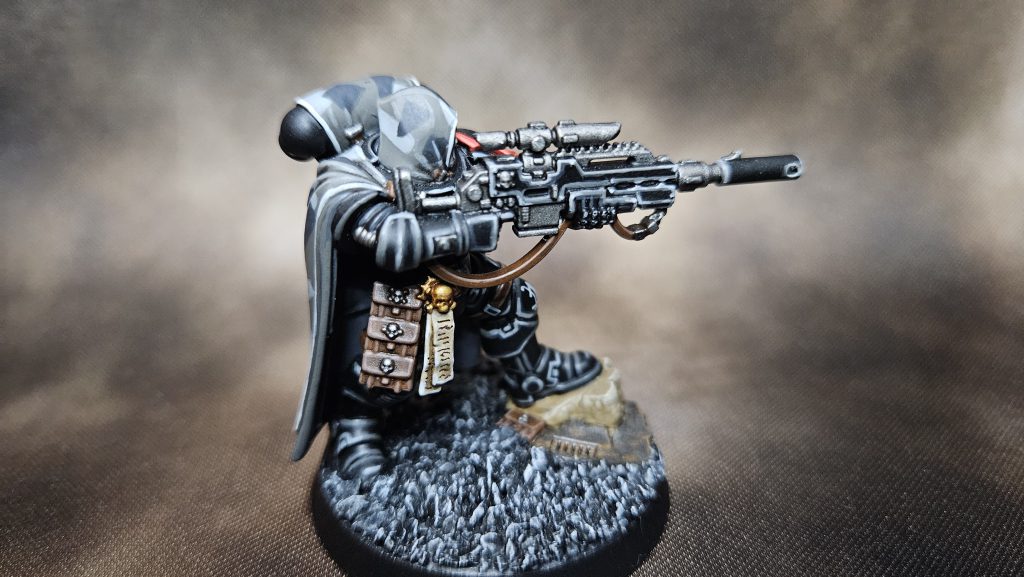
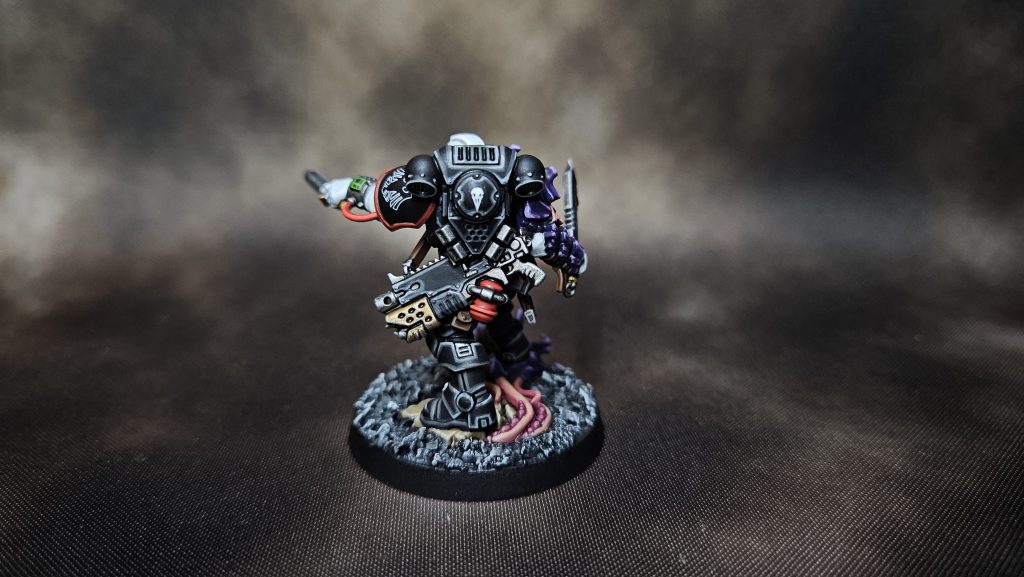
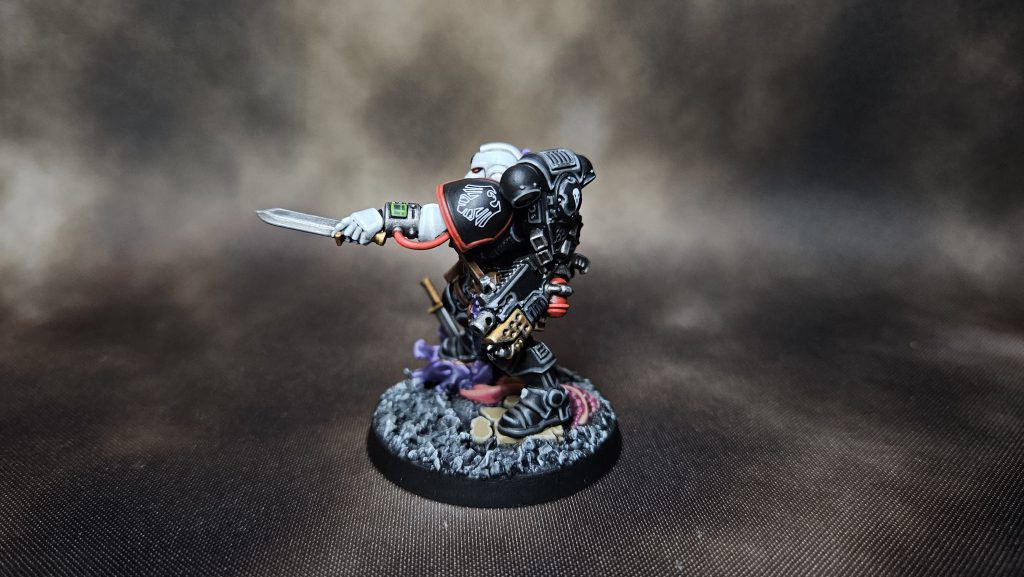
My favorite color combo is black and white. I adore high levels of contrast on a mini or in a squad, and I wanted the areas between black and white to skew in the direction of grey, not blue or green like many people do with black. I wanted to highlight (get it) the beauty of pure black by sticking to neutral grey highlighting on my blacks and neutral grey shading on my whites. Red would be my accent color, breaking up the black and white, and then some details would involve green, in contrast to the red. I obviously didn’t want to do black leather on top of black armor, so I went with brown for my leather. The brown and red details tend to give my army a warm “theme” and, while this was unintentional, I’m happy with the result.
I’ll warn you that this process is pretty time-consuming. I’m kind of a perfectionist when it comes to painting, and this method is extremely thorough. If you’re looking for a quick way to get bird bros painted up and on the field, then this might not be the method for you.
The Process:
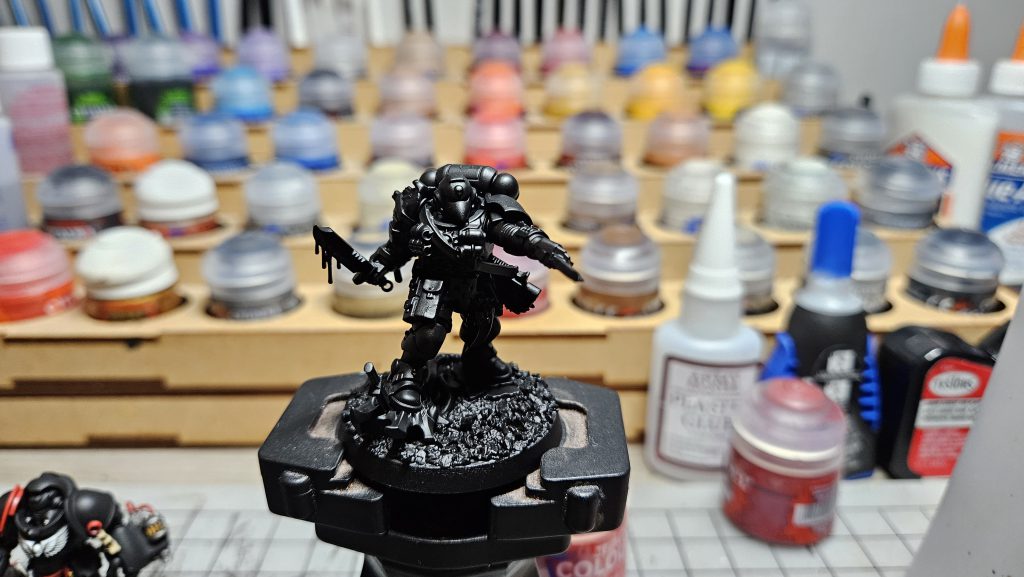
I do not paint one color to completion like some folk do, but instead I paint in “like layers” because I am not good or steady enough to not splatter paint all over my finished highlights. It goes like this:
- Prime black (obviously)
- Basecoats
- Touch-ups
- Lighter basecoats for colors that need it (white and red, mainly)
- Touch-ups
- Shading
- Touch-ups
- Highlights
- Bases
- Transfers
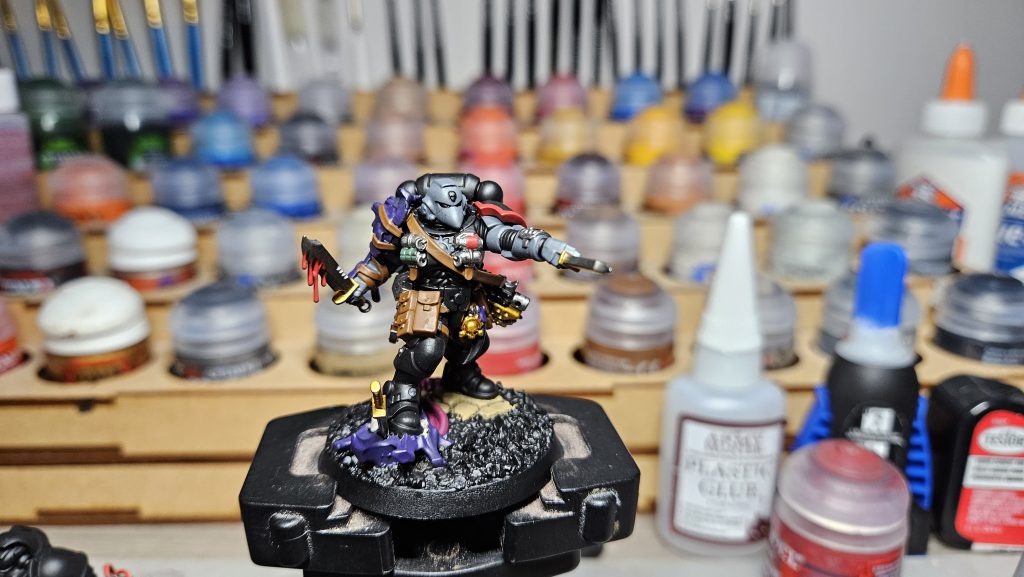
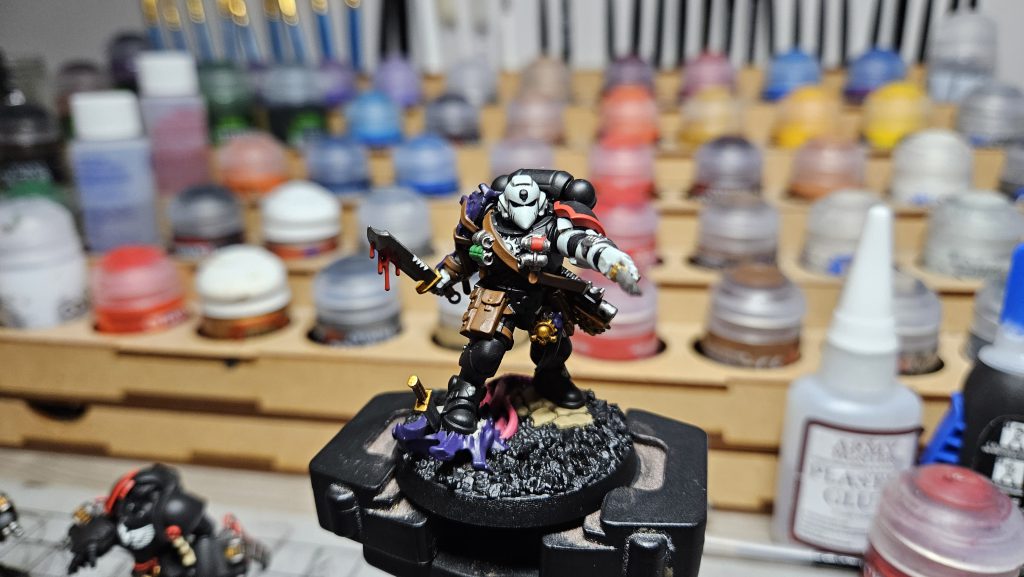
The longest step is the highlights step. Black is a hard color to paint well, and my recipe involves 3-stage edge highlighting. It think it works well and really allows the model to pop, but man oh man,is it time-consuming. The final product is worth it, though.
The Recipes:
I use Citadel paints and I do not own an airbrush, so get ready to make fun of me or whatever.
Prime
Black, as stated before.
Black
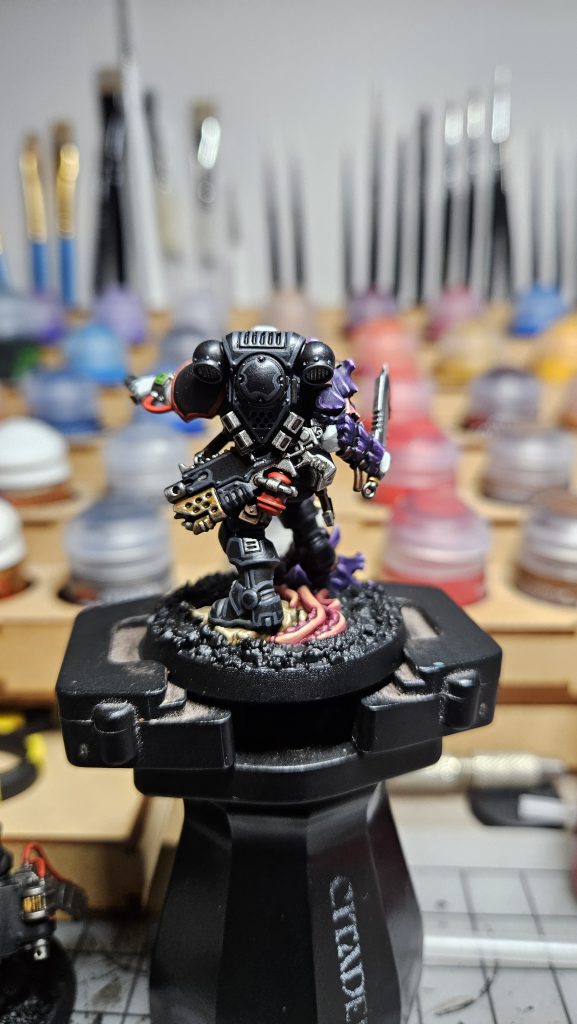
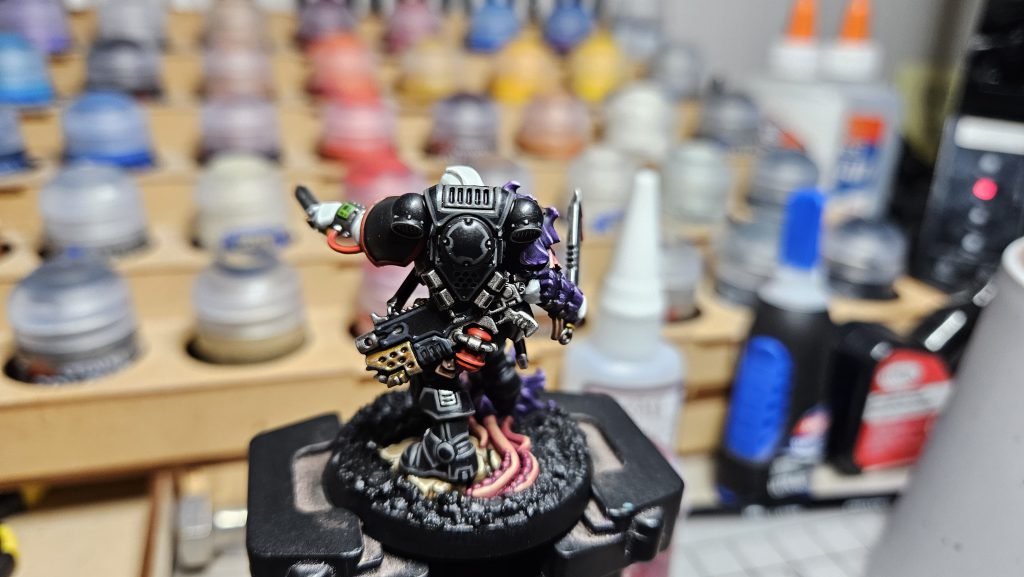
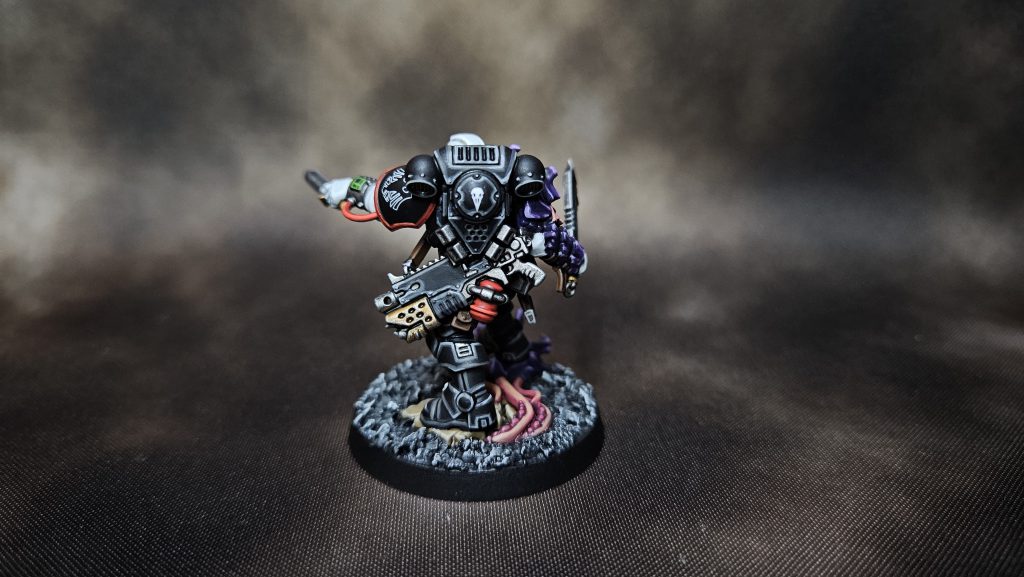
- Abaddon Black basecoat.
- I do actually paint Abaddon Black over black primer. They both finish differently, and any touch-ups in Abaddon are noticeable. To me, at least.
- Eshin Grey edge highlight.
- This one can be a little thick.
- Stormvermin Fur edge highlight.
- This one should be thinner than the previous layer.
- Administratum Grey edge highlight.
- Just at the corners and raised areas on the model, not all over.
White
- Mechanicus Standard Grey undercoat.
- Ulthuan Grey basecoat.
- Nuln Oil recess shade.
- White Scar edge highlight.

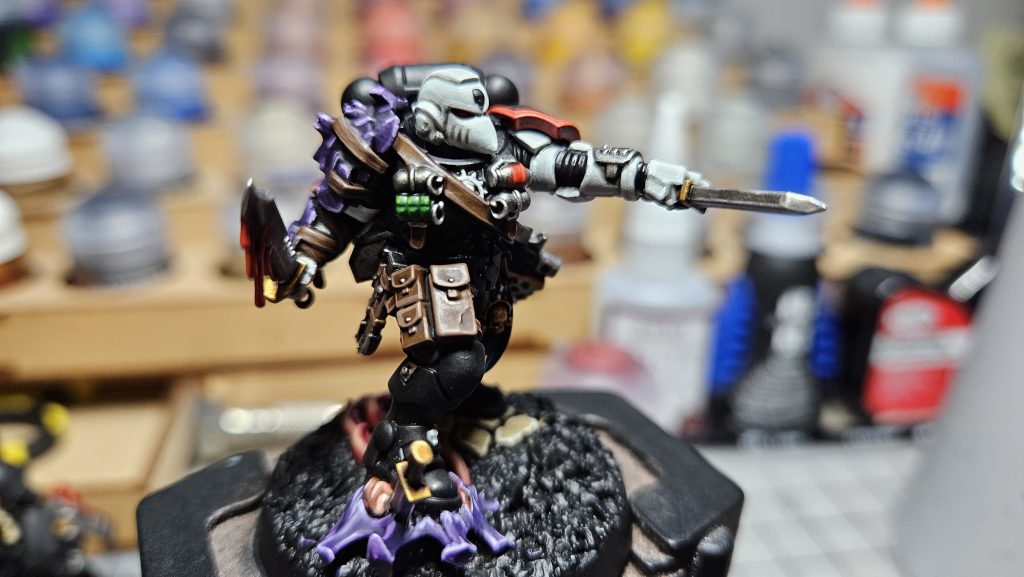
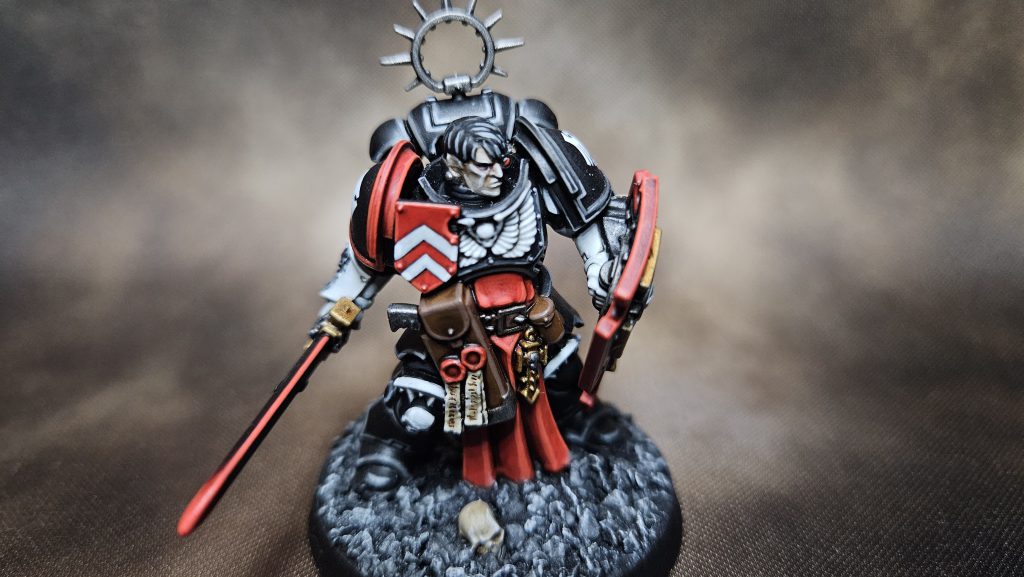
Here you can see a lot of the non-black highlights. If you pay attention the helmet, you can see both the Nuln Oil Recess shade and the White Scar final highlight. The final highlight is subtle, but it works to emphasize the contours and shapes of the white armor panels. Additionally, here’s a good look at the finished leather. The all-over Agrax Earthshade serves to tone down and enhance the Mournfang Brown base, and the Gorthor Brown highlight does a great job separating the panels.
Skin
- Rakarth Flesh basecoat.
- Raven Guard are canonically very pale, and Rakarth Flesh is a great base for an unhealthy pallor.
- Reikland Fleshshade recess shade.
- Druchii Wiolet recess shade around the eyes.
- A very light shade, here, just for increased depth.
- Pallid Wych Flesh highlight.
- Abaddon black eyes.
- Canonically, all Raven Guard have black pupils, irises, and sclera, so coloring the eyes in with black is both easy and canon!
Leather
- Mournfang Brown basecoat.
- Agrax Earthshade all-over shade.
- Gorthor Brown edge highlight.
- Runefang Steel highlight on any buttons, snaps, or buckles.
Red
- Khorne Red undercoat.
- Evil Sunz Scarlet basecoat.
- Agrax Earthshade all-over shade.
- On cloaks and red cloth I keep the shade to the recesses.
- Wild Rider Red edge highlight.
- Troll Slayer orange corner highlight.
- I usually don’t go all the way up to Troll slayer on regular dudes, but reserve it for characters with a lot of red on them, like chaplains and captains.
Bones and Scrolls
- Zandri Dust undercoat.
- Screaming Skull basecoat.
- Agrax Earthshade all-over shade.
- Rhinox Hide writing.
- If applicable. On purity seals I do squiggly lines, but on scrollwork I try to write a word that suitable Raven Guard-ish. My favorite bit is from my Primaris Ancient.
- White Scar corner highlight.
Silver
- Leadbelcher basecoat.
- Nuln Oil all-over shade.
- Runefang Steel edge highlight.
Gold
- Retributor Armor basecoat.
- Agrax Earthshade all-over shade.
- Liberator Gold corner highlight.
Brass
- Retributor Armor basecoat.
- Reikland Fleshshade all-over wash.
- Runefang Steel edge highlight.
Eye Lenses
- White Scar horizontal line, done with a very tiny brush.
- Bloodletter glaze.
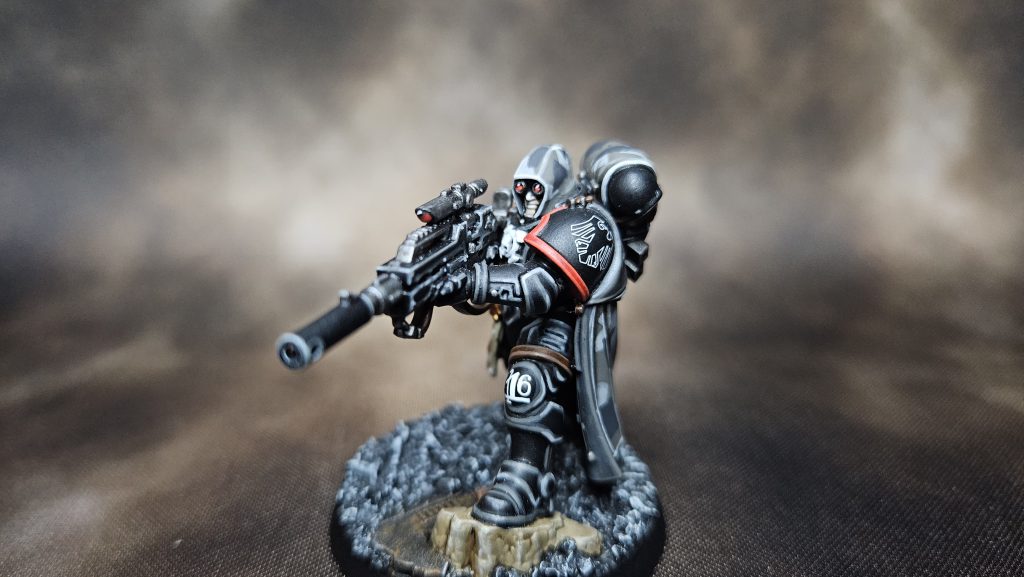
Rifle Scopes and Vehicle Optics
- Khorne red basecoat.
- Apply to half of the area on the diagonal.
- Evil Sunz Scarlet highlight.
- Keep a line of Khorne Red still showing.
- Wild Rider Red highlight.
- Once again, keep some of the previous color showing.
- Troll Slayer orange highlight.
- Last time, but keep some of the previous color showing.
- White Scar dot opposing the red gradient.
- Makes it look like shiny glass.
Green Bits (screens, glowing things, etc.)
- Caliban Green basecoat.
- Warpstone Glow highlight.
- Moot Green highlight.
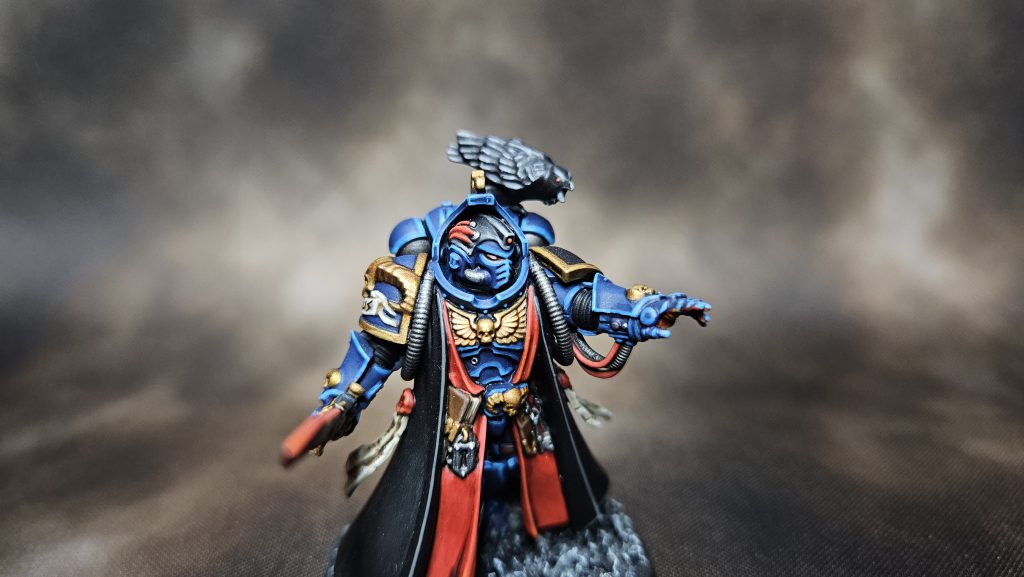
Blue Armor (for Librarians)
- Kantor Blue basecoat.
- Druchii Violet recess shade.
- Alaitoc Blue edge highlight.
- This one can be a little thick.
- Teclis Blue edge highlight.
- This one should be thinner.
- Baharroth Blue corner highlight.
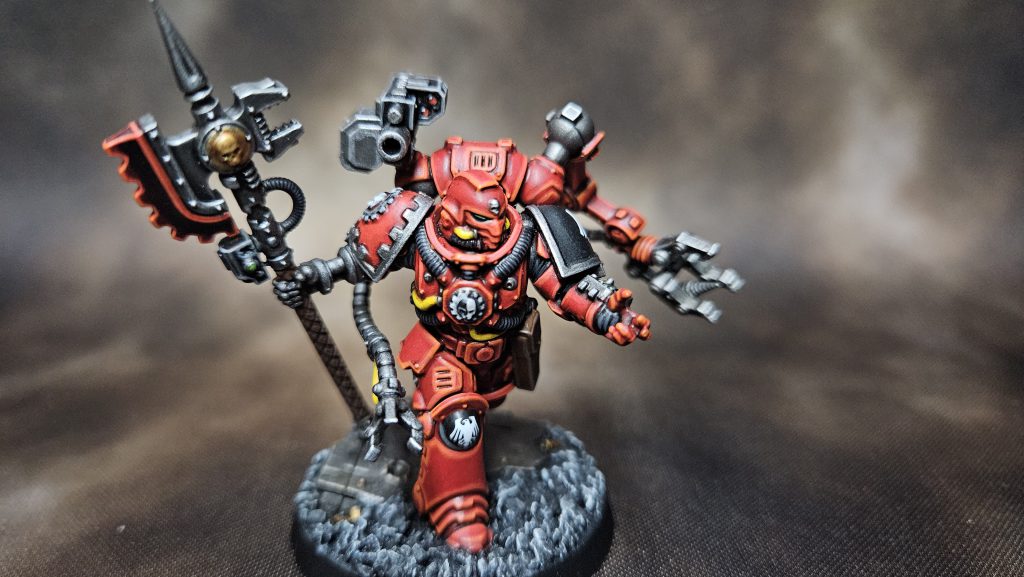
Red Armor (for Techmarines)
- Mephiston Red basecoat.
- Agrax Earthshade recess shade.
- Evil Sunz Scarlet highlight.
- Wild Rider Red highlight.
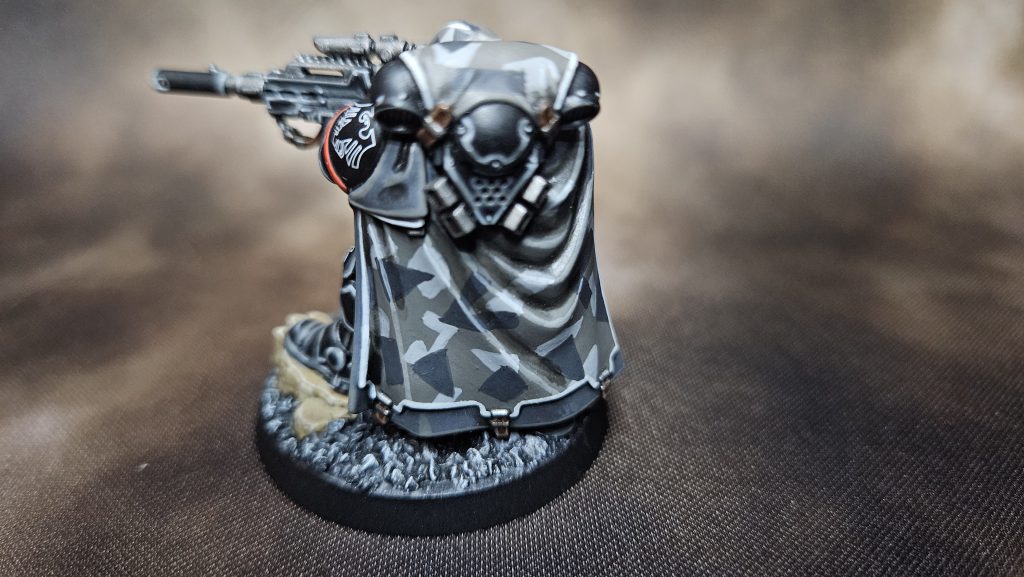
Camo Cloaks (outside)
- Mechanicus Standard Grey undercoat.
- Stormvermin Fur basecoat.
- Administratum Grey geometric shapes.
- Eshin Grey geometric shapes.
- These overlap and intersect the lighter shapes.
- Nuln Oil recess shade.
- 1:1 mix of Stormvermin Fur and Ulthuan Grey highlight.
- For the raised portions of the Stormvermin fur.
- 1:1 mix of Administratum Grey and Ulthuan Grey highlight.
- For the raised portions of the Administratum Grey.
- 1:1 mix of Eshin Grey and Ulthuan Grey highlight.
- For the raised portions of the Eshin Grey.
- Ulthuan Grey edge highlight.
- Only on the extreme raised areas and the border of the cloaks.
Camo Cloaks (inside)
- Mechanicus Standard Grey basecoat.
- Nuln Oil recess shade.
- Stormvermin Fur highlight.
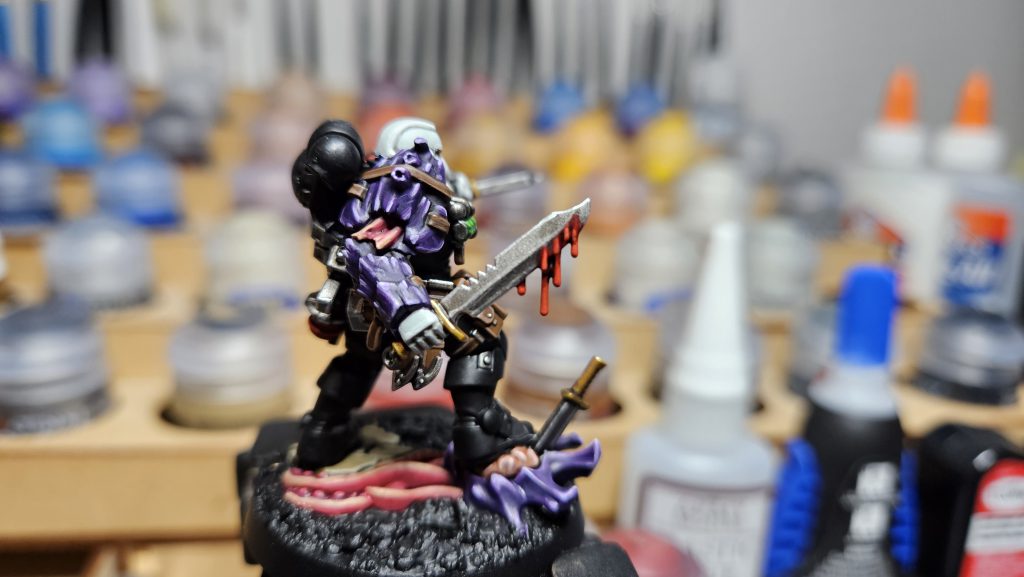
Tyranid Stuff
Obviously, the LT with Combi-Weapon has a bunch of Tyranid crap all over him, so here’s what I did with that:
Carapace (Purple)
- Naggaroth Night basecoat.
- Druchii Violet all-over shade.
- Xereus Purple highlight.
- It’s ok to be pretty thick with this one.
- Genestealer Purple highlight.
- Little thinner than Xereus.
- Dechala Lilac highlight.
- Just on the highest points or sharpest edges.
Flesh (pink)
- Screamer Pink undercoat.
- Pink Horror basecoat.
- Reikland Flesh all over shade.
- Go back over the raised areas with Pink Horror.
- Cadian Fleshtone highlight.
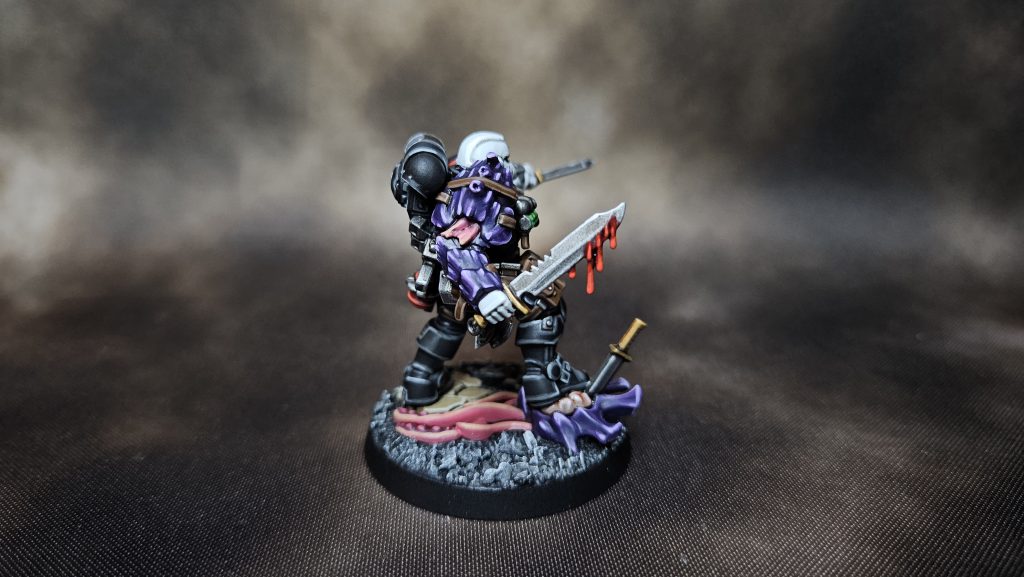
There you have it! I hope this inspires y’all to paint some Raven Guard. I look forward to seeing and hearing how people have improved on my techniques! Keep painting out there!


